Burl Backsaw build.

UKworkshop.co.uk

Help Support UKworkshop.co.uk:

This site may earn a commission from merchant affiliate links, including eBay, Amazon, and others.

swagman

Established Member
Joined
13 Feb 2008
Messages
1,295
Reaction score
1
Location
Victoria, Australia
Hi. Some of you will remember seeing this photo I posted on the toothing plane build.


There was a good reason for selecting this wood to flatten its top face surface. Its being used for my next backsaw build. Now I am reasonably confident that this wood will be stable enough to use as a closed handle. But not enough to risk adding a traditional lambs tongue to the base of the cheek. Instead I have chosen to make this union much more solid in form. The following shows the template shape I came up with. Also shown beside it is the burl handle in its early stages if shaping.


You can see how I applied an inward curve to the bottom of the rail to cheek connection to maximise its potential strength.

I plan to fit a 16" x 3.5" (below the spine) x 0.025 blade, sharpened 13tpi rip tooth.

Will the handle look alright when finished. Too early to tell. New design.

Stewie;
 
I always enjoy your posts, such fantastic craftsmanship, the plane looks the dogs danglies and the handle looks like its going to be another beaut =D> =D>
 
DannyEssex":2tb6zujn said:
I always enjoy your posts, such fantastic craftsmanship, the plane looks the dogs danglies and the handle looks like its going to be another beaut =D> =D>

Thanks Danny. Good to hear you see value in my posts.

Stewie;
 
I should have mentioned at the start of this post that its always a good idea to check the moisture level on the handle blank you are looking to use for your saw handle. The range I prefer to work with is 6 - 8%. The following is an offcut that I checked with the meter. If its too high I seal the edges with a wax and leave it to dry out further.


I have made some reasonable progress on the burl handle. As you can see the handle grip and finger hole are now rounded off, and the blade slot has been completed.


Before I round off the cheek line, the spine mortise needs to be formed.


Stewie;
 
Is that stunning or WHAT!!!?

=D> =D> =D>

I've simply got to get some of those Southern exotics...that Red Myrtle Burr looks gorgeous!

Bravo mate!

Jim
 
jimi43":2c8923a2 said:
Is that stunning or WHAT!!!?

=D> =D> =D>

I've simply got to get some of those Southern exotics...that Red Myrtle Burr looks gorgeous!

Bravo mate!

Jim

Thanks Jim. Its looking quite nice so far.

Stewie;
 
Completed the spine mortise, the cheek rounding, as well as cut and assembled the blade & spine. The tooth length for this backsaw is 16", with a 3 1/2" depth below the spine. Progressing nicely.

Stewie;


rileytoolworks":2j6y1ob6 said:
Absolutely stunning.
Bravo Stewie.

Do you have a 'mark' that you put on your tools?
Is this one to sell?

All the best,
Adam.

Hi Adam. I have been admiring your work also with the Awl's you supplied Pedder & Klaus. High quality work.

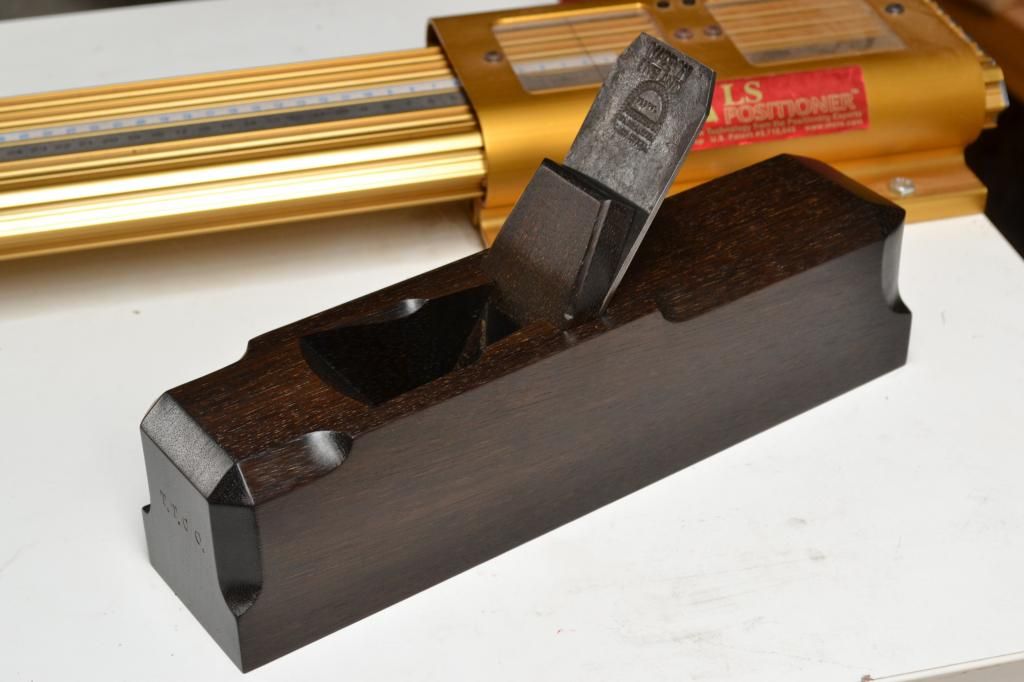
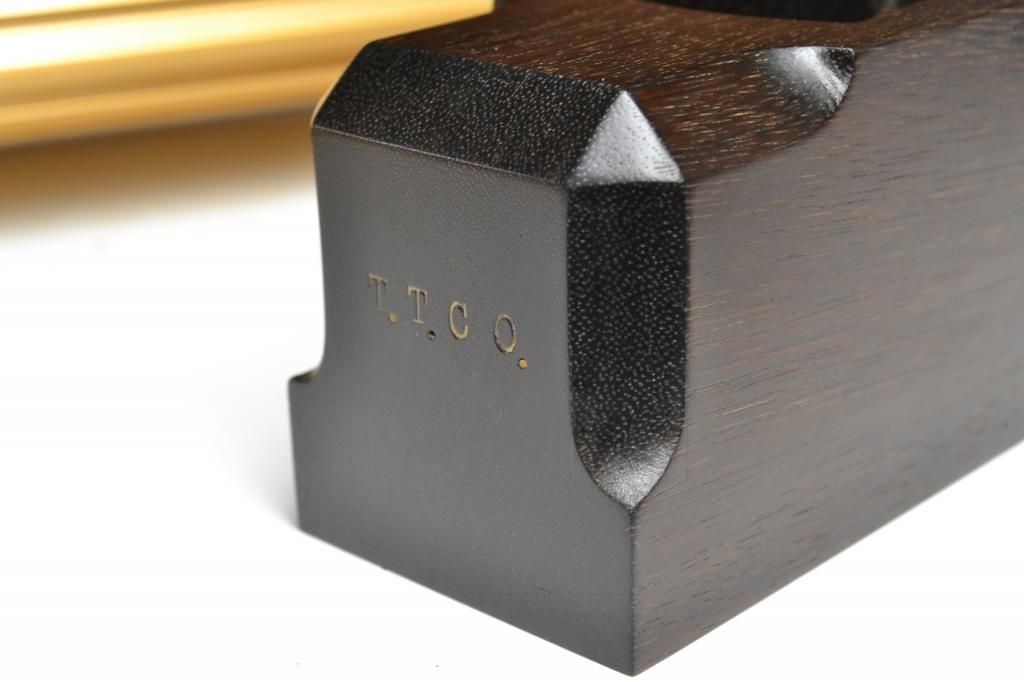
Yes I do mark the tools I make. You can see it clearly on the following photo of a toothing plane I recently built.

If I am happy with this backsaw's performance under testing, it will be offered for sale.

Stewie;


Tote Tool CO.
 
The shellac finish has been completed to the handle.

Each of the surface defects seen in the photo's have been treated with Cyanoacrylate adhesive to maximise their integrity.

Next is to shape the brass back .

Stewie;


Back
Top