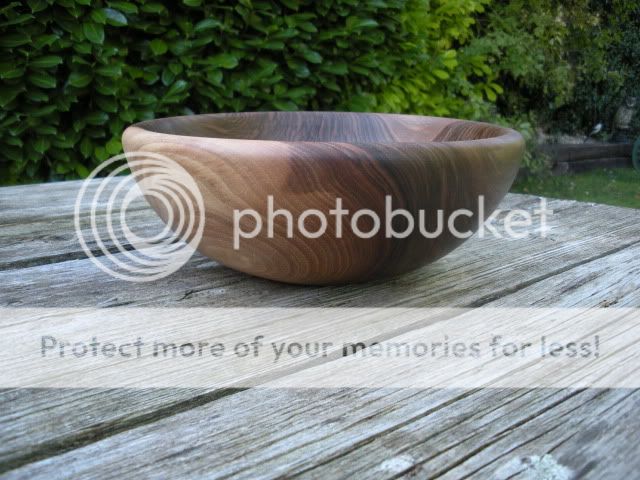
I missed the origional posting of this because I was out of town. Bowl coring is a specialty of sorts for me. I have posted a bunch about this here in the US, and demonstrated at the 2006 AAW Symposium. I do turn a lot of bowls.
If you sell your work and you are turning bowls, then you need a bowl coring system. Core about 3 to 4 good sized blanks, and you have paid for your coring system. You do save time in removing the core, and when you turn the core, most of the shaping has been done, and you just have to clean it up. The piles of shavings don't seem to have been diminished. I save so much time that I turn a lot more bowls, so the piles seem to be bigger. You know it is time to clean up the shop when you have to get down on your knees to turn.
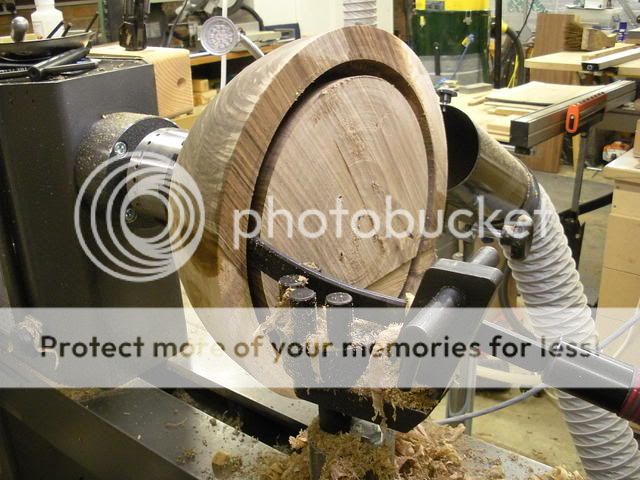
There are 3 systems out there. The McNaughton, the Woodcut, and the Oneway ( A Canadian lathe, but don't hear much mention of them over there, and they do make a nice lathe). My preference is for the McNaughton. The plus side of it is that it is the most versatile for coring plates, regular bowls, and deeper bowls/vessels. The down side is that the instructions that come with it are not easy to understand, and there is a big learning curve with the tool. It REALLY helps to have some one who knows how to use the tool to show you how to use it, or get a video. You also have to learn how to relax when using the tool. You don't have to force it, and if there is a lot of chattering, some thing is wrong. Most of the time, you have to remember to keep the cutter at or slightly above center height, and let the tool feed itself. There are 2 DVDs out there, one by Mike Mahoney, and one by me (which the Tool Post is carrying). KM also has a micro coring system that is made for the mini lathes.
The biggest problem with the McNaughton in using it is that as you core, the blade/cutter wants to drift to the outside of the cut, away from the planned path. You have to learn how to correct for it. You can come back to the top of the cut and open it up on either the outside, or inside. You can also bump the tool rest to the inside a bit. This is more of a problem with bigger bowls. I use one or two or all 3 methods to correct, depending on the bowl. The other problem is learning how to aim. Since it isn't on a fixed center, you have to aim. I do use the laser pointer which KM makes, and love it. If you don't have one, be prepared to make some lampshades/funnels. There is a lot more to it than that, but this is the simple version.
The Oneway is interesting. It is also the most expensive (about $800 US). It is a plate that bolts onto the ways of your lathe, and the tool mounts onto it. It is fixed center. There is a cutter blade, and a support finger. You core in about 2 inches, then advance the support finger under the blade. You do have to turn off the lathe to do this. For a big bowl, 18 inches or so, this may be done 5 times or so. The support finger makes the blade very stable when fully extended. They have an unusual cutter. It has a point that sticks out, to break the fibers, and then the sides remove the waste. The bad thing about this is that it that to sharpen it you have to remove it from the lathe and hold it up to the grinder wheel (you can buy a jig for doing this). You can only sharpen the top surface of it, not the face. You can adjust it a bit from side to side for flatter or deeper cuts, but if you go all the way to either side, the support finger can bind in the cut.
The Woodcut is a nice little system, the emphasis is on little. It is on a fixed center and is almost idiot proof (if you invent some thing that is idiot proof, then some one invents a better idiot). They have 2 blades, and it mounts in your banjo. I think the big blade is 6 inch radius. It isn't too much trouble to change blades, but you do have to handle and move both blades to change. One down side to me is that you have to attach your tailstock to the back of the set up for coring. I never use my tailstock when I turn bowls so this is an extra step for me. They do have a laser pointer for their tool. I don't really find it necessary. I set the tool up with my chuck on the lathe, and swing the cutter through the arc so that it is about 1/2 inch away from the chuck jaws. I them make a plywood spacer to put down on the lathe so I know the distance to put the tool and don't have to measure each time. I do this with the Oneway as well. There is some chatter with it, especially with harder woods, and if you are going as deep as it will go.
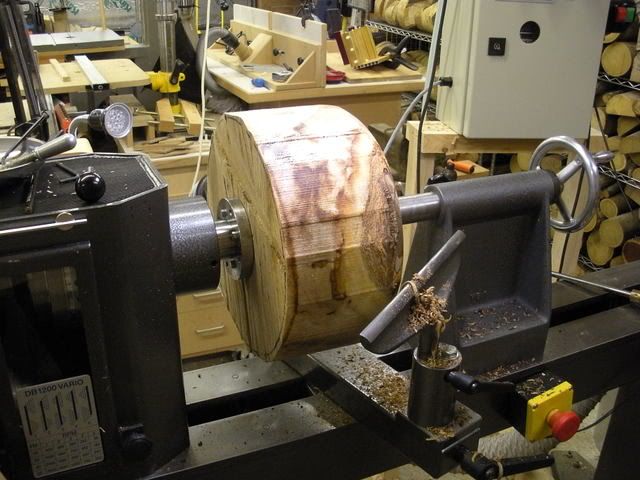
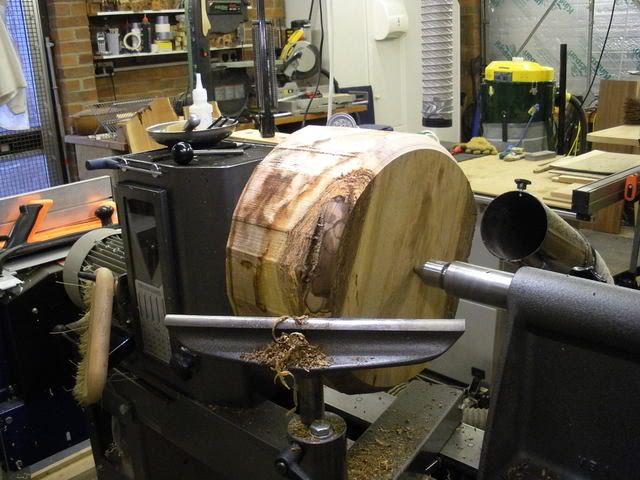
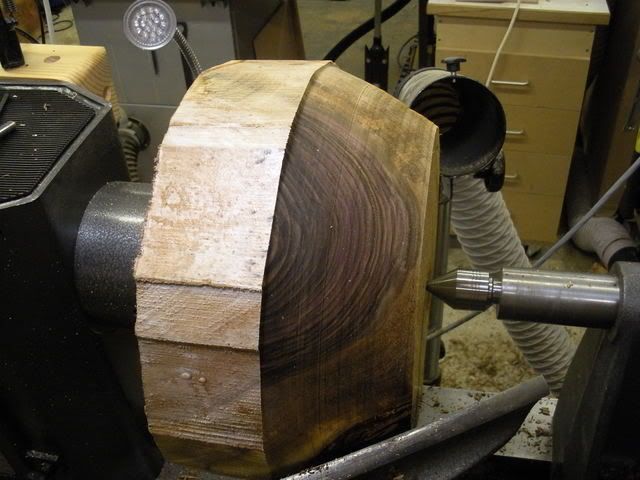
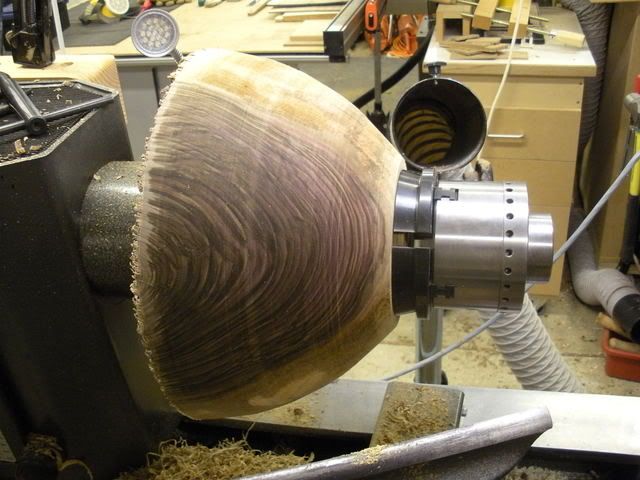
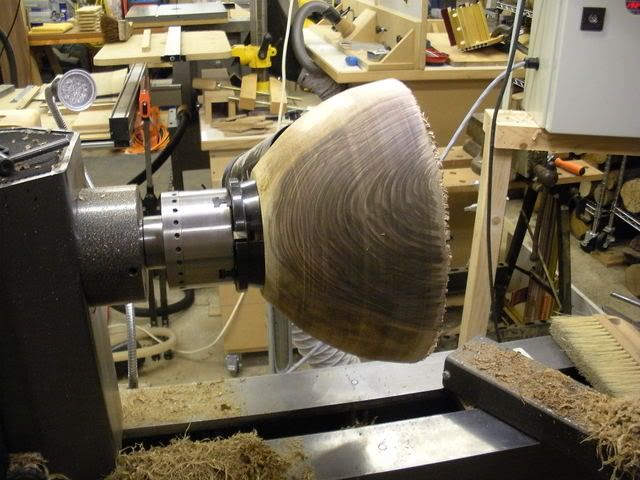
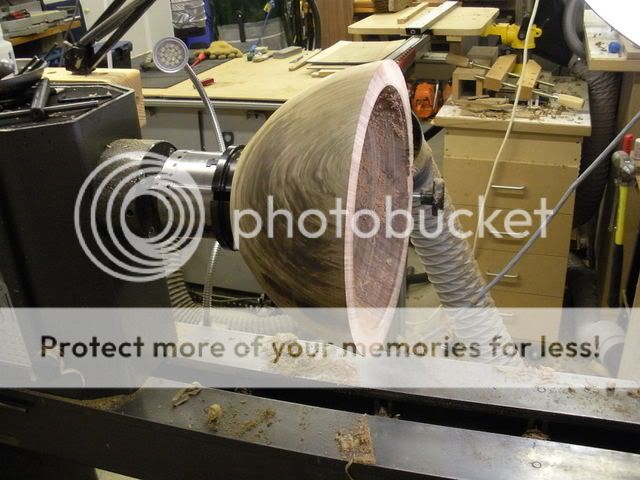
For your first efforts, use green wood as it cuts easier, and don't use wood that is hard or that is really special. For mounting, I prefer a recess, but a tenon works just as well. There is no mechanical advantage to either method as long as they are properly made. Mike shows how to form a tenon, I show how to form a recess. General rule here is that the foot of the bowl needs to be at least 1/4 of the diameter, and 1/3 is better. If you use a recess, the angle and diameter of the recess need to match as closely as possible the jaws of your chuck, and I usually go about 3/16 inch deep (sorry about the inches stuff, we are a bit slow about metrics here, and I never learned them well enough to use them). For mounting the bowl blank, I use a recess as well. I drill a recess using a big forstner bit that closely matches the chuck jaw diameter, about 1/4 inch deep. You don't want the chuck to bottom out so that the bowl sits on the face of the chuck. I have a dedicated compass for marking the diameter of the recess, and a specialized dove tail cutting tool. After turning the outside, and making the recess, I reverse it for coring. This way you never have to remove the chuck. With the Woodcut, you would have to remove a face plate for coring. With the other 2 systems, you can leave it on.
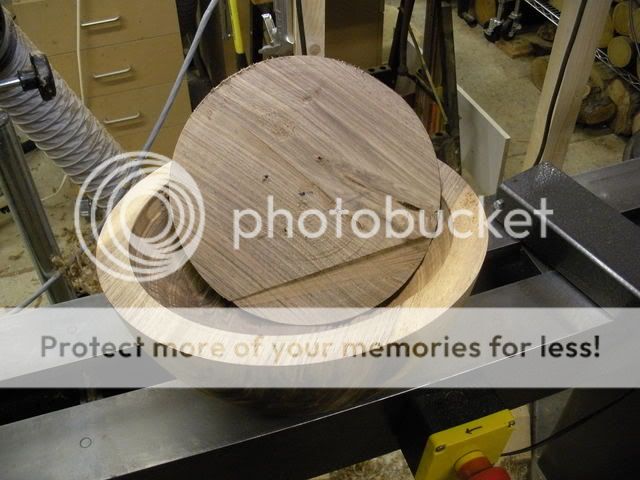
I do remove the biggest core first, then finish turn the bowl on the lathe before remounting the core. You can remove the smaller ones first if you want to, and they will still have to be remounted to turn a tenon or recess on for turning, but if there are any errors on figuring out how many blanks you can get from a blank, I would rather make the mistake on the smaller bowls, not on the larger ones.
Number of blanks you get depends on a few things, mostly on how good you are at cutting close. From a 6 inch blank, I will usually get 3 or 4 blanks. For production purposes, I seldom will core anything less than about 8 inches wide, and 3 inches thick. It is only really worth it if it is a special/rare/exotic piece of wood.
All of the coring systems have cutters that are about 3/8 inches wide. They cut like scrapers. If your lathe will remove a shaving that wide with a scraper, then it can handle most of the coring systems. 1 hp or more is usually recomended. The exception here is the mini and micro McNaughton blades. Their cutters are 1/4 inch wide on the mini, and slightly smaller on the micro. They work well for the smaller lathes. Coring speeds are from about 300 on big (18 inch diameter) bowls to 1000 on smaller ones. It depends on how well the bowl is balanced, and how comfortable you are. On smaller lathes, you do need to turn it up a bit. With the micro system, I tried a high torque slow speed, and the tool didn't work that well, went to mid range, and higher speed and it was fine. You have to experiment to see what works for you. Borrowing another quote from 'Patsfan' "When sphincter tightening exceeds chuck tightening, you have a problem."
For drying, that could be another DVD. I turn green to finish thickness (1/4 to 1/2 inch), and then dry. I love warped bowls. I do soak in 1/2 liquid dishwashing detergent, and half water for 24 hours minimum, remove and rinse, then dry. The soap (and denatured alcohol soak) does nothing measurable for helping the thin turned bowls dry faster, or with less movement or cracking. It may on the thick turned bowls. The soap does make the wood a LOT easier to sand out. For drying, I wrap a couple of pieces of newspaper on the outside and secure it to the rim of the bowl with some film plastic (6 inch wide that is used for wrapping around boxes to keep them on a pallet). I use a couple of wraps, and stretch it out so there is some pressure on the rim. I then cut out the paper on the inside of the bowl. The idea here is that the inside will dry faster than the outside and this pulls everything towards the inside and the bowl drys in a compression mode. I have done this with just the plastic on the outside rim, and have had great results, even with the most difficult woods like Pacific Madrone. Bowls take from one to two weeks to dry. I haven't tried this on thick turned bowls as I don't do that style, but probably should some day. It is also important to round over the edges on the rim of the bowl. The fine sharp edge is more prone to starting cracks than a round one, because it drys more evenly.
robo hippy


