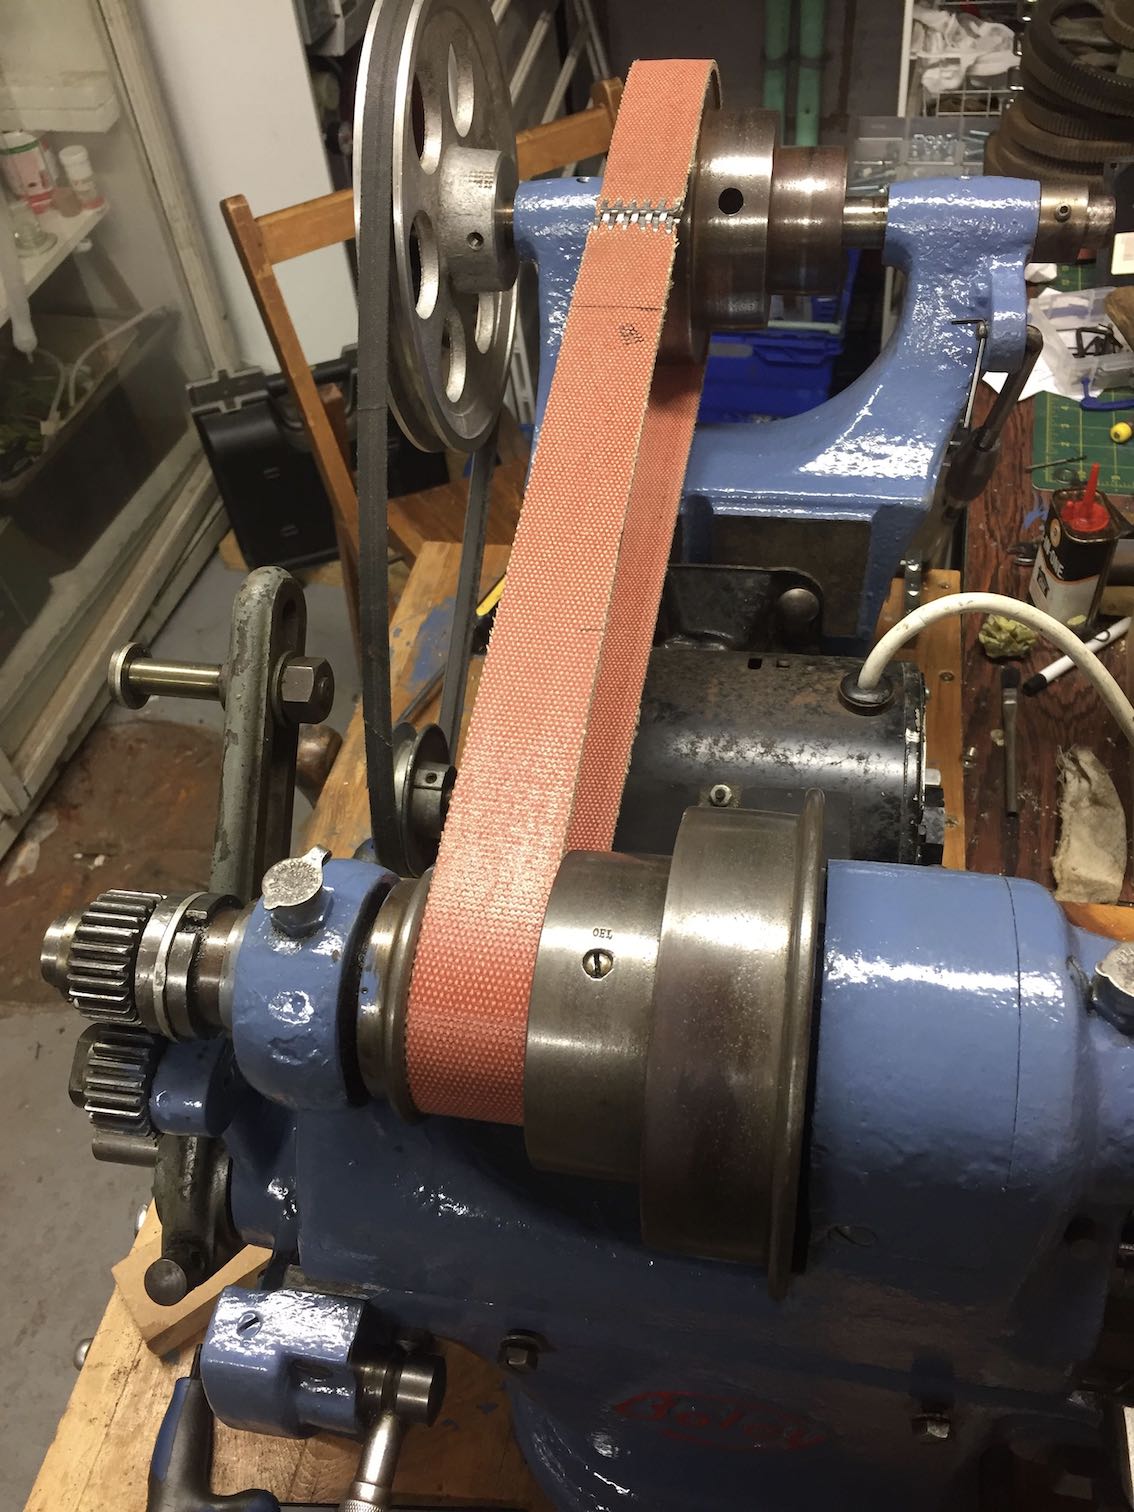
So it's time to attend to the tailstock. Turned a soft centre in the chuck and compared it with that in the tailstock. Needed a slight lateral adjustment to match well, the the whole tailstock can be screw-adjusted both ways. Not too bad now, though from the side it might be a shade low. A shim under the headstock would sort that, but it needs more refined test cuts and measurements first.
(top view)
(side view)
Now to tackle the quill and drive. In this design the nut is attached to the body, while the handle is fixed to the quill. A slot in the quill allows it to surround the fixed nut and also keeps it from rotating. The assembly at the handle end seemed unnecessarily complicated, and indeed was simplified on later Boley. I did have to remove it since the rod controlling both the thrust and the tool ejection was a lot too long, and my set of Morse taper 1 accessories wouldn't go in deep enough. The single centre with the lathe was very short, and I doubt it was a Morse taper at all.
In this one the retainer for the end of the lead screw was a very tight press fit on the end of the quill and the only way to get it off seemed to be by unscrewing the nut with enormous force. There was nowhere to fit a puller, and any hammering would damage it badly. So, extreme force it was, and the end broke off and twisted out, and the lead screw got quite badly bent. Oops. On seeing the broken inside it was clear that the construction was curious, the quill having a slot half way through it - which was invisible when I started pulling - and there was an insert inside with a washer inserted through a cutaway slot. It broke at the slot on the quill. This was probably all to get some floating alignment but was not necessary and indeed abandoned by Boley in later models.
Fortunately it was all recoverable at the cost of losing about 10 mm travel. First the broken end was cleaned up and bored back to its original state. It's now a push fit for the inner and outer components not a giant press job. For this I used the big Boley 4L lathe with a fixed steady, a good way to get the end running true before machining. Any eccentricity in the chuck end is greatly demagnified at the far end.
Now to straighten the lead screw. A collet mount is pretty essential here. I have this on the Boley 3C (plain turning) lathe that is eventually going to be sold (though I love it!). The idea is you clamp it in the collet just before the bend then push with the cross slide until it bends back and the portion near the chuck runs true on releasing the cross slide (this is easy to see).
Then you move up to the next bend and do the next bit
After 3 pushes it rolled fairly well on the surface plate. I'll reassemble it and see how it runs. This is not a very critical drive anyway, not like the cross slide.
Now to improve the taper, with a Morse No 1. reamer. I can do this in the new lathe, and at last I am using it to repair itself

.
The taper was run to match that on the Boley 3C lathe, on which my No. 1 accessories fit well and eject nicely.
Next step: make the slug that does the pushing and ejection, then reassemble.
So both ups and downs today but ended up a little further ahead but with the tailstock potentially fitting well.


