Hi Byron,
Here's the photos and explanation I promised:
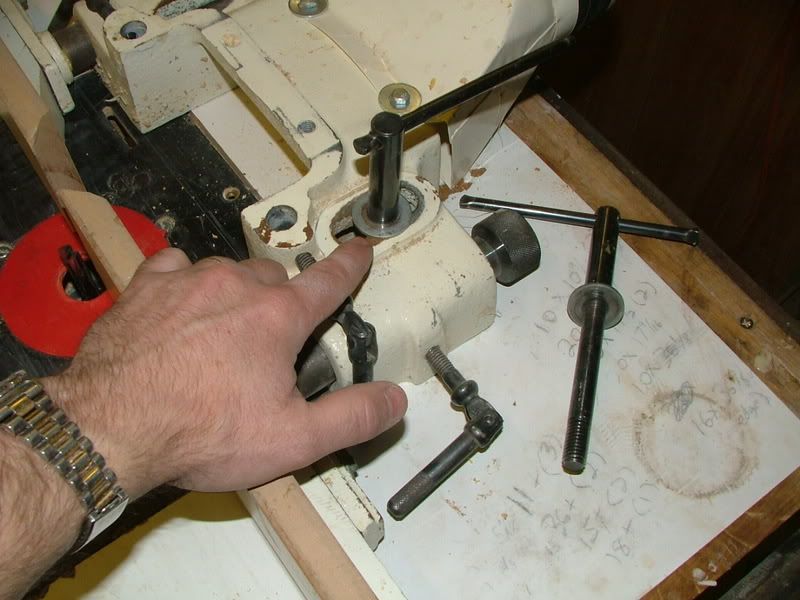
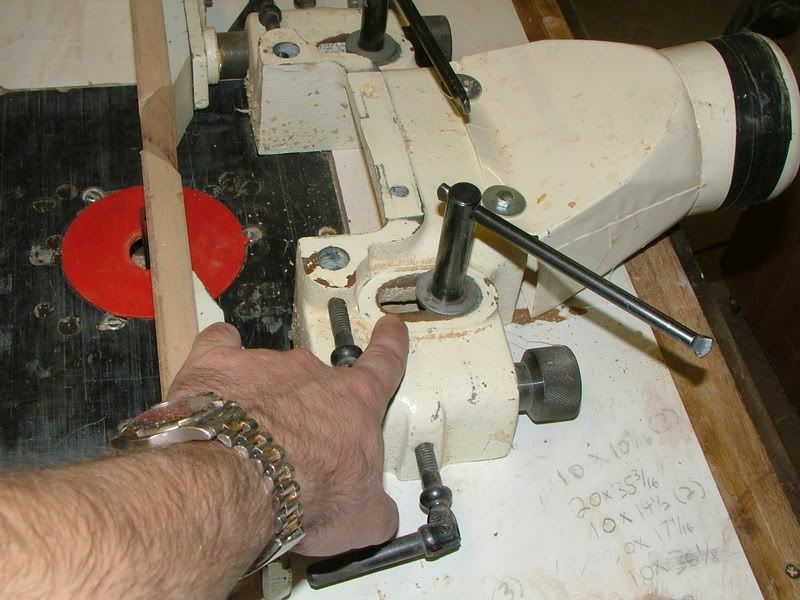
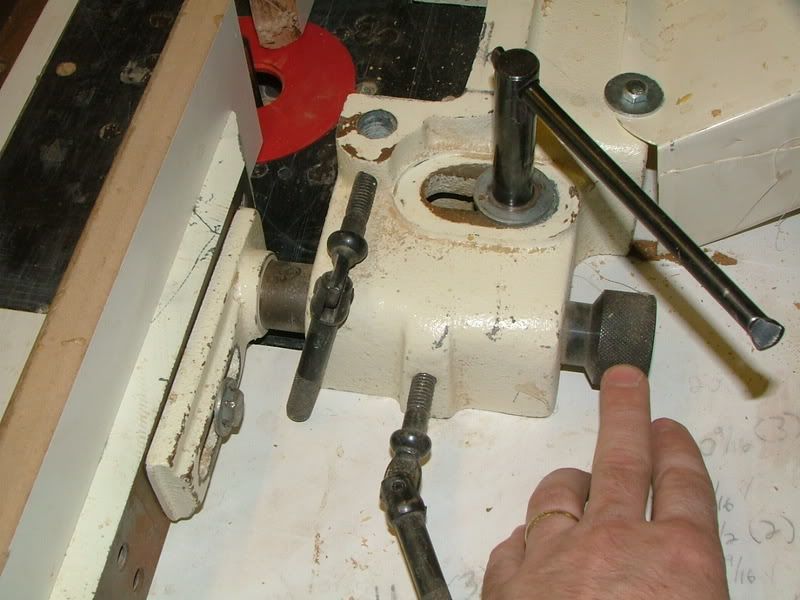
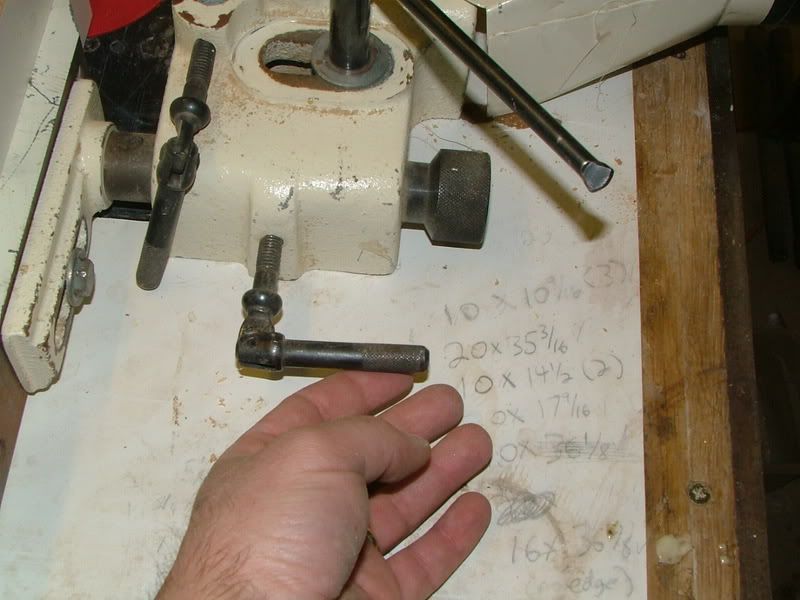
It is attached to the table with two large bolts. (I'm pointing to one, and the other is lying on its side.)
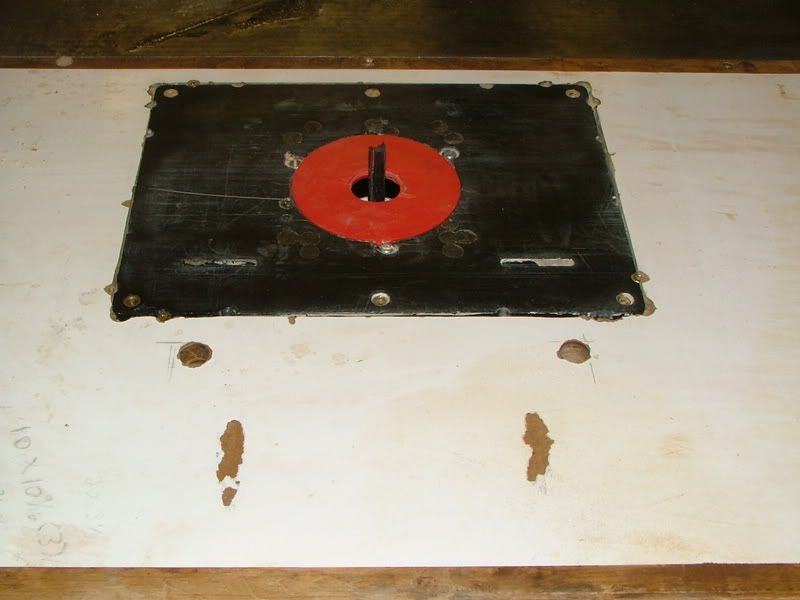
You can simply drill 2 holes for the bolts, or rout slots for greater adjustability. I routed slots on an earlier table, but as this is an extension of my tablesaw, I can use my tablesaw fence if I need a fence further away from the cutter.
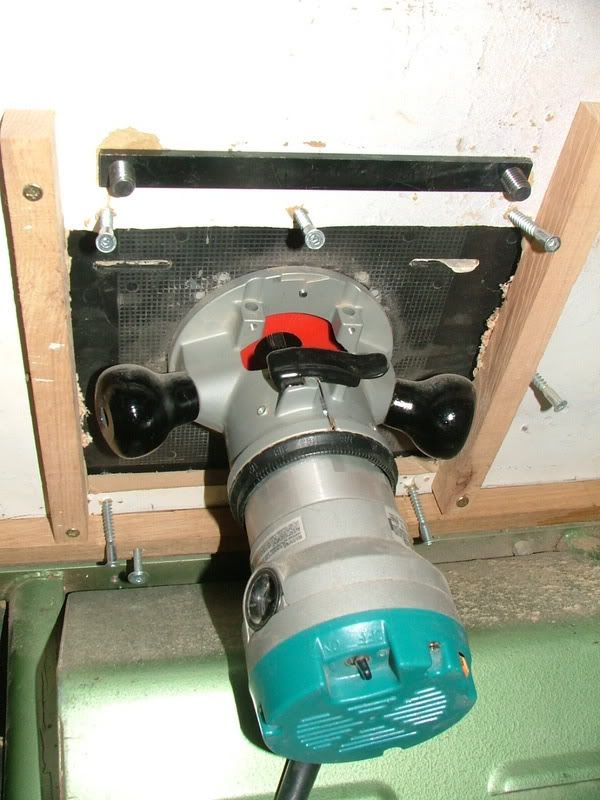
The bolts thread into a steel bar which clamps it to the table.
The above picture show the amount of adjustability available by moving the whole unit. (Obviously the range can be extended by routing slots, as mentioned earlier.)
Fine adjustment is achieved by turning the knobs in the above photo. (1/4 turn is about .5mm IIRC.)
The above pic shows the bolts to lock down the fine adjustment.
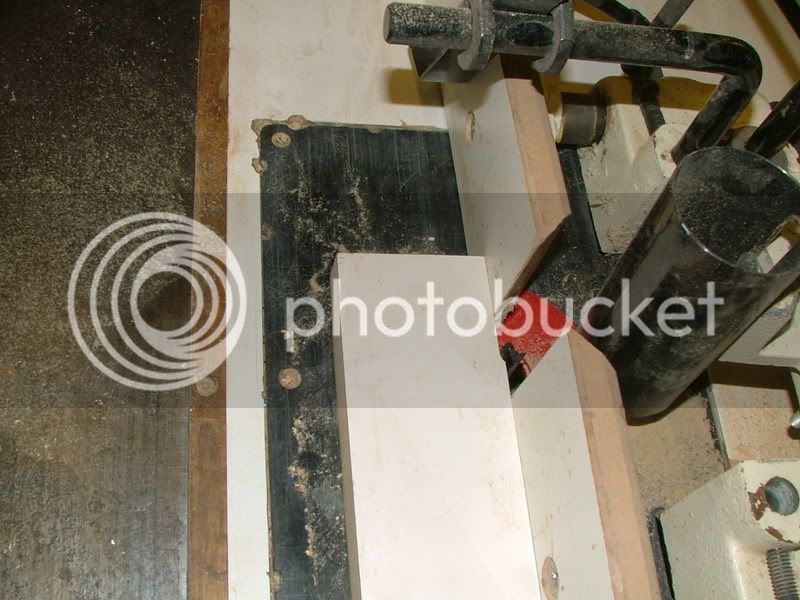
This pic shows edge planing with the outfeed fence set to support the piece in the same way as an outfeed table does on a planer. Once it is set, you can adjust the infeed fence to take a miniscule shaving of the edge of a board. This can also be useful when doing some vertical mouldings that are not bearing guided.
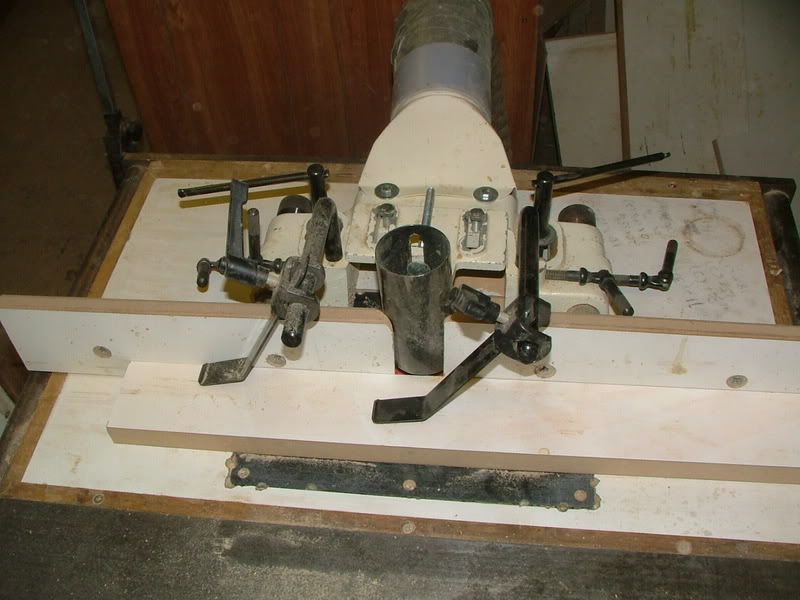
Finally, a pic of the whole unit set up with holddowns, guard, and extraction point. I've replaced the original fence cheeks with some MFMDF cheeks. I also have some tall fences and one-piece zero-clearance fences which I can add quickly with the bolts visible in this pic.
I forgot to take a picture of the back of the fence cheeks. Although you can see it somewhat in the fifth picture. By loosening the bolts at the back of the fence cheeks, you can adjust them laterally, providing an almost zero clearance to most router bits.
Hope this has been helpful, and if you have any other questions, I'll try to answer them.
Brad


