Byron,
I too recommend buying DC's DVD on planing. Meanwhile I can show you how I plane à la David Charlesworth. Intending a maximum of flatness you make a double hollow, one in width and one in length. After that a little unwinding and you should have a flat board face.
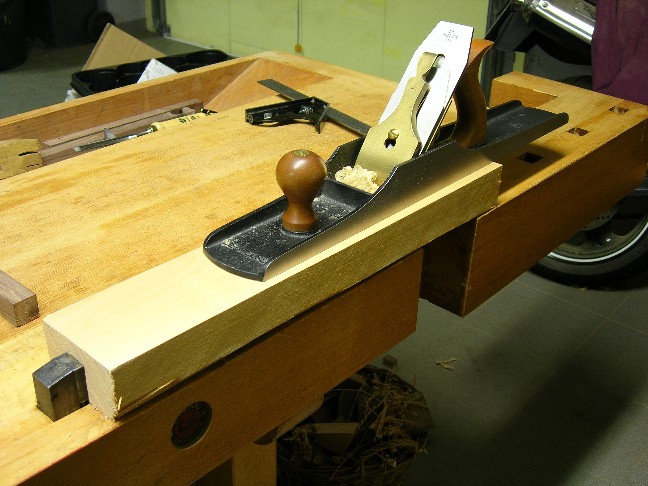
I use a #7 here, very light camber on the blade, as if it was a smoother. The piece of wood is american alder, measuing 8.5 to 50 cm.
1. Making a hollow in the width
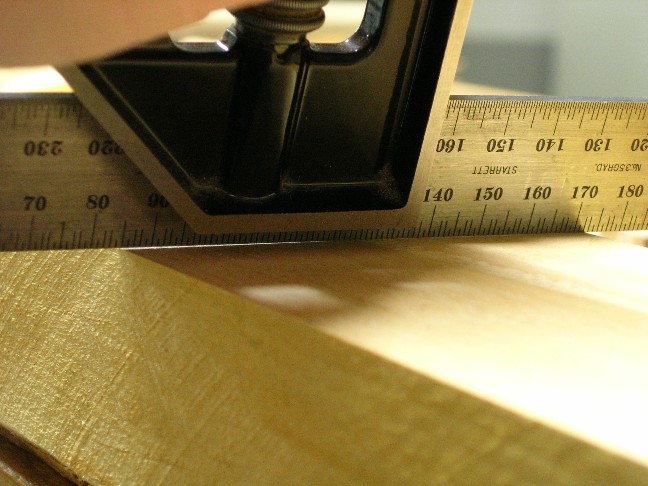
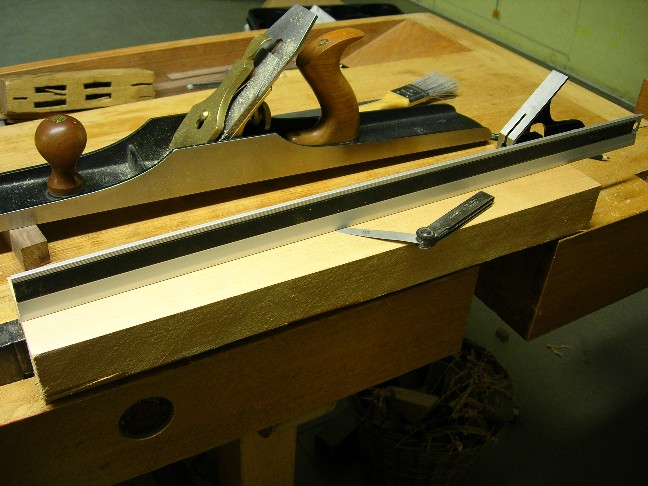
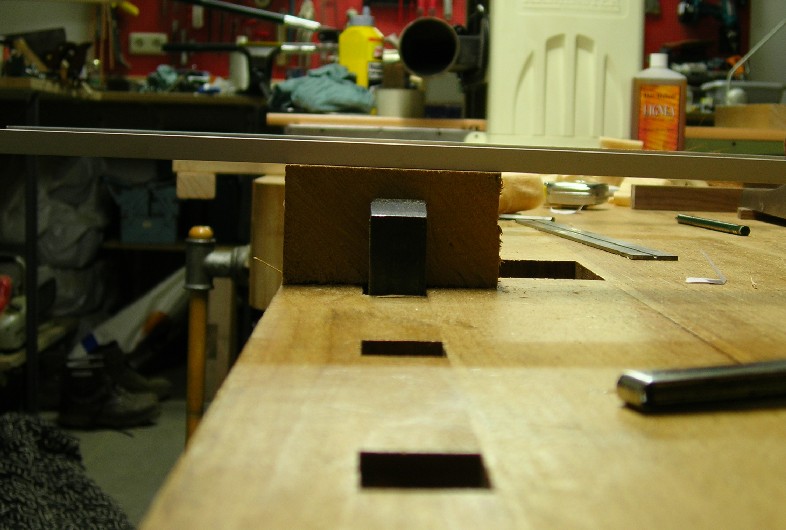
The wood comes here from the jointer plane, a #8 with a lightly more cambered blade. You can see a belly under the straight edge. Important here, that the jointer makes through shavings from end to end.
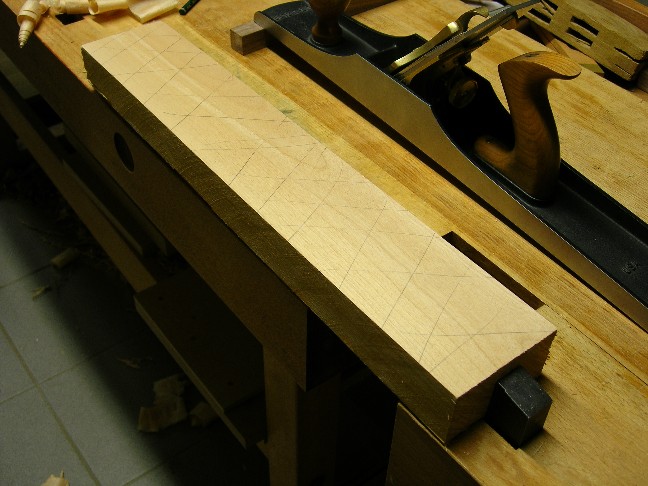
First thing to do you scribble all over the board.
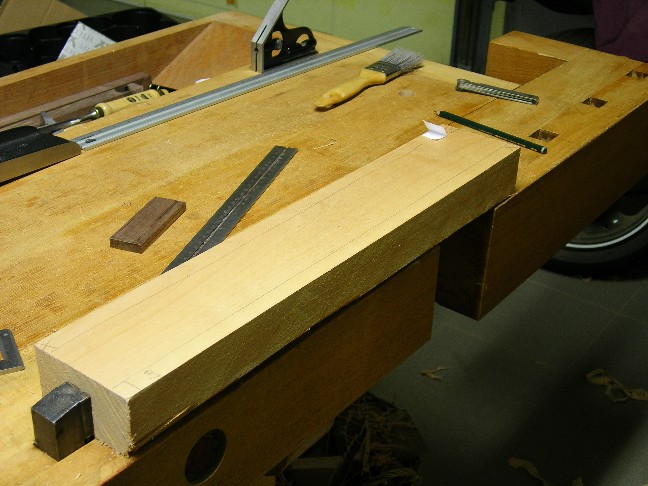
Then you establish the side edges by planing only the edge, the tip of the blade a little inside from the edge. After that your board should look a bit like this:
Taking a look under the straight edge you see the belly has grown in the first step. The two side edges won't ever be touched with the cambered tip of the blade.
Now you plane off between the edges. At some point the plane will stop taking shavings and you know there aren't any bumps or bellies in the length. Only dust will come out of the plane's mouth.
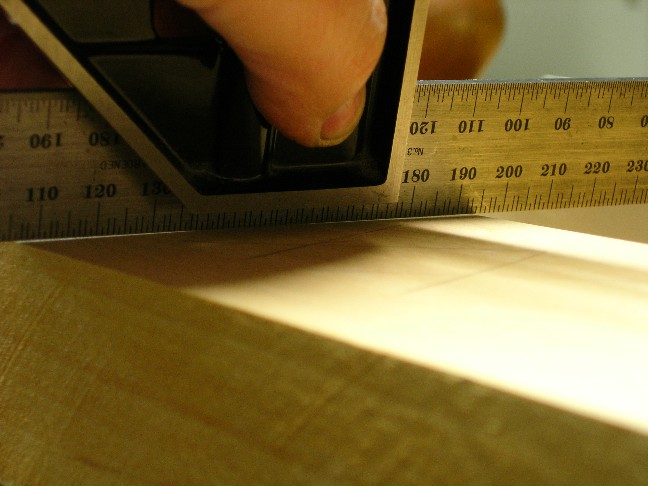
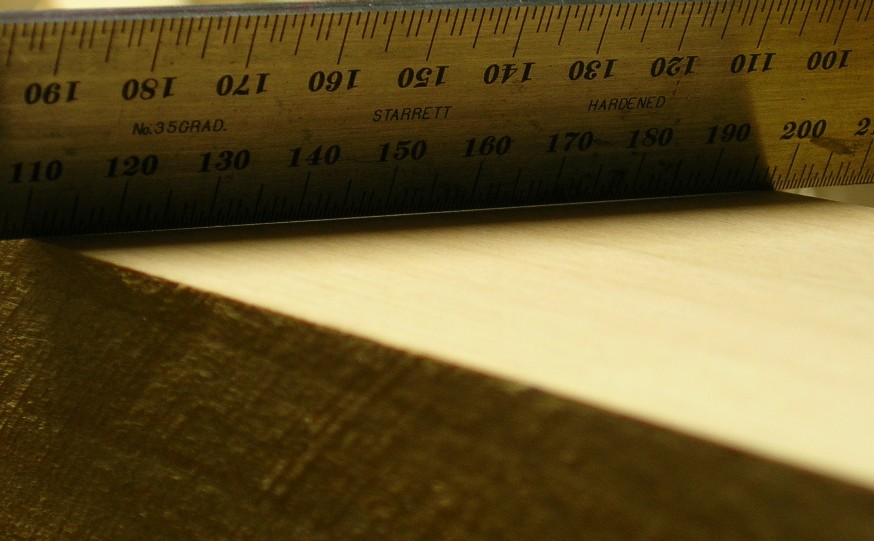
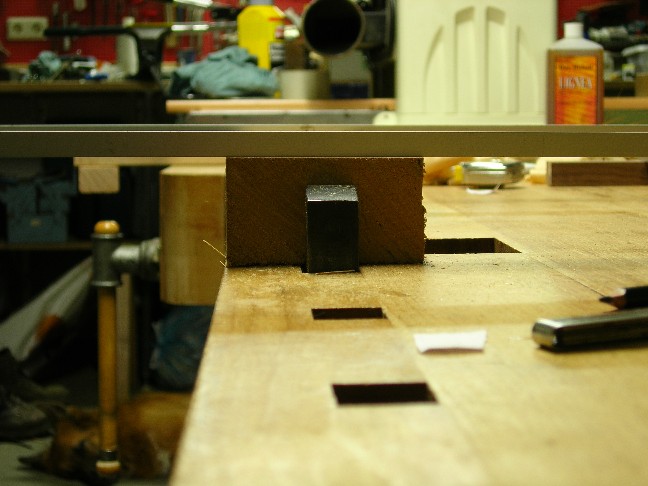
Taking a look under the straight edge, there is a neat hollow.
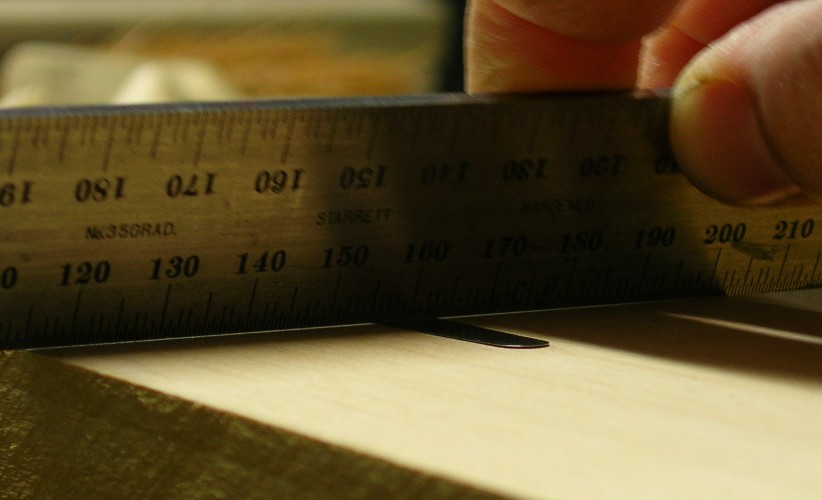
I put a feeler gauge of 0.10 mm under the straight edge and one can see it is yet too thick.
2. Hollow in the length
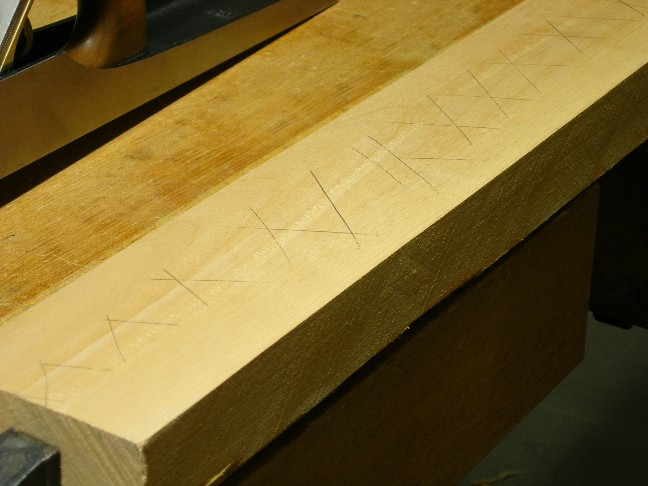
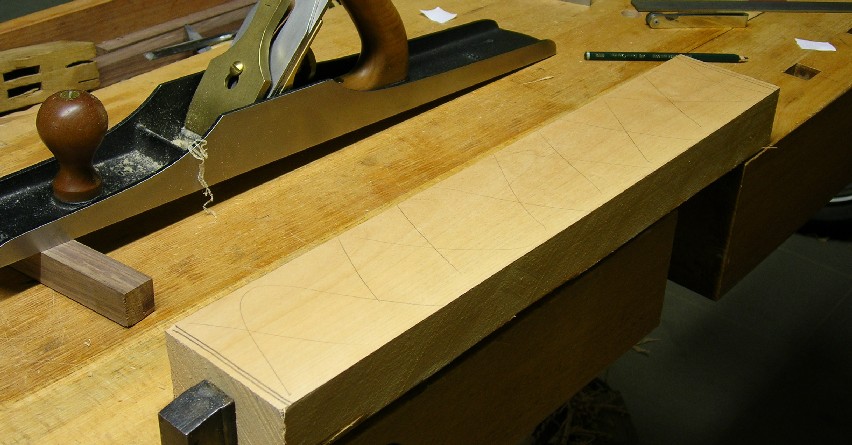
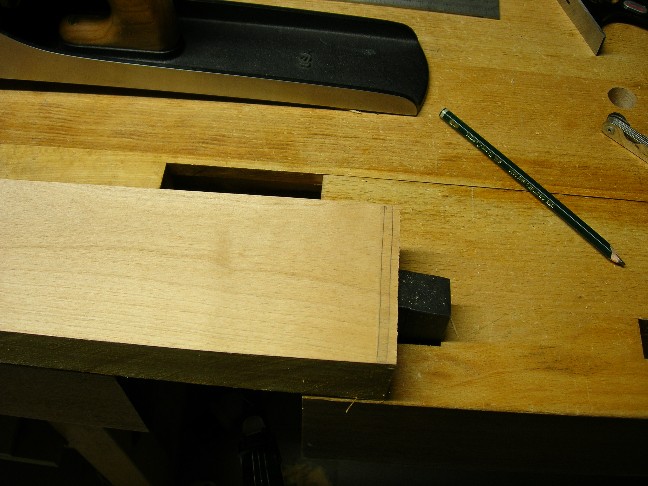
Next step you create a hollow in the length. It's where the length of the plane really matters. A shorter one would probably do, but the hollow'd bebigger I guess. You scribble the whole board as the first time and you add a serie of through lines on the two ends like on the pic. Now you do stopped shavings. I.e. you plane off the scribble lines but the lines on the ends will stay. First shavings are made on the side edges, remember not to touch the edges with the camber's tip. Then you make sets of shavings just till the plane will stop working.
The board will look like this. After that you make a full set of shavings in order to take off the markings, first the side edges and then the centre.
There will be a neat double hollow on the board with 0.05 mm in length, no bumps, no bellies.
3. Unwinding
At this point the board always can be a little twisted or winded. In order to check this, I put on the winding sticks and check. I see the one in front dropping a wee bit at right. Putting a folded piece of paper under the right corner brings everything right. You now know the low points and how much they measure.
You mark these points with "LO" and the side edges too. All the surface will be planed right now except the two low points. You remember the stopped shavings thing? Begin with the side edges again and go on to the centre then.
The board should look like this now and be "flat" with a double hollow.
I only pictured a small part of what David shows and tells in his DVD. It is a whole world to discover...
Regards and I hope I could help a wee bit :wink:
Marc


