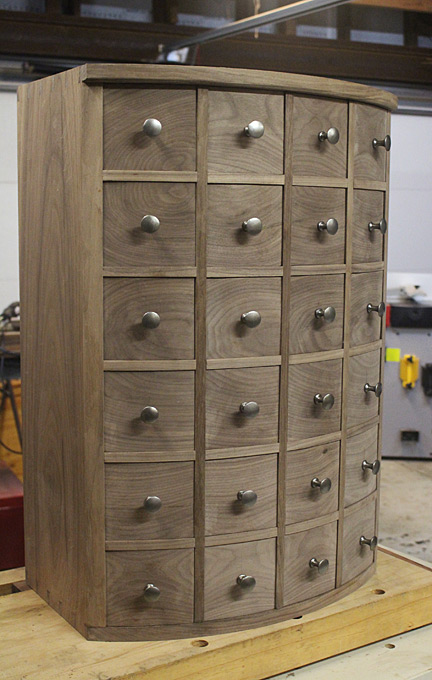
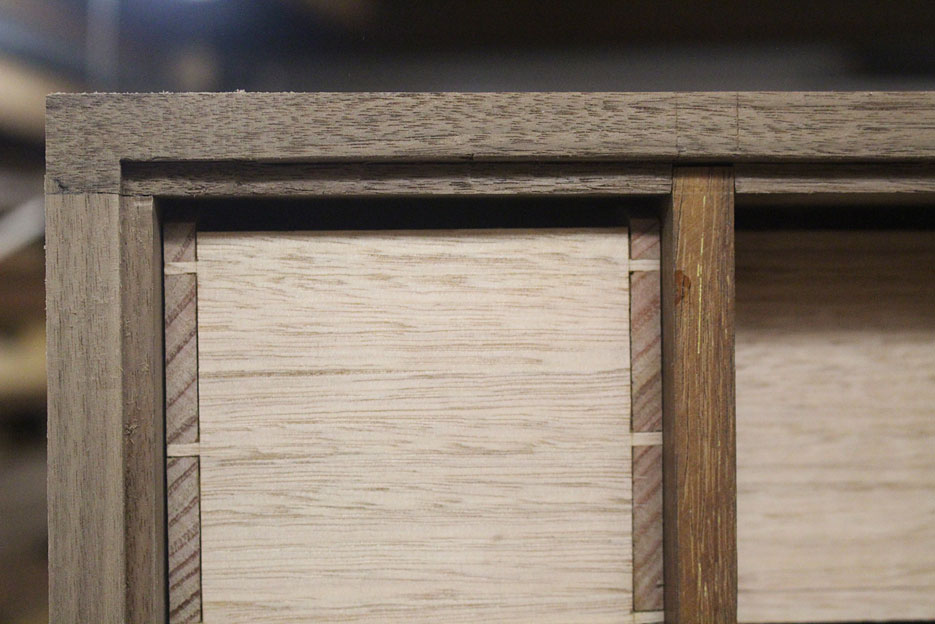
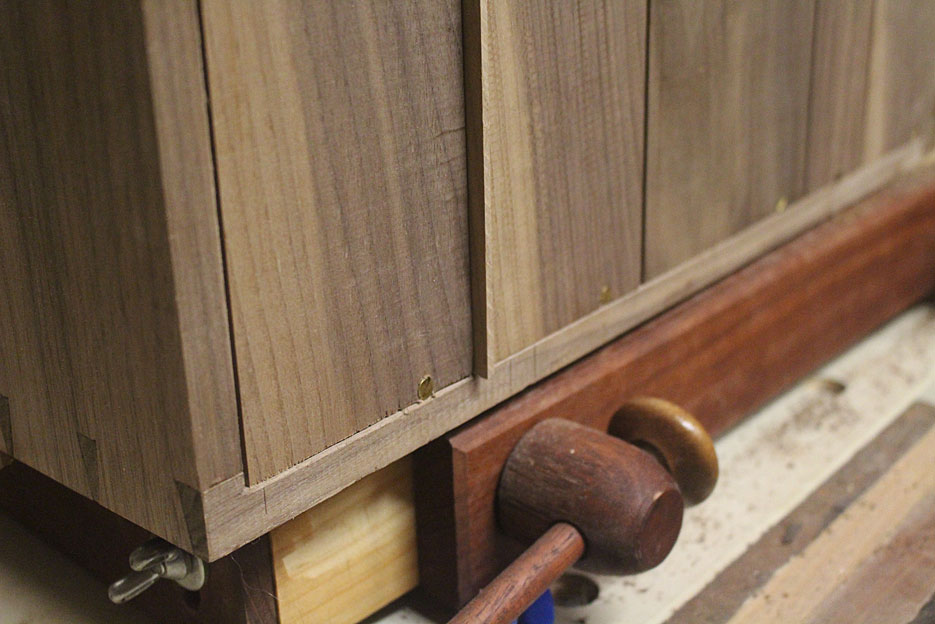
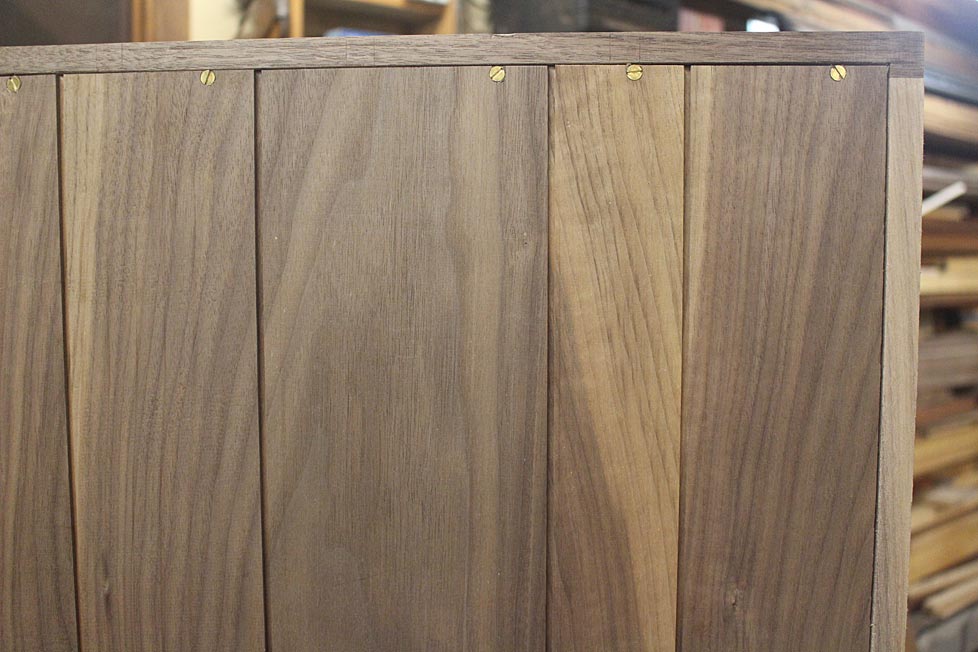
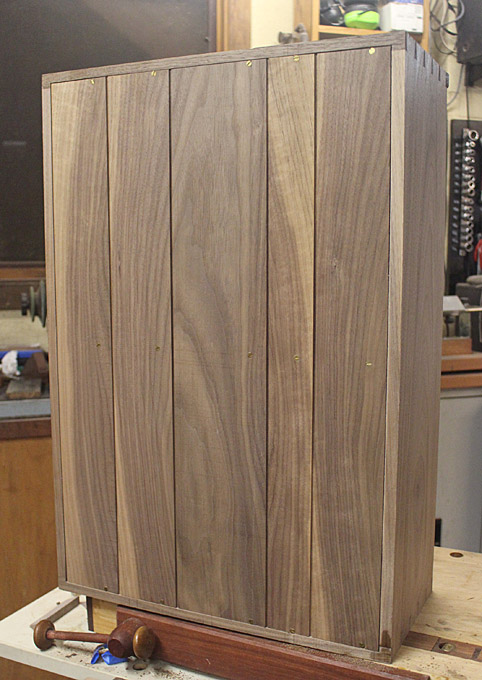
We are getting close. The drawers are done. There is still the base to be built, but the I feel that the hard yards are won. The following was completed this weekend ...
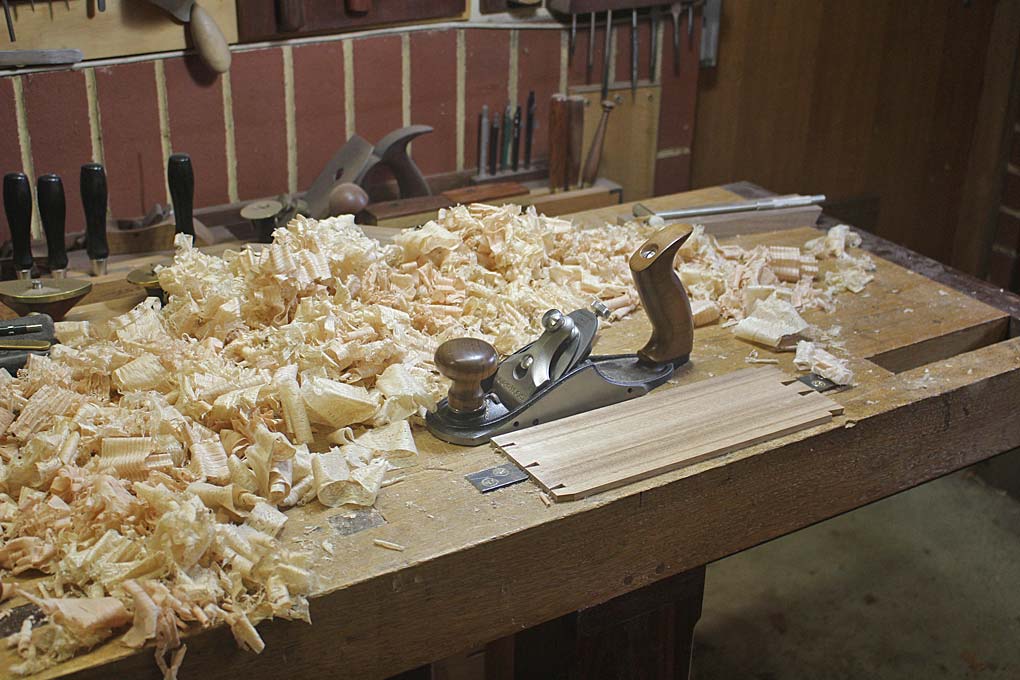
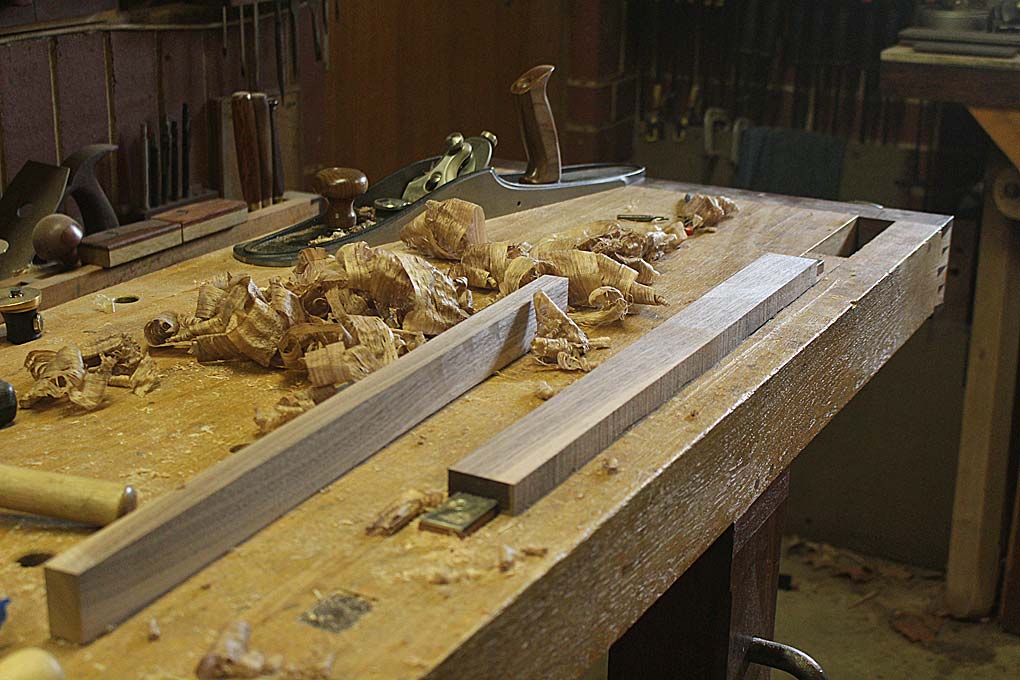
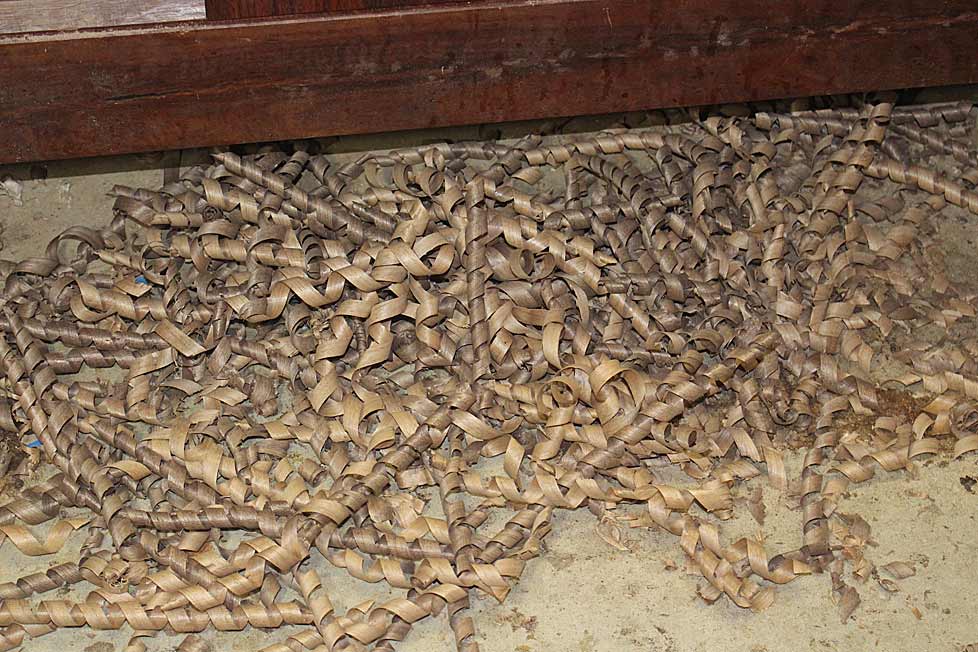
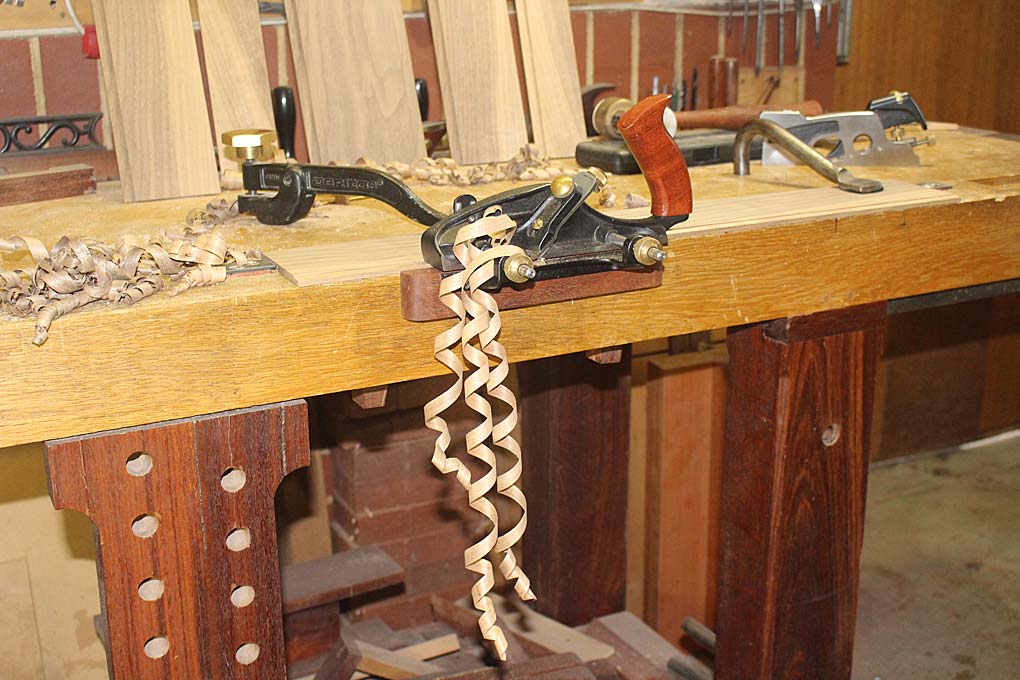
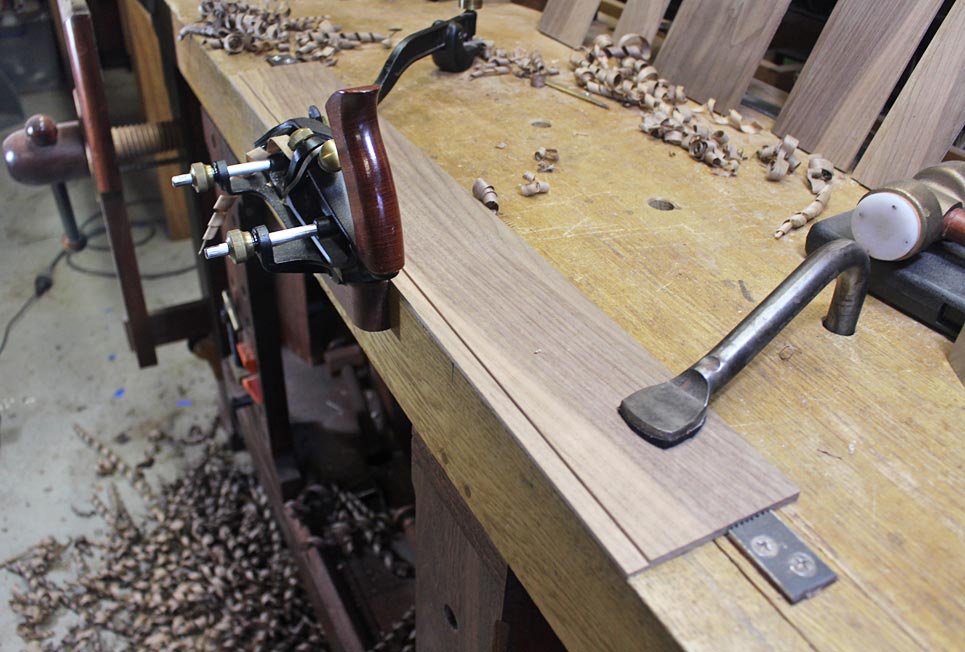
One of the joys with hand tools is simply planing. Nothing special, just planing wood and creating wonderful shavings. This was the final dimensioning of the drawer sides prior to glue up ...
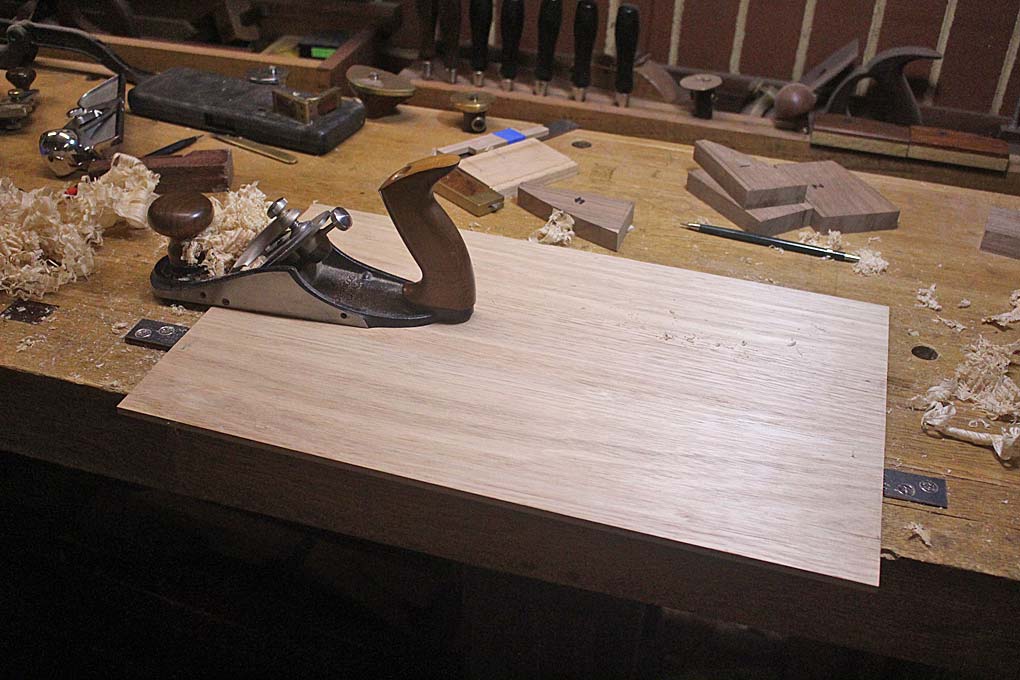
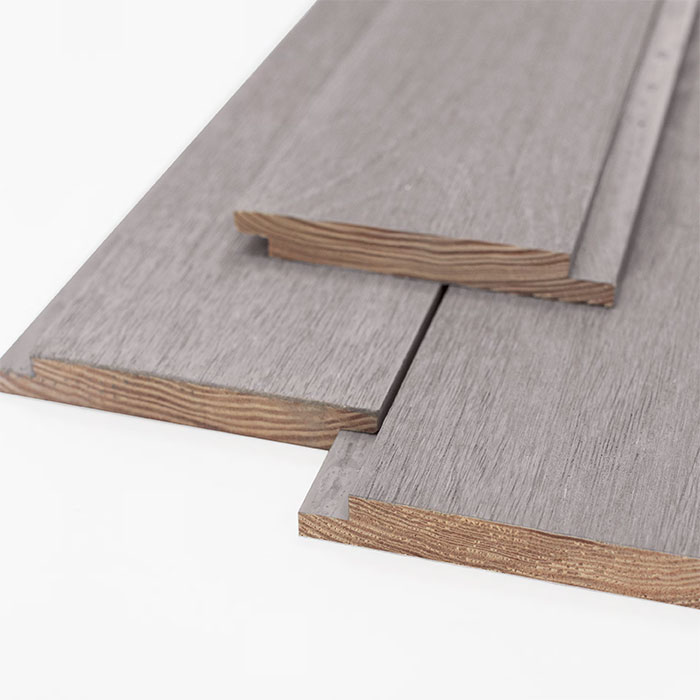
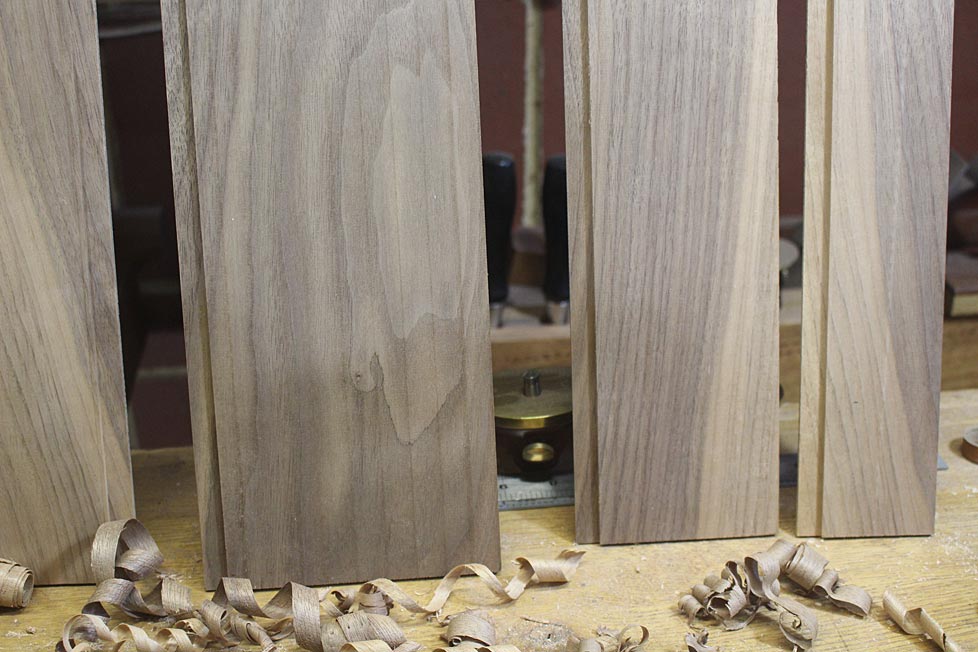
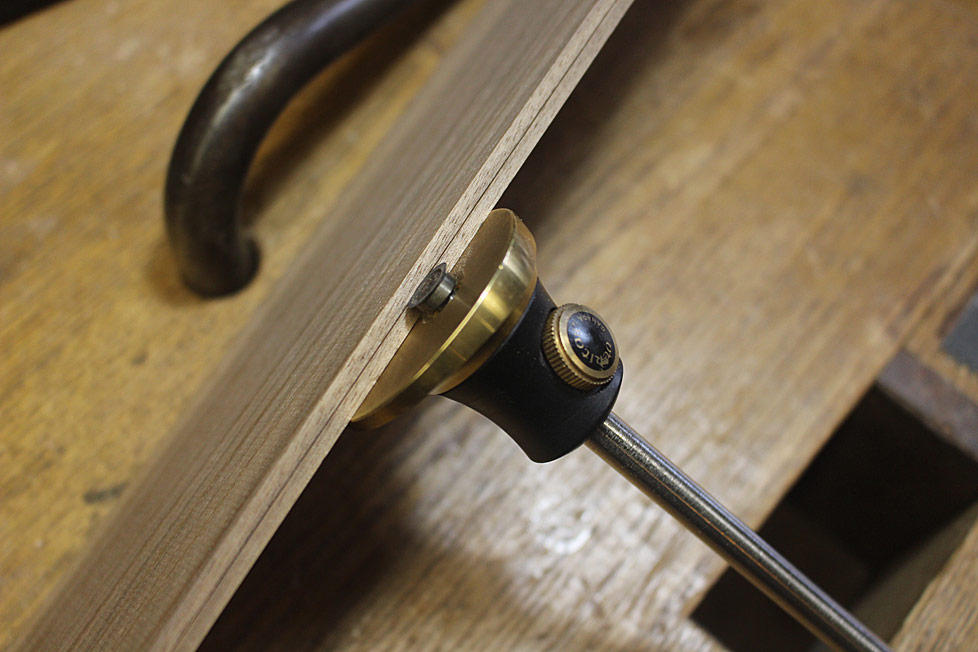
More planing - this time the panels for the drawer bottoms. These are 6mm thick. With drawers this small and narrow (100mm wide and 100mm high), one probably could run a drawer bottom along the length. I decided to plan for expansion along the length, so the grain runs side-to-side. The panels are Tasmanian Oak ...
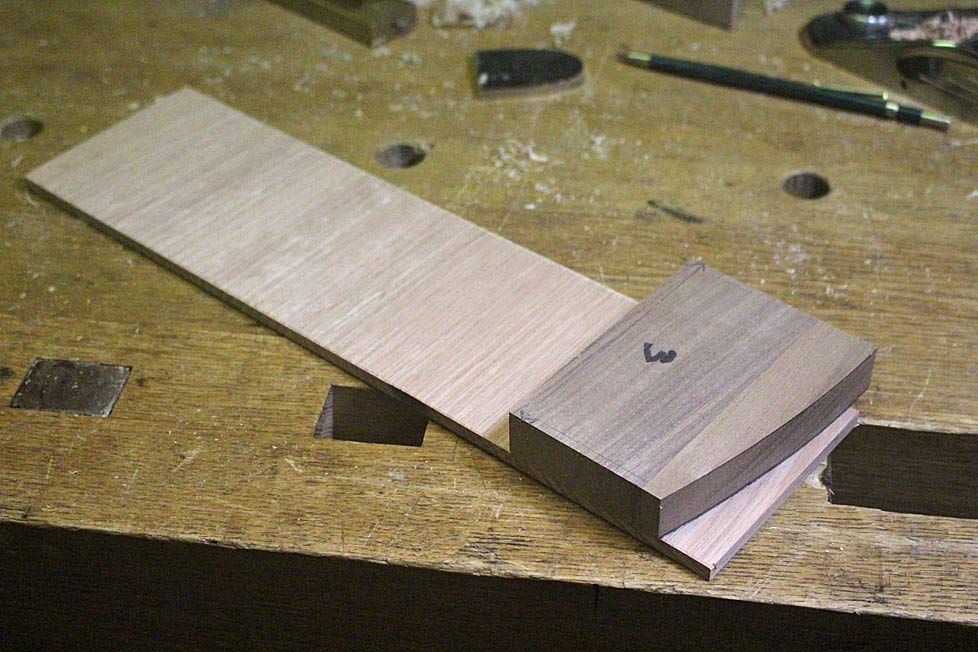
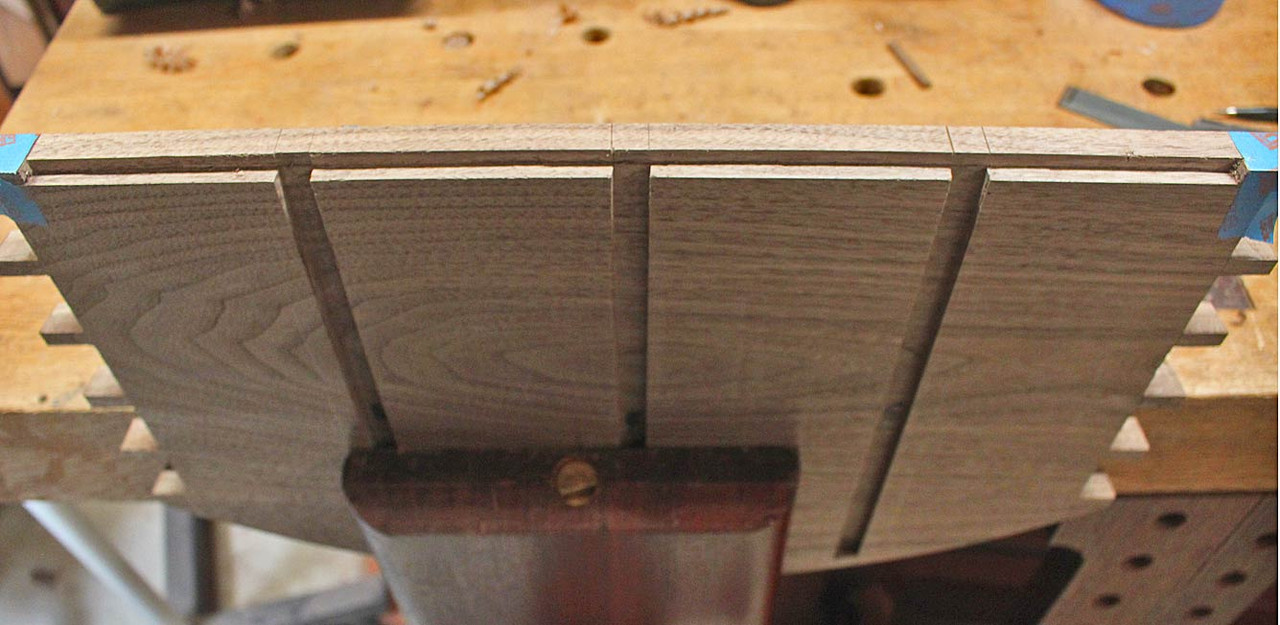
The panels are ripped on the table saw, and one endt is shaped to the drawer front using the template for that row ...
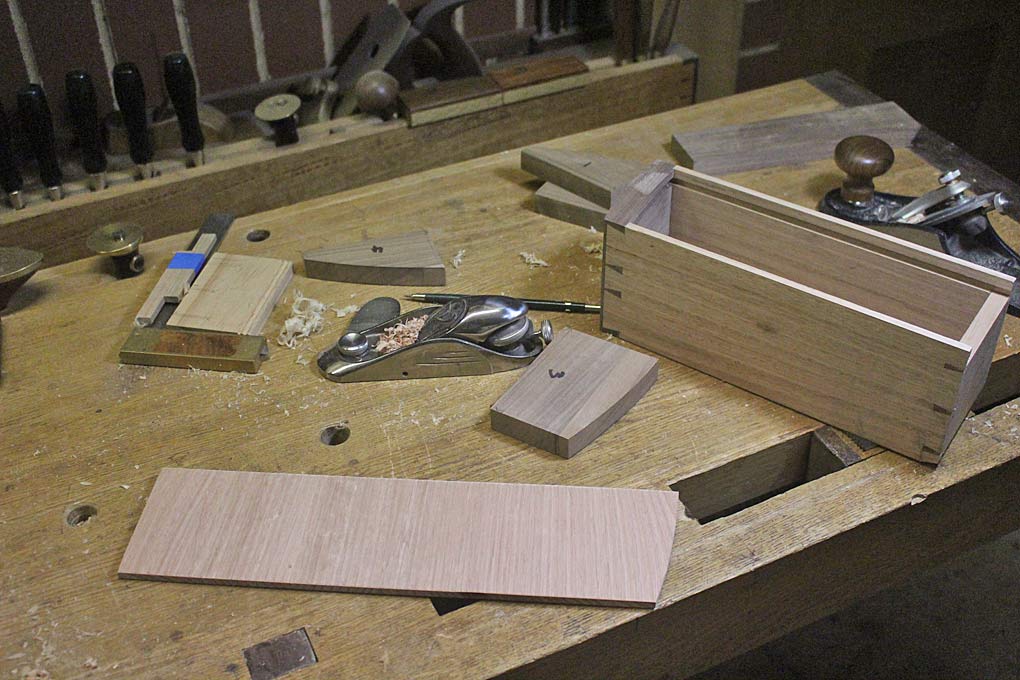
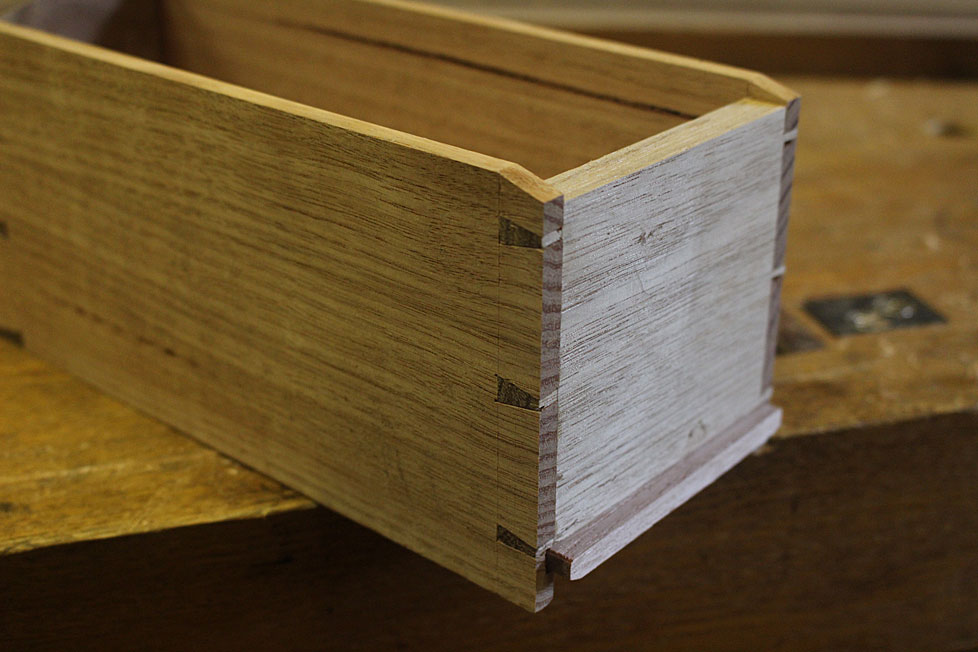
Here is a glued up drawer ready for the drawer bottom ...
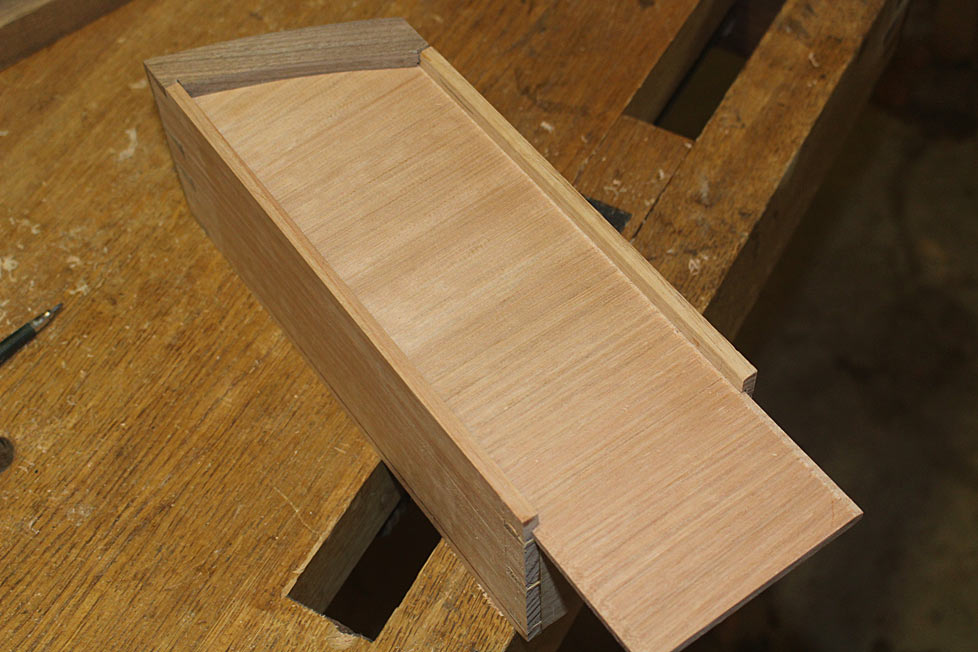
Extra long at this stage ...
... and trimmed to size (the extra "tongue" is to aid in removal, if needed) ...
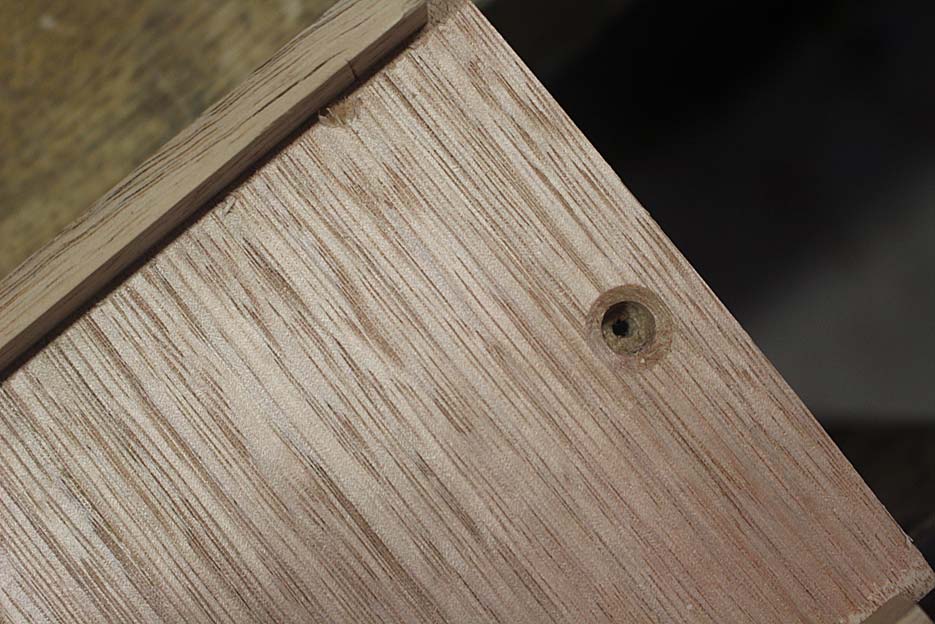
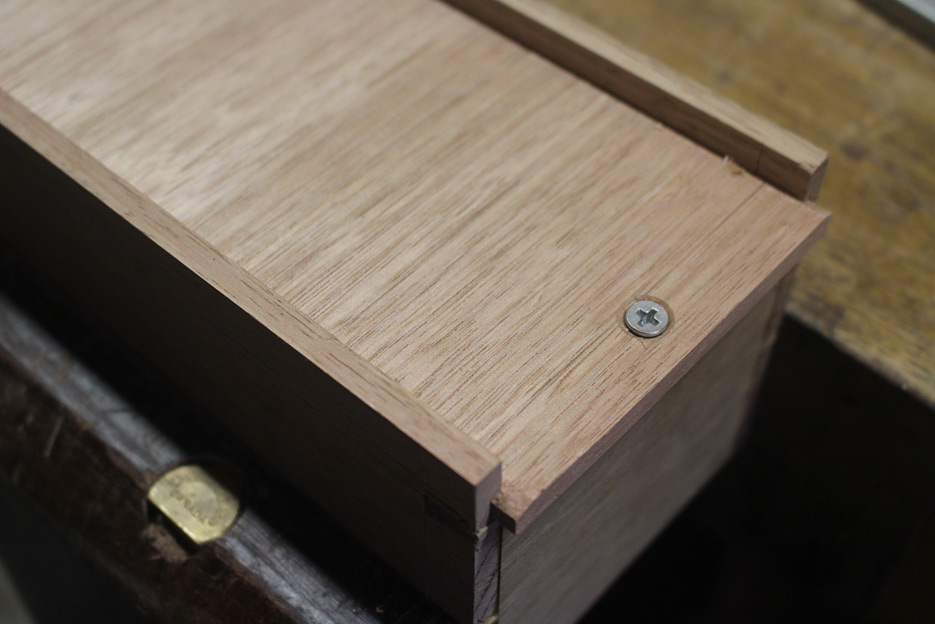
There is some expansion that can take place into the drawer front, as the groove there is deep enough (5mm at the front and 3mm at the sides). Some expansion can also take place to the rear. What I have done is drill an over size screw hole ...
The screw needs to sit flush with the underside, as will become apparent in a while ...
I am very happy with the drawers. They are tight and crisp, and all slide in-and-out their recess smoothly.
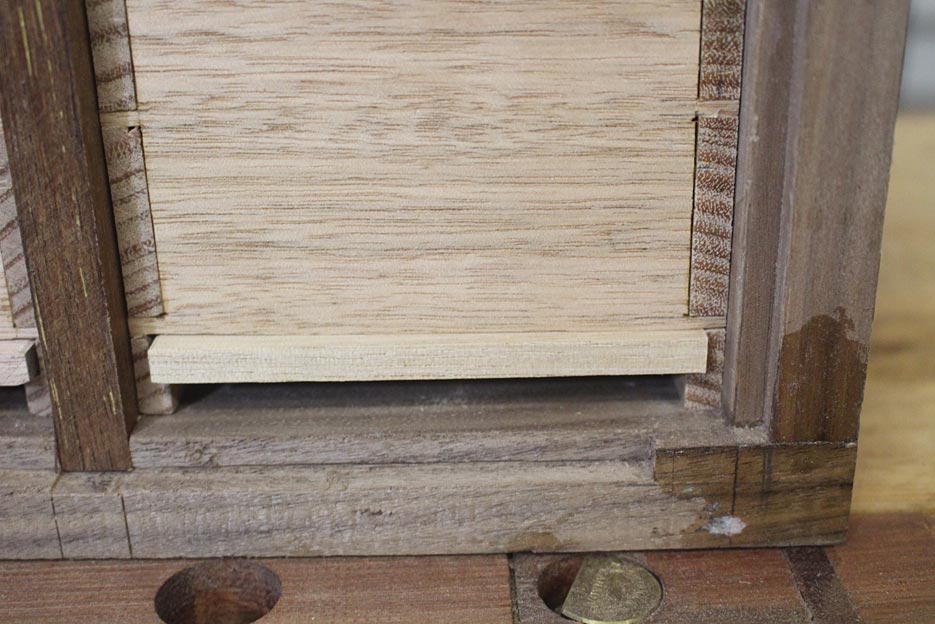
I am also very pleased with an idea I came up with for the drawer stops. Drawer stops are very important in this chest as the drawers are inset by 3mm, and a stop at the front, behind the drawer front, will enable this gap to be maintained through the year.
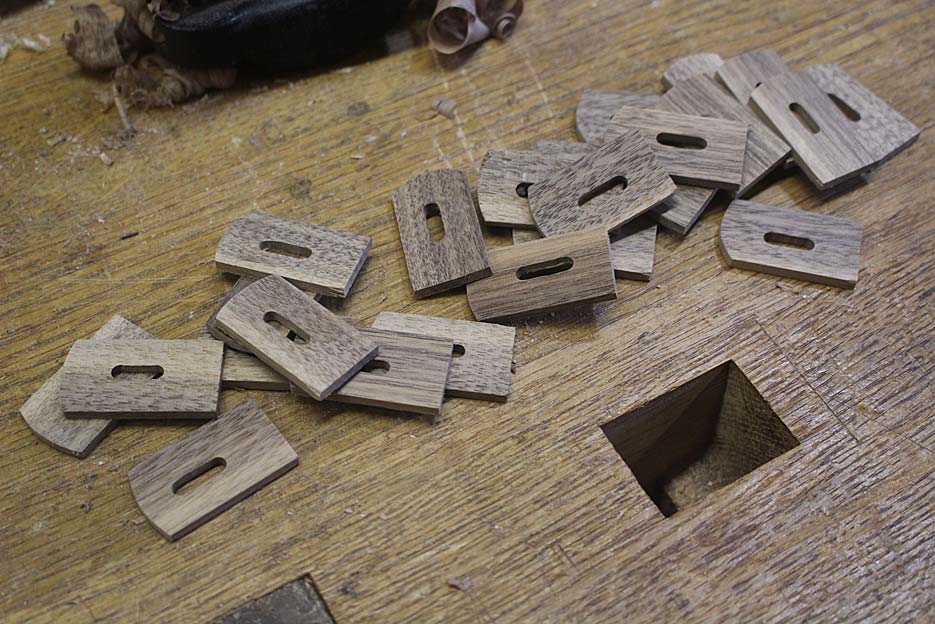
These stops are a little different. I searched the Internet to see if anything like these have been made, sold or used before. Nada, zip. I am amazed. The concept is so simple, and so easy to install. Please make and use them. I think that you will like the idea. Adjustable drawer stops ...
I planed down some scrap Black Walnut. These strips ended up 20mm wide ...
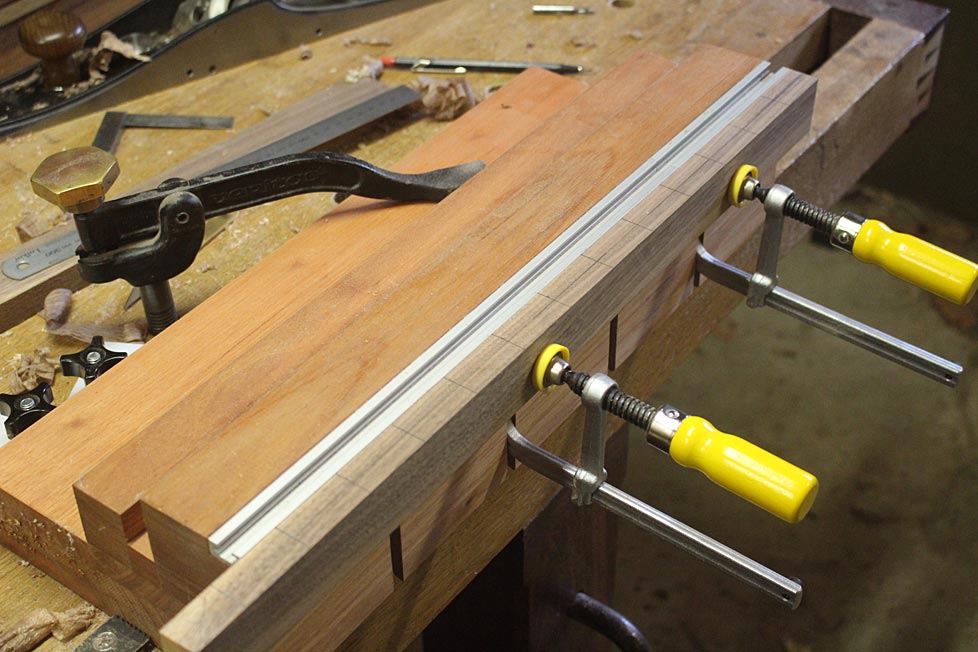
40mm lengths were marked off, and the piece attached to my router-morticing jig ...
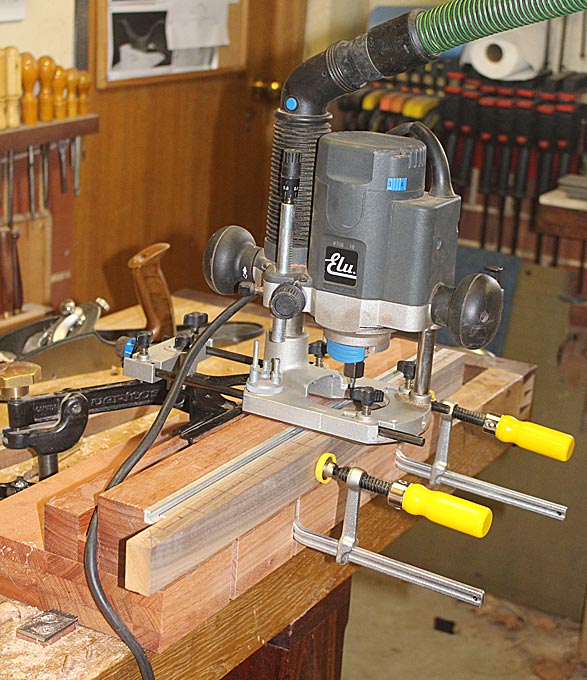
Here's the complete set up. It was used to rout out 10mm long mortices ...
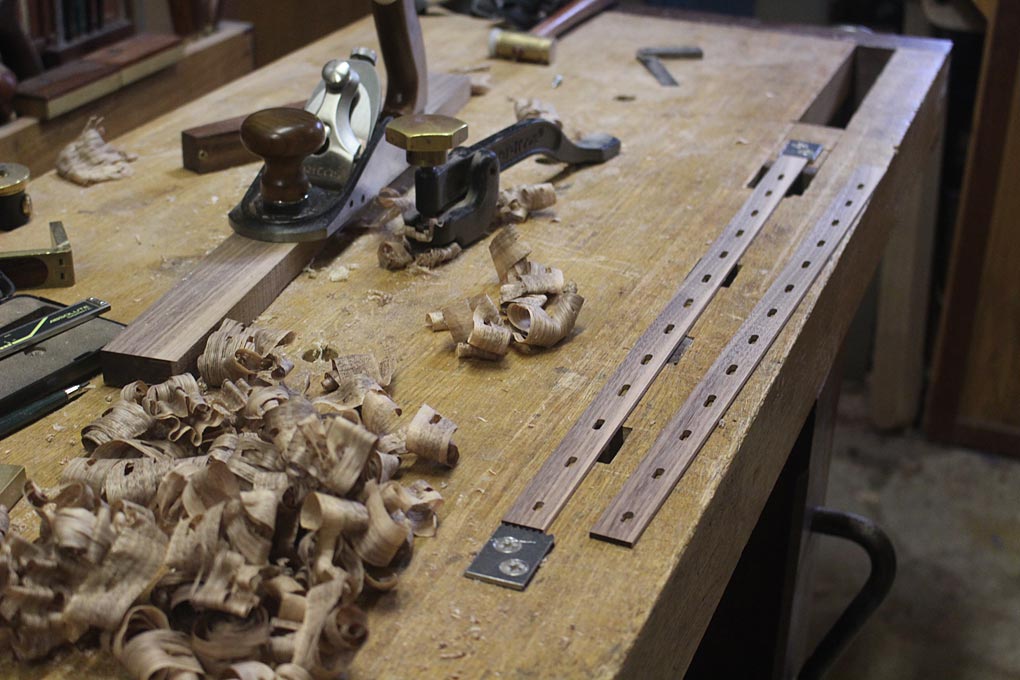
Sawing away two strips, you are left with this. It was planed to a thickness of 3mm ...
These were cut up and the fronts rounded. The reason for the round section is that it will butt up against the rear of the drawer front, which is curved ...
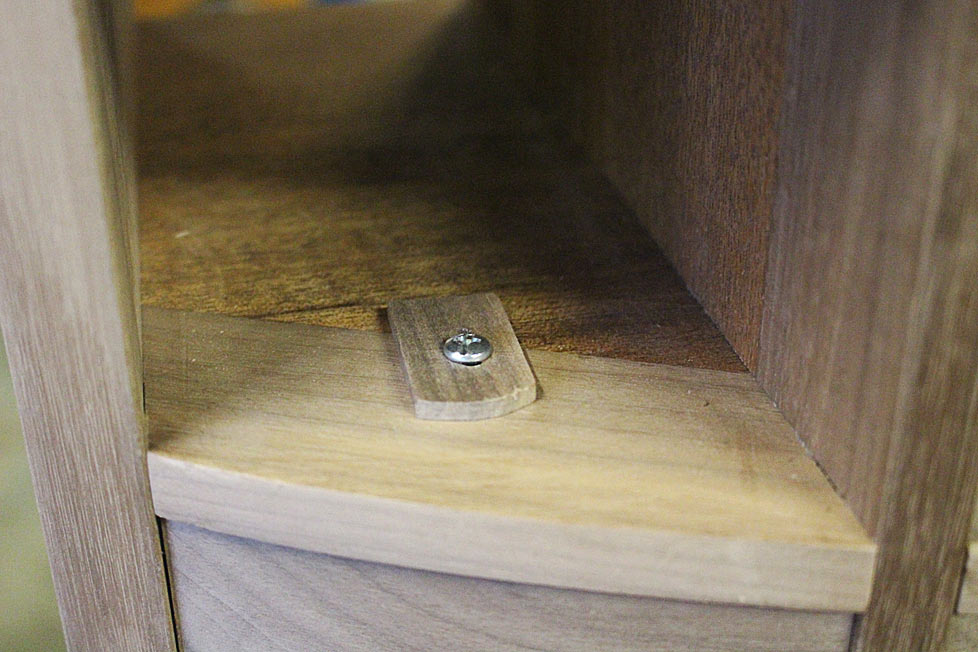
These are screwed into the drawer recess. They can be fine-adjusted with the screw. All pretty obvious, really. The low profile allows the drawer to slide in without obstruction.
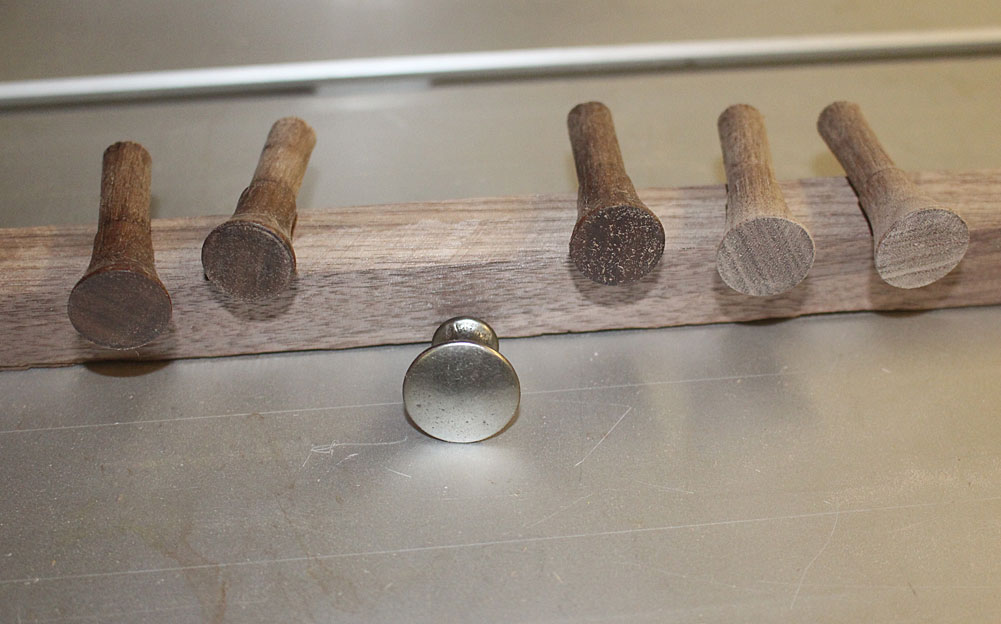
With the drawers done, the knobs were attached. These are cast iron and small (just 22mm across). Yet they seen ginormous after looking at bare drawer fronts for so long.
I was thinking of blacking the cast iron, but I now quite like the grey. I think that it adds to the modern feel of this chest. Your thoughts?
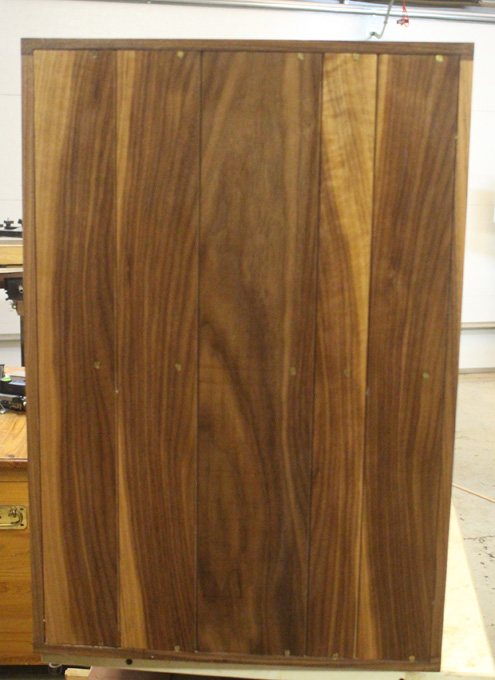
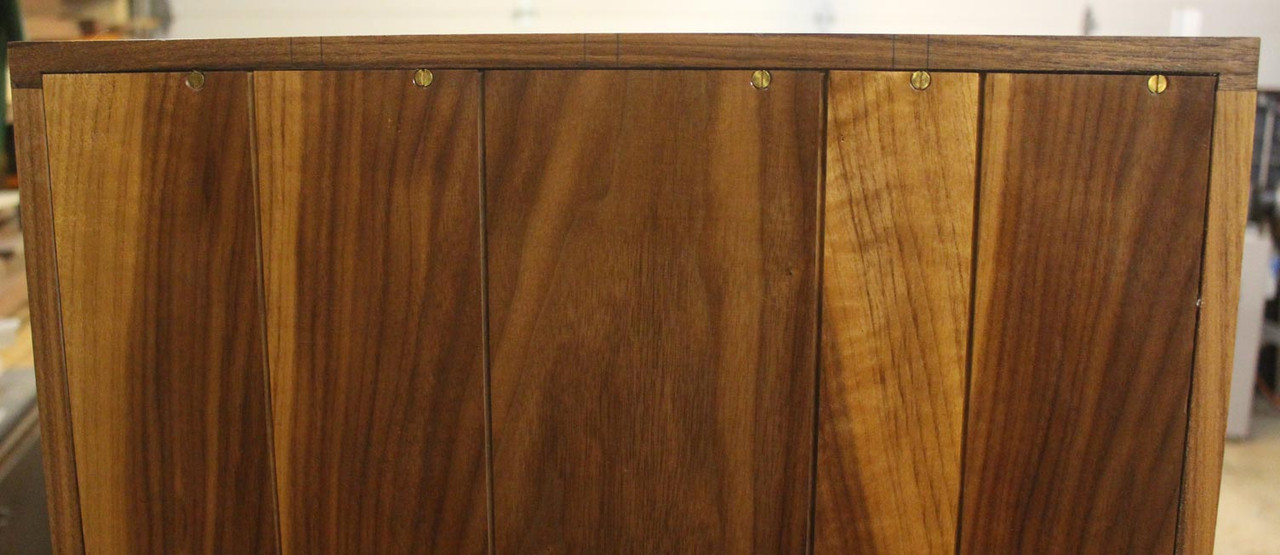
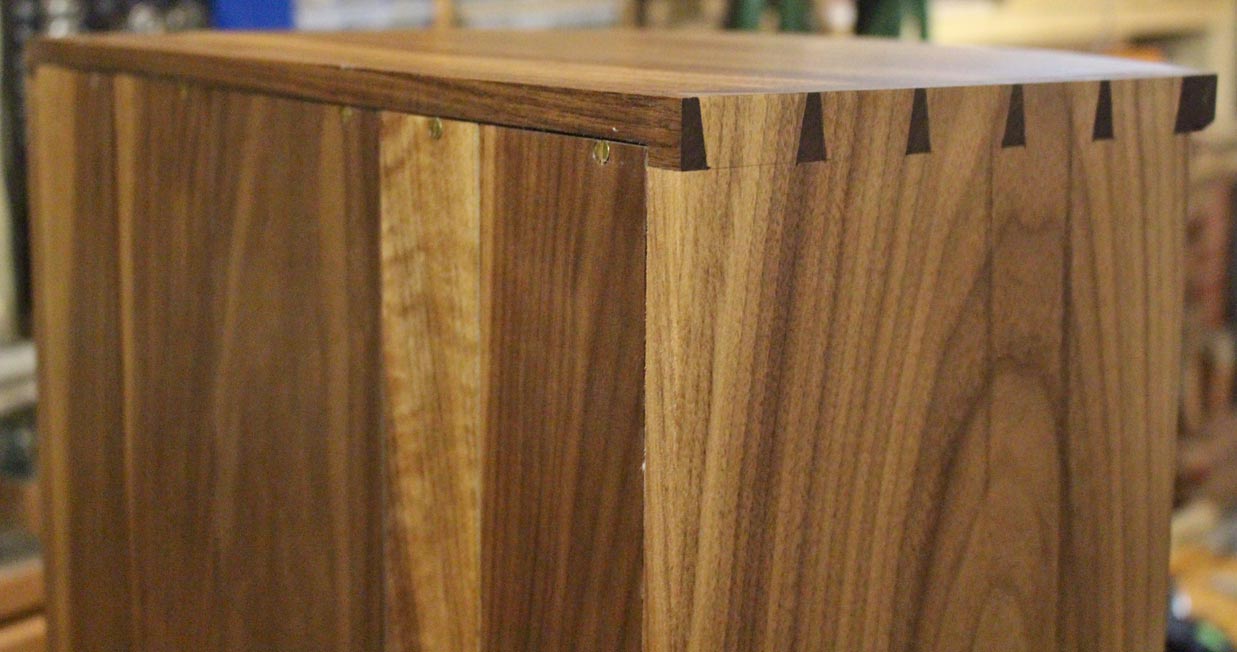
The boards have been cut for the back board and the base. Next time.
Regards from Perth
Derek


