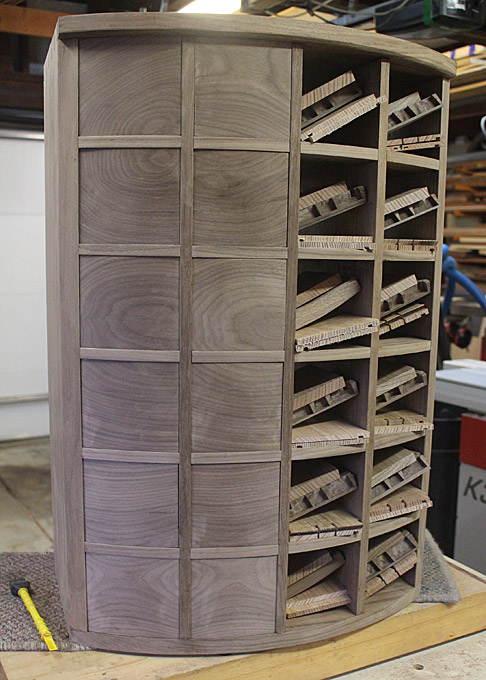
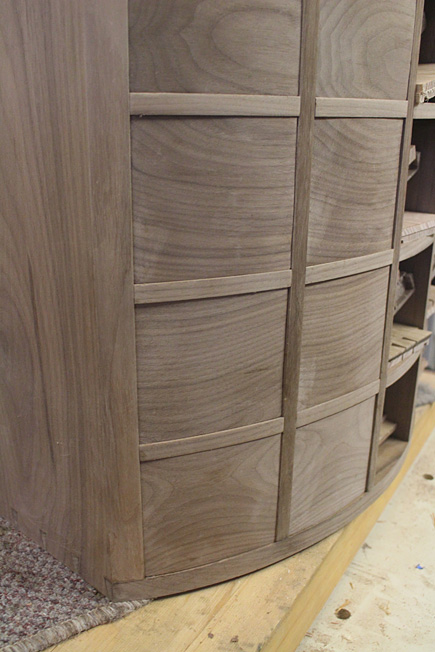
Apothecary chest

UKworkshop.co.uk

Help Support UKworkshop.co.uk:

This site may earn a commission from merchant affiliate links, including eBay, Amazon, and others.
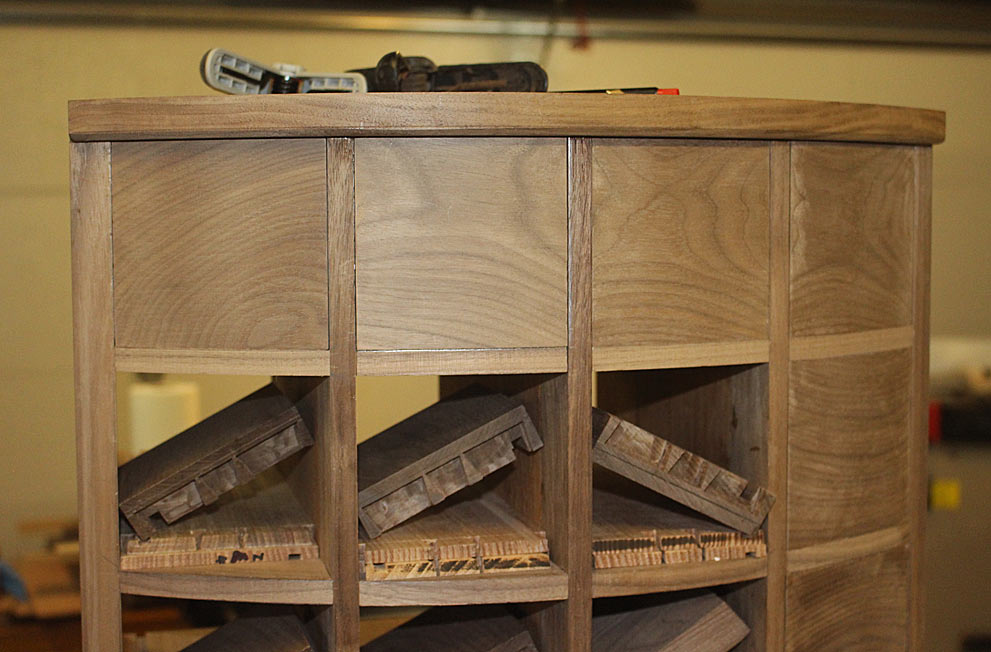
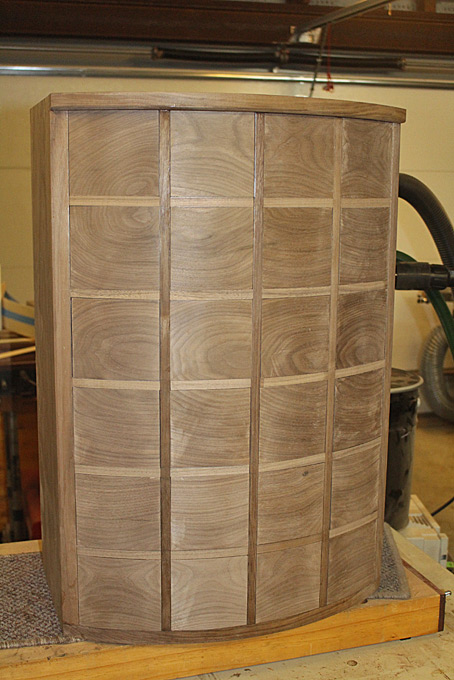
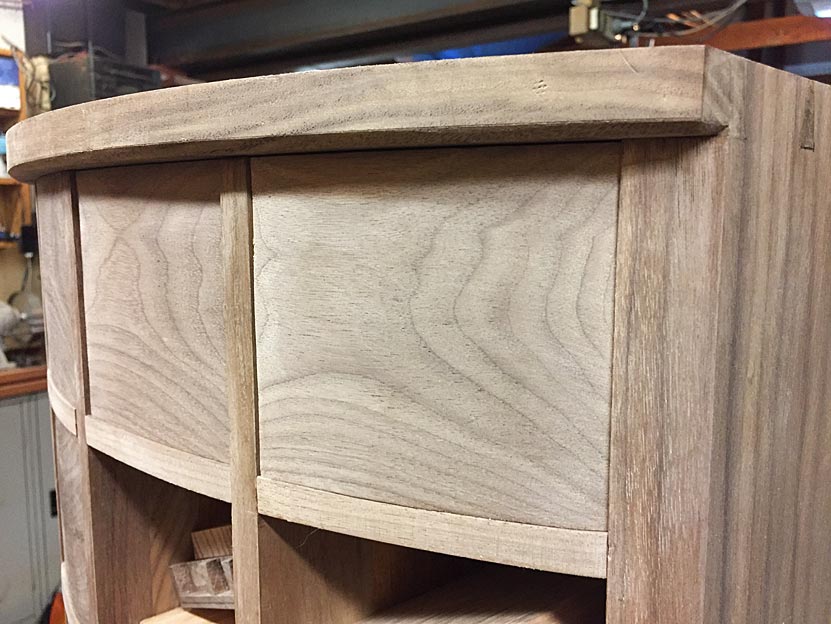
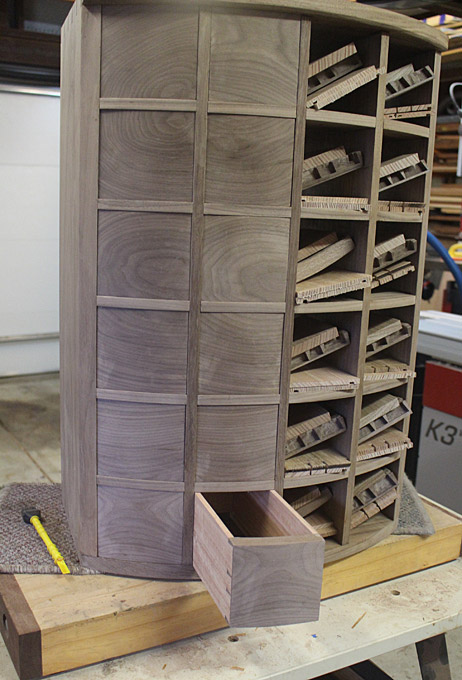
So, you dovetailed 24 drawers (involving hogging out the waste with a router, a technique you'd never done before). And throughout that entire process just one slip would have been both catastrophic and completely irretrievable, as you'd chosen the high risk route of wrapped grain across the entire front.

Respect!
 
I'm not sure who's the bigger jammy git - Derek for making it look so easy or Custard for pointing out how hard it was so you know how much harder it was for Derek to make it look easy... :D

Either way, I now know what youtube video I'm watching for most of the next hour...
 
Mark

Don't - it is terrible. I am putting up the full version of the dovetailing of the above. It will take a while to get it onto Youtube. It is better technically (and the chisels are sharper :oops: )

Regards from Perth

Derek
 
That was the one I was just watching Derek, I found it interesting. I like that kerfing chisel - I just use a small and otherwise unused card scraper myself but it looks like yours has an order of magnitude more usability. I was projecting a lot during the cleanup of the pinboard though - if I was using a chisel like that, the odds are just north of 100% that I'd slip, come off the pinboard with some velocity and proceed to mortice out my own appendix (I have a few T-shirts with holes dead center in the chest from learning this while making the workbench).
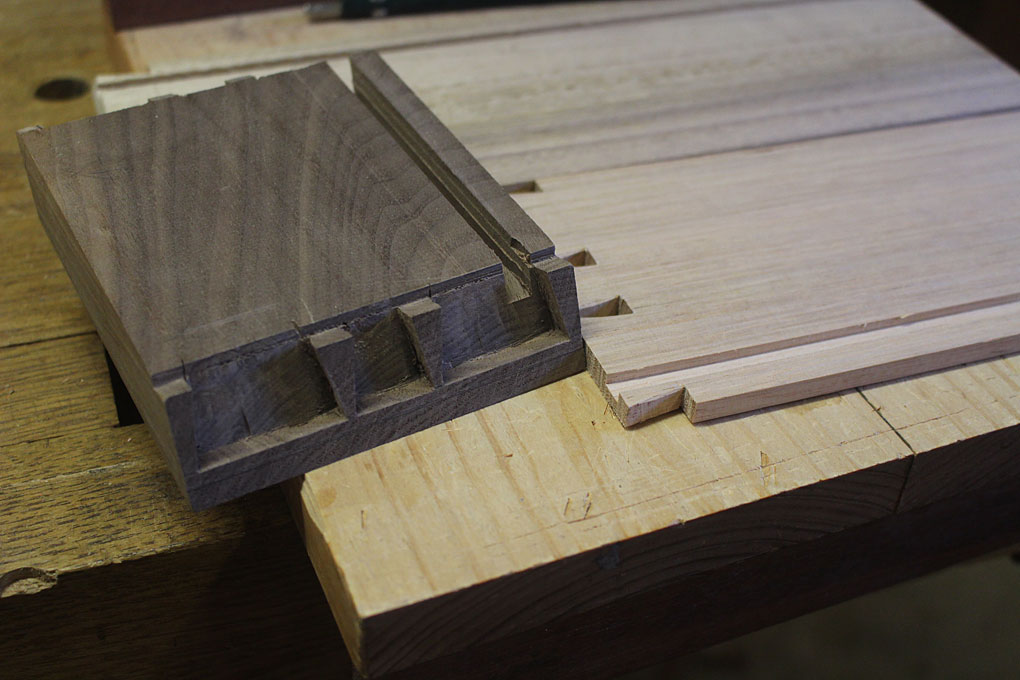
It's a lovely piece of work and it's interesting seeing it coming together - things like that beveled flat to let the side meet the front at a right angle are new tricks to me.
 
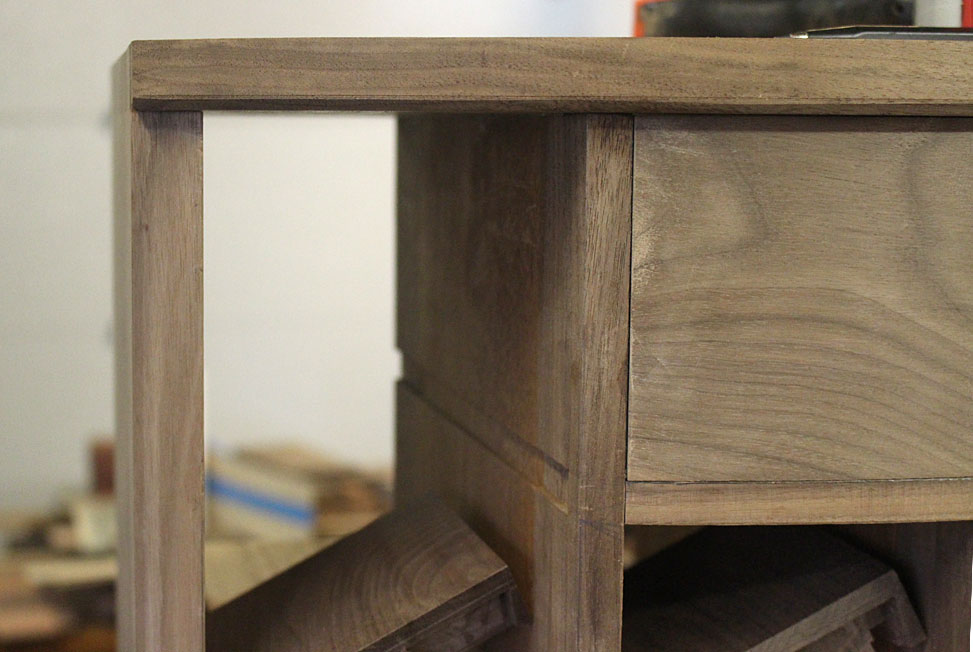
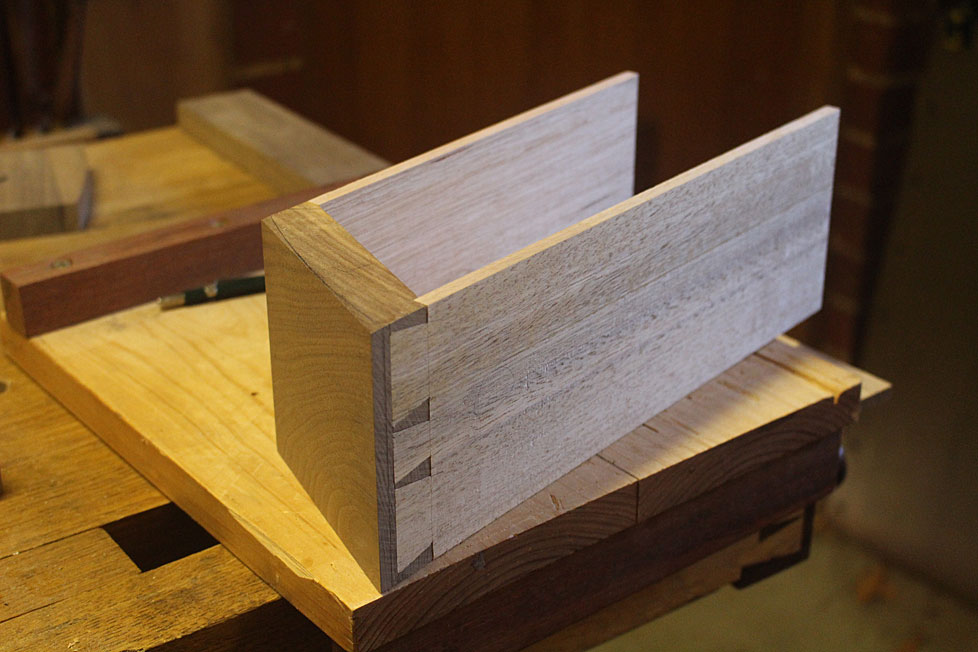
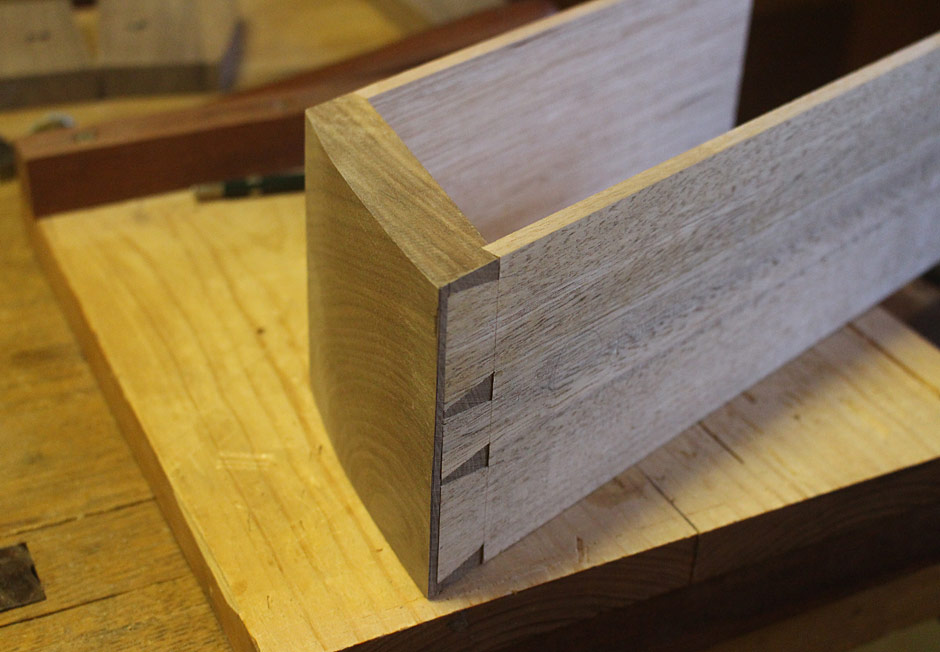
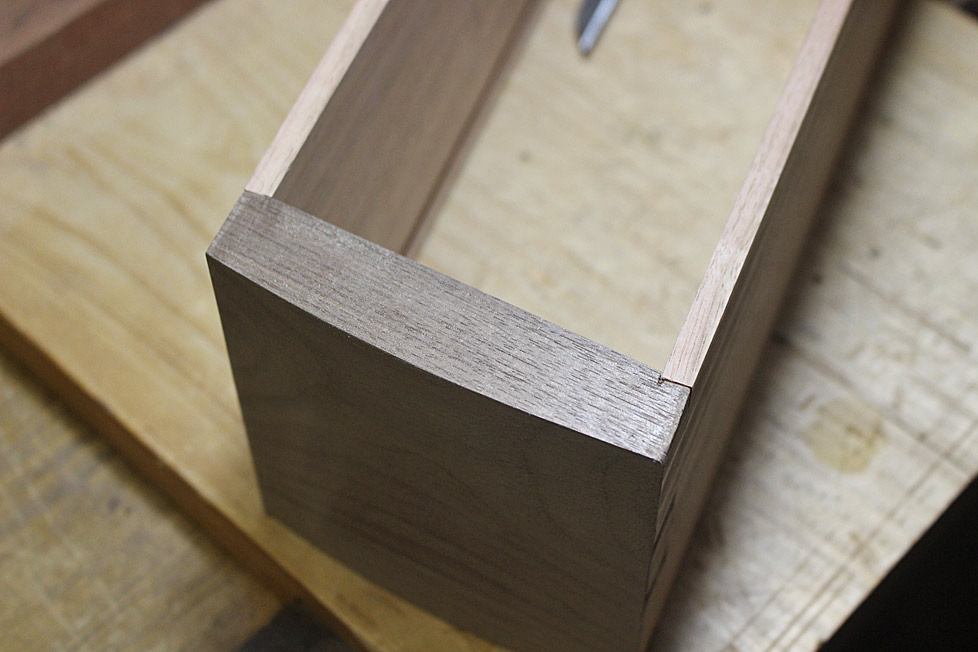
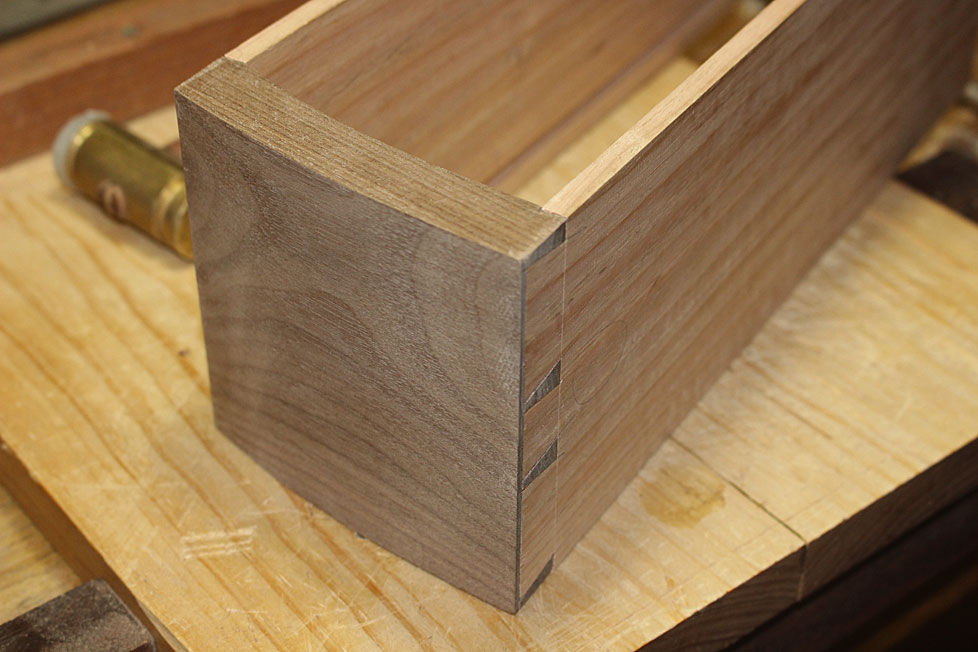
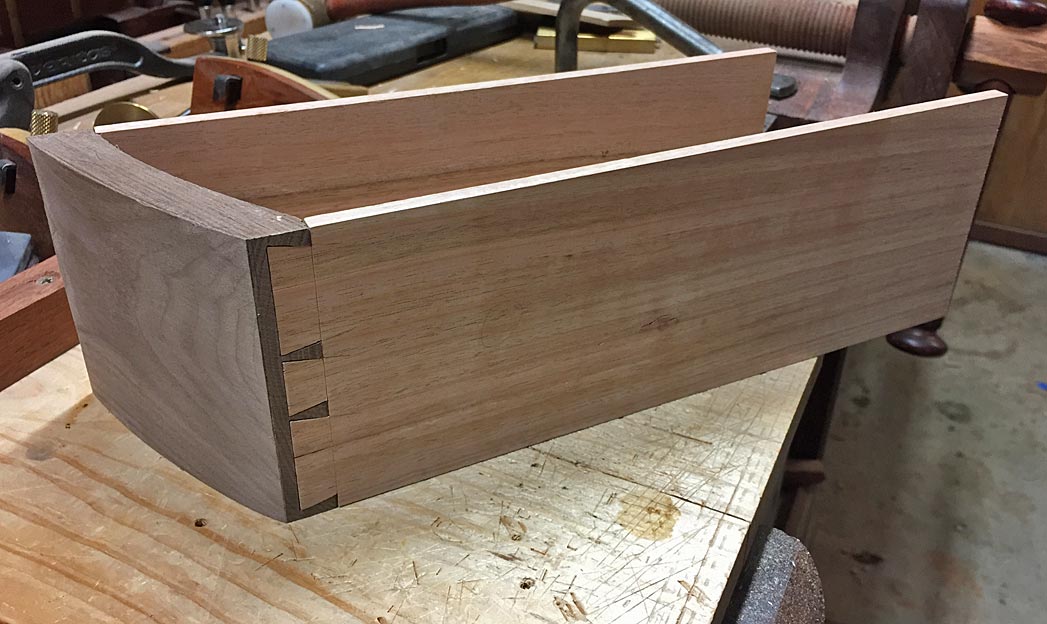
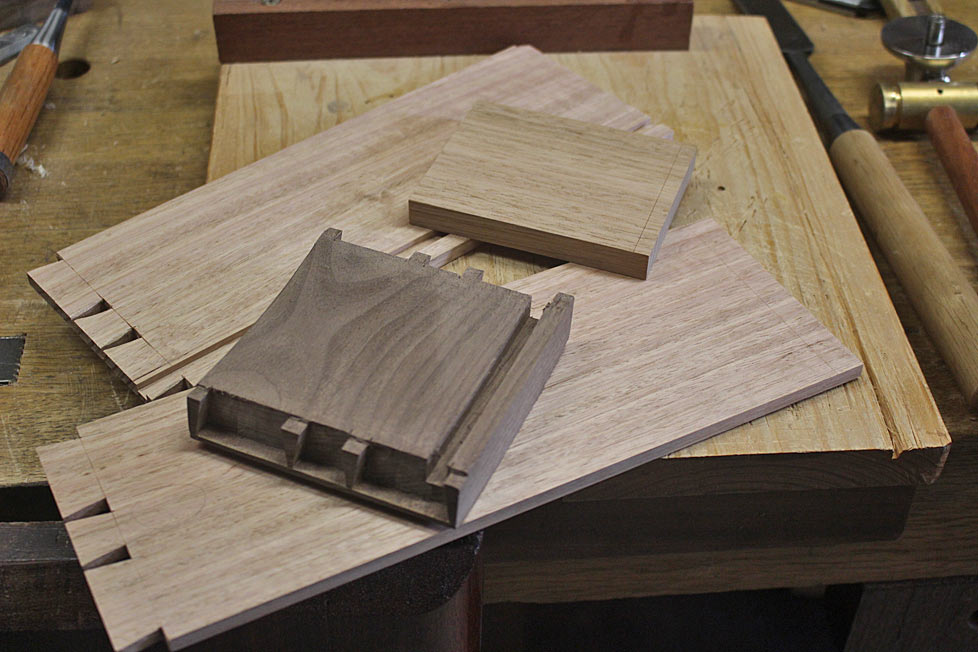
Having completed the dovetailing of the drawer sides into the drawer fronts, the next step is to shape the outside bow to match the chest.

This is the drawer to be demonstrated ...

image.jpg


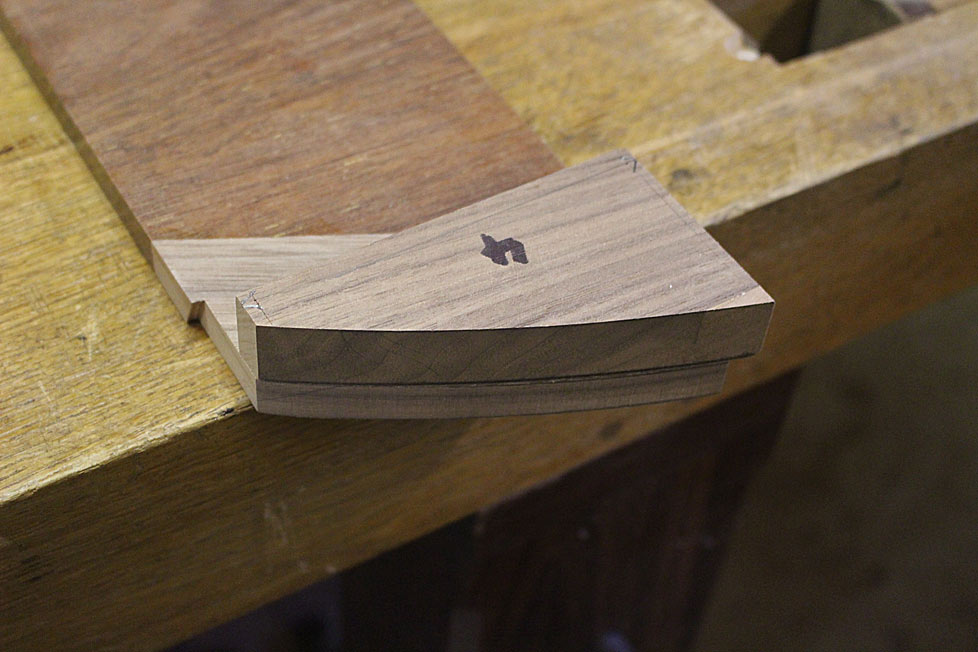
The drawer blade has been removed, and receives a final tweaking to match a template. Every drawer blade receives the same treatment, and there is a template for each vertical row ...

image.jpg


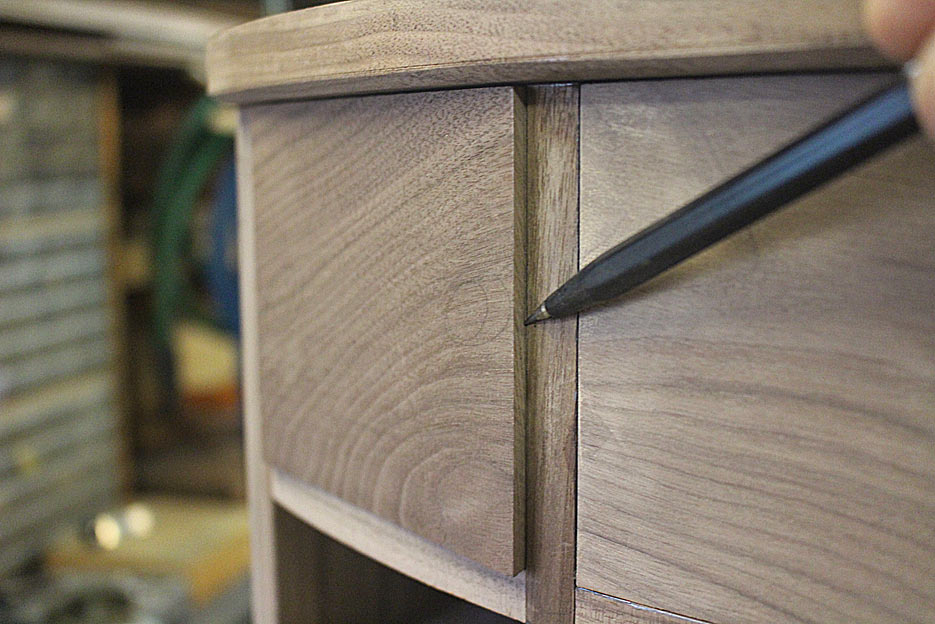
The drawer blade is returned to the chest, the drawer is fitted, and the profile of the drawer front is traced ...

image.jpg


Below, the markings may be seen on the drawer front ...

image.jpg


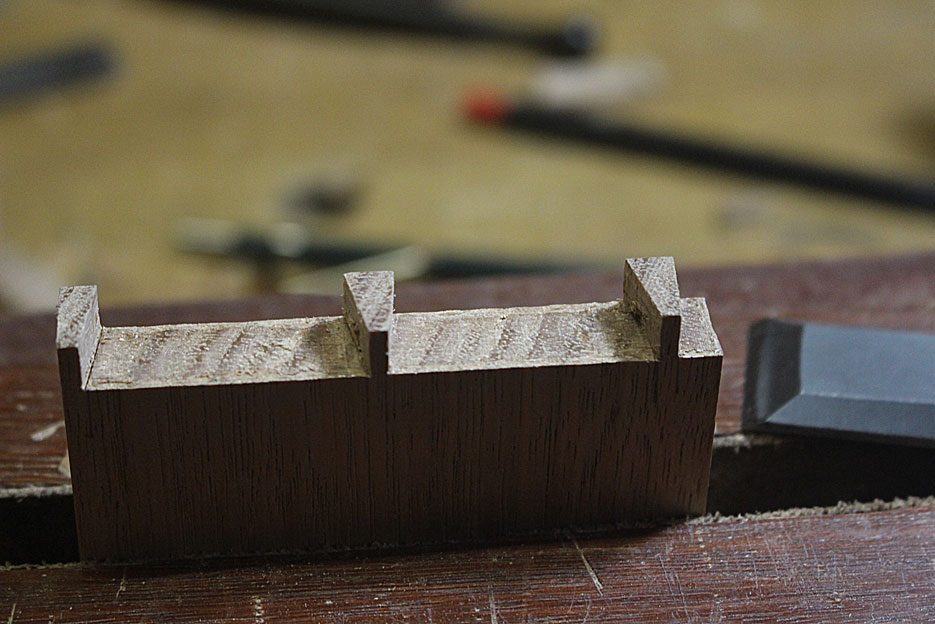
The drawer is pulled apart. The grooves for the drawer bottom have been completed. The drawer sides received a 3mm deep groove, while the groove for the drawer front is about 8-9mm deep. The extra depth here is to allow for the inner curve to be later shaped, and that this will remove approximately 3-4mm at the centre.

image.jpg


Now the end of the drawer front is marked ...

image.jpg


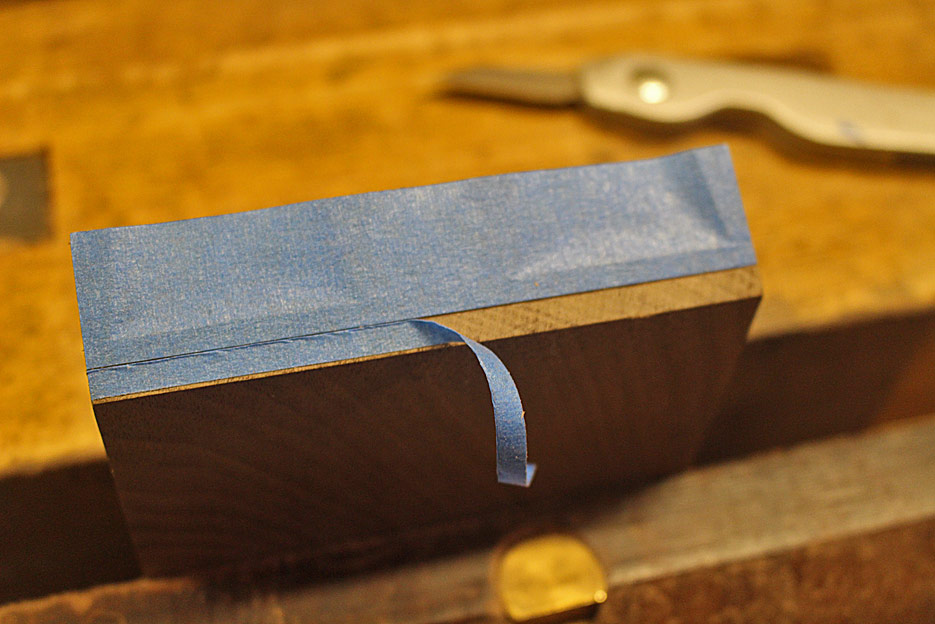
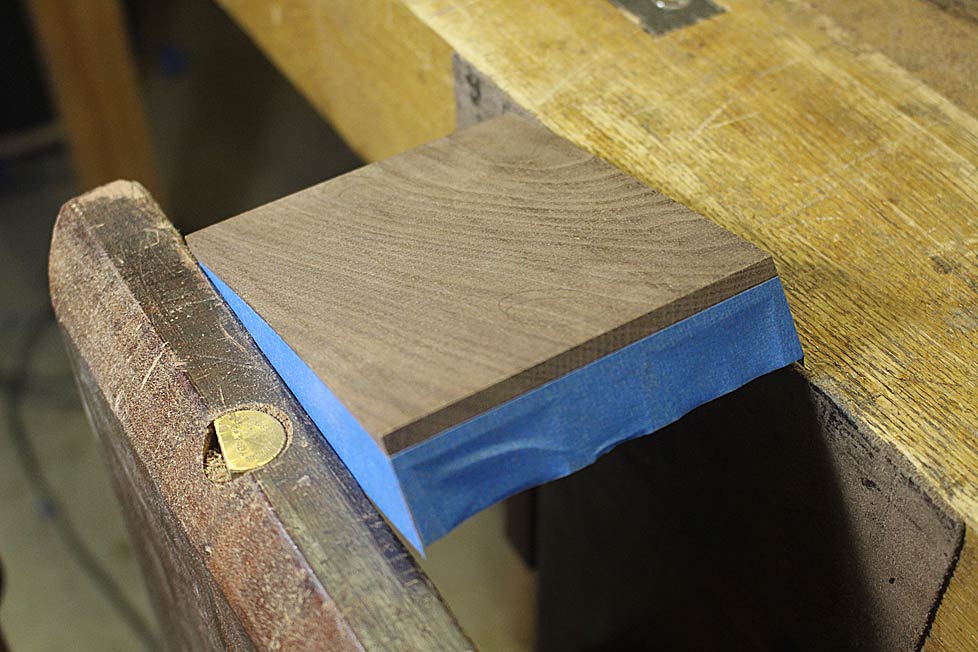
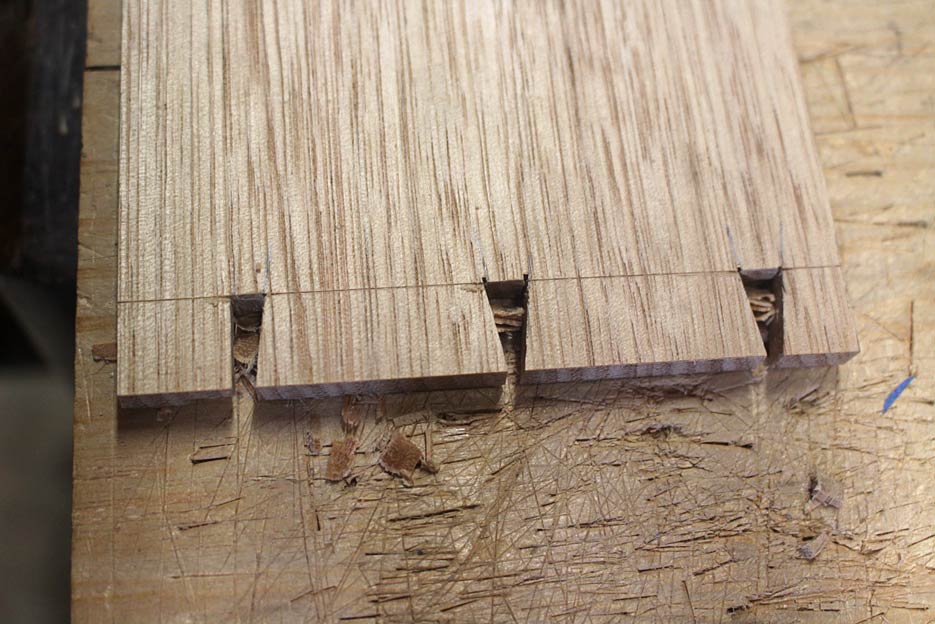
Blue tape is added, and the excess removed ...

image.jpg


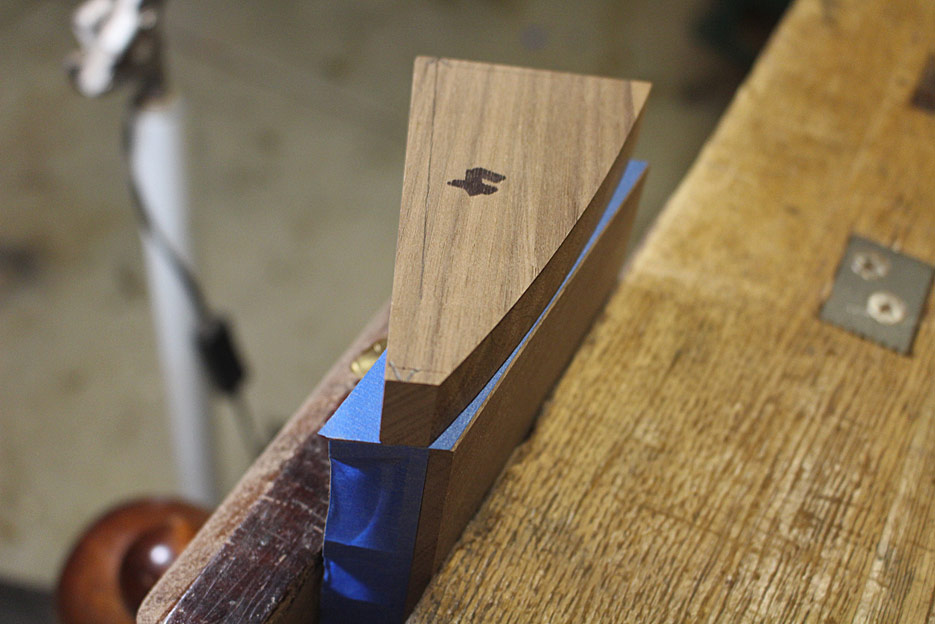
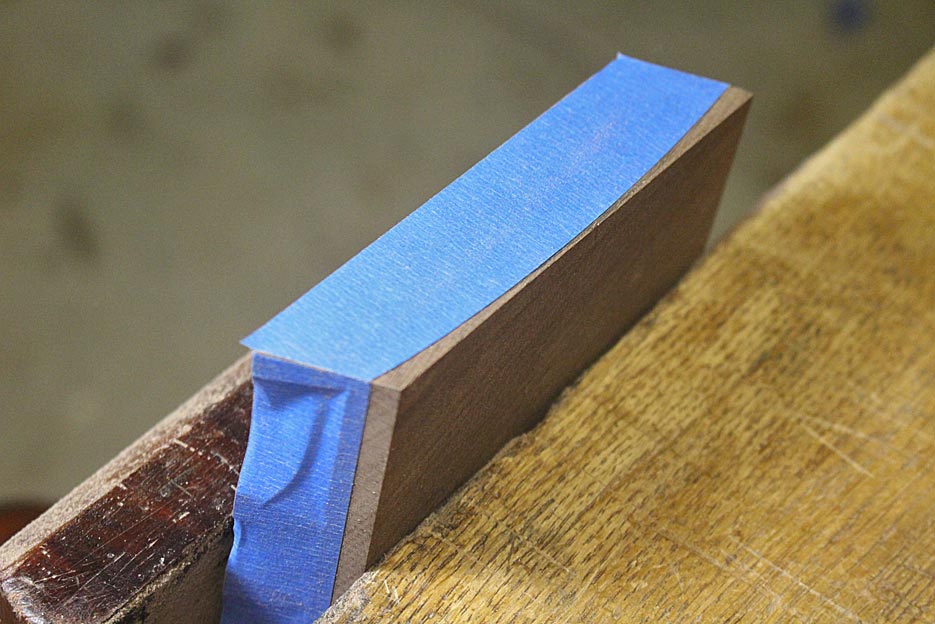
The tape is added to the upper and lower faces, and the template (from the drawer blade) is now used to mark the curve ...

image.jpg


Once removed, the cut lines stand out clearly ...

image.jpg


10a.jpg


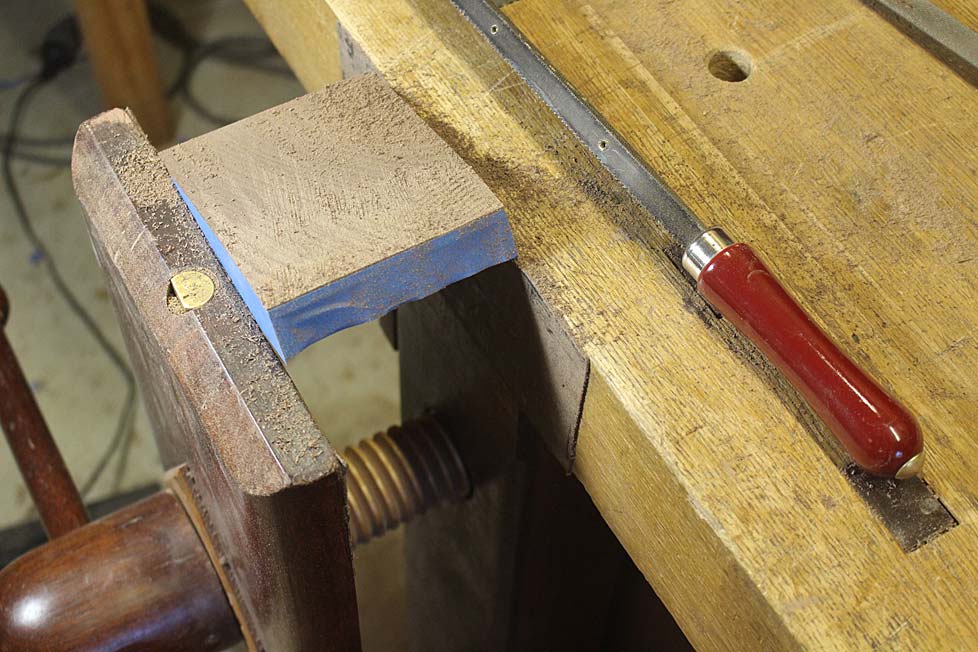
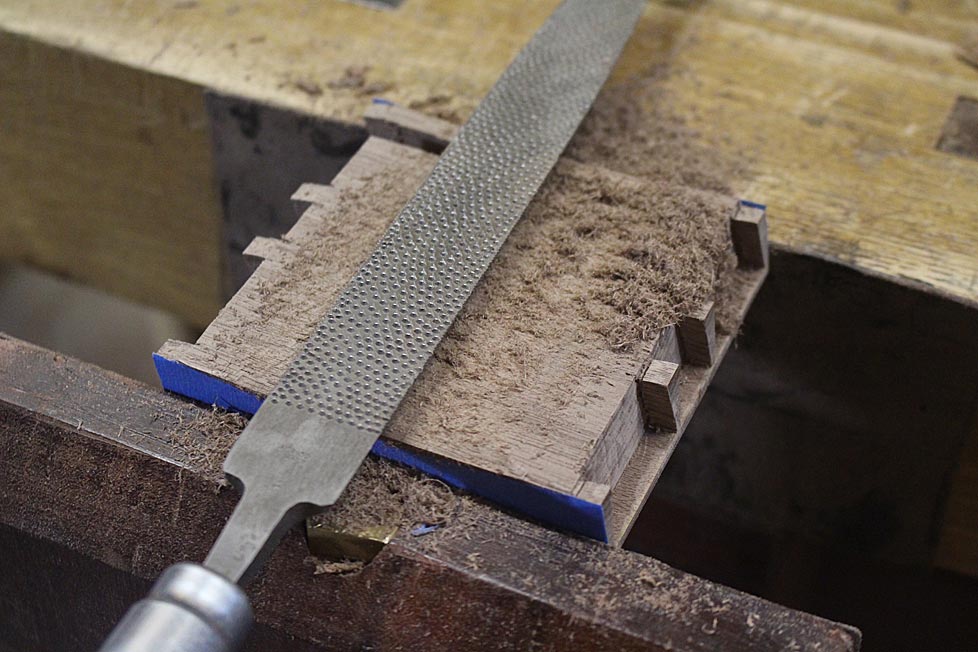
The rasping may begin. A start is made with a Shinto, which has roughly 10 grain on the coarse side (this is a Japanese rasp made from hacksaw blades. The other side is about 14 grain).

11a.jpg


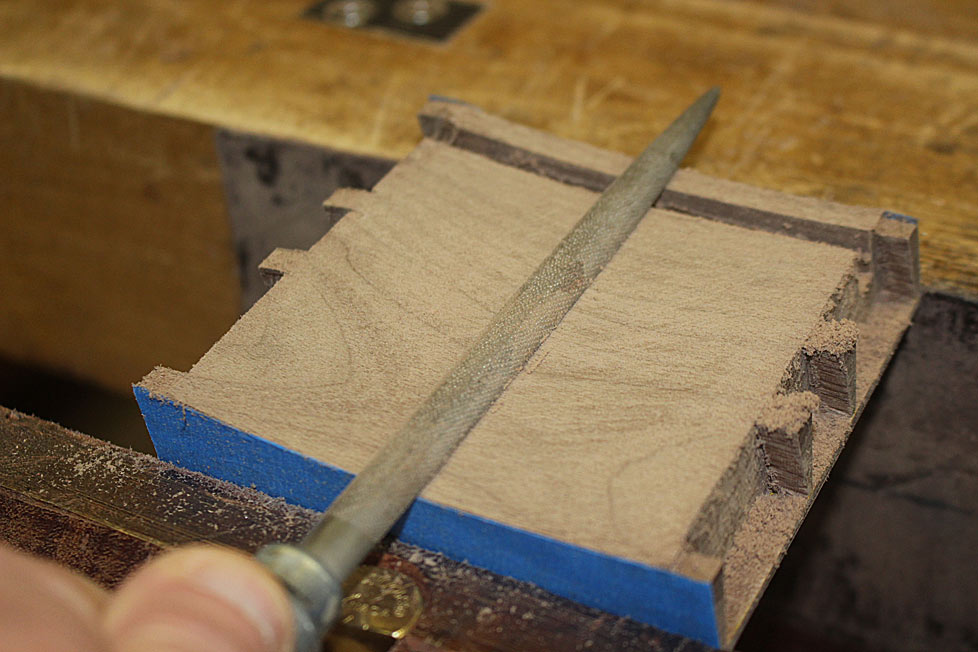
In turn, after the 10 grain comes the fine side of the Shinto, and then a 13 grain Auriou followed by a second cut file.

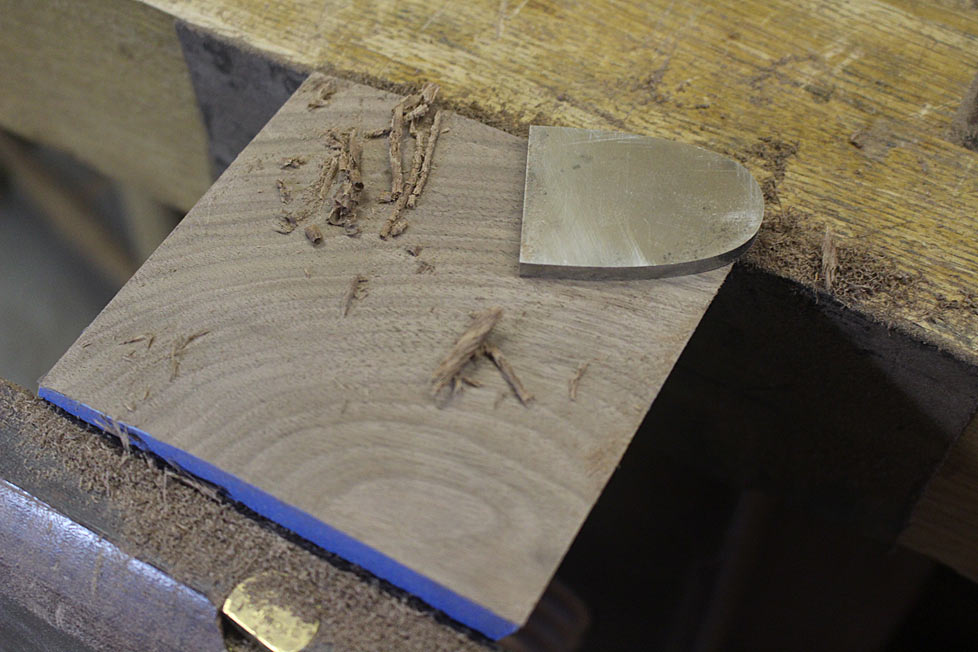
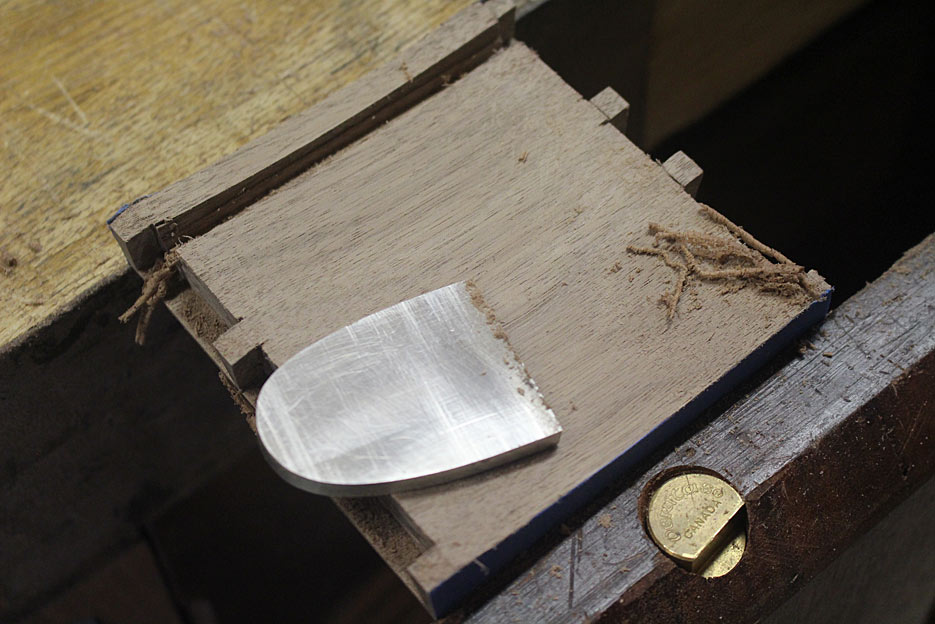
The surface is refined with a scraper ...

13a.jpg


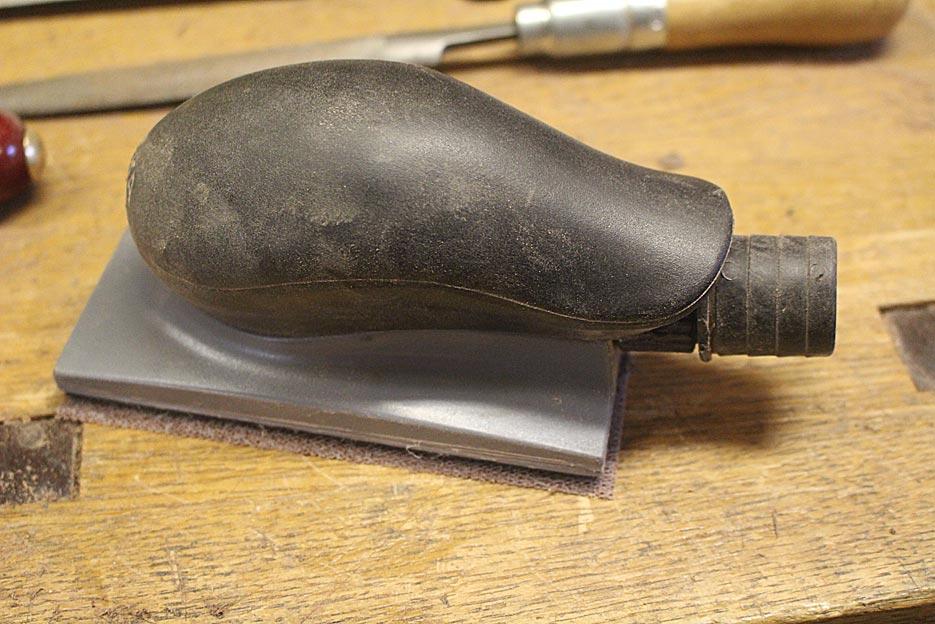
... and 120/22/320 Abranet mesh. You will ask why sand after scraping? The reason is that the sanding removes any scratches left by the rasps and scraper, creating a uniform surface. The final result is fairly polished. It is possible that I may go over this with a cabinet scraper prior to finish ...

14a.jpg


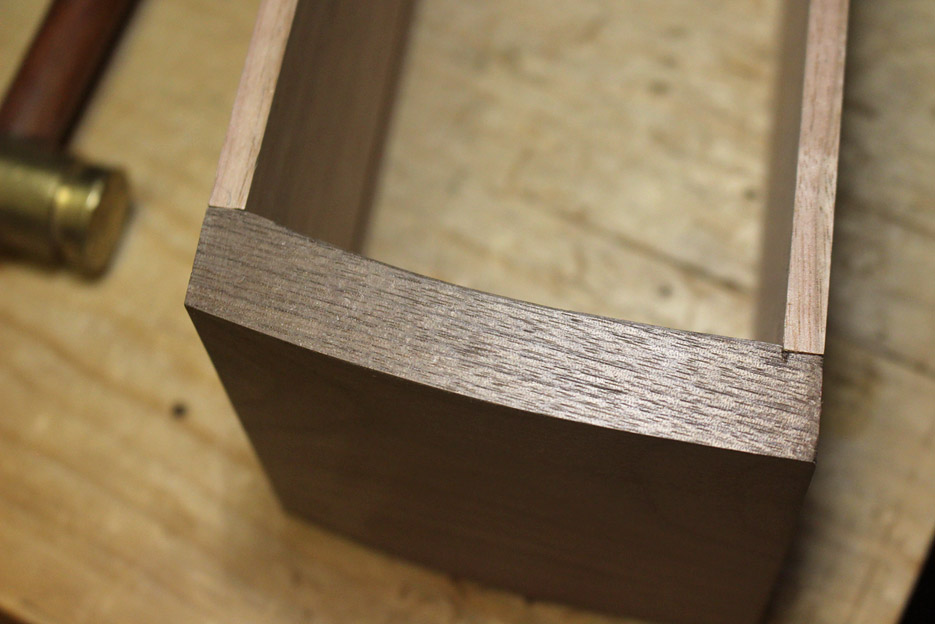
This completes the drawer at this stage. The rear of the drawer front will next receive a complimentary curve. I hope to get to this during the week ...

15a.jpg


16a.jpg


The run out from cutting away the ends of the boards is noticeable (to me at any rate) ...

17a.jpg


Regards from Perth

Derek
 
Incredible work Derek, as ever. Are you not tempted to square the dovetails at the back or have I misunderstood?
 
I think if you were ever enamored with DTs, that 'love done gone cold' by now. :)
 
Are you not tempted to square the dovetails at the back or have I misunderstood?

I am not sure what you mean by "square the dovetails". The back of the drawer (?) will be dovetailed.

Regards from Perth

Derek
 
Sorry Derek my misunderstanding ; It’s where you stated that “The rear of the drawer front will next receive a complimentary curve”. For some reason I read that as referring to the back of the drawers but, on second reading, that’s clearly not the case. As you were and awesome work!
 
The surface is refined with a scraper ...
... and 120/22/320 Abranet mesh. You will ask why sand after scraping? The reason is that the sanding removes any scratches left by the rasps and scraper, creating a uniform surface. The final result is fairly polished. It is possible that I may go over this with a cabinet scraper prior to finish ...

Just a thought Derek. The curved shape of the front means there's greater exposure of the end grain out towards the edges. Depending on the finish this may result in the cabinet looking lighter in the centre and darker at the sides. One simple way of achieving a more uniform result across both end grain and long grain is simply to sand to much higher grits, say P2000 or even higher.
 
I have really enjoyed reading this article. I think it shows just how much craftmanship is involved in a fairly small piece of furniture and how introducing curves make even the relatively simple so much more complicated, thought provoking and time consuming. Fanmtastic
Ian
 
Ian, Custard made a comment a few years ago, when I was building a chest with bow fronts and flared sides (essentially, a modern bombe). He noted that it takes at least 3 times longer to build anything with a curve. I would say that this is true, and even possibly an under-estimation.

Regards from Perth

Derek
 
Shaping the curved faces of the drawers was a lot of work, and I was very pleased to see it done. Dusty and dirty.Not fun. Now the inside faces need to be done, and this will complete the the third stage of building the drawers (the first stage was to fit parallelogram-shaped drawer fronts into their recesses, and the second stage was dovetailing the fronts).

The drawer front shaped on the outside only ...

image.jpg


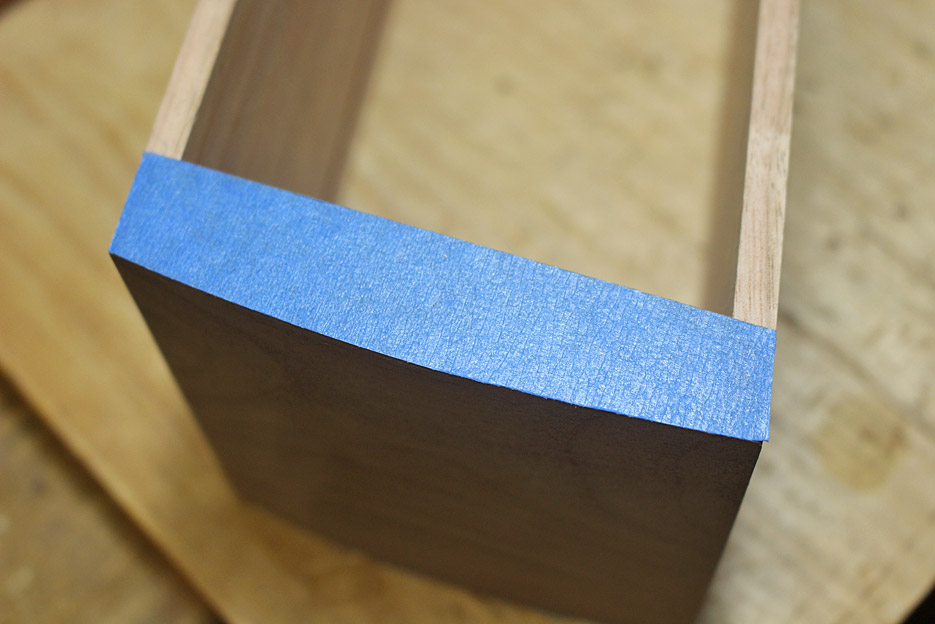
Blue tape (what else! :) ) is added to upper and lower edges ...

image.jpg


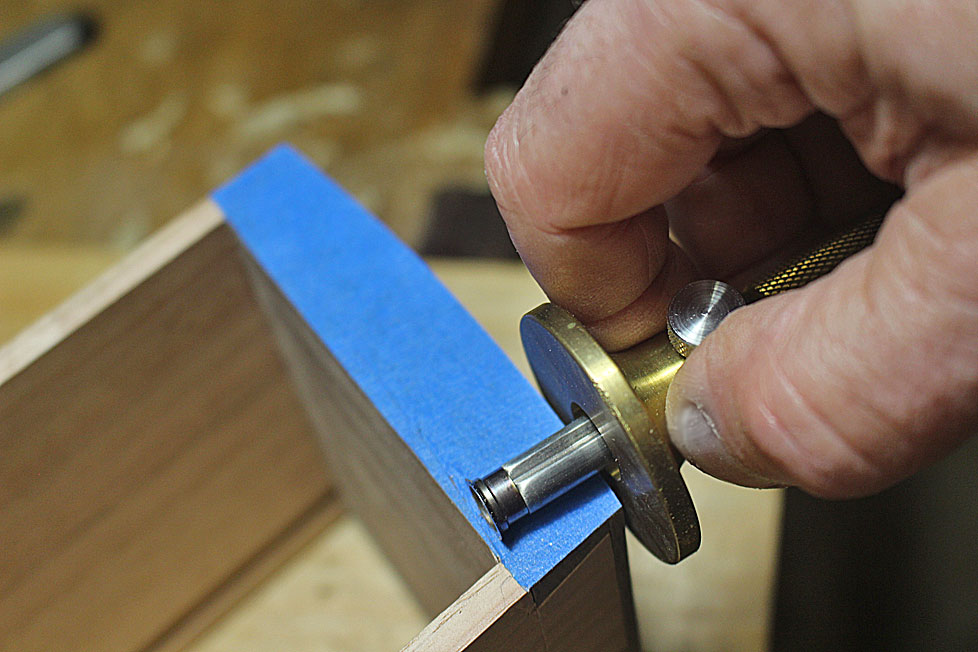
The inside curve is scribed ...

image.jpg


image.jpg


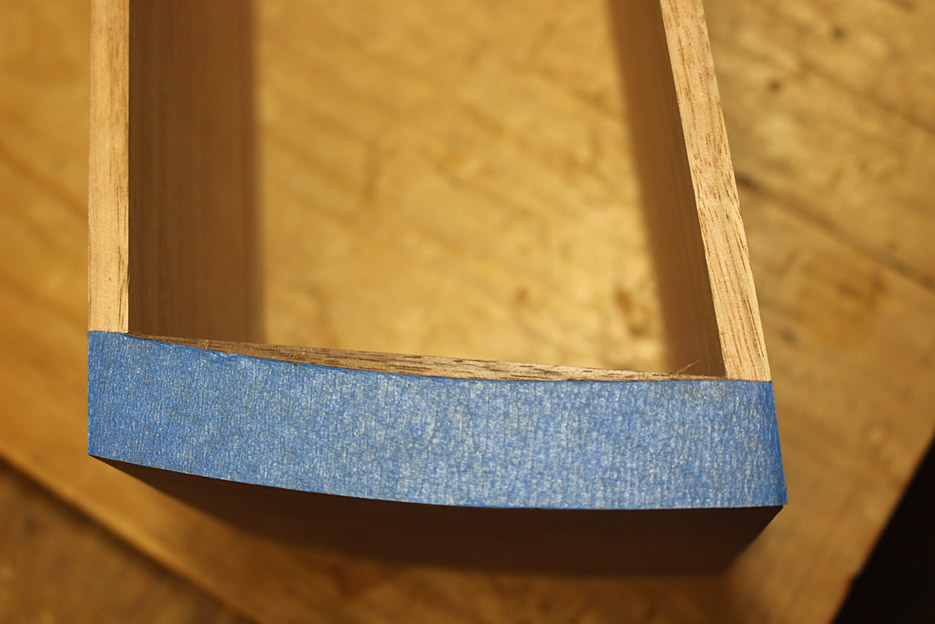
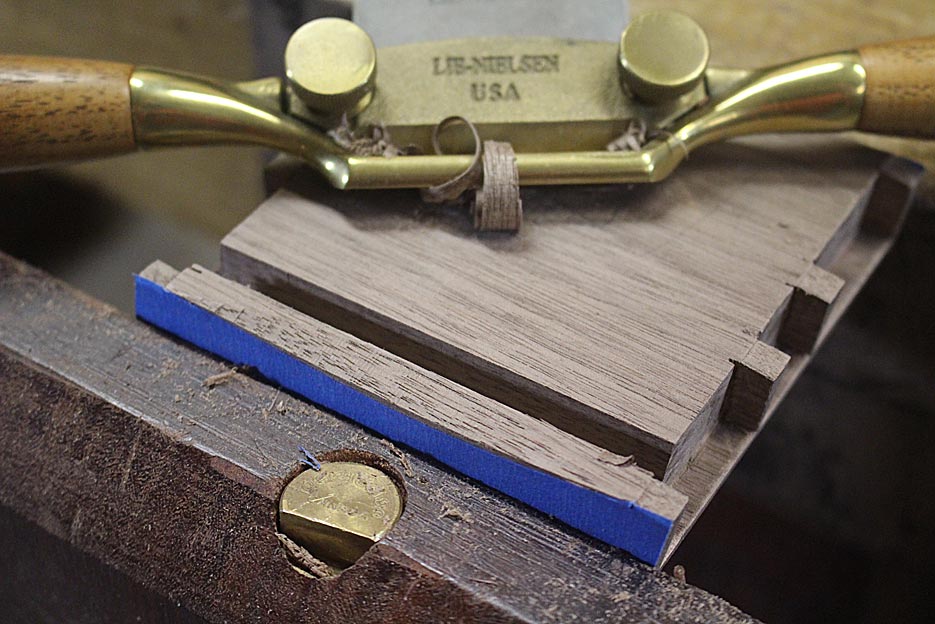
Pulled apart, the rear of the drawer front is chamfered with a round bottomed spokeshave to prevent spelching ...

image.jpg


The waste is removed with rasps - this is an Auriou 10 grain ...

image.jpg


Three rasps in all are used to remove and smooth, ending with this 15 grain ..

image.jpg


The surface is refined and finished with a scraper ..

image.jpg


Final shots of the completed drawer front ...

image.jpg


10a.jpg


Regards from Perth

Derek
 
I'm still enjoying watching the huge amount of patient, well planned work going into this project.
I like the purity of following the curve on the insides of the drawers. Was this always done, historically, or were insides left square?
 
Mark, I made this from the rear of a 3/16" thick O1 plane blade. The sides are hollow ground on a bench grinder. The result is a fine burr/hook. It is the most stupendous scraper you can imagine. I have posted about it before.

Regards from Perth

Derek
 
This is a long post, and so feel free to skim through it. Who needs another dovetailing documentary?

This one is specific to the back of a drawer, and so is different from the through dovetails which one might use on boxes. Also, I have a few techniques to share, ones that I do not see mentioned much, if at all.

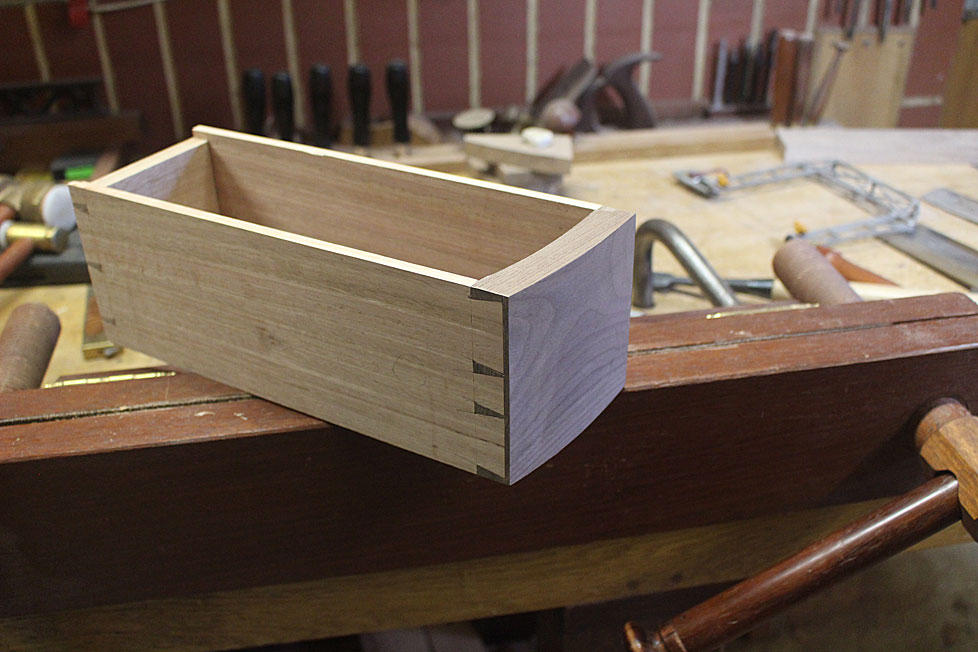
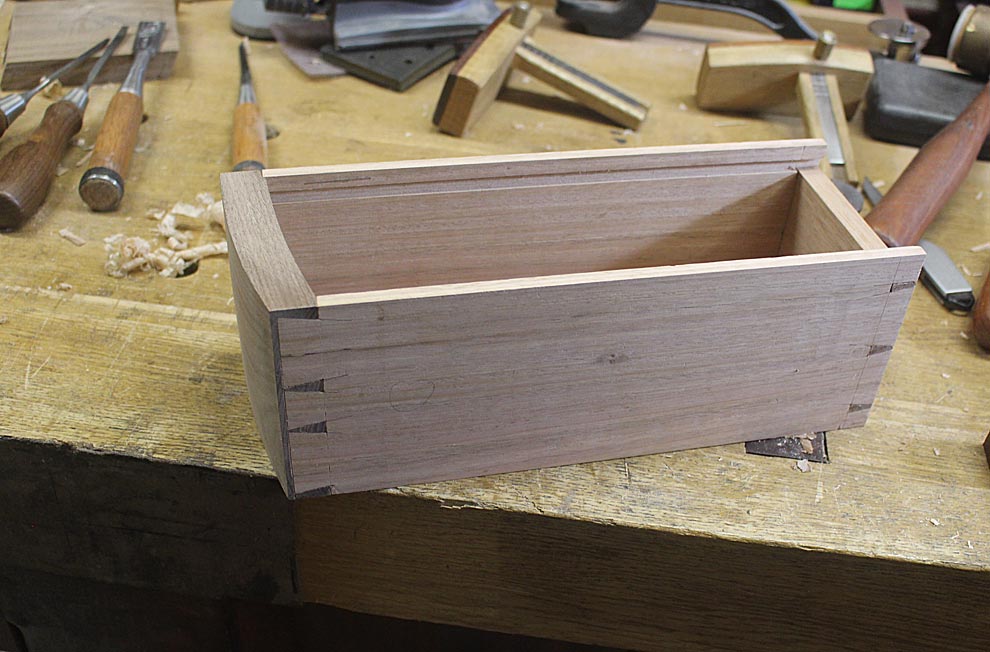
The drawer is one in the Apothecary chest. What has been shown before was the dovetailing hijinks needed for the curved fronts. This affects the drawer sides as well, since they are not equal in length. In fact, the length for the sides need to be measured individually.

Here is a drawer front with sides ...

image.jpg


It is fitted in the recess and positioned carefully (top right hand drawer) ...

image.jpg


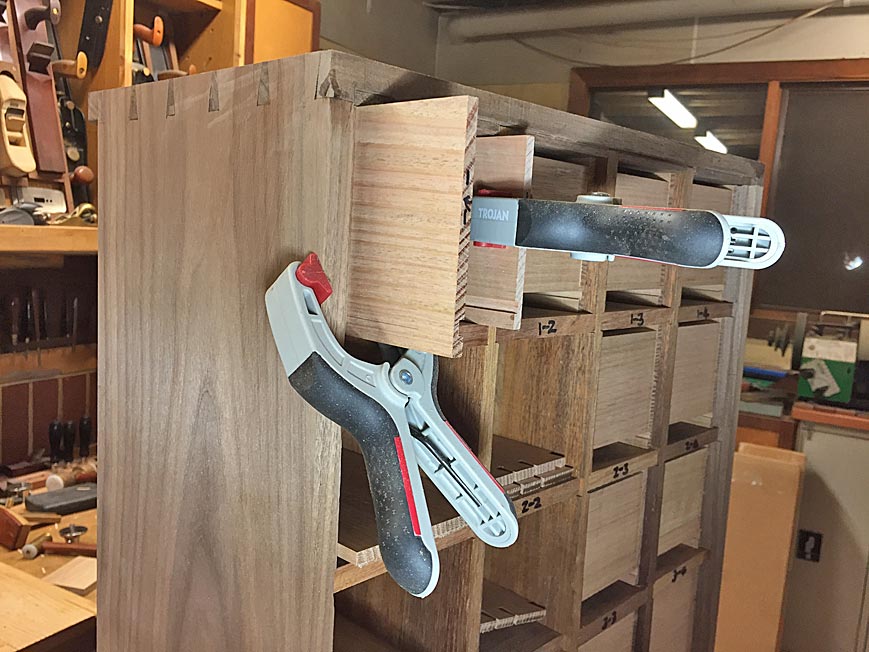
At the rear of the chest, the drawer sides are clamped to avoid any movement ...

image.jpg


Now the drawer side length can be marked. The final length is 10mm in from the back of the recess.

We are ready to begin joining the rear of the drawer. A drawer back has been added to the parts ...

image.jpg


"Drop" (the gauge) for the width of the drawer back and transfer it to the ends of the drawer sides ...

image.jpg


Now do the same for the drawer sides and transfer this to the drawer back ...

image.jpg


With 24 drawers, it was quicker and easier to make up a template for positioning the tails ...

image.jpg


Note that the tail alongside the groove (for the drawer bottom) is not a triangle, but one side is vertical (flanking the groove) ...

image.jpg


Saw both drawer sides ...

image.jpg


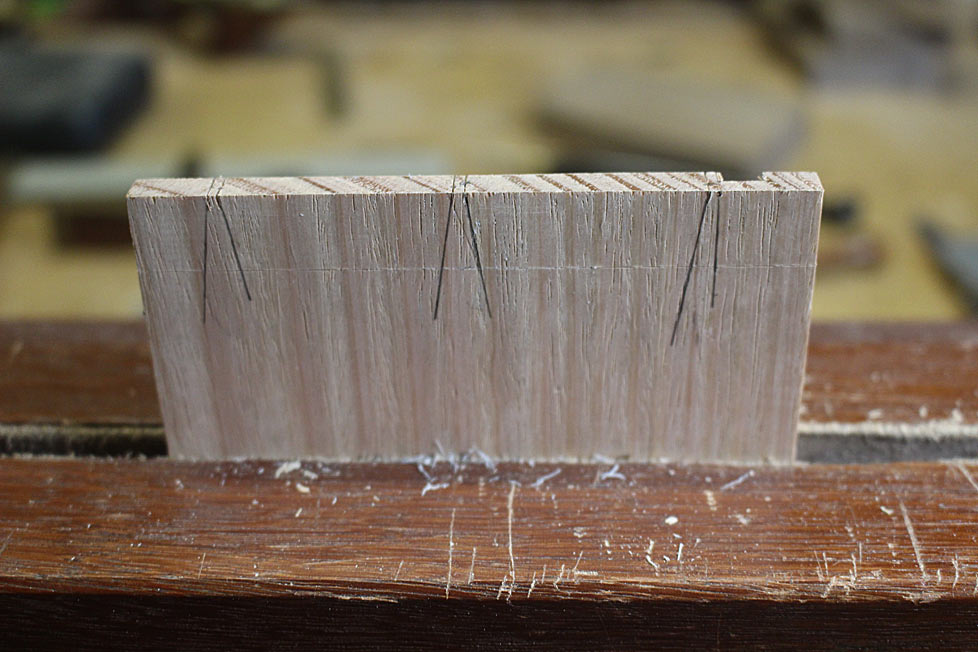
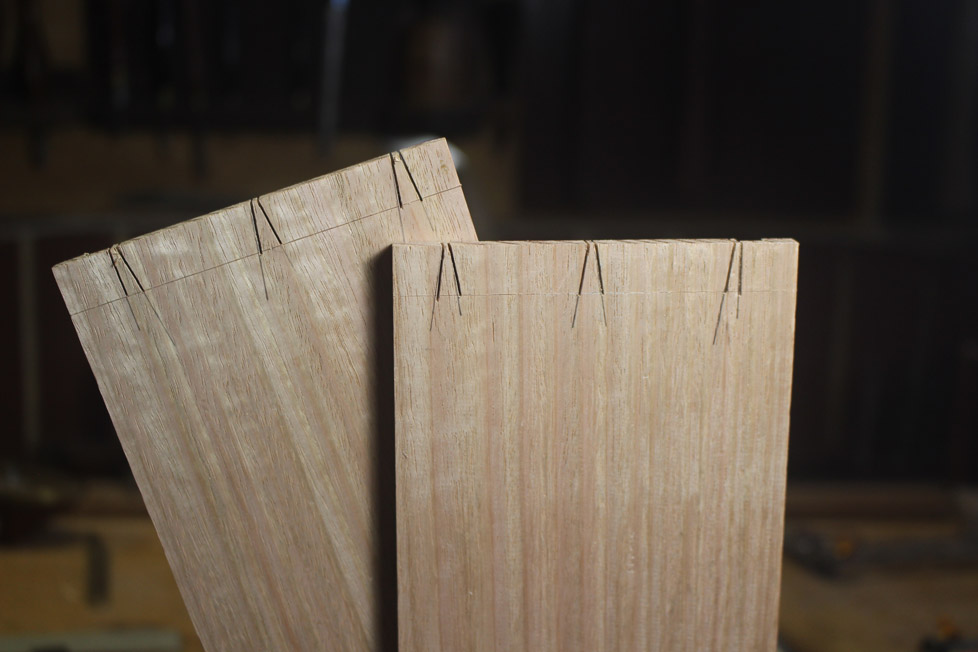
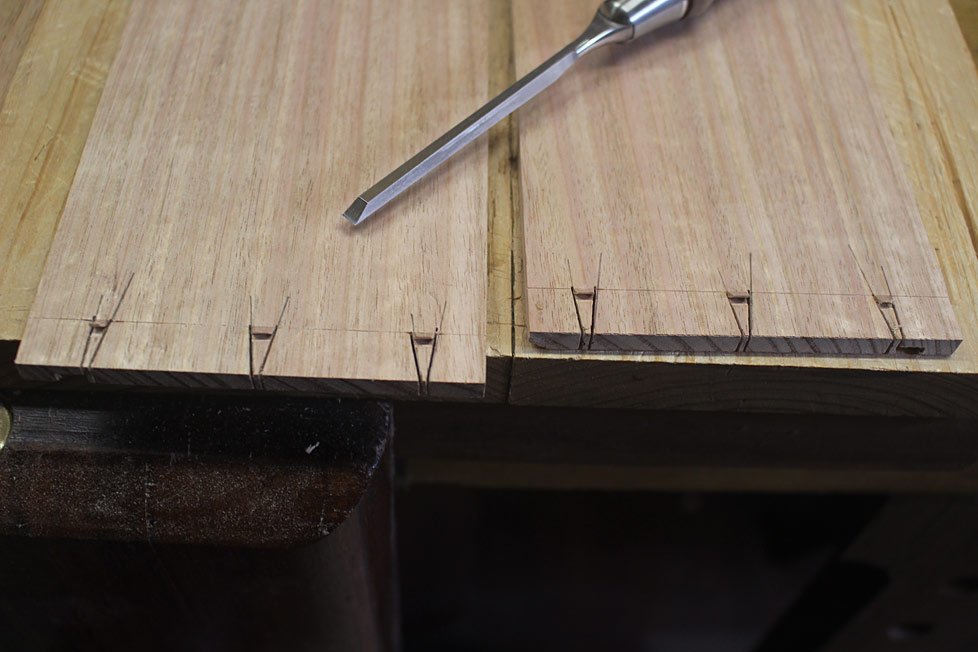
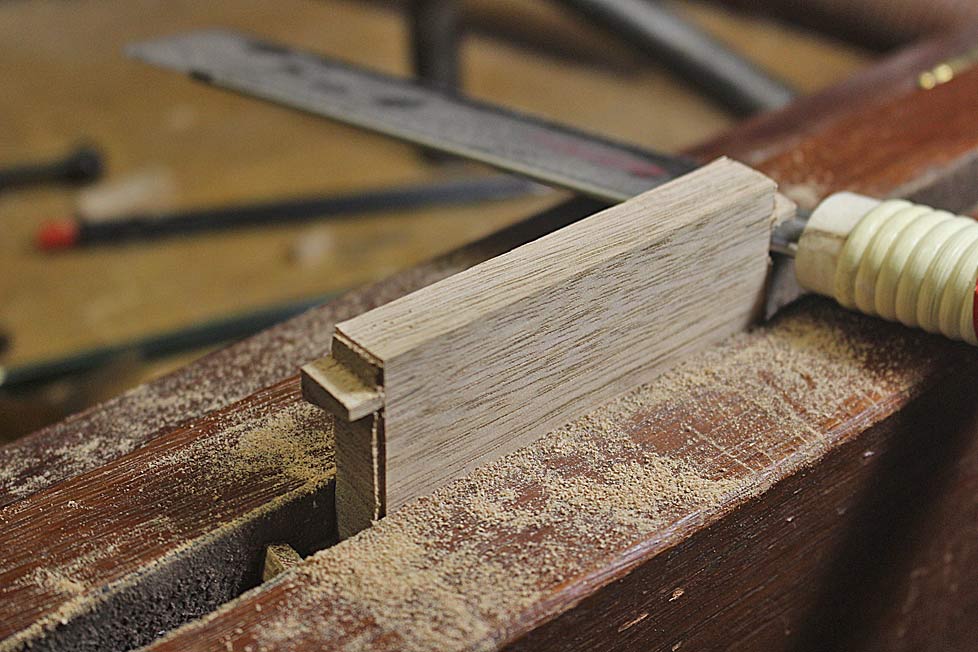
Time to remove the waste from the tails. First, create a chisel wall for all the tails ...

10a.jpg


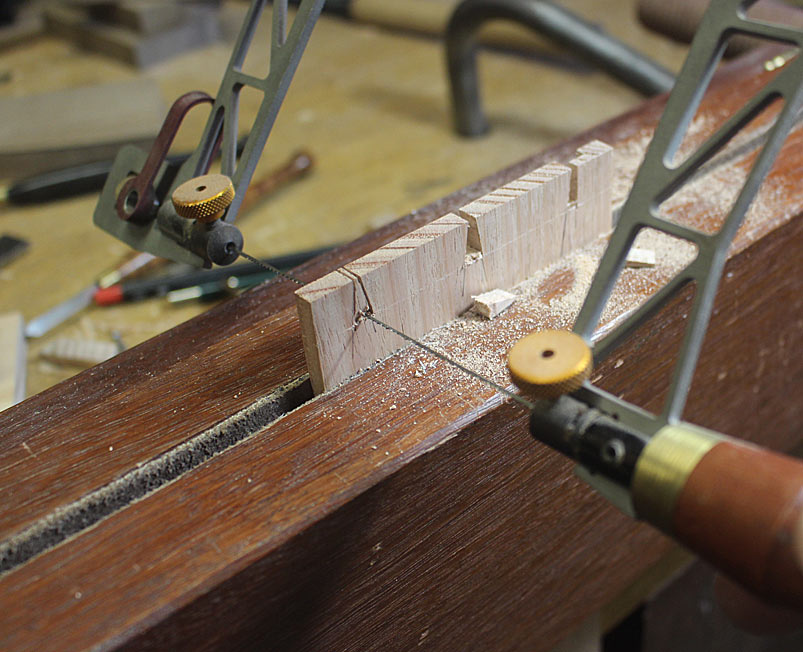
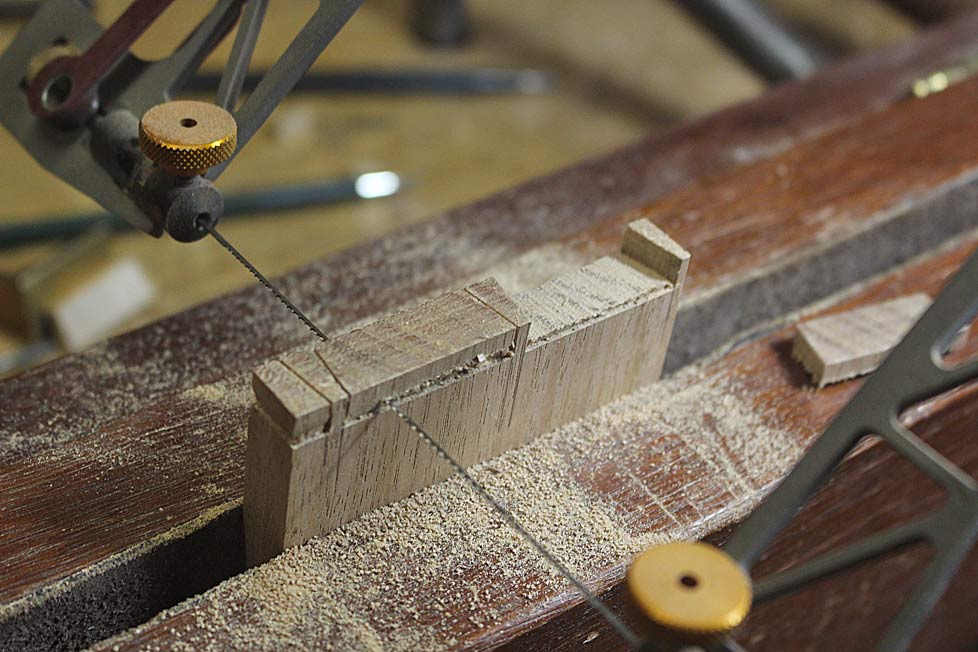
Fretsaw the waste to 1-2mm from the line ...

11a.jpg


Remove the waste in thin layers for the cleanest finish. Note that the Tasmanian Oak is too thin (6.5m) to confidently pare half way by hand (better to use a hammer for precision). By taking very fine layers it is possible to push through the board without spelching the other side ...

12-1a.jpg


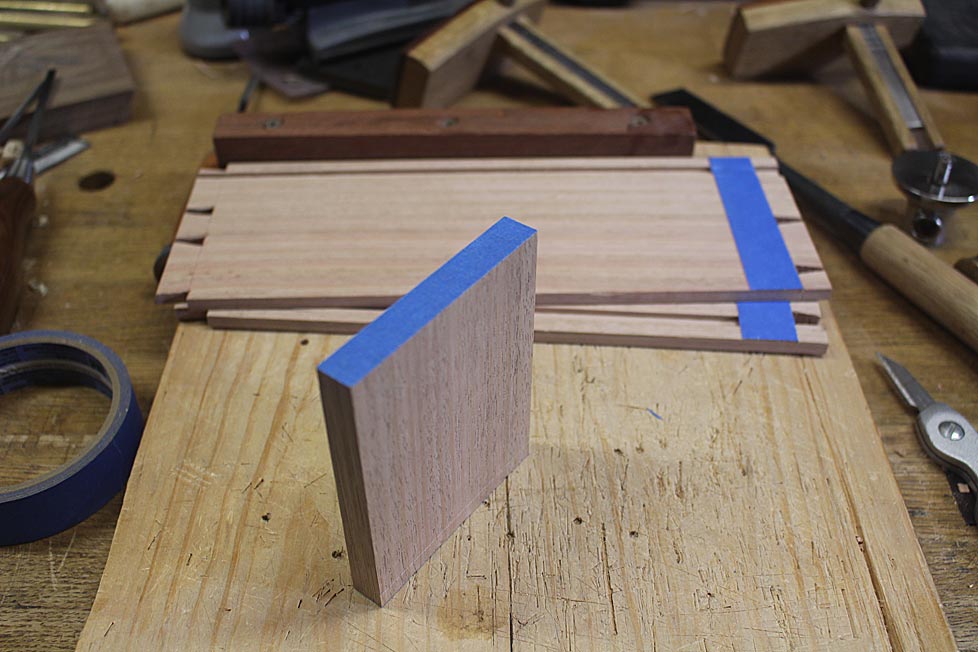
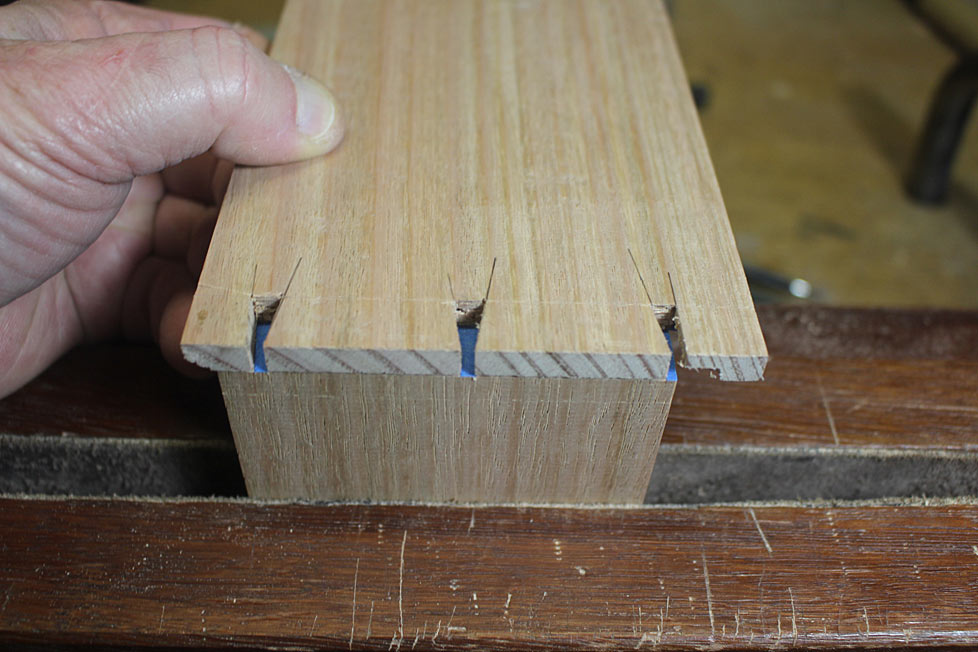
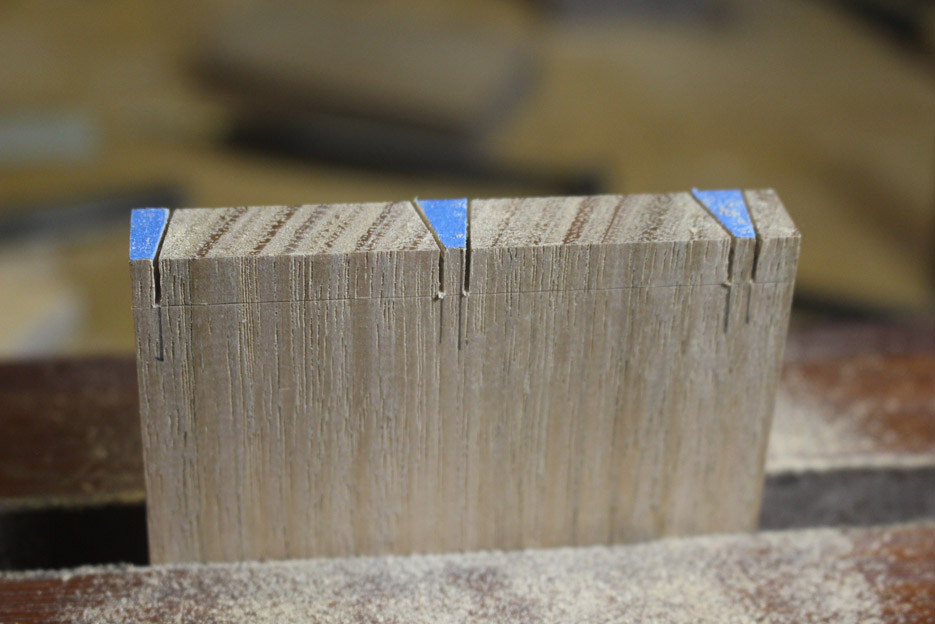
Blue tape on everything!! The drawer sides have blue tape ala the #140 trick (I wrote this up recently on my website). There are 4 layers. The drawer back has tape to aid in transferring marks (don't knock it if your eyesight is better than mine).

14a.jpg


Transfer the tails to the pin board ...

15a.jpg


The great thing about the blue tape method is that you only need one knife stroke to cut through. No sawing away to make an impression in the end grain. Saw against the tape. Go for it!

16a.jpg


Now remove the waste with a fretsaw. Again, aim for about 1mm above the line. For control, hold the saw handle very gently, and saw as lightly as you can - do not force the cut. Let the saw do the work. You will be rewarded with a straight line ...

17a.jpg


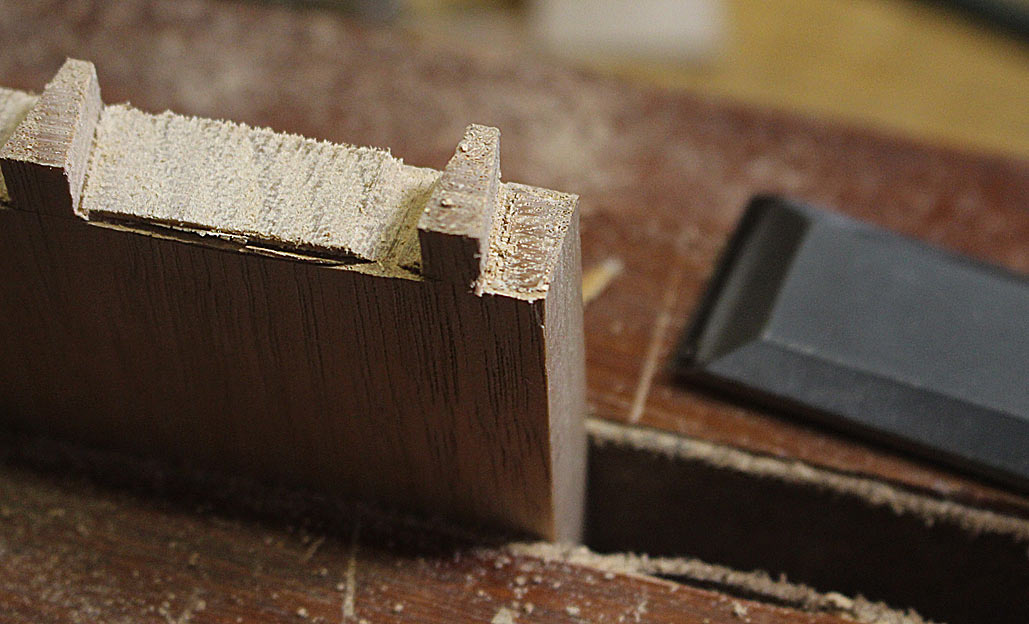
I saw away the ends about 1mm above the line ...

18a.jpg


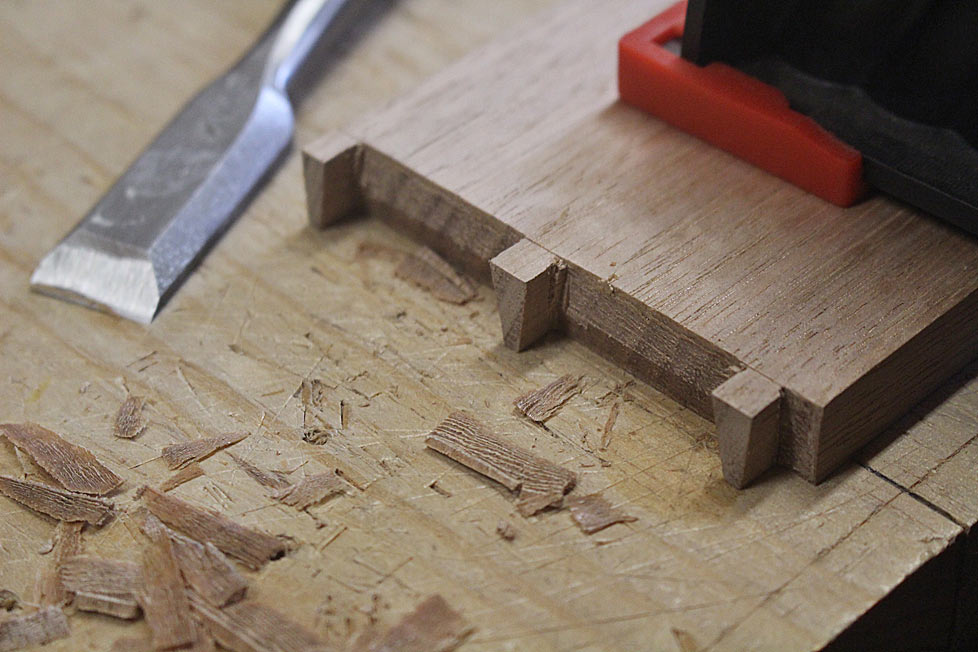
In years past, I used to saw to the line. I now see more value in paring to the line. What you will notice is the chisel wall around the section. I am reminded of David Charlesworth's method of removing end waste. He calls his process "tenting". In this he pares upward, reducing the waste all the time. In my method, this is unnecessary since the chisel wall protects the sides and you can see when you are getting close to level ...

19a.jpg


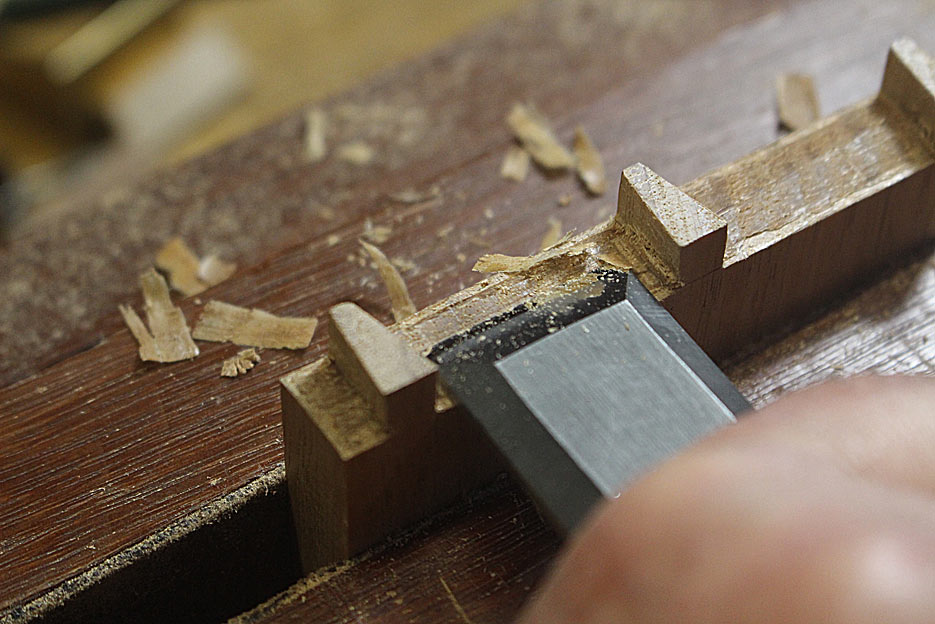
Of all the aspects in through dovetailing, I think that removing the waste between the pins is the hardest. This is again where I was reminded of David's tenting method (but which he does not use in this section, only at the ends).

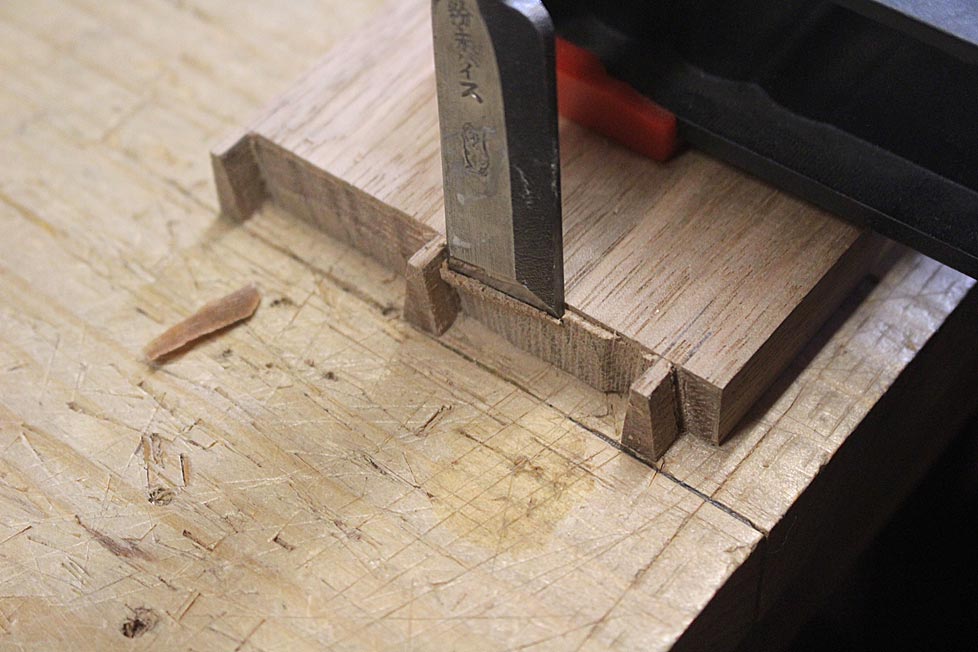
Again the chisel wall aides in enabling the chisel to register against the line without any danger of going over it. The chisel here is PM HSS, and very tough (and sharp!). The blade is driven at an angle away from the sides ...

20a.jpg


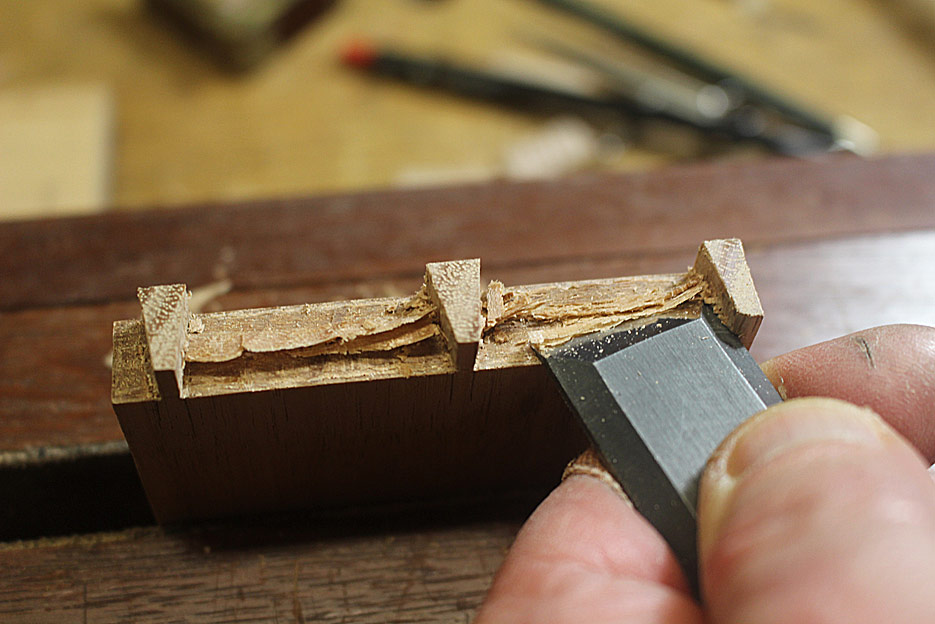
Turning the board over, and repeating the manoeuvre, the result is a tent ...

21a.jpg


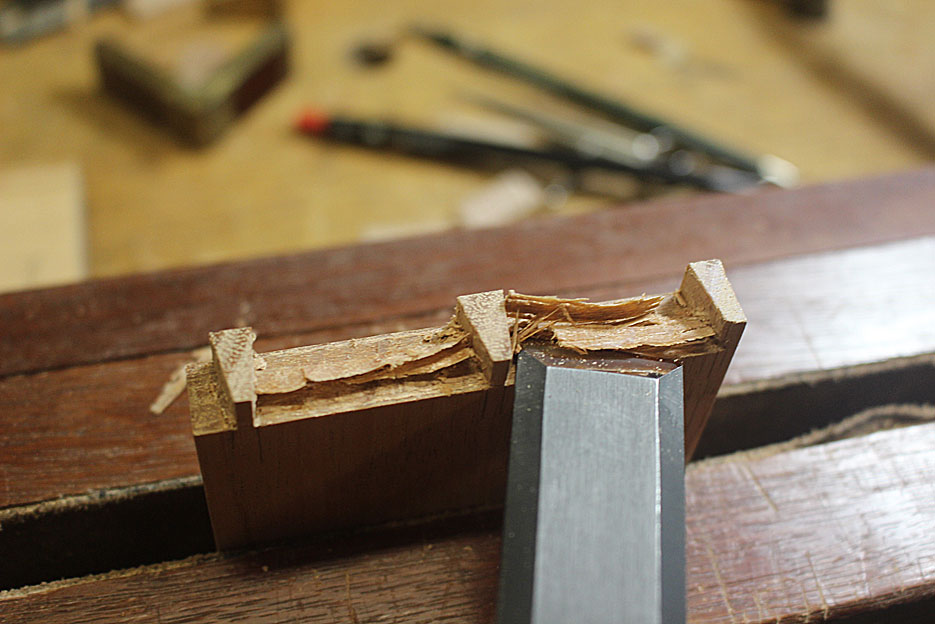
I have two methods for removing the remaining waste. The first is to pare the tent, slowly reducing the angle. Since you are paring upwards, there is now danger to spelching the opposite side of the board ...

22a.jpg


The second is a side-to-side sweep, which slices away the waste ...

23a.jpg


24a.jpg


Finished ...

25a.jpg


The parts are now assembled. From the top ....

27a.jpg


... and the bottom ...

26a.jpg


Fitting the drawer ...

28a.jpg


29a.jpg


My plan is to set the drawers back a mm or two ...

30a.jpg


Any thoughts about this?

Regards from Perth

Derek
 
Back
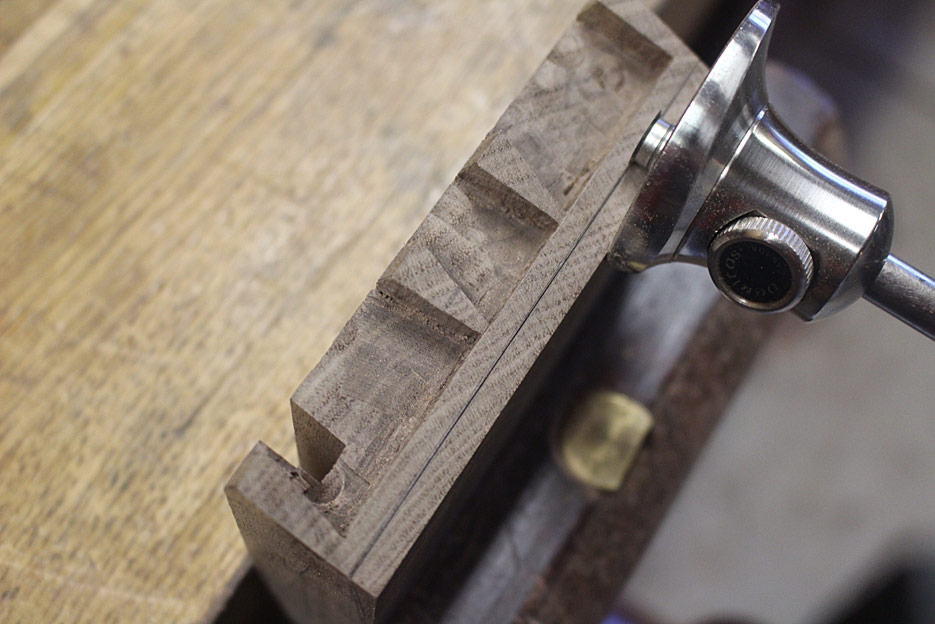
Top