Hi everyone,
I've been reading and enjoying this forum for a while, and was struck by the surge of interest in window and door making. I'm only a hobbyist woodworker, without a lot of machinery, but have recently had to make a couple of doors.
I'll try and describe how I went about it. These methods are not strictly conventional, and are not what I would expect a professional to do, but they did work, and did not need a lot of kit. I'm afraid there won't be any pictures of the door as it was in my brother's house which has now been sold.
(And as a newbie I shan't be able to post pictures for a while.)
The door needed to be custom-made as it was a non-standard size - short and a bit wide - to close off a hall passage through to a kitchen. The existing door had been 'modernised' in the fifties and they wanted something more in keeping with the period (Victorian.)
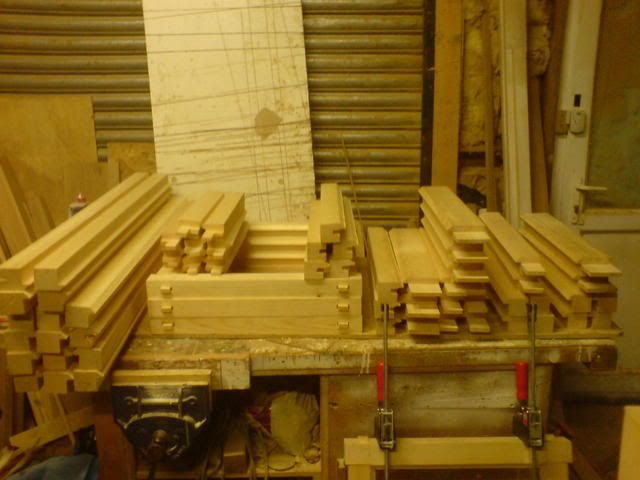
I used a method I had already tried on a smaller door for our airing cupboard. For the frames and stiles I used some reclaimed door lining, which was about four inches wide and an inch and a quarter thick. This was good enough to use as it was, with only a little bit of hand planing to clean up at the end. (No need for a planer/thicknesser.) I glued two pieces edge to edge for the wider centre and bottom rails.
The design was a simple four panel, solid below and glass above.
I cut all the pieces to length, square across, ignoring the need for grooves and joints. (This keeps the measuring and layout simple.)
With the pieces laid out flat in situ, I marked across each joint to position slots for biscuits. All joints were double, using the largest size of biscuit. I did this with a 1/4 inch router with a slotting cutter, supporting the other side of the router on a second piece of stock to keep it level. No need for jigs - just secure each piece and cut by eye to the pencil mark, always working off the same reference face.
For the lower panels I used some decent 12 mm plywood, and routed stopped grooves along the lower pieces. (Two passes of the slotting cutter, the ends squared up with a chisel.) I reasoned that using ply would let me glue the panels all round, giving quite a lot of stiffness to the whole door, and reducing any tendency for excess strain on the joints.
I'm pleased to say that this worked well, and that the door has proved perfectly strong enough.
Having cut the bits and the ply panels, I glued the whole thing up, using two proper Record sash cramps and a third lighter one in the middle. Glue was PVA.
To match the appearance of other doors in the house I added an applied moulding to the front of the ply panels - this was an ogee pine strip from my local DIY shop. I glued this to the face of the ply and to the edge of the stiles/rails - not what you would do with solid wood but it helped increase the stiffness.
I used a similar approach for the glazed panels, with a square edged strip mitred to 'fit the holes' and planted on at the rear. Glass was fitted on site, held in place with a few brads and then fixed with more ogee moulding, mitred to fit and nailed all around. (Btw the door size meant that it would have been ok to use ordinary annealed glass but toughened was only a little bit more and did get fitted.)
To sum up: stock was near enough right proportions for stiles and was doubled for the centre and lower rails. Centre stiles were ripped down and planed a bit narrower, to look right - about 2" square edged. Double biscuits look very short in comparison with full length tenons, but in practice, and because they are not the only source of strength on a fairly small door, they have held up fine in practice. Planted mouldings added up to the right thickness and helped give the right proportions.
Total time taken - three evenings - and I don't work very fast!
I hope this will help someone else tackle a few doors!
Andy.


