Advice please; Work-bench and Vice

UKworkshop.co.uk

Help Support UKworkshop.co.uk:

This site may earn a commission from merchant affiliate links, including eBay, Amazon, and others.
skeetstar":1c0mp4vo said:
I just need to find a buddy who has a planer/thicknesser in herts, any takers?

Could you ask around local woodwork shops or wood yards and see if anyone would do it for a small fee? My local
hardware store will machine up timber and they will plane/thickness timber if they know it is new and free of metal fixings.

They are an old established family firm, and as well as being the hardware store they are also the undertakers. The shop where they make coffins hasn't changed in 120 years and the machine shop is kitted out with old Wadkin machines.- the sort of place we all dream of.


That sounds like my kind of hardware shop.

How much do they charge to plane/thickness?
 
I didn't touch mine till it was glued in to 3 pieces short of a quick swipe over with a smoother to knock of the lumps. No gaps. did glue it in 3 prices and joint the pieces once glued though. hand plane took less than 10 minutes and only 1 minor gap which was filled afterwards. Then I put it on tresles and used the top as a bench to make the legs. Once it was assembled (and flipped the right way up) I wedged the leg mortises and planed the top flat. again less than an hours work by hand. A shatp plane is a god send.
 
Well the third peice is all glued up, it went terribly! Couldn't get them settled down nicely together, glue started setting up, ran out of glue half way and had to go and find the gallon bottle - dry run went great, real run... anything that could go wrong did :)

I think i managed it in the end, we'll see fully how it turned out tonight.

You're right Novocaine, i'm definitely going to have to joint each peice together. The middle one moved, so each peice is stepped slightly. I guess it just means i'll have to be careful gluing the peices up and take off a couple of mm more with the plane (sounds easy, probably isn't going to be!) On holiday from tomorrow, so no updates until next week.
 
Mr teroo, if you buy the timber from them, they don't charge anyting for machining. I am a regular customer there and they will machine bits from other sources for me for nothing, provided I don't take the mick. It is the sort of place that will sell you three wood screws a washer and nine inches of skirting if that is what you want.

They even gave me a box of rusty slot head screws for nothing cos they didn't, want them any more.

There are not many places like this left.
 
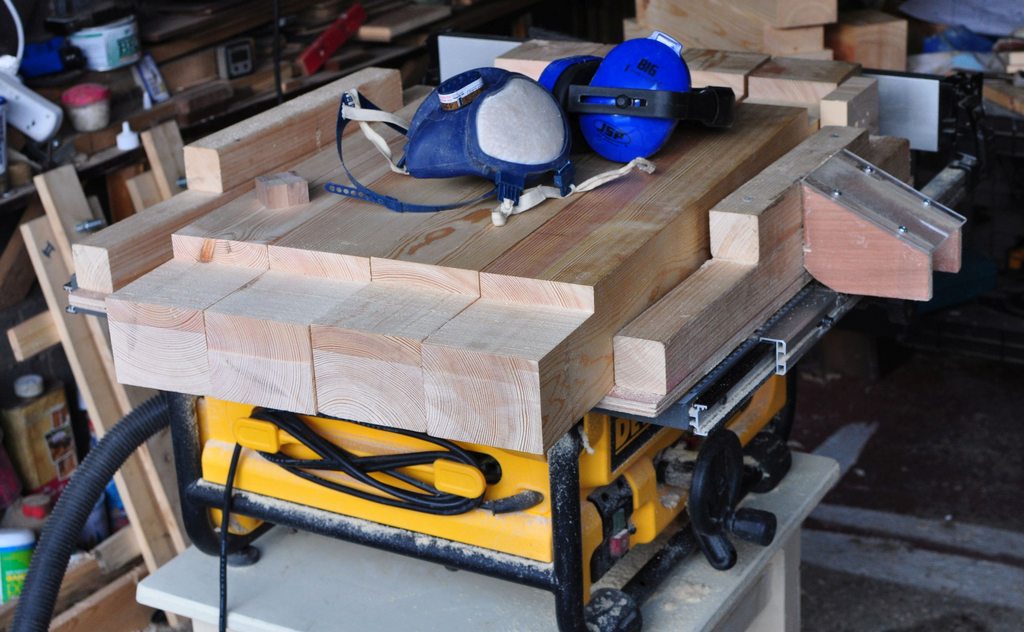
Cut these legs on cross-cut sled
NHQ8gmfh.jpg

gO6sEPsh.jpg

Ip77LHXh.jpg
 
Very Nice,

I'm back from holiday and having a whole load of problems with one of the laminations, typically the middle one.

Without noticing it seems to have been glue'd stepped at one side (my camera was being stubborn yesterday, so i've mocked the issues up in sketchup.)

lamin-1.png


So this was how it came out (i've exagerated it in the drawing.)

The first thing i did was to plane down the top surface, in hindsight the way i did this, may have been a mistake!

lamin-3.png


Now i have a flat surface, or near to, but looking at the sticks, it is still sloping to the front right corner.

lamin-2.png


Using a square, referencing the top surface i've planed... there is a gap at the bottom left side, and on the opposite side there's a gap at the top.

My question is, what is the best way to rectify this? my thoughts was to (assume... the sides are parrallel) and contnue planing the top left side, then when the left top side/left side is dead square, try and continue flattening this plane across the top, which should remove the low side on the right.

Is this correct? i don't want to just randomly keep planing things off as i could be making it worse for all i know.

(I'm trying to get the sides square to the top, so i can joint the three laminations for the top together without too much trouble... or should i just flatten the sides, joint it and worry about the top then? the only issue with that is i wasn't then sure what i would be trying to line up the top with.

Cheers
Mark
 

Attachments

  • lamin-1.png
    lamin-1.png
    28.5 KB
  • lamin-3.png
    lamin-3.png
    25.5 KB
  • lamin-2.png
    lamin-2.png
    45.3 KB
Still feeling my way with bench build
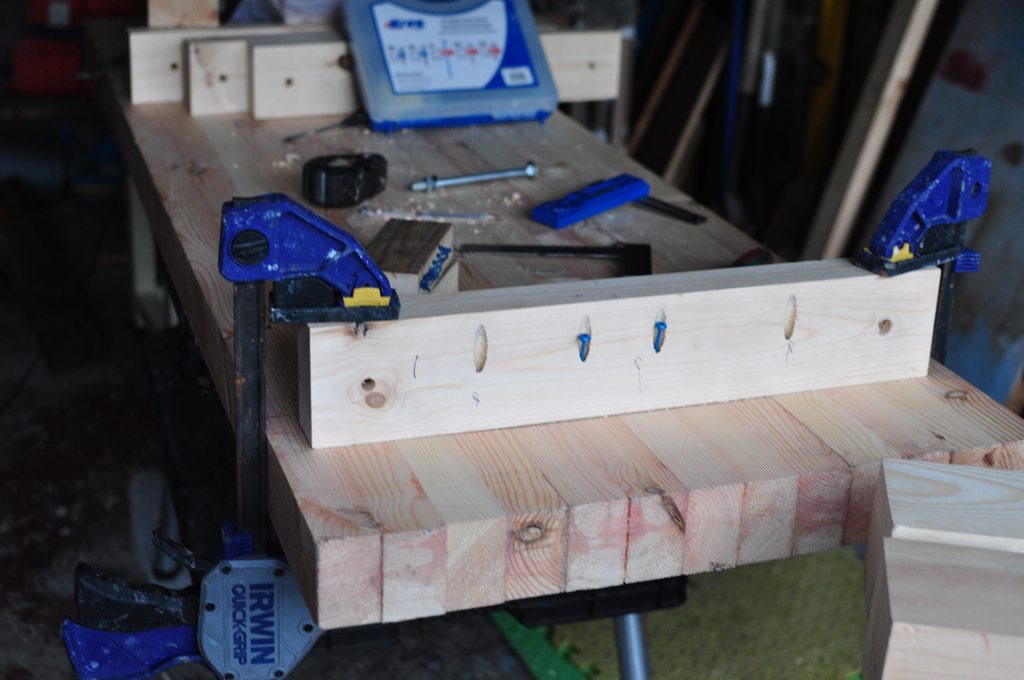
Decided to use Pocket hole screws 2.5 inch; seems to hold quite firmly, a total of 16 screws - no glue
UHzaHNFh.jpg


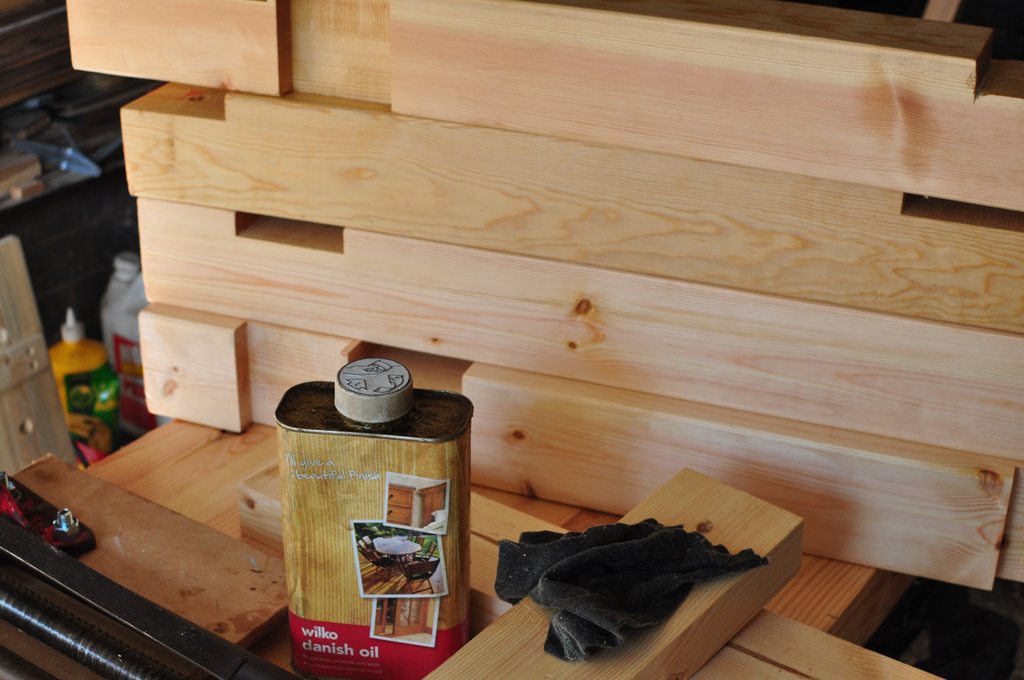
Applied loads of Danish Oil
xohjGqah.jpg


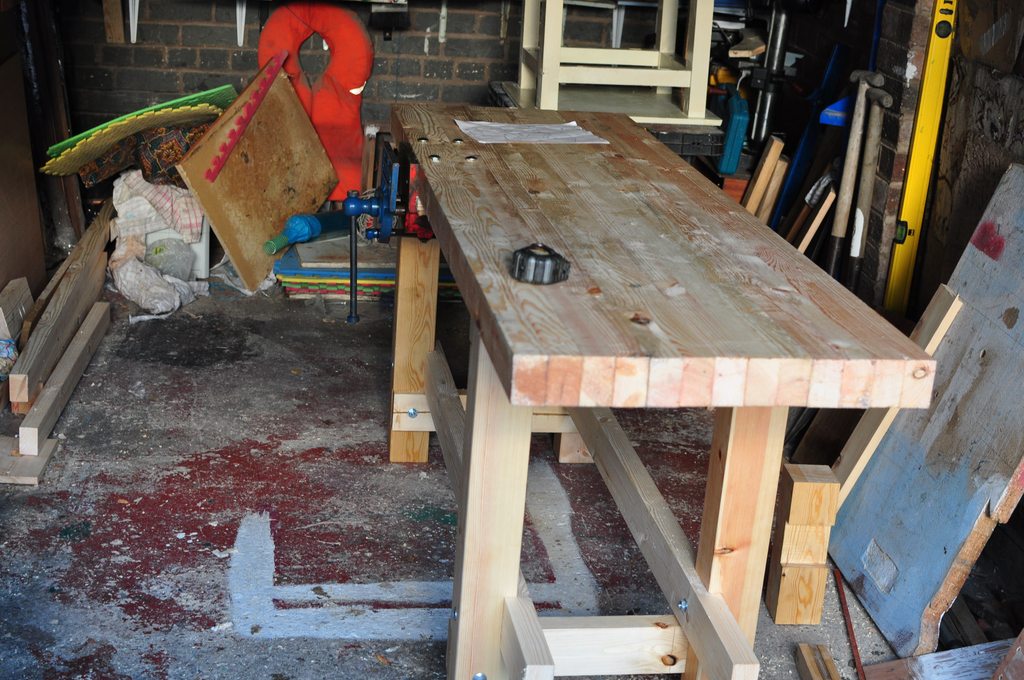
Right way up now and vice fitted; planed some timber in vice, bench as solid as a rock :) :) Well chuffed
tYqjH9Gh.jpg


Question; Is it OK to put Plywood on table top to save the Redwood ?
I was thinking 6 or 12 mm ?
 
Cordy":3w65vk0t said:
Question; Is it OK to put Plywood on table top to save the Redwood ?
I was thinking 6 or 12 mm ?
Floating or attached? The wood will expand and contract, the plywood won't so you can imagine you don't want to fix it permanently in place.

On the same subject, how many pocked screws did you use to attach the battens to the underside?

Back to the sacrificial surface you don't need to save the redwood, it is a workbench after all and it will get marked with use. If you'd prefer not to chop directly on it make yourself a chopping hook.
 
ED65
Thanks for advice; you've got me looking at bench-hooks now
Link
Will save me a trip to Wigan Timber too :) -- I have some boards that will be OK for a bench-hook or 2

Underside battens have 4 screws each side; 16 screws in total
Decided to use Pocket hole screws 2.5 inch; seems to hold quite firmly, a total of 16 screws - no glue
UHzaHNFh.jpg
 

Latest posts

Back
Top