Adventures in metalwork and machine restoration!

UKworkshop.co.uk

Help Support UKworkshop.co.uk:

This site may earn a commission from merchant affiliate links, including eBay, Amazon, and others.
Hi,

Great job, do you happen to get your threadlocking compound pre-applied? I'm looking for some grub screws and other fixings that come with a pre-applied threadlock that uninstalls fairly easily, without heat so I can resuse them.
Thanks,
Matty
 
AES":17gnlkon said:
That 3M paint prep system sounds very interesting Farmer Giles. Any chance of a link please?

Here you go,there are different sizes of cups etc. I can take some pics next time I'm spraying and stick them in new thread but I'm sure there are YouTube videos.
 
MattyT":2agj1rzv said:
Hi,

Great job, do you happen to get your threadlocking compound pre-applied? I'm looking for some grub screws and other fixings that come with a pre-applied threadlock that uninstalls fairly easily, without heat so I can resuse them.
Thanks,
Matty

Sorry, I just always use a loctite bottle I've had forever.

Farmer Giles, that spray system looks really interesting, I'll definitely look into that!

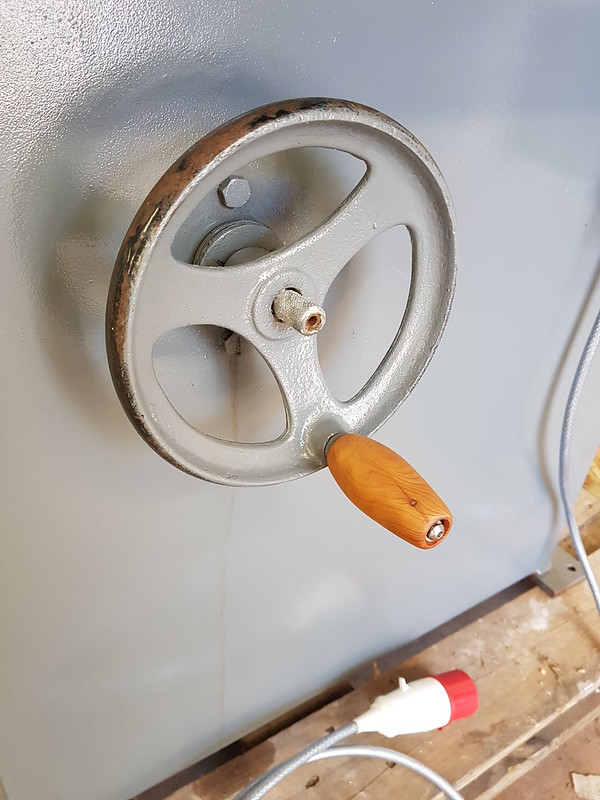
Did the final few touches to the evenwood - turned a new handle for the rise and fall from yew:
Evenwood saw finished
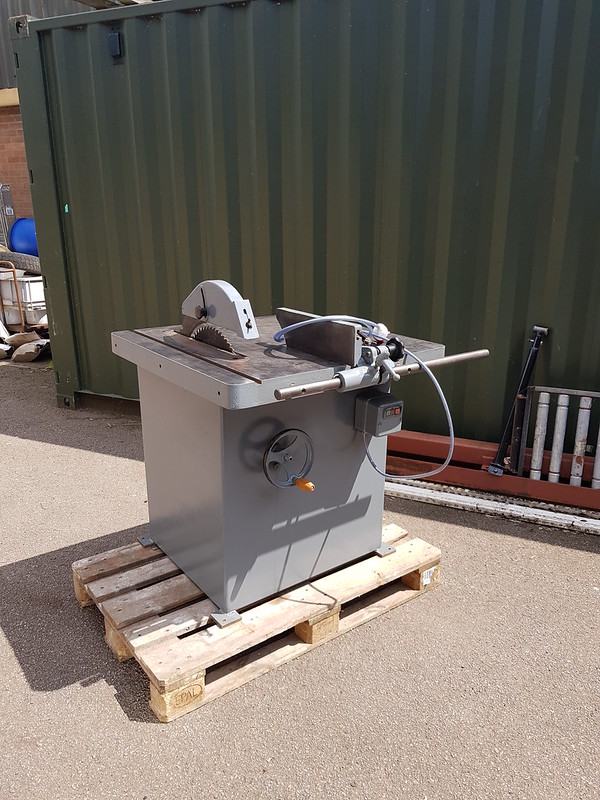
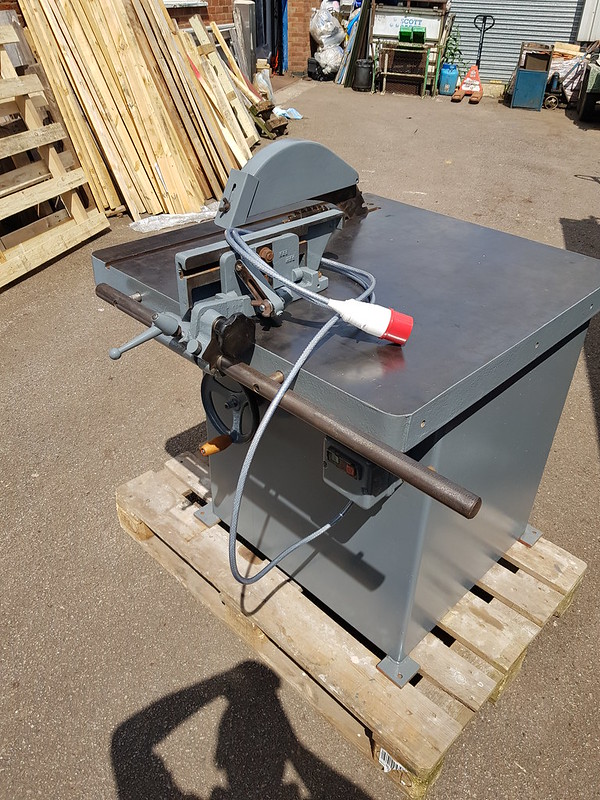
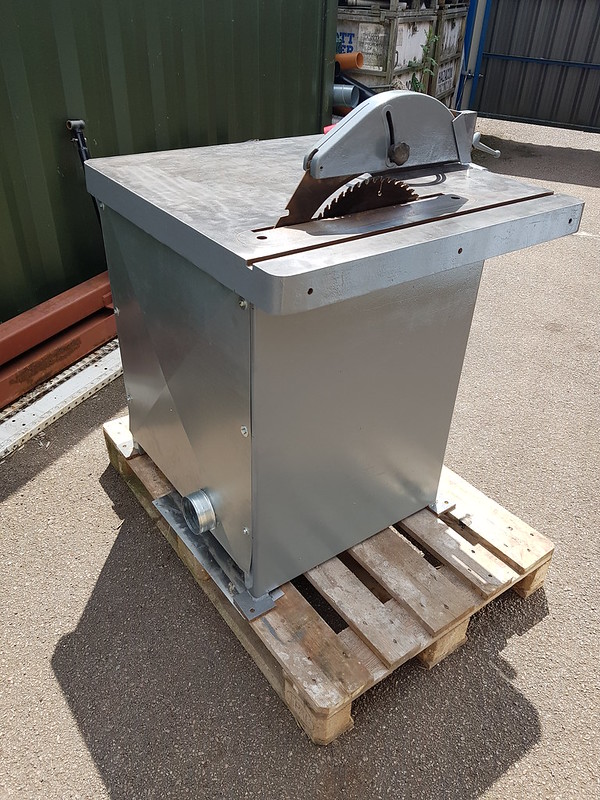
and got a few pictures out in the sunlight:
Evenwood saw finished
It's up for sale now (not here though :wink: )
 
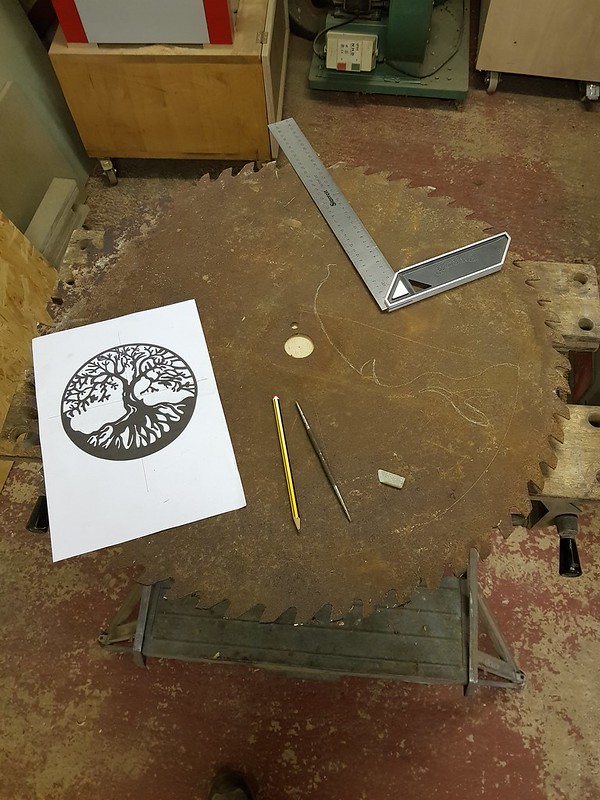
Lots been going on recently... I've finally got the new compressor sited and plumbed in at work - which means I can use the plasma cutter :twisted: Inspired by Coleys1 (Pretty sure it was him) some time ago I bought a nice big sawblade to cut something cool into. Had a few ideas but settled on a tree of life style design. I found a suitable image on google and scaled it up:
Saw blade plasma art
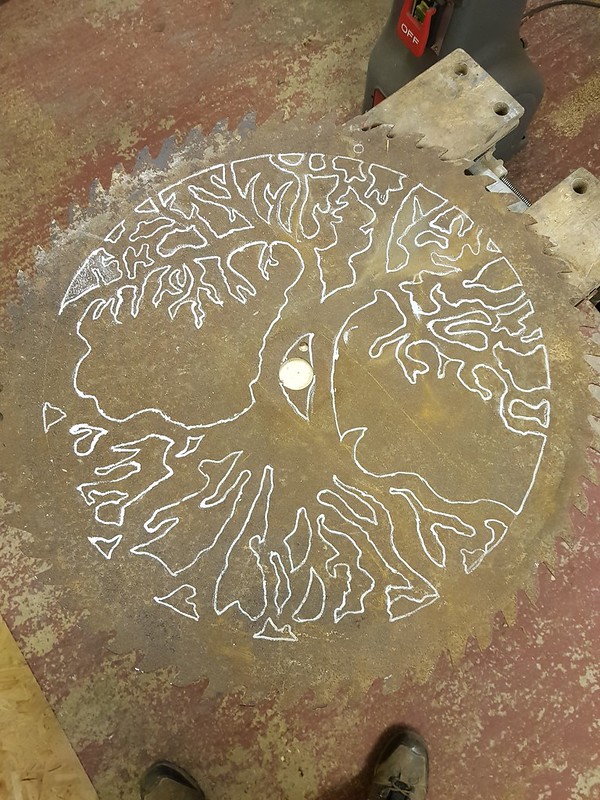
Went over my french chalk lines with a paint pen so I could see it through the hood:
Saw blade plasma art
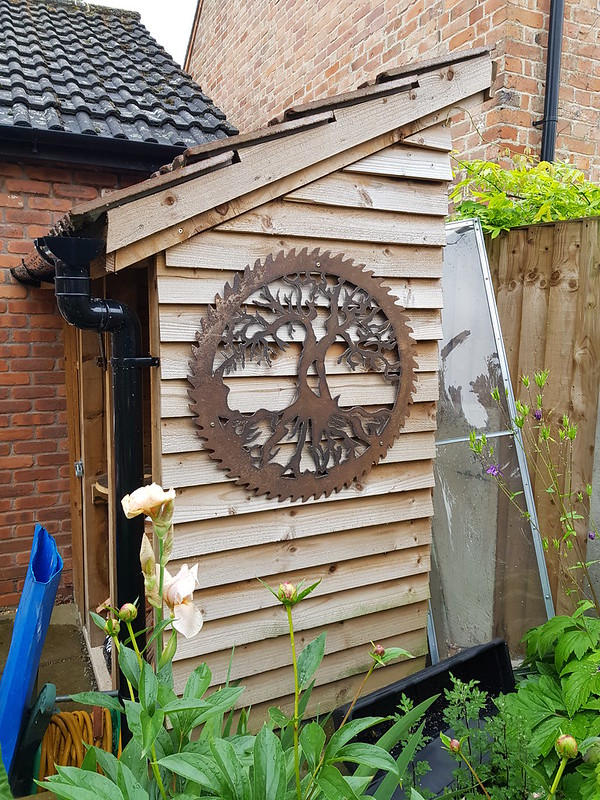
And got stuck in with the plasma:
Saw blade plasma art

Really happy with the result!
Important lesson learned as well: either do it outside (it was chucking it down) or sort some proper extraction - unbelievable amount of smoke came off it. Within the next couple of weeks I am hoping to address this in a typically over the top way... :lol: stay tuned...
 
Wow wow and wow some more. That's amazing!!!!!!! I'll have to borrow your paint pen idea, should make cutting the line much easier if I'm not second guessing where I'm going. I'm still in the process of sorting out the engineering area. Like you said the dust from plasma cutting was horrendous so I'll be waiting to your future extraction project. Very nicely done- it looks superb !

Sent from my SM-G960F using Tapatalk
 
What sacrilege! You should've bought a machine to fit the saw blade! :lol:

You've got some nice sized offcuts there to make a couple of knives out of if you were that way inclined, probably some decent steel in one of those old blades. I imagine most of the smoke you were experiencing when plasma cutting the shapes was actually rust burn-off more than the actual cutting.
 
Thanks guys. Coley, the paint pen makes it really easy to follow, it almost glows! I do wonder if some of the smoke was from the paint as well though. The peonies are not my department, I just create the canvas for the gardening department to work with :lol: I had to cut the big sections up so they would drop out - with so many small shapes they were hanging up when I tried to leave them big.

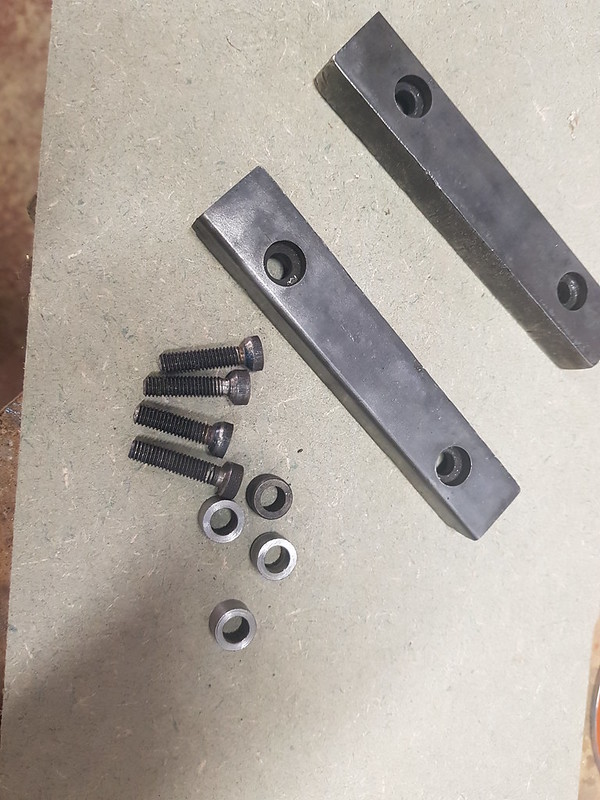
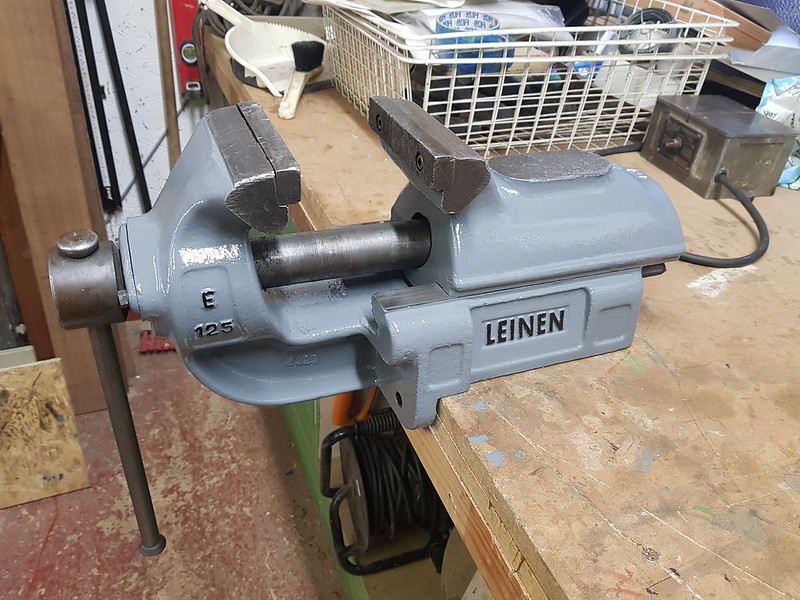
Next project was a really cool vice I got on ebay. Its a German Leinen, the rear jaw slides in dovetailed ways and the screw is completely enclosed and protected in a tube. Really neat design. Took it to pieces and found the jaws should have an insert bushing to keep them secure. There was only one left for some reason, so at least I had something to work with. Turned up 3 new bushes from an old bolt and made some new counterbored cap screws to hold them on with (chucked them in a battery drill and ground them down on a bench grinder - works a treat!)
vice jaw inserts
Forgot to get any other pictures, but here is the finished article:
Leinen Vice
Using it is really weird at first - kind of like when you're on a train and the one next to you moves. I've moved it onto my bench at home in favour of my big old record so wel'll see how I get on with it. After this being the only one I've ever seen I picked up another, slightly smaller one off facebook this week.
 
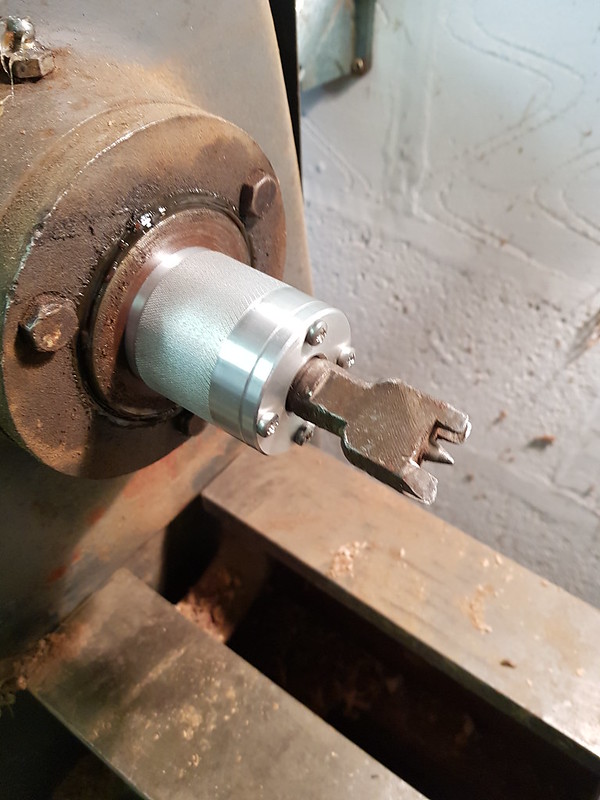
Next up was a thread protector for my wadkin lathe. As the spindle is solid, I've not been able to use tapered centres for spindle turning as getting the taper out was a nightmare. Enter the wannabe machinist :lol:
machining thread protector
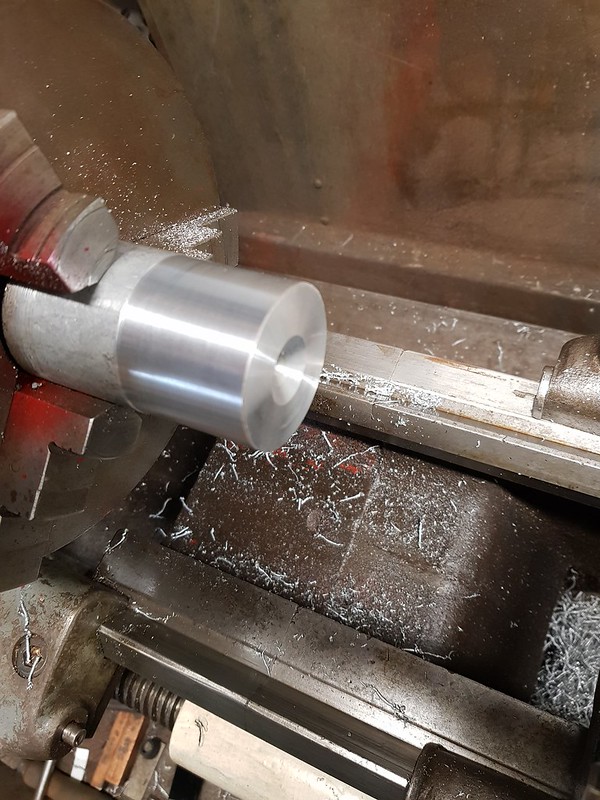
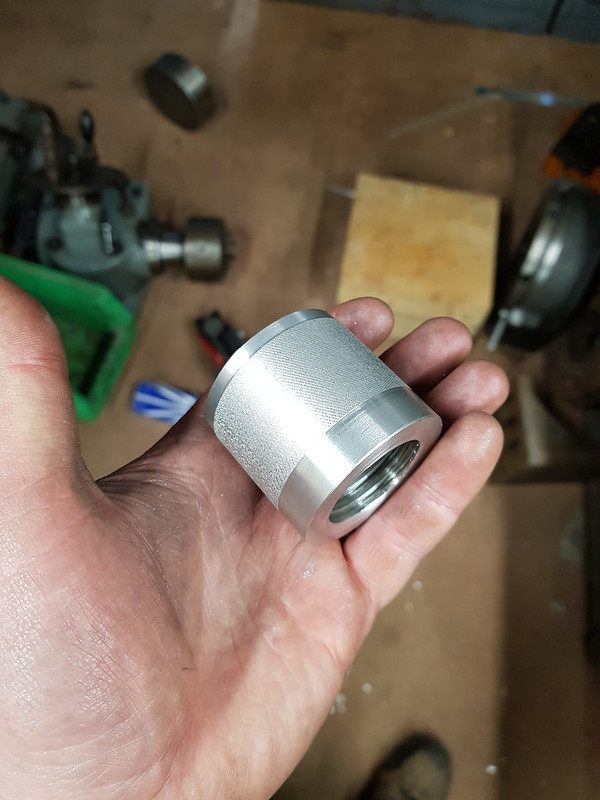
Turned, drilled, bored and threaded (I cheated and tapped it, didn't fancy internal threading up to a stop for my first go at threadcutting. Its a 6tpi thread so its moving pretty quick) then I knurled it -this didn't come out as deep as I'd hoped. Need to work on that next time.
thread protector
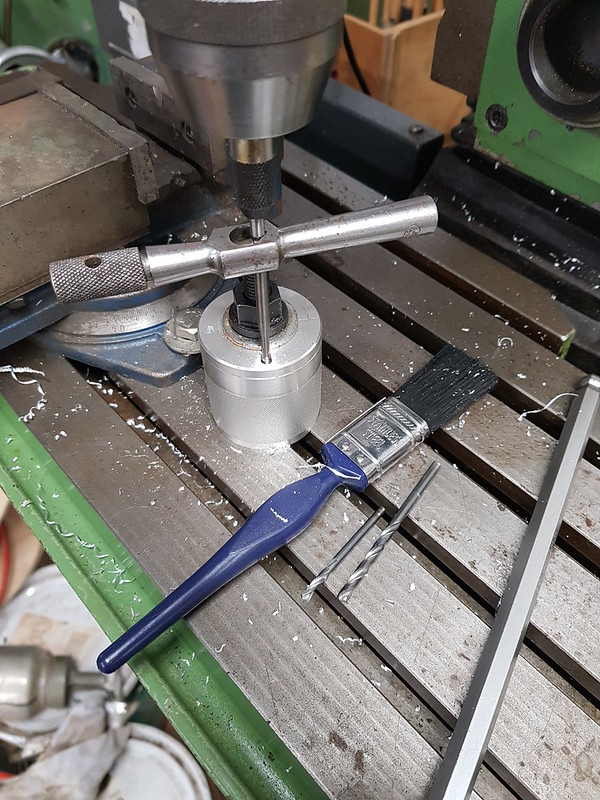
Then I turned up a top cap, bored in the middle. Marked it up and drilled and tapped it in the mill:

And the finished article:
thread protector
Worked first time. Chuffed is not the word! :D
 
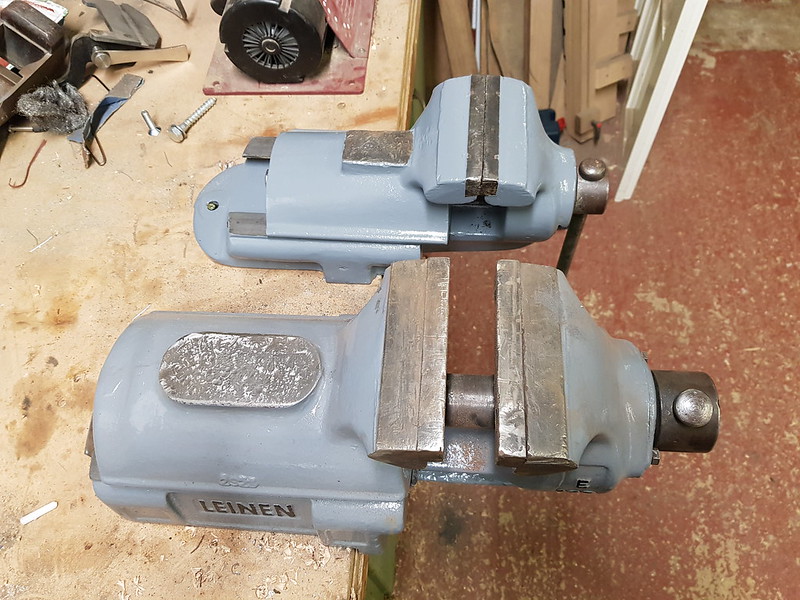
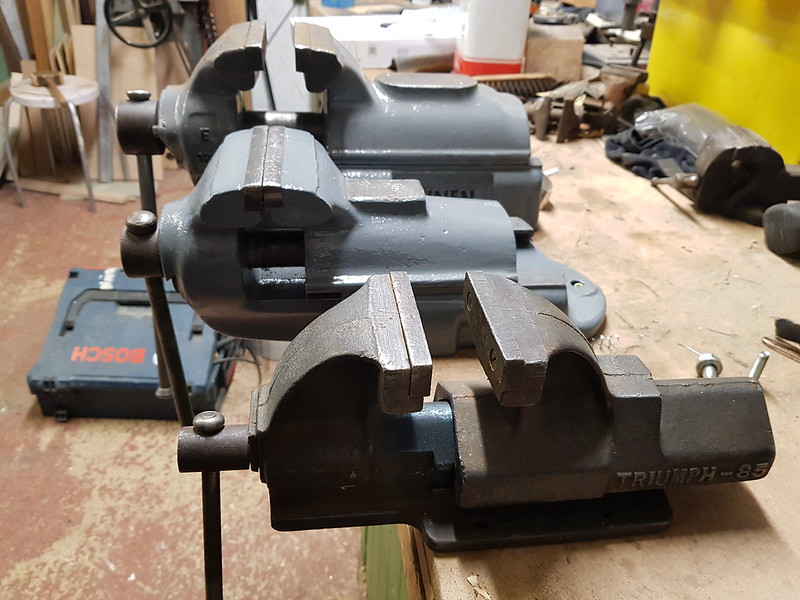
Finished up the restoration of the second sliding rear jaw vice:
Vices
And my dad picked up a 3rd on a recent trip to holland!
Vices
The little one binds on the castings when its closed up - not sure if it's been dropped at some point or if its a manufacturing defect- its in almost unused condition so I think it may have been rubbish from the start (hammer)
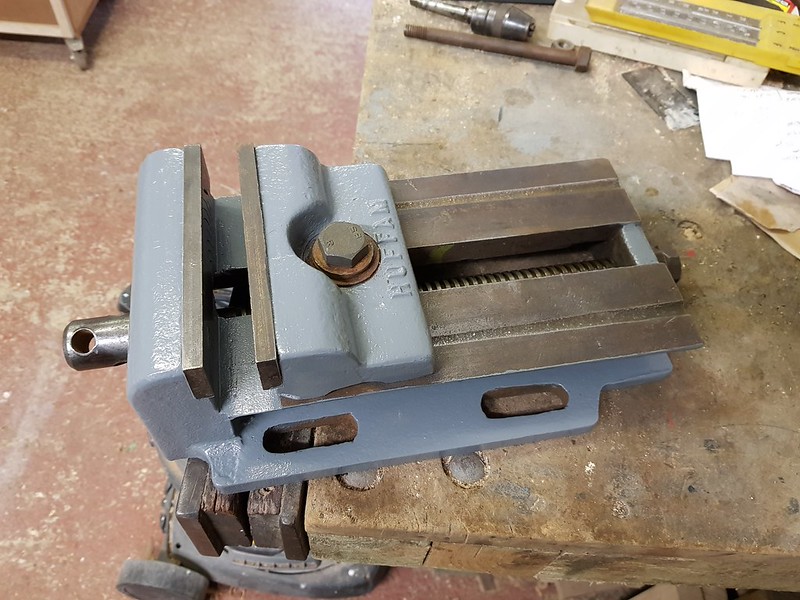
To round off this session of vice restoration, a machine vice I picked up recently, hot off the production line. The moving jaw pivots - nice for holding irregular shapes. I'll probably stick this on one of the mills at work for now. Just need to turn a suitable handle instead of the quality 6" bolt it was supplied with :lol:
Vices
 
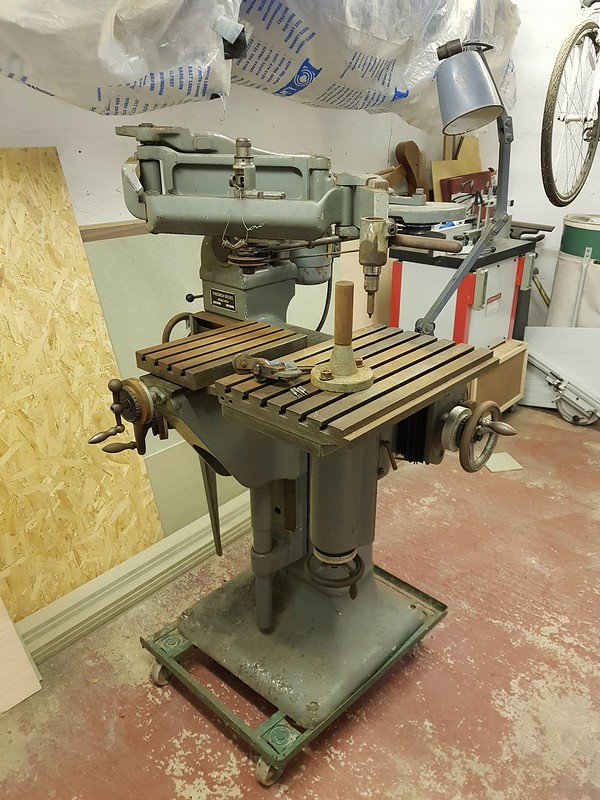
Latest part of my highlights reel is the Deckel GK21 pantograph. Back in Febuary I spied this on ebay and as they've always interested me I stuck a bid on it, not expecting to win it. Whoops. (Mrs F is very understanding) Getting it in my van was an interesting experience with the sellers ancient tractor forklift thing, and we also bent a cover plate with the strops (more on that later) but at that point I just wanted it to stop swinging around and get it strapped down in the van! Getting it back out of the van at home was thrilling too, pretty much maxed out the engine crane, but it all turned out ok in the end :D Here's how it looked when I got it back:
Deckel pantograph
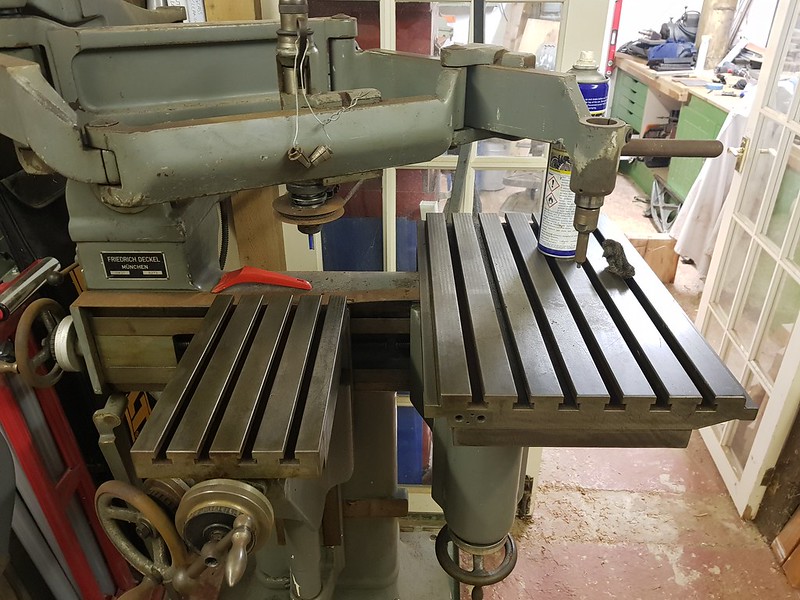
I've steadily been working my way around it ever since - whenever I get a free hour in the workshop I'll derust/clean up the next section.
GK21 cleanup begun
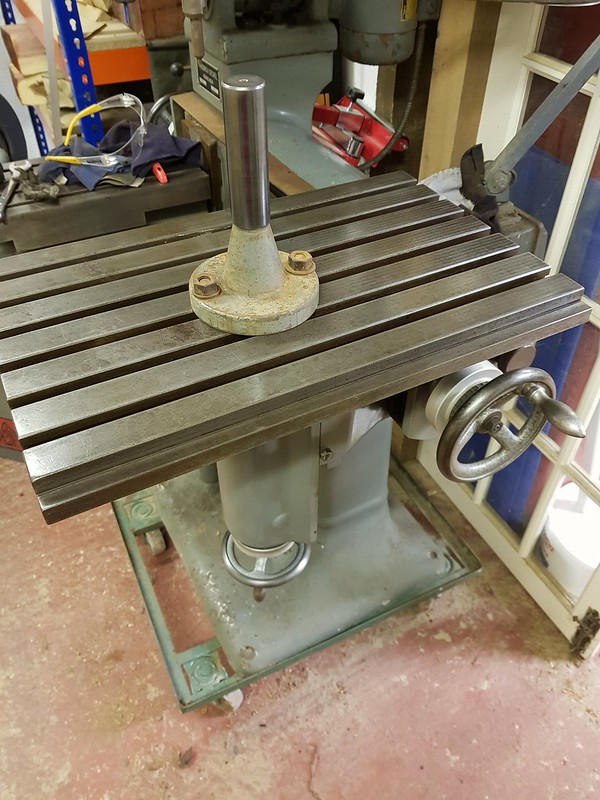
Cleaned tables
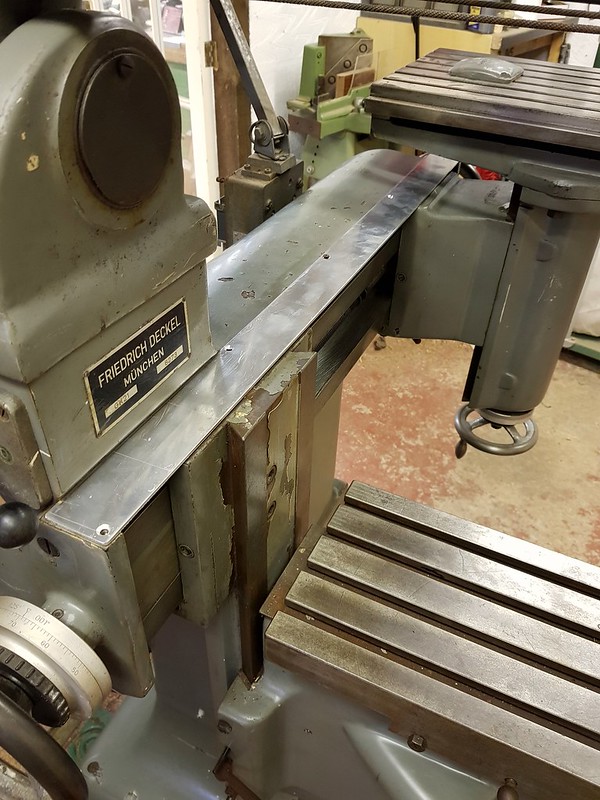
It was covered in the black gunk that drops off ivy, but apart from some light surface rust its in really good condition. The paint has cleaned up really nicely - apart from a few chips on the base its almost perfect. In the pics above you can see the rusty strip that goes along the top of the leadscrews that looks a bit bent. The tension of the strop snapped 2 of the M4 countersunk screws holding it on and bent it about a bit. I've been dreading having to get the screws out but it turned out to be really easy. I used the sharpest, thinnest puch I had and made a punch in the top, then just drove them around and around with the puch. Easiest bolt extraction I've ever had! (I'd bought left hand drill bits and everything, expecting it to be a pig!) Today I made up a replacement cover strip in aluminium, just waiting on the right screws for it now. My neighbour has been for a look at the motor and we've worked out a plan for getting it powered up. Exciting times!
Gk21 cover strip
Ollie Sparks the plane maker has a similar machine that I was going over at Richard Arnold's open day, it really fired me up to get this running - the stuff he is doing with his is incredible. Not that I'll ever be at that level :lol:
 
Haha, should probably have mentioned that! Basically it is a reduction milling machine/router. The right hand table holds a large master pattern which you trace with the pin at the end of the arm. The left table holds the work, and the spindle moves above that. By altering the pivot points on the arms you can achieve reductions from 1.5 : 1 to 10 : 1. They're effectively made obsolete by CNC routers but its still a very cool machine. This one can also work in 3D - I'll get a picture of how that works as its easier than explaining it. 3D printing has recently made them more usuable again as you can very easily and cheaply make master patterns that would have been very expensive before. I recently saw Stefan Gotteswinter on youtube cutting a tiny torx head in a titanium bolt with his one from a 3D printed master.
The "post" thats on the left hand table can be used to lock the arm assembly in place so it can be used as a milling machine as well. The most common use for them was for engraving and die making. I recently went to see a proper die making workshop where they still use these machines - the precision was awesome. They're using cutters with a 5 thousandth of an inch tip. Incredible.
Engraving
 
Pantograph progress: the inverter I had hoped to use didn't work - not sure if it was the VFD or the weird 2 speed motor. Bit the bullet and got a new motor and inverter that should all play together. Hopefully be running this weekend.
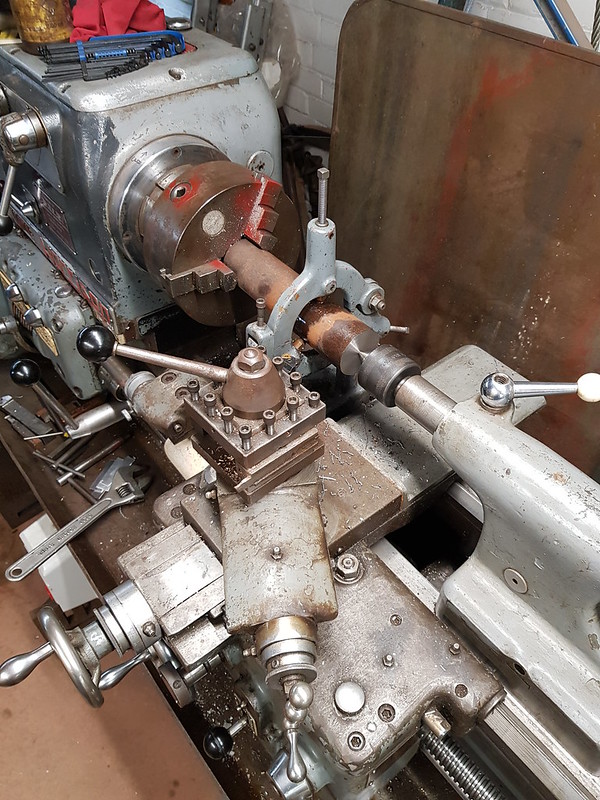
In other news, I've been playing with the lathe again. Had an absolute blast. A while ago I got a dickson toolpost for the big lathe but it wasn't a straight fit on the existing 4 way toolpost. Finally plucked up courage to have a go at making a new one (I've made this all up as I go along from a steady diet of youtube machining videos so let me know if you see I've done something particularly stupid!)
Started with a billet of suitable sized stock:
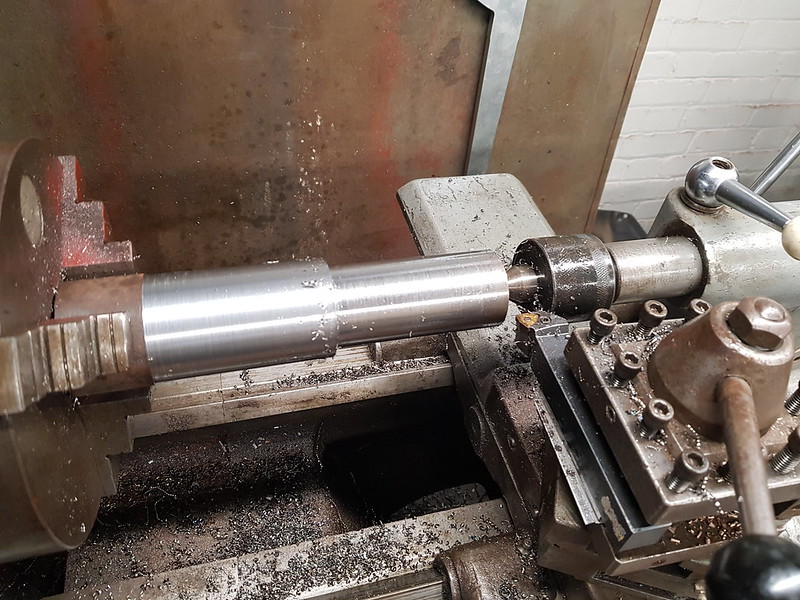
Roughing
Used the steady rest to face the end and get a centre in it. Then used a carbide tipped TNMG tool to get the rough features set out:

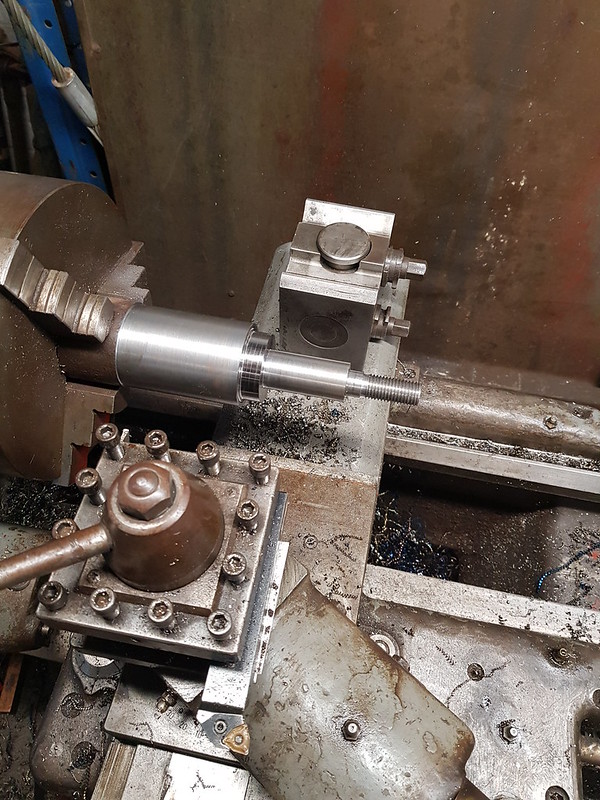
Cut the first thread with a tailstock die holder:
[url=https://flic.kr/p/2gHuaC2]
Threads!
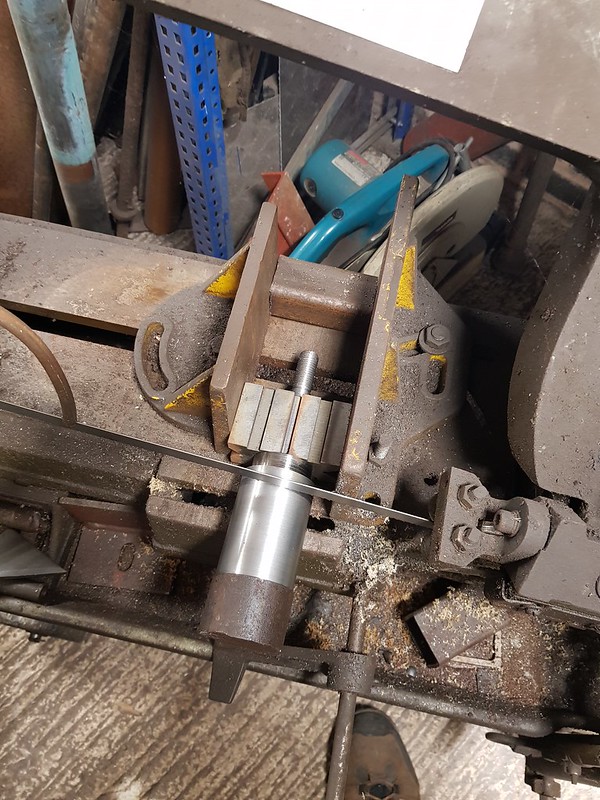
Cut it to length in the bandsaw (cuts about 5mm off square, another thing to fix!)
bandsaw
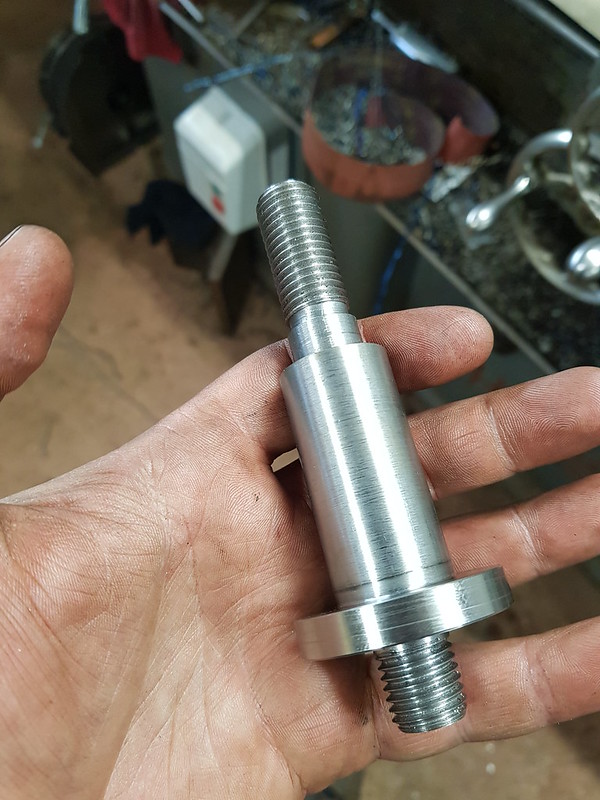
I remounted it in the lathe and faced it off, turned down and threaded the other end. I've got much more confident with myself and the lathe - learned so much on this one part! Main thing is that the more aggressive a cut the more the carbide likes it. I was messing around taking light cuts and getting long stringy springs - once I started taking a more "manly" cut I got much better chips. All good fun. Heres the finished bolt:
Finished
Fits perfect, which came as a surprise to me! :lol: Surface finish could be better as well. Next job is making a T-nut for the cross slide for it and a nut for the top.
 
TFrench,
You are clearly enjoying every minute. The pleasure in repairing machines the likes of these I can sense from here. To have all required tooling available as well, fantastic.
I was thinking of your thread protector as I read another thread about a stuck drive centre. If the screws holding the top cap were countersunk, then the protector could be used as a 'jack' to force out stuck centres.
This is a great thread to read and keep up with. Thank you.
xy
 
xy mosian":k90b06ul said:
TFrench,
You are clearly enjoying every minute. The pleasure in repairing machines the likes of these I can sense from here. To have all required tooling available as well, fantastic.
I was thinking of your thread protector as I read another thread about a stuck drive centre. If the screws holding the top cap were countersunk, then the protector could be used as a 'jack' to force out stuck centres.
This is a great thread to read and keep up with. Thank you.
xy
Thanks, I'm happier than a pig in sh*t when I'm in the workshop making stuff! All the hours of watching youtube machinists are paying off :lol: My thread protector works exactly as you describe - I have to jack all my centres out as I have a solid spindle. I didn't have countersunk screws when I did it - I'm considering fitting some though, just so theres no protrusions to catch a finger on.

This weekend I got the pantograph running at last. Invertek inverters are fantastic - I wouldn't recommend anything else to be honest. Even comes in IP66 so you dont have to dustproof it. There was some minor "confusion" with the wiring of the potentiometer but anyone can make mistakes, right? :oops: Once I figured out which macro it needed to be running it worked straight away (check me out, talking clever stuff!) (hammer)
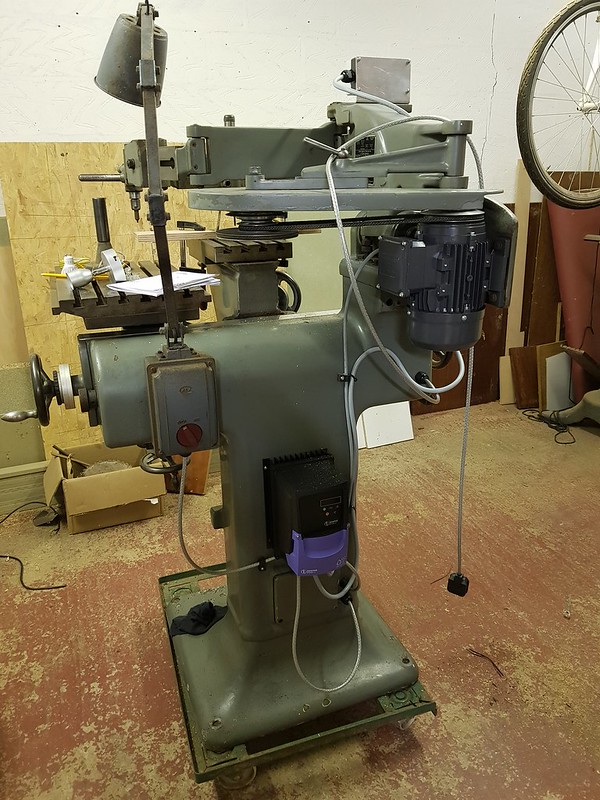
Pantograph inverter
New motor and inverter fitted, all wired up and you can see on the top of it the aluminium bracket for the control panel. Lifted it off the skate and dropped it in position - it's right on the edge of what the engine crane can lift, which is a little nerve wracking...
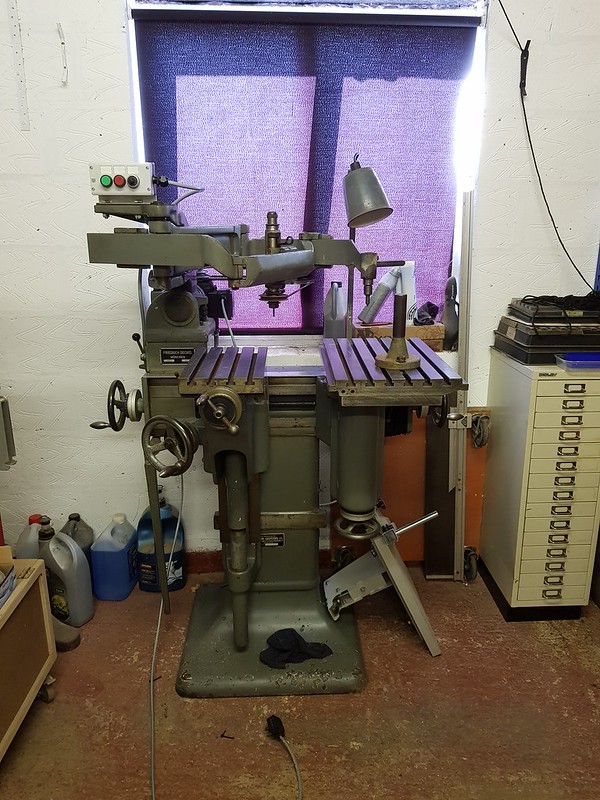
In place
And with that the only thing to do was test it:
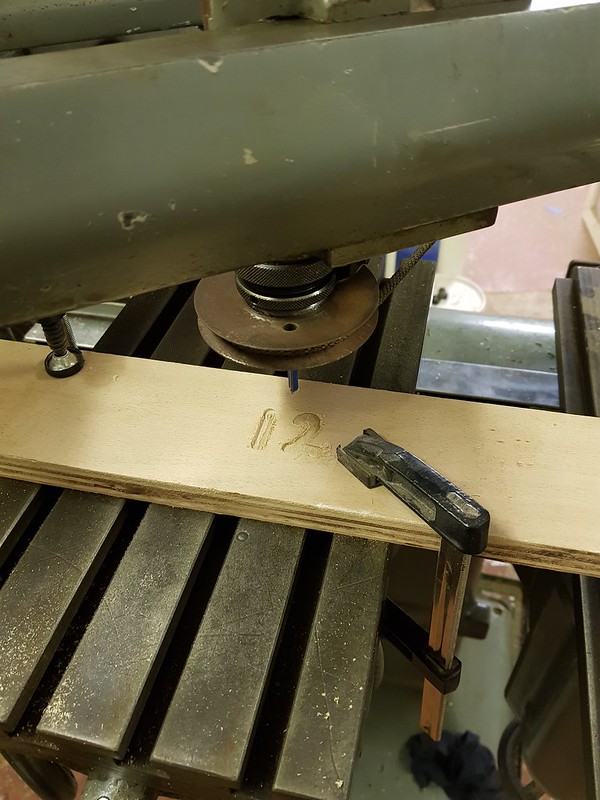
first use
(the first squiggle looked like a 2 so I rolled with it)
Still quite a bit to do - get/make clamps for the tables, make a smaller tracer pin, make letter carriers....

And finally, in what is possibly my greatest ever bit of skip diving (and its an illustrious career) I found this beauty:
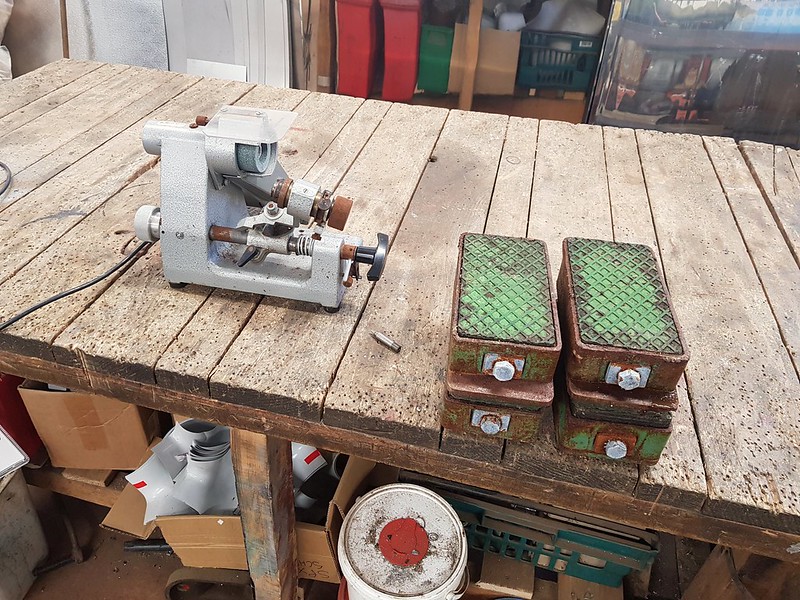
D-bit grinder
(and the machine levelling pads) It's a D-bit grinder, specifically for making engraving cutters. I've powered it up and the run capacitor seems to be shot but other than that I think its just surface rust. What are the chances? :D
 
xy mosian":15s3j5ca said:
TFrench,
I was thinking of your thread protector as I read another thread about a stuck drive centre. If the screws holding the top cap were countersunk, then the protector could be used as a 'jack' to force out stuck centres.
xy
That's how they're used on solid spindle lathes like Record CLs.
 
phil,
That I didn't know. Nowt new then!

TFrench,
What glorius sh*t to be in.
Do I see you moving into cycle powered machinery as well?

xy
 
With the pantograph project pretty much done mechanically there has been a dirty, greasy heavy old iron restoration shaped hole in my life. Enter stage left....
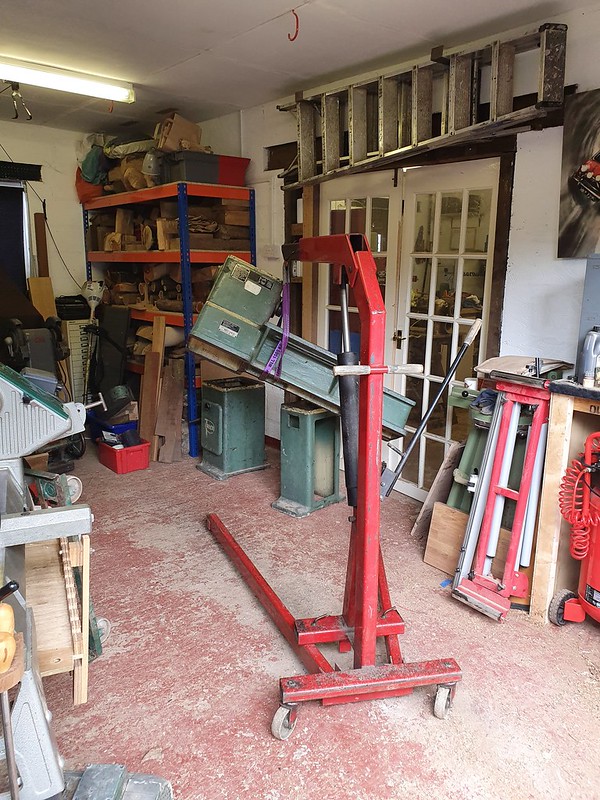
assembly
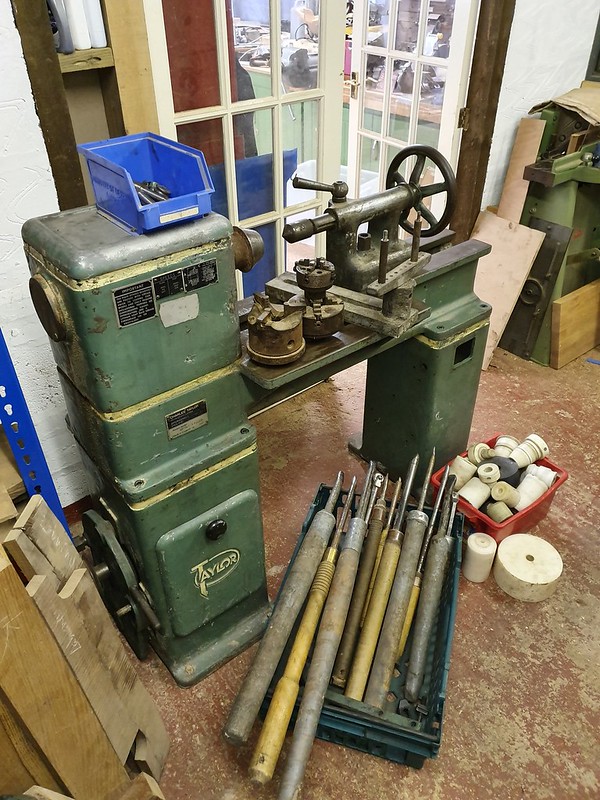
A Charles Taylor metal spinning lathe. Because everyone needs one of them. Obviously. Metal spinning has interested me for a long time as it brings together woodturning and tinbashing. Plus it looks incredibly cool. (youtube it if you've never seen it done!)

Restoration wise I don't think it is going to be that much of a job to sort. Bearings seem ok, the green and cream seems to be original and 90% complete so I'll leave it. The tailstock sticks a bit - I have a feeling there is a thrust washer missing. Main issue is the motor. Original is a monster dual speed 4hp 3 phase jobby, mounted on an even more enormous bracket that goes on the back of the headstock. An inverter big enough to run it would overload my electic supply so I think the gameplan is going to be fitting a new smaller motor on a more sensibly sized bracket, and fitting a VFD in the right hand leg.
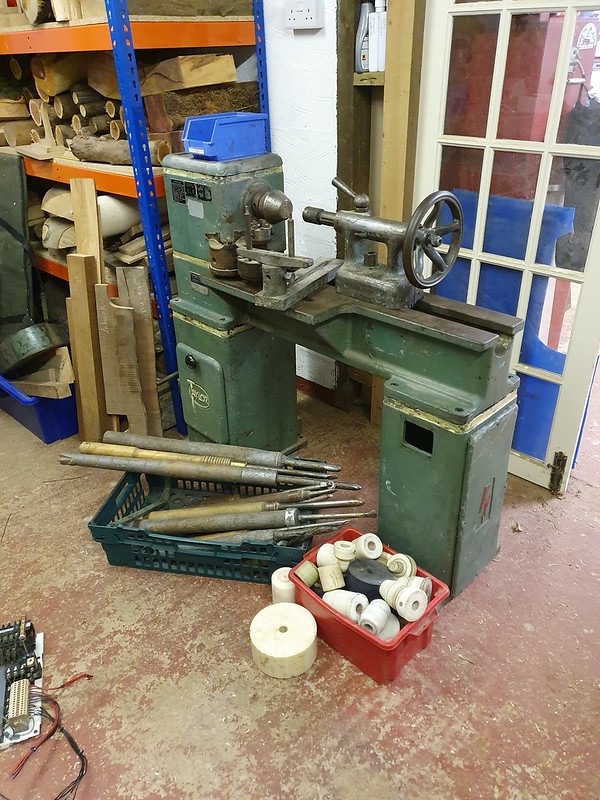
built up
tools, chucks and forms
The main reason I bought this one (aside from it being cheap) was that it was advertised as coming with a couple of tools. Turned out it came with this massive selection, 3x proper chucks and a box of nylon forms. The guy also gave me a full set of instruction DVDs as well which should come in handy. He has also offered to come and give me a lesson when I get it running which would be helpful!
 

Latest posts

Back
Top