Adirondack chairs

UKworkshop.co.uk

Help Support UKworkshop.co.uk:

This site may earn a commission from merchant affiliate links, including eBay, Amazon, and others.

slemishwoodcrafts

Established Member
Joined
13 Sep 2007
Messages
374
Reaction score
0
Location
Northern Ireland
Hi all, about a month ago I took out an ad on Facebook for my woodworking. It cost me something like £4 for a week and I reached around 15000 people according to the stats.

Anyway long story short, it worked and I have a few orders in for the next couple of months. Here is the first completed order, a pair of Adirondack chairs with footstools and a table.
207f08fef33b4e2f00cc5f7993bdd69f.jpg

3ac315c601bfddd4ca2ae92eb7aba796.jpg
55696a8b74a5c67b0e3e2c42bc2f0e82.jpg
849b49f79a6d77a1fae9c615edd9d14d.jpg
791917477d2d5eae5f3946c3569fa597.jpg
ef8b536bd050e6387af9c3cd7e035be0.jpg


The final picture is the chairs after being delivered to the customers house. They were bought as a surprise present for the customers parents who were blown away with the gift!


Sent from my iPhone using Tapatalk
 
Good work Slemish :)

I had a go at the table you made; stained the same colour as yours too !

On Saturday I will post a piccy of my version
Cheers
 
Great looking chairs mate. My wife keeps on at me to make her some of these once my workshop is ready. Do you have plans for these or did you build it from eye?

Also the spray finish you used, what is that?

thanks

Colin
 
technium":24qcz3jl said:
Great looking chairs mate. My wife keeps on at me to make her some of these once my workshop is ready. Do you have plans for these or did you build it from eye?

Also the spray finish you used, what is that?

thanks

Colin

I used a plan I got online as reference and eyeballed some of it to make it more secure. The online plan didn't have a vertical back support, instead it relied on the back rail being held up by the arms and the slats, I felt that was a recipe for disaster.

The finish is Cuprinol ducks back. B&q had it on offer and it was the perfect colour for what was ordered. I painted the first chair by hand and then thought it could maybe be sprayed so I tried and it worked OK as is, I then added a wee bit of water to thin it out and it worked a charm.


Sent from my iPhone using Tapatalk
 
Great thanks, so adding abit of water to it enabled you to spray it? I think the look of spraying over painting looks better but never tried it myself so will give it ago.

Do you have a link to the onine plan you can send? I dont think im good enough to eyeball it LOL

thanks

Colin
 
Technium
Just use ordinary printer
To enlarge I used Inkscape [link later]

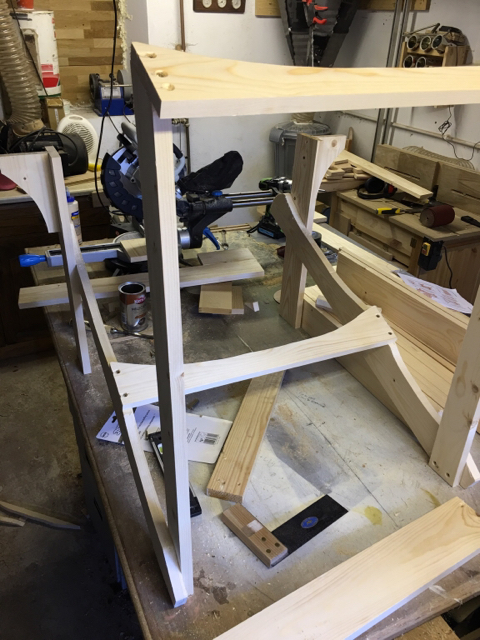
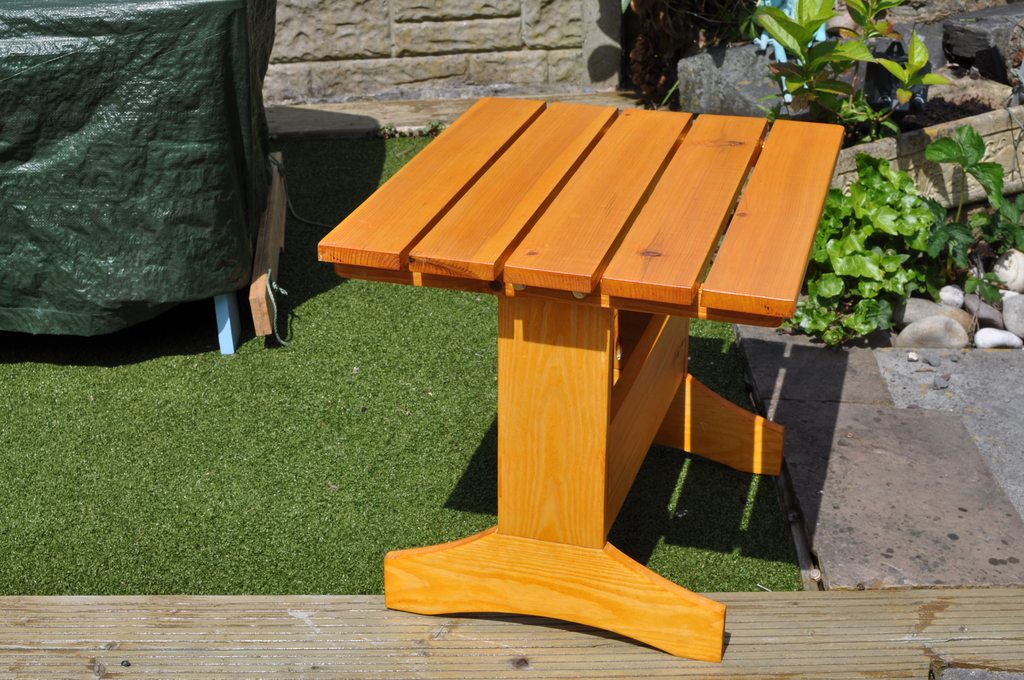
My version of table using hidden pocket-holes
hCMNMrIh.jpg
 
Cordy":2yu0toek said:
Technium
Just use ordinary printer
To enlarge I used Inkscape [link later]

My version of table using hidden pocket-holes
hCMNMrIh.jpg

Managed to download inkscape but I cant for the life of me see how you print to scale as the plan shows :(

thanks

Colin
 
Colin
Not very savvy myself on computer
TcHz2GWh.jpg


Forget the chair plans until you are familiar with Inkscape

Try to import a picture into Inkscape
Change scale to inches and see if you can enlarge it; to say A4 page size

Then report back

X7AkiZfh.jpg
 
Thanks Cordy

I used the snipping tool to cut the exact same part of the chair as you have in your picture above, I then imported that into inkscape and under preferences for the document I changed from Px to Inches.

The image was then only about 2 inches x 7inches, so I dragged it out to roughly the correct size.

thanks for your help so far.
 
Colin
Have you sussed Inkscape ?
Lots of good tutorials btw on utube

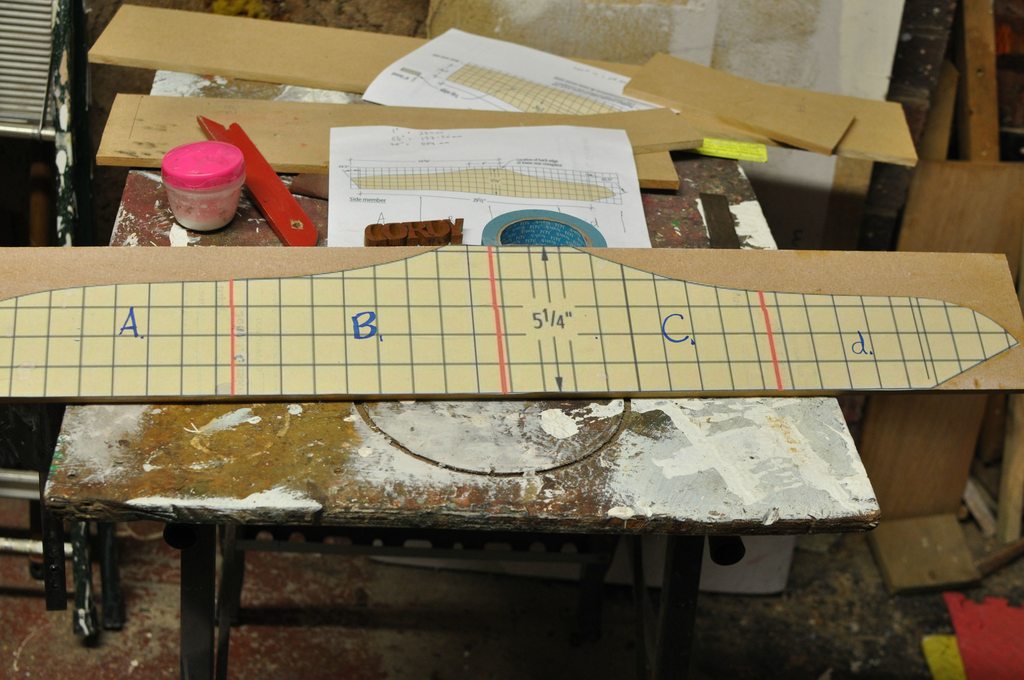
I glued my print-outs to 9 mm MDF which is what I had at the time
Then cut MDF to shape using my old Hegner scroll-saw; finishing with sander- drum in pillar drill
The templates were then used to make parts with profile bit in router table

My timber is cheap redwood 1 inch par, treated with Sikkens
Hidden pocket holes where possible

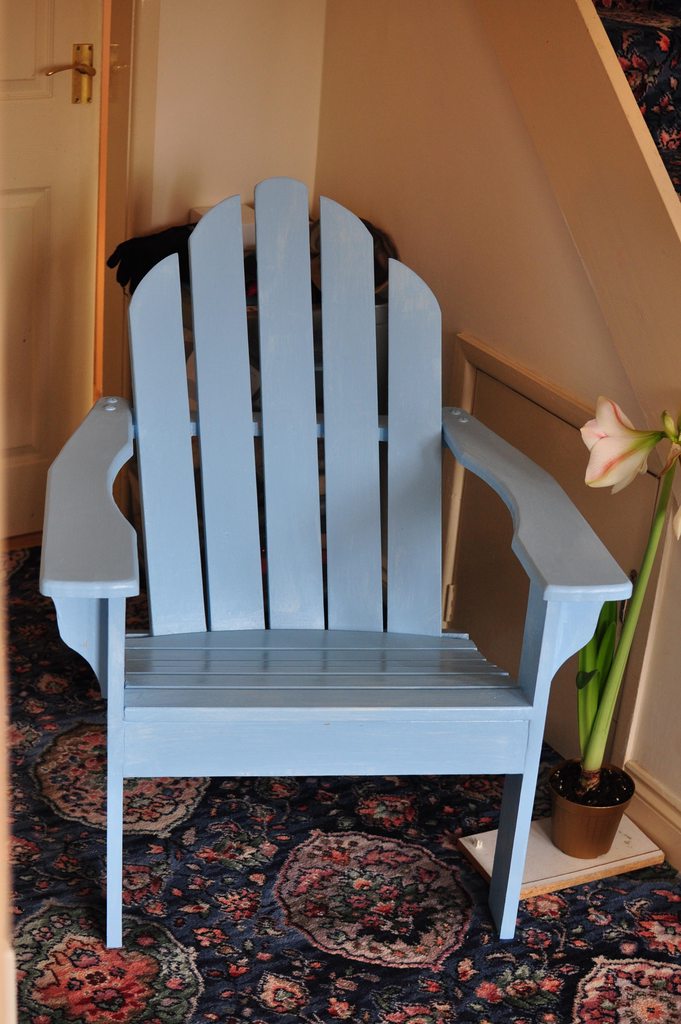
This blue one with expensive paint from B & Q, which I gave to wife's sister
SS6idHWh.jpg
 
Thanks Cordy, looks good.

I will have a look at some tutorials and I guess you then just printed over several pieces of paper and stuck together.

thanks

Colin
 
Yes; that's the A B C D; 4 separate A4 sheets
to stick on MDF

The Steve Shanesy article is fantastic ! I could actually follow it

Only recently started woodwork [retired gardener] not done my first Mortise & Tenon joint yet :oops:
 
Cordy":2iqcjp5g said:
Only recently started woodwork [retired gardener] not done my first Mortise & Tenon joint yet :oops:

I thought they were a music-hall comedy duo?... But then, I'm just a hobbyist. :-D
 

Latest posts

Back
Top