With all the pieces cut, I did a test dry assembly, then took everything apart again. I should have tidied up the workshop properly, but there was just enough space to spread out all the components, on the bench
on the table saw
and on a Workmate
I then had several peaceful sessions, brushing on the finish. I used Le Tonkinois, which I used on the earlier chair, and wrote about
here.
With each piece covered all round and the varnish dry, I reassembled into the major elements of the chair and footstool. These then had some more varnishing.
It's a nice easy finish to use, but even if you are really careful when putting it on, it does tend to leave drips below vertical surfaces later. Here you can see some on the seat, before it got its next layer. It's easy enough to sand these away.
The design is one which folds, which makes it practical to take in over the winter. In use, the chair is held rigid with a a pair of pegs. I turned these, using an offcut of the same wood.
With the varnish dry, I did a full test assembly. I needed to slightly tweak some of the hole positions for bolts and the pegs- in retrospect, it would have been better to clamp it up and make the holes at this stage.
One last digression on this - what to do if you have two 5/8" holes which don't quite line up. An ordinary Irwin pattern auger (with the scribing cutters on the edge) isn't great for this - it tends to want to dive into the hole rather than boring a little moon shape out. But a solid nose bit will bite into the overlapping hole nicely. This is the sort I mean:
- so they are worth buying, if you happen across them.
Anyway, enough about old tools and stuff - here's the chair in its folded state:
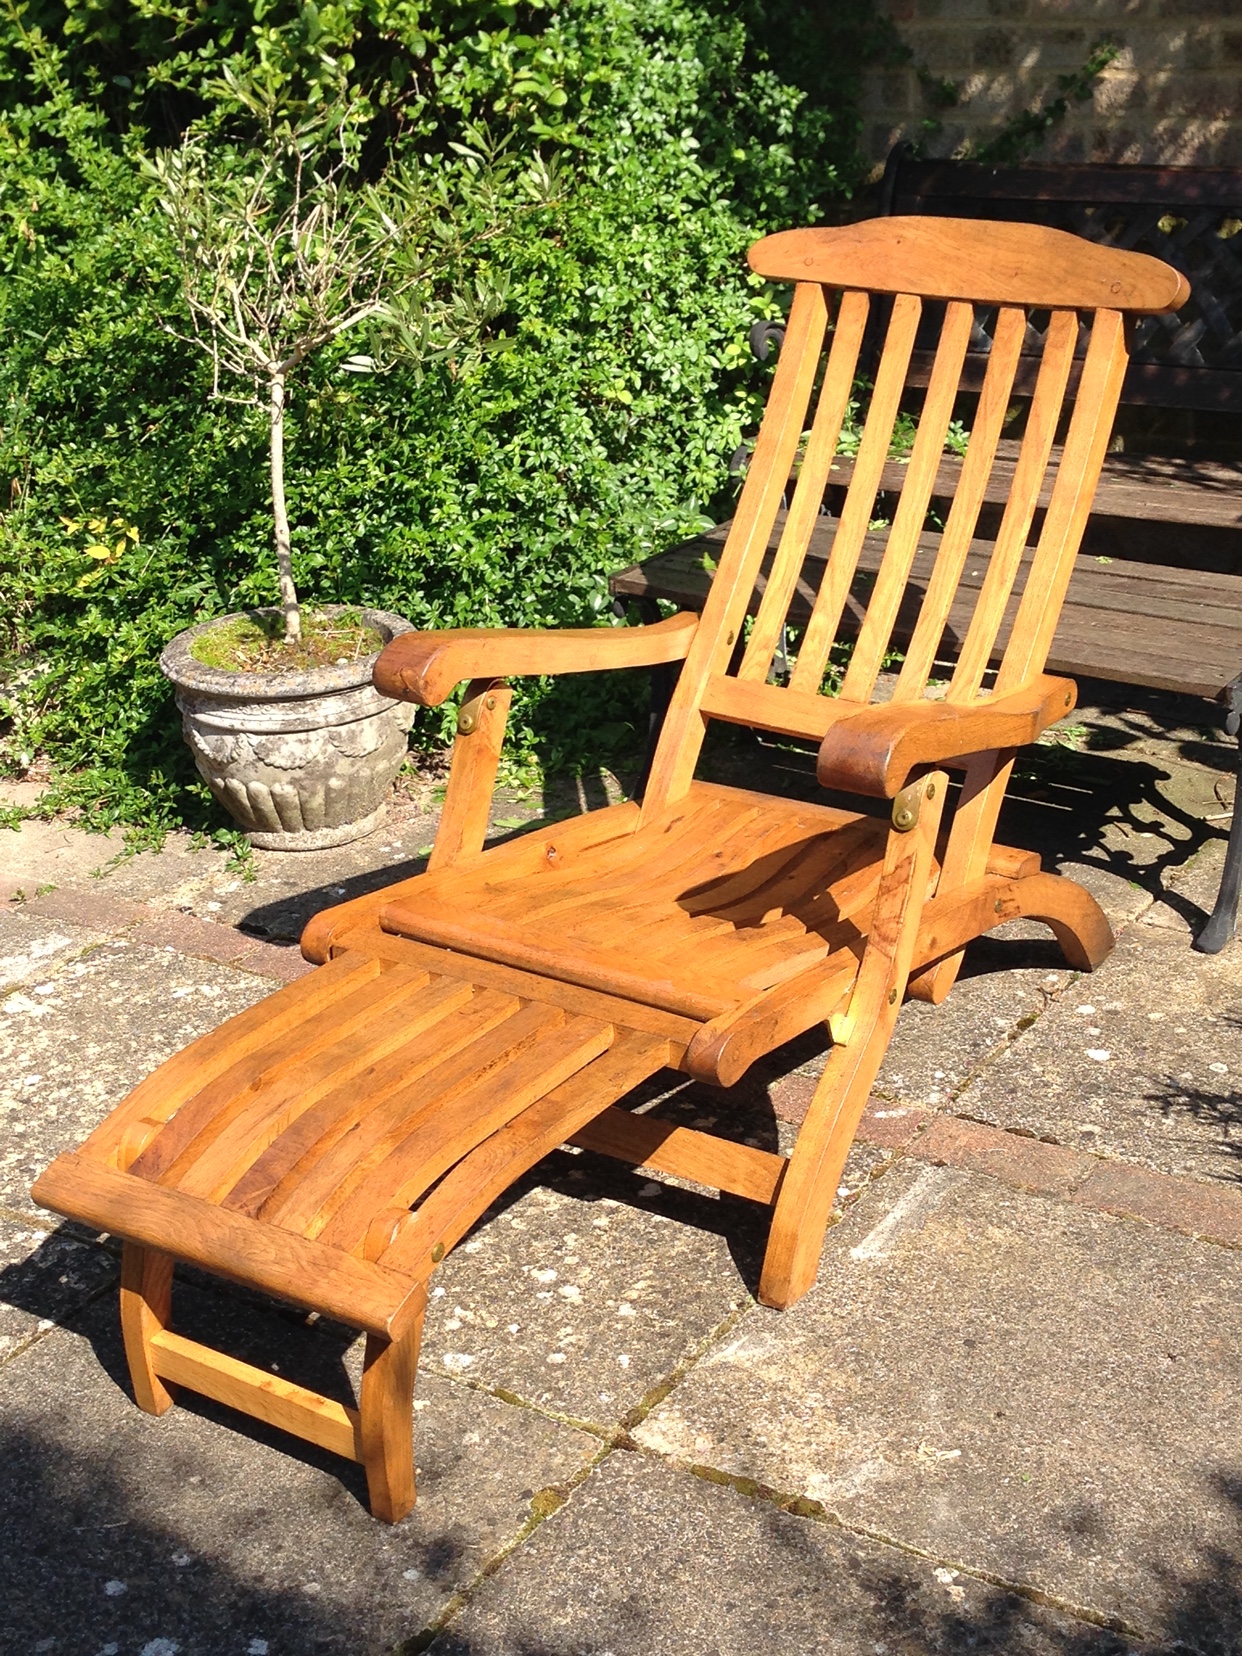
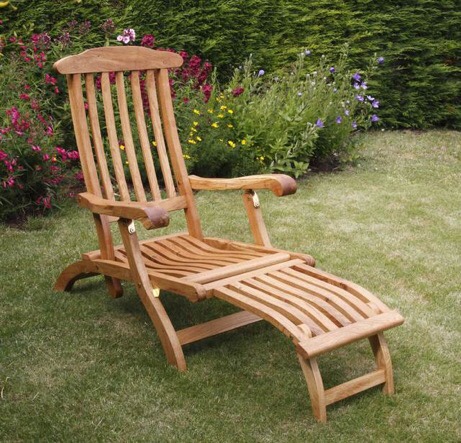
and here it is assembled:
In reality, I have a bit more finishing to do and I want to cover some little details such as swapping the wingnuts for stainless shakeproof nuts, and cutting down over-long bolts, but provided the sun comes out again, I plan to put the chair to good use in the garden for the rest of the summer. 8)


