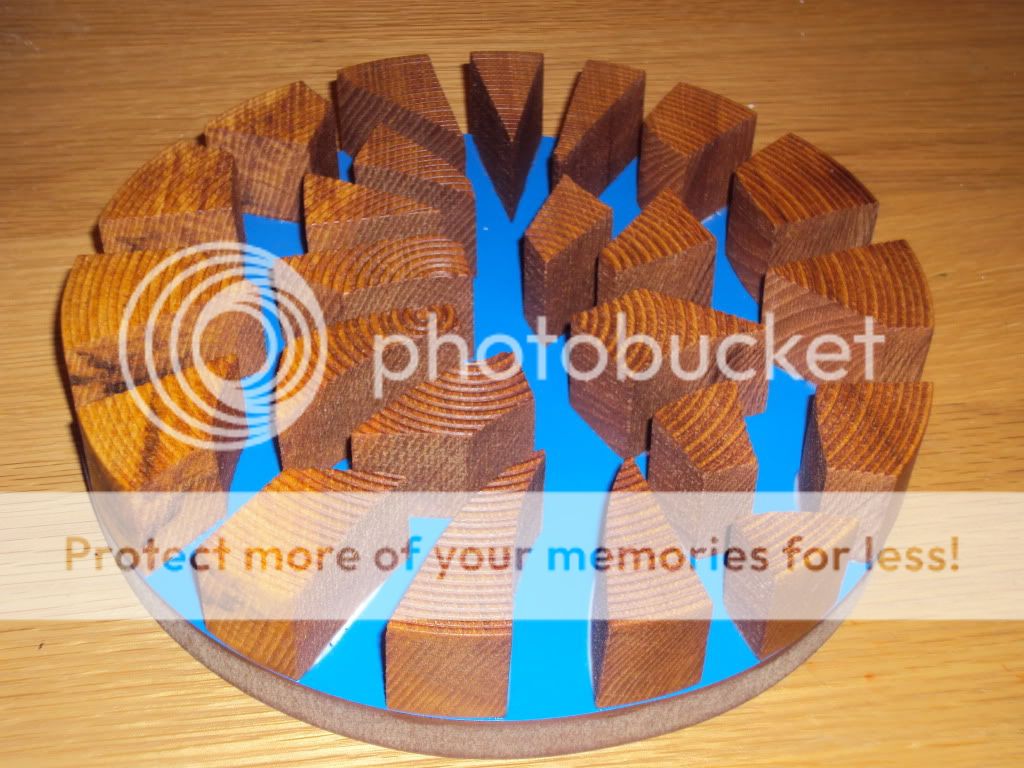
A Simple Piece - Fractured Circle

UKworkshop.co.uk

Help Support UKworkshop.co.uk:

This site may earn a commission from merchant affiliate links, including eBay, Amazon, and others.

skeetoids

Established Member
Joined
4 Apr 2010
Messages
868
Reaction score
0
Location
South Queensferry, Edinburgh
Hi Folks,

A simple piece but lots of fun, couldn't wait for the glue to dry before taking the pics!
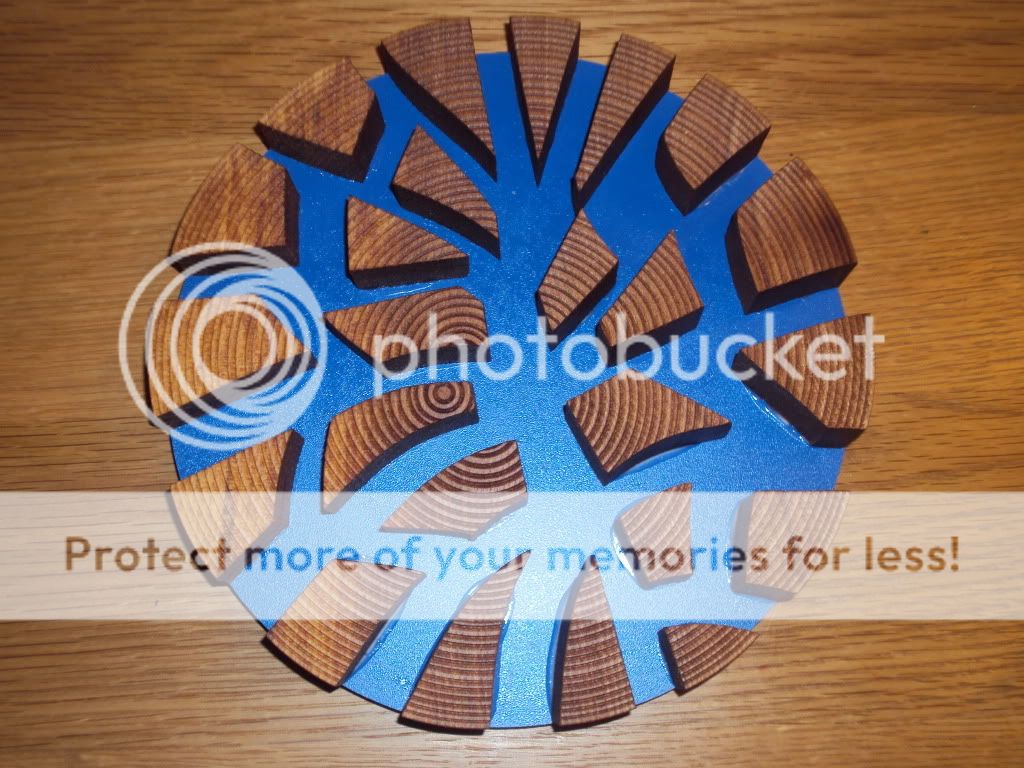
DSC00305.jpg


DSC00303.jpg
 
I really like the idea and the wood itself. But I'm not keen on the blue. I don't think the two match. Maybe try black or red?

Actually I think you should turn the bottom disc out of real wood and ebonise it. That'd look kool.
 
Hi Lee,

Keep on soaking it up mate - cos you seem to be taking it all in and holding onto it like a sponge.

Your work reminds me of a guy I used to work with in metal turning.
Both of us were apprentices at the time, but the guy just came up with ideas by watching what everyone else was doing.
Next thing we knew he was making stuff the long-time turners would think twice about tackling.

I can see you heading in that direction with the wood turning, as your pieces just seem to blossom and evolve as you go along.

Keep up the great work.

Gerry
 
Yours is certainly a different take on turning Lee, Vive La Difference as they say.

Try not to rush the finishing, the excess glue mars it somewhat, only the smallest amount would have held the pieces adequately.


An idea for future pieces in like vain, try using double sided tape, trimmed with a sharp blade to the piece profiles.

Gives you the opportunity to relocate if positioning not quite as envisaged.
 
Thanks for all the comments, much appreciated.

Chaz, cheers for the double sided sticky tape idea, my Wife makes cards so there's plenty around. I need to calm down with the glue, a small drop on each piece would have done. I truly respect your input on finish, your work is exemplary in this area.

Happy turning folks.
 
Someone to watch by the look of it. You will give us all a shock soon and turn an ordinary bowl :lol: I echo misgivings with the colour of the base but the idea is definitely something worth working with, especially with wood with such a pronounced grain. Keep 'em coming

Pete
 
Thanks B, comment much appreciated.

TBH this was made more out of necessity, I only have 3 or 4 blanks left but they're too thin to make bowls from, I also have a screw chuck so can't get deep enough to make a decent bowl!
 
That is such a clever idea. How did you do the cutting out as it seems so clean a cut.

I like the colour and the texture of this. Pity about the glue but that's the learning curve - one thing I would ask though is why you placed the centre ring piece offset from its immediate neighbours. My instinct would have been to put them centred on one another so the rings were effectively concentric - were you consciously creating disharmony?

Rob
 
Hi Rob,

I made all the cuts on my band saw and then gentle sanding with 600 grit.

I did choose to put all the centre pieces out of allignment, I tried it the other way but it didn't feel right, I am generally paranoid on symmetry so this piece felt so free to me.

The glue is down to impatience on my part, this will not happen again.

Cheers.
 
Wizer, it was perfectly round, maybe next 1 i'll change the starting shape.

Will post a pic tomorrow of a similar piece I made for my Daughter, so you can get a different feel.
 
skeetoids":q7400sqf said:
......, I only have 3 or 4 blanks left but they're too thin to make bowls from, I also have a screw chuck so can't get deep enough to make a decent bowl!

You can make Platters from them though, Use a Hot Melt Glue Block for your screw chuck.

You can even complete both sides with a glue block with care.

Mount glue block on screw chuck.
Turn base profile.
Attaching the second block to a finished surface whilst still mounted on lathe, centering the screw chuck hole before removing from lathe.
Turn round and complete second (Face) side to finish.
Then remove glue block with care from base finished surface and finish by hand.

(Split block with the grain with a sharp chisel, block edge supported on bench edge or the like to ease removal)

I did this with several before I had Cole jaws etc. big enough to hold them.
 
A tip for removing the hot melt glue from a glue block that I've been usinging.

Once finish apply some Acetone to the glue and it comes stright off by pulling apart. I don't know if nail varnish remover will work as they are starting to use other stuff and there is not a lot of acetone in there.

I've been using neat that I got for cleaning up fiberglass resin.

This has worked a treat.

Mark..........
 
Lee good to see you having fun.

Keep experimenting. This sort of work is fun for wall sculptures/hangings. Especially if you put them onto a rectangle back board/piece of wood and hang them on the wall.
 
Cheers Mark,

Hopefully be acquiring another package of blanks soon from Scottish Hardwoods so i'll get back to turning some bowls etc.

Really want to get back to the basics but as I mentioned earlier I'm running low on supplies and don't have a glue gun etc. for the alternative bowl mounting options described.

Aw the best.
 
Back
Top