A profile that works better on chisels

UKworkshop.co.uk

Help Support UKworkshop.co.uk:

This site may earn a commission from merchant affiliate links, including eBay, Amazon, and others.
http://www.woodcentral.com/woodworking/ ... -v11-test/

Winston Chang is a fellow in the US who has been experimenting with the buffer since I brought this up.

Derek Cohen's testing suggested that the V11 chisel held up better than most in more standard sharpening regimes. I suspect that derek's test illustrated hardness more than steel type (V11 is probably slightly less tough than carbon steel, but the hardness range that LV makes these chisels in separates them from their O1 offering, which are spec a little bit too soft for woodworking use - at least optimally)

Because of Derek's testing, I chose to order a V11 chisel before I run a test of all of this stuff and write an article. I have had V11 irons before so I suspect the V11 chisel will work about as well as an AI Mk2, another chisel that I will test. They are relatively similar in hardness.

Since the V11 chisels are generally considered over here to be a top of the market offering and not everyone is familiar with the wonderful AI MK2 chisels, I'll be testing both (if I didn't include V11, the instant reaction would be "V11 probably would've been fine without this")

For the same reason, I will also include a japanese chisel (assertion that japanese tools never fail is almost immediate if you don't show proof)

I've actually never seen any flat honed chisel that doesn't suffer some of these typical types of damage in hardwood unless the final edge gets very steep ( a leave that shoots chips off of hardwoods usually more so than laying over leaves of wood when chopping, and that's annoying)

At any rate, winston finds the buffed buck brothers hardware store chisel to hold up fine, while the V11 chisel shows hard chisel tendencies at the edge at 30 degrees. I will repeat this and also find the level where each of these chisels holds up well with flat bevels, the associated work with each, and then the ability of a shallower bevel to be buffed and hold up at least as well and be less work.

We haven't yet found any reasonable chisel that won't hold an edge well in maple once the edge has been buffed into this small rounded element.

I think winston is more focused on edge holding and less on taking advantage of subsequent slimming of the bevel behind the edge, but it's there to take for free and I'll show that by counting controlled strikes in testing.

Separately, I believe that for the folks who like flat bevels and who have been led by magazine or blog tests to "buy up" because they had a chisel that just showed itself to not hold up in work, an extra 2 degrees of microbevel generally solves the problem between expensive and cheap chisels.
 
I just wanted to say that your suggestion does sound interesting. You're possibly a bit disappointed by the quiet response. In my case, I will try it out but I'll have to be a little bit less lazy to do so. The reason is that although I do have a buffing wheel there's no room to have it permanently set up and it lives on a high shelf in the corner.

Somewhere in the back of my mind I think I remember a carver suggesting a powered buffing wheel but I mentally dismissed it as unlikely to work, even though he was happy with it.

So expect more from me later.
 
Not by any means essential, of course. If the trouble to apply the method is greater than the trouble in sharpening chisels with minor damage, that's a net loss in my book.

I expect that most people won't find this that interesting as it's just something else to learn, and it really (like planing) comes into its own - noticeably to the user - for someone who may be doing a whole lot of joinery or paring at once. And I think as much as people like to think they do that, most people don't.

On my last case, I did 9 feet of half blinds in stock around 0.8" or so. It makes the process much more pleasant as I don't waste the HBs with a router or anything. It's nice for mortising planes, too - but ....as far as I know, none of the current professional plane makers removes the bulk of waste by hand, either, and most people default to drilling even as newbies.

I've seen the same thing from carvers, too - long thin bevels with a small roundover, and dismissed it as too fragile looking and probably something good to do if you're not "laying the wood" to chisels. Now I sort of get it. Carvers who do a lot of carving (and not just detail work after power removal) will be sensitive to edge chipping and effort, and they probably do plenty of malleting).

It appears that the koch system, which was probably never properly marketed, does a version of this, but they are evasive in describing exactly what's going on. This is much easier and cheaper (the koch system uses expensive wheels at a low speed - at a high speed, felt wheels burn tools. It appears to work well as is, though, and it's amazing to me that at about 2/3rds of the cost of a tormek, they didn't manage to sell it to people to maintain the bevel and hone the edge on flat tools - something everyone wants out of a tormek but most people will become impatient with).

Anyway, it's "just another method" at this point, just one that is pleasantly inexpensive to do and works really well. Anyone who has a subpar set of chisels that they'd have liked to use has probably long since bought up to something harder.
 
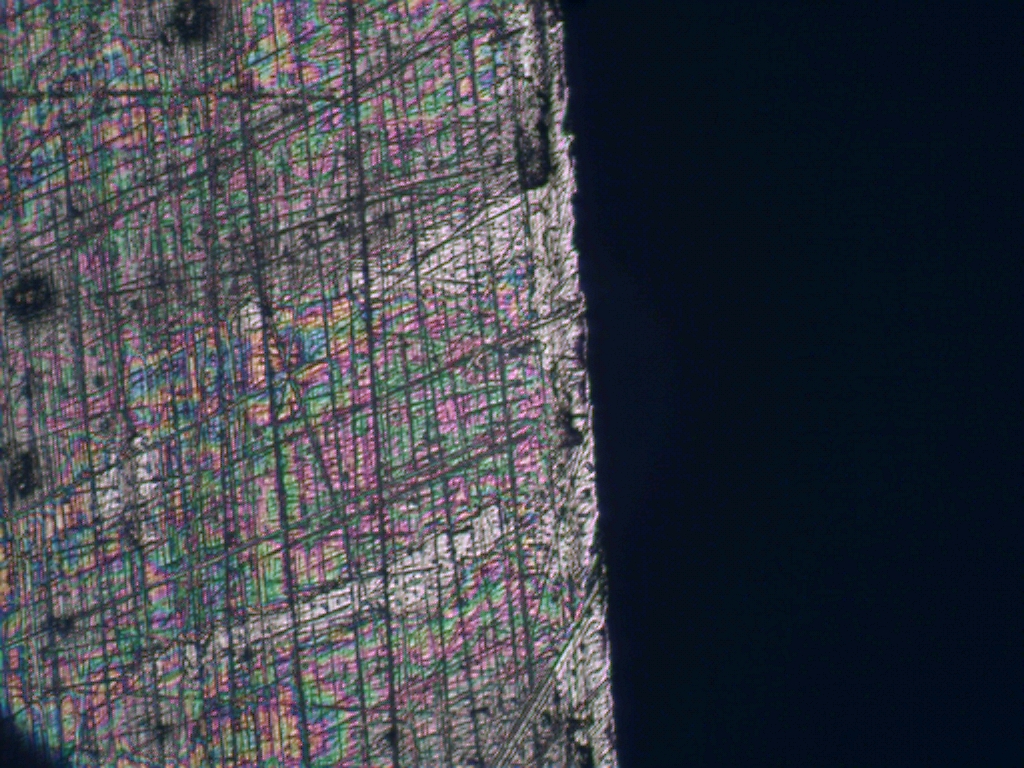
There has been a great deal of interesting photography of buffed edges to date. I don't have the microscope to add to this, and so I will just take what has already been presented that provides evidence of enduring edges. Edges which last longer are lovely, but ...

... I want the edges also to be sharp and take the type of shavings that are evidence of a working tool, not just a long-lasting, but dull-ish edge. Rounded edges increase the cutting angles from 20/25 degrees to 40-ish degrees? I mean, chisels are not expected to act like BU planes, are they? Or the scraping chisel of Bill Carter?

Then I sharpened a chisel. Not just any chisel, but a Marples Boxwood with a 20 degree bevel. Actually, 5 of them. I wasn't in my right mind when I hollow ground them to 20 degrees - thinking that I could do with a few chisels with low cutting angles for dovetails - especially when they struggled to hold an edge at 25 degrees!

And the new buffed edge? Well, it took amazing shavings. Amazing! And it did not stop taking these amazing shavings .... which is a miracle, since the blades of these chisels are made of cheese.

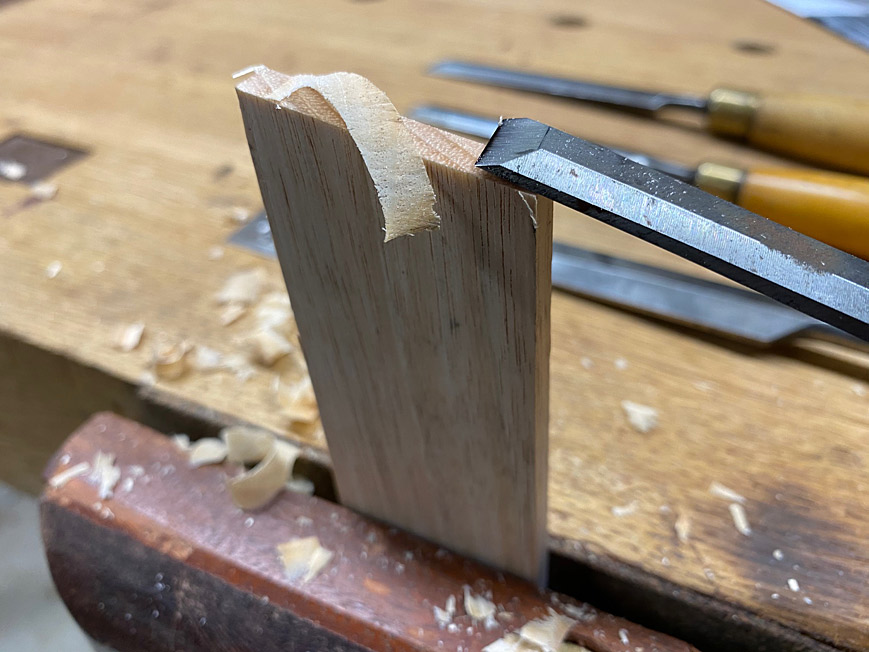
They looked like this .. unfortunately not the Marples, but a Stanley #60 chisel (we all have a few of these for opening paint cans). The wood is Tasmanian Oak (similar to White Oak) ...

1.jpg


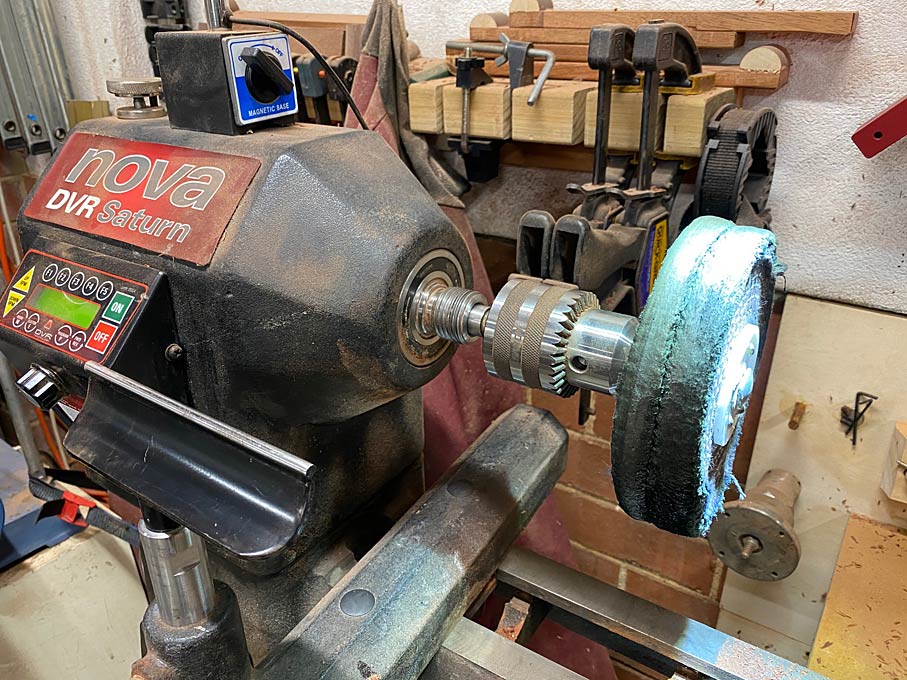
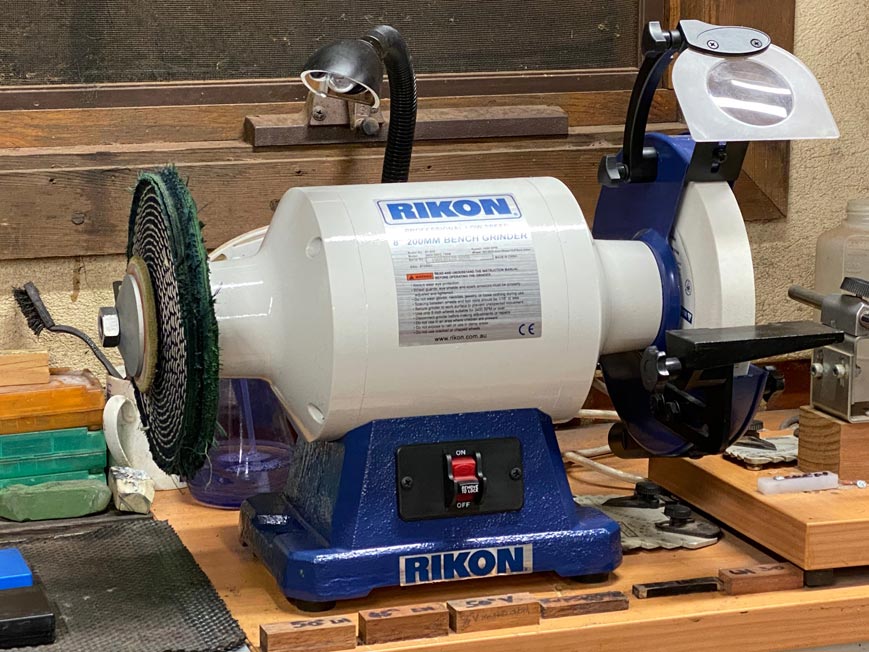
Sharpening system? Nothing much. I had a much used 6" stitched mop soaked in Lee Valley green compound. This was chucked into my lathe ...

2.jpg


The wheel was spun at 1450 rpm, which is the speed of a half-speed bench grinder in Australia. I use an 8" half speed bench grinder to hollow grind blades, so it made sense to use the same speed.

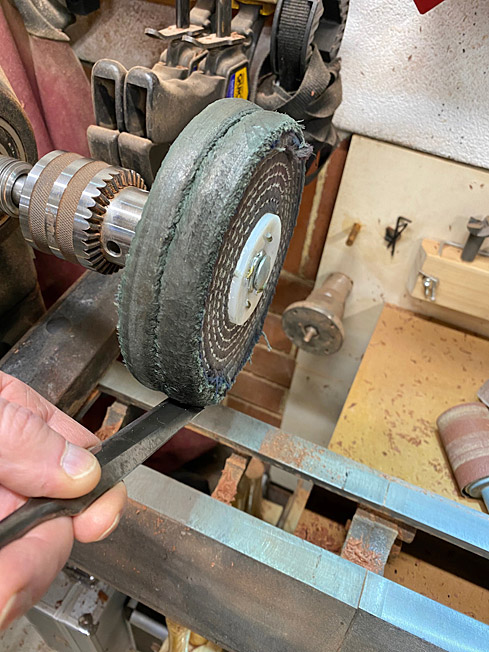
The bevel was presented to the spinning mop and angled about 10 degrees (please note, if you are reading about this method for the first time, that the mop is spinning away from the edge).

3.jpg


This resulted in a fine wire, and rather than buffing this off on the mop as David has done, I wiped the back of the blade on a section of hardwood with green compound.

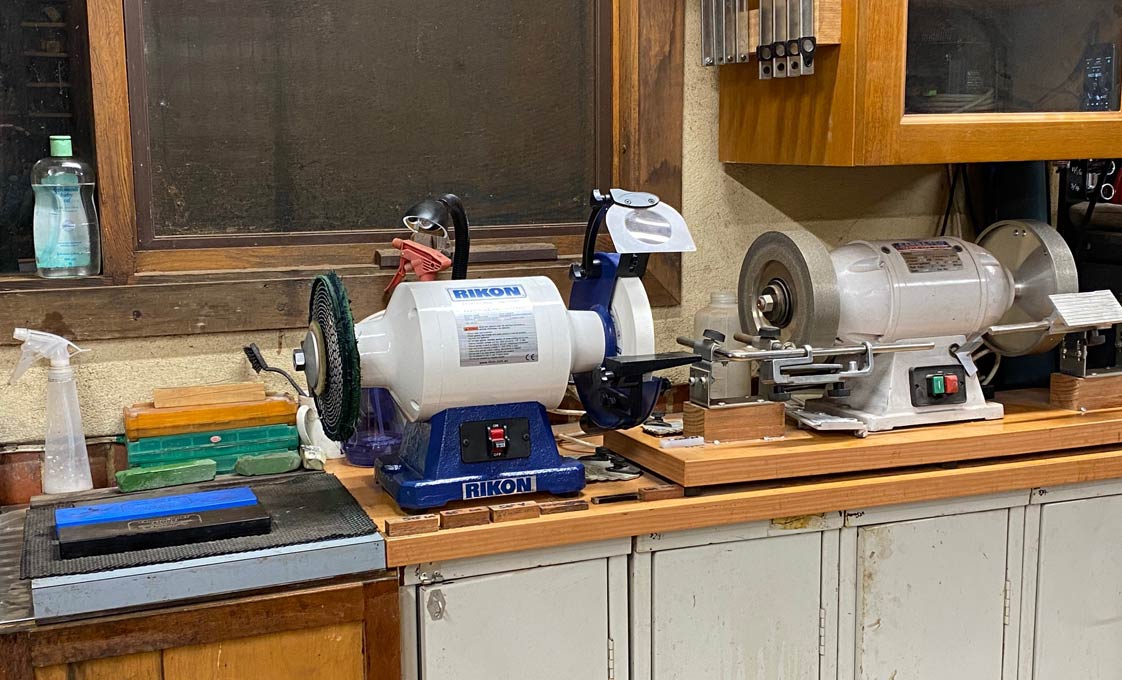
Having satisfied my self several times over that this method worked, and that it looked a Good Thing, I decided to purchase another grinder rather rely on the lathe .

4.jpg


5.jpg


I got to thinking about trying this out on plane blades. In fact, I did so, and realised that it may not be a good idea. All the bench plane blades I have are cambered. Planing with a buffed cambered blade created shavings that were stringy, indicating an uneven edge. You can get away with this in a chisel, but not a plane blade. I shall try again, but that is my initial observation.

I also tried this with block plane blades. Now this was different: 25 degree straight bevel, just like a chisel. But would it cut differently, especially on end grain where low cutting angles are expected to rule?

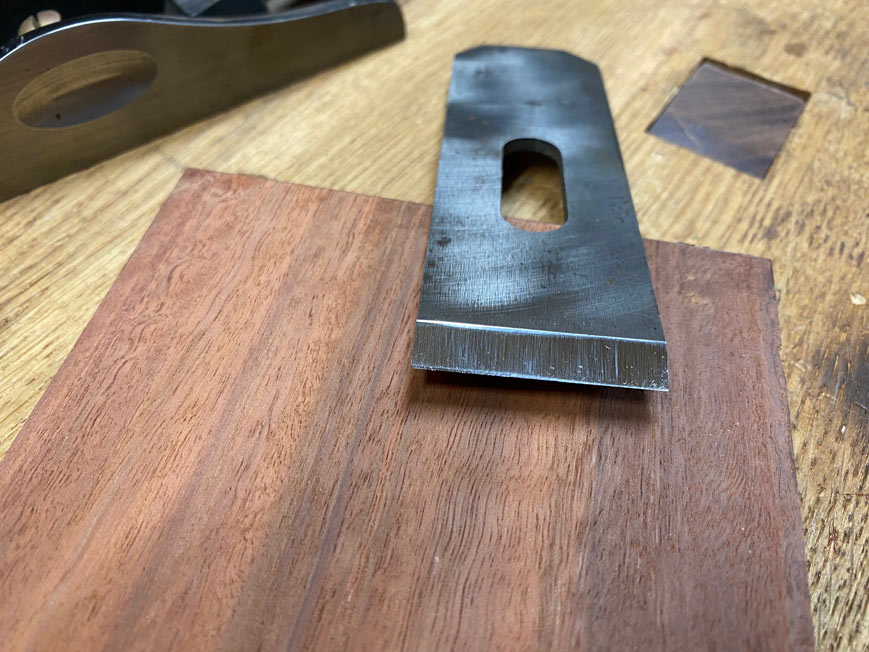
A LN blade was hollow ground at 25 degrees, and then went through a typical process of extra fine diamond stone/Medium and Ultra Fine Spyderco ceramic stones, and a final polish on green compound-on-hard wood. At least the green compound would be the unifying medium.

6.jpg


The surface/shaving on Jacaranda (the softest wood to hand) looked like this ...

7.jpg


The buffed edge looked like this ...

8.jpg


The buffed edge felt sharper and left a cleaner surface.

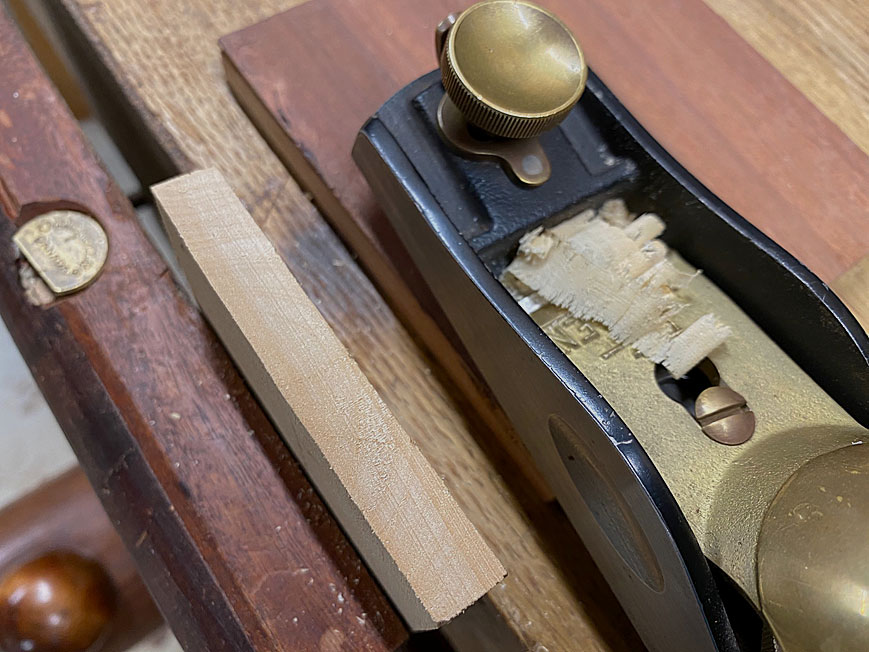
This was repeated on Jarrah end grain. First the honed blade ...

11.jpg


.. and the buffed edge ...

9.jpg


Nothing in the two? If so, that is a win.

Regards from Perth

Derek
 
I like that you chose to show one of the most notorious paint can opening chisels in the states - the site work 60s. It's pretty difficult to pare with them if they are sharpened a two-plane point. If you can pare a little, you can't for long. The buffer removes the part that gets damaged and replaces it with something a little bit different and I'd bet you'll find that you can chop jarrah with that chisel with a little bit of experimentation. I excavated the mortise in a rosewood plane with one of the soft sorby chisels and it did take some minor damage and need one resharpening in the 20 minute mortising process, but the resharpening was 30 seconds and it was workable and actually pleasant.

The biggest gains from these wheels are in the cheapest of chisels. I've got a set of HF chisels that look an awful lot like the aldi chisels. They were $7.99 for five.

All of the sudden, they will chop hard maple without any significant damage, and not with a dainty touch, but with a 26 ounce verawood mallet.
 
plane irons are a little more demanding of precision when applying this - especially bevel down (less angle into the wheel and less overall buffing), but it works on them, too, and I can probably get a thinner shaving with the buffed edge than I can with any honed edge, so it's unlikely that there's any real clearance issue.

For plane irons, you may want to order a fresh wheel and charge it only a bit with the veritas crayon. if you start melting crayons at a high rate, the industrial supply buffing sticks that are about $11-$14 here for 3 pounds do just as well as the sticks that come through woodworking supply.
 
This is a very interesting examination. Could this profile necessitate more frequent grinding of the primary bevel to keep the secondary small enough not to interfere?

I finish my chisels (and plane irons for that matter) on a 1mm goat leather strop loaded with an incredibly fine buffing compound from menzerna. Even after sharpening using a tertiary bevel on shapton ceramic stones, I felt that finishing on the strop gave me a longer lasting edge. I put this down to either putting a very small round to the edge, or the strop being much better at removing the micro-burr left from the stone. However, I've never tried using such low angles for sharpening before (all of my chisels are 25 primary, 30 secondary, and 32ish tertiary).

I'd be interested to see the results of the "unicorn" compared to a similar profile produced using a leather strop, unfortunately I don't have the resources to attain the same level of examination!

I imagine there are more variables to account for: type of leather used, thickness of leather, number of strokes, downward pressure, angle of the chisel. Perhaps too many variables to achieve a decent level of consistency and repetition. It would be good to know whether it's possible to get a comparable profile for those of us that don't have a buffing wheel set up in their shop.
 
The secondary can be as long as you want, but i do think it's easier to grind it back than it is to push the limits honing it.

I'd say what used to be grinding every 3 to 5 honings is now every 2 or 3, just to keep the longer flatter secondary bevel from being hard to hone off.

I'm not sure how long it takes to grind that small amount, but I'd guess it's somewhere around 30 seconds and if it's not done, it's just punishment honing and honing....

I found a couple of things you might like to try. If I use two stones, I've always had three bevels to make sure I could bias the fine stones at the edge. Essentially, doing the same thing as I am now. You can obviously do the same thing. I can sharpen a reasonably flat secondary freehand (As shown by the edge picture with the flattish-looking secondary), but I've rolled the tip for years with a stone. Rather than any flat final facet, I think you can roll the edge a little bit and polish it on the strop and get the same effect as the buffer. Not that it's not possible to use leather and round the edge, but it'll be more work.

The beauty of the buffer is it does what most people think they do but don't - it finishes the polishing and stropping job really easily.

...I forgot to mention something easy you can try to see just how biased the damage is occurring at the very edge. set a chisel up with a thin combination of primary and secondary like I've mentioned (Secondary at 23 degrees) and put an absolutely tiny 34 degree microbevel on the chisel. I took four strokes with a chisel on a cast lap and one micron diamonds (to polish a flat secondary bevel of a few hundredths long, it takes about 50 strokes). Even with that tiny microbevel, the edge held up well. 20/23/34.

It just didn't cut as well as the buffer. Most chisels won't hold up for long with a flat final bevel at 30 degrees, and almost all will at 34. Hardwoods, we're talking about.

I know a lot of folks think that their chisels hold up well at 30, but once you use a chisel that doesn't lose its edge, you realize how much longer it lasts.
 
Given that we are, uniquely, in complete harmony on this one ( :) ), could you do an experiment for me, DW? Could you prepare a chisel the way you now advocate, but stop before using your buffing wheel and try to achieve the same thing on a strop instead. As you know I round my chisel end on a strop, and I'd be intrigued to see if there is any difference between what you are achieving with a buffing wheel and what I do with a piece of leather and some Brasso. When I say "intrigued", I mean semi-detached interested, because my chisels are sharp as hell and I'm happy with my process, so it's nothing more than an academic intrigue, if you will.
 
So, I have done this because I keep advocating a buffer due to my laziness.

Rounding chisel tips for me started somewhere around 7 years ago, but instead of using a strop, I round them over on a fine stone (the finest slowest stone I can get within reason, because it leaves an almost inconsequential wire edge).

I've been given the strop request several times, though, and in the interest of doing the same amount of work (instead of some - winston stropped an edge lightly and saw the curved profile at the very tip, but it was too small to protect the edge from damage once he used the chisel) as the buffer, I loaded my clean strop with the yellowcake abrasive (jackson lea 5 micron). that's coarser than most people use, but the strop has give, it's reasonably soft and it's been oiled many times.

What I found was this:
* if I load the strop normally, it takes about 100 firm strokes to do the same amount of rounding (of course, the profile looks similar).
* if I load the strop just stupid heavy, i can get it done in 60 firm strokes and the wire edge is gone in the slurry much faster (that is, at least if someone wants to come up short of the full profile, the wire edge is dealt with quickly and gone

pictures of the two edges:
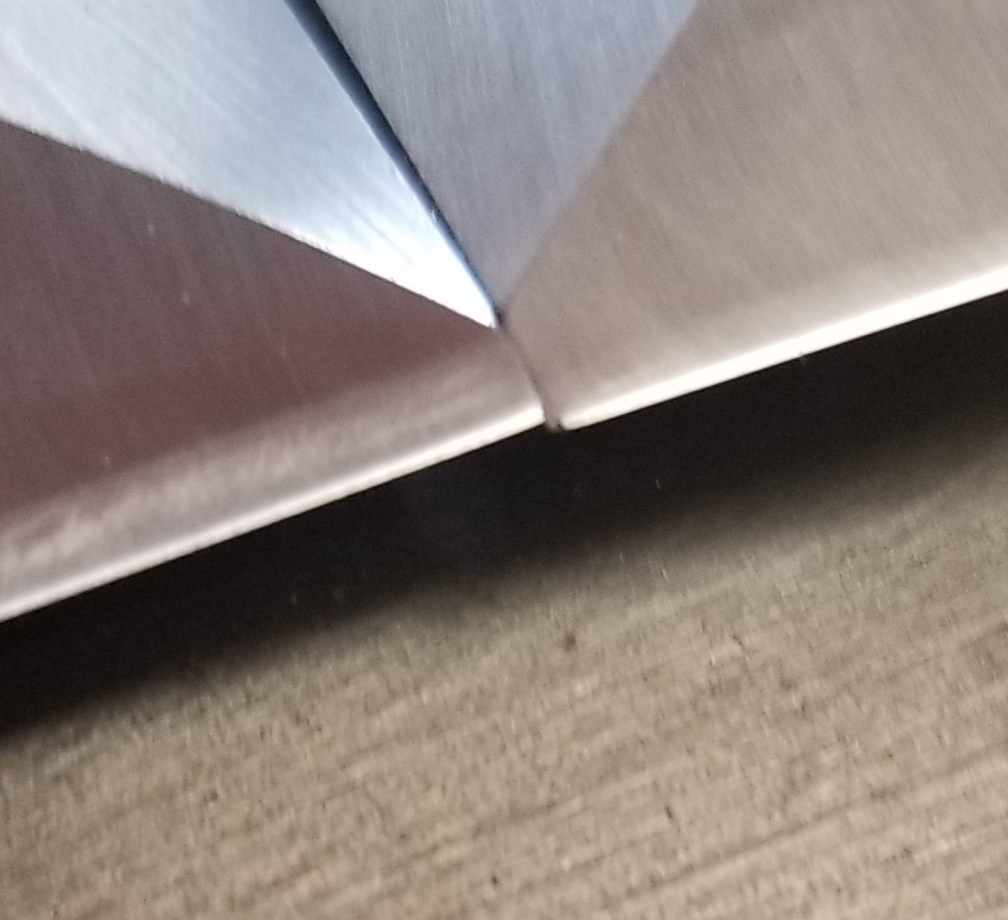
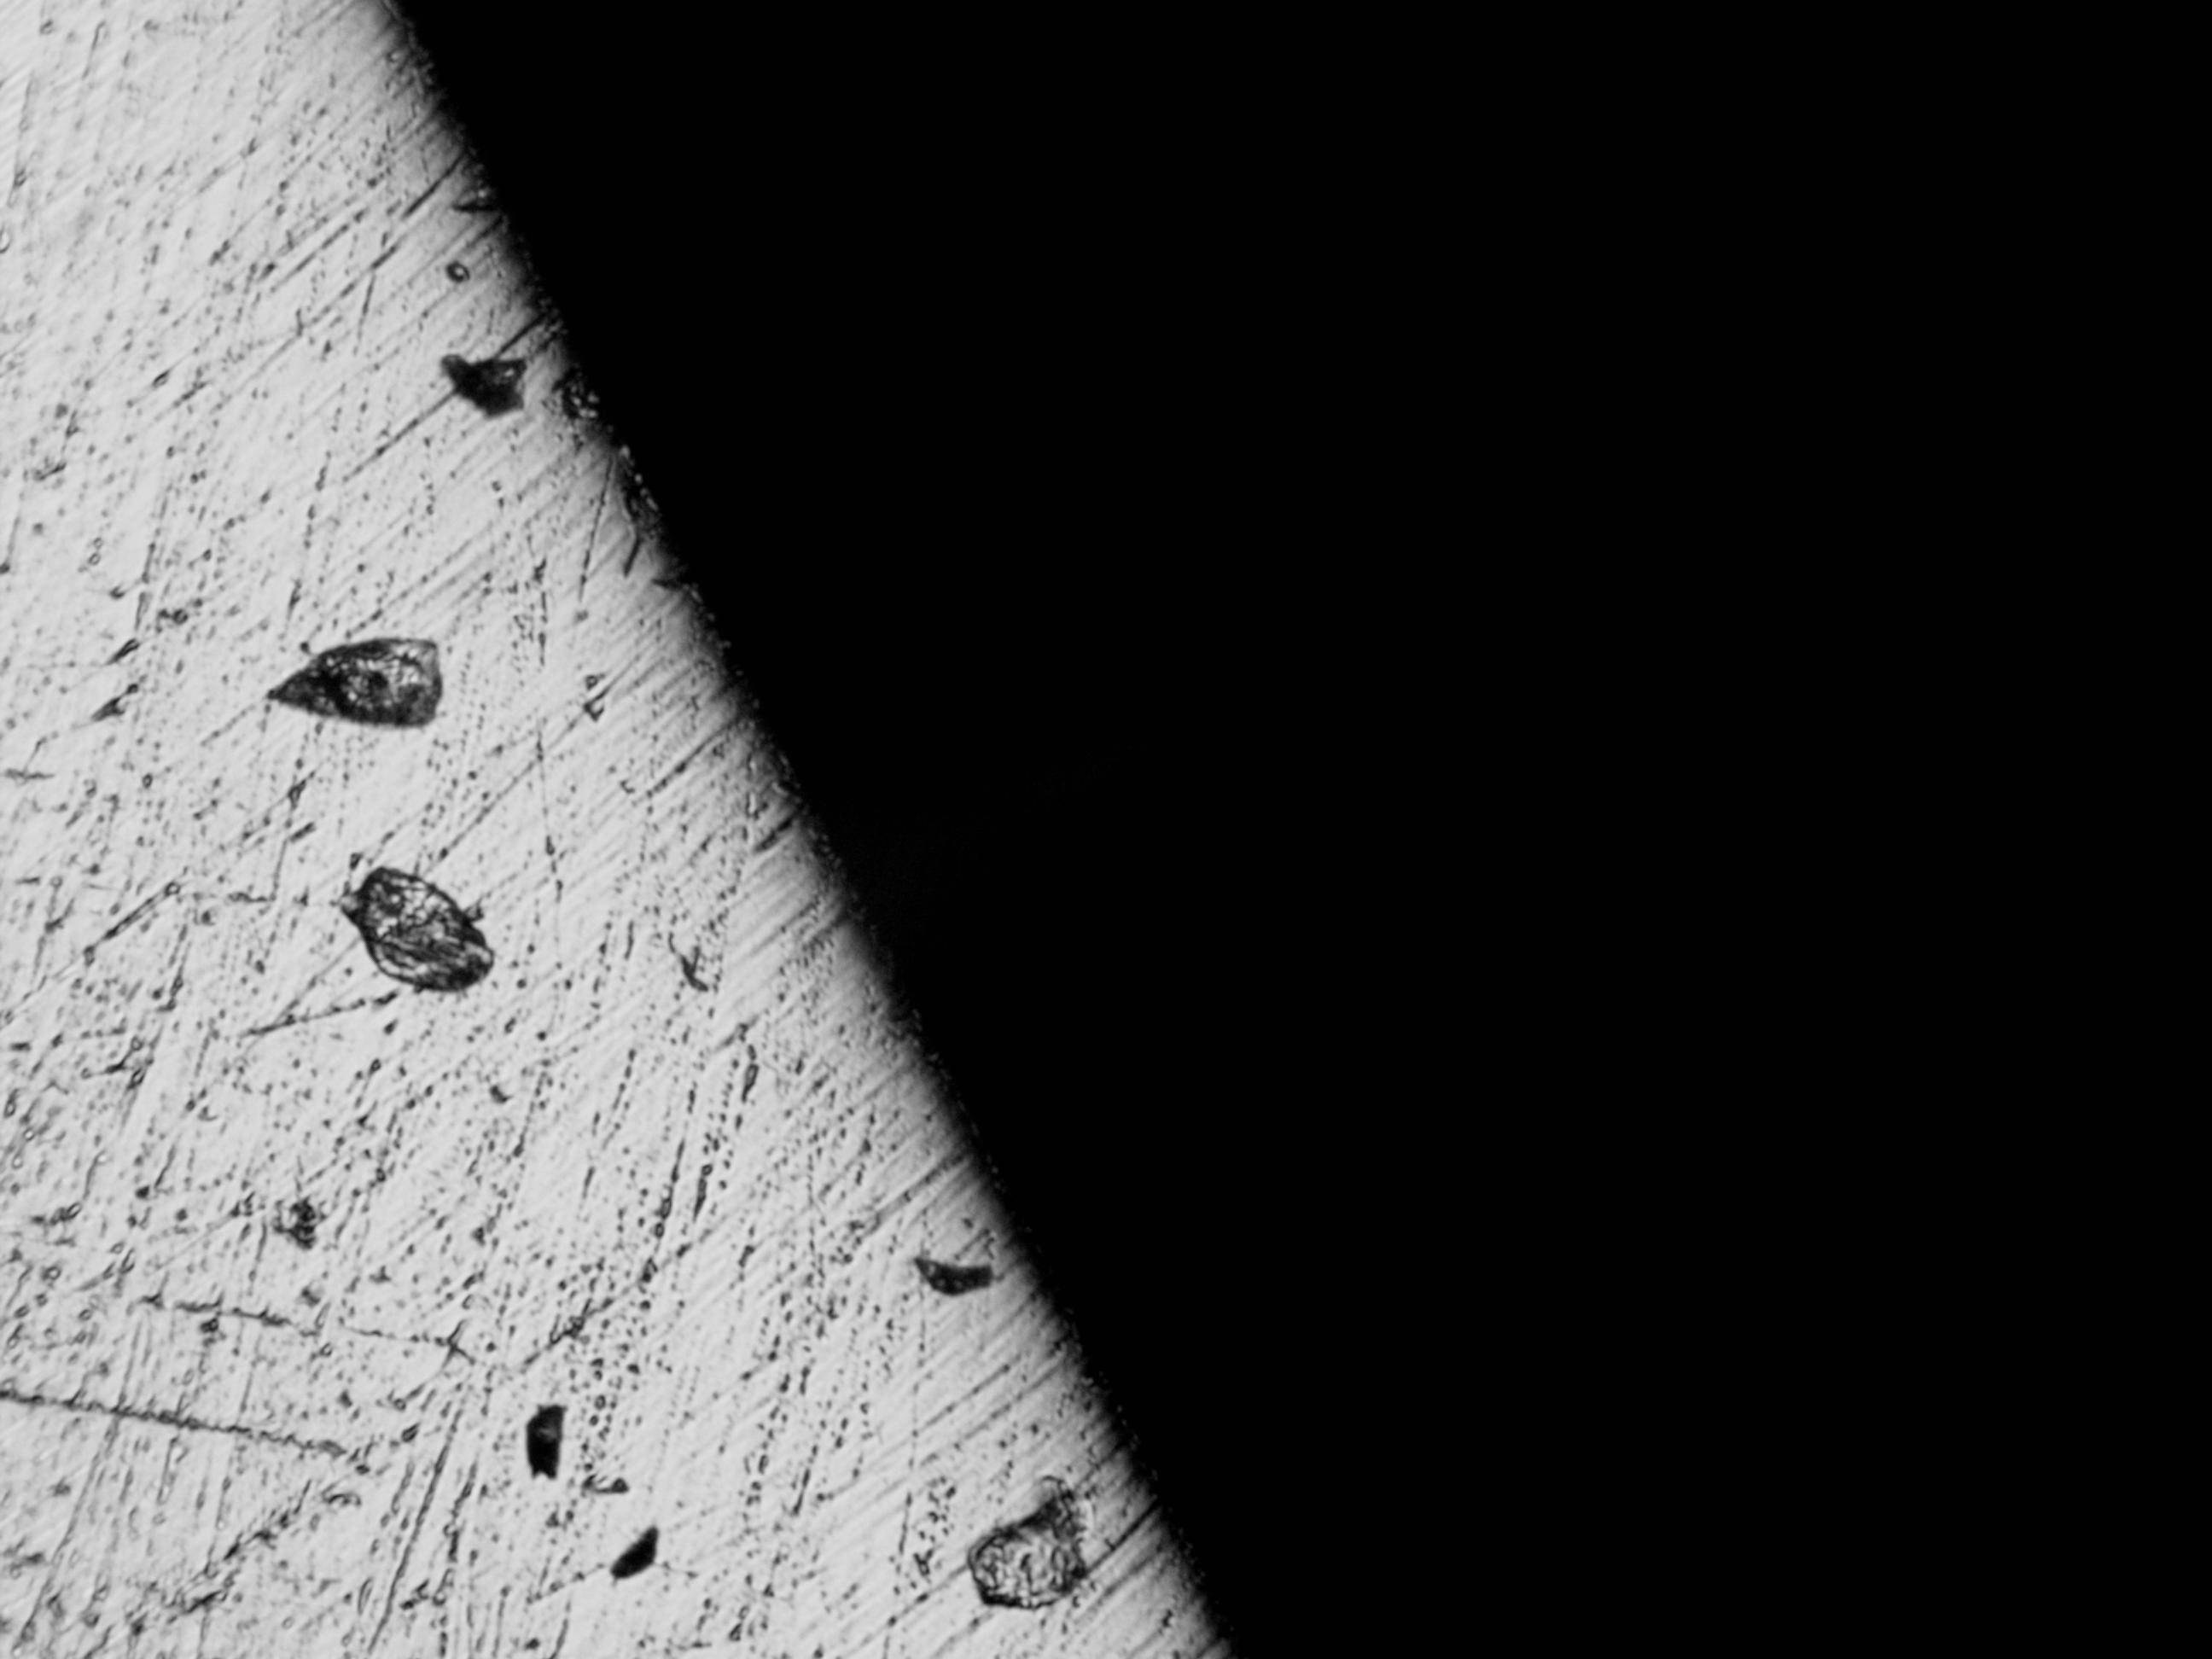
strop left, uncorn right. I zoomed in to get these, picture quality isn't great, and the light reflection makes each bevel look bigger than they are - but you can at least see they are relatively comparable in size.

The buffed edge got about 5 seconds of work.

The reason that I did the protective rounding for quite some time on a stone is because it's faster and less physically involved (and there's no recharging anything). The reason I haven't beat the drum about it is because it wasn't until I used the buffer that suddenly the edge was much sharper with ease. I did tell a couple of people about the stone rounding on the edge (it ensures complete sharpening and then is protective, and it doesn't feel sharper like the buffer does, but it does feel "as sharp", especially in chopping). Every person I mentioned it to blew it off, so it didn't seem very "volunteer marketable", plus it's freehand on a stone, and some people are averse to that.

People are less averse to using the strop. Lots of explanation, but as I often do (like I did with the cap iron), if I'm going to write an article, I try to do it all so that I can answer the inevitable questions.

(both of these are footprint sheffield beech handled chisels, both feel very sharp, with the buffed chisel slightly sharper).

c0qfazH.jpg


all of this agreement between us lately is starting to make me feel somewhat uncomfortable!!
 
I don't ask why someone doesn't want to use a buffer, but I gather a few of the following:
* one violin bow maker in the US mentioned that he has a clean shop where he works, or at least the showroom part and a buffer can't go there (sorry if i butchered that, John!)
* a joiner on your side of the water mentioned that insurance precludes them from having grinding machines in the shop, so they are limited to a tormek (the tormek strop is teats on a boar - if it went 10 times as fast it would work, but it doesn't).
* some of the other folks ask in context of using a microbevel or a strop (as in with a guide) and I get the sense that they want some control over the exact answer. And that's fine. Making a tiny steep microbevel also works. Like really tiny - and 34 degrees or ever so slightly larger. It's just not quite as good I suppose because the oint still exists and there's a sharp shoulder at the top of the microbevel that has to be pushed through the wood
* I suspect some folks who make hand tools and who travel to shows are unlikely to want to display a buffer next to infill planes and such, too. I get it.

The strop will do it. What I should've done with the hand roll over on the stone is work the roll on the strop a few strokes after it was completed as I would've gotten the sharpness of the buffer, or close, and the speed of the stone. got to the buffer first.

(and the buffer can be as cheap as a $10 arbor and wheel and compound kit, as winston showed).

I'm bombarding everyone with information at the very end here as I've managed to slightly modify the plane iron bits and pieces to be dominant over stones in every way (that will come separately) and this is the last flurry before I close the book on the whole set of experiments. They're enjoyable when progress is being made, but literally every goal is met now, even on planes, which I never intended to include in this in the first place.
 
Thanks. Interesting. I tend to do 30 or 40 strokes stropping, which is probably more than most, but not enough to compare with the buffing wheel evidently.
 
If you're not getting edge damage, then the strop sounds pretty effective.

You'd already mentioned using it with a slight angle - pretty good combination that would arise from experience.
 
David, if manual stropping is too time/effort intensive, and the main goal is a nano bevel with a higher angle - which is effectively what the rounded bevel does - then what difference is made by simply using the final polishing stone and lifting the blade to 45 degrees for one (perhaps two) strokes?

I cannot photograph edges to determine this for myself.

As you know, I have been buffing chisels for a while now and am enthusiastic. However, I do want to know more about the edge angle and how it affects the cutting angle. Also, how to apply it in a more consistent and reliable manner to plane blades. So far the latter have been hit-and-miss.

Regards from Perth

Derek
 
It was hit or miss for me when done bevel side only at first. I have got the feel down now, but waffled on it because there's not much room for error. For bevel up planes where this doesn't matter that much, it's practically magic.

So, I think two possible method or some mix of the two:

1) keep all angles gradual (20 degree primary grind on a bench plane, a secondary as close to that as is reasonable without honing right on the hollow, work the back of the iron to weaken the burr that's there, and then a few passes across the buff (angle isn't critical).

That should make for a good-planing blade if the clearance isn't gone. If the clearance is gone, repeat, fewer strokes on the buffer, less pressure or a slightly less steep angle, whatever it takes.

That is a hell for stout edge when you're done. It planes through silica in rosewood and doesn't deflect, but it's the one I found to have about 80% of the edge life of a honed edge, and the part that's gone is that very slick feeling newly honed blade part where you have all of the clearance in the world. I will use it to plane anything that has silica, though.

2) do as above until buffing. Attempt to buff with a little pressure almost tangent to the edge and let the give in the buff round the edges just a small amount

That should feel more like a plane blade. It took fewer tries to get that right.

Since working that up, I've been sent a passage of text from a dunbar book and mike dunbar sort of advocates the same thing (except he advises against any rounding). I think a tiny bit of it still leaves the edge in good shape (not intentional rounding, but the kind you get when with the edge tangent to the wheel or at least closer.

This is the edge that wore slightly longer than a stone 32 degree microbevel, and holds up better. I suspect that it's been done before a lot because it's more intuitive than intentionally rounding things over.

Mike dunbar may have slightly rounded over his edges, too, but not looked at them under a microscope to see it.

B8CLTex.jpg


(that is the flat side of the iron, i'm sure the bevel side looks similar. Using this second method. The rounding at the very tip of the iron is only some small number of degrees and the steepest part is only a fraction of a thousandth thick from the edge).

as you've probably already seen on wood central, I'm hoping for it to be an amount that once the burr is raised on the other side and the back stoned - that it's fully gone each time so that nothing is ever getting chased steeper.

When I applied the actual ruler trick during my plane iron durability test, using it to remove most of the wear was fine - but when I went to the scope, I realized that if one is to actually intentionally remove all wear with the ruler trick, the bevel that is "tricked" will eventually get wider and wider, and the problem of honing it increases exponentially in feel as it gets larger and the depth honed when using it increases.

I'm trying to avoid something like that.

Of course, if one just keeps the ruler trick bevel the same side and allows a small amount of wear to remain, no big deal as long as there are no nicks or deep scratches. That's better policy than looking at it under a microscope, but for that test, I took pictures, and that was a problem.
 
for comparison, this is a black ark stone edge, one that had a polished surface.

What I noticed when testing iron durability (where this picture is from) is that even brisk stropping on bare leather would deflect parts of the initial edge, and then the picture would look bad, so this was only with light stropping .Very light.

lxt9uYz.jpg
 
Still waiting for my article to be posted on wood central, but that's OK (it needs editing time but the editor is a professional with paying work, so freebies go to the side).

A shorter article may have potential to get into magazines, but i'm not much involved in that other than watching things go by. The think that piqued my interest was the comment about some kind of picture hook (i.e., a picture that you'd see at the start of an article that may convince you to read it). This method works for planes, but I think most folks will take more time to master it for a typical stanley type plane vs. everything else (bevel up planes, it works a treat - an absolute treat, and the typical person who doesn't hone the wear out of the back of their BU iron can spend a little bit more time on that, still be ahead on time, and get the durability and sharpness that they probably won't get with an acute tip left on the blade.

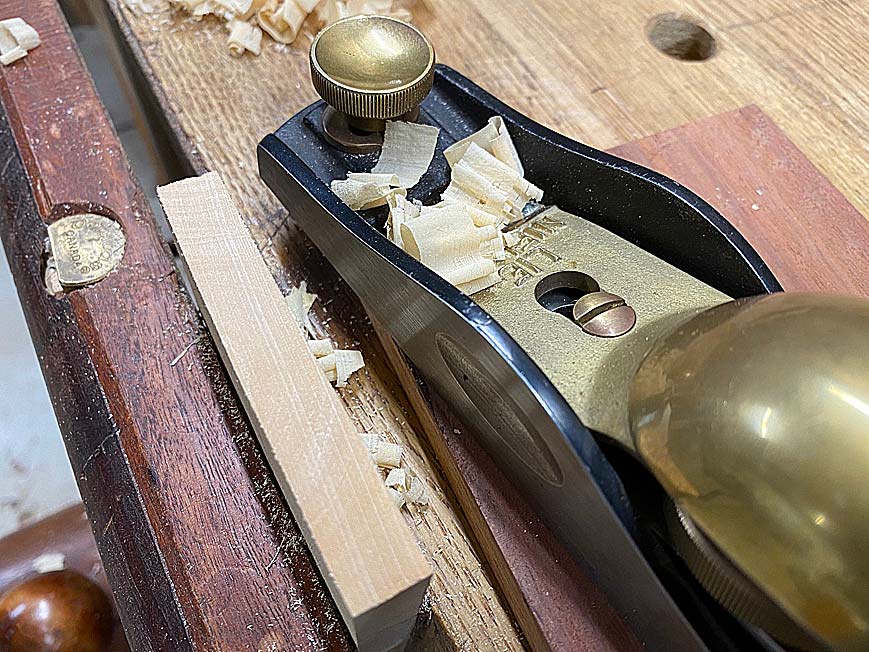
I offered to see if I could get a cheese blade stanley 18 to take a tiny thin shaving. Turns out, the blade was OK, but the plane fit itself was a little bit warped, so I lapped the plane on 80-grit sandpaper on glass, stoned the aggressiveness off of the sole, hit the back of the blade with a washita stone (which can work very finely if used properly) and then the bevel with a cheap chinese diamond hone and the buffer.

Of course, articles don't use dirty benches or old tools, but I found a bicycle chain link manual from a connecting link (they're called missing links over here, at least) and made this gimmicky picture.

I have a distaste for this plane and blade because it seems like the spec is for construction work. The blade is really soft. A small pack of extra vintage blades wasn't expensive, and they're all really soft. A pain to hone because they're soft even for an oilstone and don't take a fine edge easily.

The buffer is the missing link that saves me from ever figuring out a corny honing routine that doesn't involve breaking a sweat stropping the crap out of this blade to remove the stone scratches.
 

Attachments

  • 20200815_202830.jpg
    20200815_202830.jpg
    626.7 KB

Latest posts

Back
Top