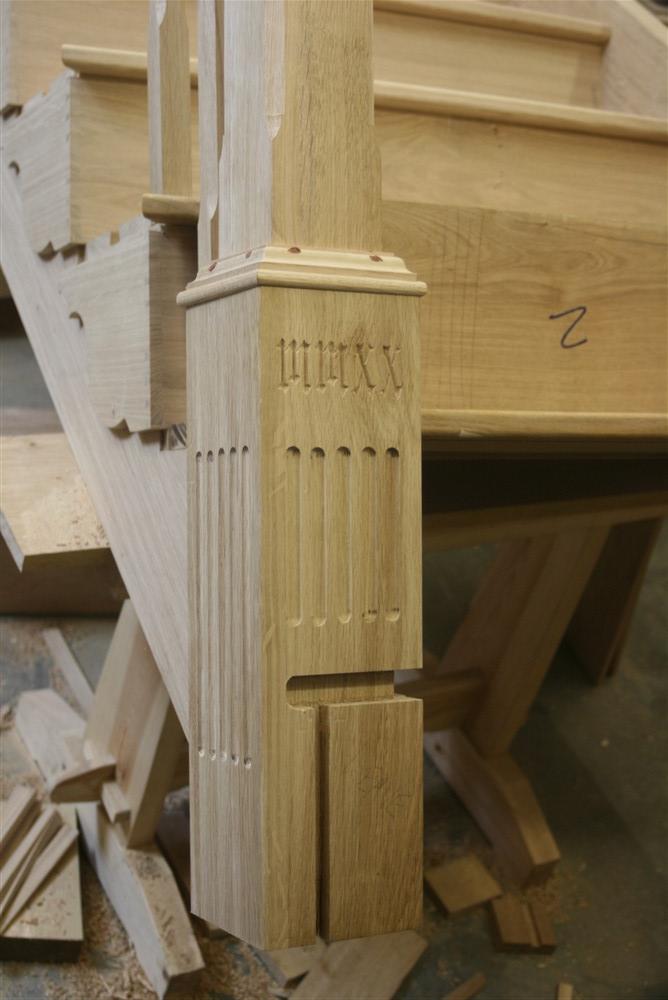
A cut string stair in oak, blow by blow.

UKworkshop.co.uk

Help Support UKworkshop.co.uk:

This site may earn a commission from merchant affiliate links, including eBay, Amazon, and others.
I got 2 or 3 hours in this afternoon, and started by stopping some chamfers on the main newel:
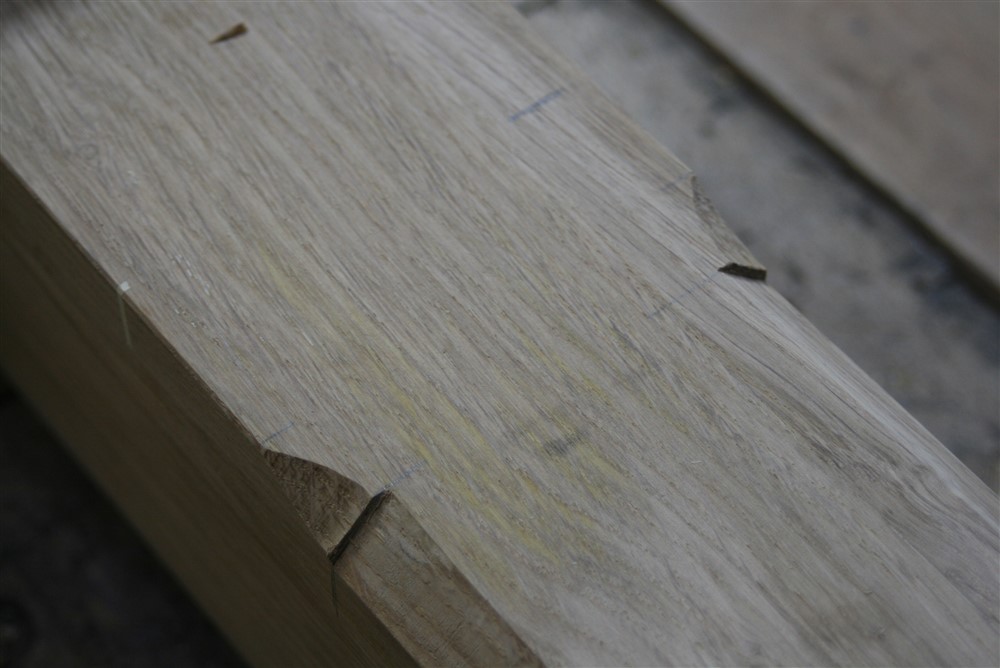
xElalrn.jpg


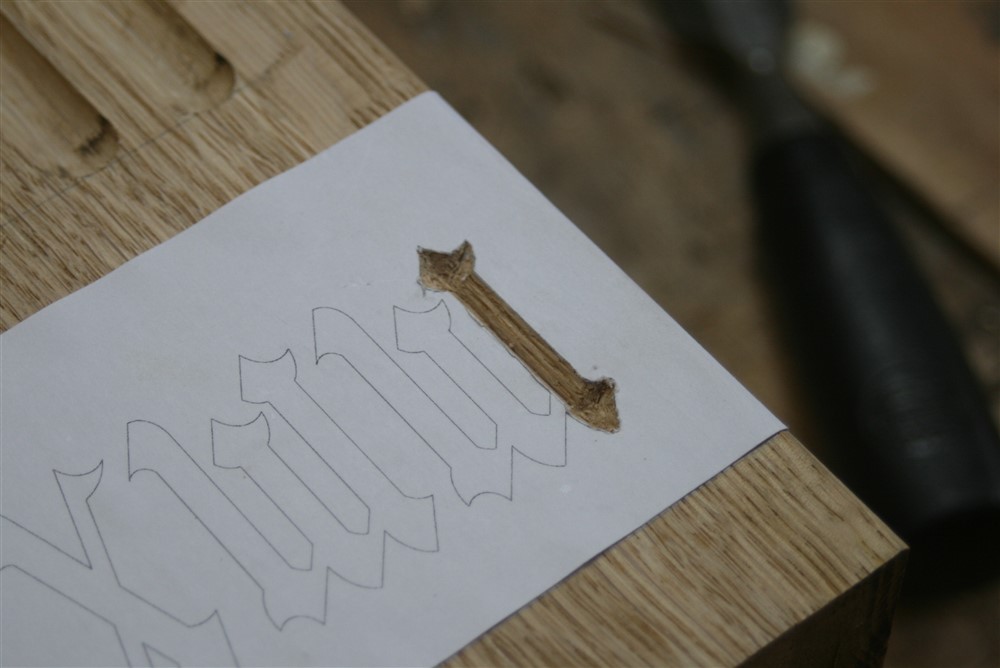
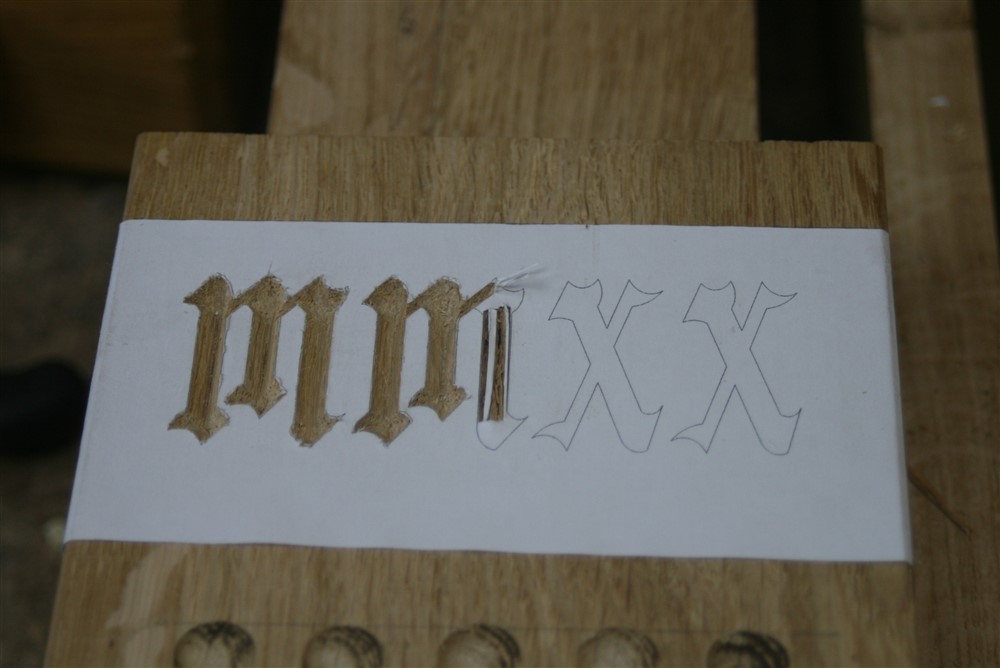
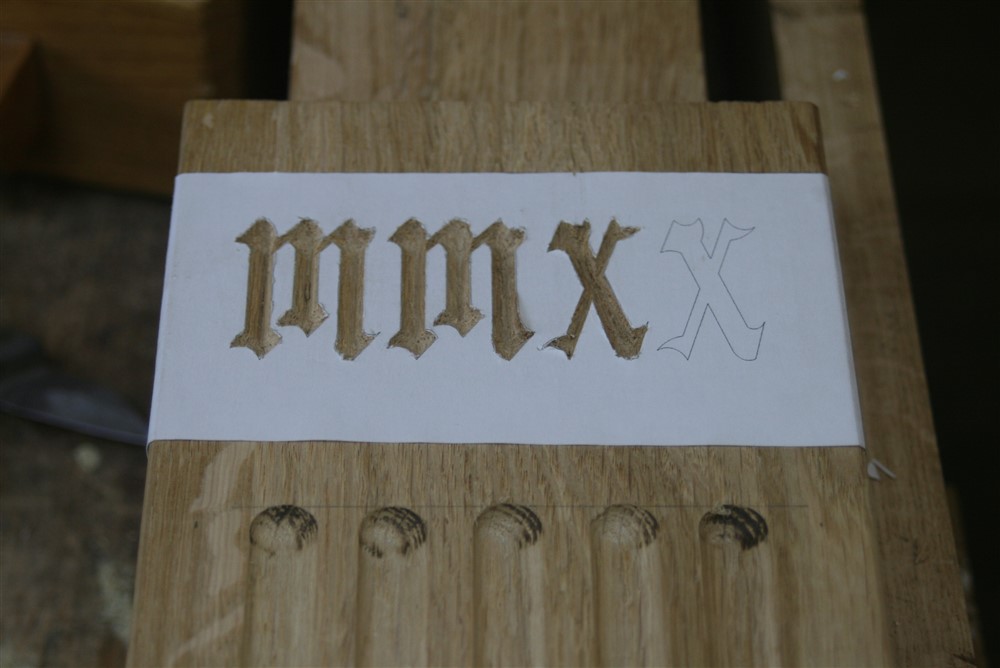
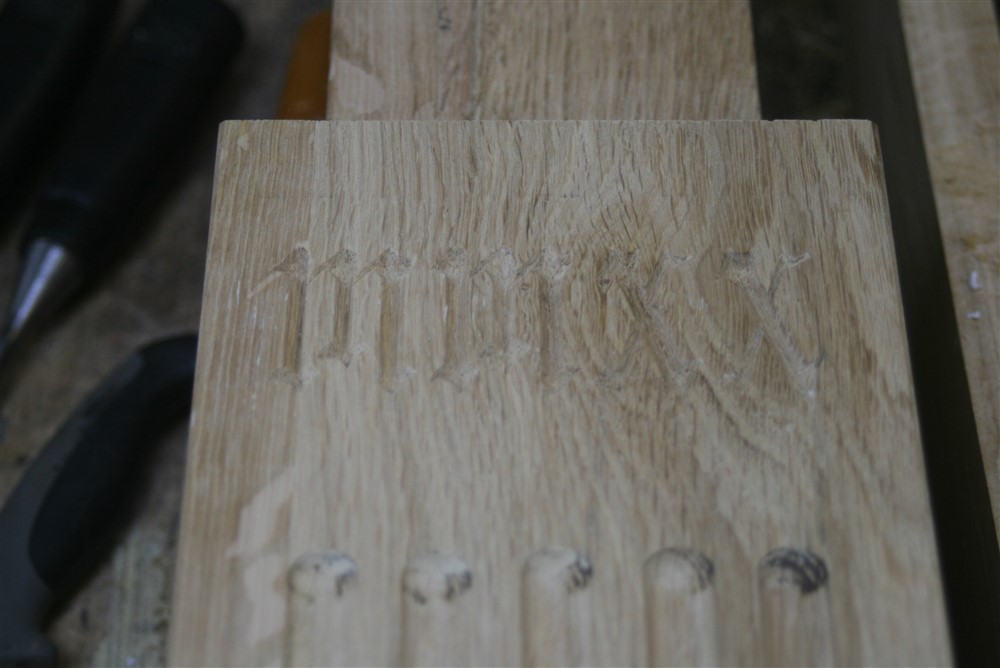
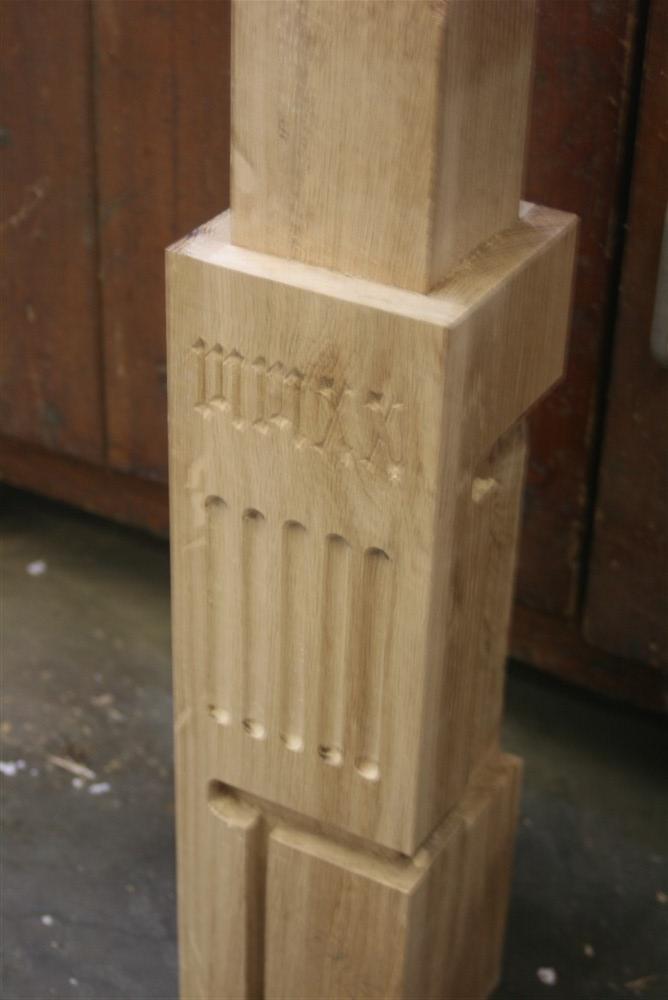
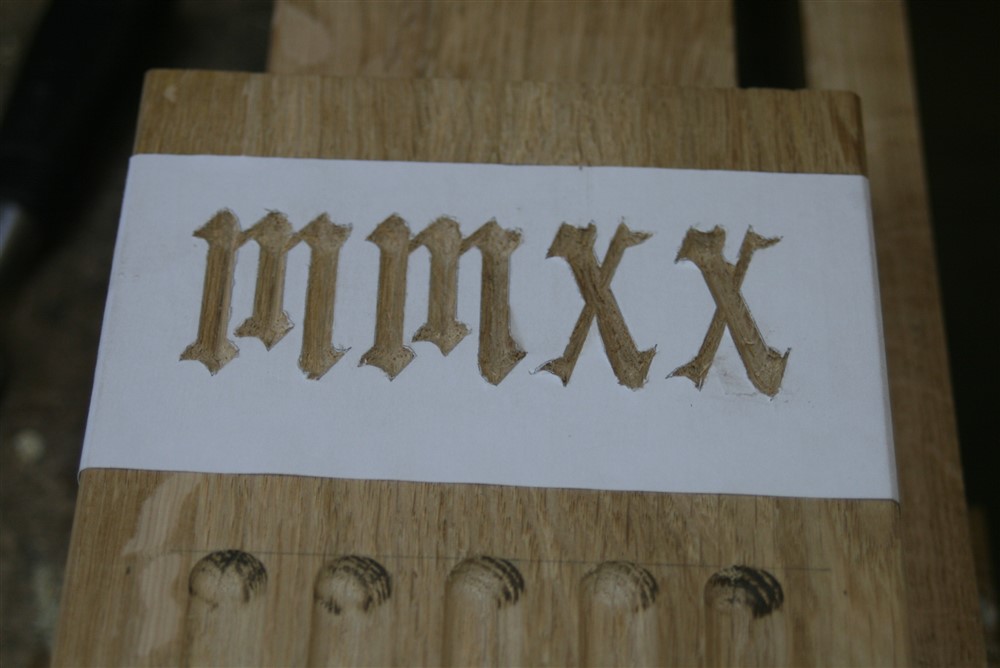
Then it was time for some carving:
kN7soIa.jpg


40mZUL6.jpg


WGMrEdn.jpg


Az9fOjx.jpg


xyGNnjZ.jpg


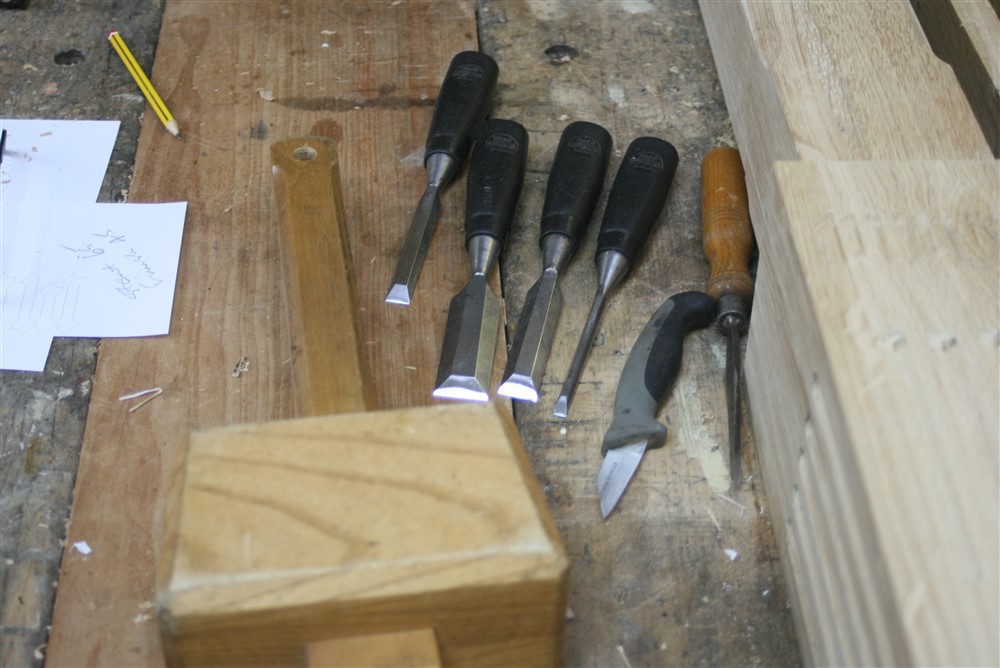
I don't have any carving chisels. I only use my normal bench chisels:
JWm4Edr.jpg


1xiFSXD.jpg


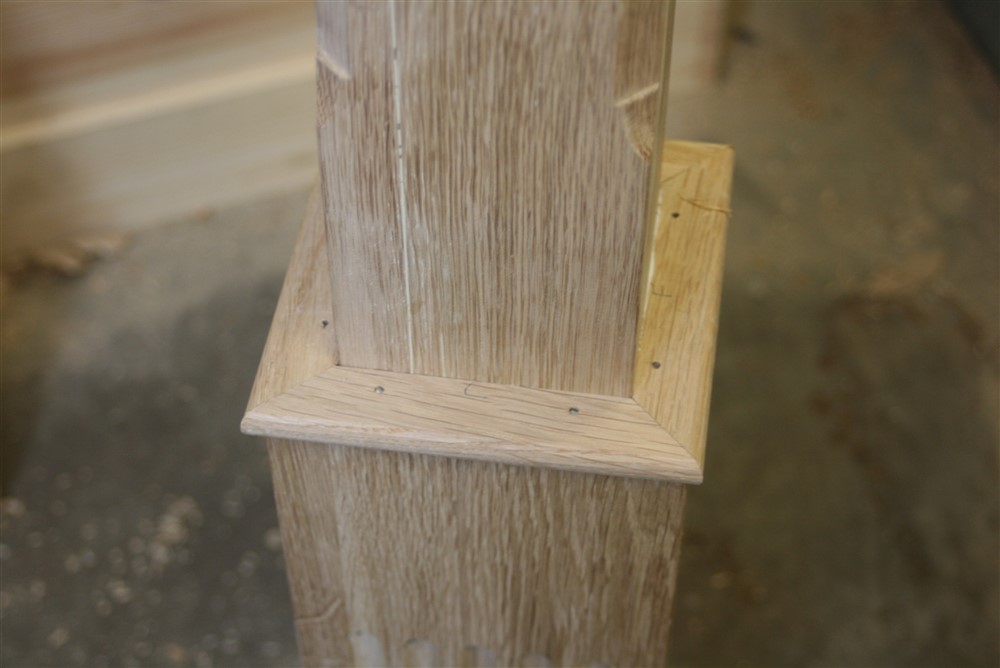
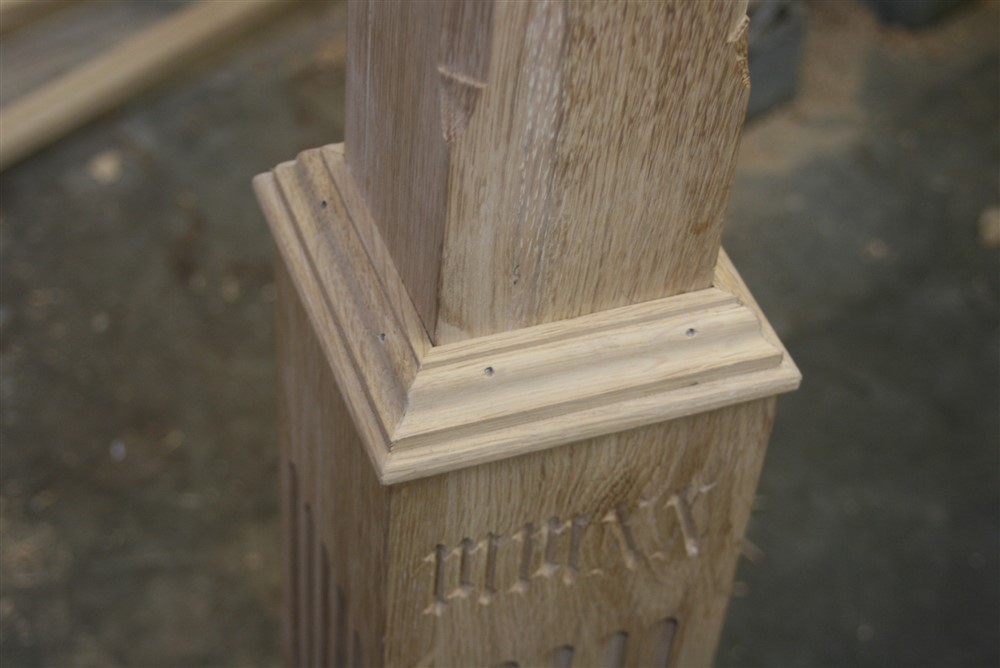
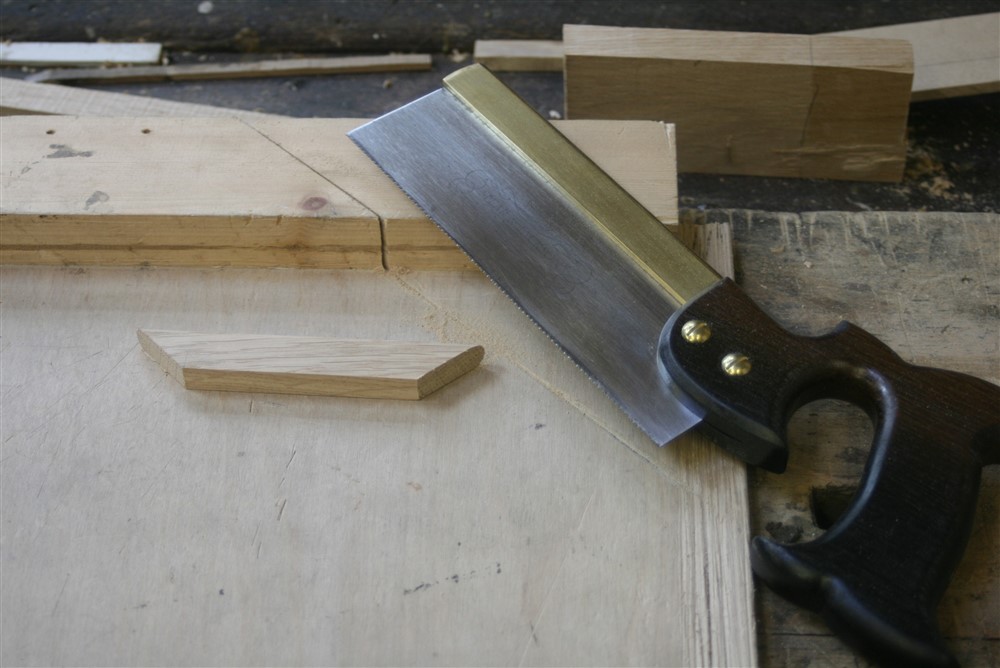
I hate mitres. I hate, hate, hate mitres. So I designed in 8 of them, just for fun:
JM18Y18.jpg


iwVql8x.jpg


7yTBazL.jpg


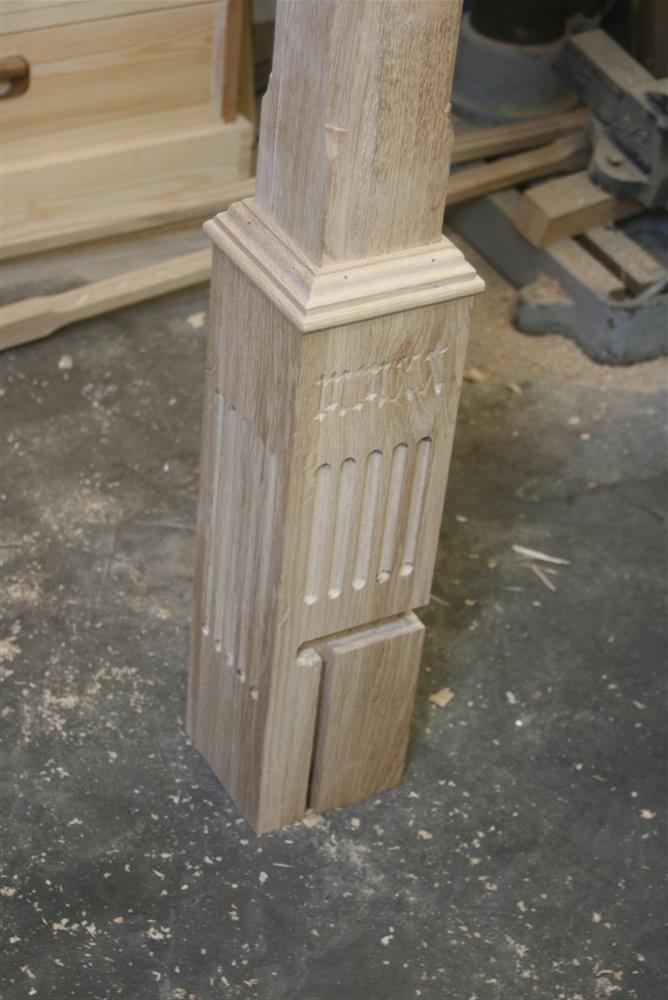
Eight pieces fitted, 11 made. I hate the damn things.
8febnG3.jpg


1ZznEBt.jpg


TSDUTpk.jpg


Anyone any good ideas for cleaning up the router burn marks from the end of the cove cuts? I don't own a Dremmel or carving gouges.
 
Edited above post for scrape suggestion.
I used the ball sanders to relieve the edges on dog holes on my bench to prevent the holdfast breaking out the splintery keruing top. Worked ok but they do clog, as you say, they are for metal I think.
 
Scraper is probably your answer, but abrasives wise this sort of thing is what I would look to for something like this. Scraper is less likely to smudge the sharpness I'd guess.

https://www.abrasivesplus.com/buy/gritt ... mm_168.htm

(edit: actually that looks pretty stiff, there's a version with more flexible strands but I can't find it).
 
MikeG. said:
Az9fOjx.jpg


Did you deliberately wait for 2020 to make the carving easier?

Or is it a cricket reference?

The whole thing is impressive though, I have to admit. And, excuse my ignorance, is the whole thing assembled and glued up before being put in place, or is it done insitu - I can see (theoretical) advantages either way.
 
:lol: No, the date is the date. I should have built these last year but hurt my back.

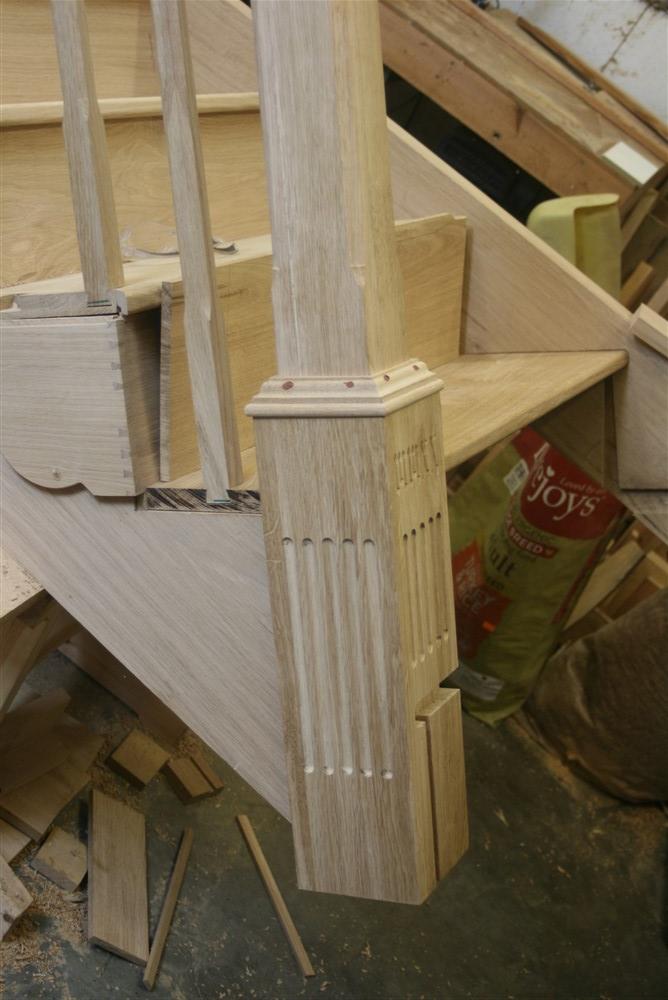
As for the construction.........that raises interesting points. My plan is to take everything apart, apply a coat of finish, then glue in a couple of steps and risers at the top and bottom before carrying it in to the house. Solid oak is really heavy, and I reckon it would take 4 of us to shift if it was completely built in the workshop. Once in the house it will be offered up as is to mark the bottom edge for any scribing (and adjust the cut outs in the top newels), and to cut the wall string to length, before being lowered and then fully assembled. This will mean having a ladder for one night whilst the glue goes off before the final positioning the following day.
 
You can sometimes get away with using the actual router bit to scrape away burn marks by hand but it is a little fiddly, I'd guess even more on a cove.

Are you staining this a rather dark shade? Couldn't help but notice that the filler you've used on the pinholes is mahogany-ish.
 
I'm not staining it. I try to go darker with the filler than the wood as they all seem to fade over time, and light filler stands out like dogs doodahs. As the filler lightens and the wood darkens, there'll be a sweet-spot where the pin holes vanish. :)
 
MikeG":21f22apn said:
Eight pieces fitted, 11 made.

One piece was a "proof of concept", the next was a prototype, and there may have been a "design challenge" at some point.

It's all about how you view the world ;-)

(Ps thank you for sharing - the woodwork is a massive endeavour on its own, but endlessly stopping to photograph and annotate is another burden on top. It is hugely appreciated.)
 
Trainee neophyte":2hhcrm19 said:
....... endlessly stopping to photograph and annotate is another burden on top. It is hugely appreciated.)

I've got used to it over the last 4 or 5 years of this house restoration. I'm probably a bit more assiduous when in the workshop doing woodwork, because I'd rather talk about that than say, plastering. Guess what I'm doing tomorrow.
 
Truly inspiring. Thanks for sharing your work so far.

Sent from my SM-G960F using Tapatalk
 
It's a pleasure. As I say, pretty much everyday stuff for 2 or 3 people on here who work in a joinery workshop.

-

I've just noticed this:

1ZznEBt.jpg


The decoration means I won't be able to put dowels through that face, which is a bit of a pain. I'll have to do them blind, from the other side. That's OK because I've got plenty of wood thickness to work with, but the nightmare is if a dowel splits or breaks half-way in. You then don't have a hole to knock it back from.
 
If a dowel does split, on the inside, hidden away under the bottom step, I vote that you cut yourself some slack and just leave it. You can still put a fresh one in alongside.
I think you've earned the right to do that!
 
What a fantastic build. When I got to the section about carving a design I felt sure you were going to carve some apples and pears. But then I realised you meant the date. The right style of stairs are really important for a house. Wonderful project.
 
Gerard Scanlan":u44shnx8 said:
What a fantastic build. When I got to the section about carving a design I felt sure you were going to carve some apples and pears. But then I realised you meant the date. The right style of stairs are really important for a house. Wonderful project.

Thanks. ....and the carving doesn't finish with the date. I'm going to experiment with some Tudor roses on the brackets. This is a 300 year old oak framed cottage.
 
Are you going to carve the URL of this thread somewhere so people in the future could see how it was made? :wink: :lol:
 
Back
Top