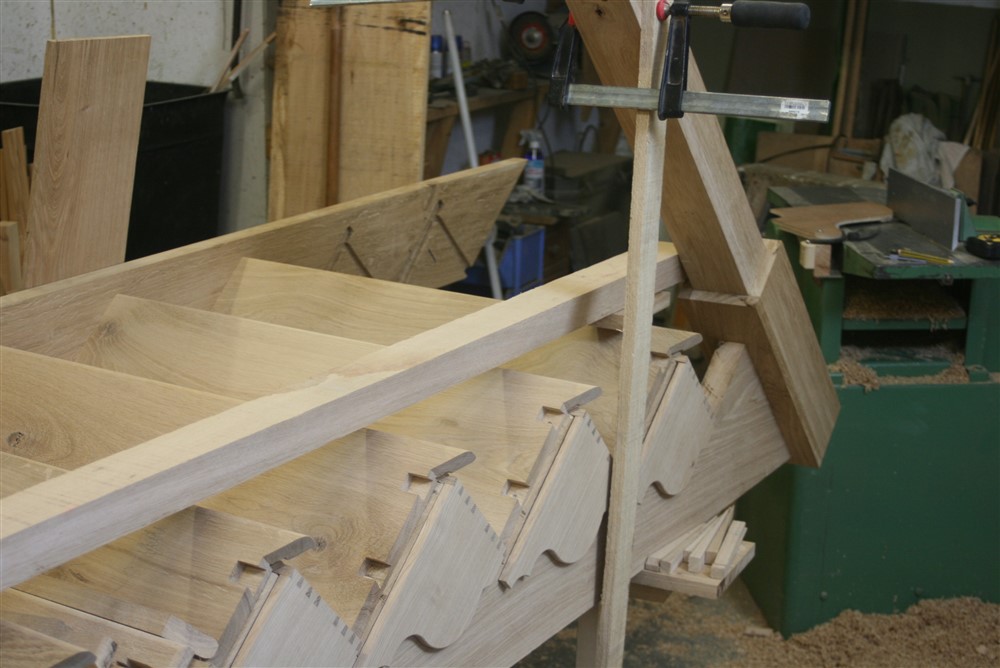
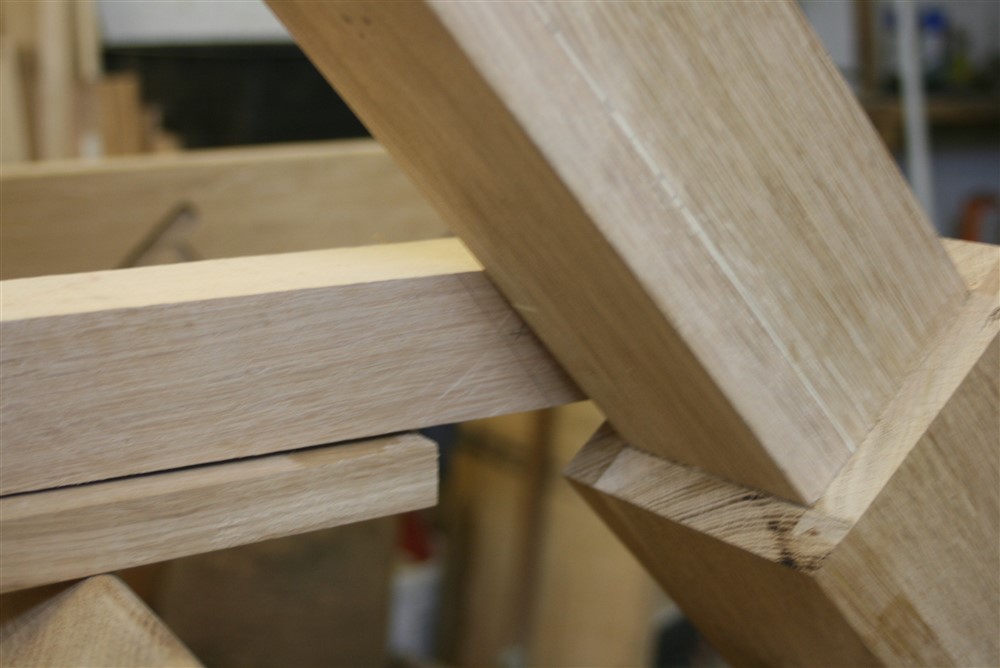
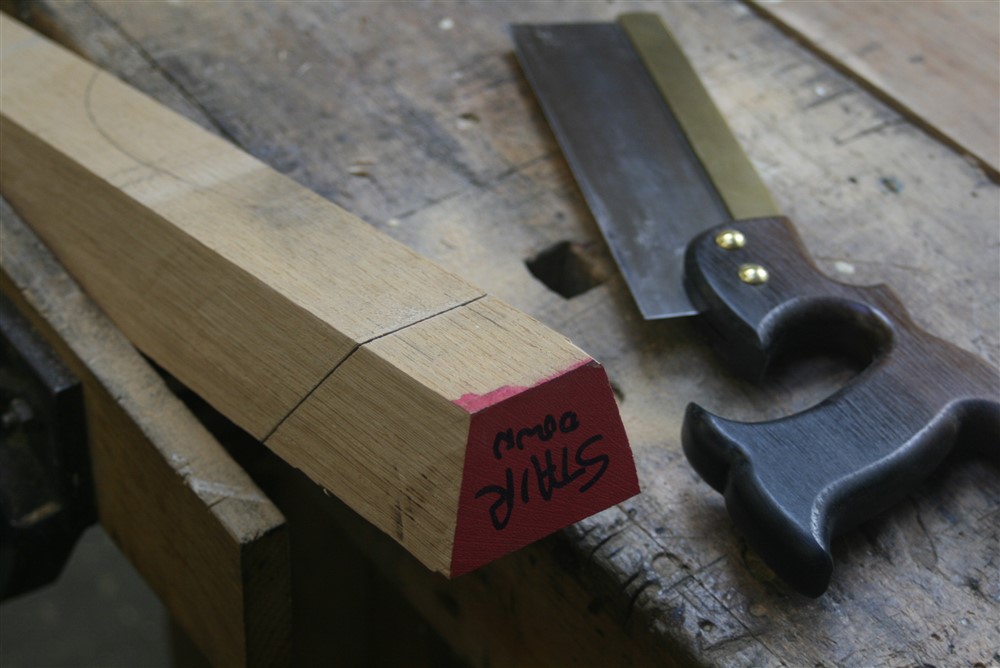
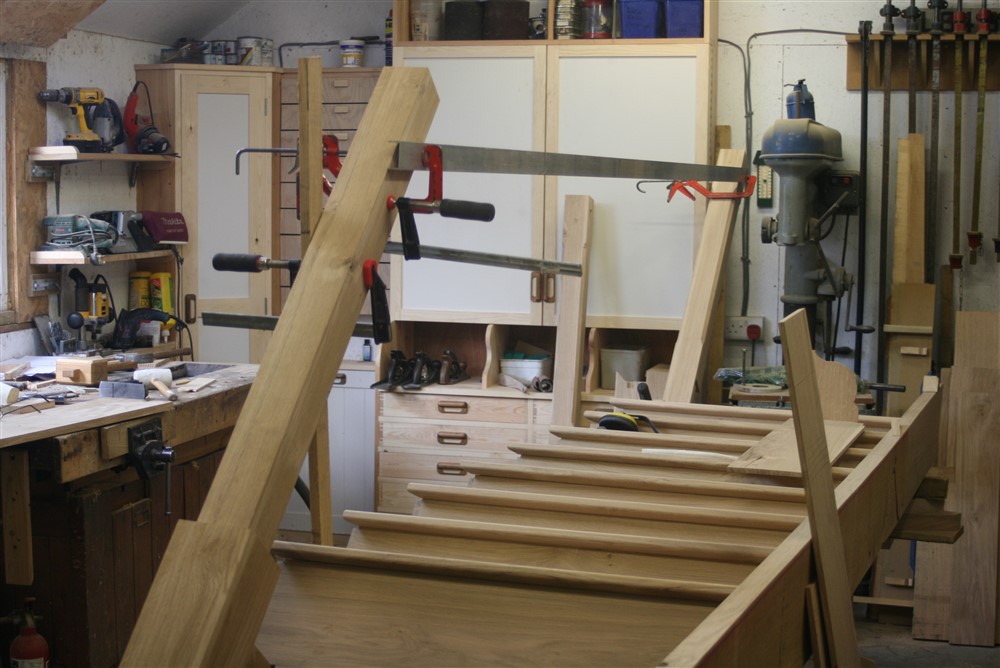
A cut string stair in oak, blow by blow.

UKworkshop.co.uk

Help Support UKworkshop.co.uk:

This site may earn a commission from merchant affiliate links, including eBay, Amazon, and others.
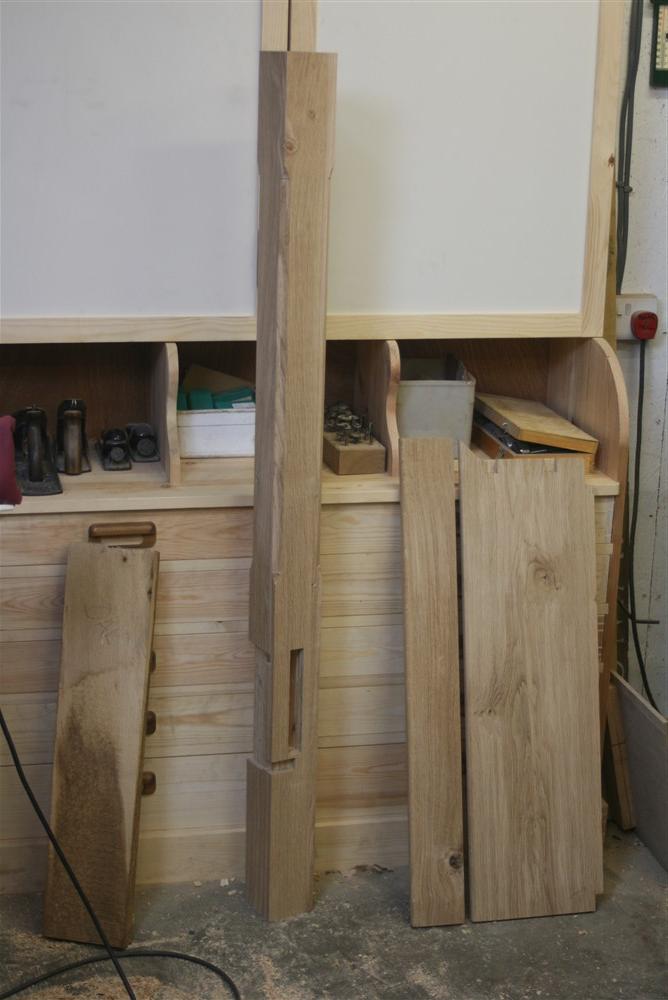
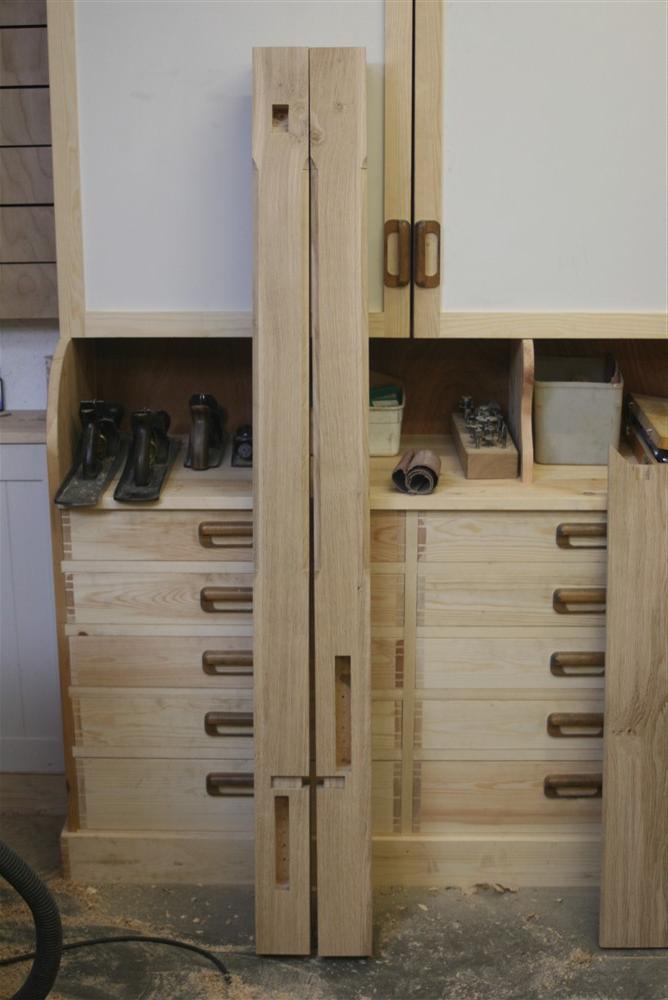
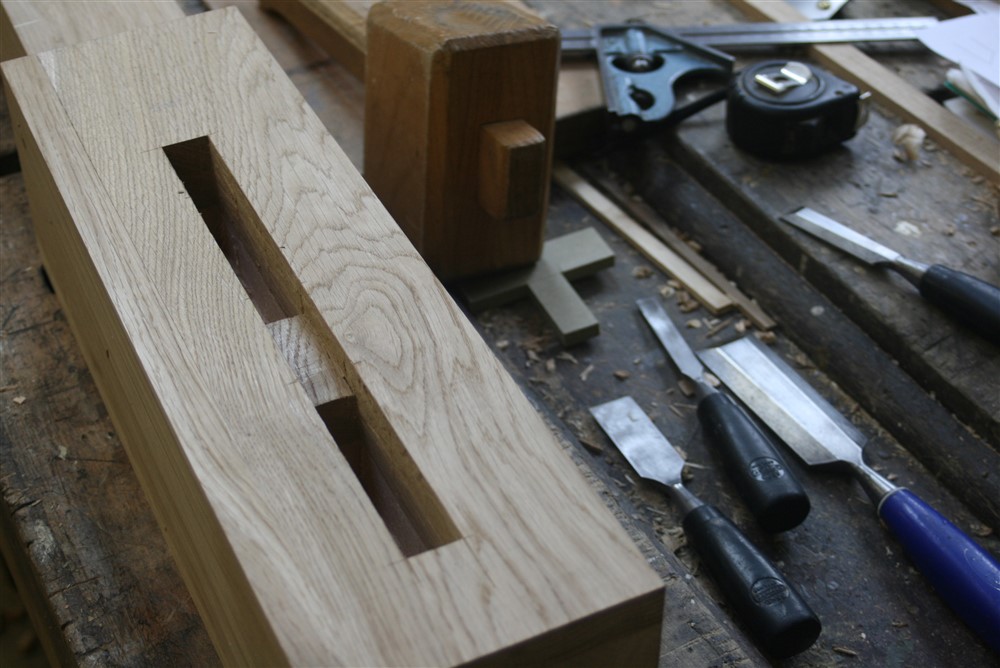
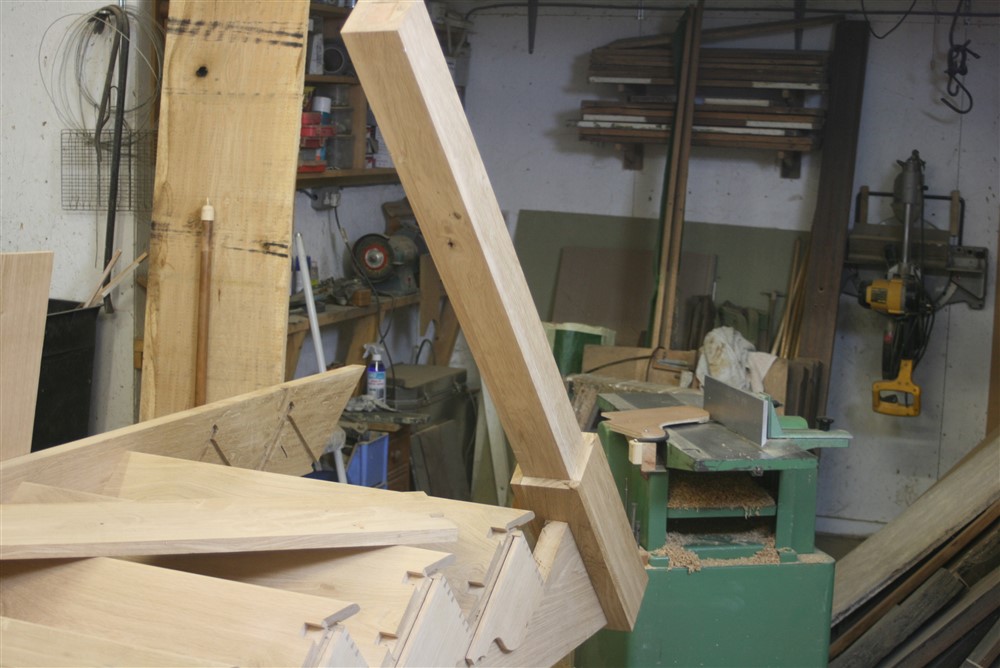
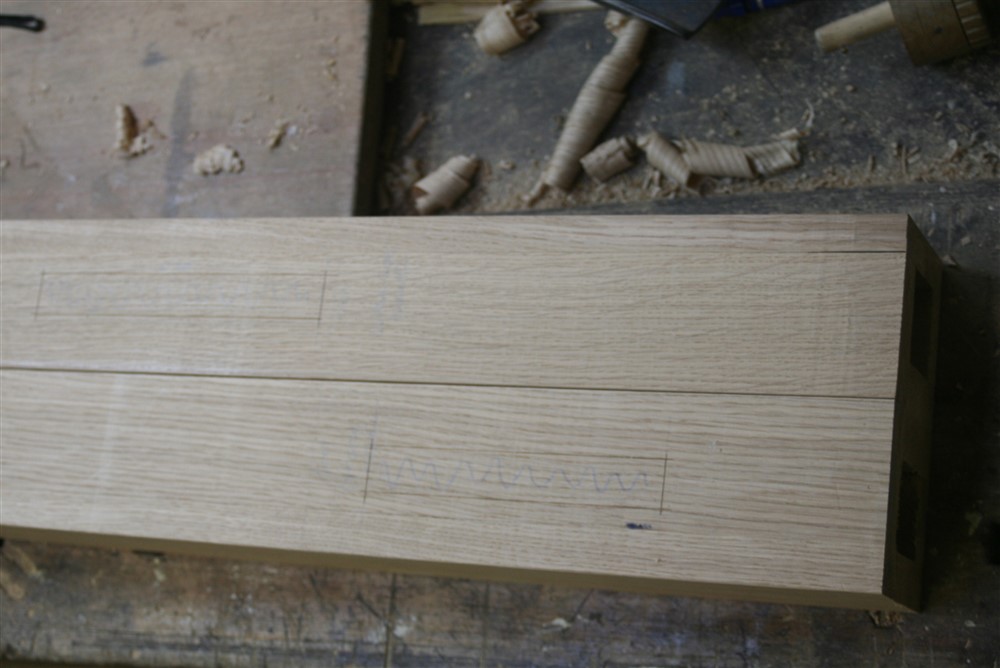
I grabbed a couple of hours in the workshop this afternoon, and tackled the upper newels. After squaring and straightening them up they finished at the usual 90mm square. I cut them to final length, and then set out their joinery. Unfortunately, this photo doesn't show clearly the reference point, which is the top of the second top step, but it does show that the two mortices are in entirely different locations:
AhRwMrO.jpg


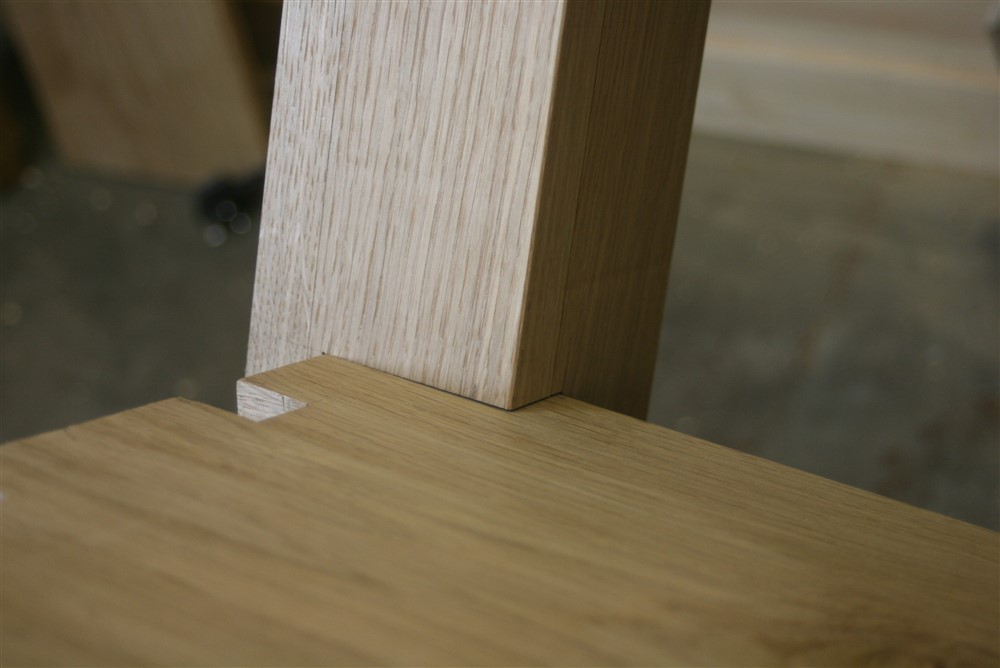
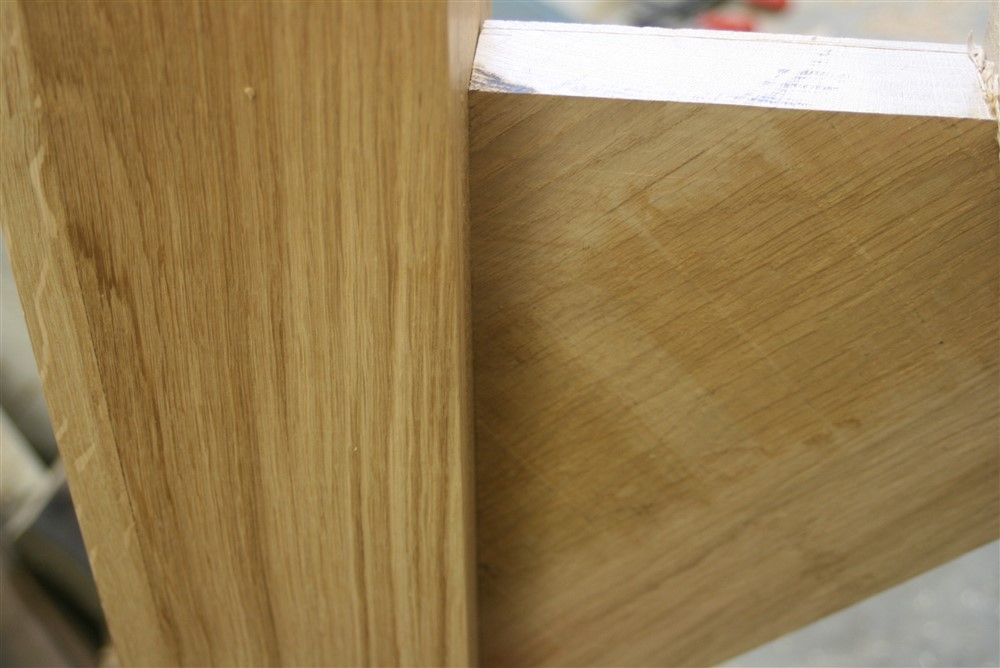
The little opening in the join caused by a bit of snipe is why this newel is this way around. It will be hidden when the stair is in place.

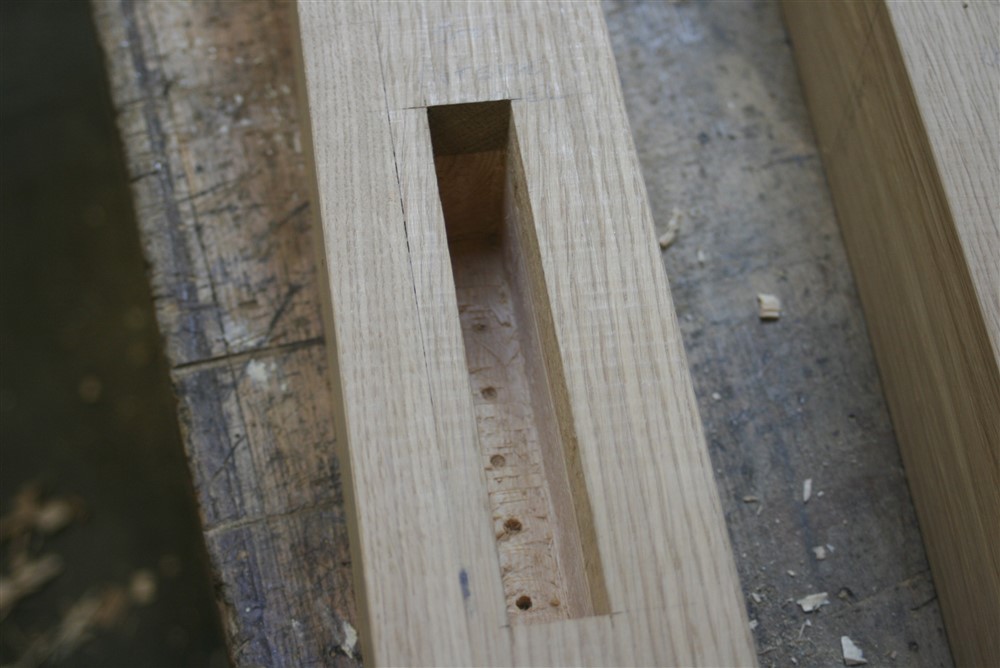
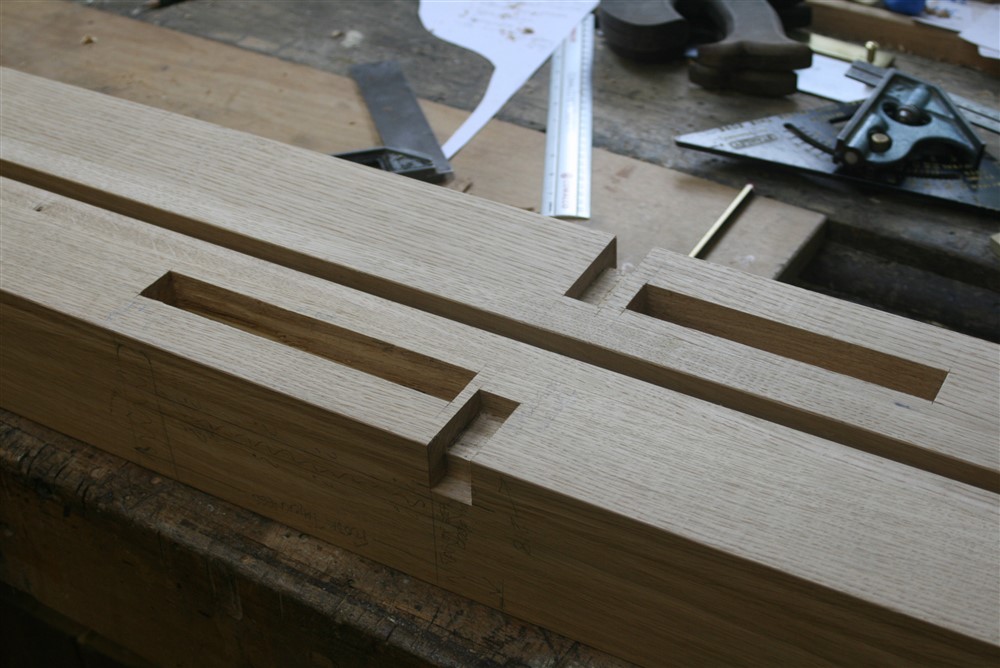
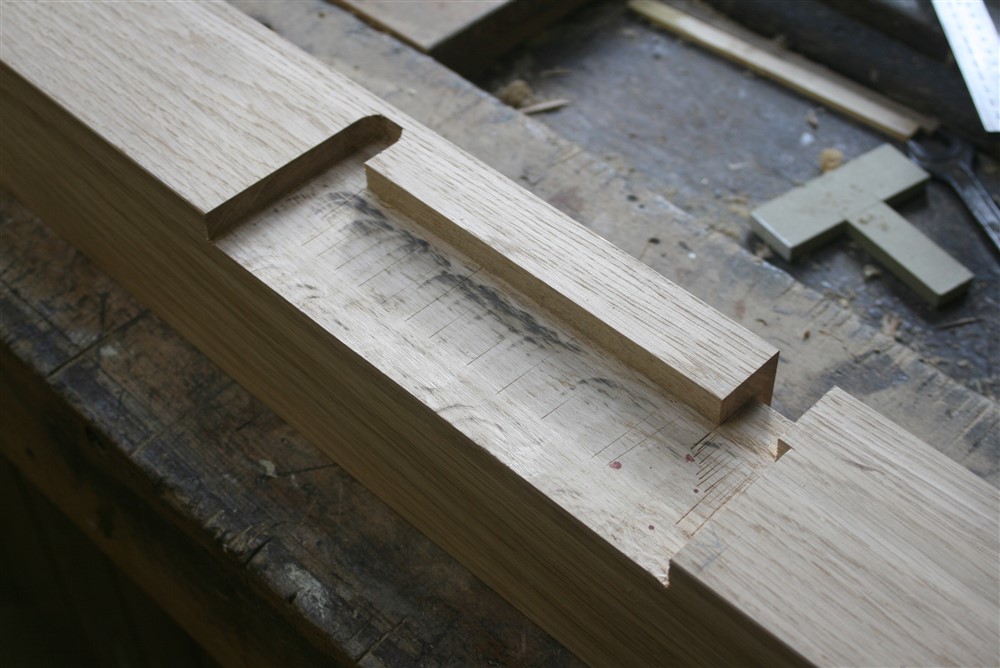
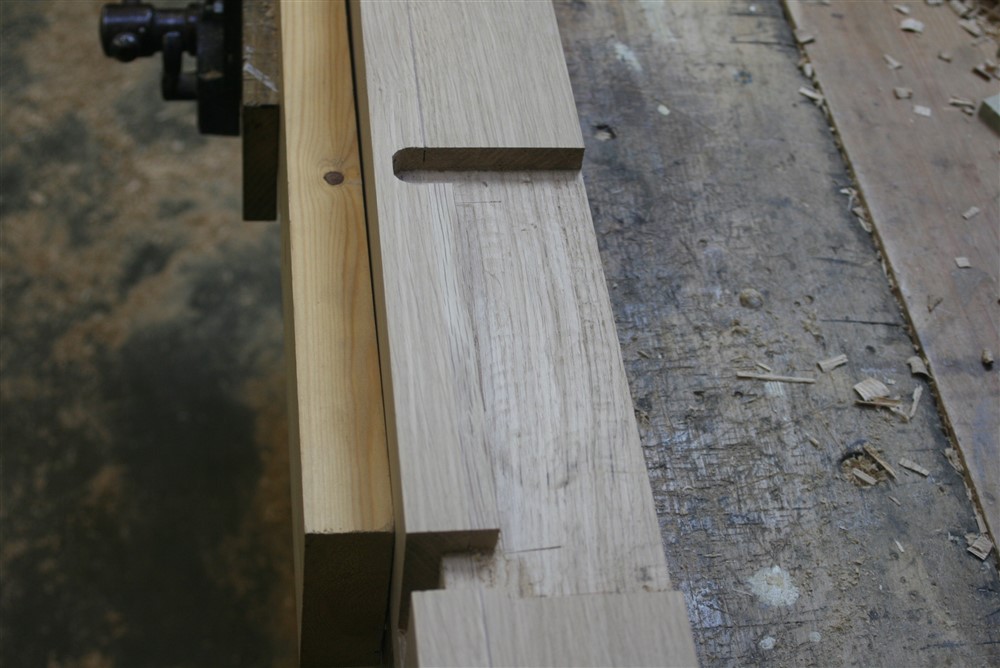
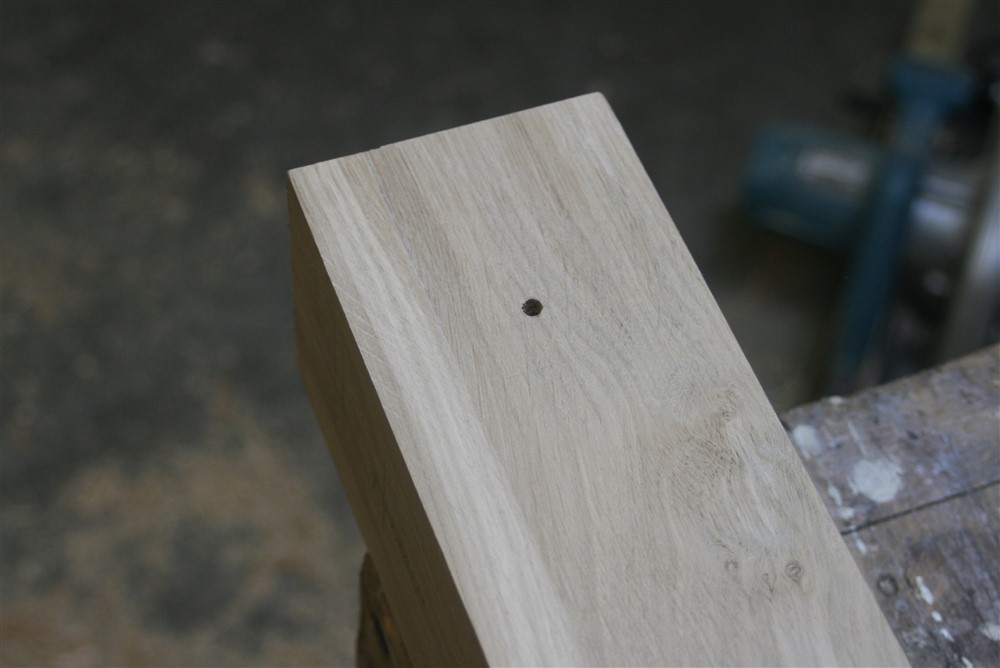
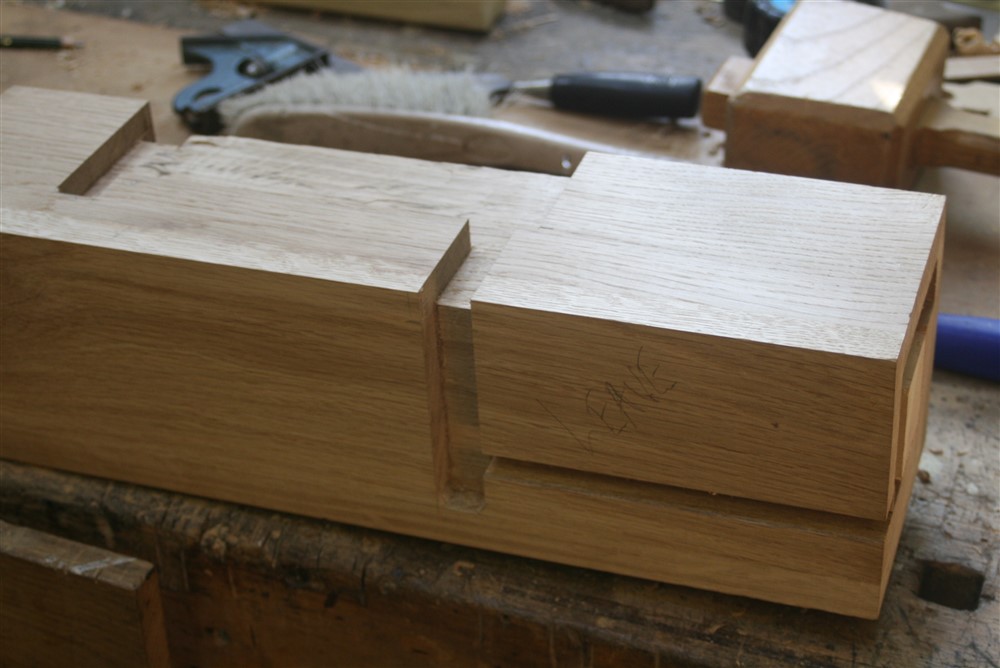
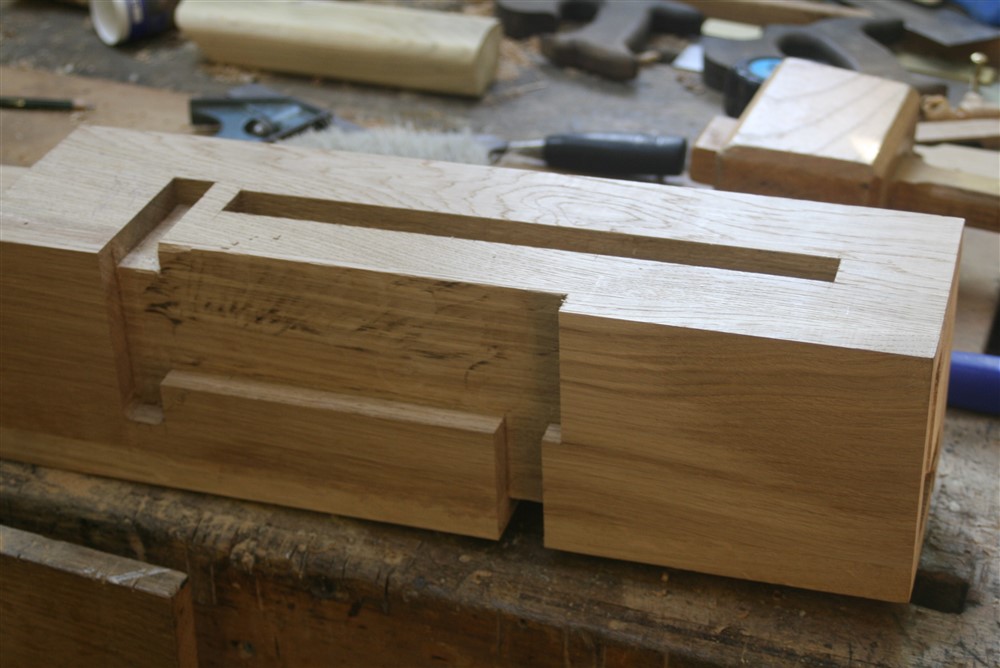
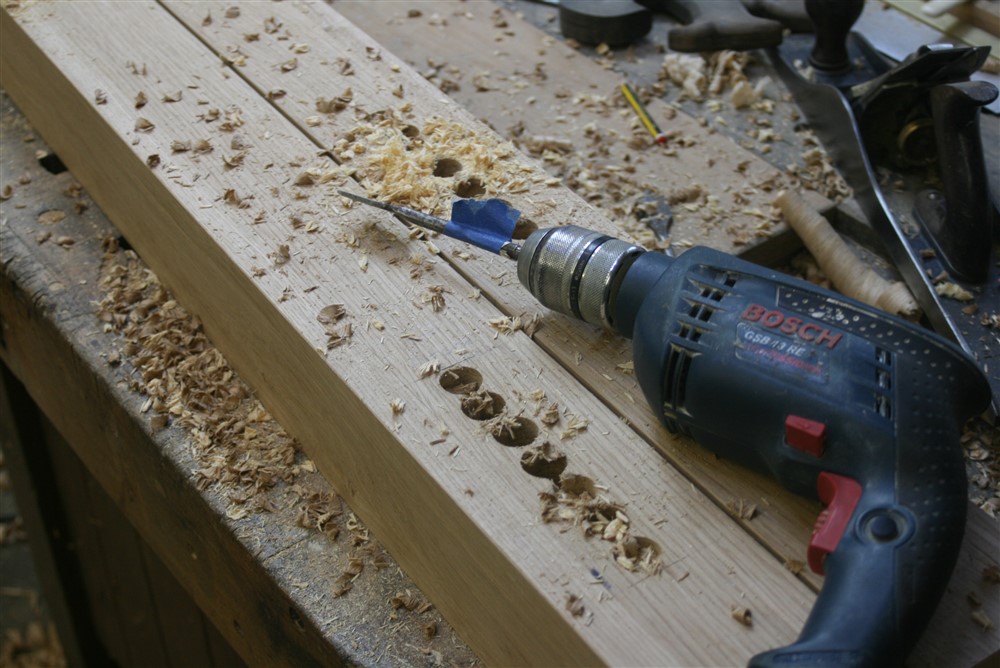
Now in joinery I would normally just chop out mortises with a mallet and chisel, but these are big....about 8" x 1" x about 65mm deep, more like green oak work than joinery. So I did what I do in green oak framing, and drilled out much of the waste first:
iCbdRkP.jpg


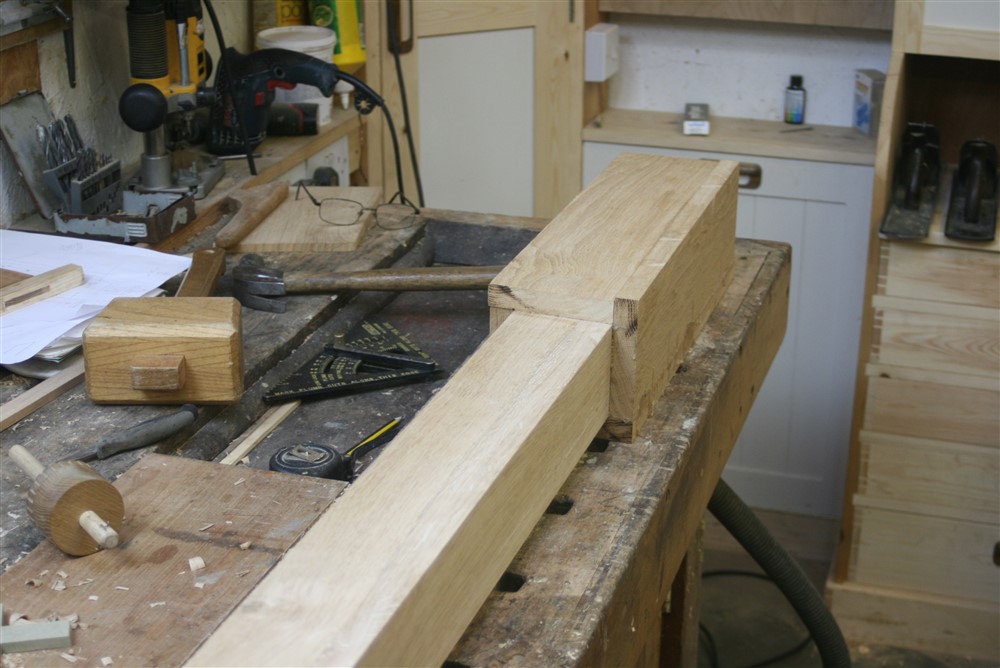
Then some chiseling:

Upm5VT5.jpg


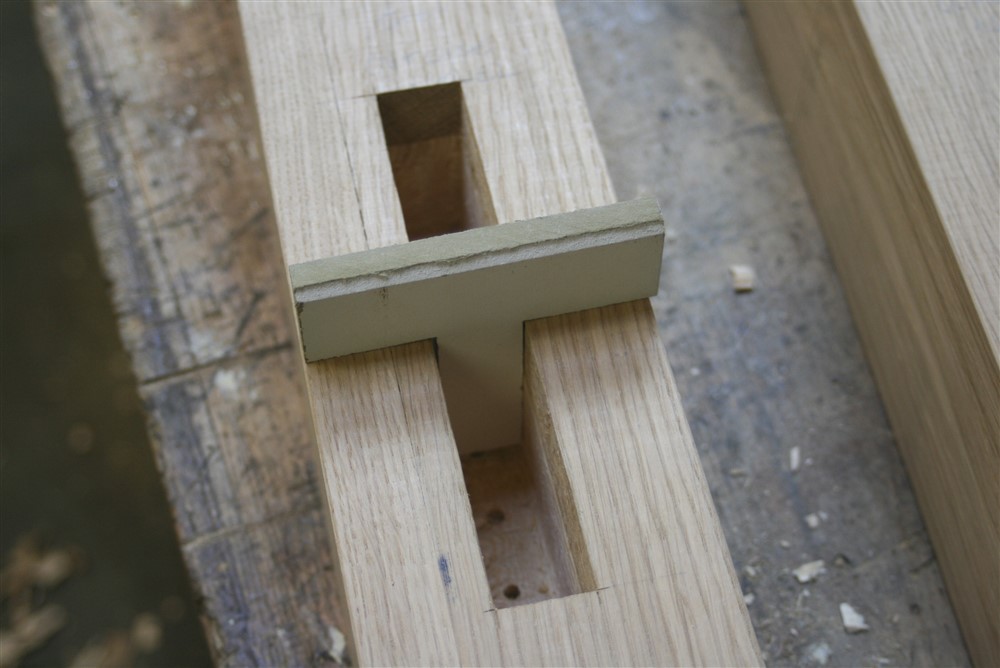
.....and some checking:

BhVO0oJ.jpg


Before finally easing it into place:

VumckMG.jpg


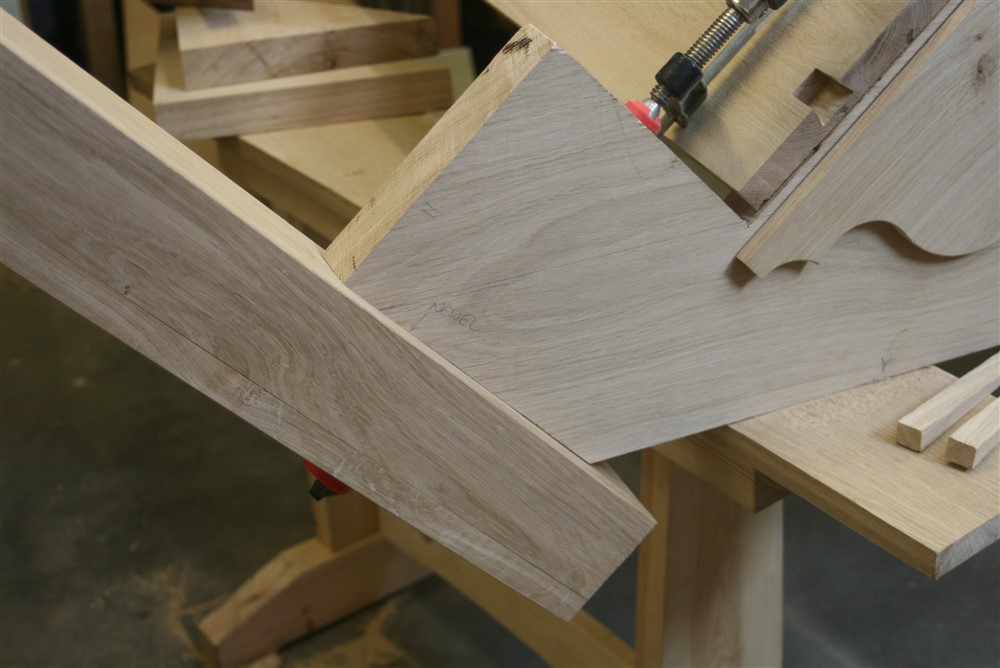
Not perfect, so I'll tidy up tomorrow:
bRGT3zJ.jpg
 
samhay":xt6drwxk said:
Having never built stairs before, this has been/is an excellent read, thanks.

Neither have I. And thanks.

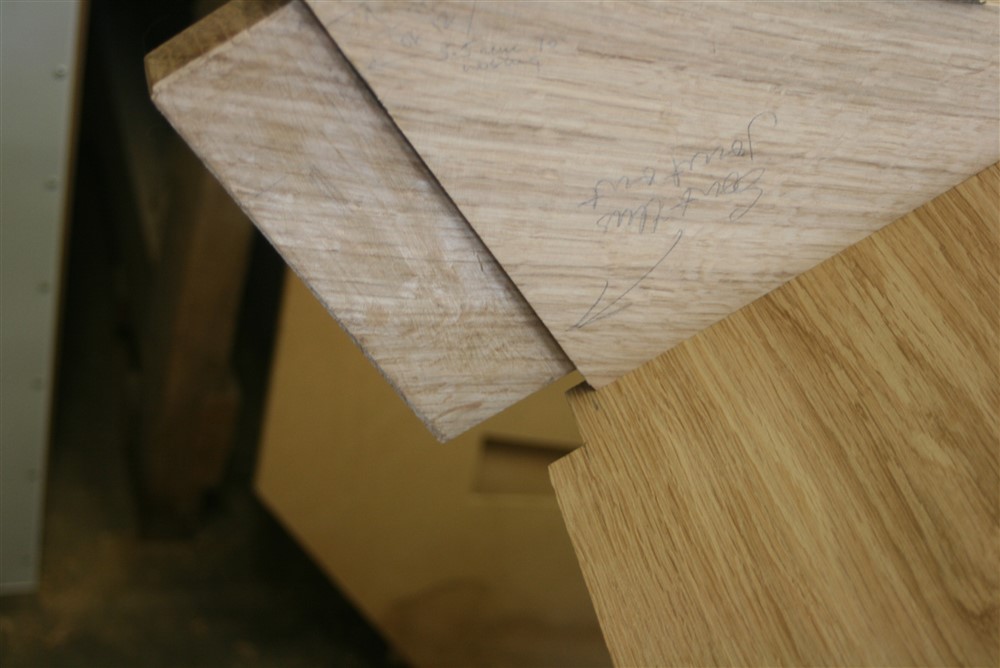
How will you fix these on?

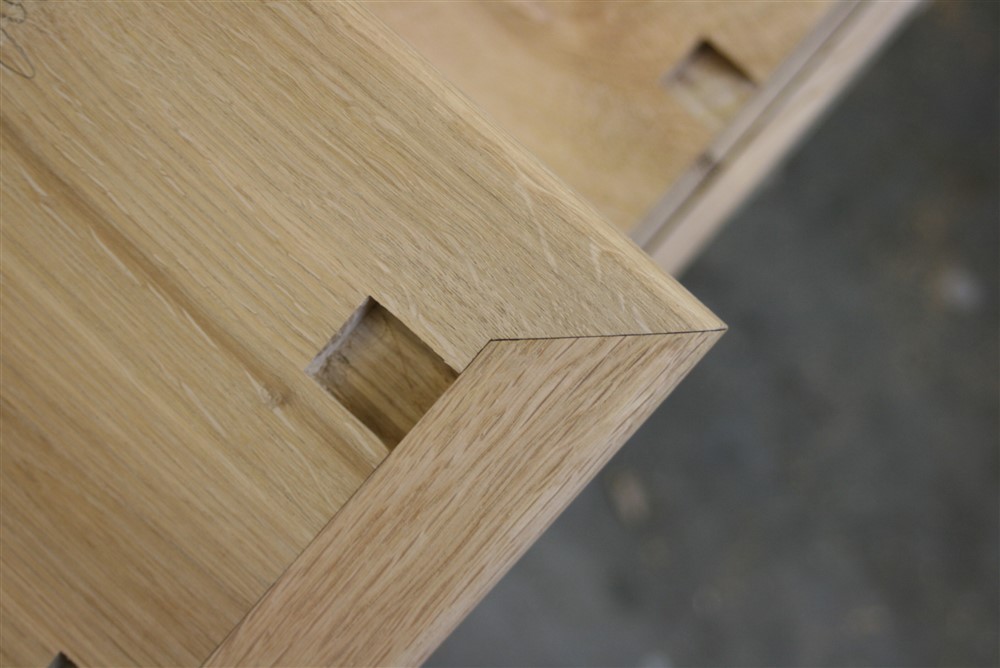
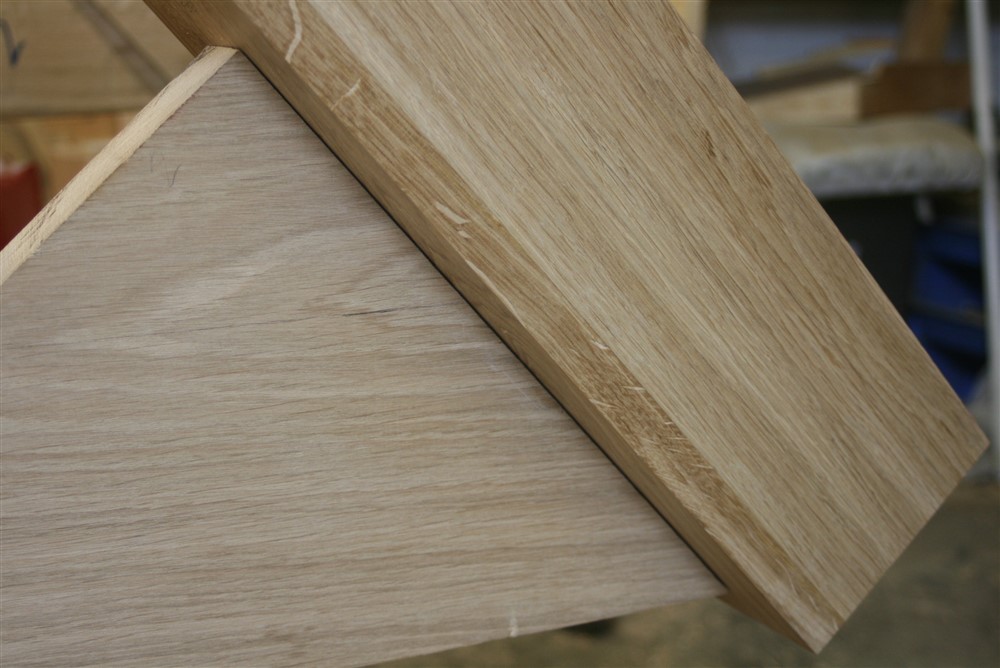
I'm not sure yet, but I'm seriously thinking of just nailing them on, with a drop of glue, of course. It's not impossible I might fit some loose tongues to help with alignment. I contemplated a mitre spline for at least half a nanosecond. Did I mention that I hate mitres?
 
Another great WIP Mike, thanks. Very interesting and certainly helps to remove some of the fear factor for anyone else considering taking on a similar challenge. Not me though, I live in a bungalow!
 
Cracking work and WIP, Mike.

I can almost smell the oak from here.

Pete

No bog oak details?
 
Thanks Pete.

Pete Maddex":2y8j34an said:
......No bog oak details?

No, I don't want to make this over fussy. There is going to be a little bit of carving, but this is a cottage, not a manor house, so I don't want to be overdoing things. It's hard to get the balance right.
 
I see, I did think for a bit you had run out :shock: :shock: :shock:

Pete
 
Fascinating project Mike which I'm thoroughly enjoying reading. It's going to look very good when finished.
It's helped me a lot tbh as for years I've been thinking of ripping out our 40 year old parana pine straight string staircase and replacing with oak.
So I've decided I'm not going to do it! Too much like hard work so it will be out with the sander and refurbish the thing. The thought of making 5 newels and 46 balusters etc fills me with dread.
 
Lons":10c5v5x0 said:
......It's helped me a lot tbh as for years I've been thinking of ripping out our 40 year old parana pine straight string staircase and replacing with oak.
So I've decided I'm not going to do it! Too much like hard work..........

=D> =D> Brilliant! :lol: :lol:

The thought of sanding 46 ballusters and 5 newels, plus all the other stuff, would fill me with dread. Good luck to you.
 
MikeG.":3q0rpda5 said:
The thought of sanding 46 ballusters and 5 newels, plus all the other stuff, would fill me with dread. Good luck to you.
It does!
I have a cunning plan though, if I procrastinate long enough we'll get to the stage where we need to downsize ant it will become a project for someone else. :D
 
Working out the newel on the wall side:

8Rsxr6z.jpg


Here they both are:

c3lzVbw.jpg


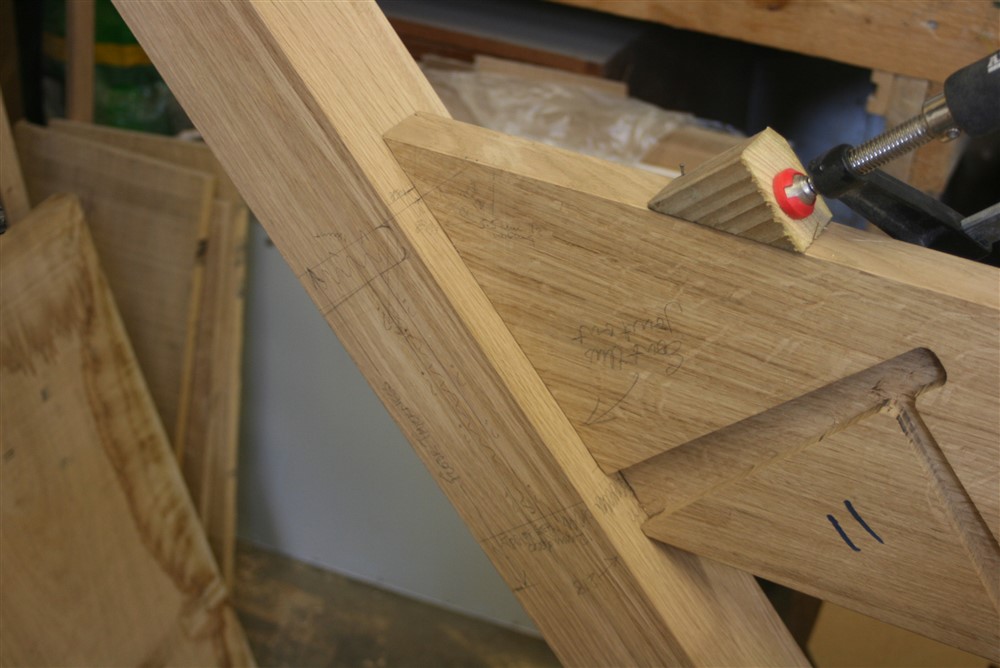
The back of the 11th tread is notched to suit:

qwnFqpc.jpg


QhWTLmE.jpg


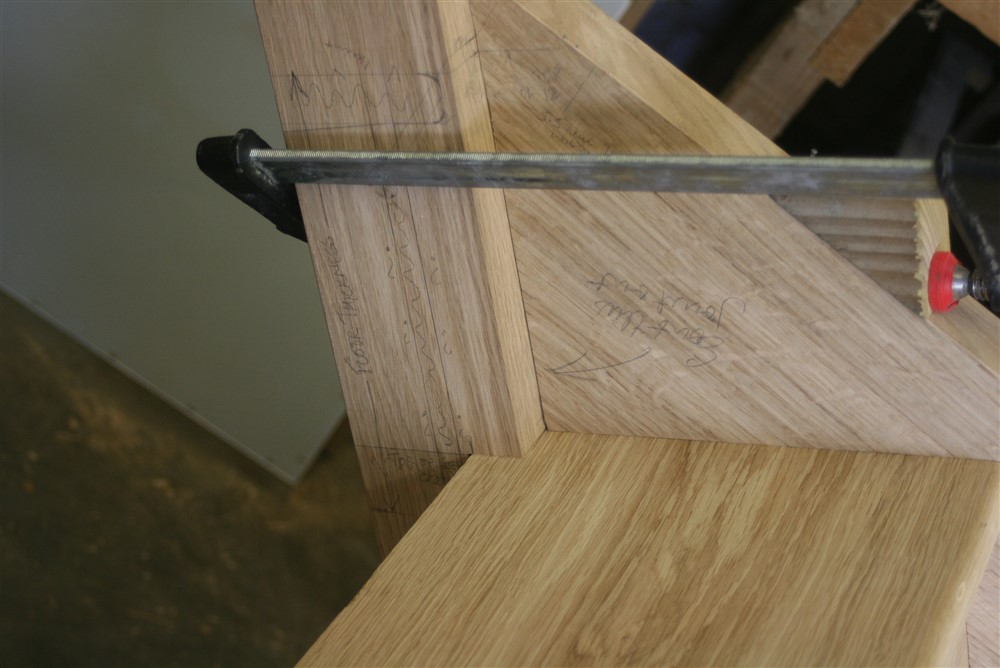
And the newels slipped in smoothly first time:

tZ6F4Fd.jpg


O4TXM8l.jpg


However, we have a problem, Houston:

avbQAYJ.jpg


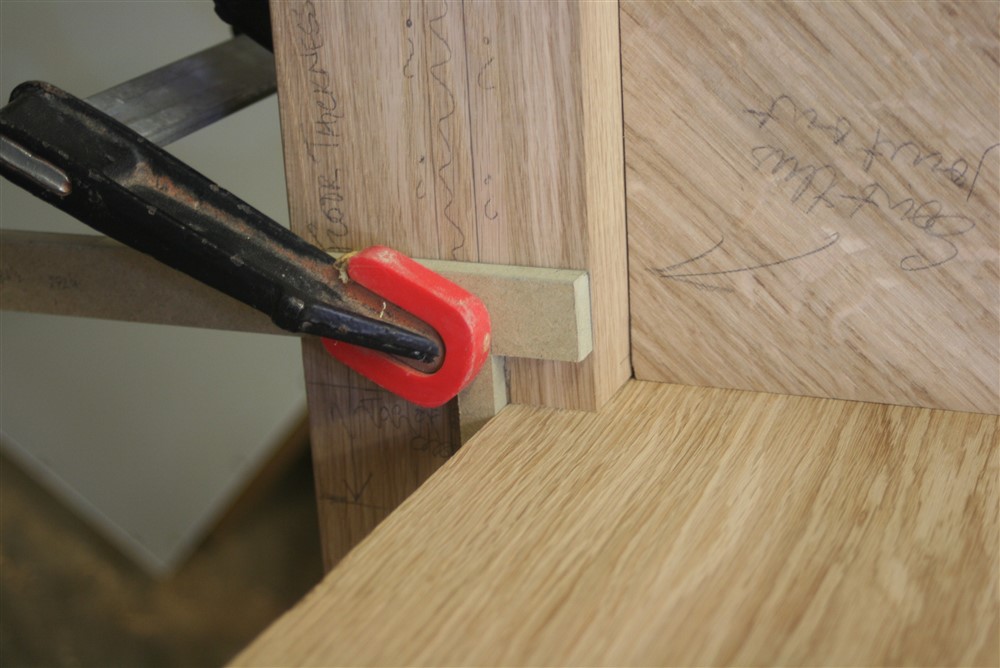
Something went wrong in the setting out, and so the newels will have to move inwards by a few mm (I settled on 6, because that was the thickness of a handy piece of MDF). I can't do this until I have the stair apart again, and the only thing it has implications for is the height of the handrail, which will go upwards by 3 or 4 mm as a result:

XBEb412.jpg


Whilst cogitating over that I glued up the rest of the bottom newel, which isn't the same as the others:

Bx7neqz.jpg


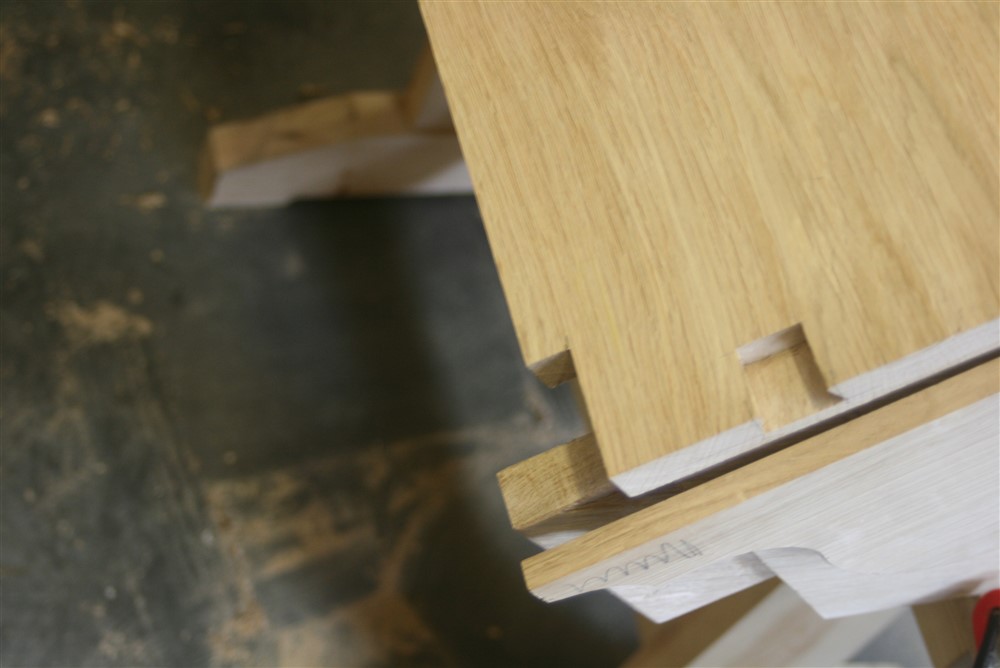
Perhaps those who make stairs regularly could comment on this. Those steps where the riser is embedded in the newel.......what do you do? If you put a slot&wedge arrangement in as per the string, I can't see how you could ever actually get the riser into place. So, I cleared out the entire area behind so that it can slip in from the back. Is this what you guys do?

dDi00HQ.jpg


wdpIo9j.jpg


Chamfers. You know how much I like a nice chamfer. Well, here's mt standard chamfer stop, before and after:

RgaDowP.jpg


0hgnD2M.jpg


And the completed newel (without caps etc):

Q1JGRRR.jpg


Being very precise about where you actually are on a piece of wood is critical. Here I started drilling out for a mortise for the handrail, had a second thought, checked, found out I was on the wrong face:

M7MibIU.jpg


OK, that's a pity but it's only a little bit of filler, and a nice reminder every time I use the stairs that I am not perfect. Eventually I chopped out a suitable mortise on the right part of the correct newel:

TYYmWVR.jpg


The following day the bottom newel was ready to tackle. First job was to clean up the faces of the thickened bit at the bottom, and square up the base:

pKNResS.jpg


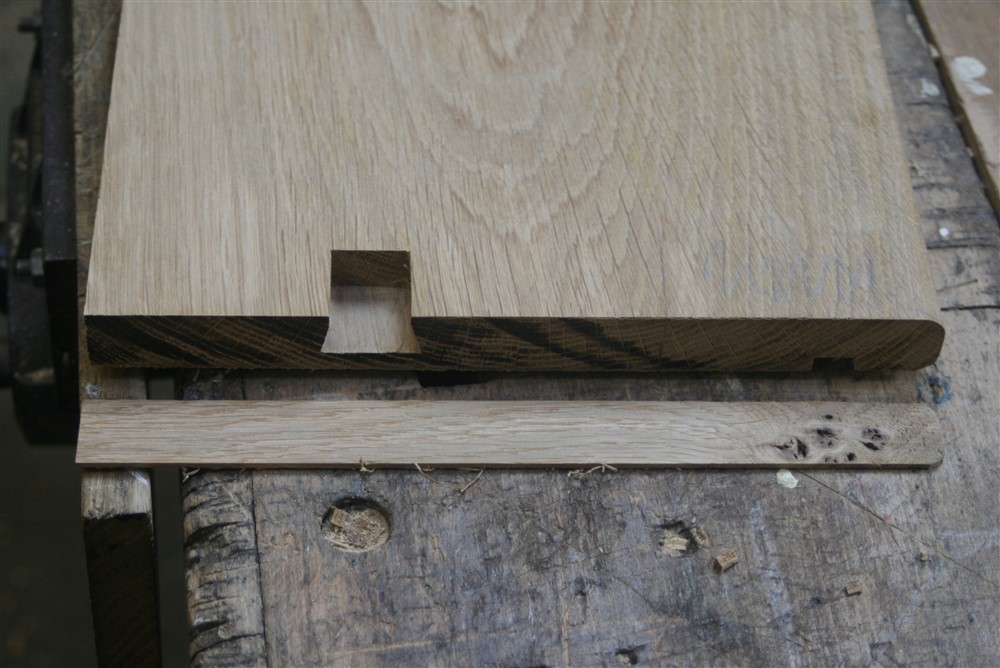
Then chop a pair of mortises in the usual way:

c1JiwBX.jpg


And a first trial fit:

IveaMxh.jpg


It was absolutely perfect on the inside, where no-one will ever see it:

wUck2DW.jpg


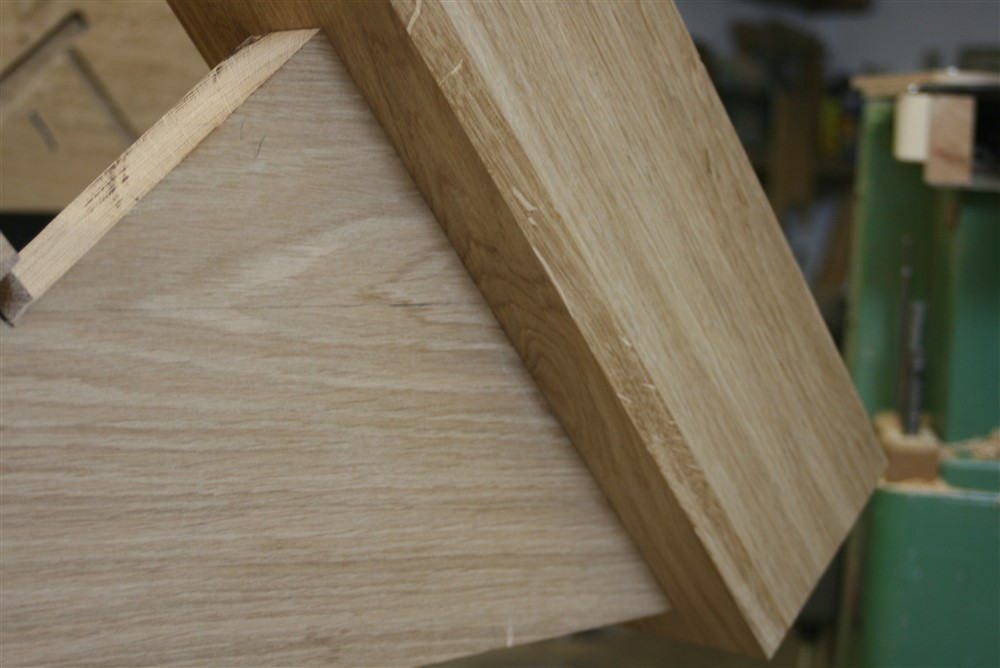
But poor on the outside:

FKk54C7.jpg


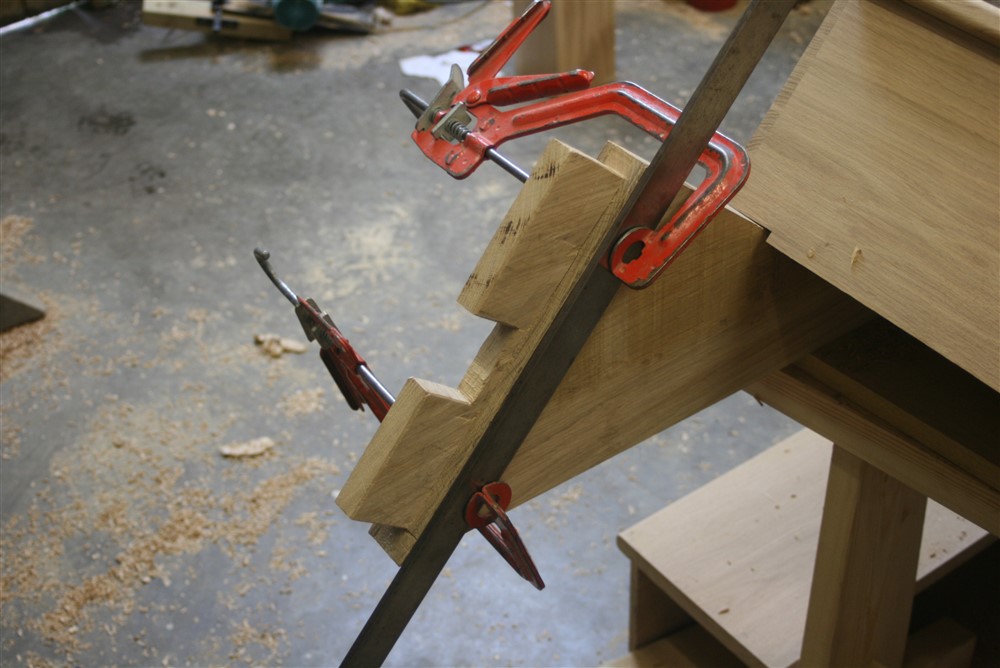
If only I had a shoulder plane. But I've managed forever without......just fix a straight-edge, scribe with a knife, and chisel away:

EPYB3gC.jpg


Fixed:

jTsHI3c.jpg


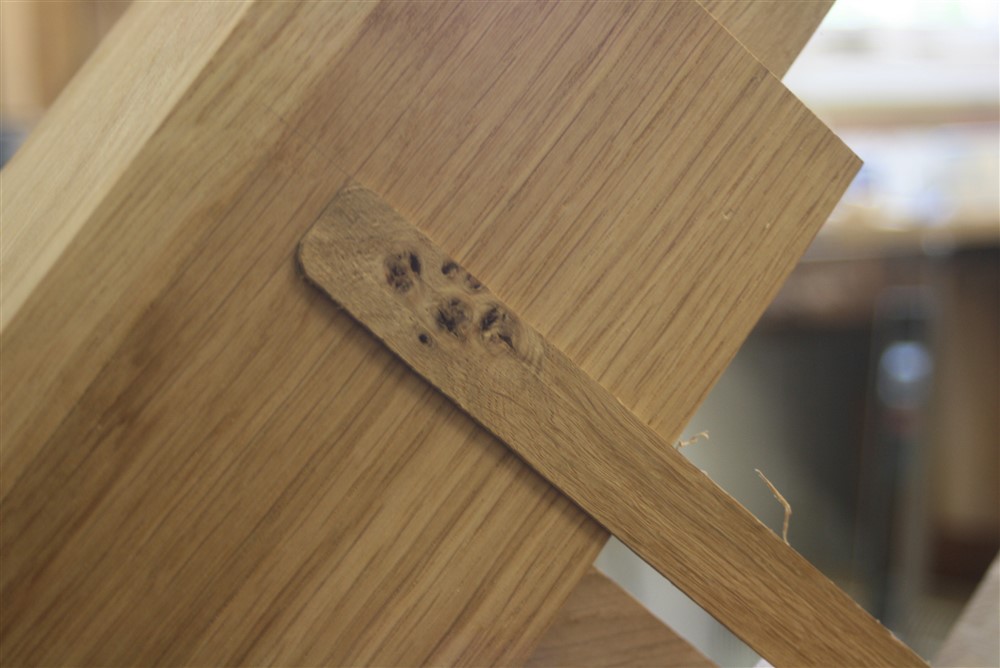
Marking out around newels is awkward because nothing is on the same plane. I found it easier to make a quick jig of the exact shape of the tread section:

wKZM18c.jpg


eIBV1u5.jpg


Whilst marking stuff up it seemed sensible to mark the shoulders for the handrail:

LVrtoXd.jpg


cIfYNTf.jpg


fpMSGvq.jpg


Wise to do that before shaping the rail, because transferring markings around a non-rectilinear shape with rounded corners would be some sort of mugs game.

Here I am transferring the mortise position from the top newel to the bottom:

B3VtKin.jpg


After doing all the marking up around the bottom newel, time to start chopping wood away:

sHjjWHs.jpg


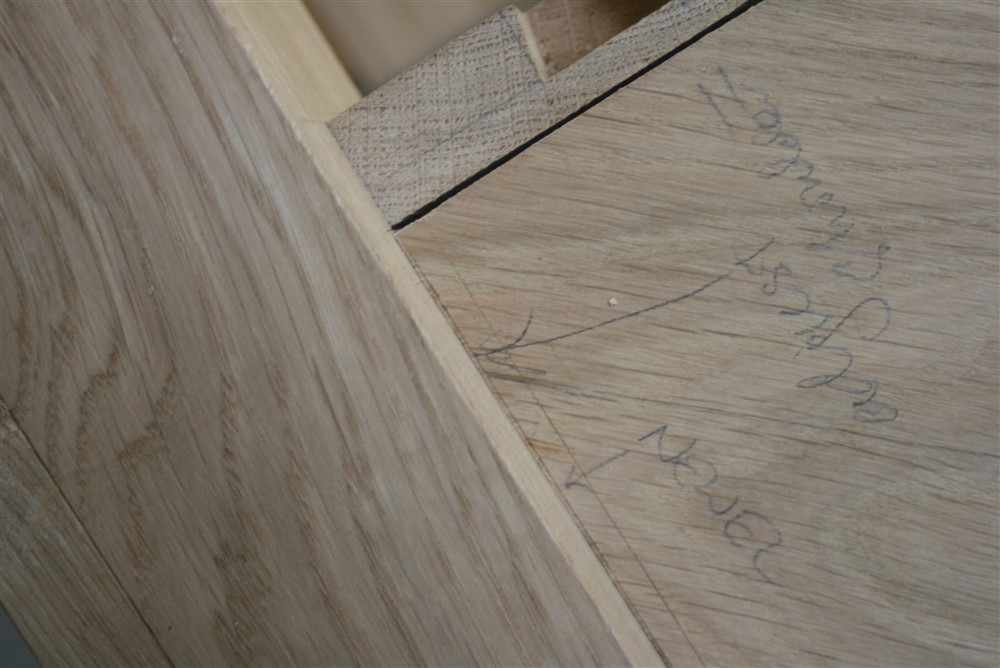
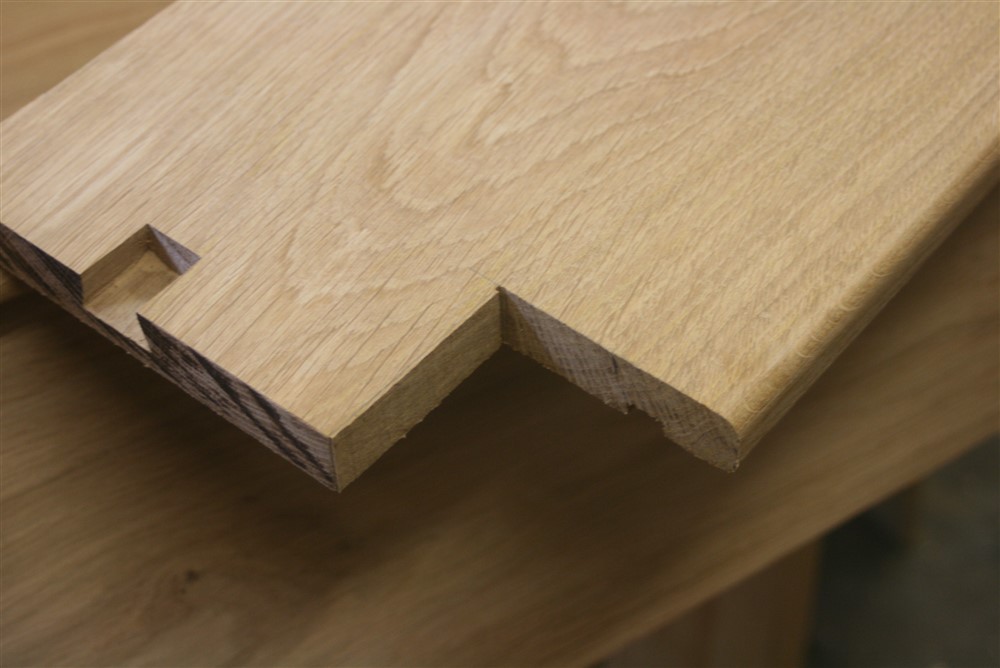
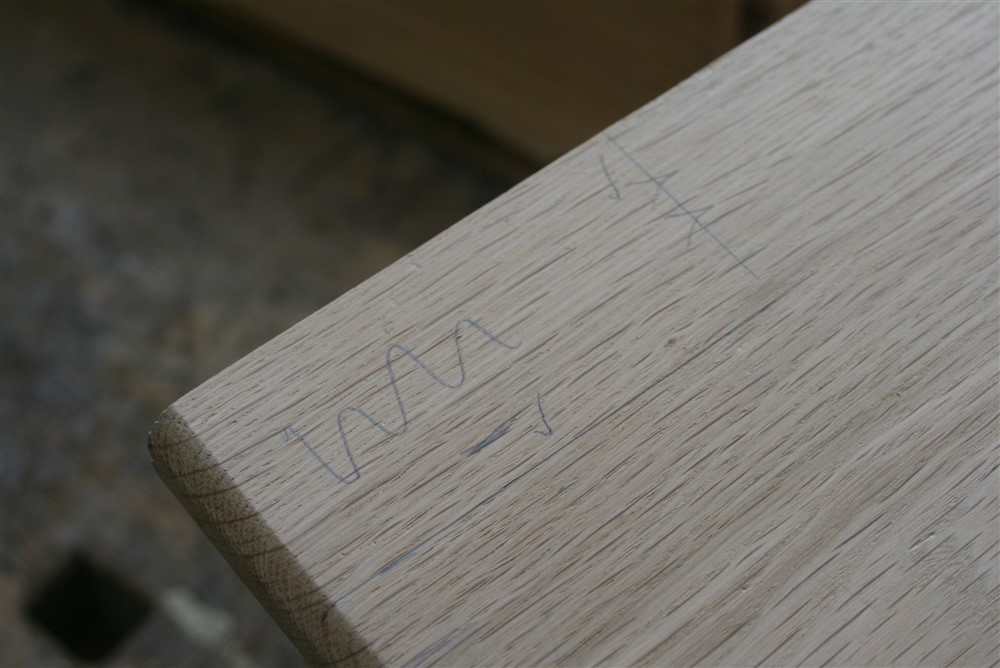
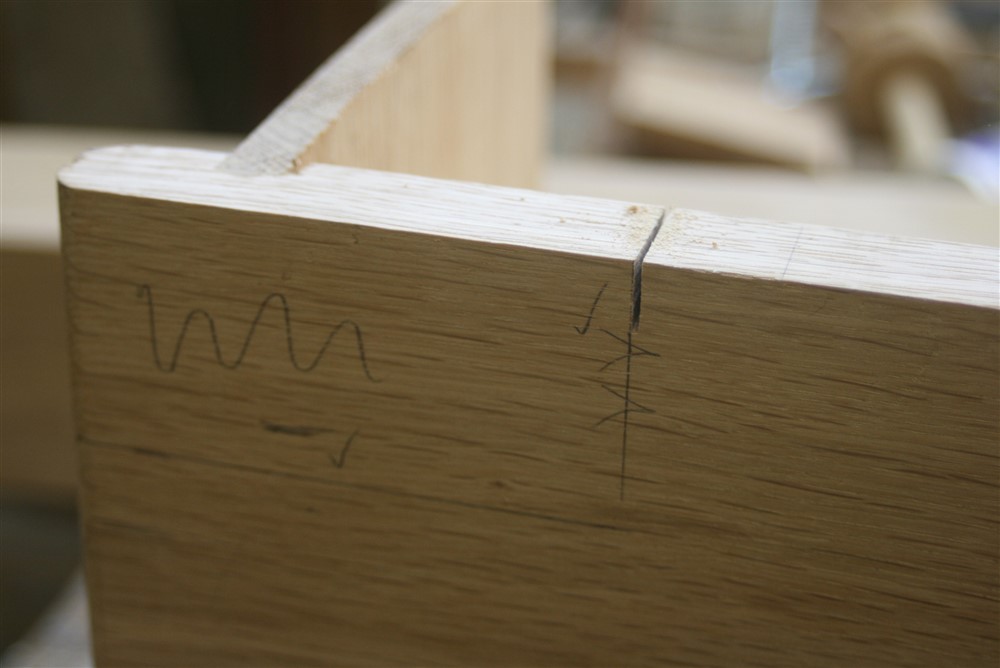
My personal method of marking involves some little symbols. Here the double arrows through a marking out line tell be to leave the line (ie cut against the far edge of the line). In other words, my first stab at the setting out hadn't been special:

qGDrA0Y.jpg


nuPtshO.jpg


cLq31Xt.jpg


There are housing joints on 3 faces of this lower newel:

nZe2t3x.jpg


CFF4JxD.jpg


It's not complicated, but you must stop and think. It all came together OK in the end:

c3HfemM.jpg


p6VGuqC.jpg


That's another of those risers without any backing behind it in the newel.

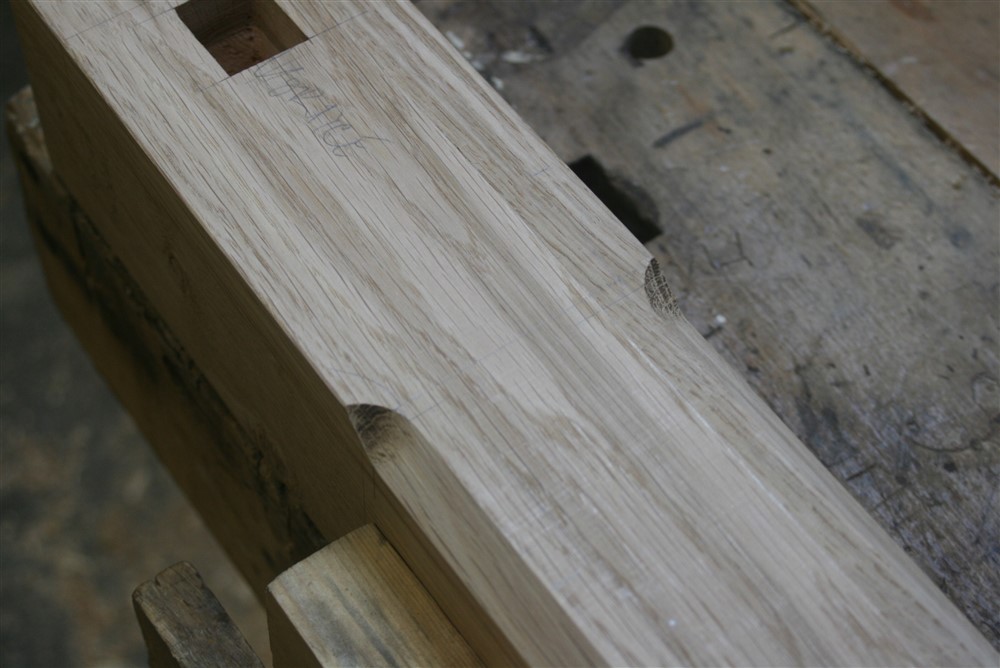
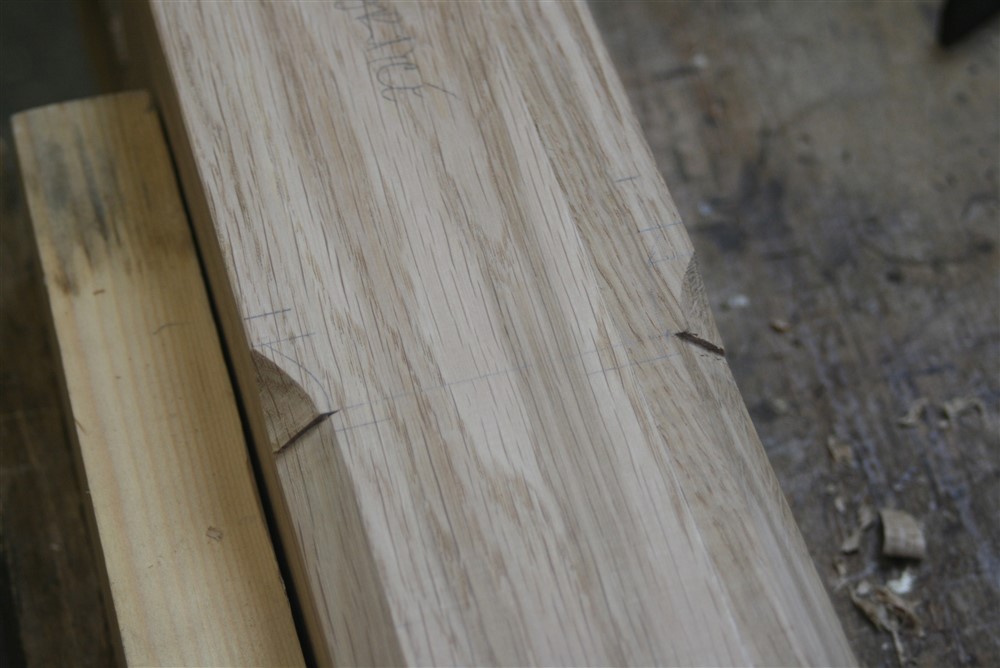
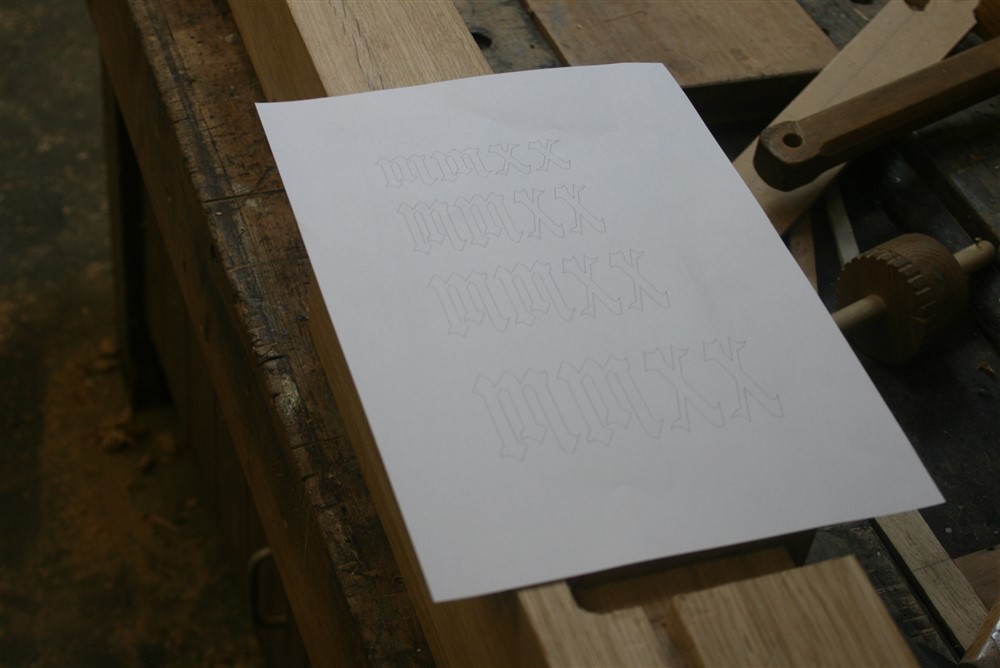
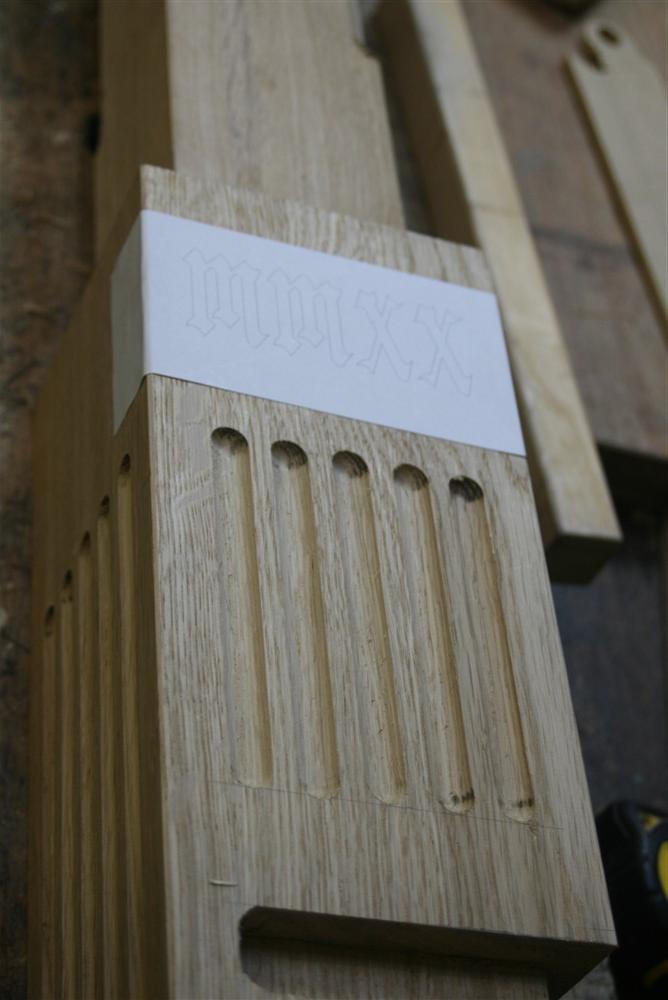
Having done all the joinery to the newel, now I can get on and do the frilly bits. First, choose, then set out, the carving (every stair has a date carved into the newel, doesn't it?):

FSUaqfZ.jpg


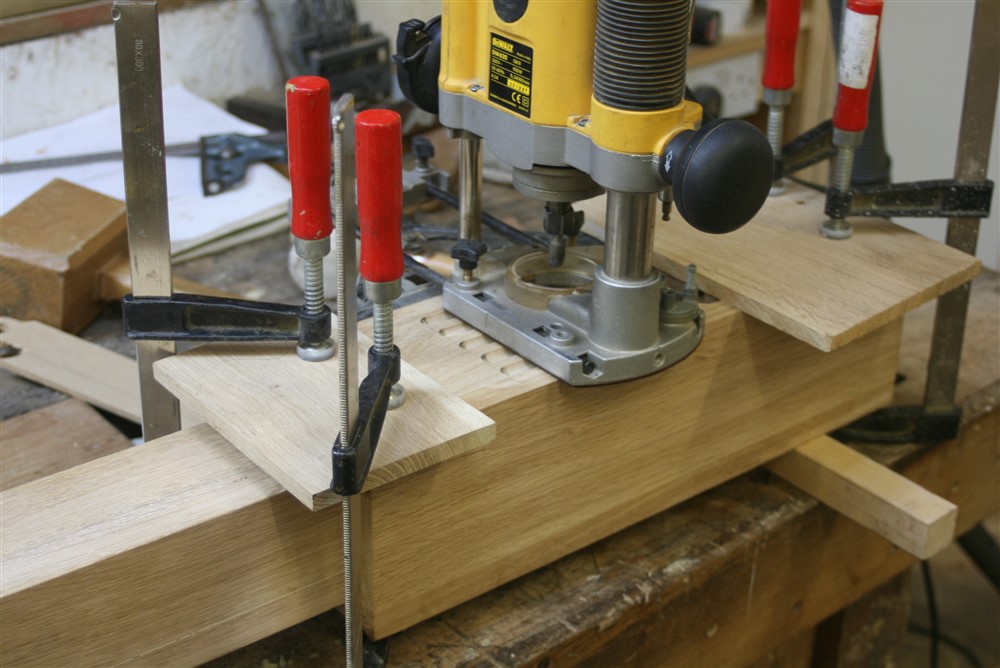
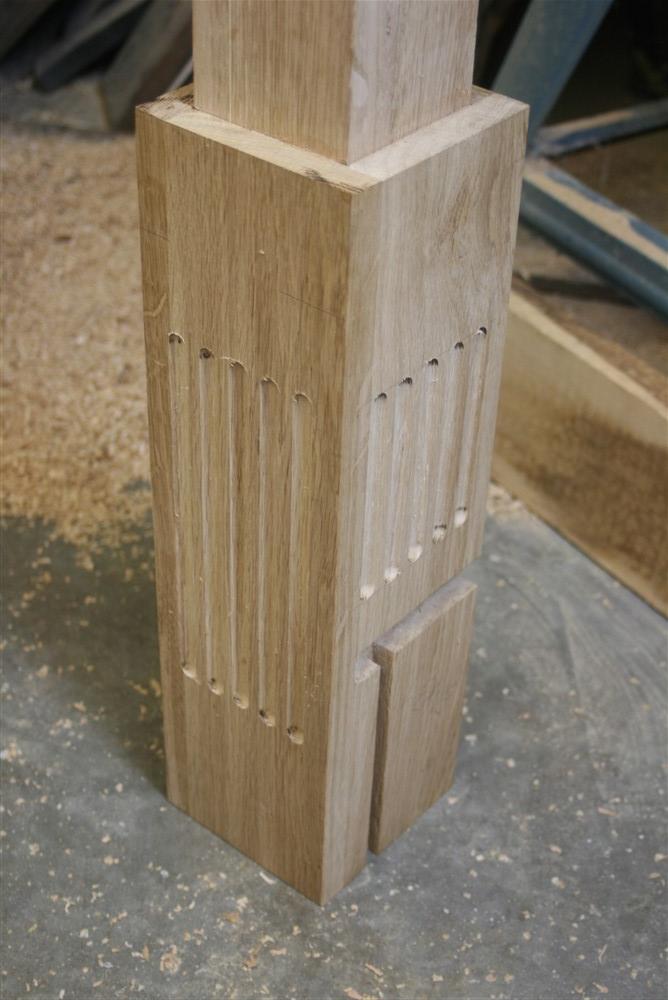
This allows the setting out of the cove cuts (not quite fluting):

ILH31X7.jpg


e8fE90d.jpg


90rdCKN.jpg


I shall enjoy carving those tomorrow. The wood looks clear and blemish free, my chisels are sharp.......
 
Ah, I've gone one step further Mike... I've actually done the handrail mortice on the wrong side of the newel, more than once! :oops:
 
MikeG.":2egzclbc said:
This was the wrong side, by 90 degrees.

Yehbut all you had was a tiny little mark compared with the one-inch wide mortice I put into the wrong side of the newel, ain't no filler hiding that! :oops:

It's especially annoying when you've done all the trenching only to **** it up doing something silly like that and need to do the trenching again... :evil:
 
This is going to look the bees knees once you've painted it Mike! Well done. Cant wait to see it finished. Exciting stuff.

Have you decided on a colour yet?
 
Enjoying the thread, but it makes me feel so inadequate.
None of the woodwork is theoretically beyond me, but I would have made so many mistakes, I would have slit my throat by now!
 
Bm101":38hm02pe said:
This is going to look the bees knees once you've painted it Mike! Well done. Cant wait to see it finished. Exciting stuff.

Have you decided on a colour yet?

=D> =D> Very good. :lol: :lol:
 
lurker":35mye5ly said:
Enjoying the thread, but it makes me feel so inadequate.
None of the woodwork is theoretically beyond me, but I would have made so many mistakes, I would have slit my throat by now!

Like all projects which seem at first to be "big", it is in fact just a long series of small projects. You're right, the woodwork isn't tricky, although the carving I've done today was a little nerve-jangling. The most complex thing is knowing what you are doing, and hopefully there the drawings you would be working from would tell you all you needed to know. I have the luxury of being able to run inside and look at a decent drawing on the computer every time I come across an issue, but honestly the guys who build these things every day of the week could do a straight run like this in their sleep. The cut string makes it awkward, but once it is set out the problem has gone away.
 
Back
Top