


gasman
Established Member
The next project is a writing desk
I saw this one in a sunday colour supplement and thought it looked interesting - but it is £2000 to buy from Pinch!
http://www.pinchdesign.com/yveswritingdesk.htm. I liked the contrast in colours etc but we wanted it to be a lighter wood and I like using the ash / ebony contrast for stringing and inlays so we decided on ash for the main frame.
I liked the curves on the legs, but I also wanted to give it a nautical theme and make the table top like a chart table to open up on hinges and have the whole width under the table top as storage.
So having chosen the wood (from Eynsham Park Sawmill has a kiln although I gather it is on the blink at the mo. - there is a good selection of oak, ash, beech, cherry, sycamore, chestnut, yew, walnut, holly in various thicknesses)
I really ought to learn sketchup but I tend to design things on the hoof and make it up as I go along
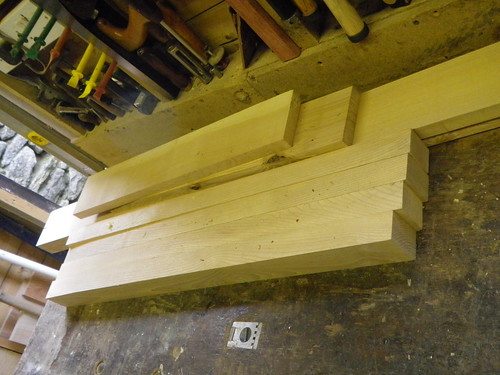
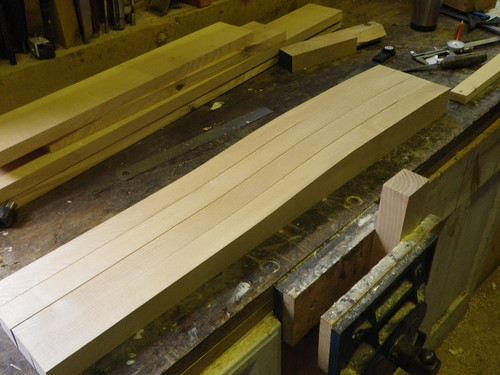
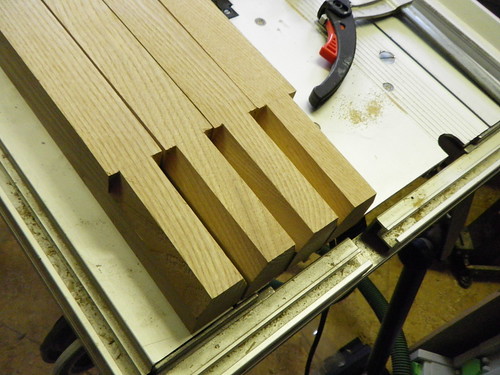
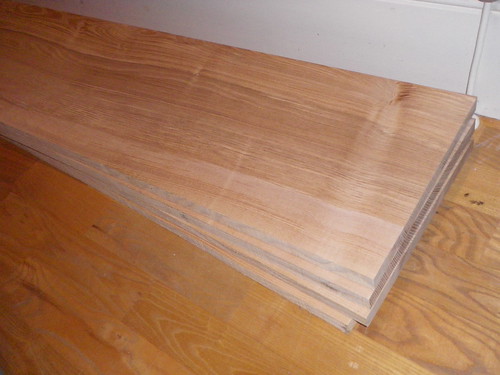
So first I cut wood for the legs and frame sides:
Then made a template for the legs:
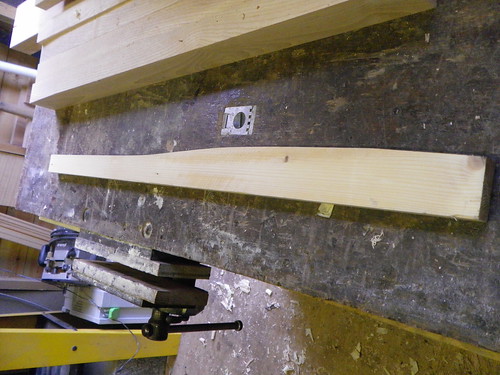
and cut 4 legs using a 75mm long, 3/4 inch flush trim bit from Wealden
 .
.
The legs are more complicated because they splay out slightly. This is achieved by having a 2 degree bevel on the top inside face of the leg which joins the frame.
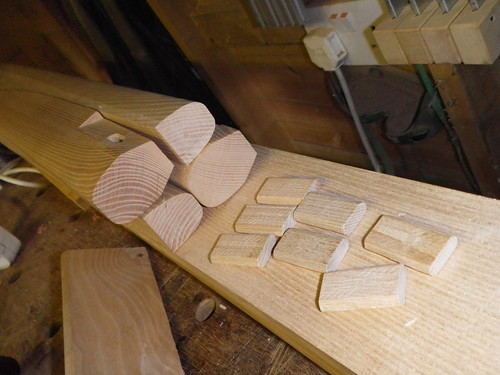
I spent quite a long time working out the geometry of the joints and ended up with this
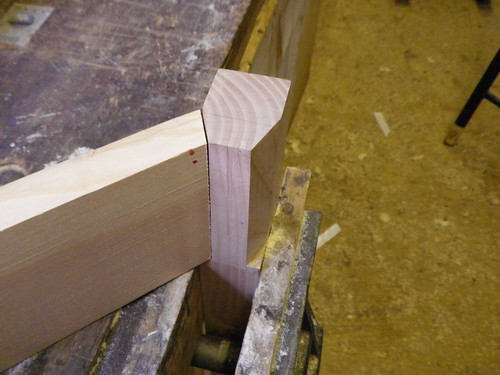 .
.
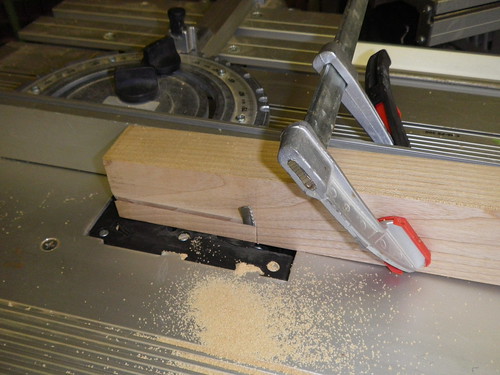
This was the best configuration which enabled me to put an 8 mm domino at least 20 mm into each side. I tried a few different ways of cutting this 22.5 degree bevel joint on each side of the leg - the trouble is it had to be referenced off the 2 degree bevel rather than the long axis of the leg - so I ended up using a jigsaw mounted upside down
 .
.
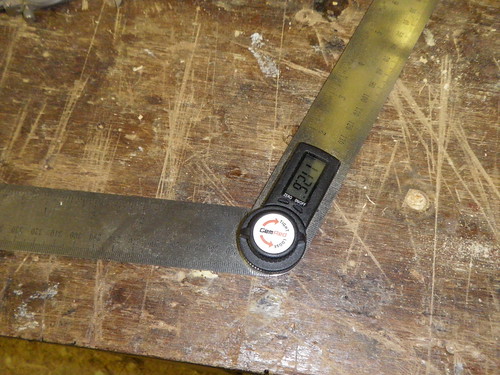
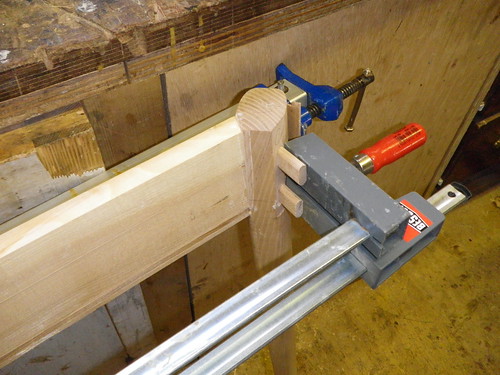
You can also see I think how the leg is clamped such that it is 2 degrees off the table surface. I tidied the mating surfaces up with the Quangsheng block plane and a 1 inch chisel and checked everything carefully using the digital angle marker
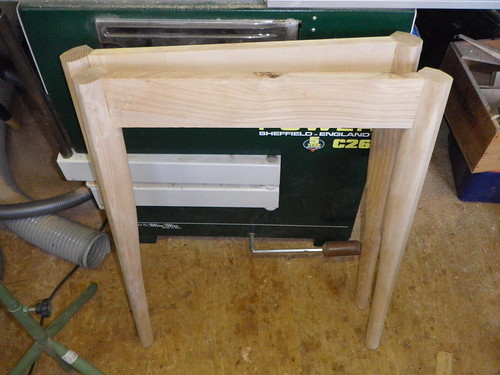
so I ended up with 4 identical legs
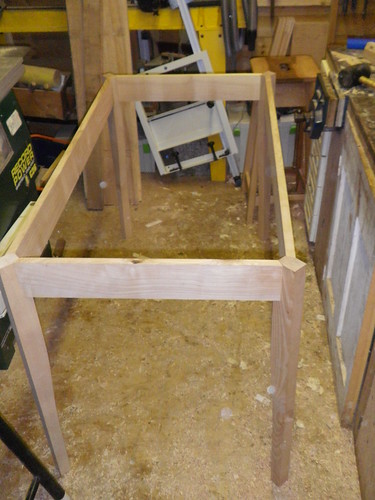
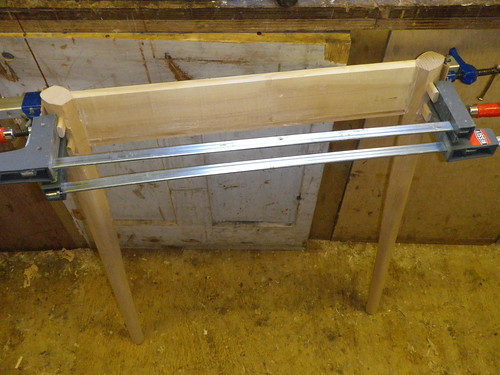
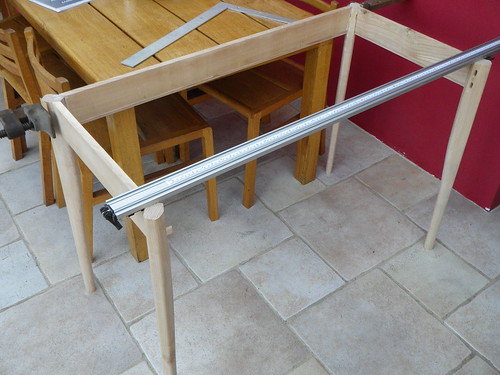
Then the frame sides were cut at 22.5 degrees on the table saw and the domino slots cut carefully before the frame was dry-assembled to see how it looks:
Next stap is to taper and shape the legs properly...... need more time!
Thanks for looking and comments as usual
I saw this one in a sunday colour supplement and thought it looked interesting - but it is £2000 to buy from Pinch!
http://www.pinchdesign.com/yveswritingdesk.htm. I liked the contrast in colours etc but we wanted it to be a lighter wood and I like using the ash / ebony contrast for stringing and inlays so we decided on ash for the main frame.
I liked the curves on the legs, but I also wanted to give it a nautical theme and make the table top like a chart table to open up on hinges and have the whole width under the table top as storage.
So having chosen the wood (from Eynsham Park Sawmill has a kiln although I gather it is on the blink at the mo. - there is a good selection of oak, ash, beech, cherry, sycamore, chestnut, yew, walnut, holly in various thicknesses)
I really ought to learn sketchup but I tend to design things on the hoof and make it up as I go along
So first I cut wood for the legs and frame sides:
Then made a template for the legs:
and cut 4 legs using a 75mm long, 3/4 inch flush trim bit from Wealden
The legs are more complicated because they splay out slightly. This is achieved by having a 2 degree bevel on the top inside face of the leg which joins the frame.
I spent quite a long time working out the geometry of the joints and ended up with this
This was the best configuration which enabled me to put an 8 mm domino at least 20 mm into each side. I tried a few different ways of cutting this 22.5 degree bevel joint on each side of the leg - the trouble is it had to be referenced off the 2 degree bevel rather than the long axis of the leg - so I ended up using a jigsaw mounted upside down
You can also see I think how the leg is clamped such that it is 2 degrees off the table surface. I tidied the mating surfaces up with the Quangsheng block plane and a 1 inch chisel and checked everything carefully using the digital angle marker
so I ended up with 4 identical legs
Then the frame sides were cut at 22.5 degrees on the table saw and the domino slots cut carefully before the frame was dry-assembled to see how it looks:
Next stap is to taper and shape the legs properly...... need more time!
Thanks for looking and comments as usual


")