Wadkin Planers / Thicknessers

UKworkshop.co.uk

Help Support UKworkshop.co.uk:

This site may earn a commission from merchant affiliate links, including eBay, Amazon, and others.

Simon

Established Member
Joined
9 Feb 2007
Messages
35
Reaction score
4
Location
Hampshire
I may have taken the long way round on these two, but they are great tools now and when you restore them down to the last nut and bolt you get to know how they work and how to set them up.

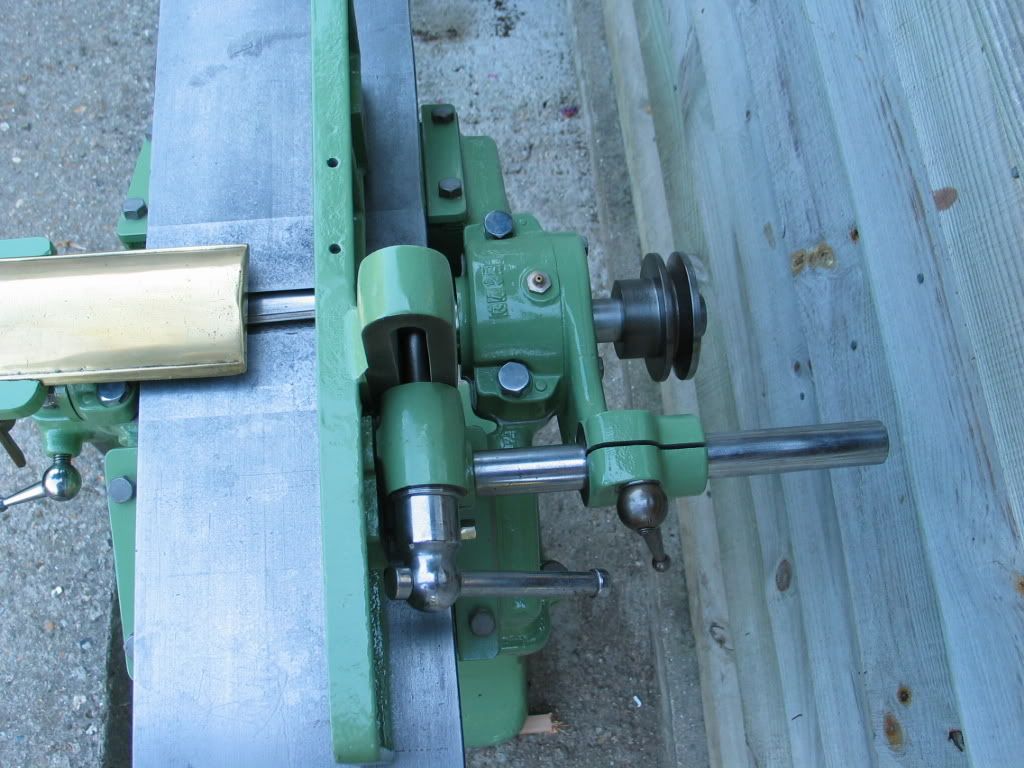
My first escapade was a Wadkin planer cost me £25!....turned out to be a Wadkin RAA 6" Planer circa 1920's, it had been well used and was eaking out a living planing reclaimed floorboards when its owner passed on. It had sat around for a while and was in a sorry state. I restored it over several months.

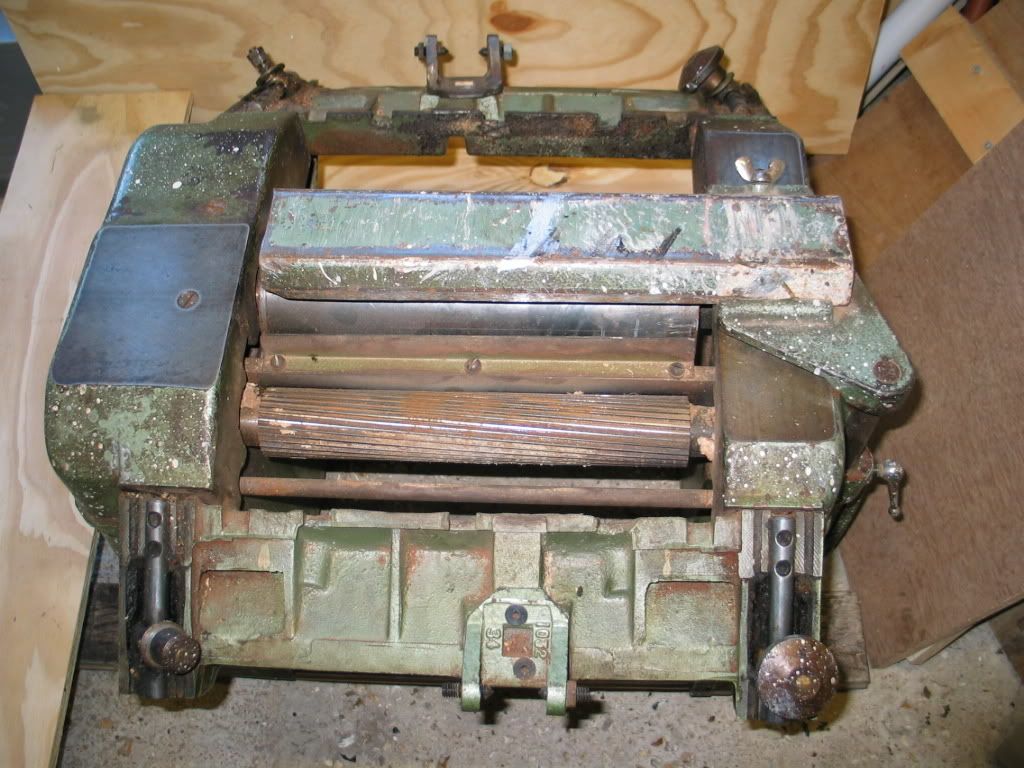
As I picked it up!!
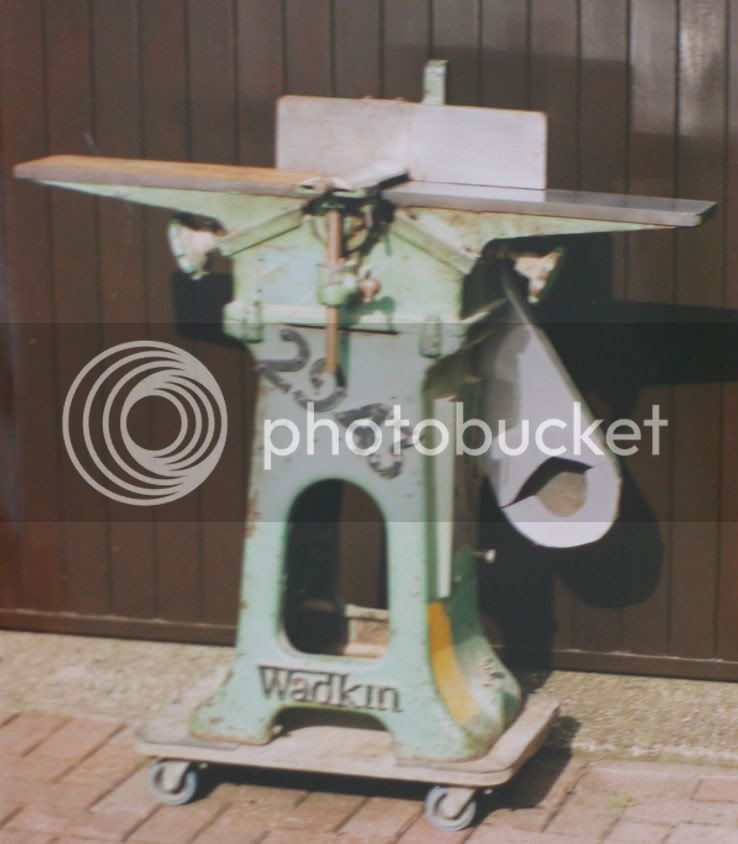

WadkinRAA-originalfront.jpg

WadkinRAA-originaltop.jpg


As finished, I still had to add the motor, which was a bit of a game but it now works beautifully and came with TCT blades which only needed sharpening.
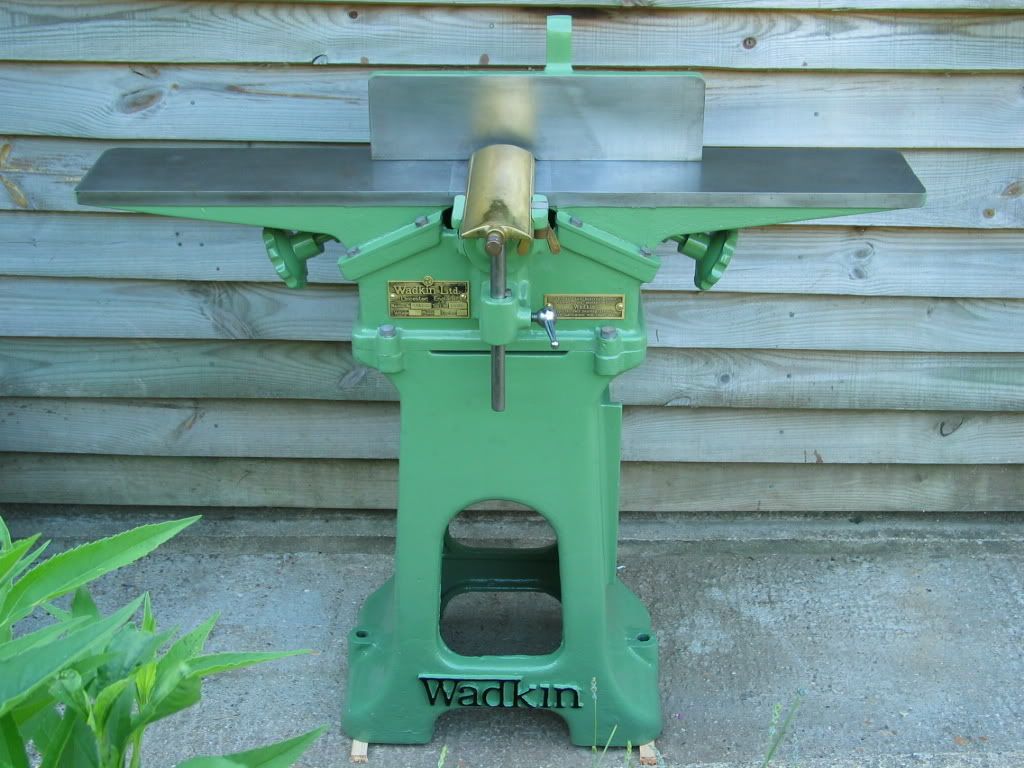
114_1433.jpg

114_1449.jpg


You would have though I would have learned, but no, I set my mind on a planer thicknesser and why not a Wadkin BAOS....no matter that it weighed the thick end of 750lbs and needed 3 phase (that I didn't have!!).
I wasn't ready to part with £1000 plus so I bought another fixer upper from a company in Leigh, Lancs for £400. I split the planer/thicknesser on site and collected it in two parts (still heavy). The first journey south was the day of the big snowstorm a few years back and the usual 3 1/2 hrs took me 11 hrs, boy was I glad of the extra weight in the back of the car, the A34 was like a snowy wasteland.

Same story really, it started here
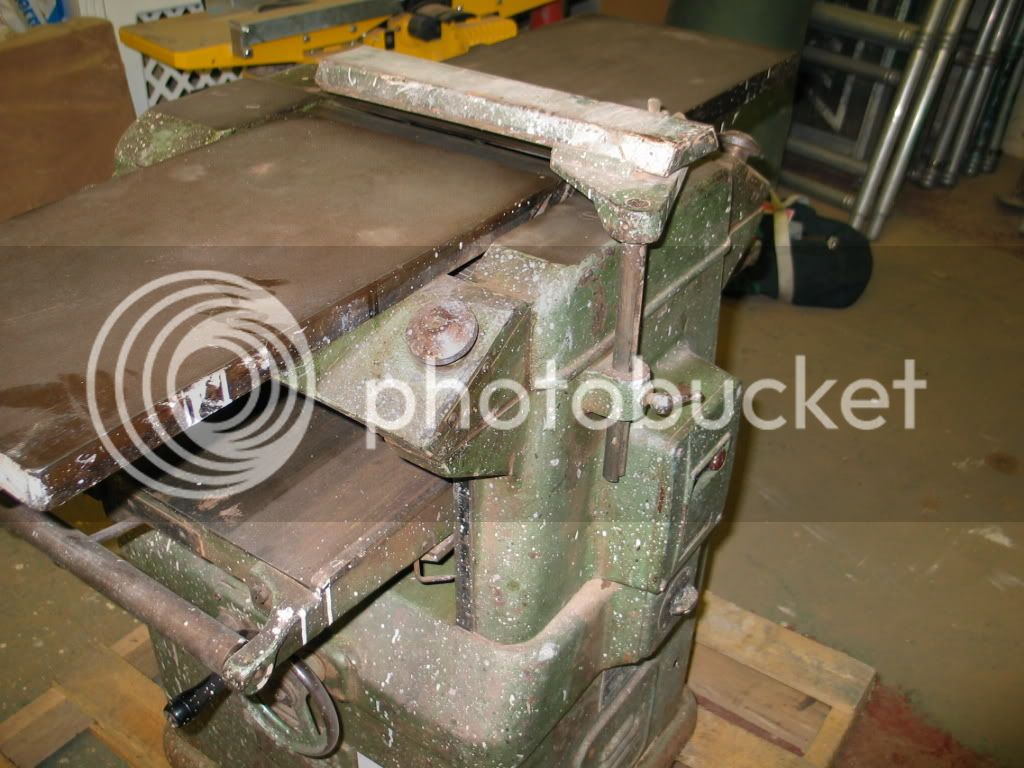
20040114-WadkinBAOSLeigh0114.jpg

20040124-WadkinBAOS0068.jpg


Went through this....down to every last nut and bolt
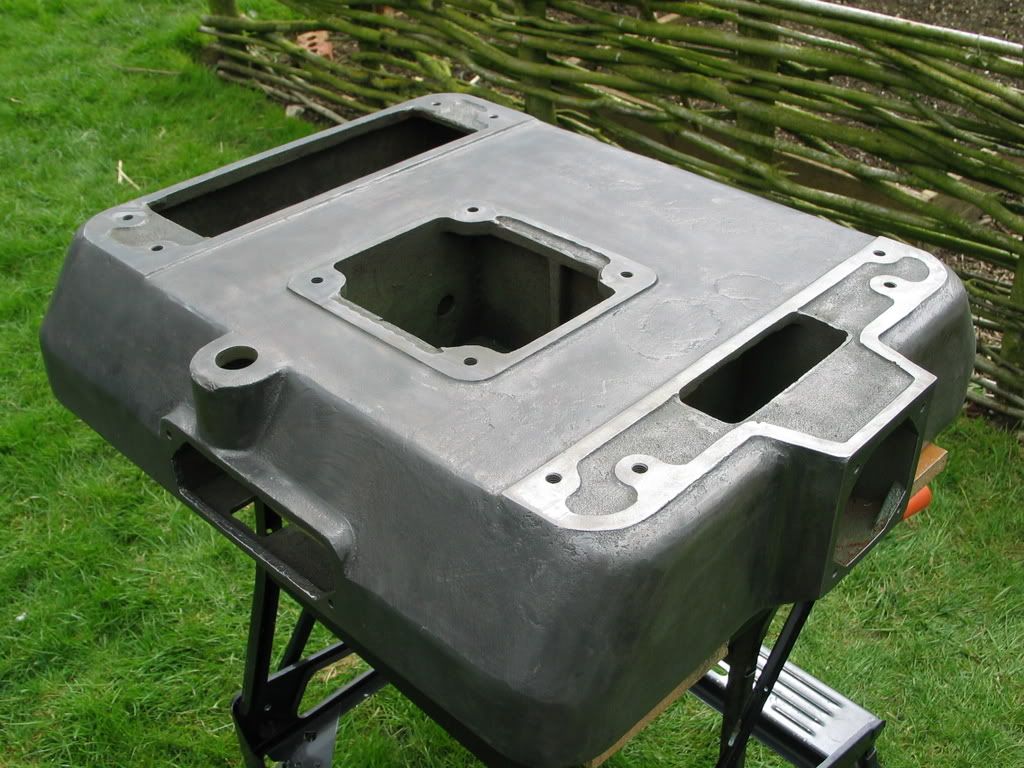
20050409-BAOSRestoration0017.jpg

20060514-baosrepaint0019_r1.jpg

20060528-baosreassemble0042_r1.jpg

20060528-baosreassemble0026_r1.jpg


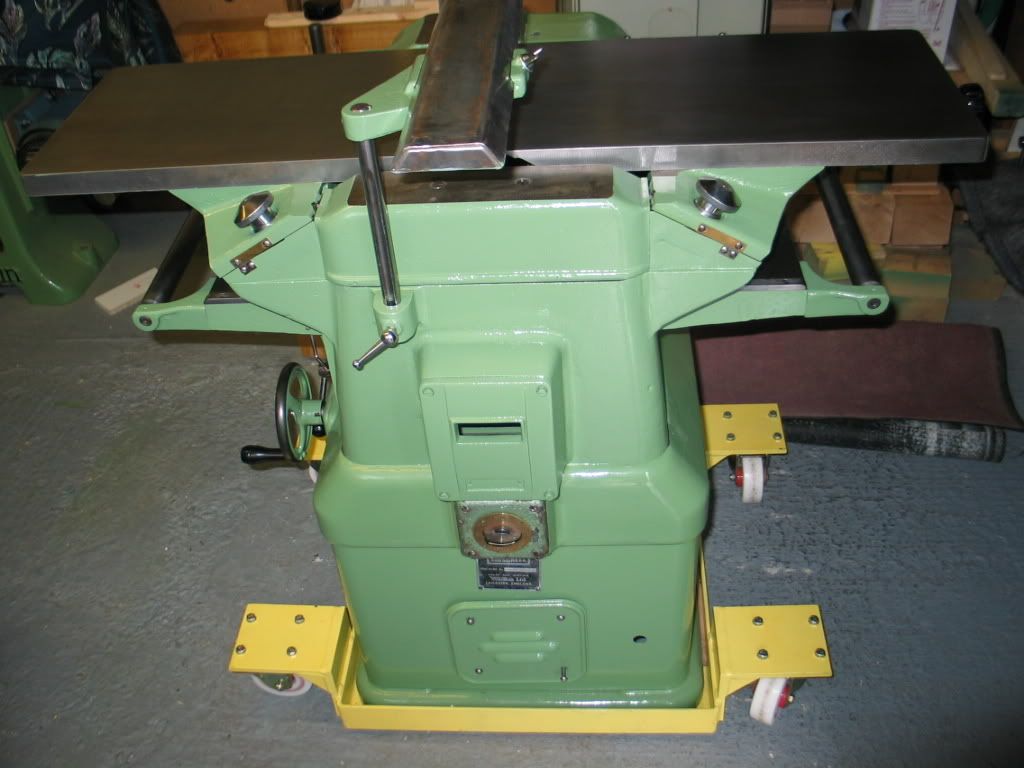
and ended up looking like this, the fence still has to be restored as I wanted to start using it after seeing it in bits for a year or so. Oh and I built a fully balanced rotary phase converter along the way...thank goodness for the internet!!
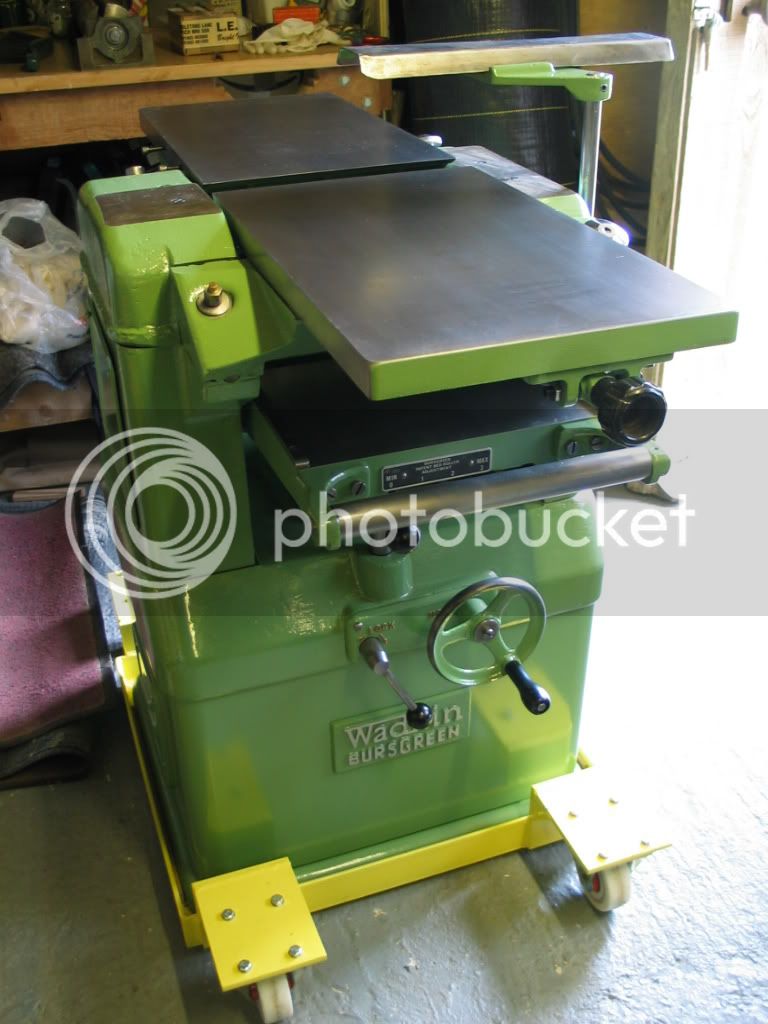


20060528-baosreassemble0073_r1.jpg


It makes short work of oak and is busy planing and thicknessing lots of hard maple for a new workbench. Boy these things create lots of wood shavings!!

Hope this is useful and inspires others to look at Wadkin machines, they are usually very reasonable to acquire through eBay and with a little mechanical inclination, they are easy to look after. Wadkin themselves have been very helpful whenever I have aksed them for anything.
 
Simon,
Welcome to the forum!

Thanks for the brlliant pics - super restoration jobs and a great demonstration of just how solid the old CI stuff is.
 
Hi Simon

Nice to see someone renovating older cast iron. The smaller BAO/S was a Bursgreen design which appeared about 1957 (I have the original sales brochure for it) as opposed to the much larger and later 24 x 9in BAO/S. The RA was a Wadkin, Leicester design and appeared in the late 1920s although yours is actually post 1935, the year Wadkin ceased trading as "Wadkin & Co." and became a limited company ("Wadkin Ltd"). It should be possible to date the machine approximately from the test number. The second "A" (in RAA) indicates it was an alternating current motor as opposed to a DC motor which would have been "D" or lineshaft drive.

Scrit
 
Excellent refurb jobs,Simon - nice to see such great machines given a new lease of life.

Andrew
 
Fantastic looking machines, Simon! Would you care to talk us through the refurb process you went through to get them looking this good.......I for one will be thinking about going down this route when I upgrade....

Cheers

SimonA
 
Hi Simon,

You can't get much better than Wadkin, for sure. That planer should last you a lifetime. You've done a superb job.

Did you resort to powder coating (very durable) or did you have the parts blasted and then sprayed them yourself?

John W
 
Hi Simon,

Thanks for posting those pictures - they're beautiful machines and your restorations really have done them justice. I'm sure you'll get many years of excellent service from them.

If I get the chance to upgrade my planer/thicknesser at some future time, a BAO/S is certainly going to be high on the list of possibilities.

Cheers

Neil
 
I will write up some more details of the process tomorrow morning, as I have had several requests. (apologies for the size of the pics and their effect on page width....I took lots of pics and they are all the same size, I will adjust them going forward)

Basically no rocket science, lots of notes and most importantly lots digital photos of the machine before (very important that :) ) disassembly. Then hours of scrubbing, scraping, polishing, a couple of trips to the local blasting company (grit that is .... not dynamite). Then quite a bit of research on replacing imperial hardware, studs and pressure springs...as these are items you pay for the nose through when you have them supplied by the manufacturer.

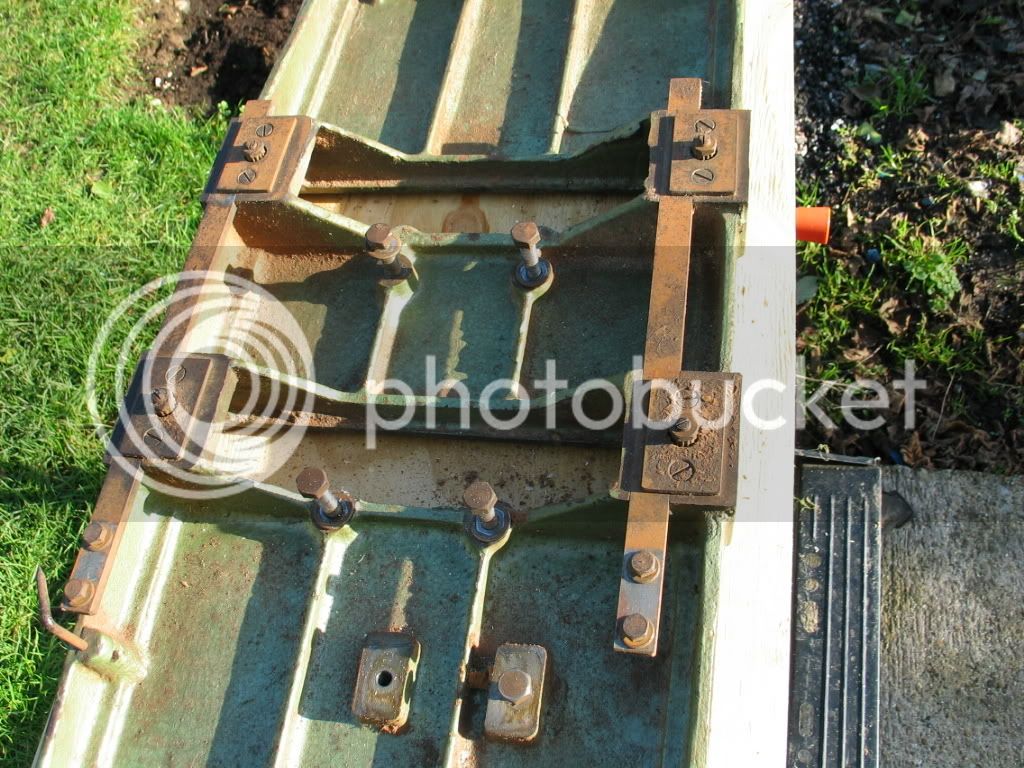
Here is some of the ugly stuff! not for the faint hearted

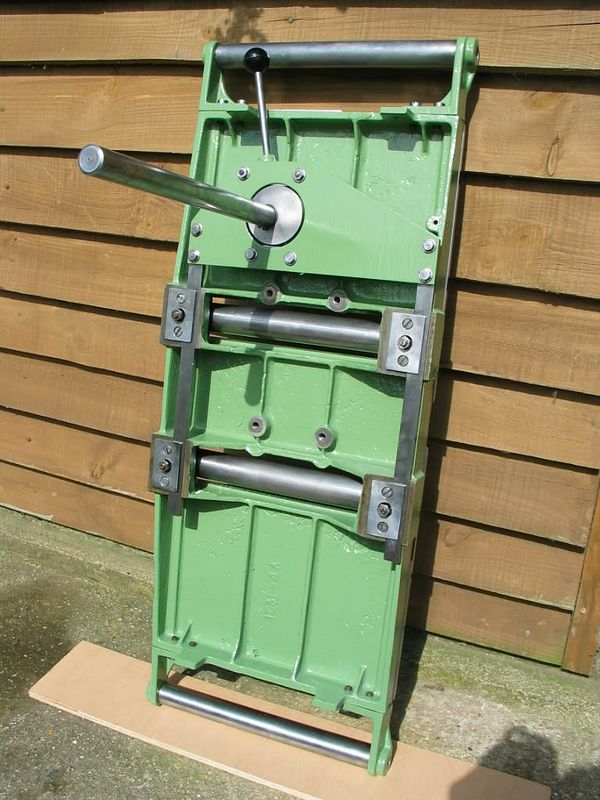
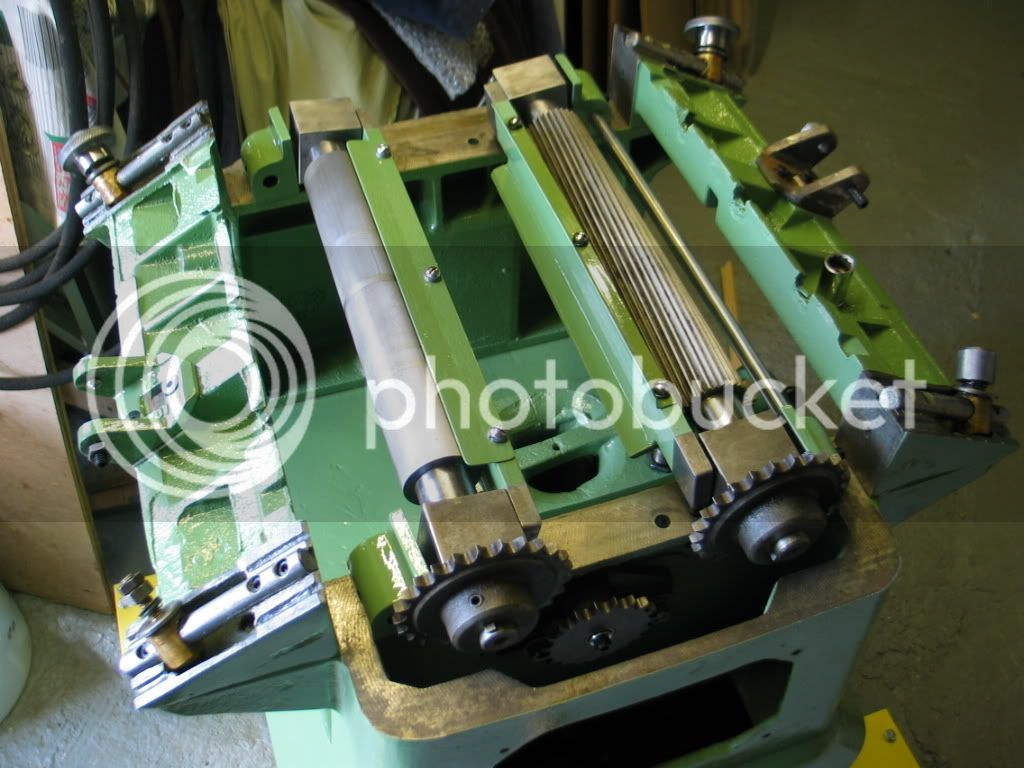
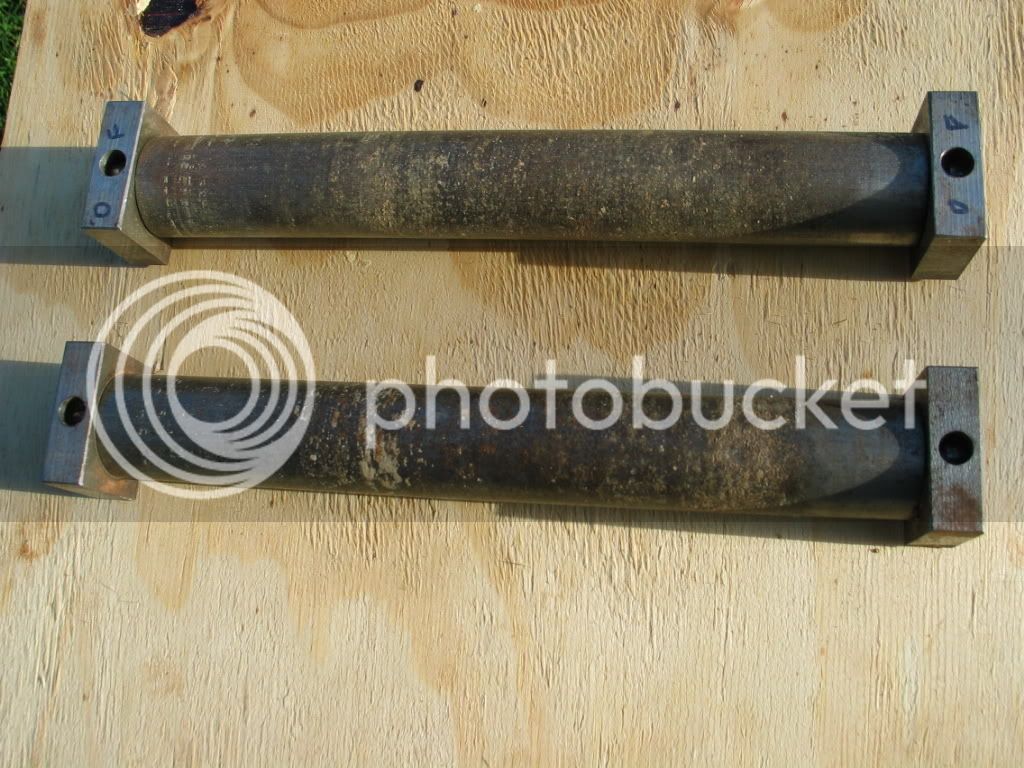
These are the two central rollers for the thicknessing table

20040124-WadkinBAOS0040.jpg


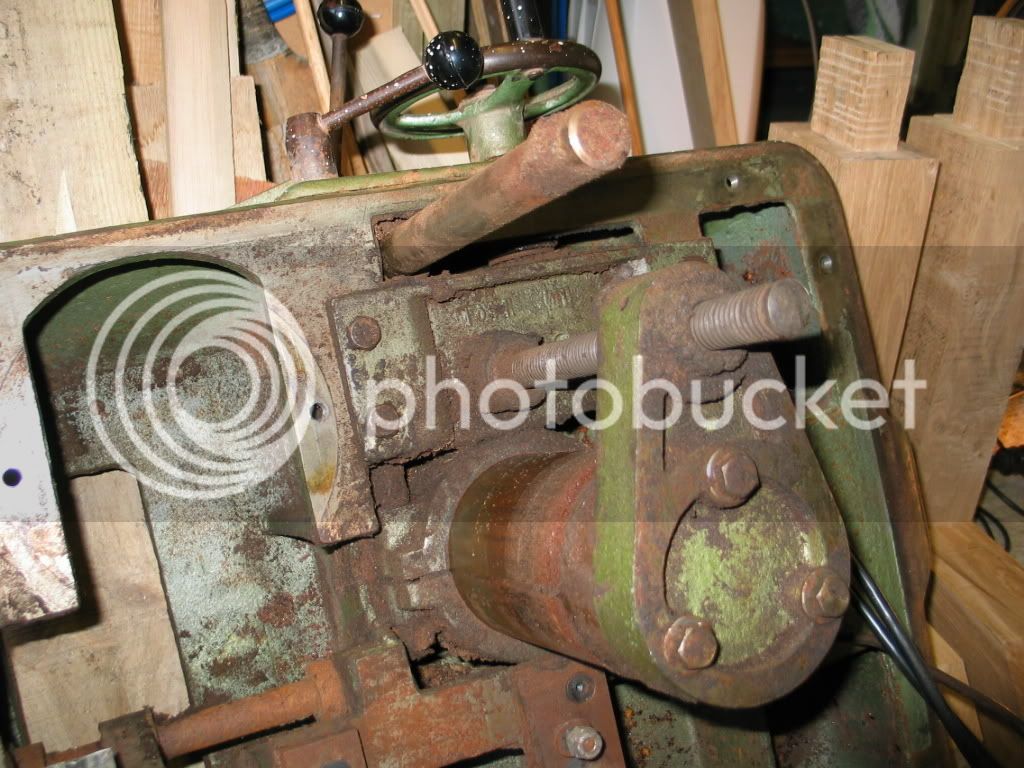
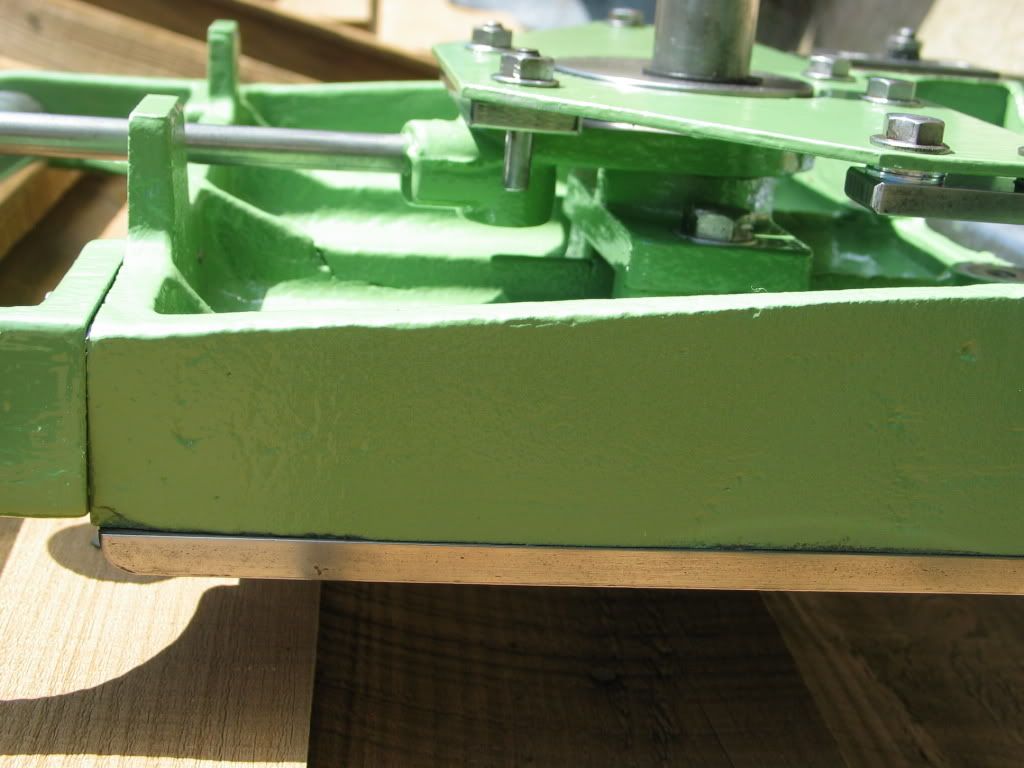
main drive assembly before and after

DriveandThicknessingPillar0031.jpg


20051001-baosrestoredbase0037_r1.jpg


and fun and games with bearings, bearing blocks and a "just out of the freezer" cutter block ...... don't get those things stuck half on or off centre before that thing warms up!


20060805-CutterAssembly0002.jpg


20060805-cutterassembly0025_r1.jpg


20060805-CutterAssembly0026.jpg


more tomorrow
 
Hi Simon,

I'm uber impressed, they look stunning! This is definitely a route I would like to take if I was ever going to invest in iron! Really inspriational.
 
The best resource I have found is the Old Woodworking Machines group in the US ( http://www.owwm.com/). They currently have US machines only, they do go around the subject of including UK machines once every so often, but usually reject it on the basis of cost. They have to keep the site up etc.

I did see some threads about establishing some resources for UK old 'arn which would be a good idea. It would be great to keep it in one place at owwm but we could run it here I suppose. Do we have the capacity to create a wiki on this forum (that way we could all contribute to it).

Anyway enough of that.

The biggest concern for me prior to going this route was the sheer weight of much of this kit. However I approached it on the basis that, I would arrive at my place of purchase and break the kit apart.

The Wadkin planers split quite easily. Remember take the camera!!. Guards off, followed by tables and fences and they begin to look manageable. I then split the top from the bottom, which has the added complication on the BAOS of having to take off both the belt drive to the cutterhead and the chain drive to the thicknesser drive mechanism.

Remember where there is a will there is a way, moving them I found that heavy duty trollies help (see the first pic of this post, the £25 Wadkin RAA came with a trolley). THE most useful wheeled object in our house is an old kids skateboard they are great for moving kit.

As a bit of an aside and probably another post at some stage I also own a Startrite TA275 with sliding table and extensions. Having had a TA175 before that. These saws fit in the back of an estate car (VW Passat with no problem). Again separate fence and lift off the top and the whole lot will lift in without problem and makes it much easier to move.

Moving them at times takes a bit of ingenuity think Egyptians, blocks and bits of wood, ropes, skateboards and the odd expletive.

Once they are under cover I just started to work on sections:

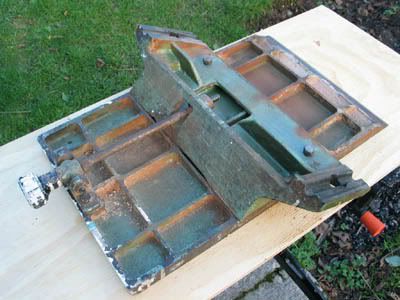
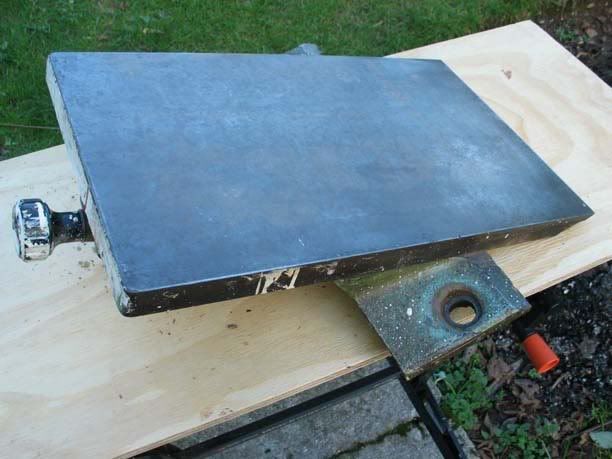
Restoring cast iron sections like planer tables. I have never had to resort to electrolysis (see OWWM or tool restoration sites) and I usually start with a Stanley scraper (a Stanley blade in a plastic holder that works like a plane at 45 degrees) and physically remove the surface rust. This process literally cuts off the rust and saves of scrubbing with the Scotchbrite, which is the next step. I then use Scotchbrite pads gently with some WD40 or 3in1 to clean up the surface. You don't want to resort to any grinding as these are your reference surfaces. This is probably the last step you should take after having had the sides and undersides of the tables grit blasted, but I always like to do them first as it is the first sign that you might get a great machine from under the pile of paint covered (in the case of the BAOS), rusty parts pile.

Planer tables before and after

20040124-wadkinbaos0054copy.jpg

20040124-wadkinbaos0064copy.jpg


20060514-BAOSrepaint0014.jpg


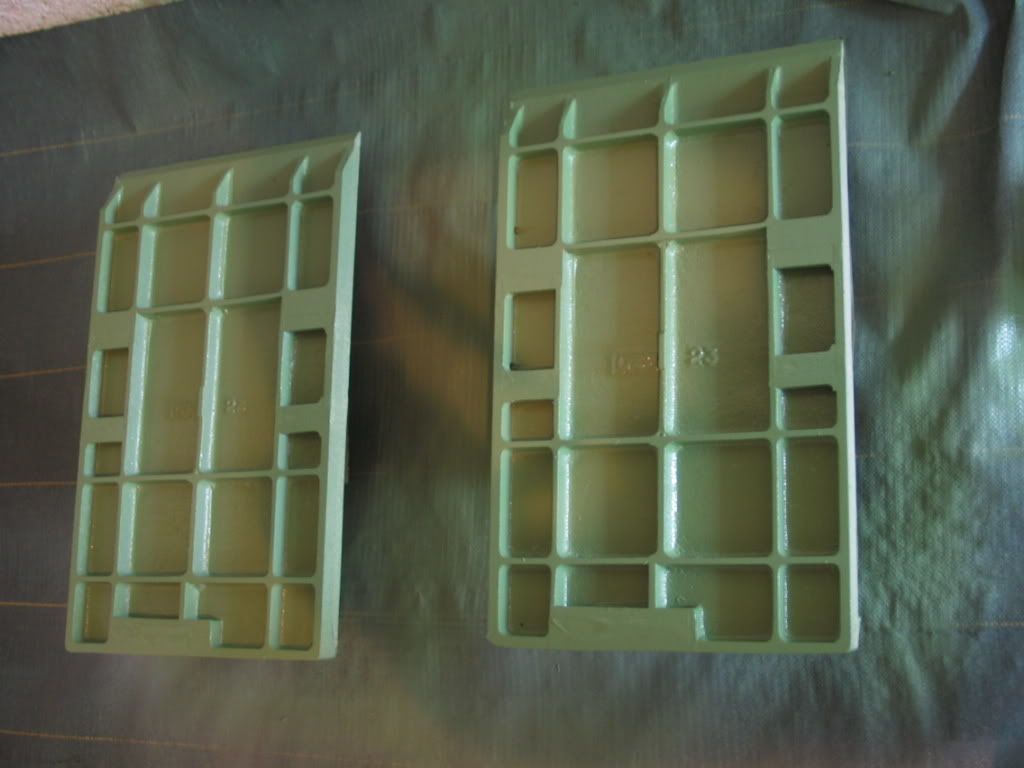
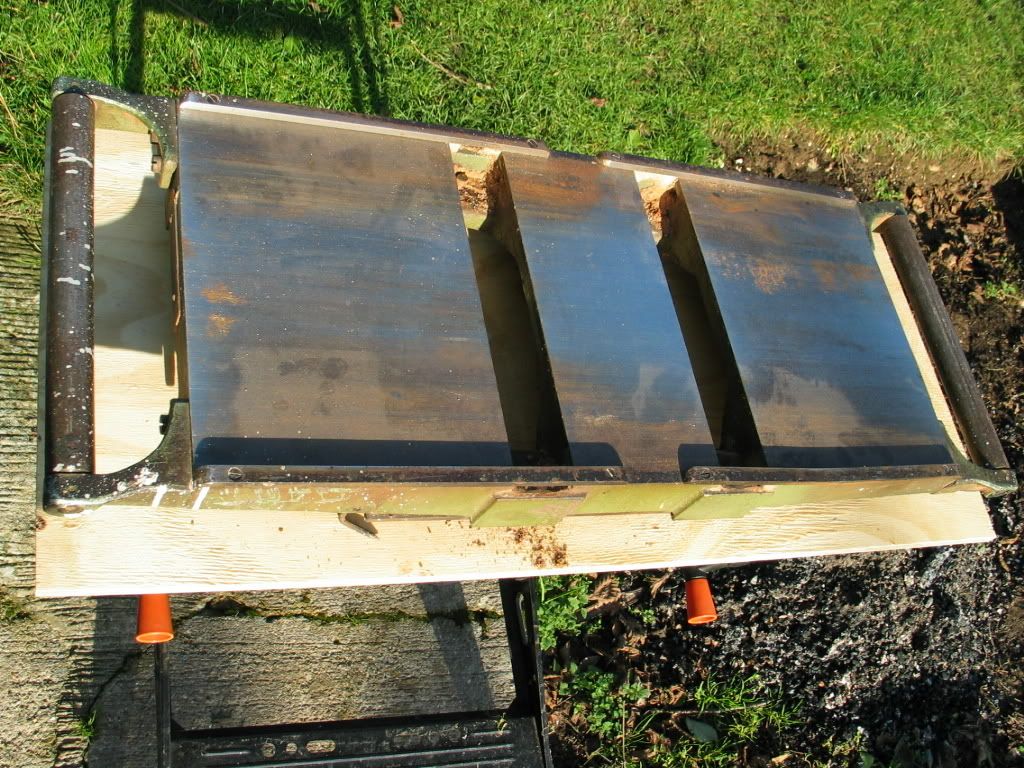
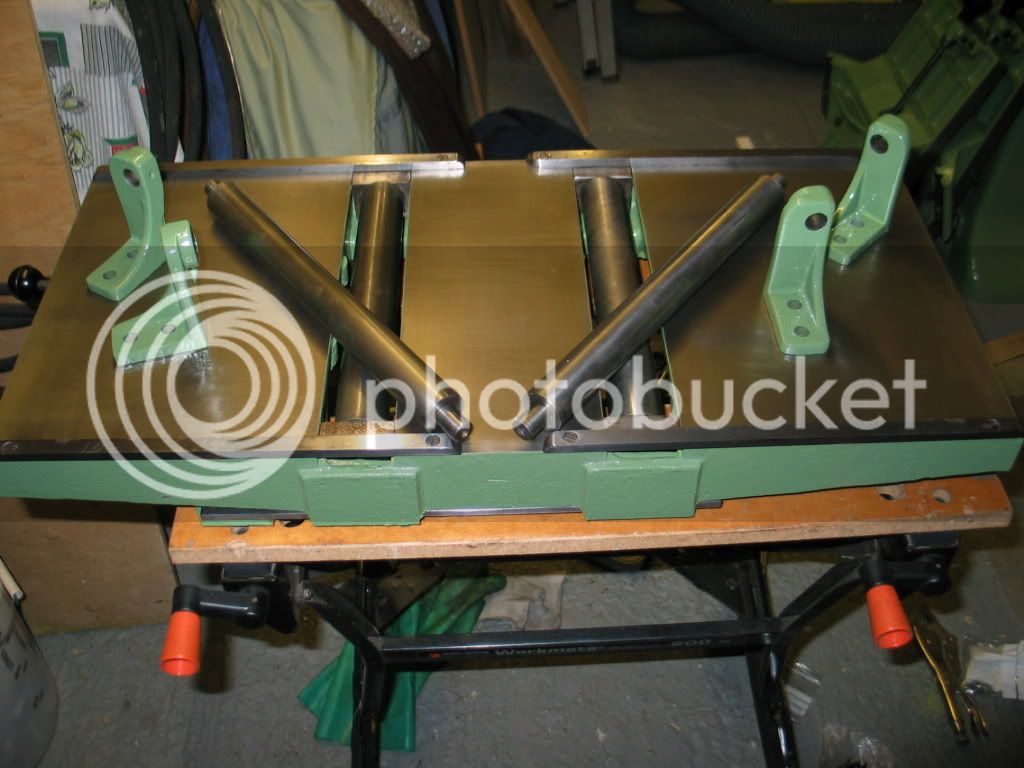
Thicknessing table before and after

20040124-WadkinBAOS0029.jpg

20040124-WadkinBAOS0037.jpg


20060528-BAOSreassemble0016.jpg


20060528-BAOSreassemble0030.jpg


Restoring handwheels and rollers, nut and bolts etc. - not much different really, Stanley scraper where you can, Scotchbrite and then finish on a bench grinder fitted with a cotton mop(s) and polishing compounds (buy a HD bench grinder not a low cost, low power one like I did, as when you put something like a roller on it to polish, is doesn't have the power to maintain the momentum of the mop).

On these smaller components that needed painting like handwheels I removed old paint with a wire brush mounted on an angle grinder (don't by a Ferm one both mine lasted a short while just after 12 months grrr and were very poorly balance making it a pain to use)

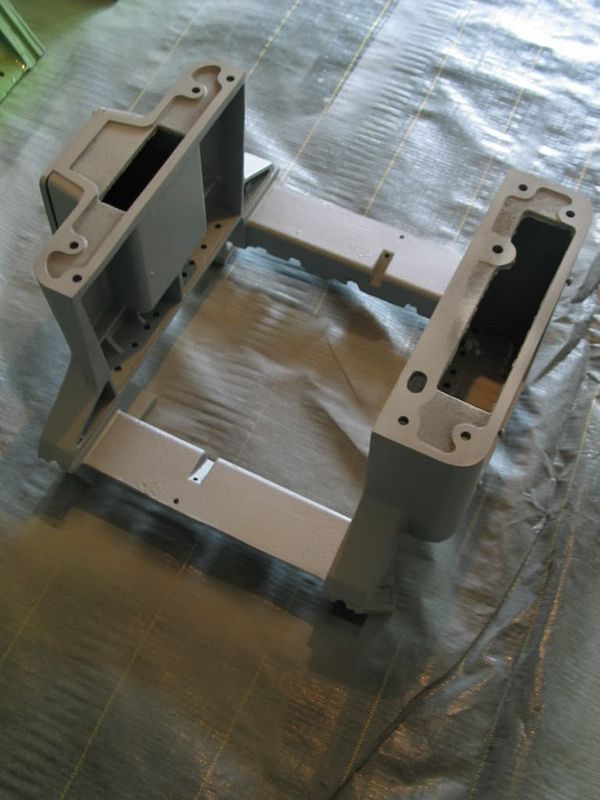
Larger components were grit blasted, ensuring that all machines surfaces were covered in several layers of duct tape and HD poly to protect them. They were then sprayed or hand painted (the RAA was hand painted) with etching primer and industrial enamel using the matching RAL code to that provided by Wadkin to match the original finish.

Small components like nuts, bolts, spring washers, locking nuts and pressure spring were replaced where they were damaged or were part of the operation of the planer rather than just held the chassis together. The reasoning for this was that once this thing was back together I wanted it to last another 50 years and for the cost of a few small components I didn't want to be dismantling it.

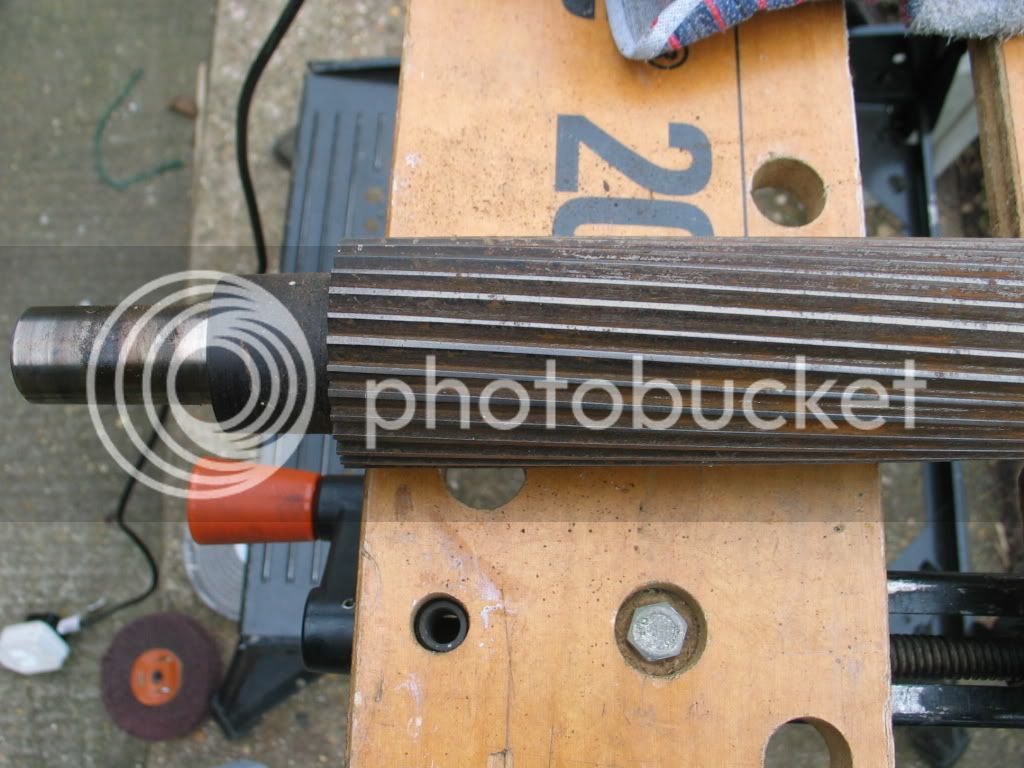
Rollers and drive components were a bit of a pain to restore, probably should have a has the grit blasted (with a very fine medium) but chose to scrape and Scotchbrite them....it just takes time and patience

20060204-CutterblockRestn0003.jpg


20060204-CutterblockRestn0011.jpg


20060528-BAOSreassemble0038.jpg


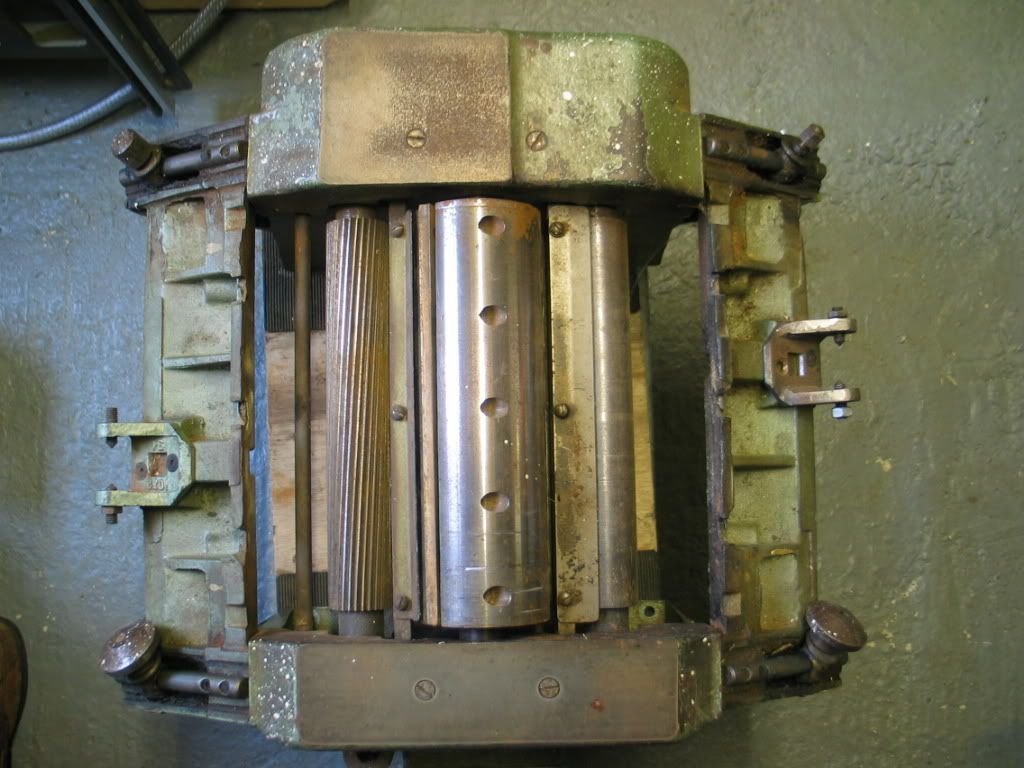
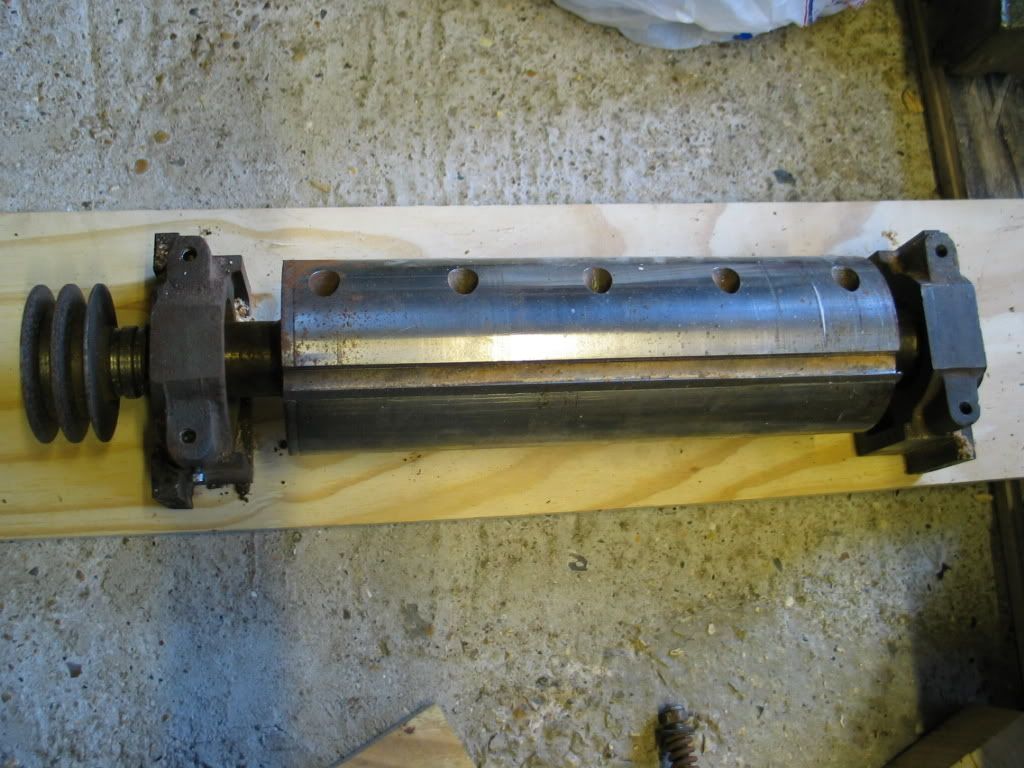
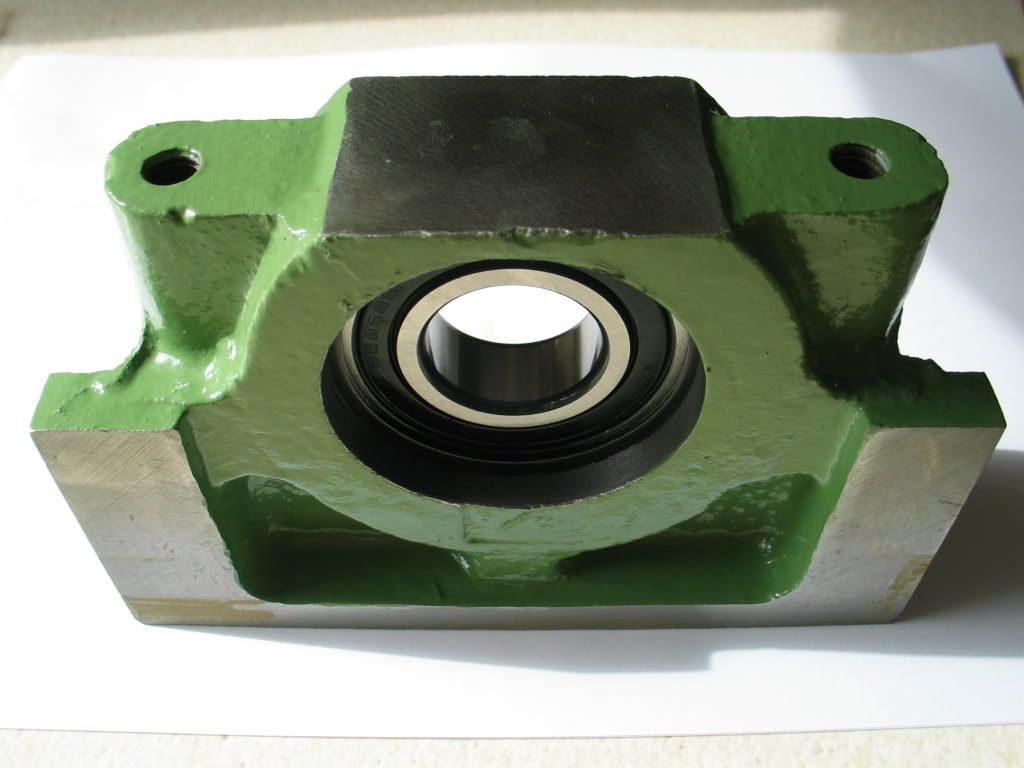
Cutterblock and bearings
....There was no play in any of the bearings and the blocks remained fitted to the main cutterblock assembly for most of the restoration.

20040124-WadkinBAOS0104.jpg


20040124-WadkinBAOS0105.jpg


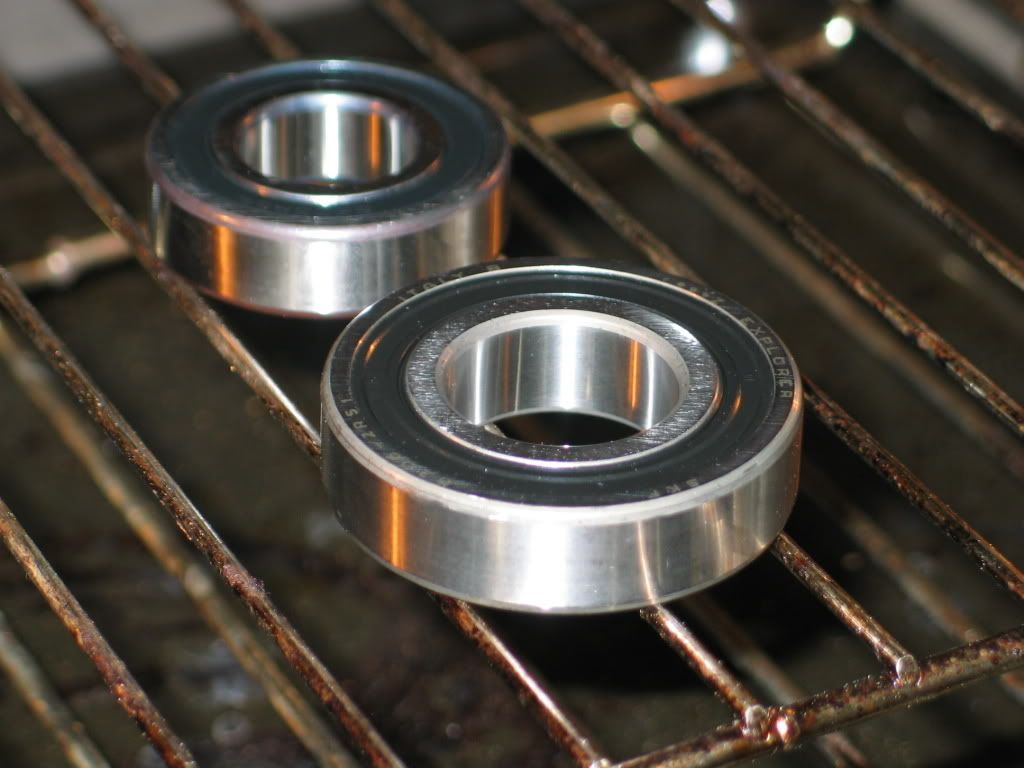
However I was going to struggle to clean and paint the block and although mostly hidden I was keen to restore them and I didn't want to reassemble only to find the bearings give up after a few months. New bearings are not expensive ..... if you buy them yourself!! I took the spec off the bearing itself and replaced them at a fraction of what Wadkin wanted for them.

So I plucked up courage and disassembled, pulling off the pulley and blocks and nocking off the bearings.

However I knew that pressing these on and using any force was not the route to reassembly!! not if I wanted round bearings and long life.

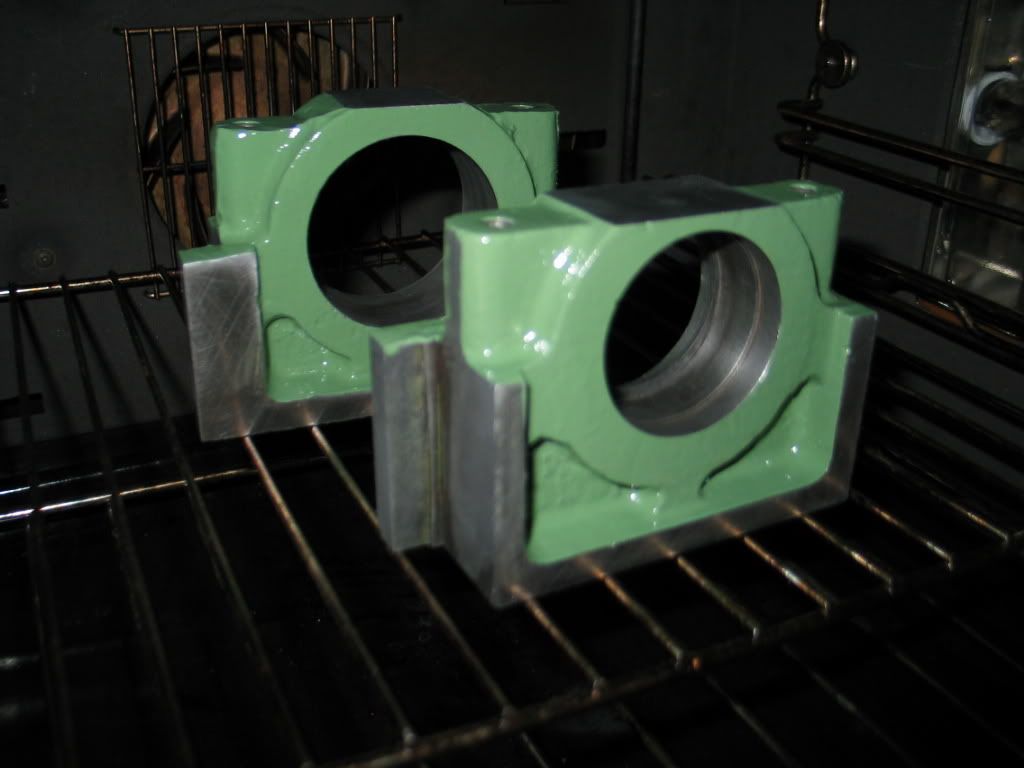
I called Wadkin who had no idea about reassembly so scooted around the bearing manufacturers sites, as I knew this was a heat and cool procedure. I was going to warm the bearings and cool the cutter block to get the bearings onto the main cutter block shaft. So the cutter block went into the freezer for a few hours with the bearings. The bearing blocks need to go into the oven (at 75 to 80 degrees C so as not to overheat the bearing once installed in the block) as now they need to expand to go over the outer race of each bearing. Take out the bearings from the freezer and fry gently with the onions ... oh wrong topic! and these insert into the hot bearing blocks.

They fitted easily with finger pressure, If anyone uses this to complete the same, this part has the potential for disaster, as the bearings have to be placed accurately in the bearing blocks as this placement defines the overall length of the cutterblock assembly as once the bearings are in these block the bearings fir against the machined shoulder of the cutterblock shaft. This whole assembly that needs to bolt back onto the upper body assembly....get it wrong and it won't fit. If you have to dismantle the likelihood is you will destroy the bearings and they will need replacing again.


Bearing blocks heating warming

20060805-CutterAssembly0026.jpg


New bearing fitted

20060805-CutterAssembly0030.jpg


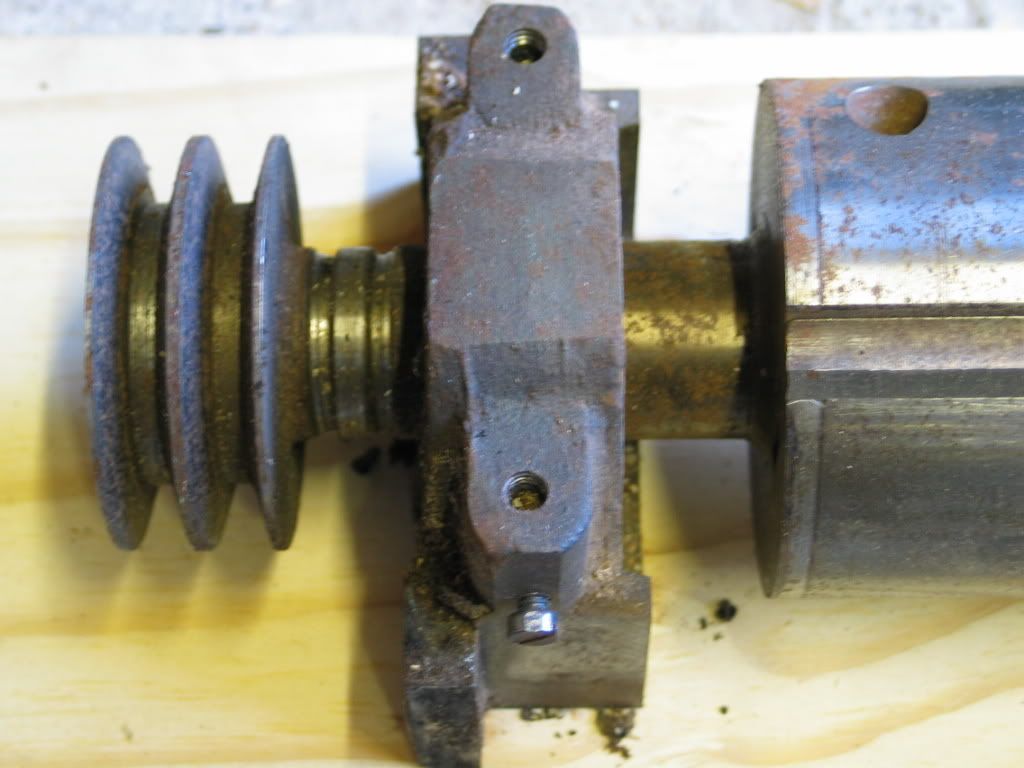
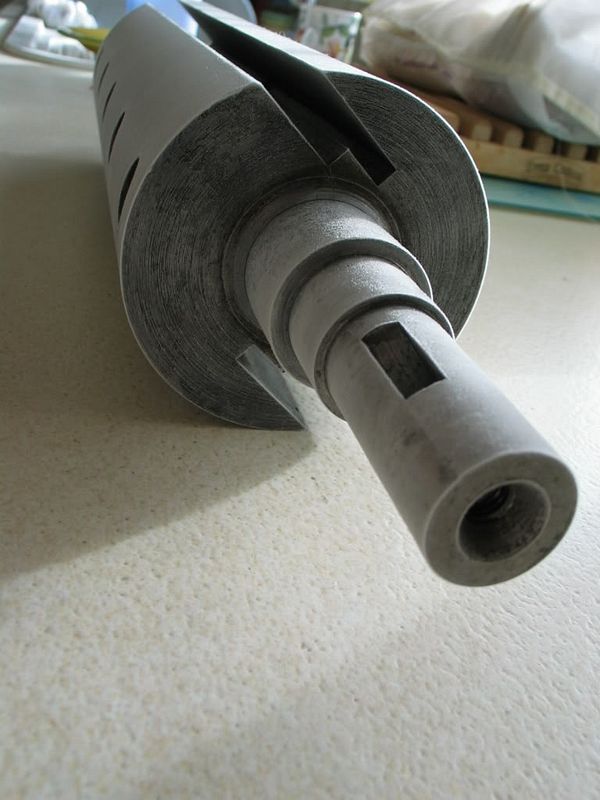
Cutter block shaft just out of the freezer, you can see the machines shoulder against which the bearings and their blocks fit and the key way to secure the dual belt pulley.

20060805-cutterassembly0025_r1.jpg


All pics stopped at this point as I realised that 20+ lbs of cutterblock just out of the freezer was going to attract condensation, which instantly froze and caused a sort of flash rusting on my newly polished cutter shaft assembly. Panic...although it did clean up.

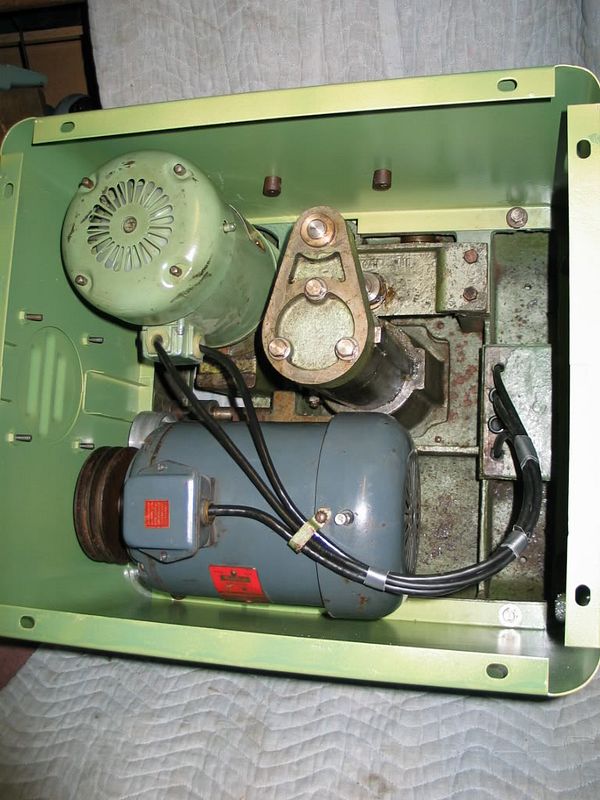
After this it was just reassembly really, electrical work and tuning. I still have a few bits to do like the fence assembly which needs "the treatment".

I am just enjoying using it at the moment. Happy to answer questions if anyone goes this route.


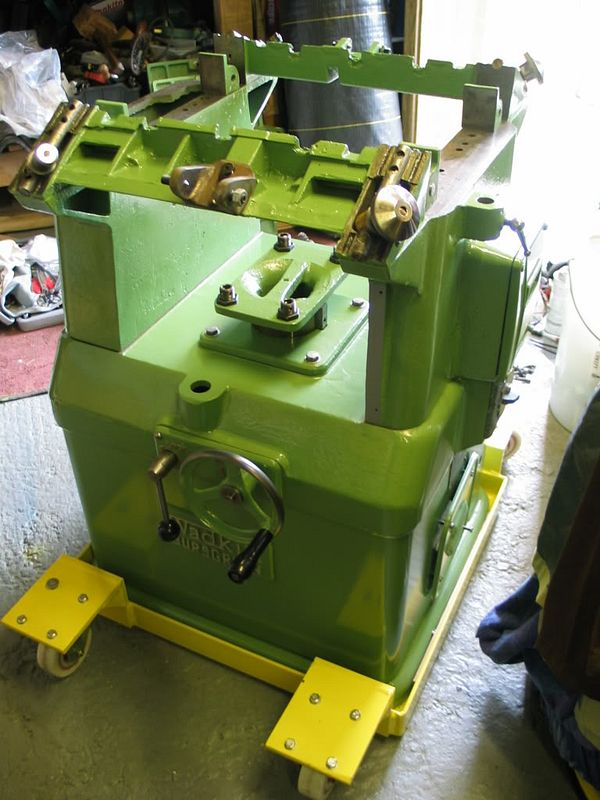
Mobile Base
Oh, I wanted to have my machine mobile as like most others I am short of space. After looking at all the weedy mobile bases on sale and the mixed reviews they get, I was convinced that when I put 750lbs of cast iron in one I would be disaapointed. So I designed and had a local guy weld up a substantial mobile base to enable me to move the beast around...I am going to produce a batch more this spring as I want my my other machines similarly mobile.


20060528-BAOSreassemble0076.jpg


Thanks for some of the Wadkin history input I was aware of some of it but it would be good to capture it somewhere. Is anyone else running any old British iron. The guys on OWWM can't get over how cheap the good quality machines are over here compared to North America.
 
Simon":3hot8u0n said:
The best resource I have found is the Old Woodworking Machines group in the US ( http://www.owwm.com/). They currently have US machines only, they do go around the subject of including UK machines once every so often, but usually reject it on the basis of cost. They have to keep the site up etc.
As a contributor to OWMM I can tell you that they are an extremely poor source of data on British or European manufacturers and have a stated policy of not including details on them as resources are limited. I can't see that changing, either, after all most British or European machines are of little interest to them

Simon":3hot8u0n said:
I did see some threads about establishing some resources for UK old 'arn which would be a good idea. It would be great to keep it in one place at owwm but we could run it here I suppose.
Yes! I have been working on collecting just such an archive for several years now and will normally answer any questions put to me on this forum, as well as forward scans if I can - where do you think all that "Name that Machine" stuff came from? :wink: The data I have acquired to date is probably a couple of Gigs worth of scans plus a couple of shelves full of manuals, etc and I've also recorded several dozen converstions with people who used to work in the industry in the 1940s to 1960s, but I've found that many people who hold information are secretive about their knowledge. Furthermore it's not in the interests of machinery dealers to let this information out of their grasp - I do know a most of the bigger dealers in the North of England personally and have managed to elicit a fair bit of information from them, but to be frank I've only just scratched the surface. I also know some 6 or 7 people over the last 20 or so years who have said they will "publish a book one day". Well it's not happened yet, and my feeling is that it won't with these guys, so in the meantime I keep popping the odd bit out on the web. This means that, no, I don't see a Wiki as being the solution, partly because there is not funding available and partly because the people with the information seem unwilling to give it up. Despite this I have been in discussions with several museums in towns which have a historical connection with this sector of manufacturing. I do have to say, though, that despite the world reach of our most famous woodworking machinery manufacturers, e.g. Robinson (1847), Wilson (1851), White, Sagar (1875) and Wadkin the museum services in their home towns have in the main shown very little interest and furthermore where interest does exist there is simply no finance to be had at present.

Simon":3hot8u0n said:
They were then sprayed or hand painted (the RAA was hand painted) with etching primer and industrial enamel using the matching RAL code to that provided by Wadkin to match the original finish.
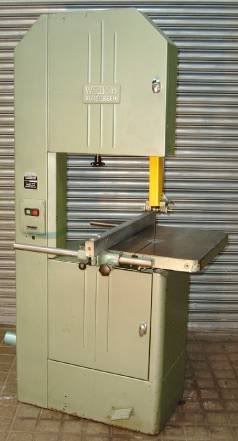
Sorry, Simon, I'm afraid that here I will pull you up. Your colours on the RA are simply wrong and the BAO/S is probably also wrong! Wadkin were remiss in not telling you so, although to be frank there is almost nobody left at the company who can remember the pre duo-tone green days of the 1970s let alone the change from grey to metallic green in the 1960s. At least until about 1958 all Wadkins/Bursgreens were delivered as standard in grey paint with names picked-out in white (or sometimes in machines like the PK, red) unless the customer specified otherwise. This grey paint was lead based, so if you strip it you will need to be careful, and like all lead-based paints it weathers out to anything from white to pale blue to shades of grey and just occassionally it goes black. But never green. So it's about 95% certain that your RA would originally have been grey, and not green. The RA model was dropped in favour of the Sagar-designed BFT 6in and 9in planers when Bursgreen became part of Wadkin in the 1950s, but even there Bursgreen machines continued to be painted grey for a number of years. The green colour came about as a result of either/both the retention and marketing of the "Bursgreen" name (post 1957) or (according to some) as a result of changes in the regulations governing machine colours at the Hannover Fair in the early tpo mid 1960s when all woodworking machines exhibited had to be green. How very German!. It became a popular "ruse" on the part of dealers to repaint older machines during the 1960s to make them look newer, and as the newer machines were green that was often the colour they chose. Either way by the 1960s Bursgreen machines were green, but that green was normally a metallic green as in this Wadkin BZB20 (a mid to late 1960-s machine):

BZB20_1.jpg


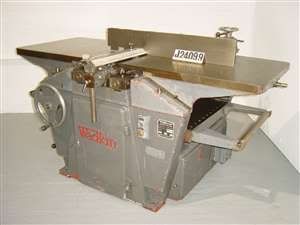
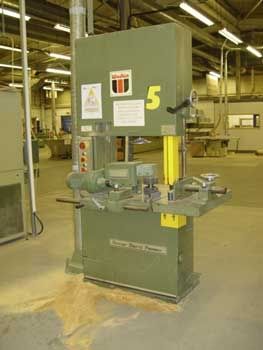
and is incidentally the original colour of your BAO/S. This Wadkin FM (an early 1960s example) is in Wadkin's standard grey of the period:

45394_1_f.jpg


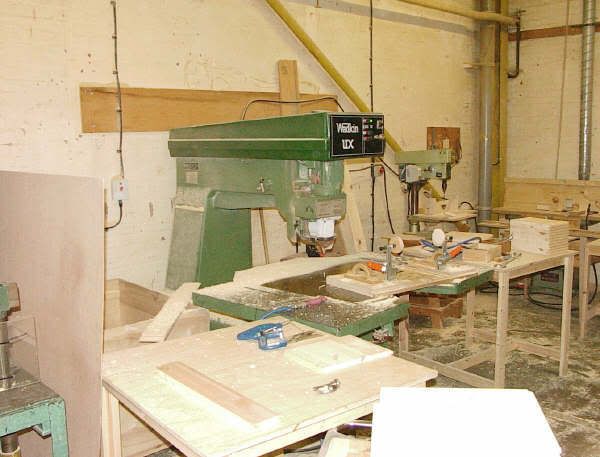
Later still in the 1970s Wadkin changed to a duo-tone green livery. This is my own UX pin router (1981):

MVC00007.jpg


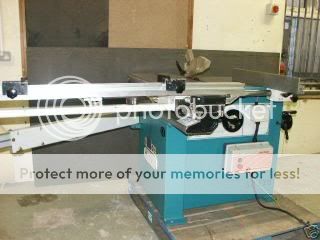
a BAO/S of this period might well be either a lighter green or a darker one. I've seen both. Finally for a few years in the 1980s Wadkin chose to use the green you've used:

WadkinPBRHD.jpg


although relatively few machines were delivered in this colour as Wadkin started to go into decline during this period. They subsequently moved to a blue/light grey livery in the mid 1990s:

2444_3.jpg


I am surprised that you needed to replace the bearings on the BAO/S, though, were they that bad? Whilst you succeeded in getting these two machines home I'll offer a note of caution to those tempted to go after larger machines - check the size and weight. A 12in Wadkin BFT overhand planer for example (a bigger, later brother to the RA) weighs in at over 450kg with the table wings coming in at over 100kg each and so is a much more difficult proposition to deal with than a 12 x 9in BAO/S, and as for the guy I know who bought an RD 24 x 9in thicknesser (at a "slight" 1.25tonnes) and thought he'd get it home in bits in his estate car..... well he ordered a Hiab lorry to shift it in the end only to find the Hiab crane couldn't be swung over his driveway because the trees were in the way...... It proved to be an expensive (£350-ish) exercise. So it's worth sorting out the logistics before buying

Simon if you care to publish the test number from your BAO/S I'd probably be able to date it for you.

As to other Wadkin/British machines, I own older machines by JKO, Wadkin, Wadkin-Bursgreen, Meddings, Bursgreen and White, so there's a few makes to go at :roll: , although I haven't rebuilt any of my machines in the way you did - just replaced defective bearings (one or two, not many), sorted out the guards and tidied/repaired the switchgear. After all, my machines need to earn their keep!

Scrit
 
My comment on OWWM was relating to restoration information, I should have been more specific. As I stated they are focused on US machines only.
There does seem to be more British machinery in Canada, probably a Commonwealth thing.
You are right on the colours, when I first spoke to Wadkin I managed to get one of their elder machinery guys and he said that the RAA could have been grey or possibly this reseda green RAL6011. I chose the green but have since found out that these older machines were indeed grey and underneath several coats of paint, of all shades, on the RAA I did find grey.

The BAOS was that metallic green (and lots of white paint drips, why would anyone do that?.....grrrrr), but as I had some reseda green left over, I used it again. I was considering something outlandish, as I once came across a site in the US were someone has restored several machines and has painted them some very bright colours they looked really smart....I just wish I had the URL still. One was a large milling machine in a strawberry red!

As I said in my post the bearings were OK, I just wanted to restore the bearing blocks and there is no clearance to do so without dismantling the cutterblock assembly so out they came. It was also cheap insurance against failure....although having seen the size of the bearings this is unlikely.

Yes I wouldn't attempt anything bigger than the BAOS they are just too big to handle. I have limited access and the workshop is up some steps so a UOS was out of the question and just too big. The BAOS is a nice compromise IMHO.
The test number for the BAOS is 661536 and the RAA data is RAA552 test number 6806. Any info would be great.

Do you have any original info on the RAA? .... I have never seen any.

thanks Simon
 
Back
Top