Tool cupboard build (final update)

UKworkshop.co.uk

Help Support UKworkshop.co.uk:

This site may earn a commission from merchant affiliate links, including eBay, Amazon, and others.

MikeG.

Established Member
Joined
24 Aug 2008
Messages
10,172
Reaction score
703
Location
Essex/ Suffolk border
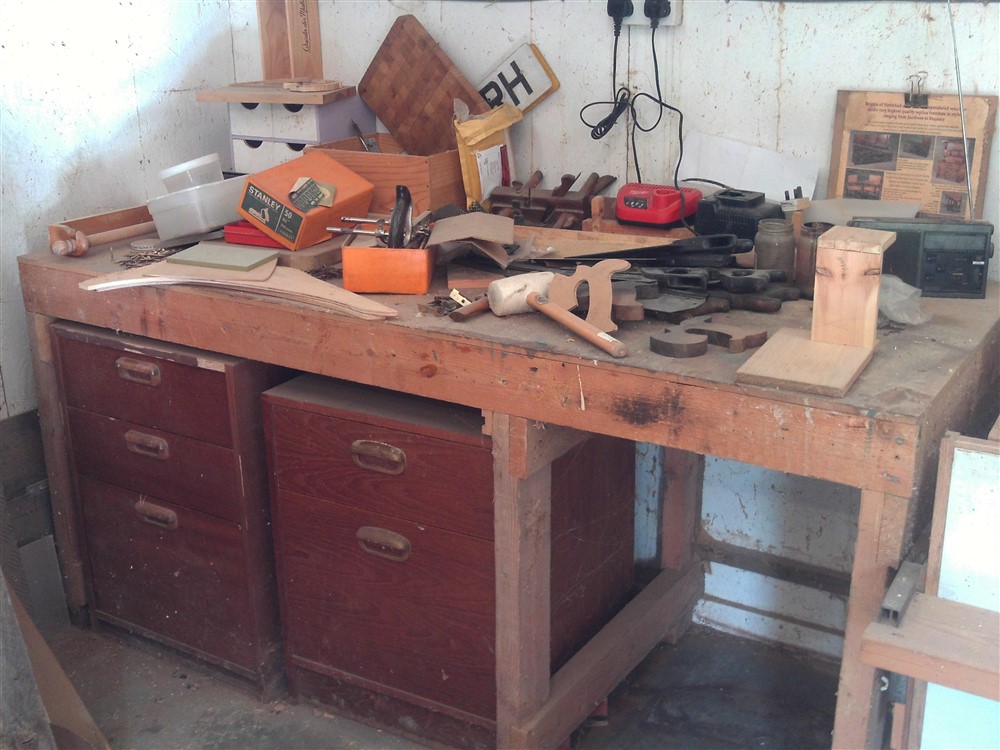
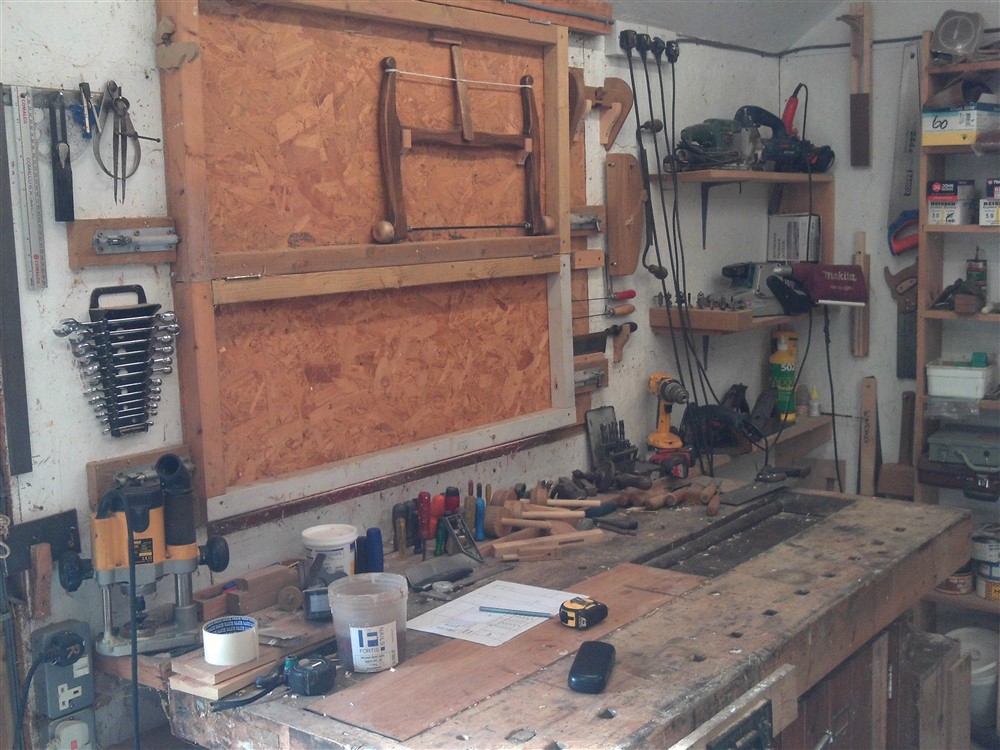
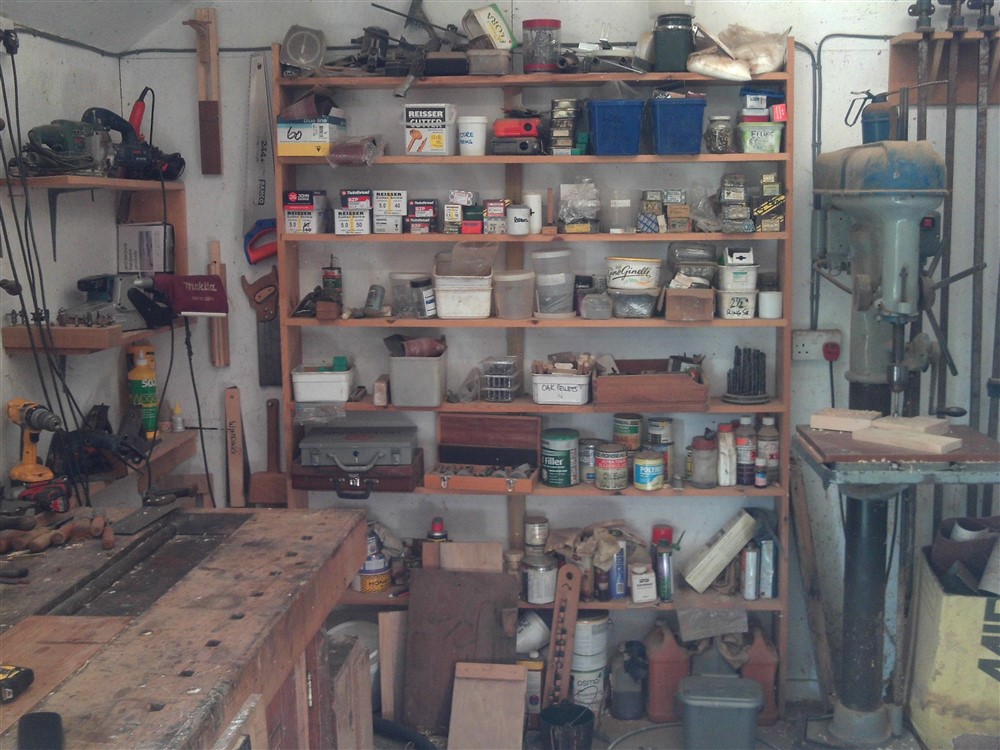
I think you know me well enough by now to know that I am a tool minimalist, and that I am not one of those woodworkers whose only projects are improvements in their workshops. I'm also not the sort of person who builds showcase furniture for their workshop. However, I am getting pretty sick and tired of the current state of my space, which is like this:
0sKlc74.jpg


OGSwoVA.jpg


JC4BnPN.jpg


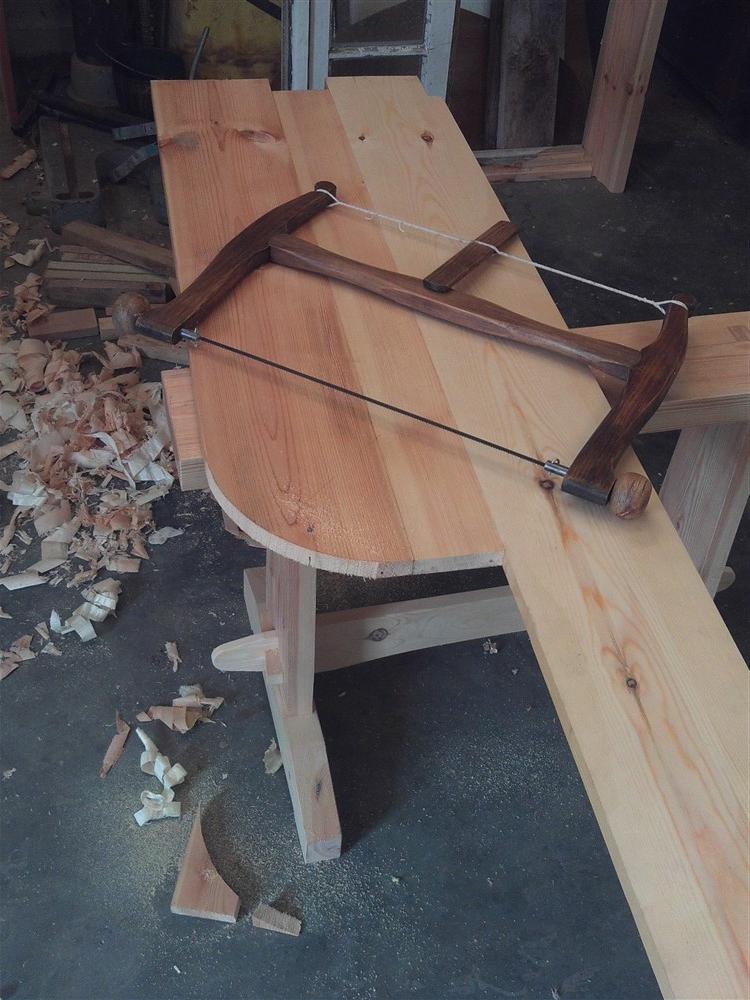
The bench has tools stored permanently on it, and spilling off the shelf behind. I have a frame saw fixed to the inside of my internal security shutter, so I can't access it when the shutter is open. The open shelves attract dust and insects, and there's stuff in there I haven't seen in years hidden under the rubbish. My secondary bench hasn't been clear for about 3 or 4 years, with tools stored permanently on top, and those in the drawers underneath are damned difficult to get to.

So with loads of workshop work coming up, I need to get things sorted. Besides, my wife wants my drawers for her potting shed.

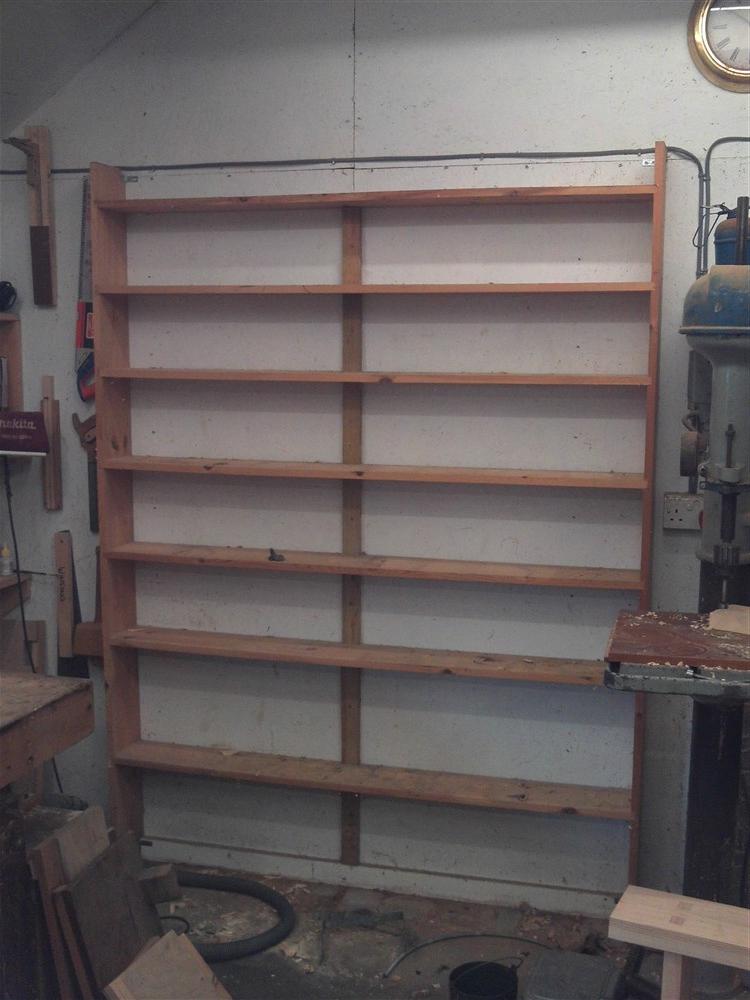
First job was to clear up the shelves, as I need the wood:
cbQ8N4E.jpg


You might just note the bench hooks, shooting boards, belt sander mount, etc, which also just hover about around the end of my bench, getting in the way. They'll get a new home too.

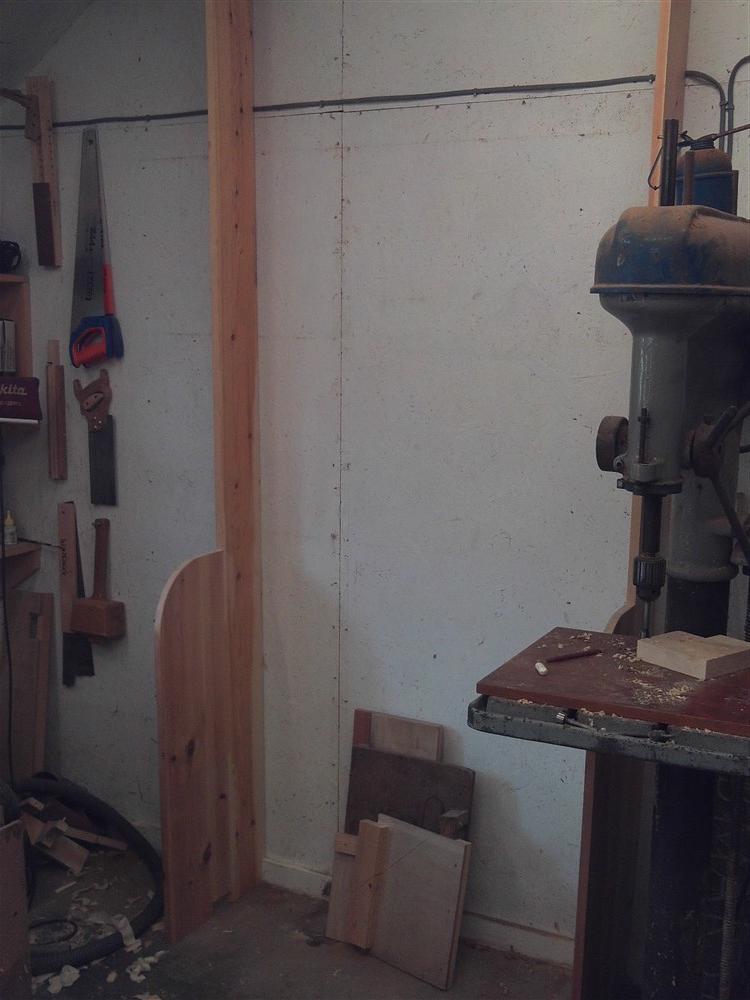
Here's the clear wall:
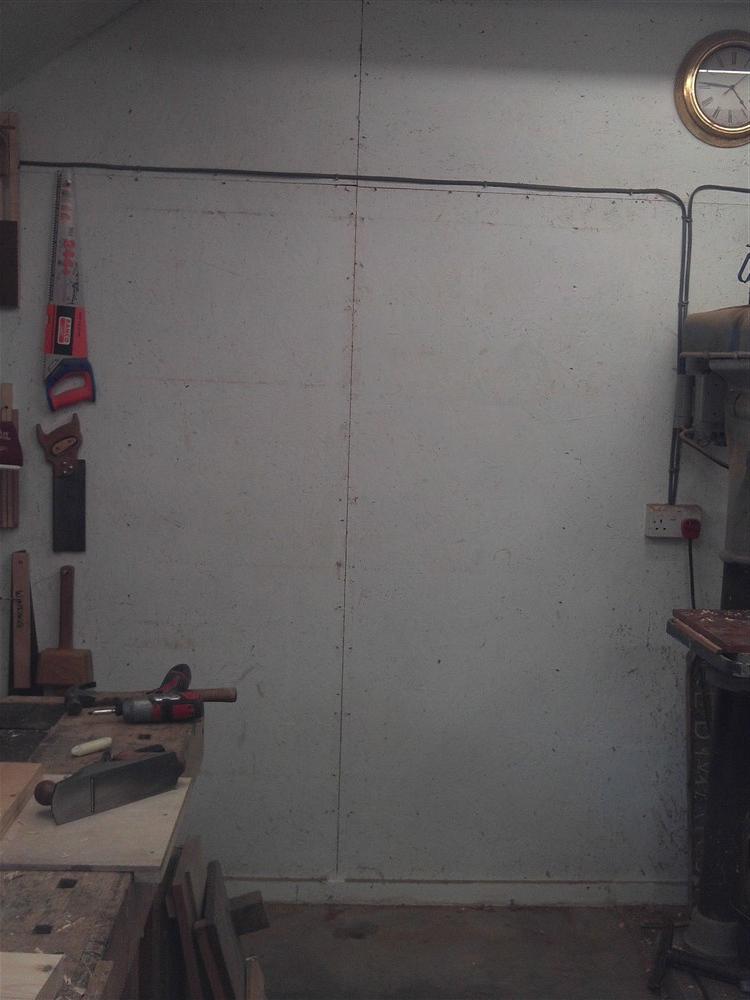
0pM82pG.jpg


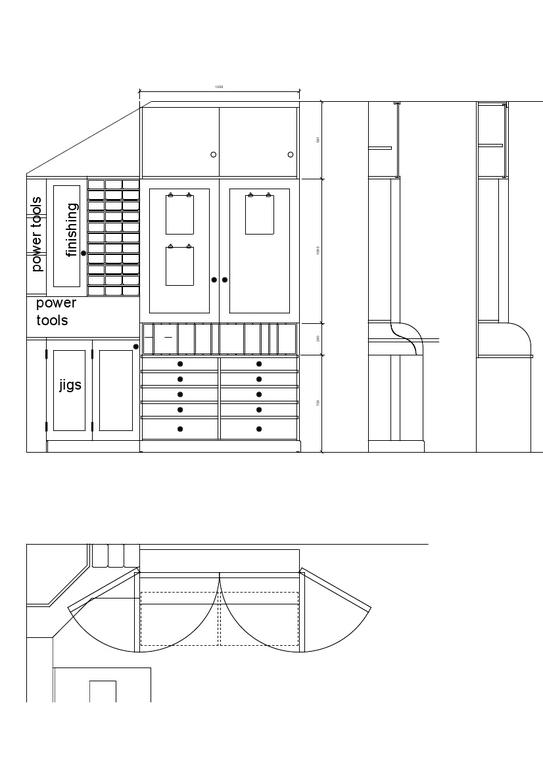
And here is what I am going to put on that wall. It is basically a 1200 x 1000 tool cupboard with a pair of side-hung doors, above a chest of drawers, and with a further store above. There will then be a corner cupboard, and a cupboard below for bench hooks, shooting boards etc. It will all be in raw pine and ply:
gzHIIci.jpg


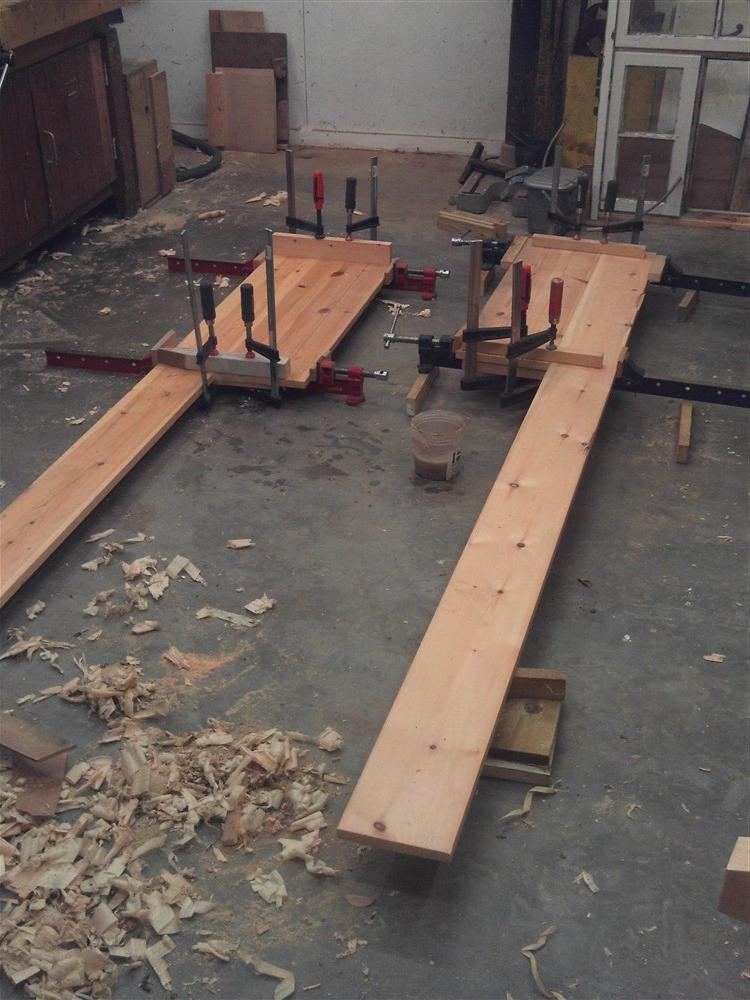
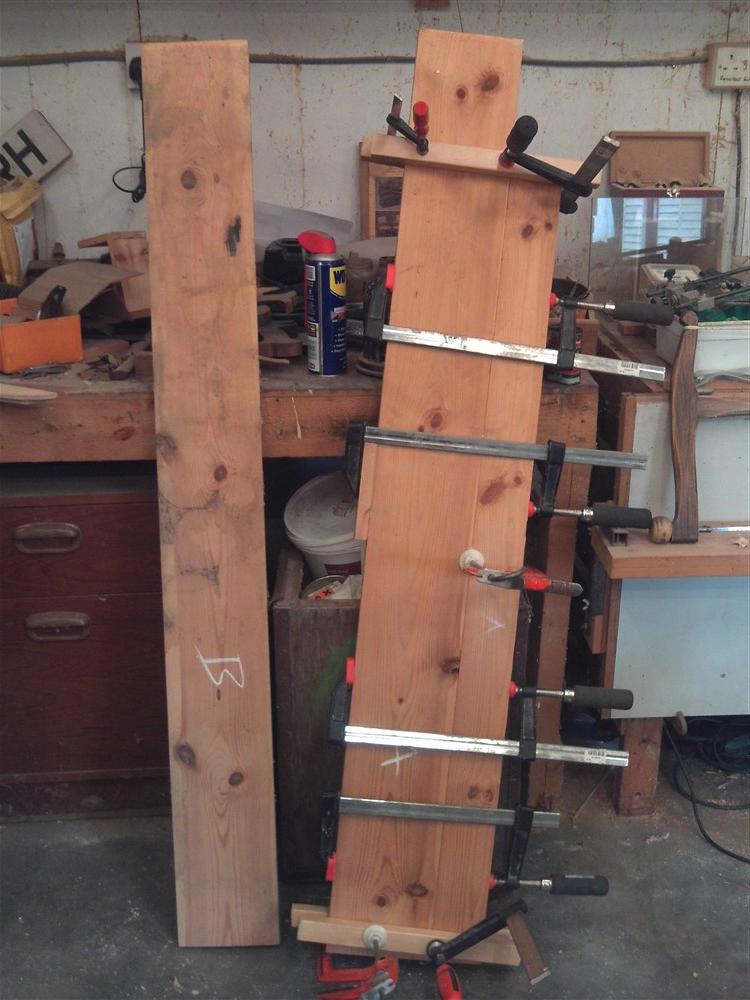
I managed to glue up most of the principal side pieces this evening:
sb8fdha.jpg
 
Watching with interest and awaiting the arrival of some big bits of oak with mortice and tenons and carved spandrels... :wink:
 
Looking good - I dread to think what is piled up out of shot!! Where have you put it all for the moment?

Can I suggest slapping some white emulsion up ? Maybe just the bits that will be exposed afterwards. Makes a big difference and will reflect some light back as well.

Good luck - keep posting the pics
 
AndyT":qwivj8ti said:
Watching with interest and awaiting the arrival of some big bits of oak with mortice and tenons and carved spandrels... :wink:

There'll be plenty of proper joinery, but no spandrels, and no oak, in the tool cupboard build. For some more interesting oak work, stay tuned for upcoming projects...
 
Stanleymonkey":33xgfa6s said:
Looking good - I dread to think what is piled up out of shot!! Where have you put it all for the moment?

Can I suggest slapping some white emulsion up ? Maybe just the bits that will be exposed afterwards. Makes a big difference and will reflect some light back as well........

All the stuff I will need for the next few weeks is piled up on my radial arm saw bench (so all cross cutting will be by hand). Everything else has been shifted out to my new store shed (I haven't posted about that shed build here).

Are you suggesting painting the new tool cupboard? I hear what you say, but cringe at the thought of the maintenance.
 
he's talking about the walls. Start with clean white walls and your cupboards will look even better.
 
I had workshop white walls in my grotty old garage

Threw some unwanted white emulsion up. Difference was amazing - looked quite nice in there afterwards.

Just the walls - five minute job. If you were fed up in there before. New tool cabinet and brighter lighter workplace will make it feel 1000x better.
 
Stanleymonkey":245qfn10 said:
I had workshop white walls in my grotty old garage

Threw some unwanted white emulsion up. Difference was amazing - looked quite nice in there afterwards.

Just the walls - five minute job. If you were fed up in there before. New tool cabinet and brighter lighter workplace will make it feel 1000x better.

They are white. And if you think that clearing everything out, cleaning and then repainting the entire 90+ square metres of wall in there is a 5 minute job, I'll give you 5/60 times £20/ hour (=£1.67) to come and do it for me. Can't say fairer than that.
 
Veering back onto a slightly more sensible comment, have I got it right in thinking that you are using the wood from the shelves to build the new cupboard? That does seem a very practical approach.

And if it's going to stand in the same place, I see no reason to paint the wall behind it!
 
Yes, Andy, it's the old wood re-used, with a couple of new bits added in which were fortuitously left over from helping a friend with some re-roofing a couple of weeks ago. And yes, painting behind a cupboard which will have a back built into it would just be for the benefit of the spiders who found their way in there.
 
MikeG.":1vx4elko said:
And yes, painting behind a cupboard which will have a back built into it would just be for the benefit of the spiders who found their way in there.
And your viewing public! :roll: :roll: =D>
 
watching with interest mike! thanks for the WIP.

If I had that Studley tool chest, everything would come tumbling down every time I reached for a tool. I think it would be a Frank Spencer moment every time.
 
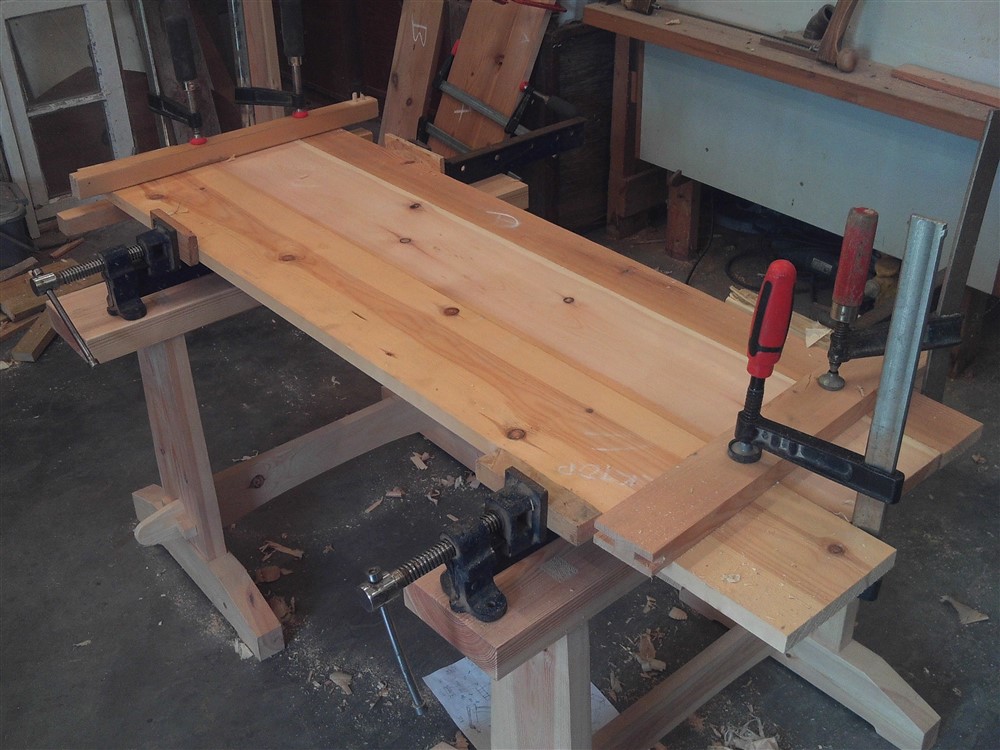
A little bit of progress. I took the side pieces out of their clamps, cleaned them up with a plane, then shaped the corners of the upstand alongside the "worktop":

rh0k6S1.jpg


I then made the mistake of offering them up to the wall. I notched out for the skirting and a ceiling joist, then scribed the backs to the wall. It's almost as though I've never made any furniture before, as that took away my reference edge. That ruled out using a router jig to house out for the shelves etc. What a clown.

227gxCY.jpg


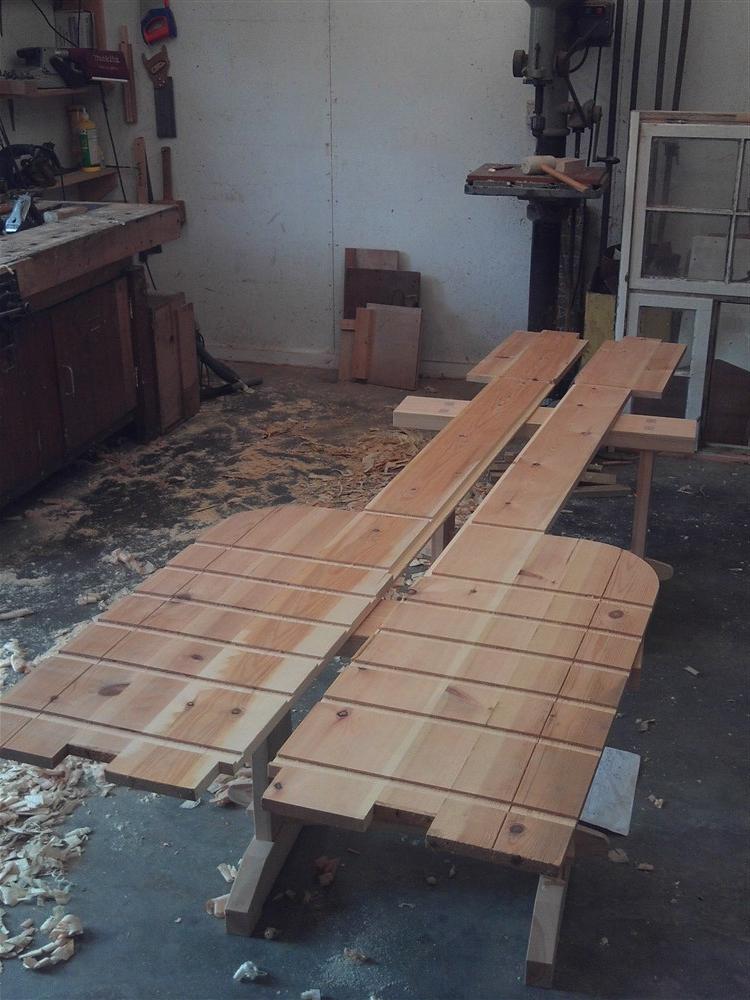
So, I had to do an awful lot of measuring and marking, cut the top and bottom of the housing joints with a knife, freehand routed, and then cleaned up with a chisel. What a palaver:

eLHUVC9.jpg


I glued up the shelves/ worktop:

8OHRQrL.jpg


R1wNF0e.jpg


No harm done, but that really wasn't a good use of my time. I toddled in, chastened, and did some work. I hope to get a few hours at this tomorrow, so long as the phone doesn't ring.
 

Latest posts

Back
Top