Three unusual doors.

UKworkshop.co.uk

Help Support UKworkshop.co.uk:

This site may earn a commission from merchant affiliate links, including eBay, Amazon, and others.

MikeG.

Established Member
Joined
24 Aug 2008
Messages
10,172
Reaction score
704
Location
Essex/ Suffolk border
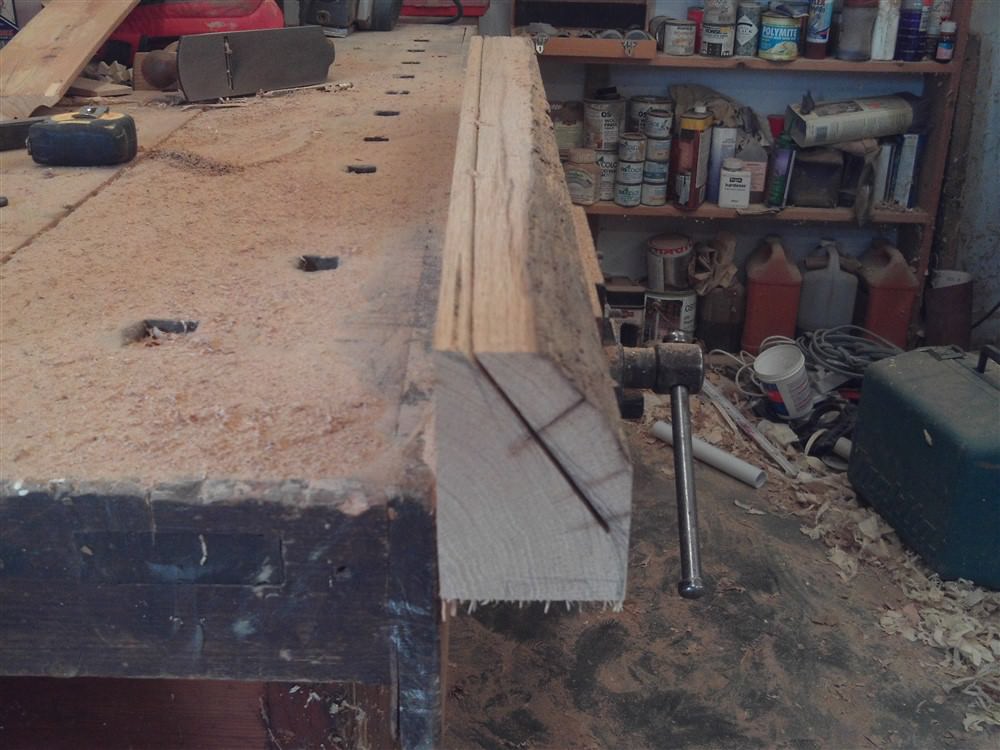
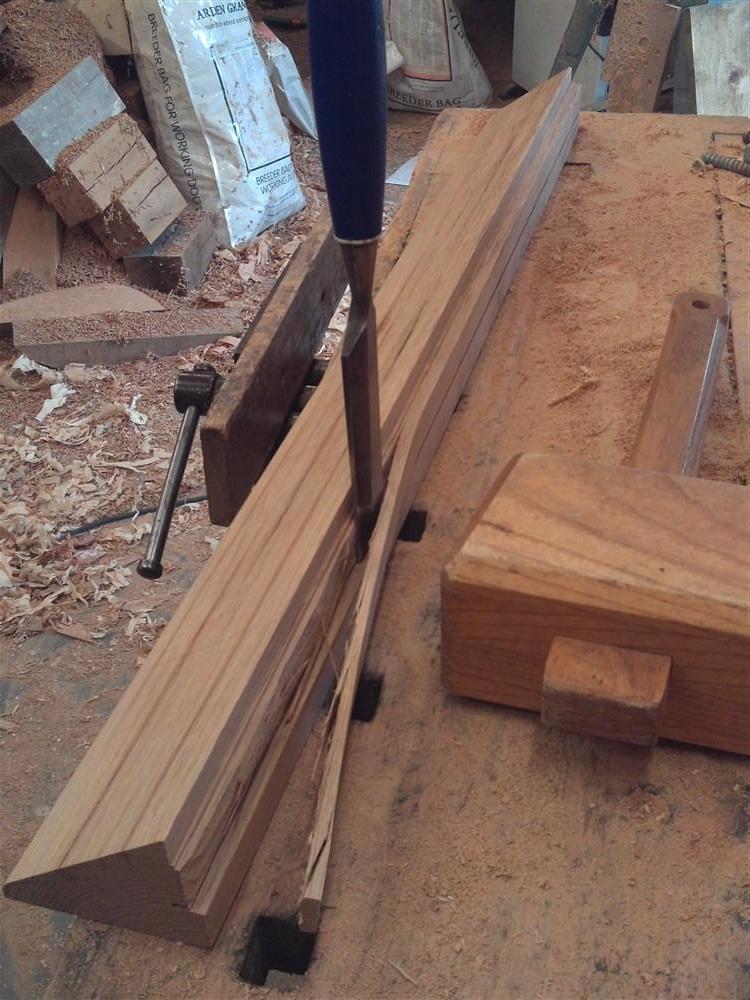
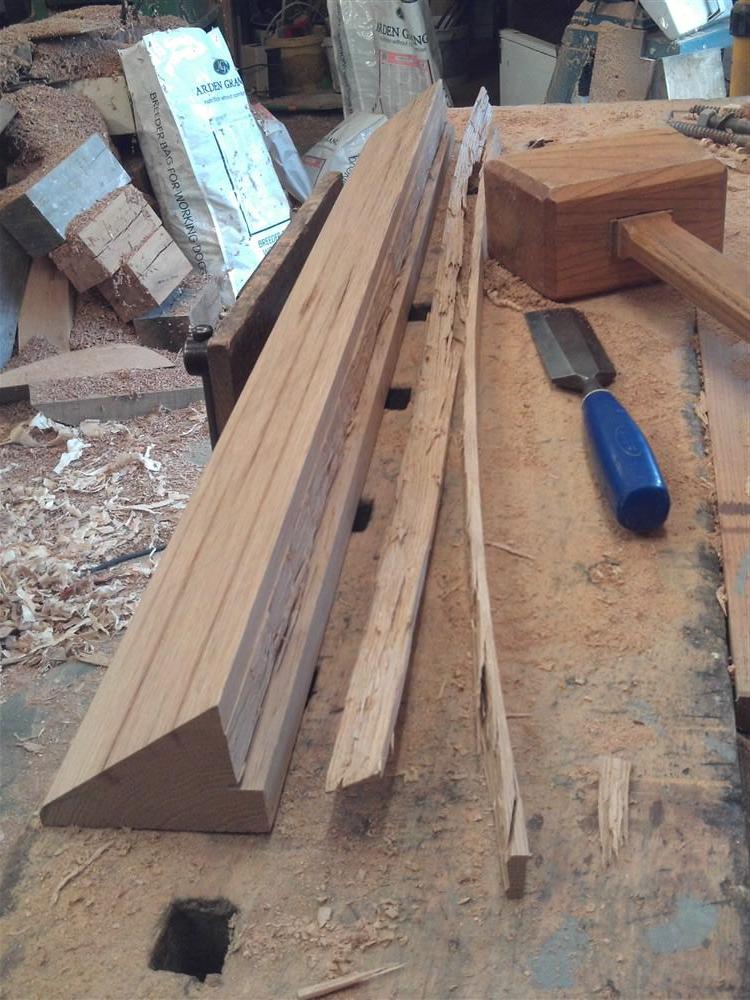
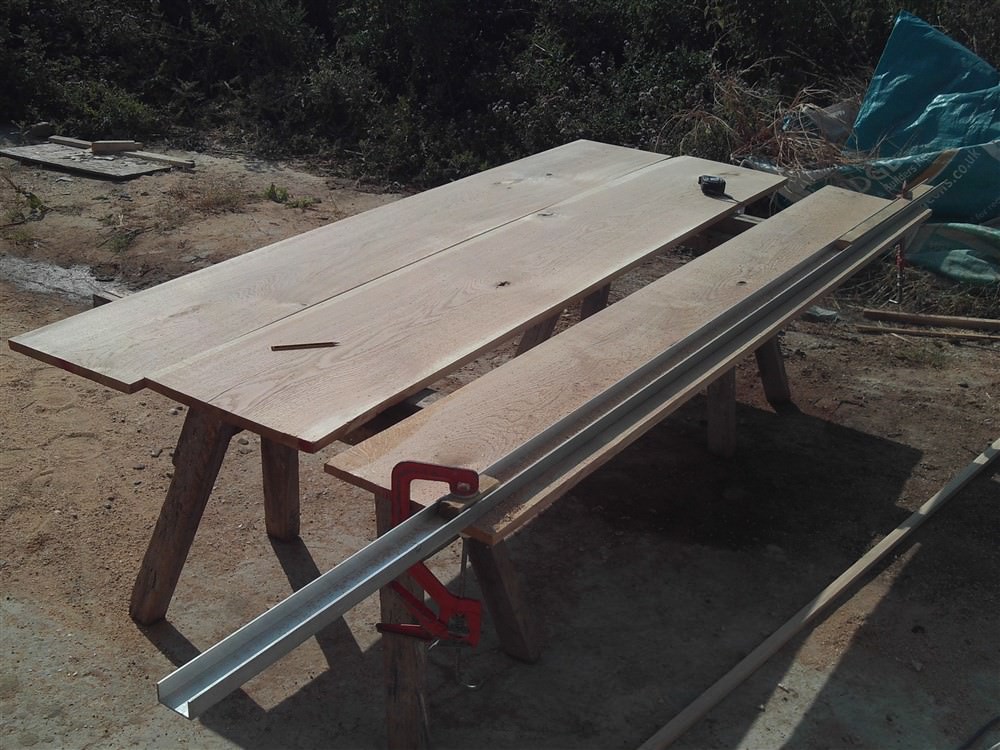
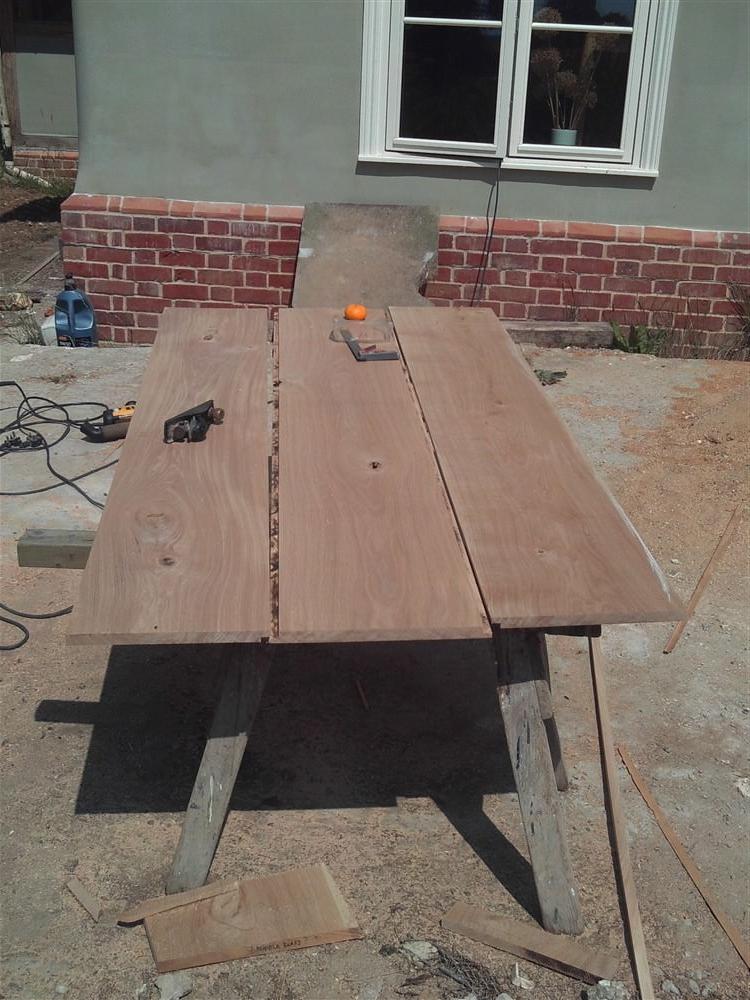
I bought some seasoned (French) oak boards, and planed most of it up on a friend's wide planer/ thicknesser:

qALvjhP.jpg


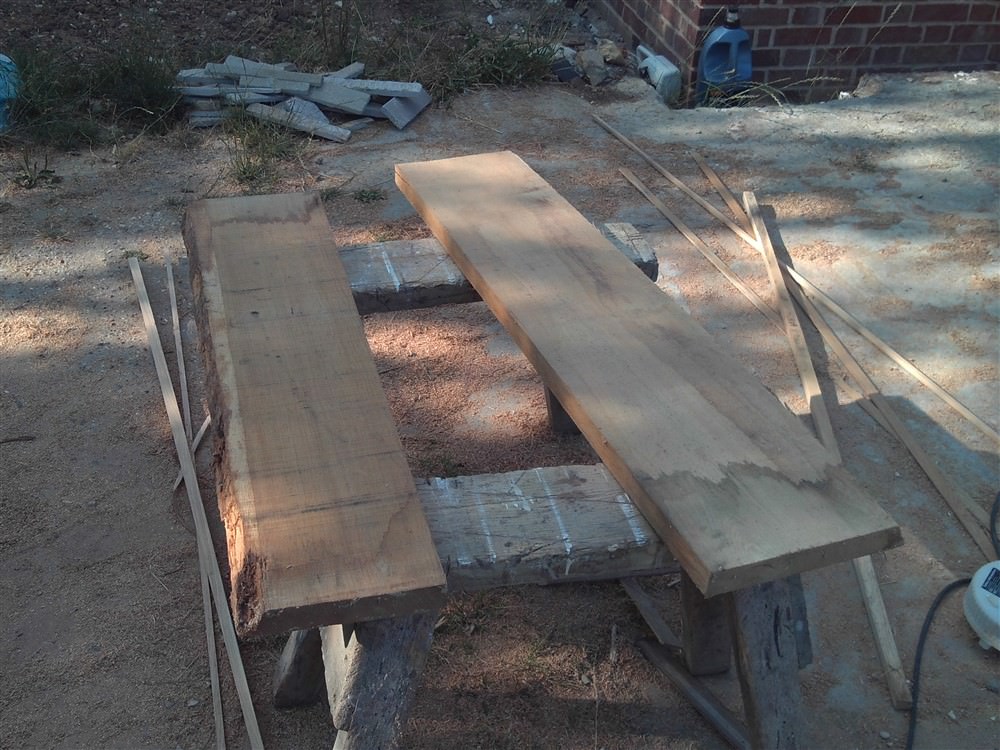
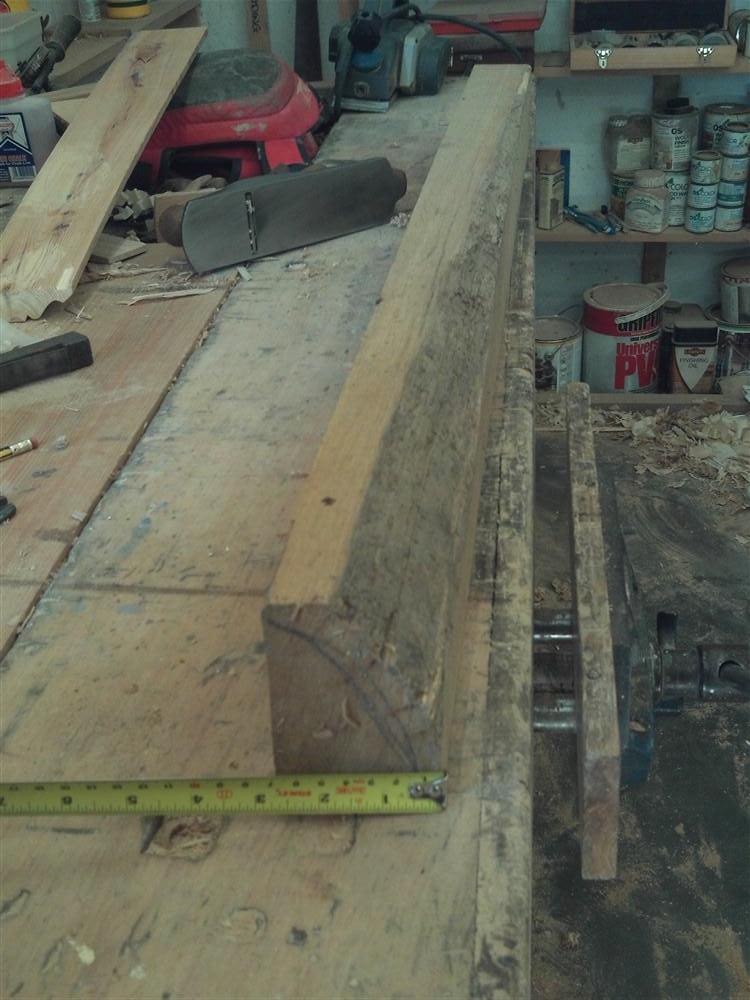
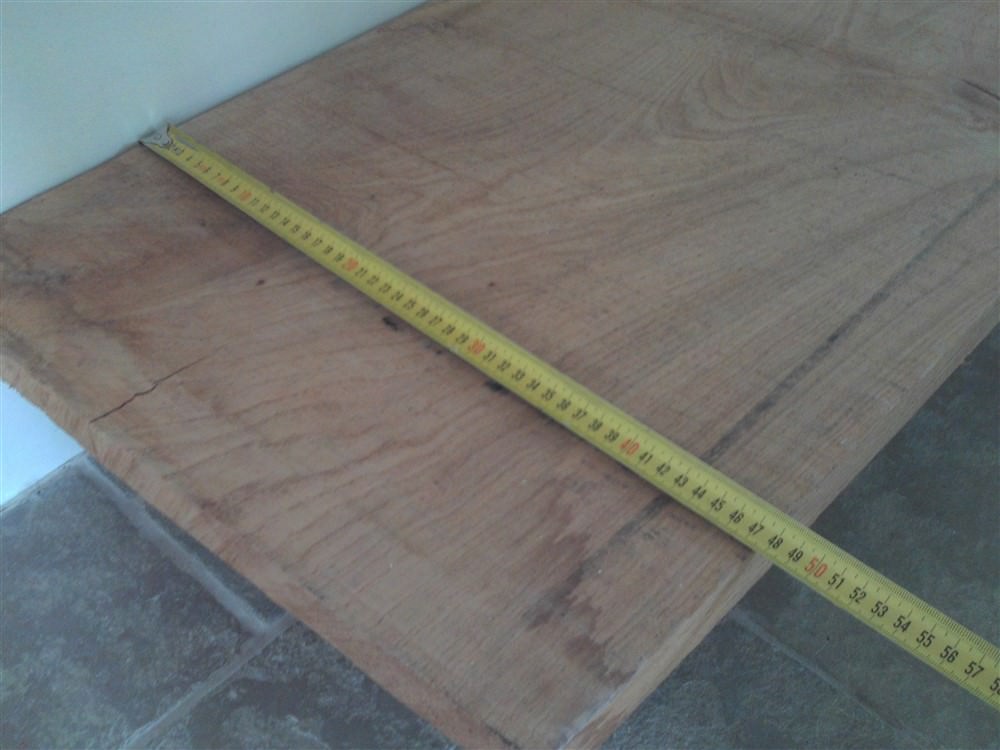
Some of the boards were too wide even for his monster machine:
kvPFuWS.jpg


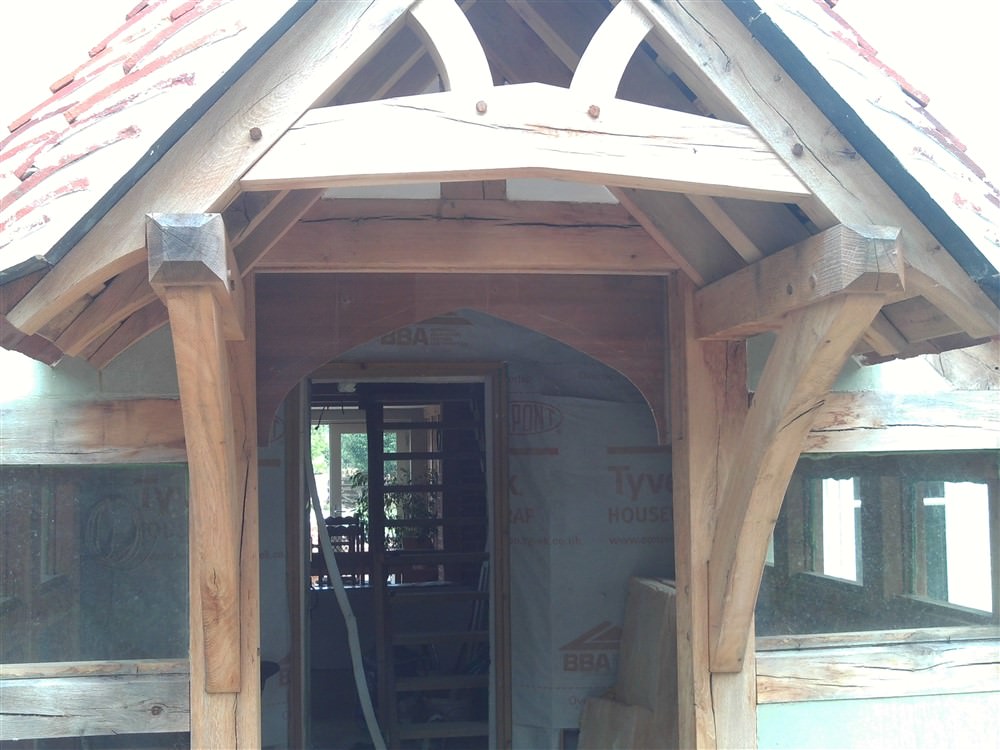
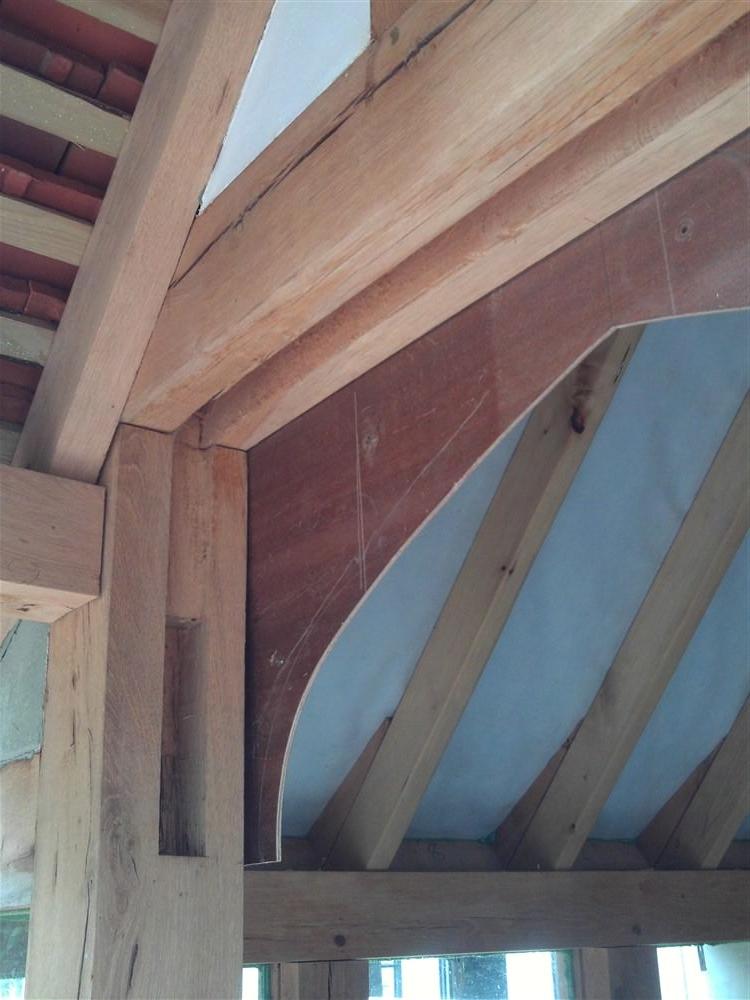
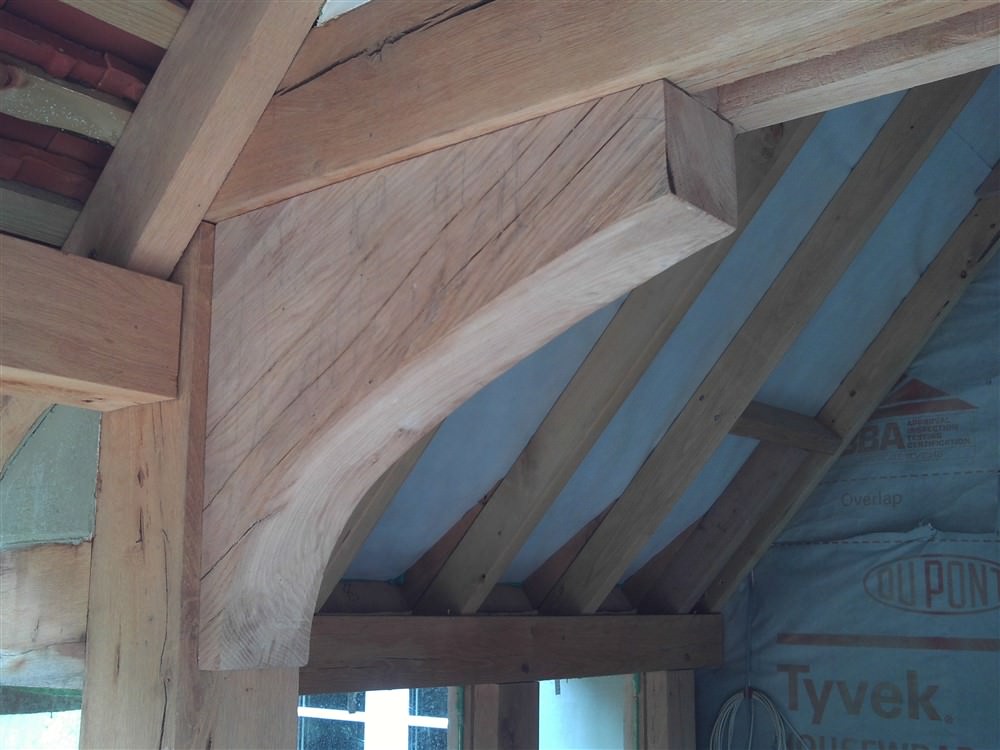
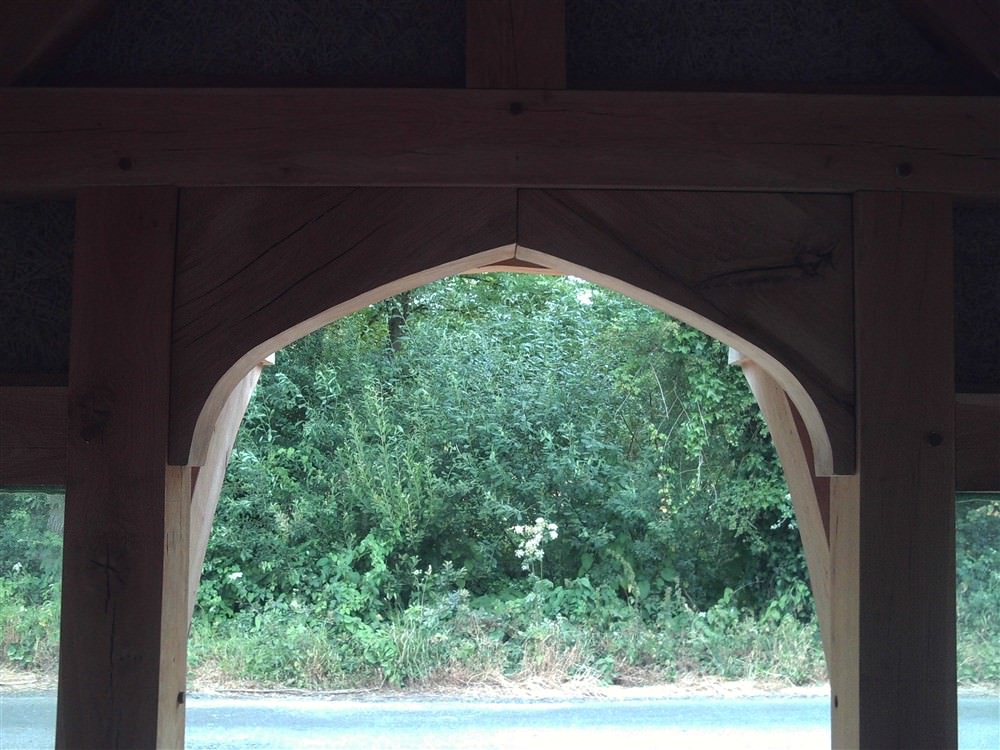
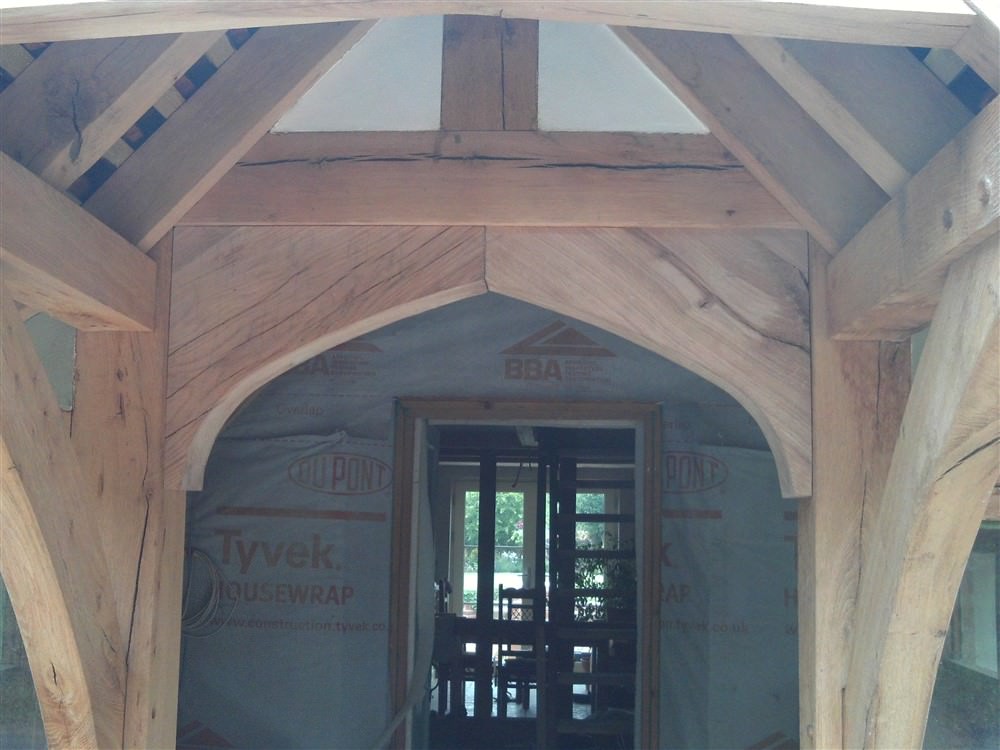
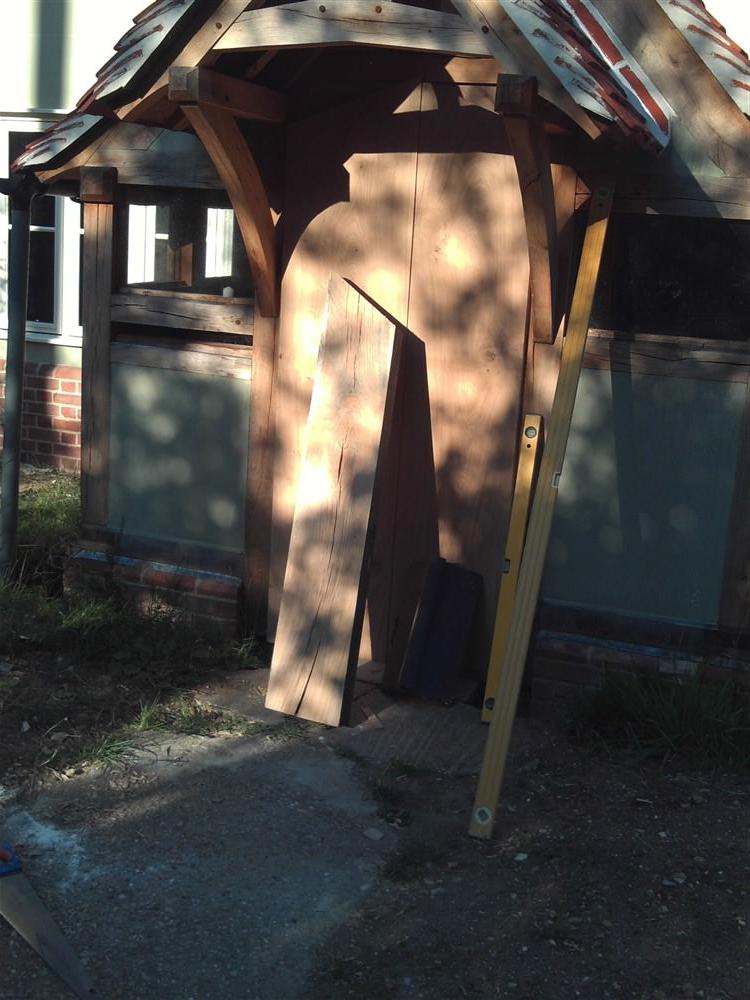
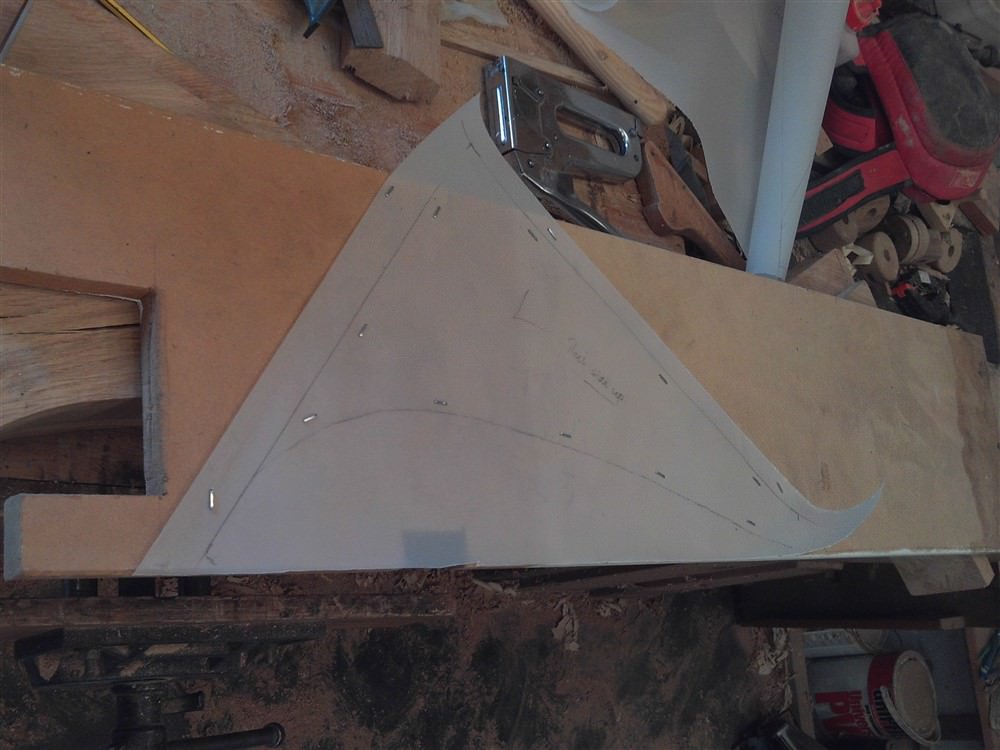
This is for three doors: the external front door (porch door), the internal front door, and the downstairs loo door. I started with the outside front door. Before I could start work on the door itself I had to make the 4-centred arch door head, which is done with a pair of spandrels. First, a template:
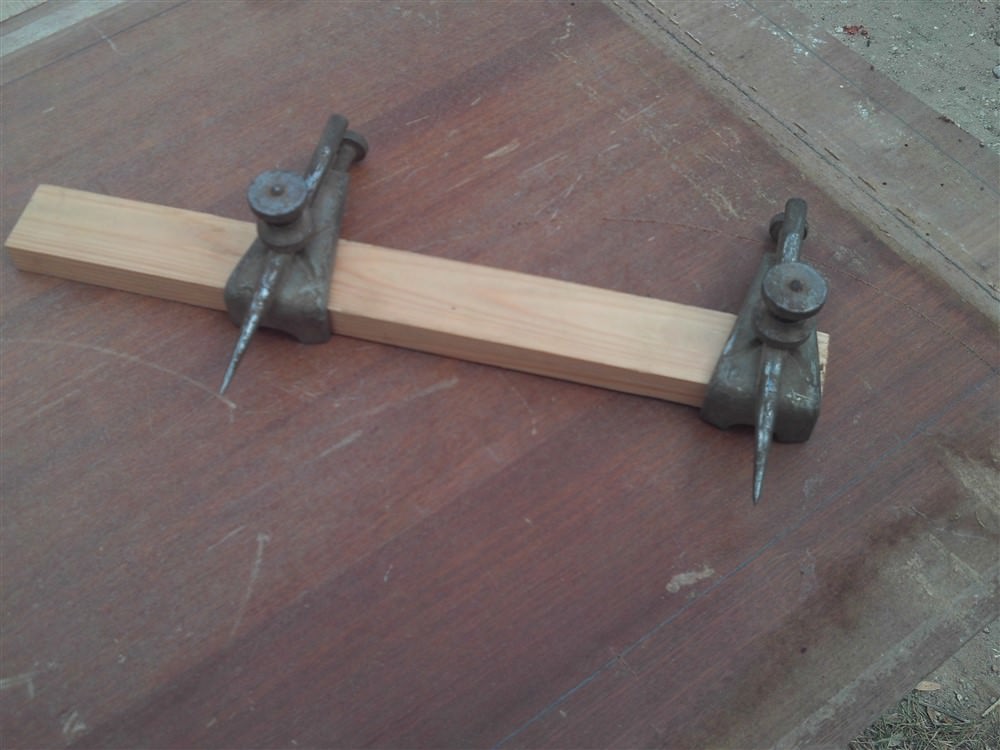
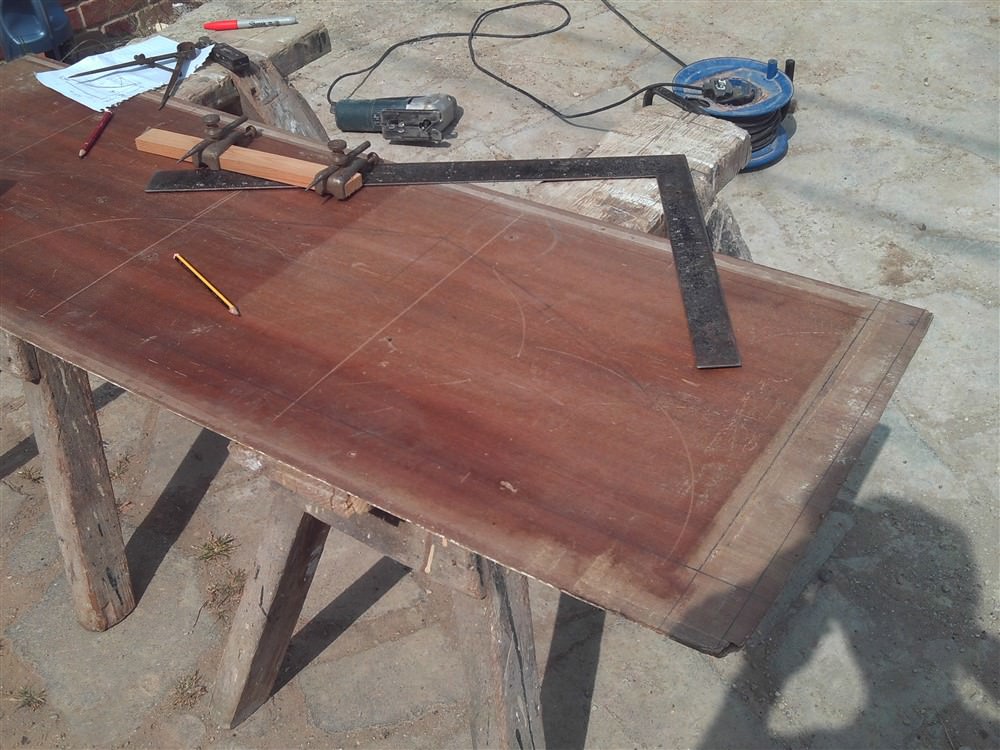
vkihGwr.jpg


IrUr3XY.jpg


iX6EVbY.jpg


cAWuzUQ.jpg


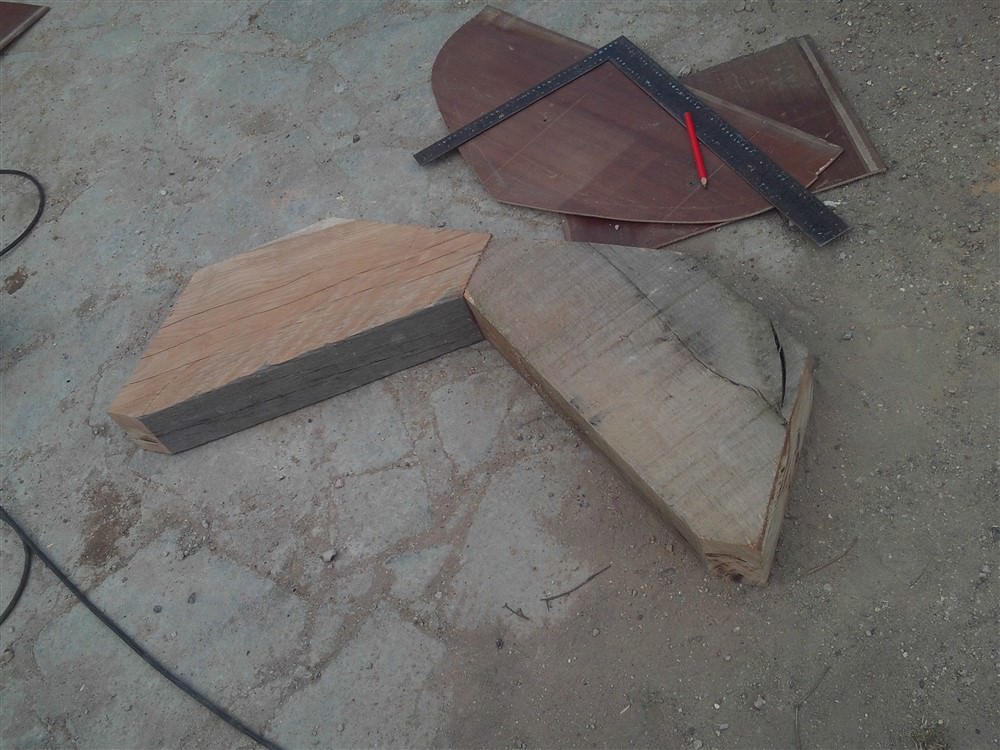
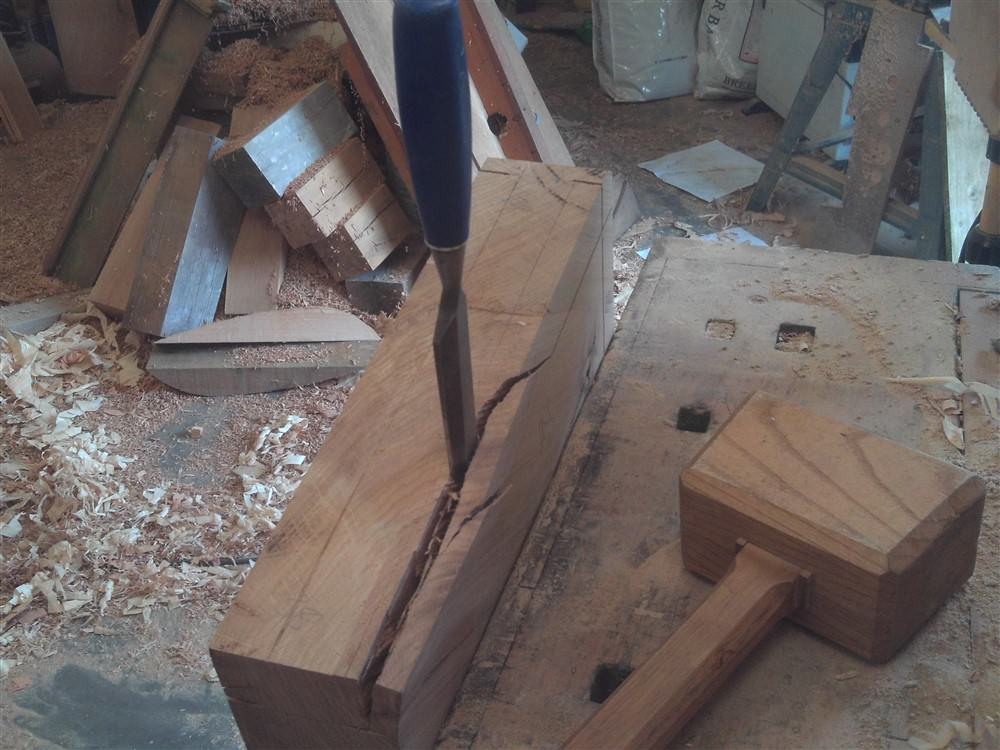
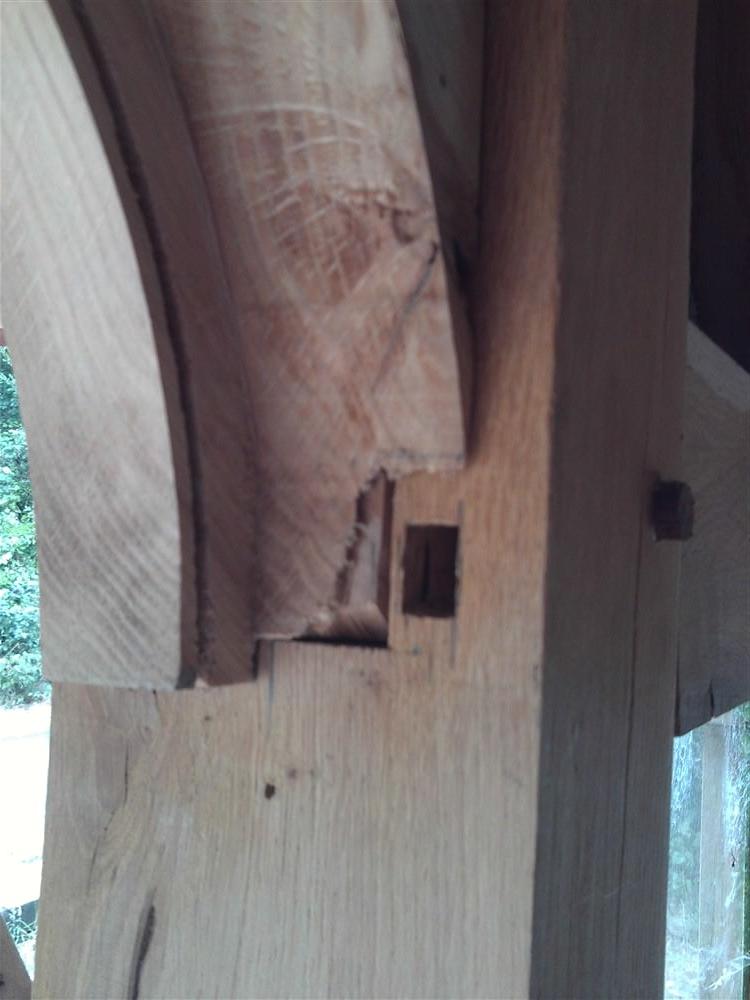
That last photo shows the long mortices I left when I made the porch last year. Now, with a wedding coming up in no time at all, I needed to make the spandrels, but I wouldn't have time to carve them, so they'll have to be removable for carving later. I had set aside a large piece of green oak from the porch build, but as it was over a year old it wasn't quite so green any more:
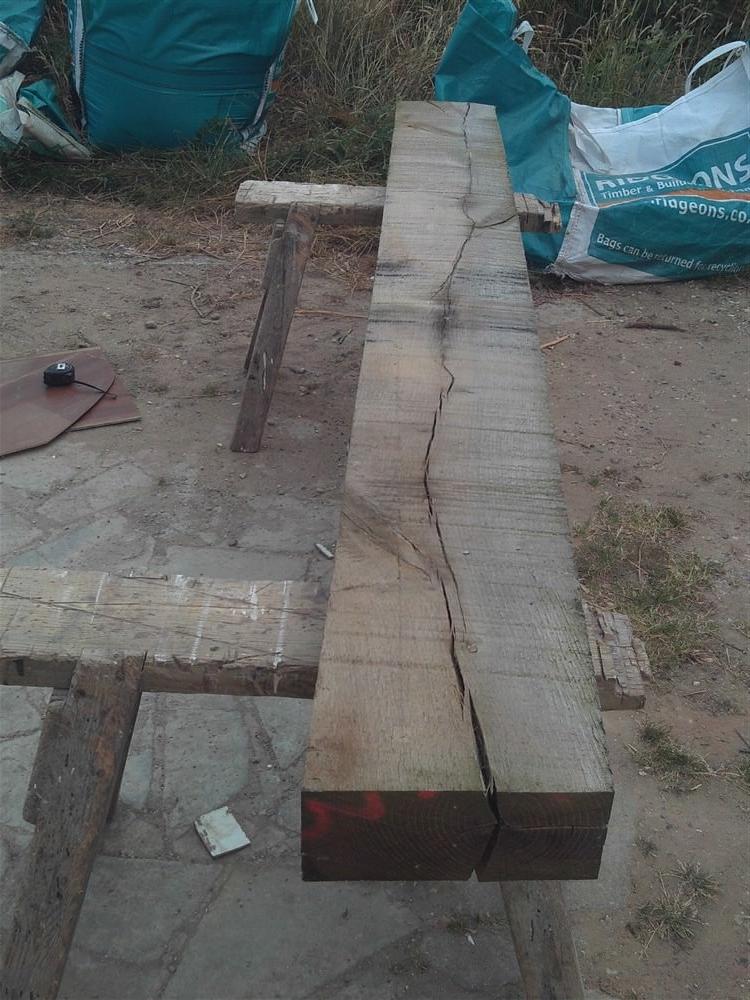
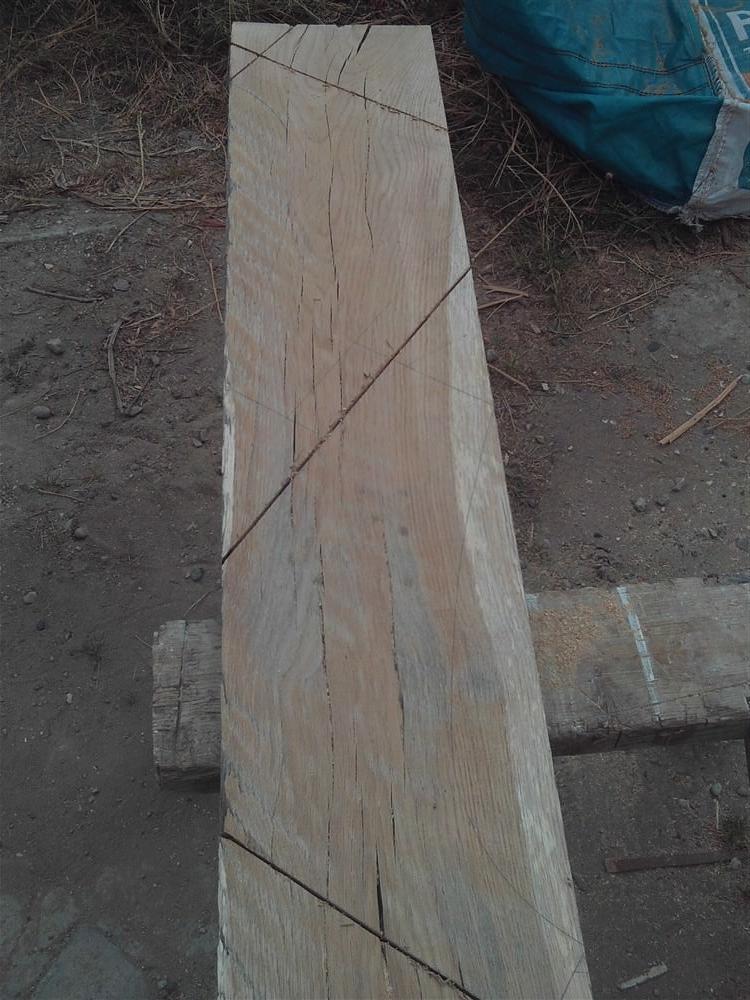
clSyc22.jpg


Z9jGKZu.jpg


akfFjX9.jpg


CJLYrPT.jpg


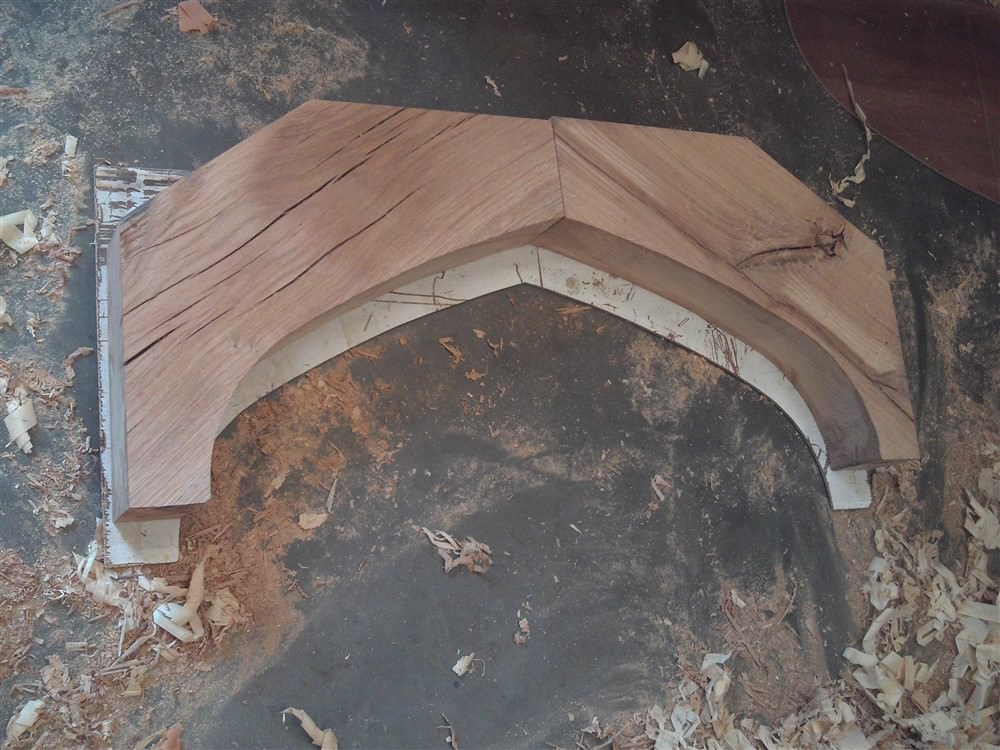
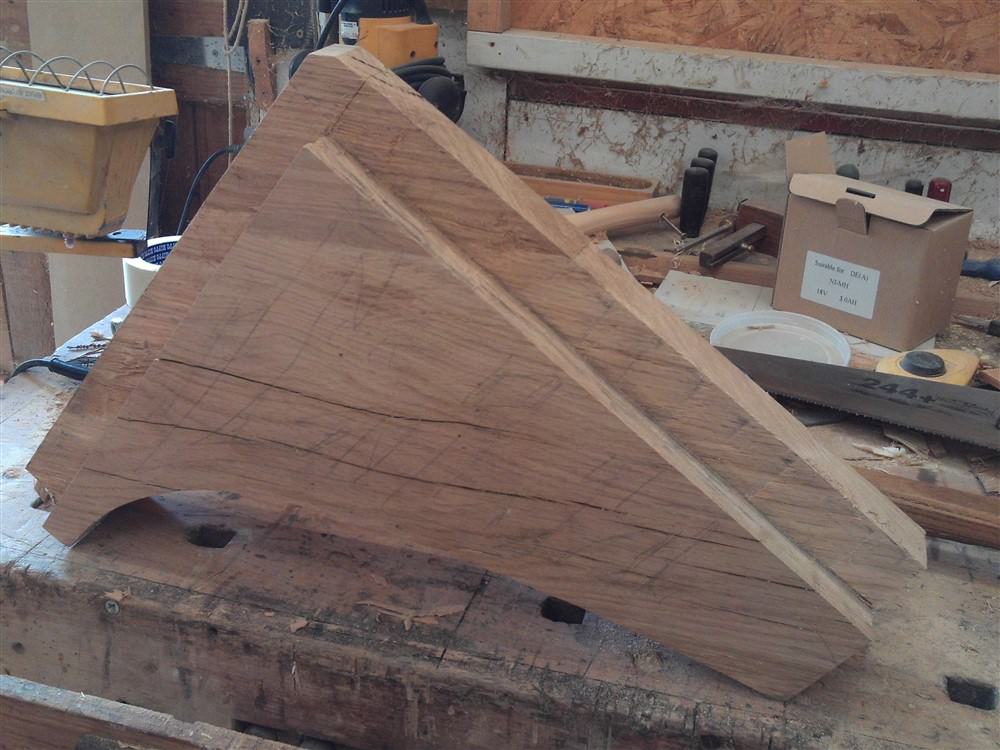
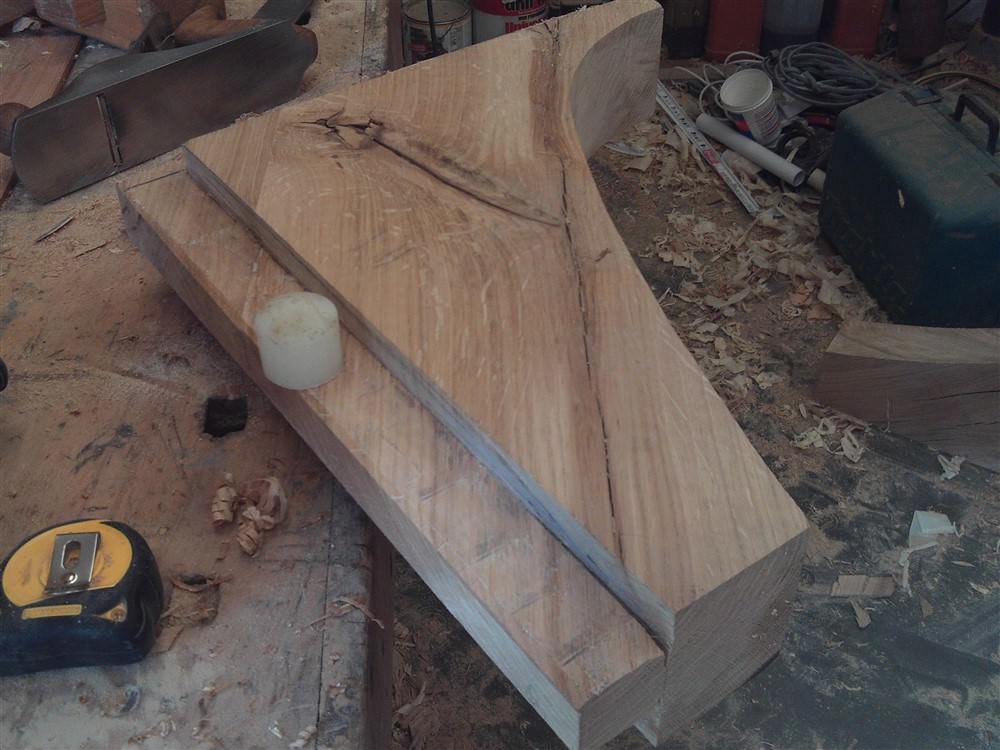
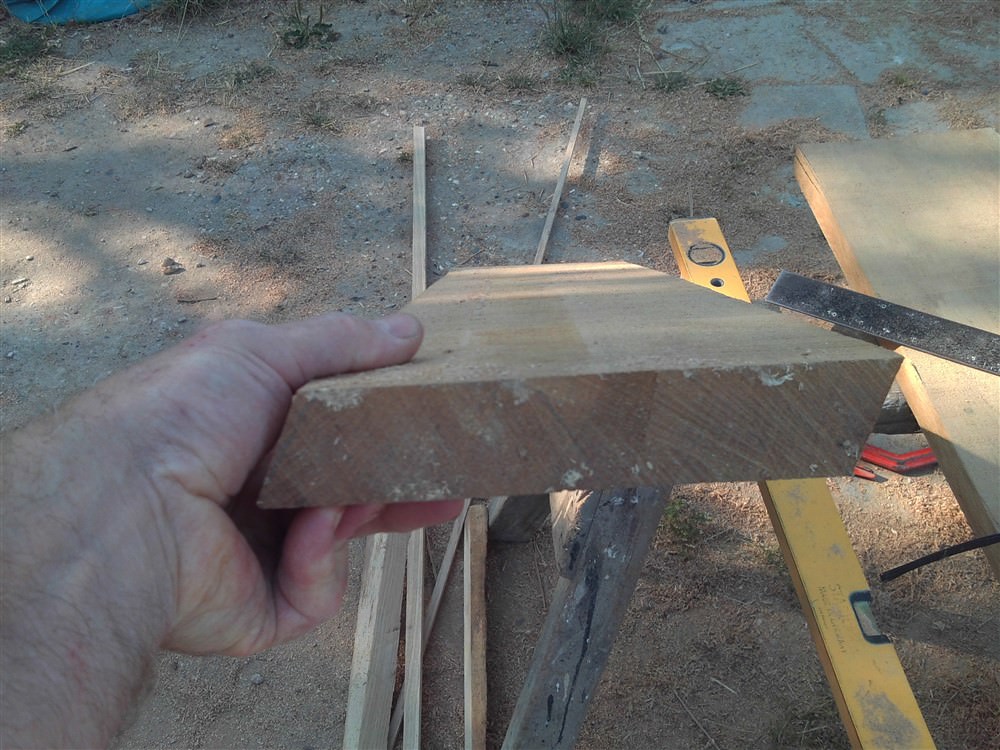
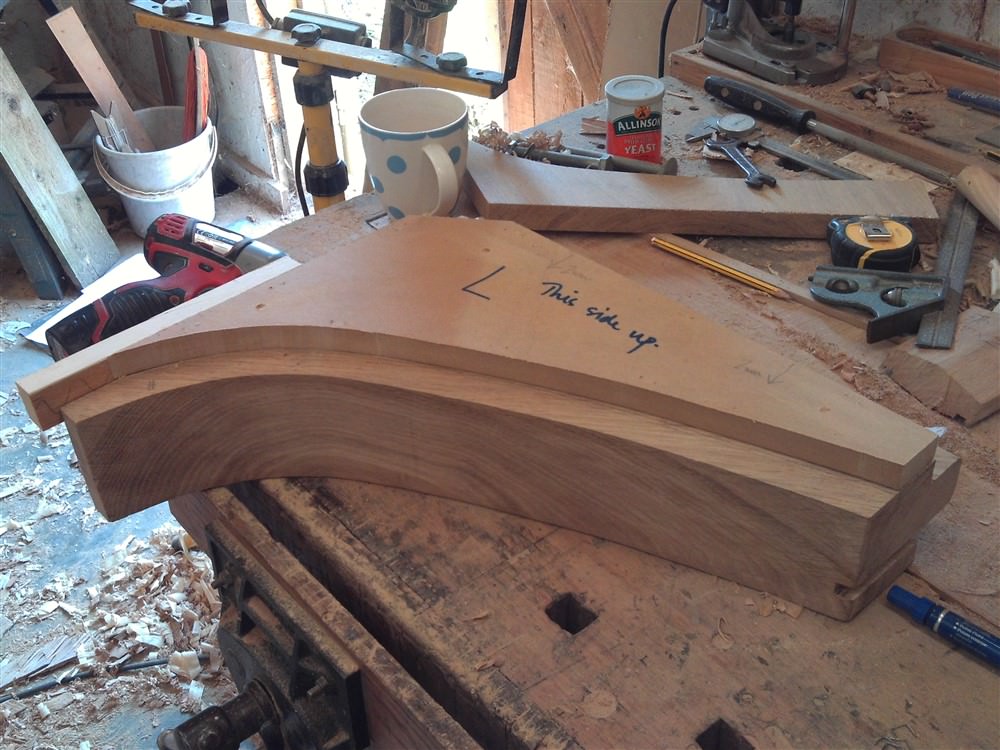
Big as it was, it wasn't big enough to do the spandrels in one piece a side, so I had to glue on an extra bit:
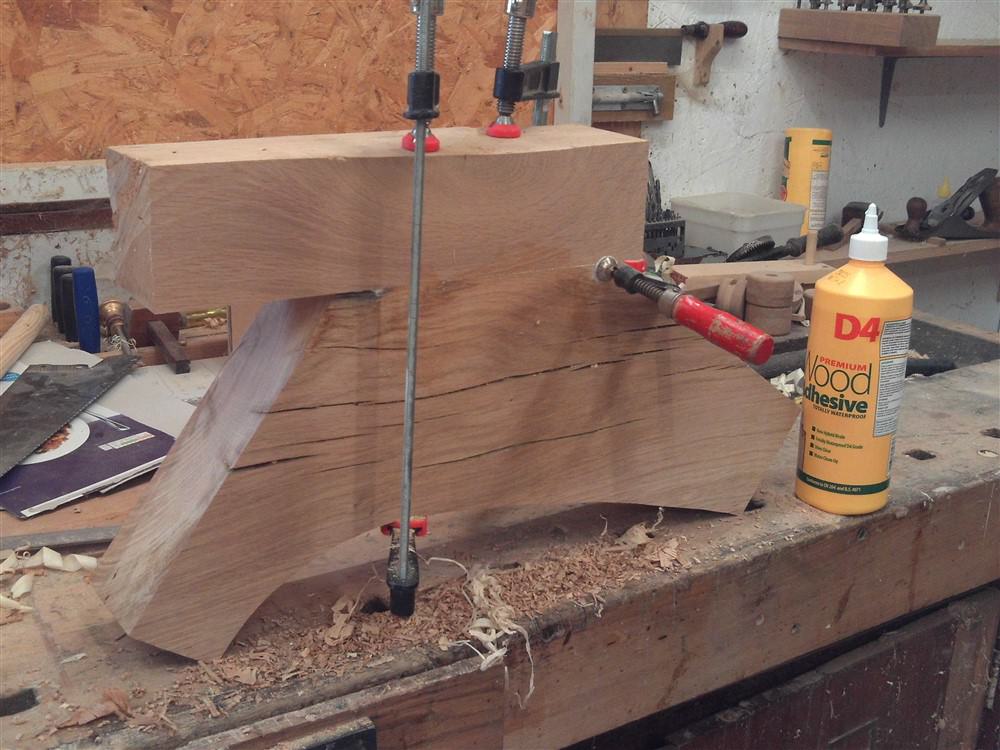
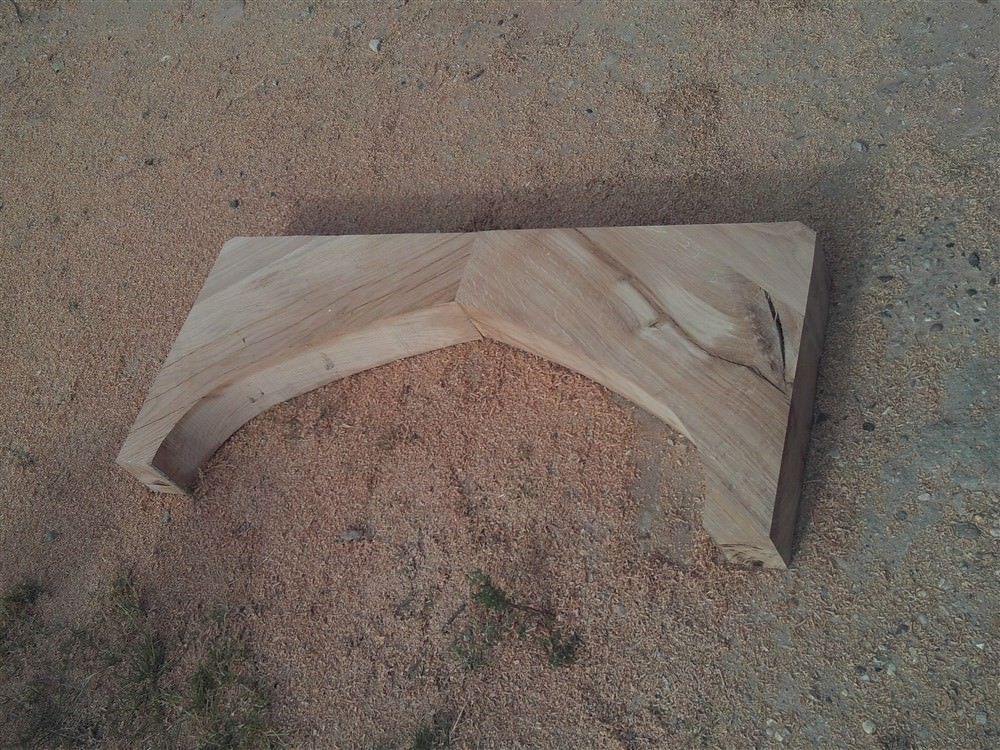
Qx1Ky2T.jpg


kHi4Ghd.jpg


Marking up the template on the door opening revealed no surprises at aLL..........the timbers weren't straight:
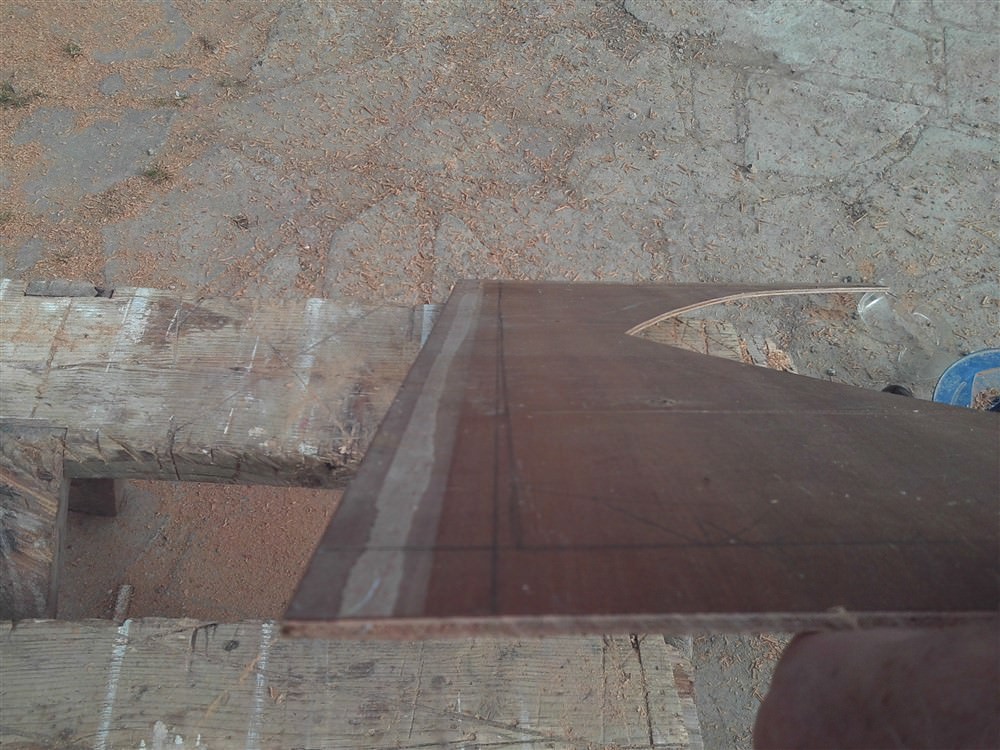
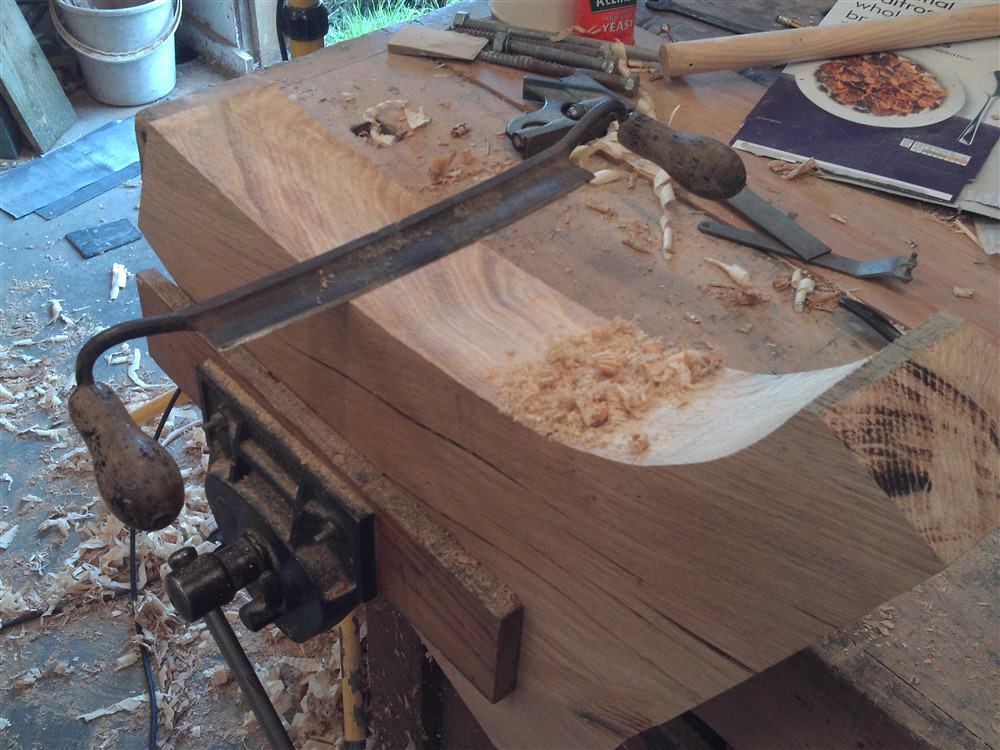
vNhKGff.jpg


vkwy04h.jpg


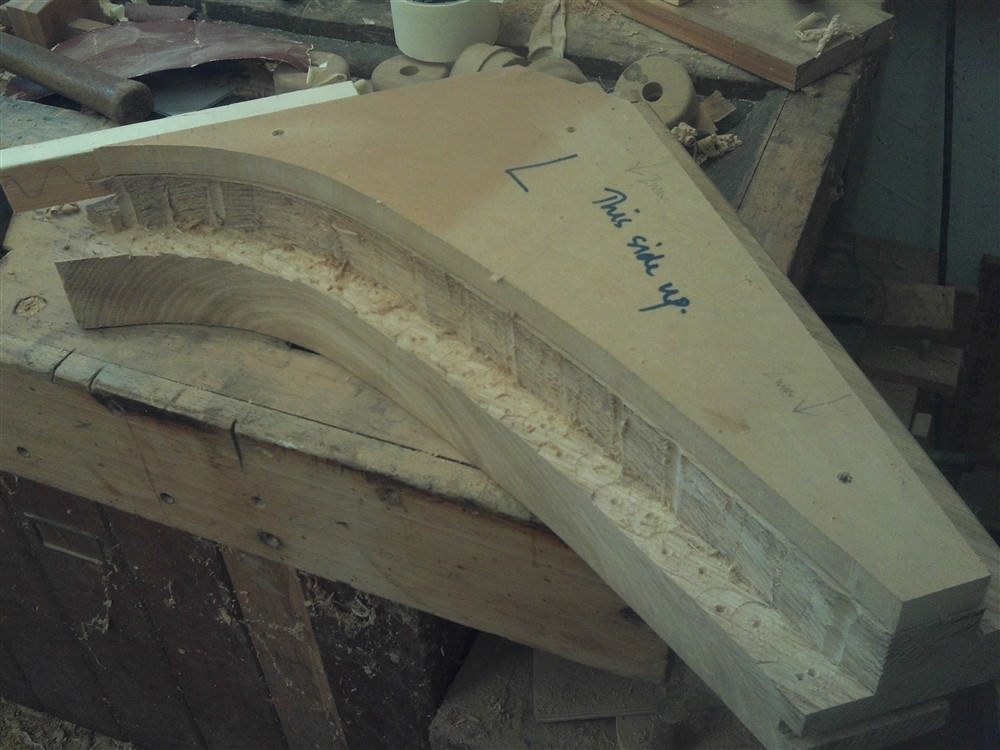
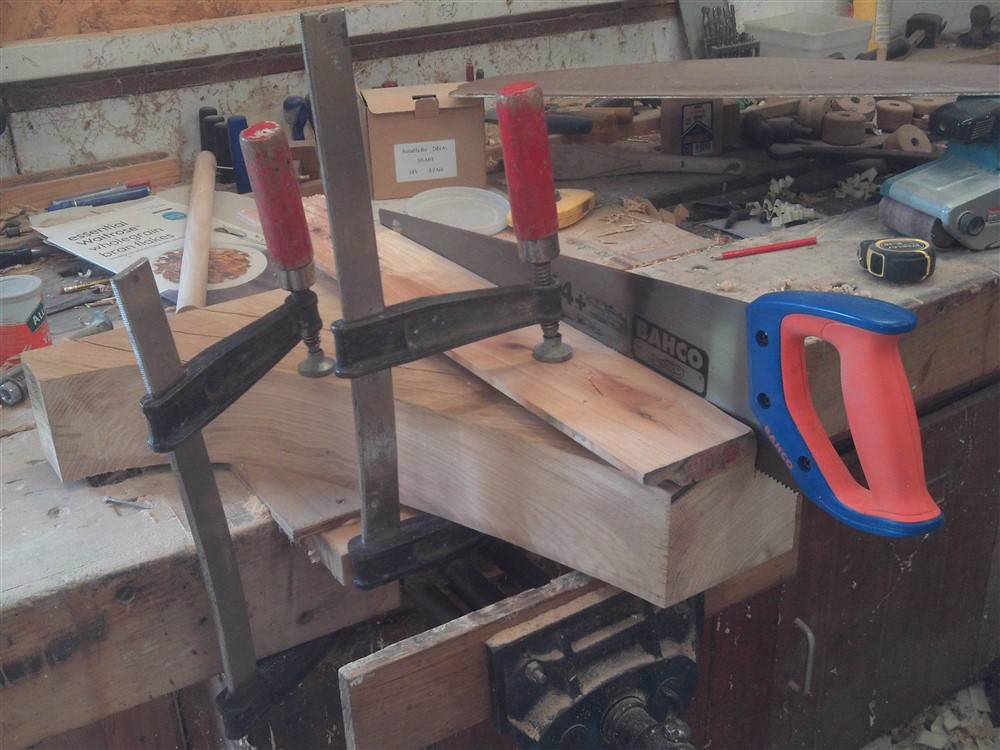
To cut the long shoulder of the top mortice I clamped a guide-piece to the spandrel and just sawed. There are a number of other ways this could be done:
rzPRBrS.jpg


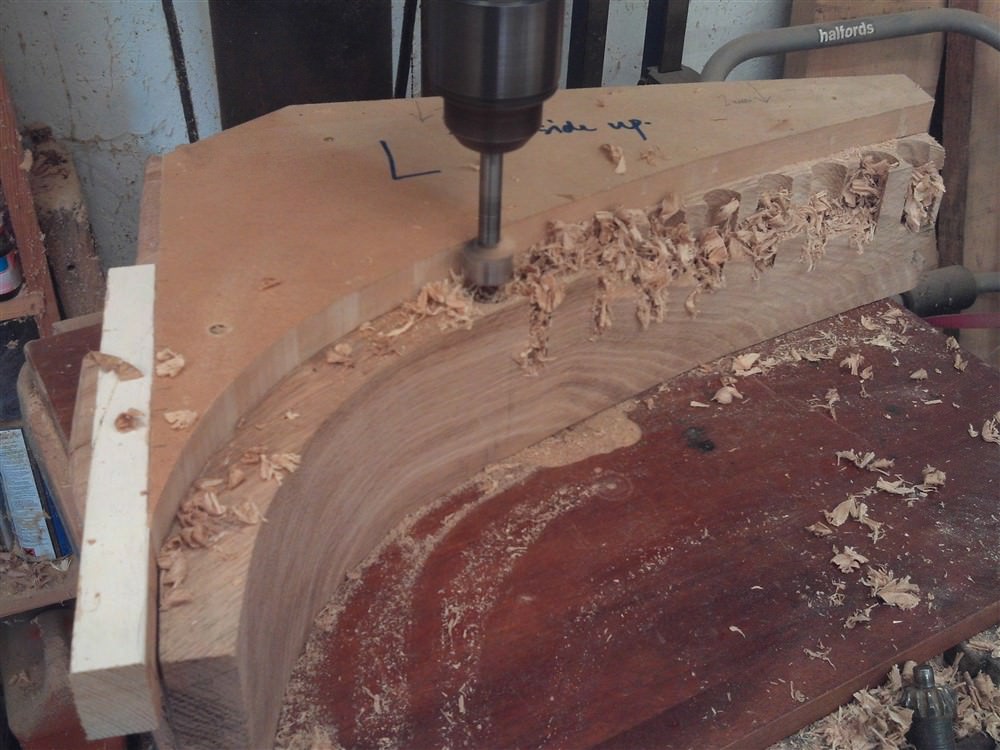
Hogging off the waste:

c6sljNe.jpg


9PZxq0y.jpg


A bit of wax to help it into place:

YfQeGZP.jpg


And the first trial fit:

whczIFC.jpg


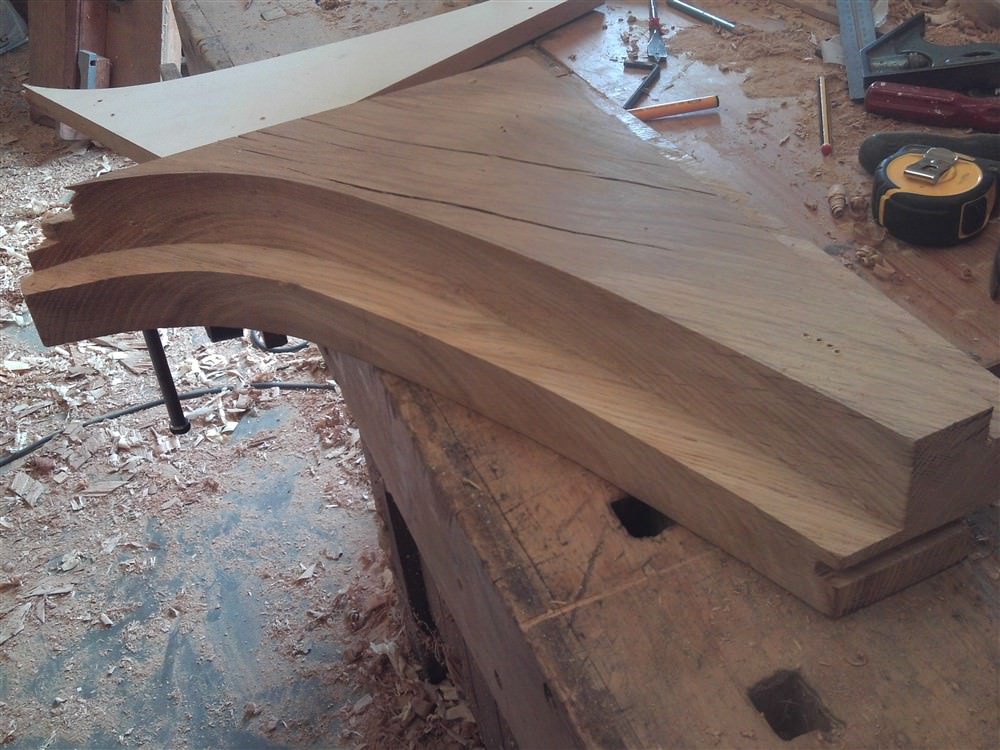
It needed a whack or two with a rubber mallet, but went in rather well.

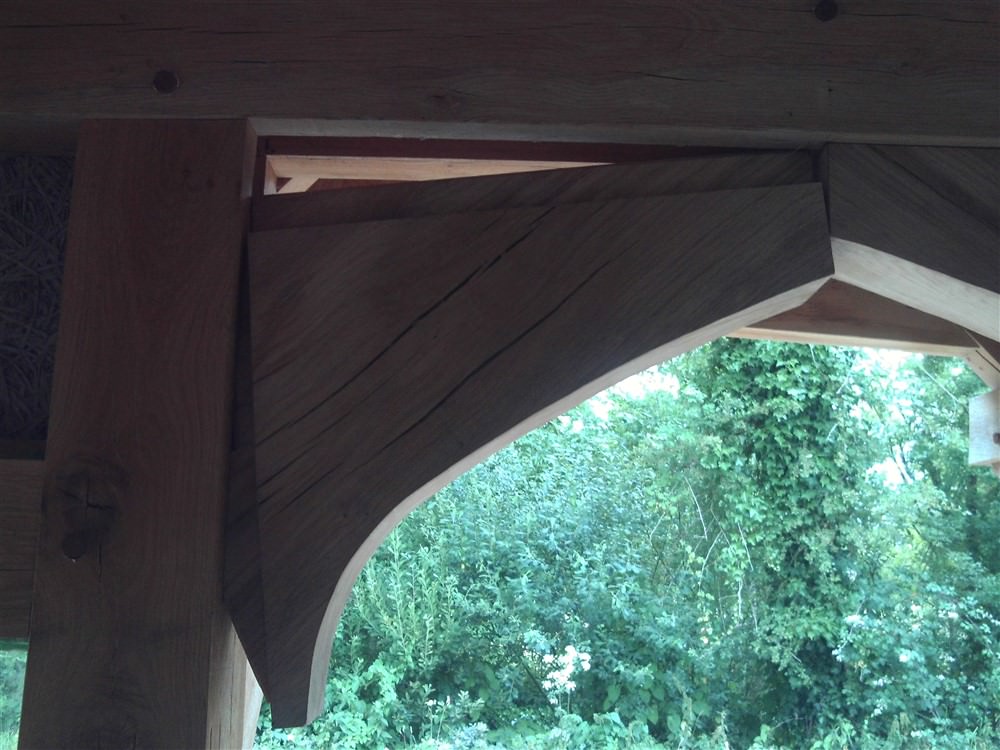
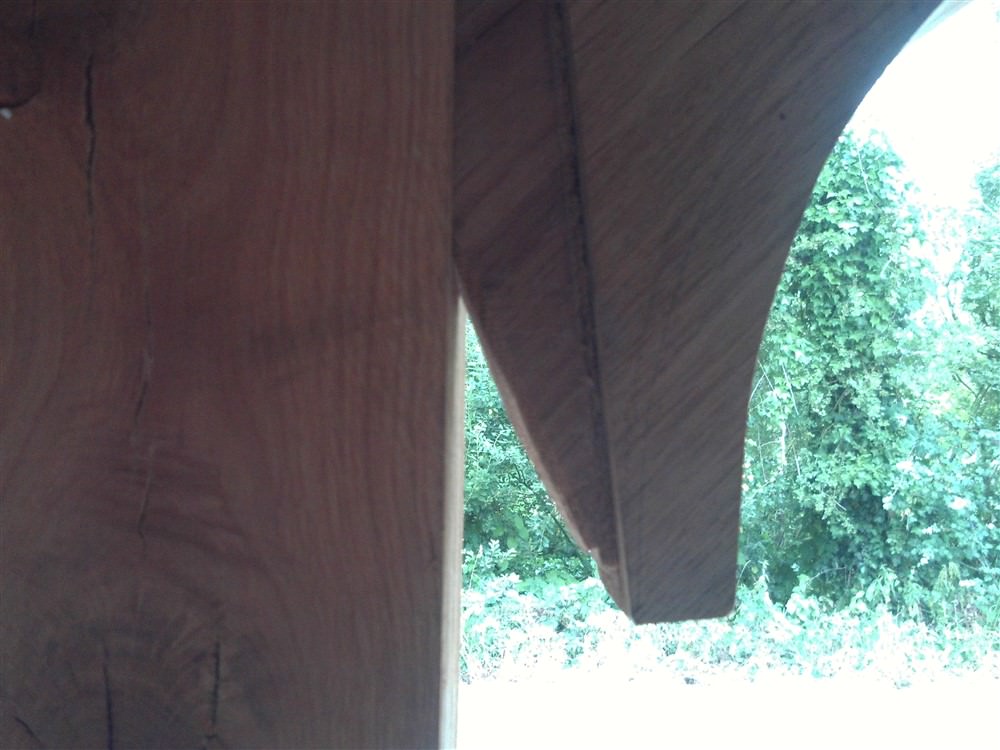
The second one was always going to be more awkward, because the first one is ion the way. I shaped the tenon:
KJegdde.jpg


H7nHCUQ.jpg


uXlP3Vd.jpg


TyO77D2.jpg


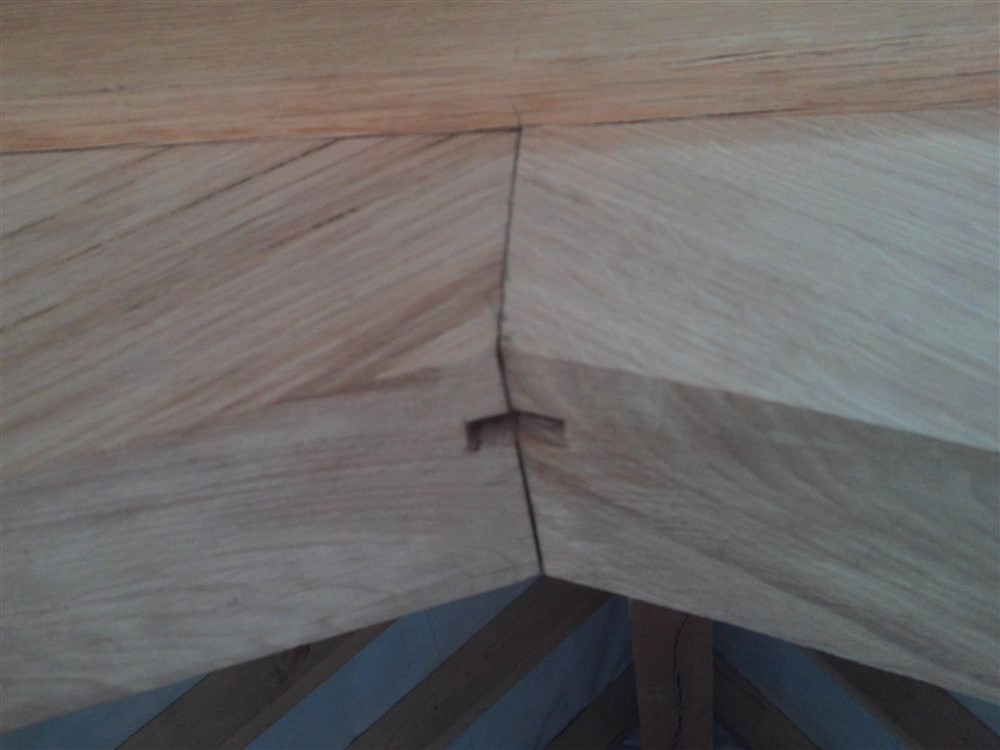
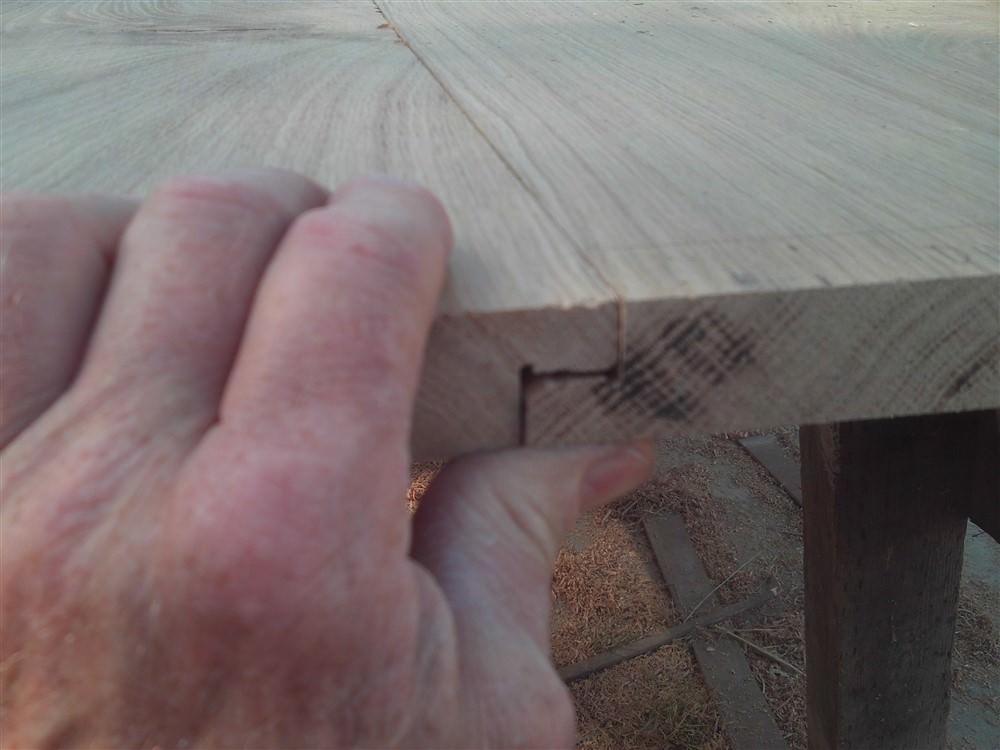
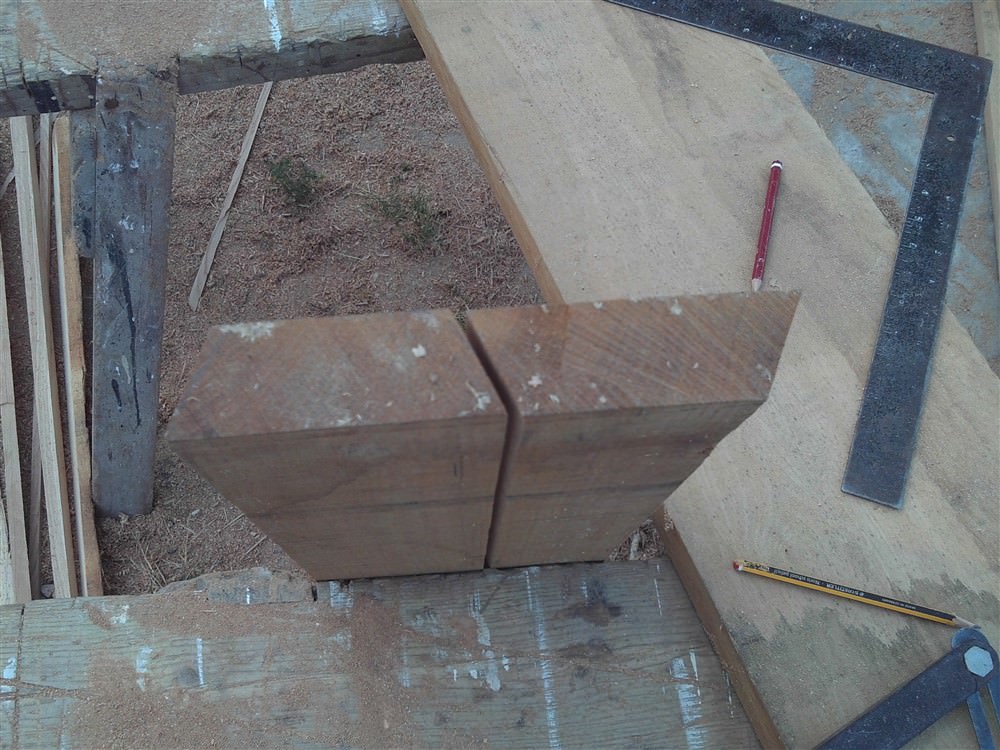
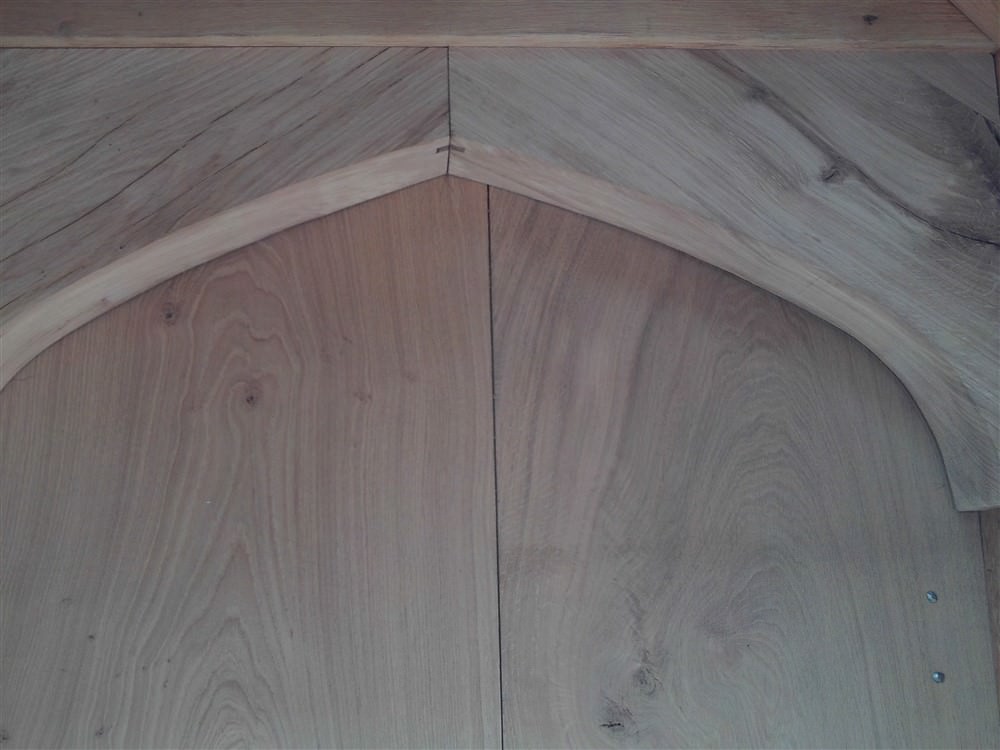
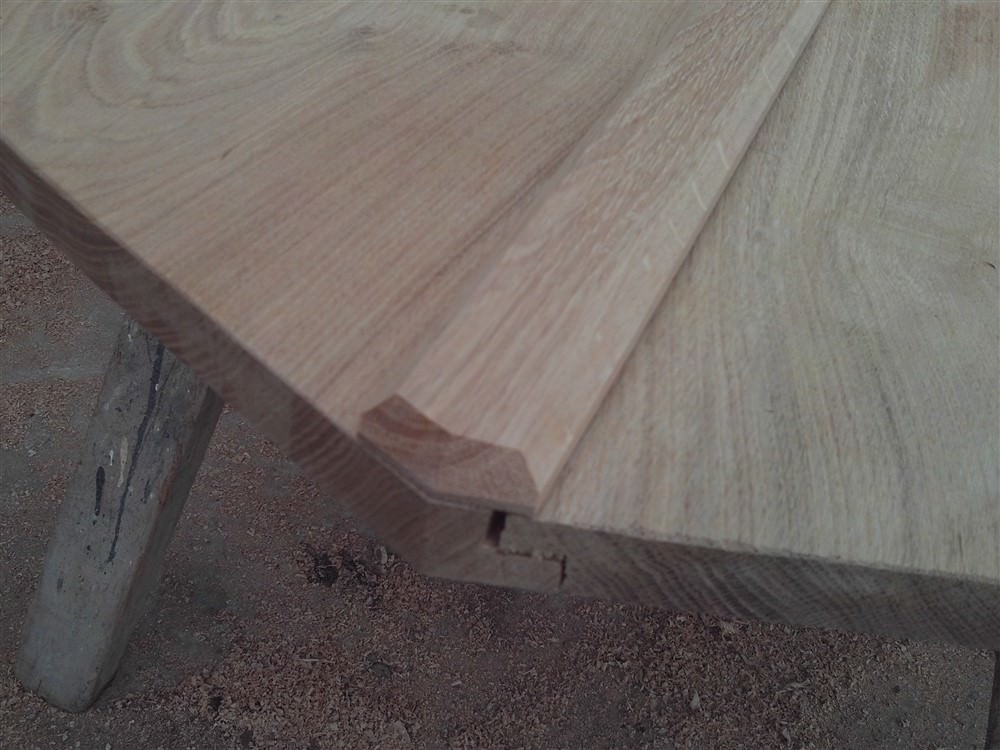
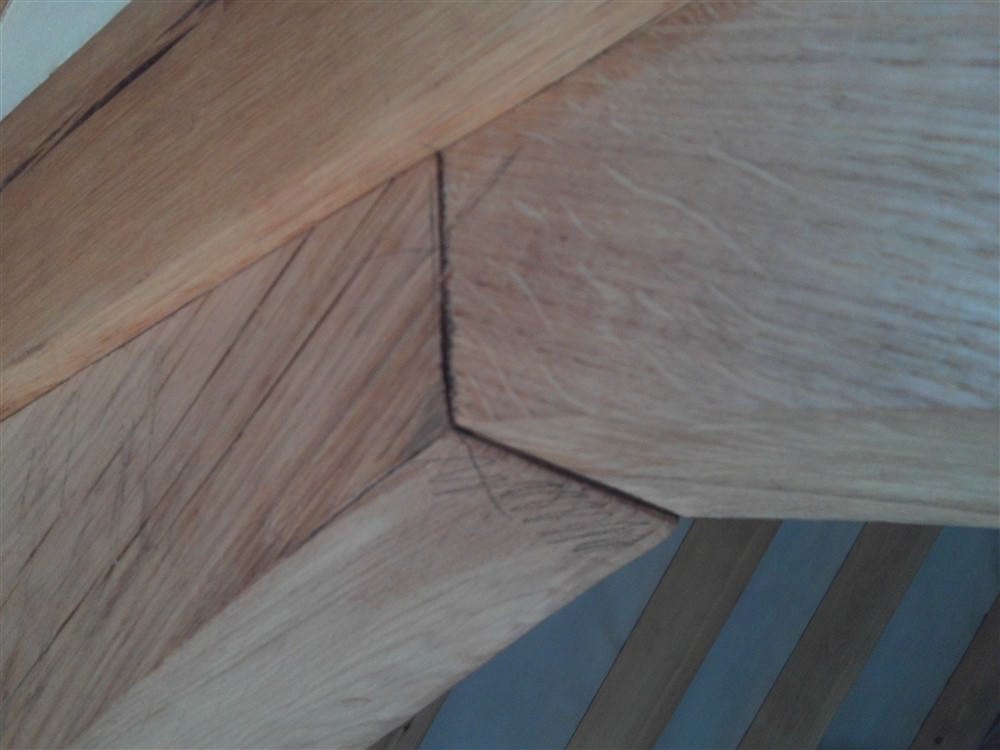
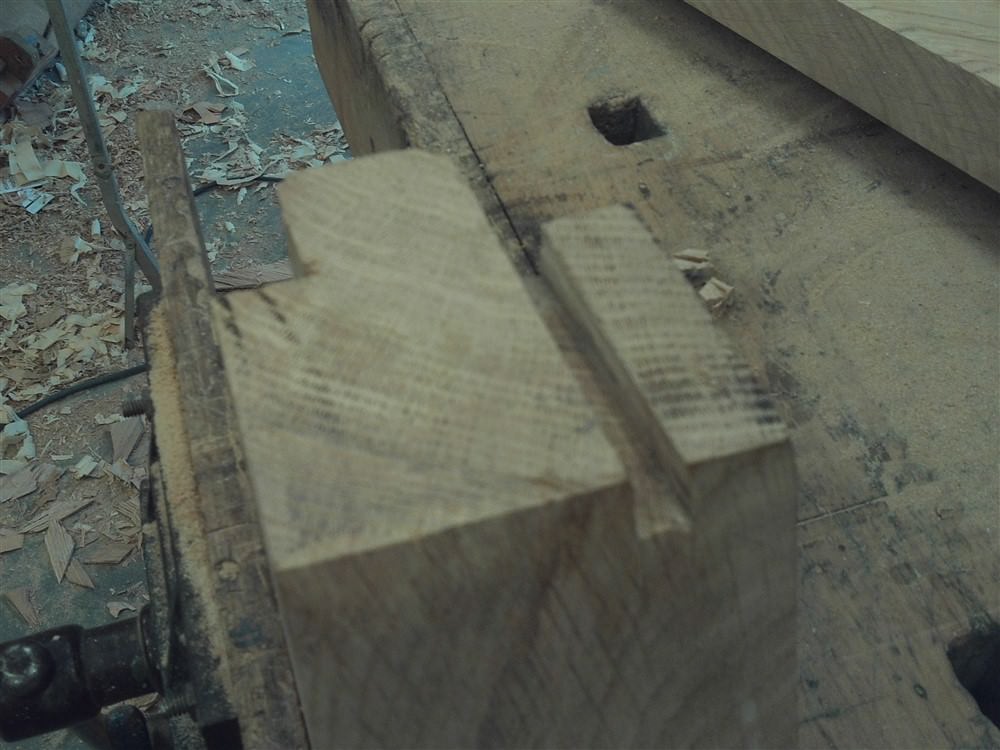
The butt joint in the middle is obviously never going to be weather-tight:
GLnYWpX.jpg


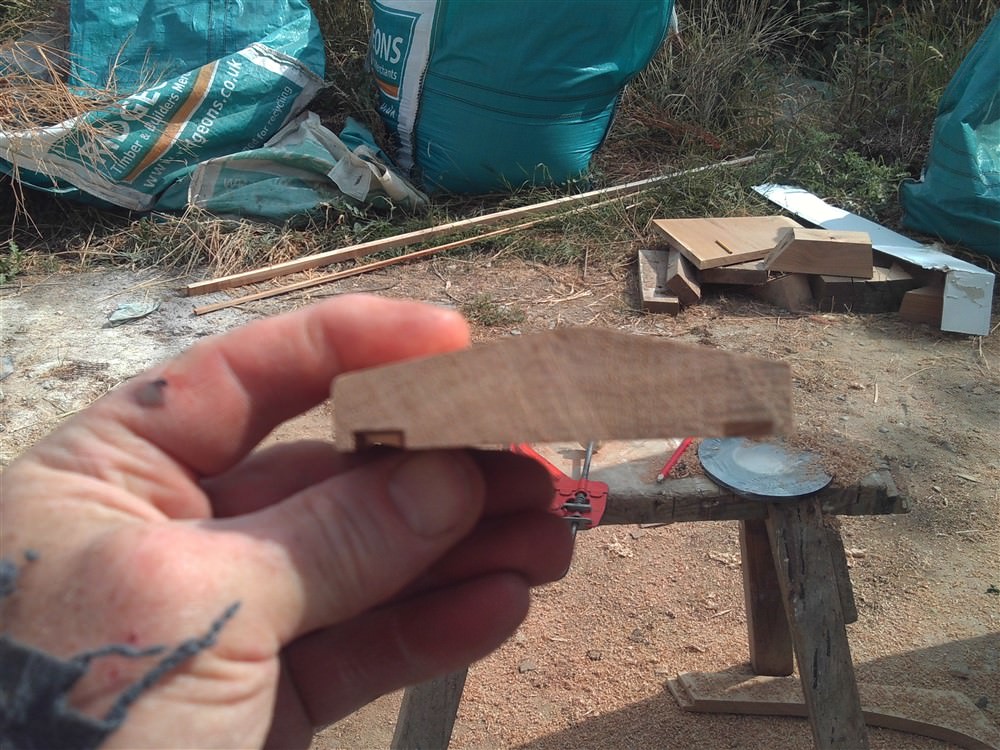
So my solution was to add a groove to each piece:
vwoVfJb.jpg


madysmc.jpg


And in due course I shall whack in a sliding tenon. Of course, that can't happen until the spandrels have been completely finished and carved, because they won't be removable after the loose tenon is fitted.

And so to the door.........
 
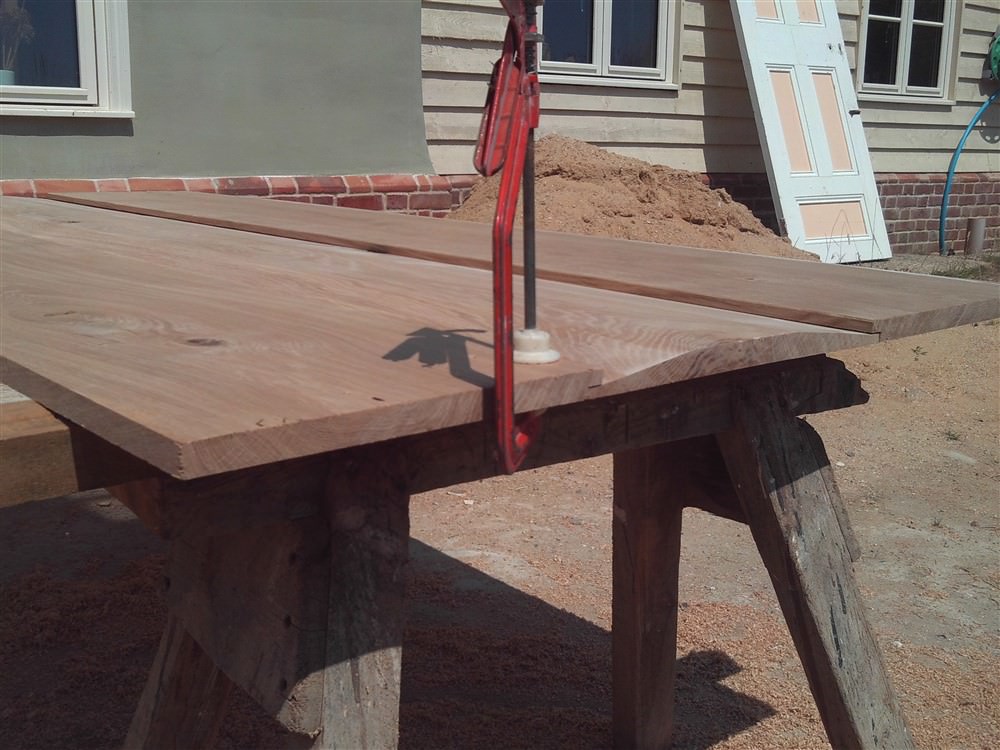
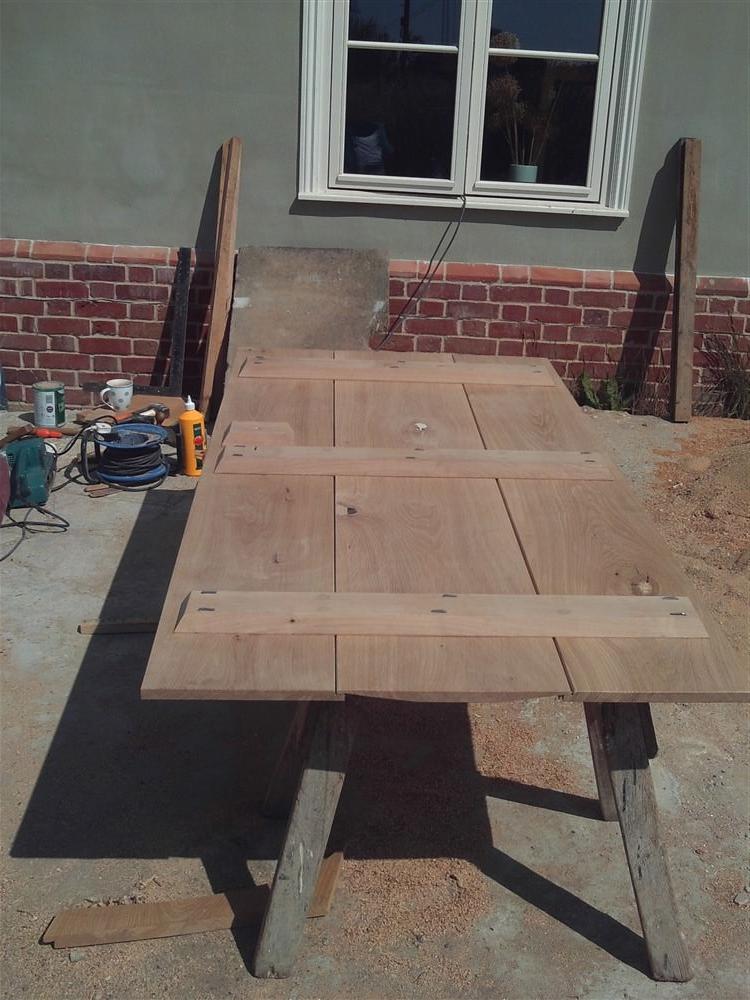
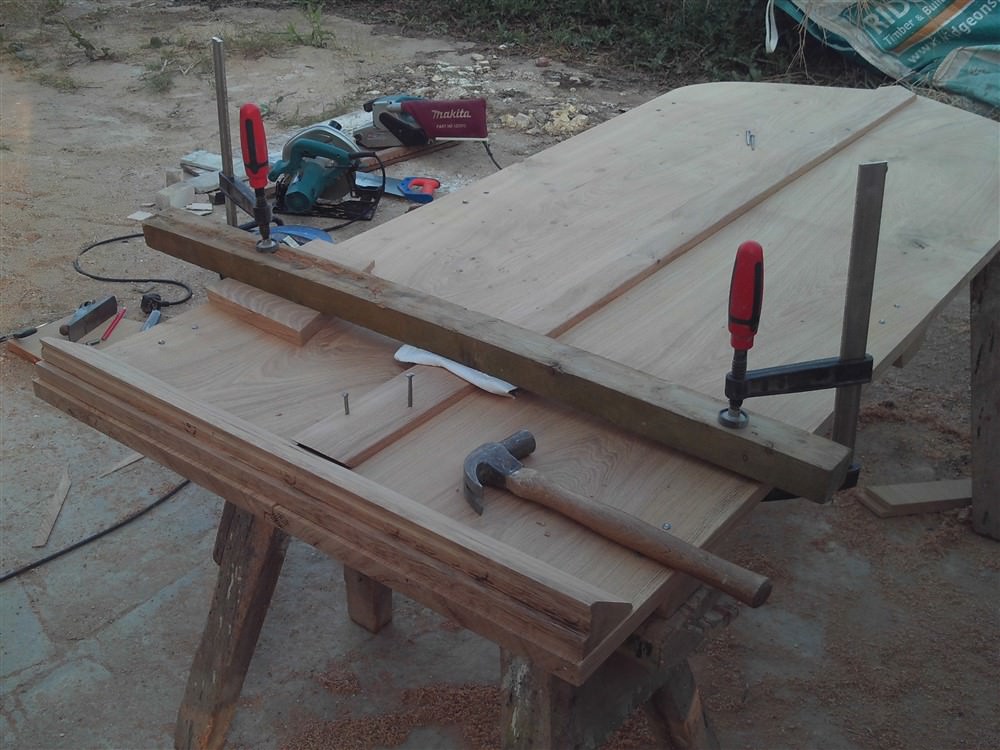
Not many people make their front door on saw horses outside, but the weather was beautiful.....

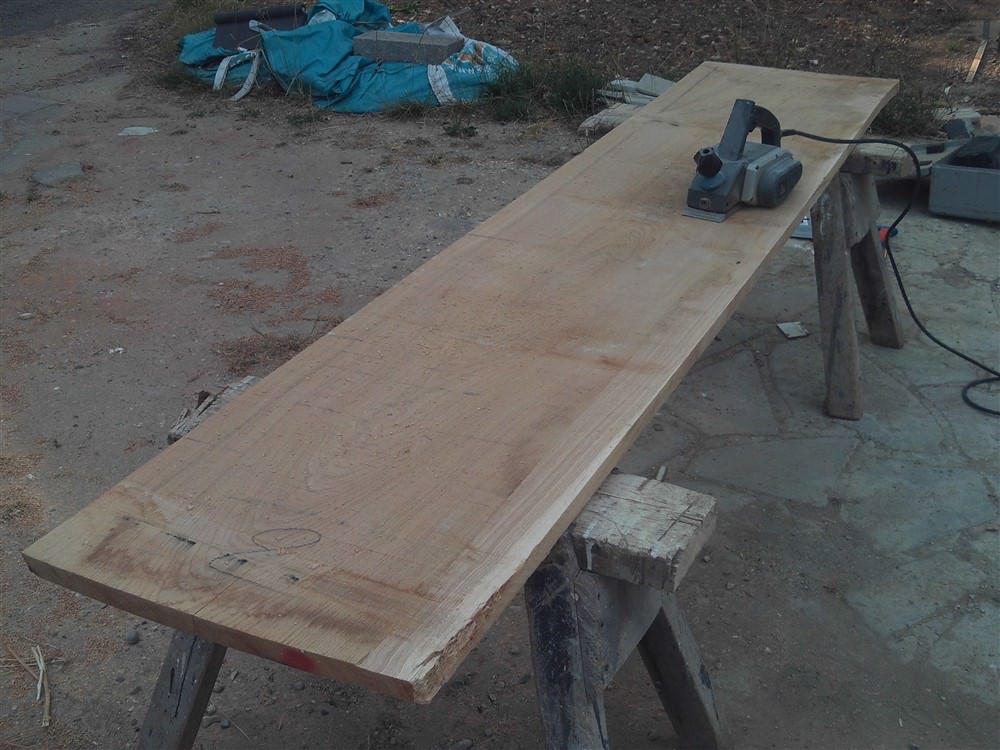
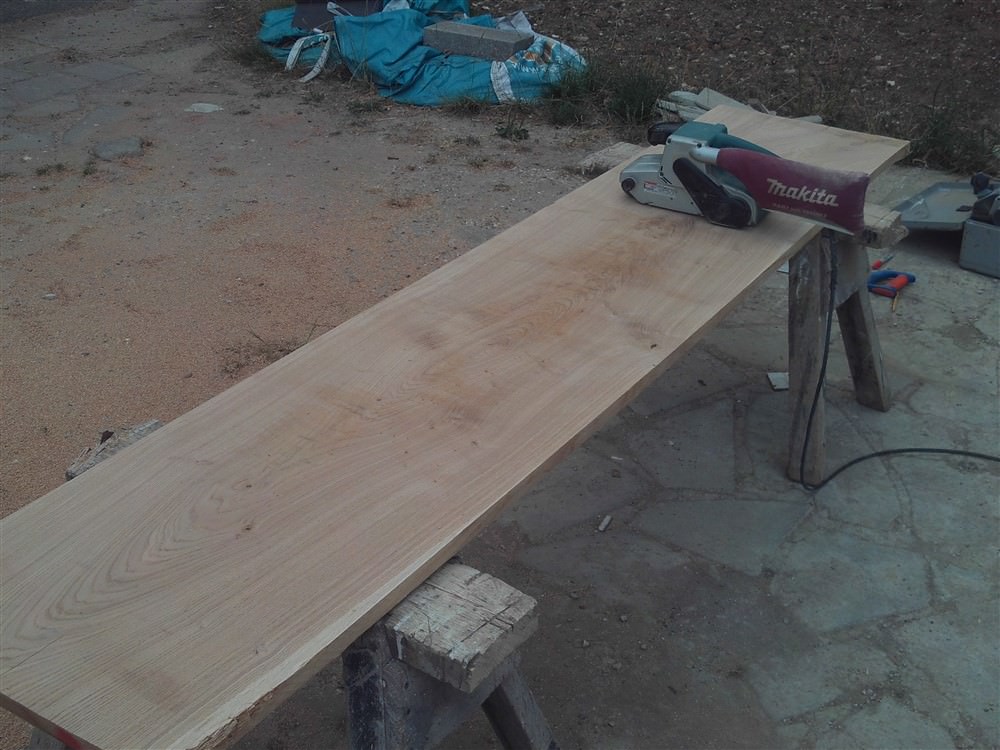
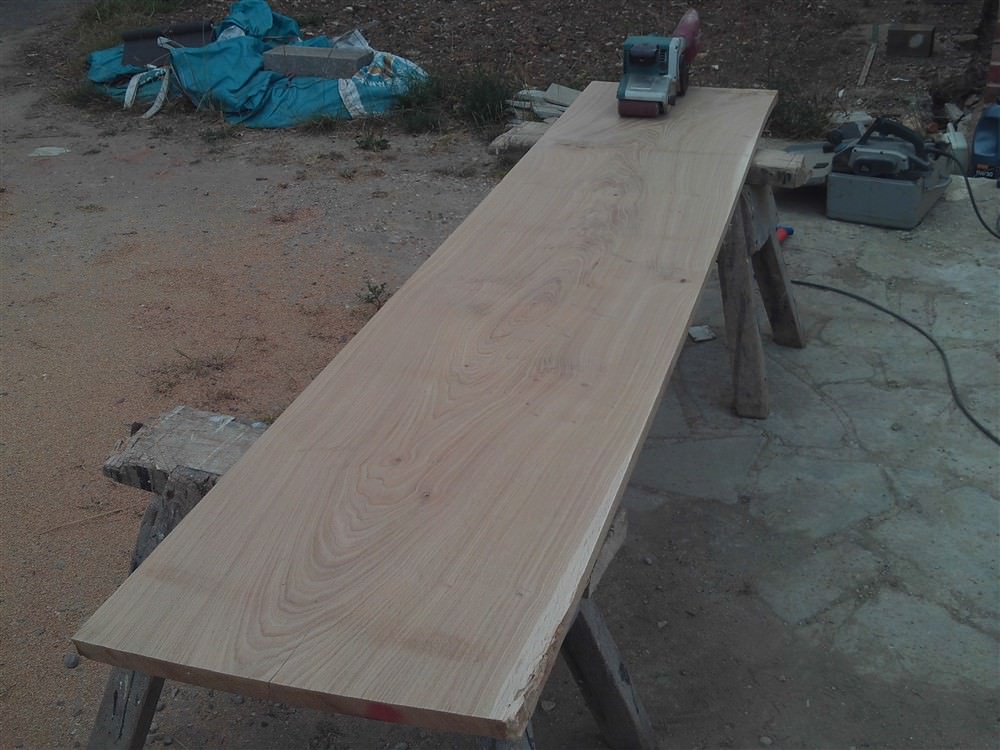
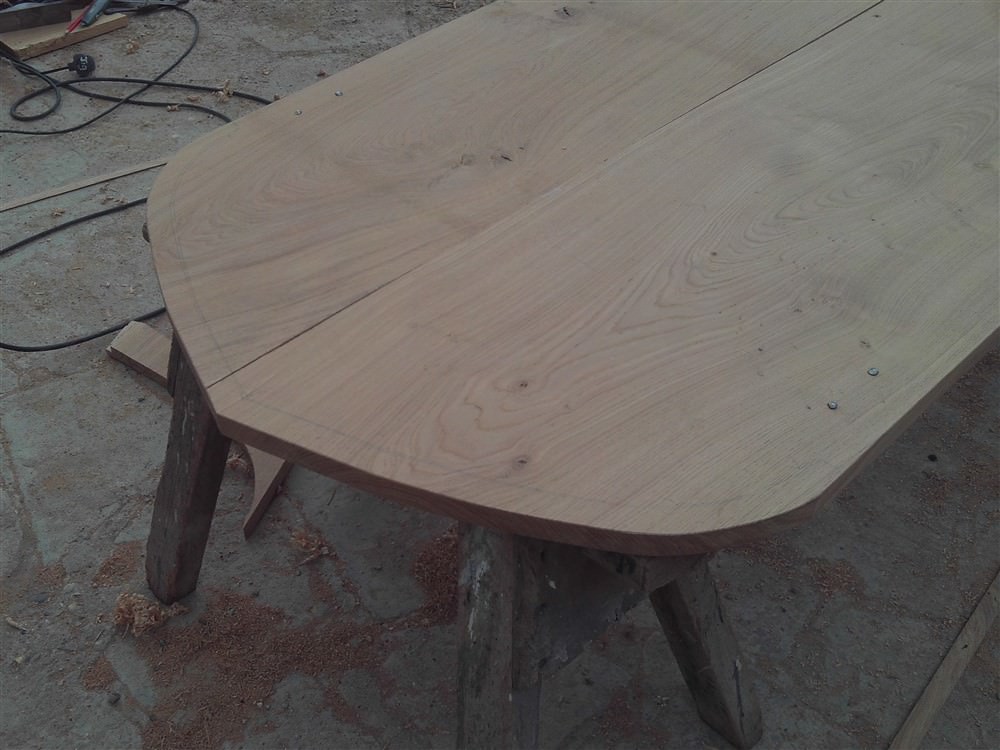
The original plan for the front door had been a three-board door, but the extra wide boards I'd found in the woodyard (Thorogoods, Ardleigh, Nr Colchester) might just lend themselves to a 2 board door if I can squeak enough out of each board between the sapwood. These boards had been too wide to put through a planer/ thicknesser, so I cleaned them up "by hand", albeit not with hand-tools. First, the planer:

LOfv68q.jpg


That's a bit of a mis-laeding photo, as I used it as a scrub-plane to start with, working along the board at 45 degrees, before cleaning up a bit with the planer orientated as shown. Then across the grain with the belt sander (40 grit), then with the grain (same grit), and finally finish off with some 100 grit paper:

bGlbm1G.jpg


MmK3qm2.jpg


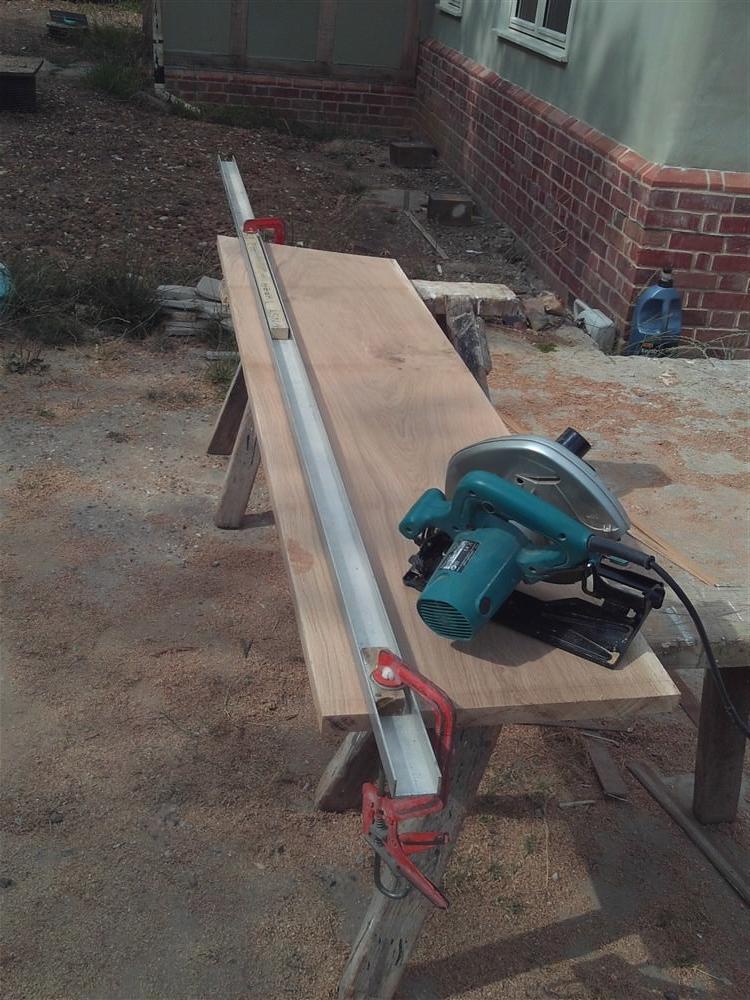
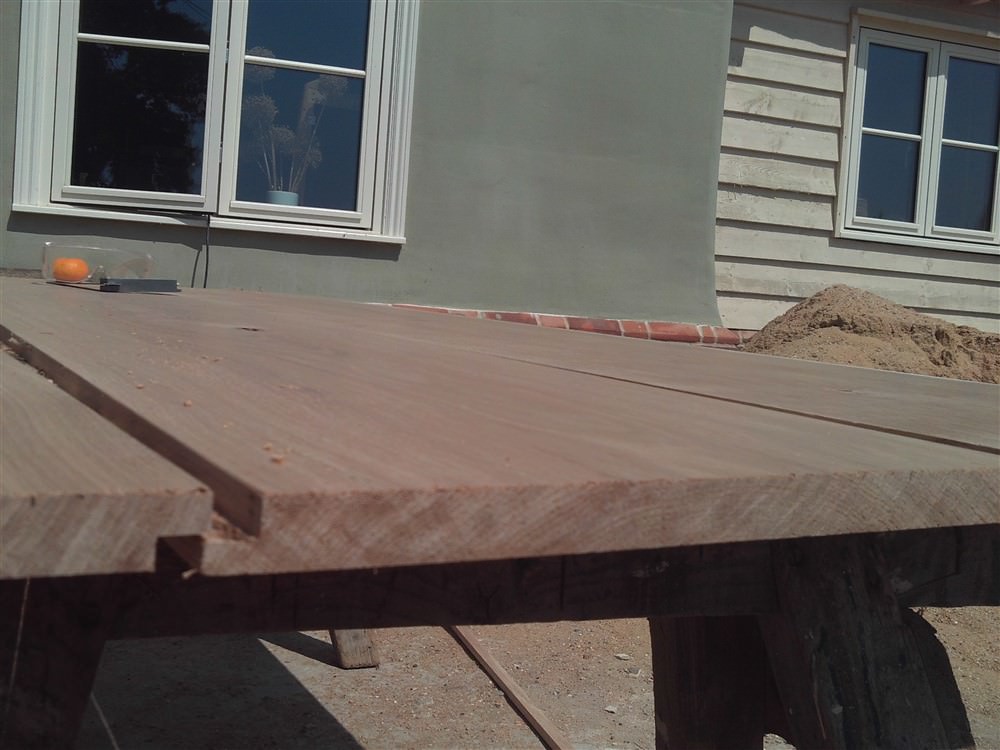
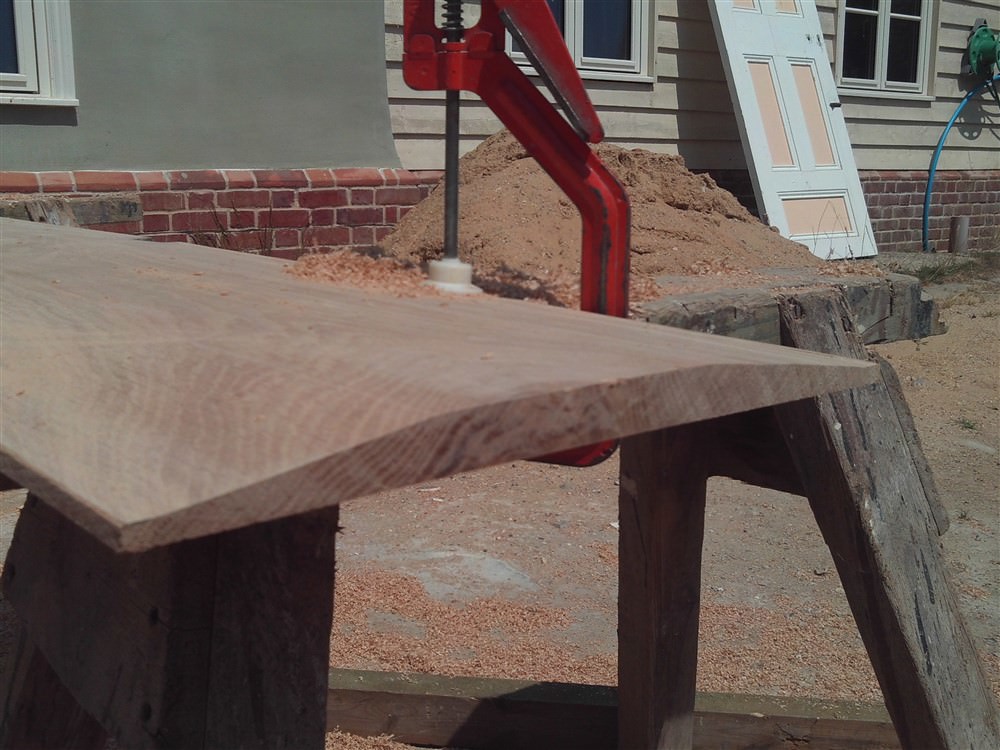
Before anyone says that I should have cut the boards to length first, It was necessary first to fully reveal the edge of the sapwood, as I needed every mm of width I could manage to squeeze in. I ripped off the waste with a circular saw against a straight-edge:

WAlp1kS.jpg


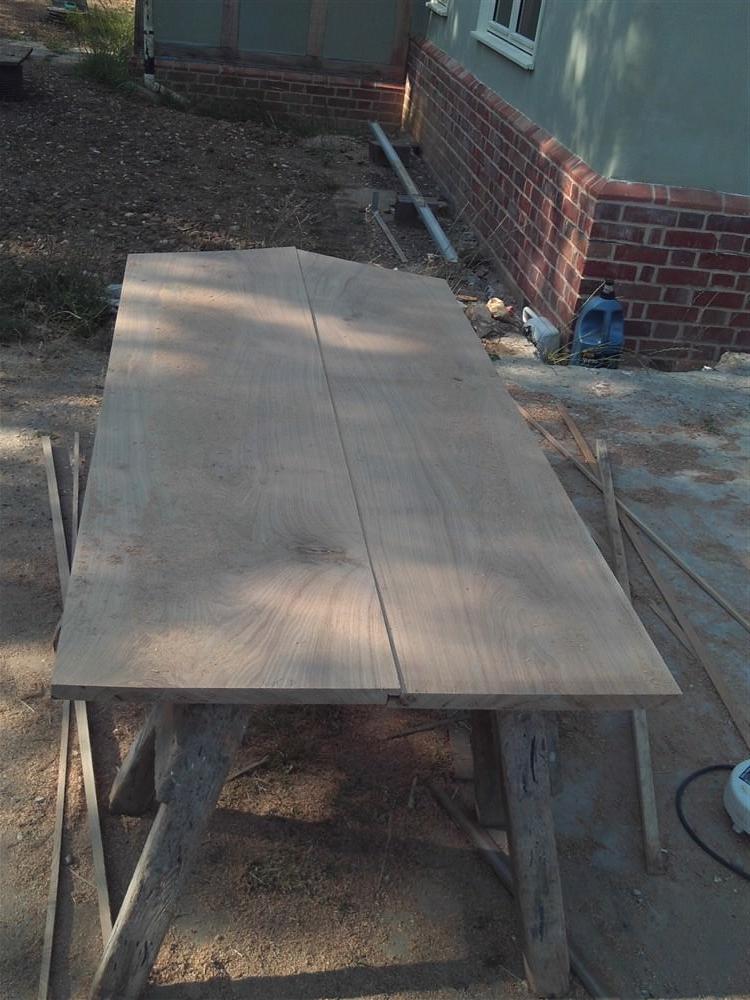
After crudely cutting to a coupl;e of inches over-long, I was finally able to put the boards together to see what I was going to get:

hTHGzDL.jpg


You'll notice that one board is wider than the other, and that the junction therefore isn't in the middle. Worry not!!

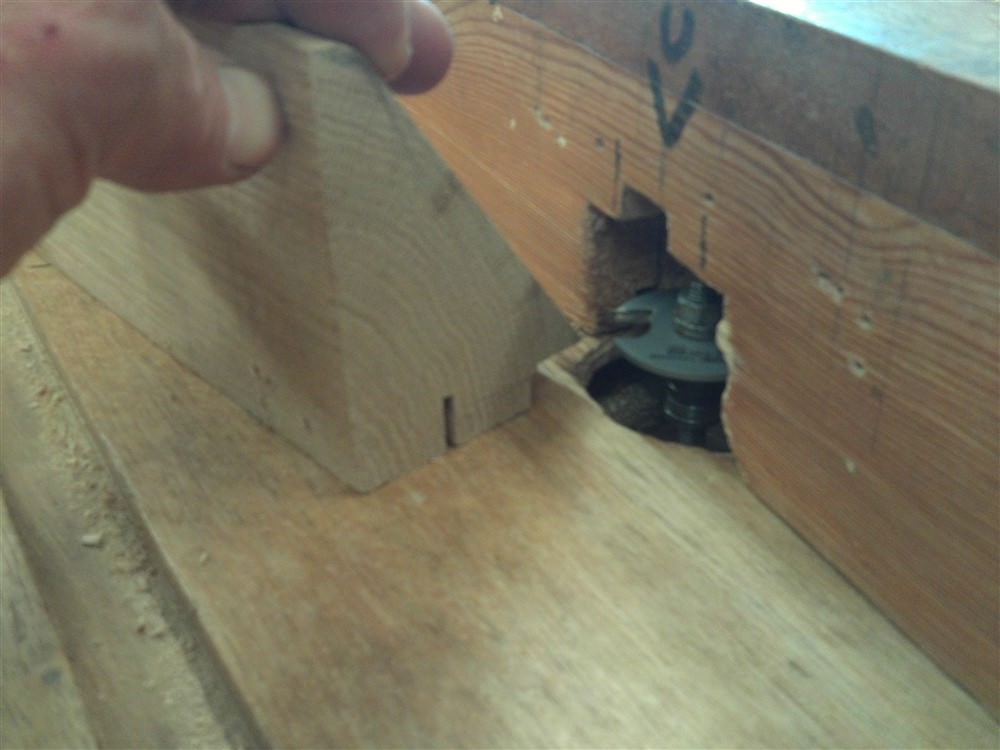
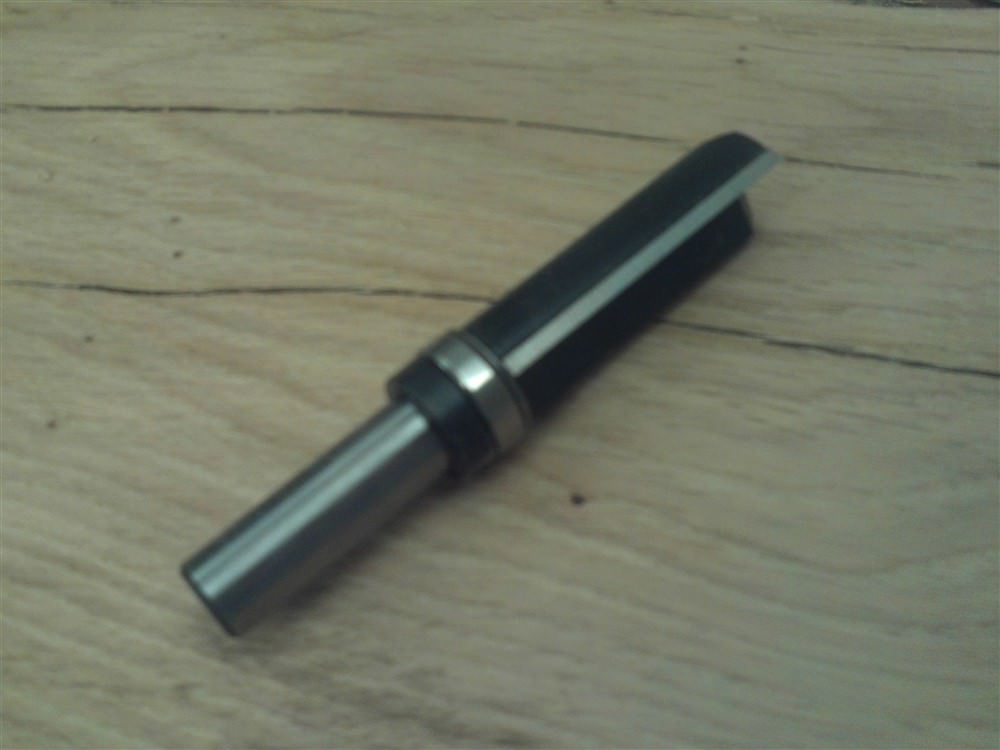
I did a half-lap for the junction, using the hand-held circular saw and a router with a winged side cutter. There is no need for this to be furniture grade, as it will be permanently hidden:

bYtu12X.jpg


I had in stock some 38mm thick off-cuts, albeit with lots of sapwood (that's why they're off-cuts). Perfect for my ledges:

zEYv9br.jpg


The sapwood ran through the wood at about 30 degrees, so I cut it off at that angle, again using the straight-edge and circular saw:

gWzyin2.jpg


xk9QZ2y.jpg


I propped the boards roughly in place so as to mark the final door width on the boards so that I could make the ledges the necessary length:

1Iz4RK7.jpg


AF68eMs.jpg


Now, it's not as simple as that. The hinge side of the door has the ledges cut off square and close to the edge, but the leading edge of the door doesn't need that. I'll explain later.

Sizing up the aesthetics. Three ledges or 4? With the arched top, three looked right, and 4 looked silly. Oh, and no-one said the boards had to be flat:

waN6DxT.jpg


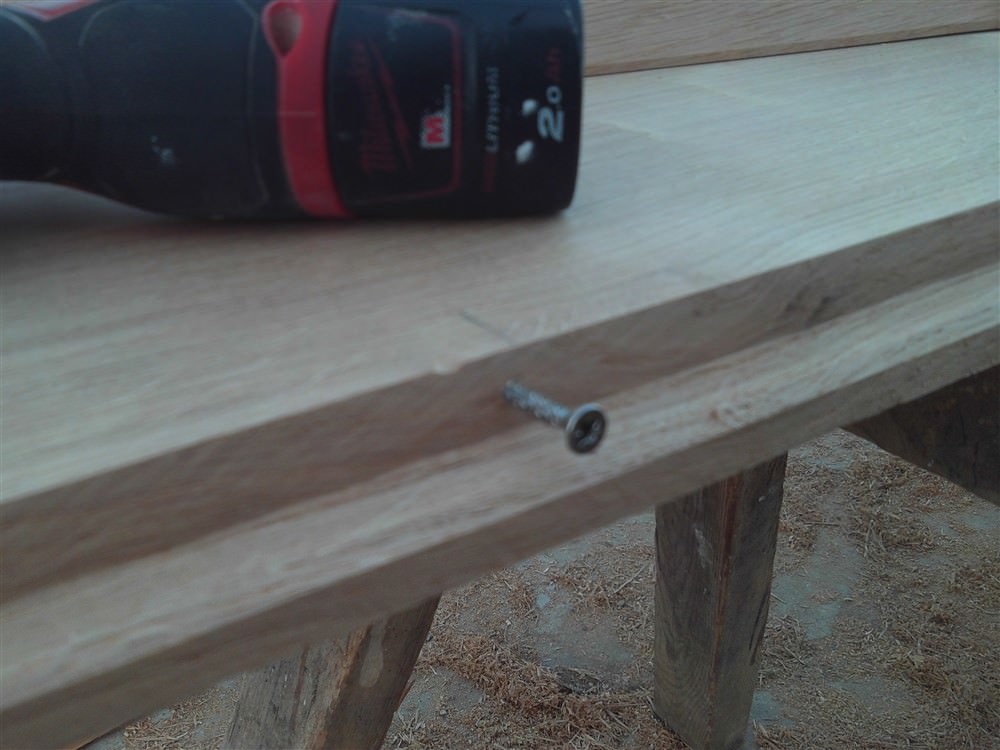
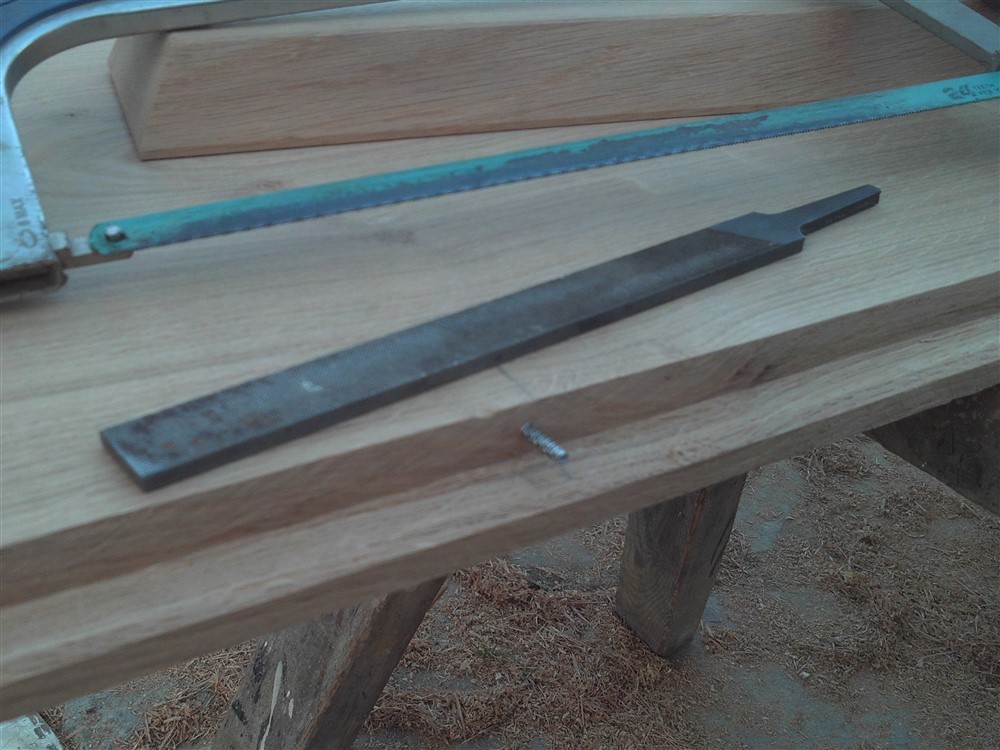
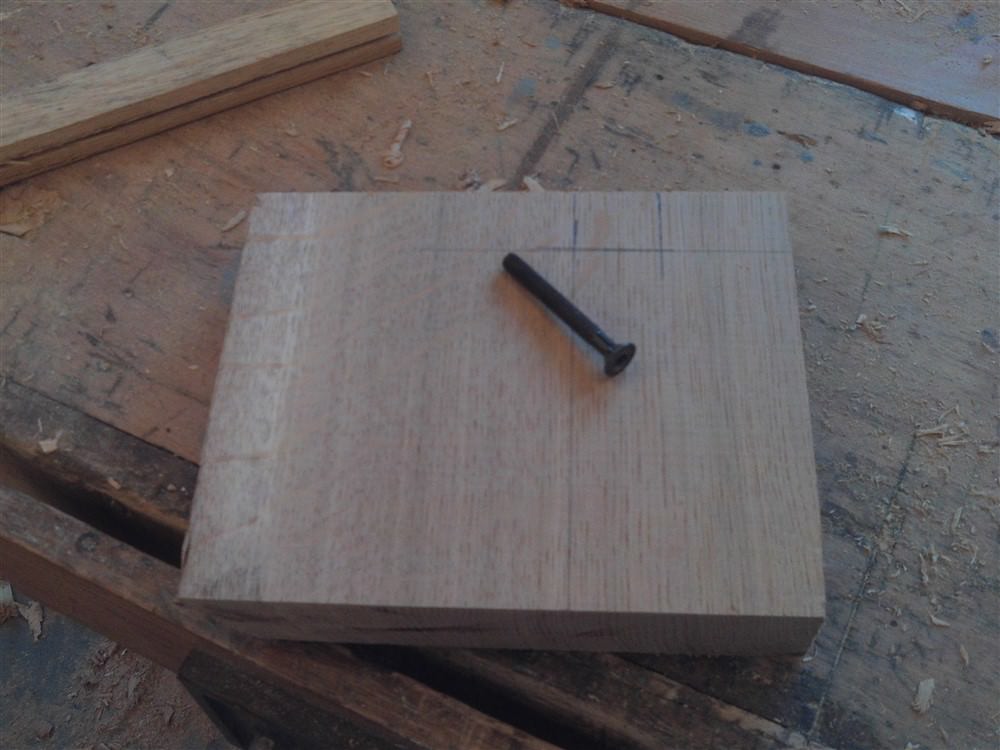
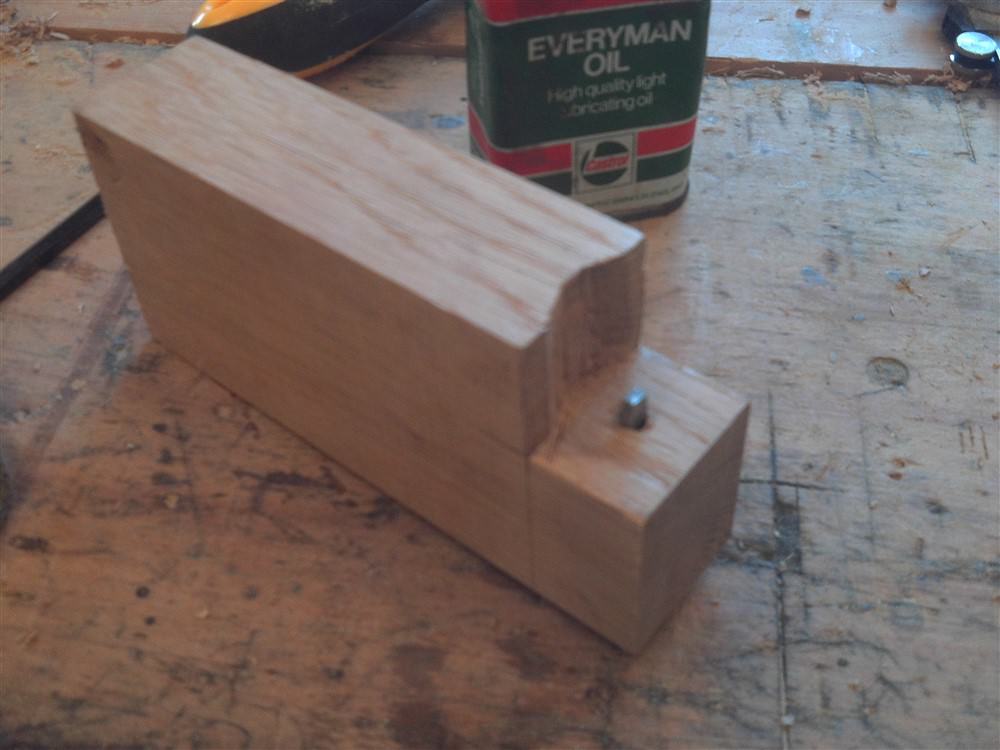
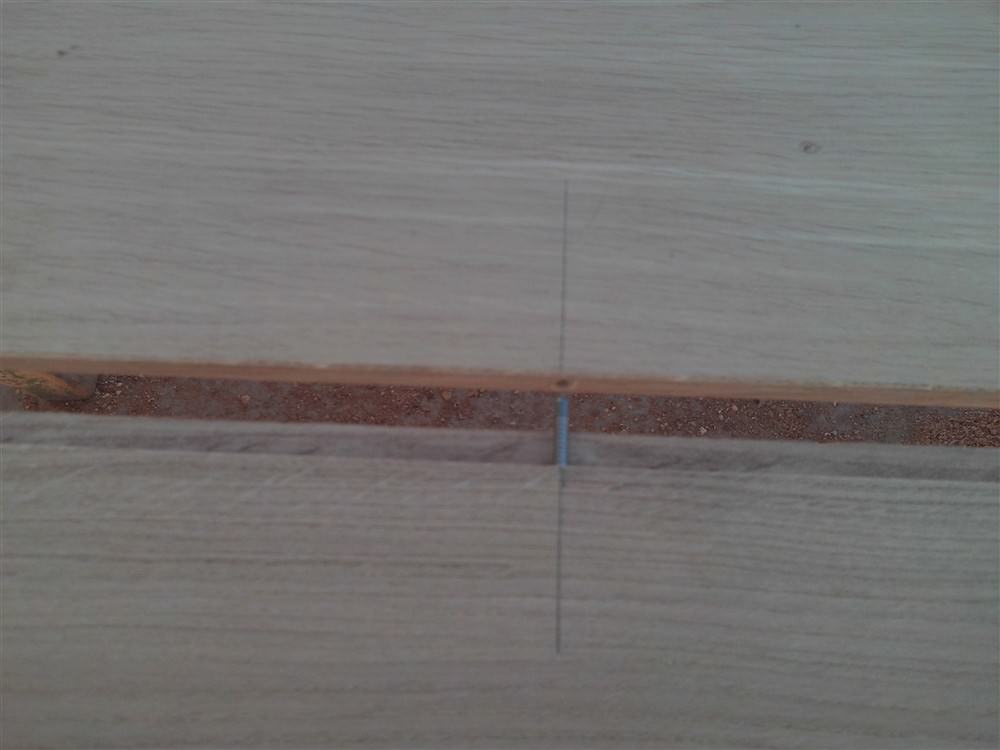
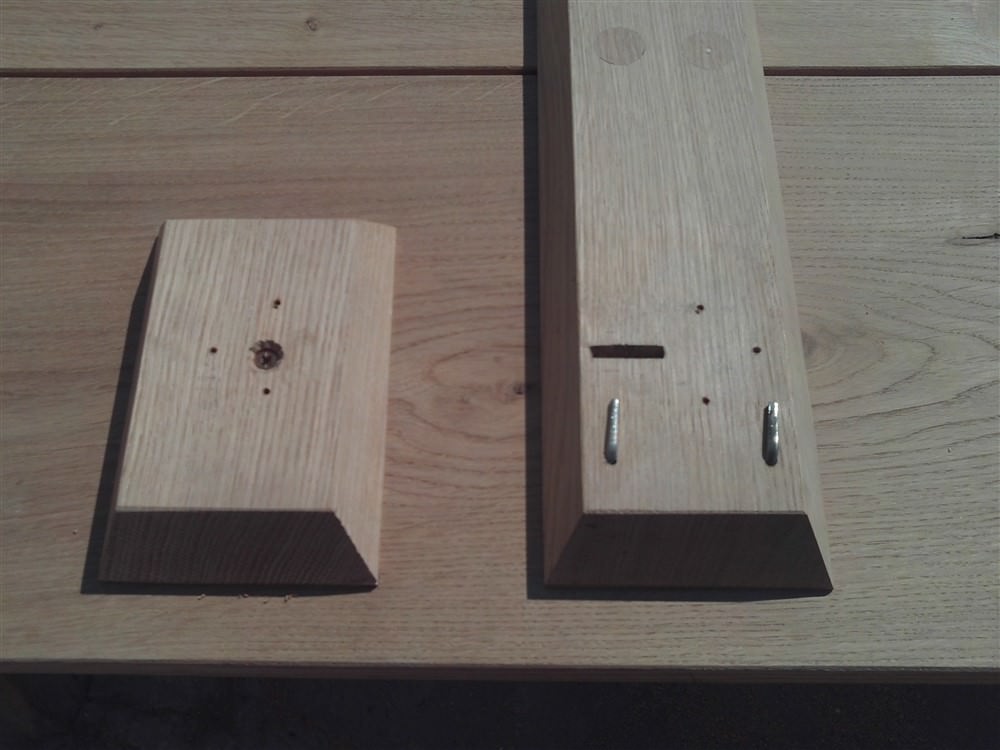
Here's a little trick of mine. To prevent any board dropping relative to another in a boarded door, I came up with the idea of a pin in the adjoining edges. Stainless steel obviously, as it is oak:

LdxuKVo.jpg


mOzpD0r.jpg


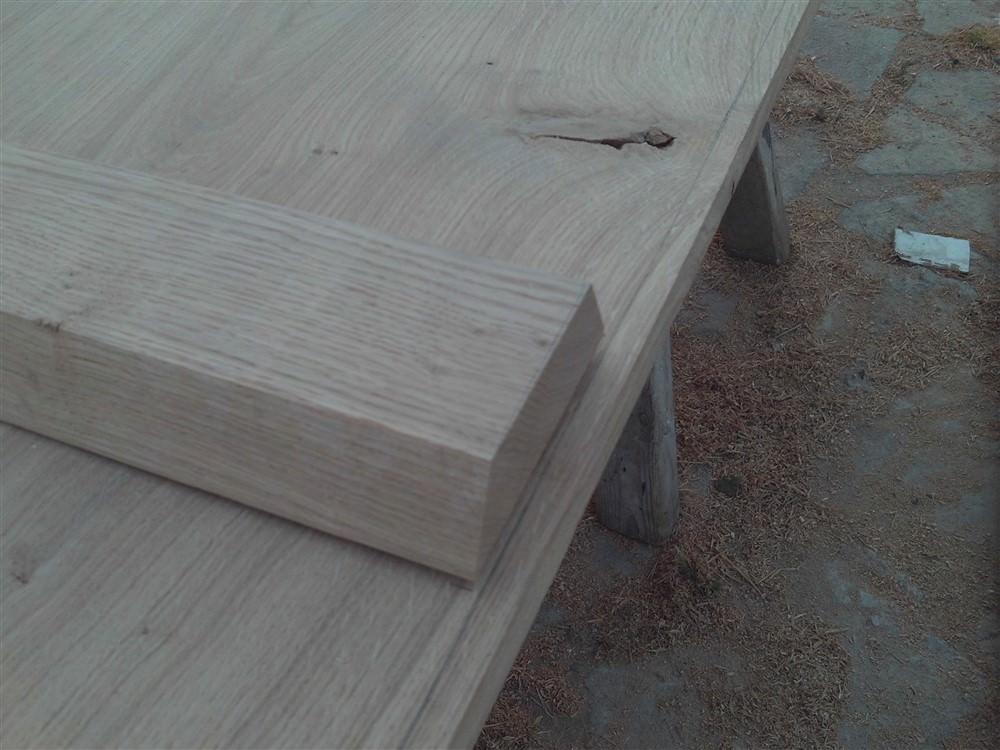
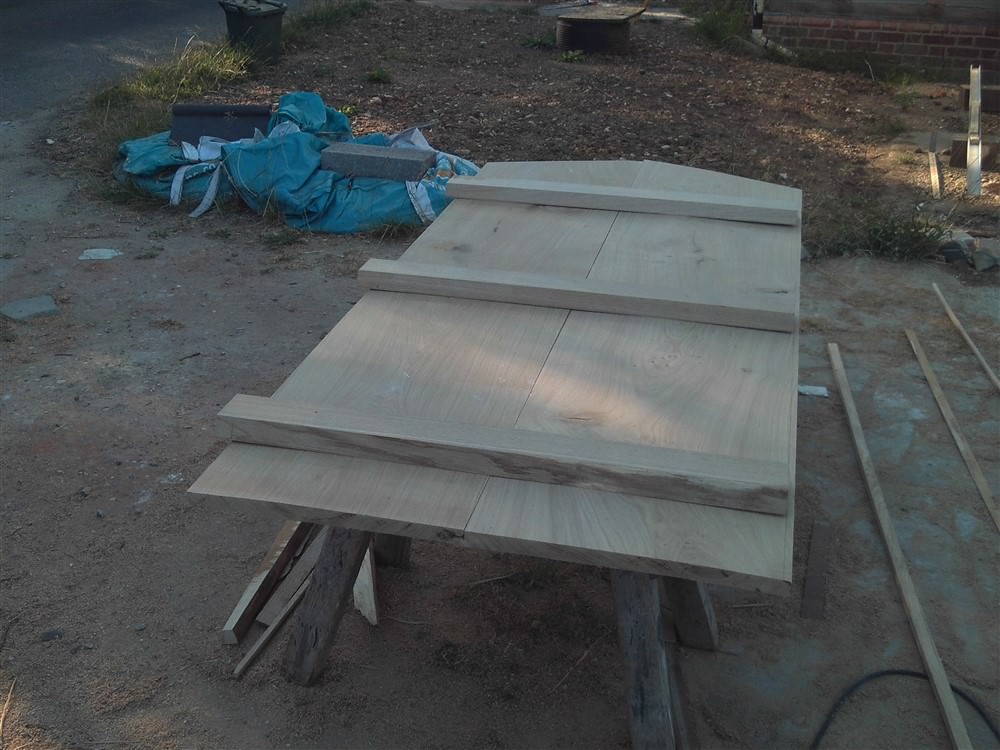
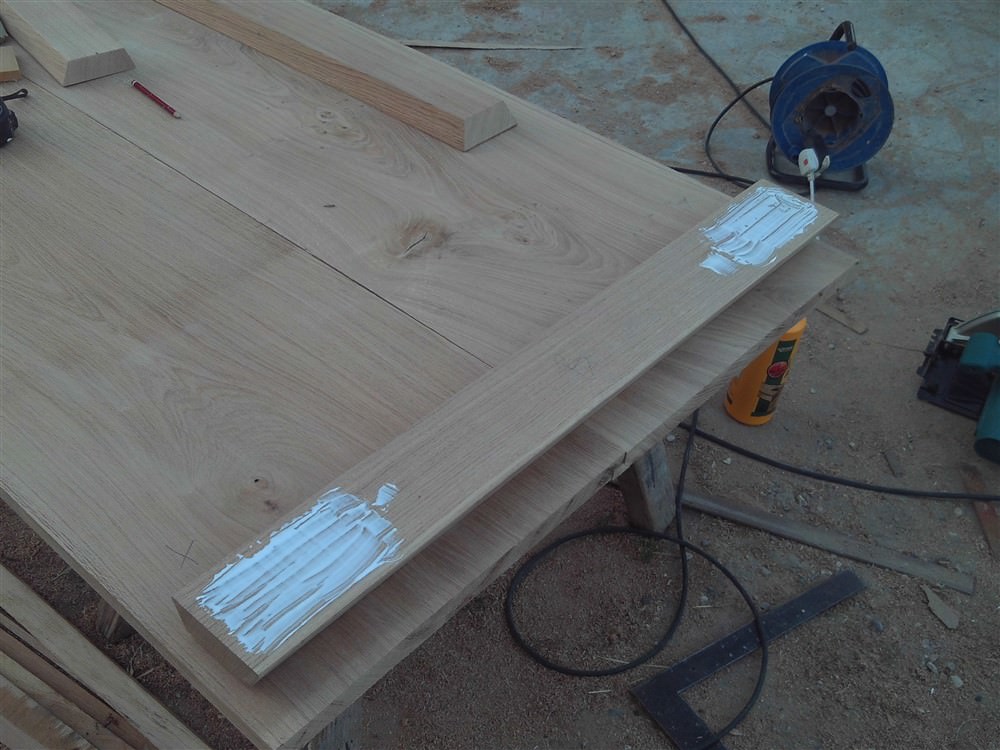
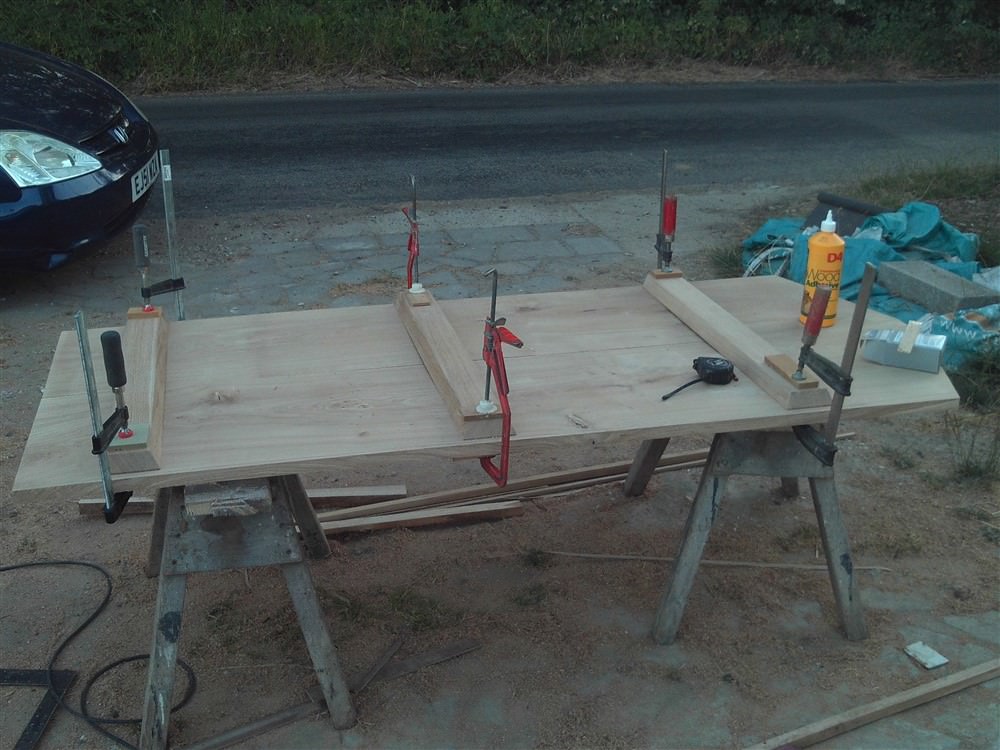
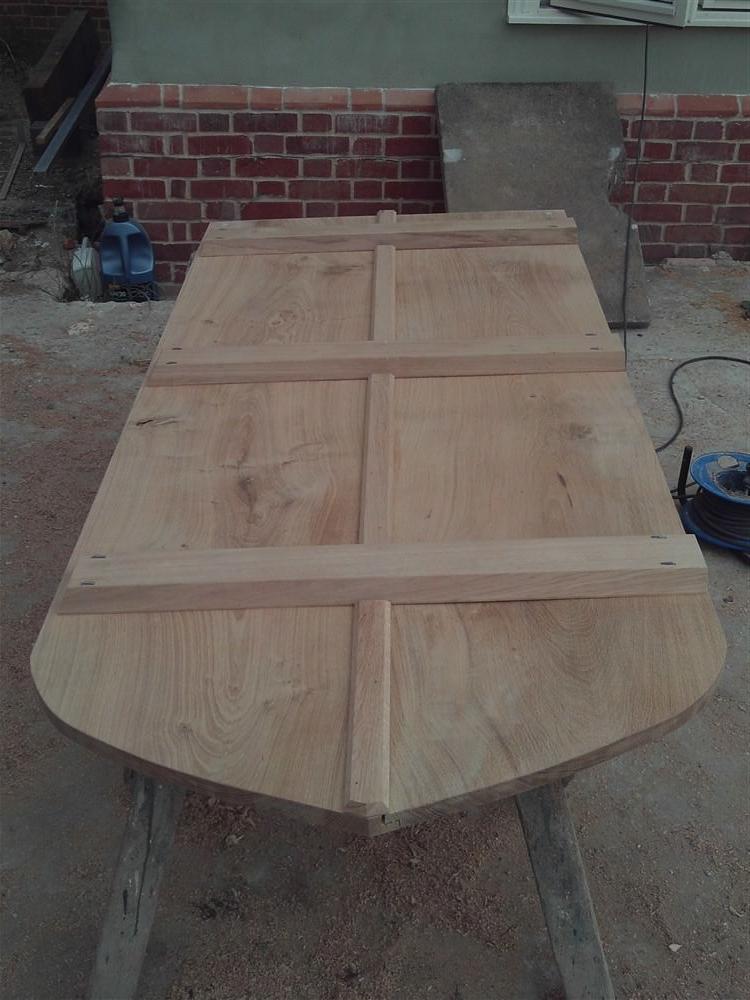
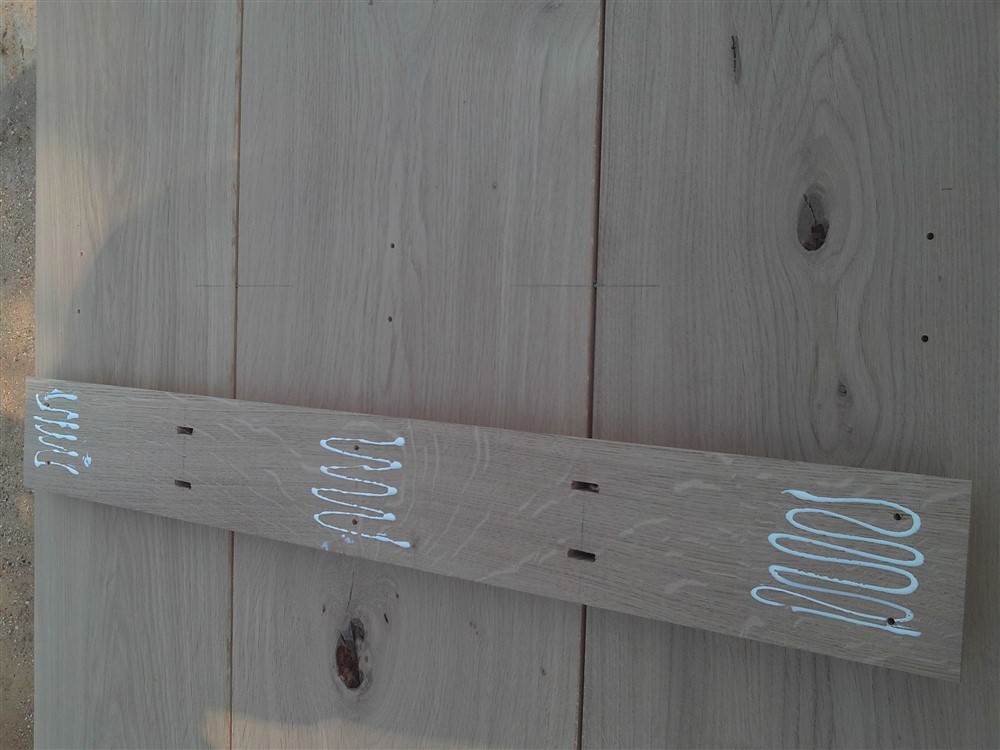
Time to glue up. Before I fixed the ledges permanently in place, I opened the gap up between the vertical boards. This is seasoned timber, on the hottest day of the year in the middle of a heatwave. They're going to expand rather than contract. Note the lack of glue. Of course, there would have been no glue used at all in old doors. The key thing to note is that the ledges are only fixed to the boards at the outer edges, so all the seasonal movement will be at the middle of the door:

5aOxrLF.jpg


Note also the shaped end of the non-glued ledges, towards the top of the above photo. This is the end at the leading edge of the door. I left the door clamped overnight (not that the glue needed it, but I was running out of light):

QV9WH3X.jpg


The next day:

oPe9R0E.jpg


44z22in.jpg


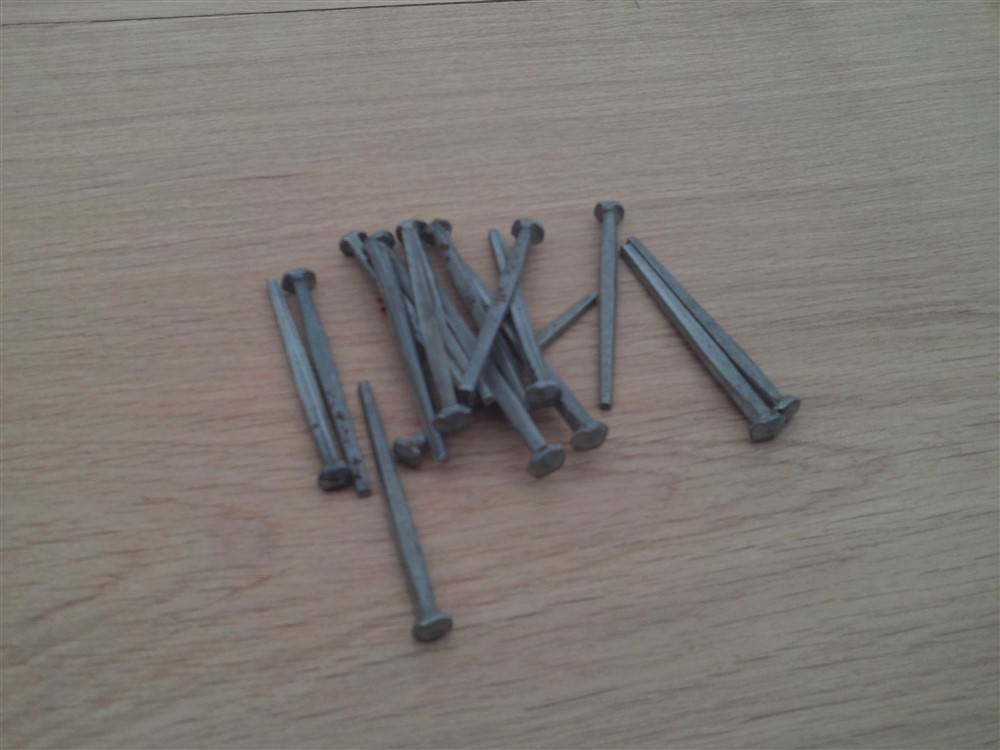
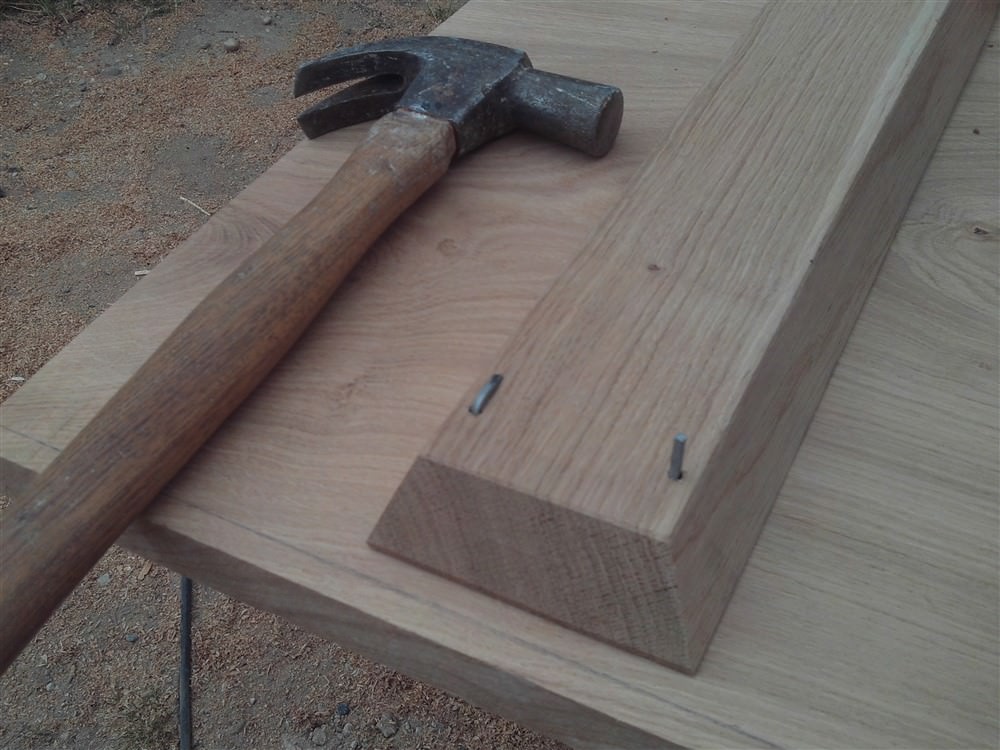
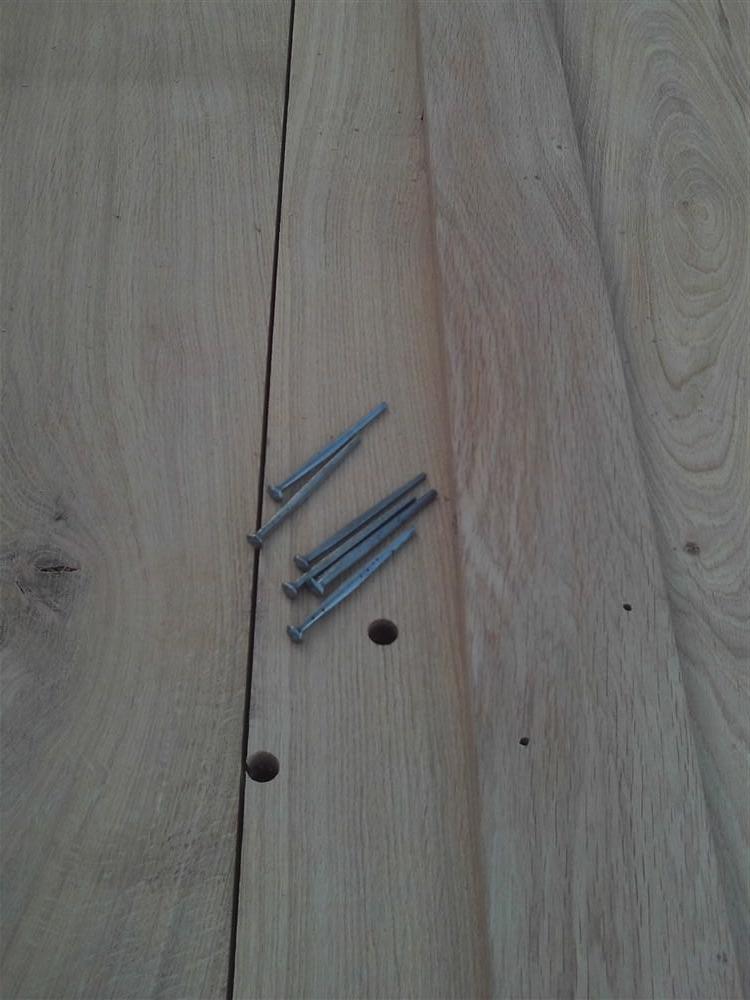
Cinched-over hand-made nails in pilot holes......and a revelation. I had often wondered why you see hammer-marks on old ledged door. I just thought that the carpenters must have been in a rush, or clumsy, but in doing this myself I found that you have to nail up from the underside of the door. So you're kneeling, and hammering upwards with only half a view of the nail-head, and the occasional accident is hard to avoid.

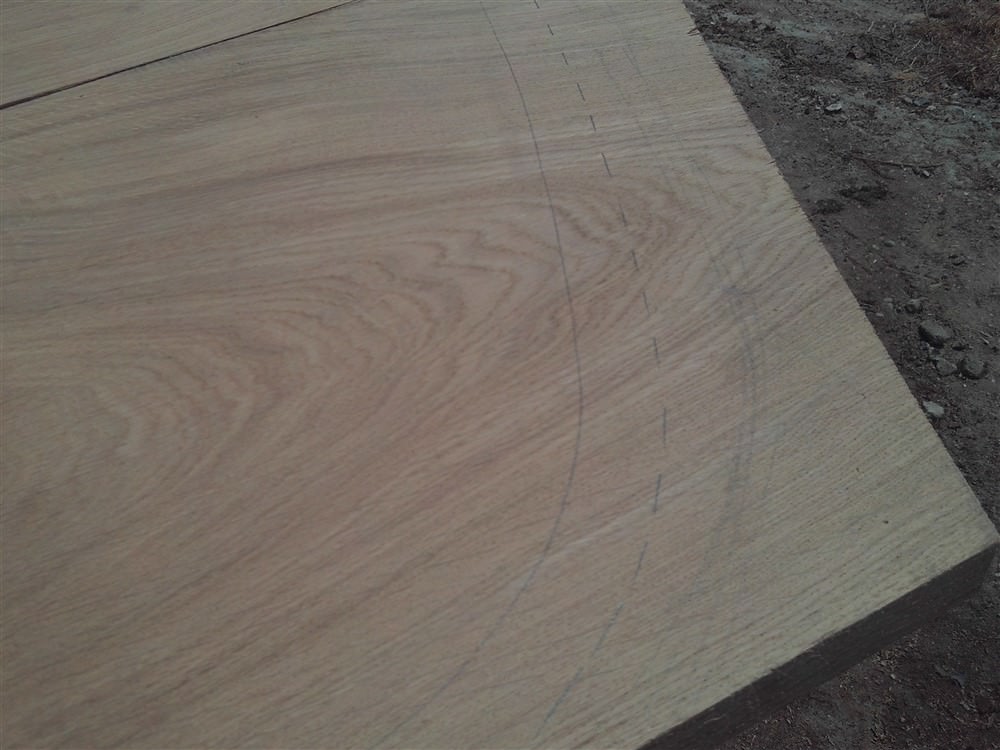
After the outer nails only in each ledge were nailed and cinched over, I offered the door up to the opening and marked the arch:

oEe1Ti3.jpg


Critically, I remembered to off-set this by an inch:

8poM3i9.jpg


h0zuIa7.jpg


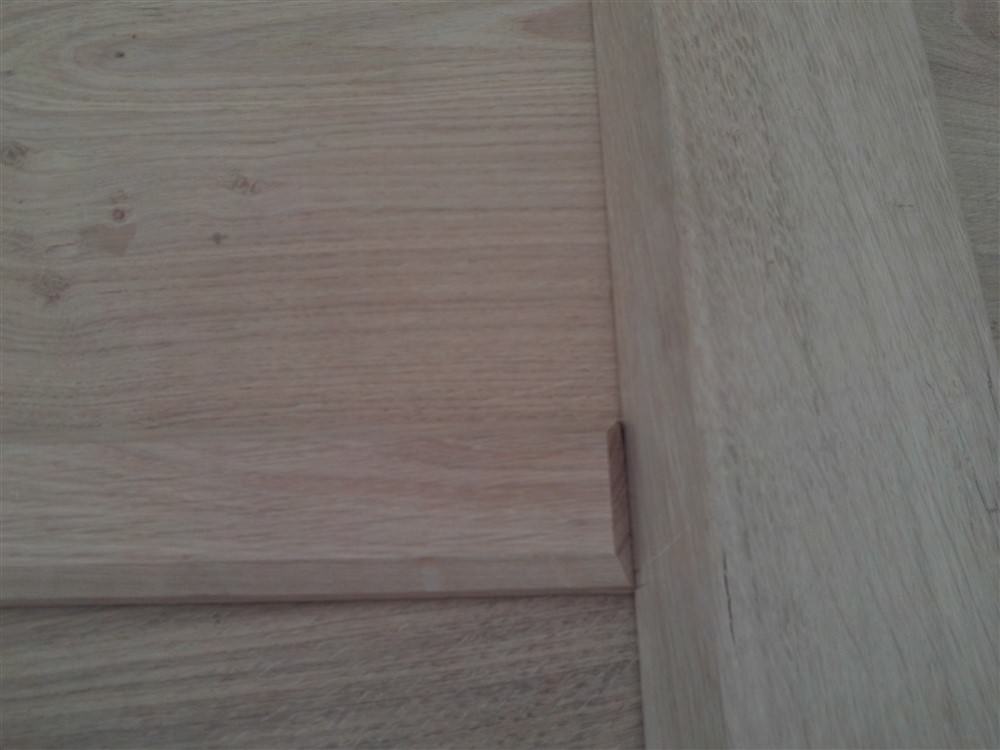
Time to shape up the outer cover-strip. Note the two little rebates (10mmx3mm), again, all done outside on the saw horses:

7pdQPGu.jpg


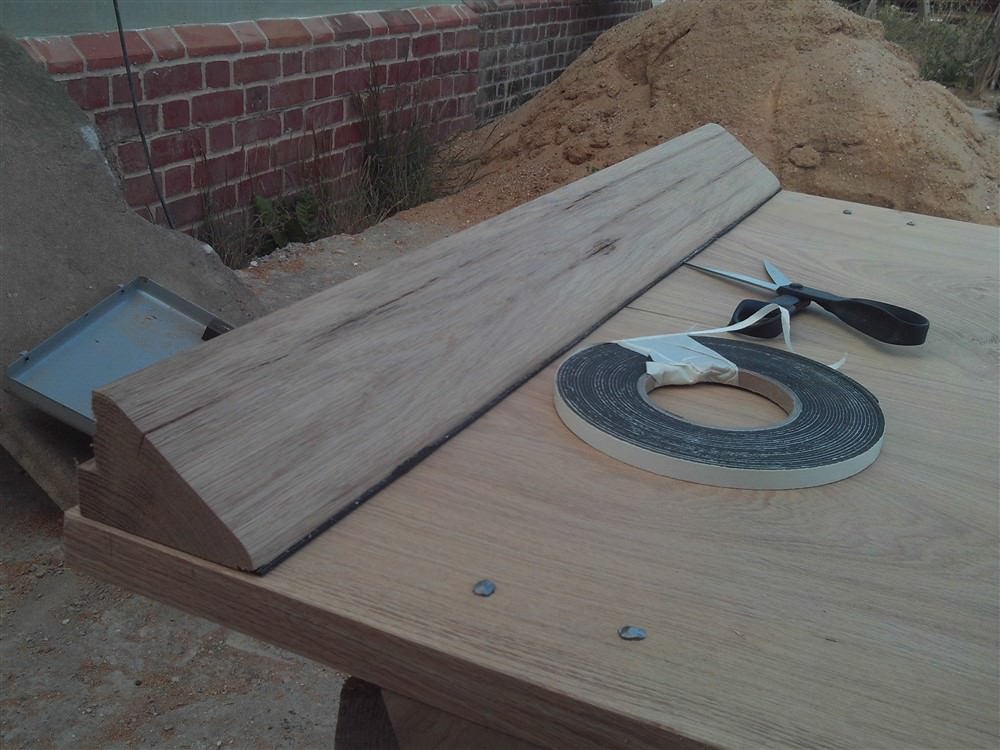
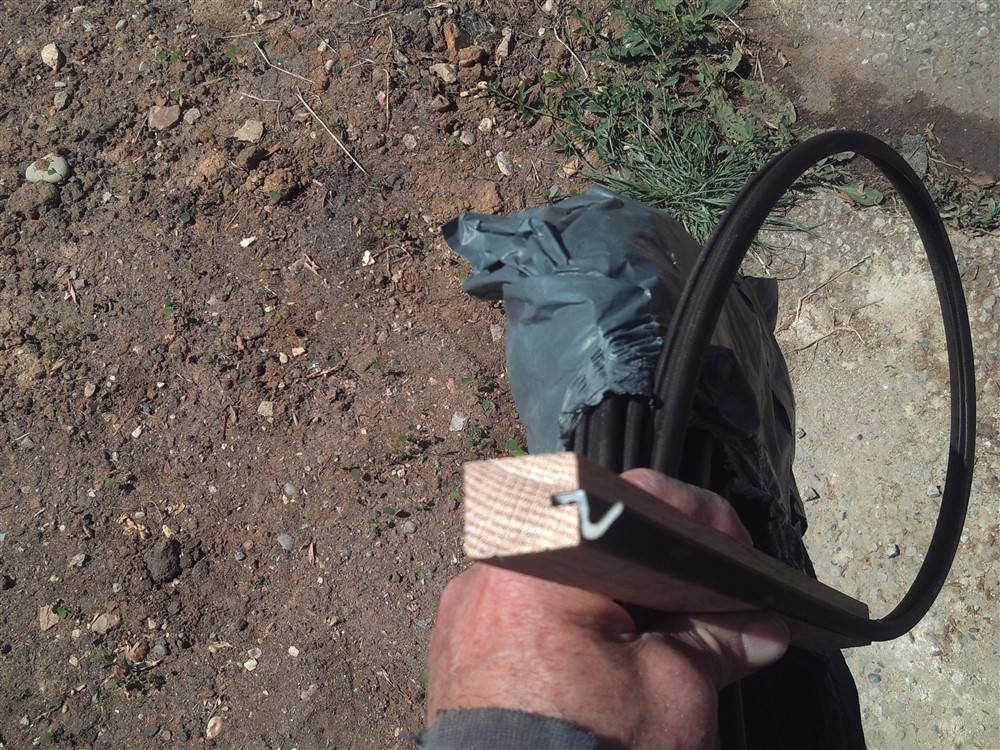
At the bottom edge of the door is a weather strip, to deflect rain away from the underside of the door. This one has another function too:

There's a reason I keep off-cuts. This is ex-4":

laQRACn.jpg


q8SH19b.jpg


ZdjVt1C.jpg


B8zPUCY.jpg


tqbODpP.jpg


cSzdCHU.jpg


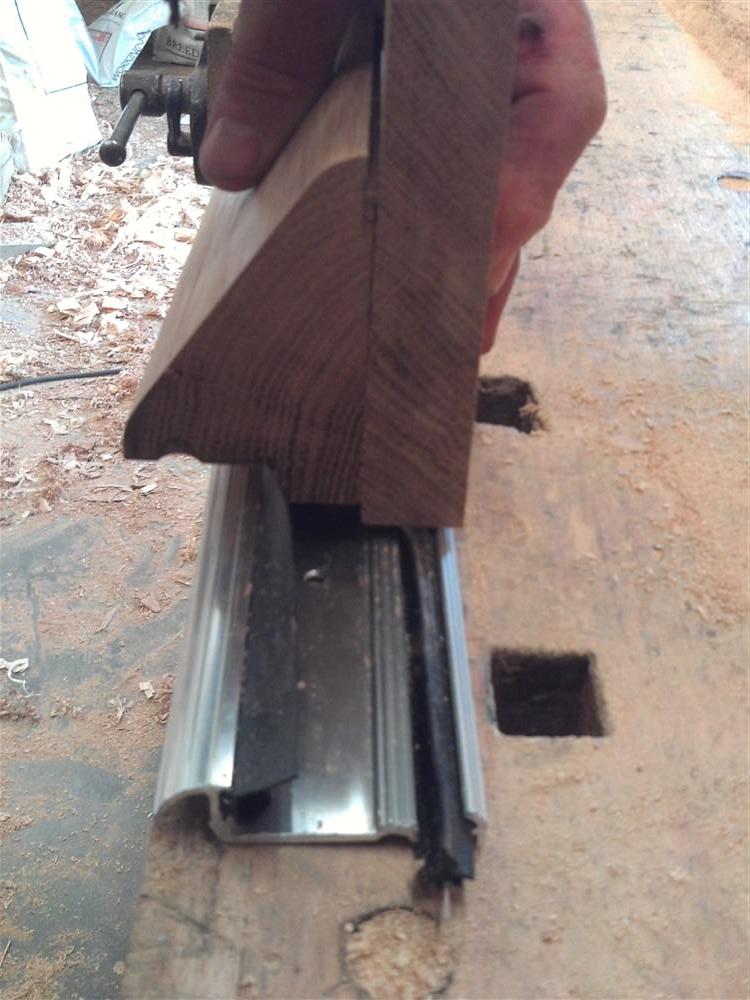
Why the big rebate at the bottom? Well, the threshold seals that are commonly available don't deal with a 22mm thick boarded door. They're designed to 40-odd mm thick doors, so the rebate is to act with the external seal of the 2 in the threshold strip, like this:

AdXywI8.jpg


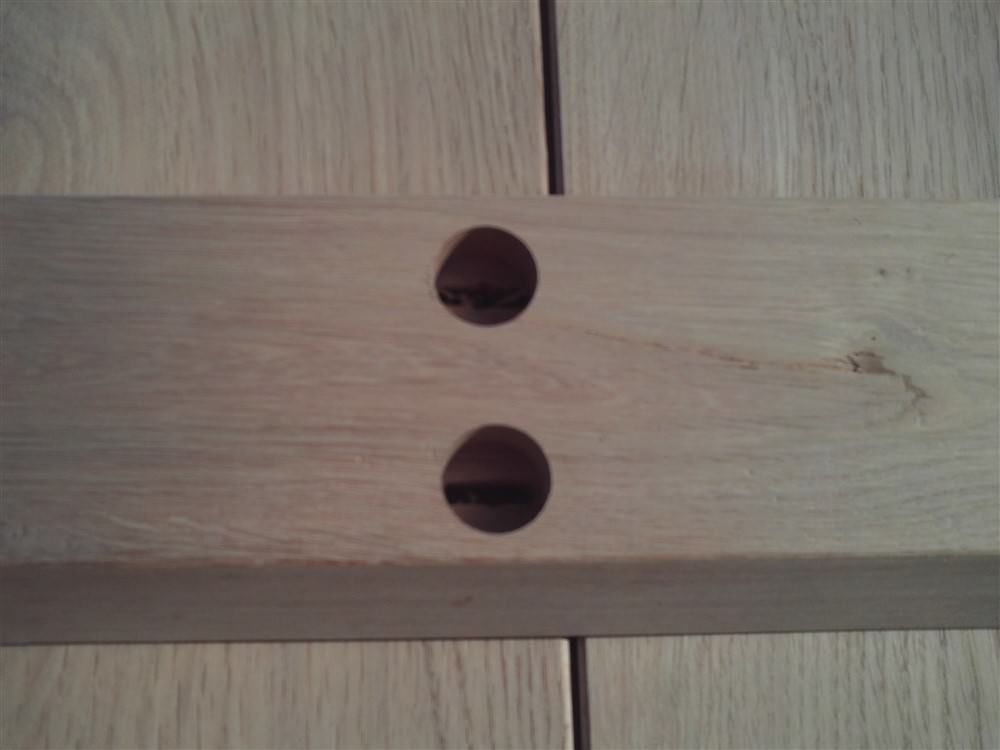
Holes from the inside of the door for screwing the weather strip into place, and to take an oak plug:

LjNeL2O.jpg


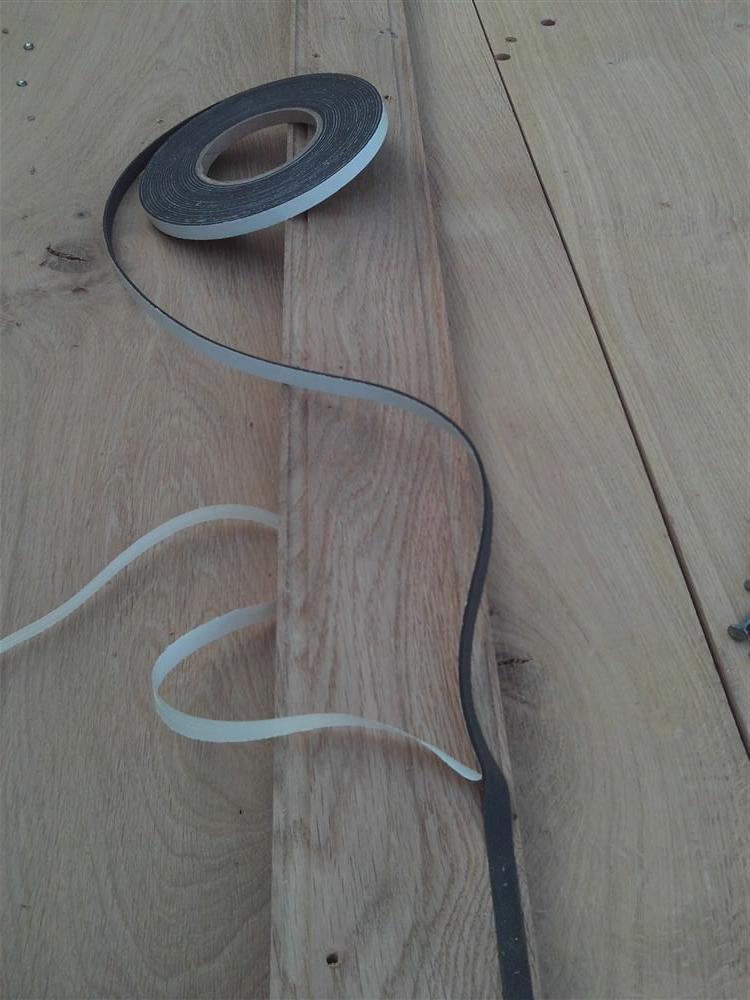
Now, the magic ingredient. It is a watertight expanding foam seal, which will expand from its original 3mm to up to 13mm thickness, and depending on how tightly it is squeezed will resist in the ingress of a hurricane. I was worried about how quickly it would expand, so didn't take a photo mid-process, but you can see it here at the top of the fixed-in-place weather strip:

BbJVpdl.jpg


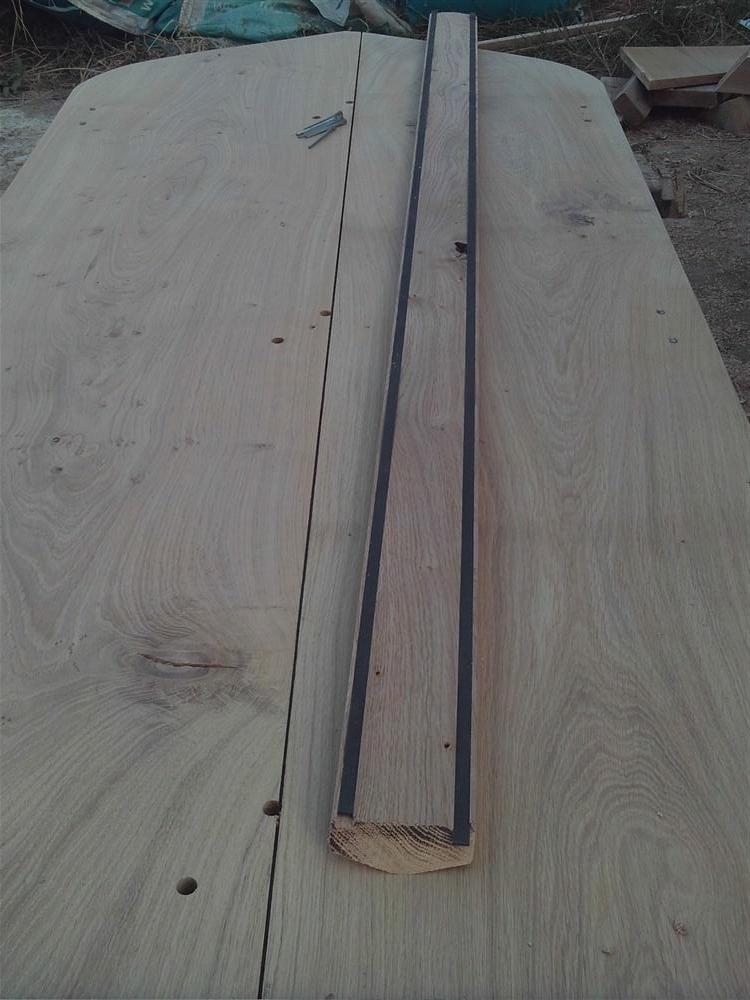
Now that the top of the door is cut out, and the bottom is determined by the weather-strip, I could cut the central cover-strip to length and fix that in place. Note the hugely oversized holes in the door boards, and the two lines of my expanding foam tape. Again, this is so that the inner edges of the boards are trapped against the ledge, but not constrained in movement across the grain:

yckBtkY.jpg


wNudaOT.jpg


4yqC3yN.jpg


KaEzbj7.jpg


Note that I left a small gap at the lower end of the cover strip, so that any moisture can dry off rather than be trapped between 2 pieces of timber:

P1RoAKd.jpg


The top end shaped:

WvnUVUi.jpg
 
Flipping the door over to the inside face, I made a cover strip for the join there too. This is obviously in pieces to allow for the ledges:

Jf25cFO.jpg


0My8cMj.jpg


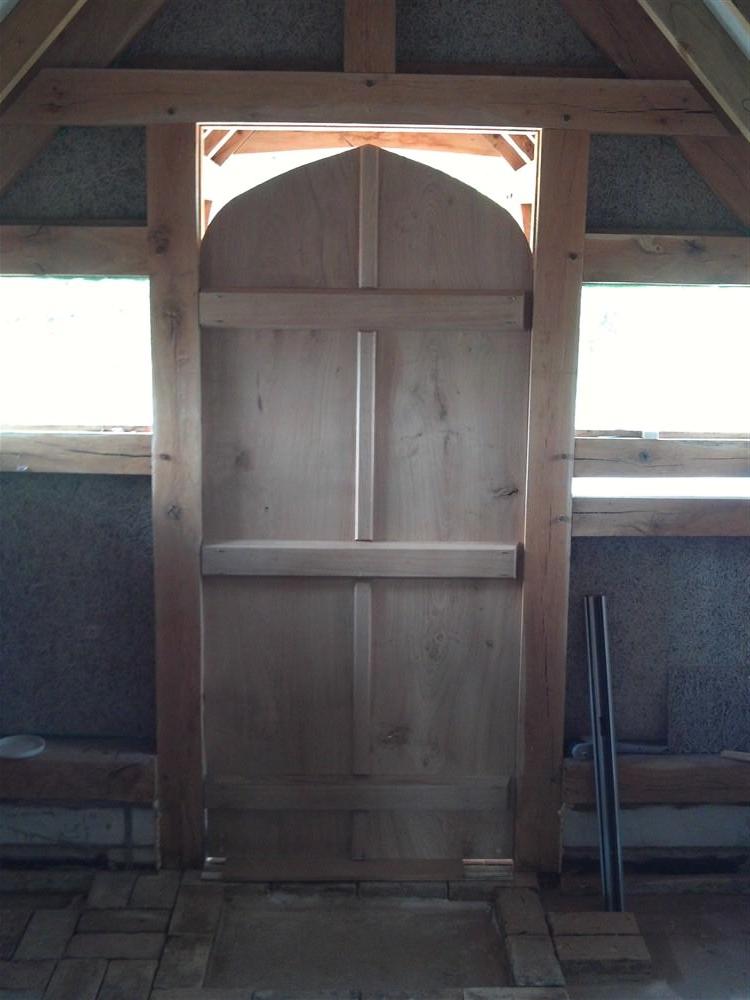
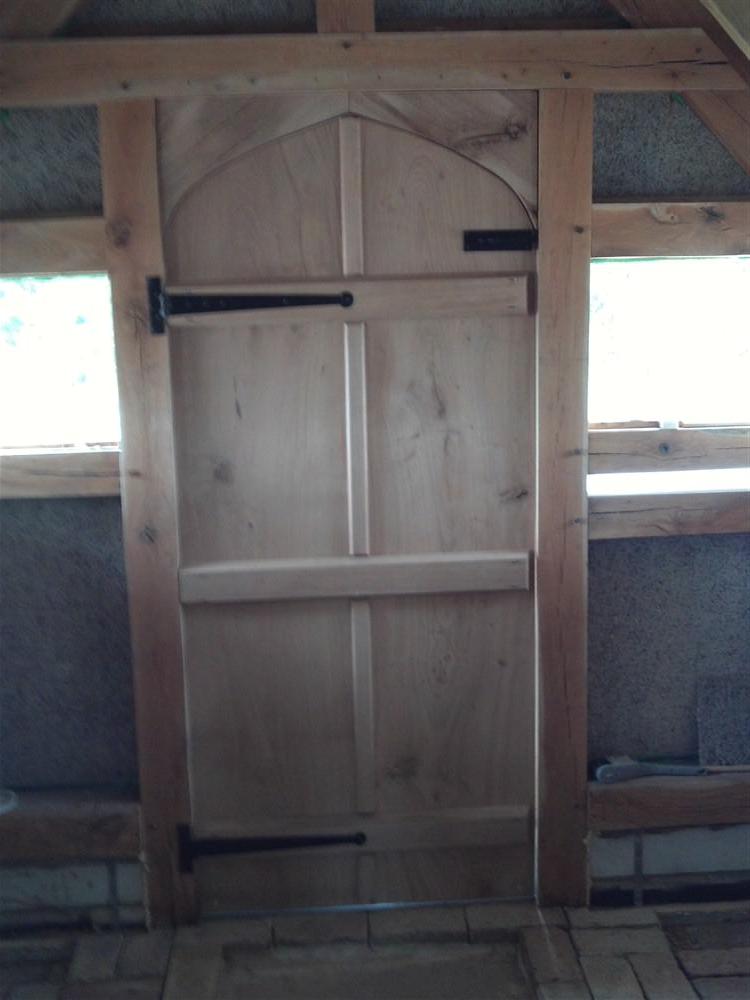
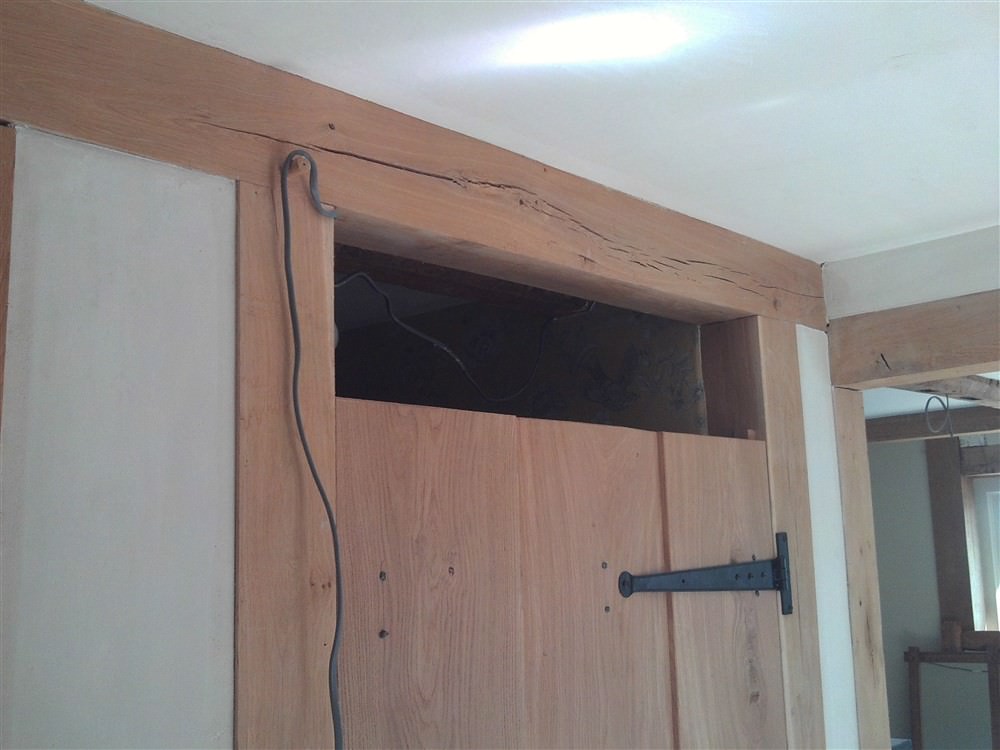
Time to prop it in position. The spandrels don't yet have a rebate, so I had to pop them out:

IFnHFQo.jpg


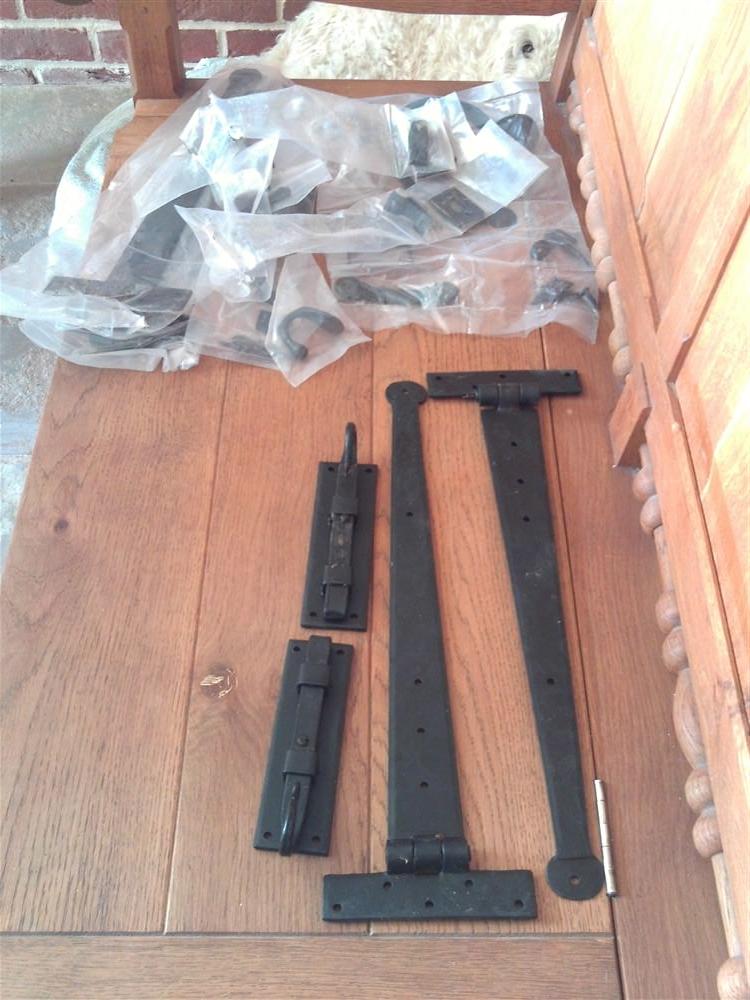
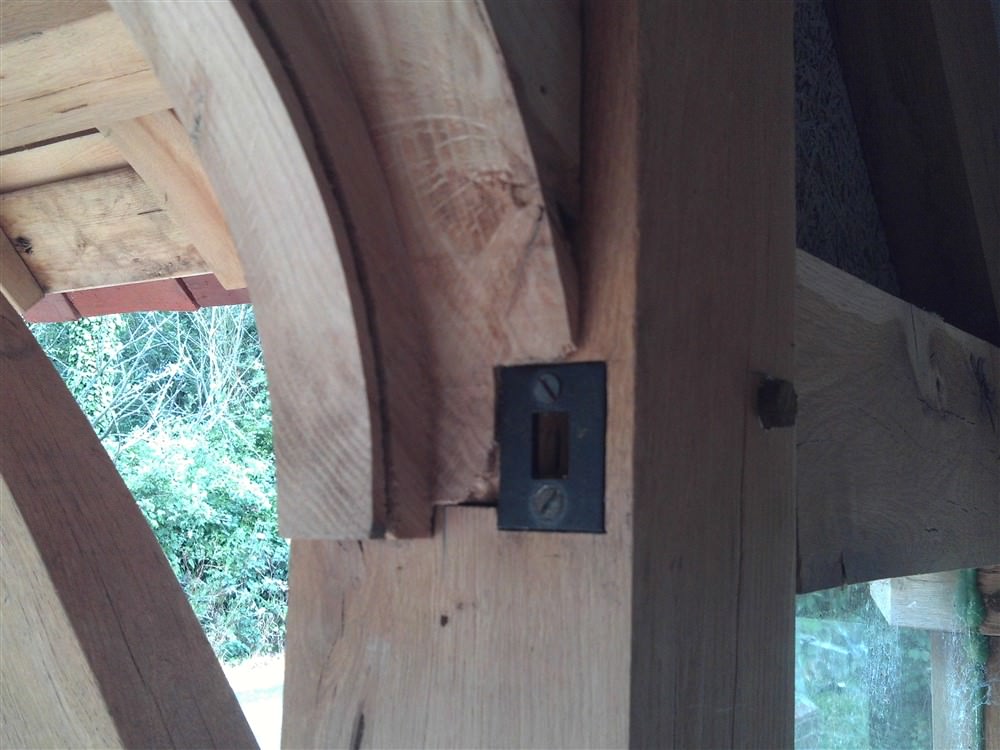
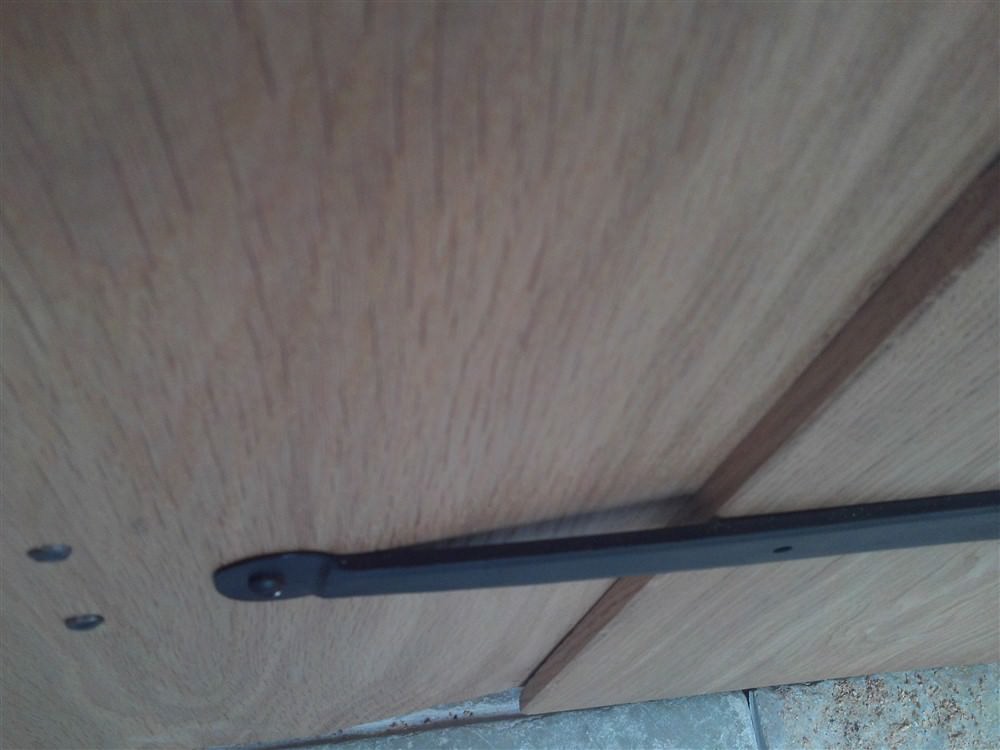
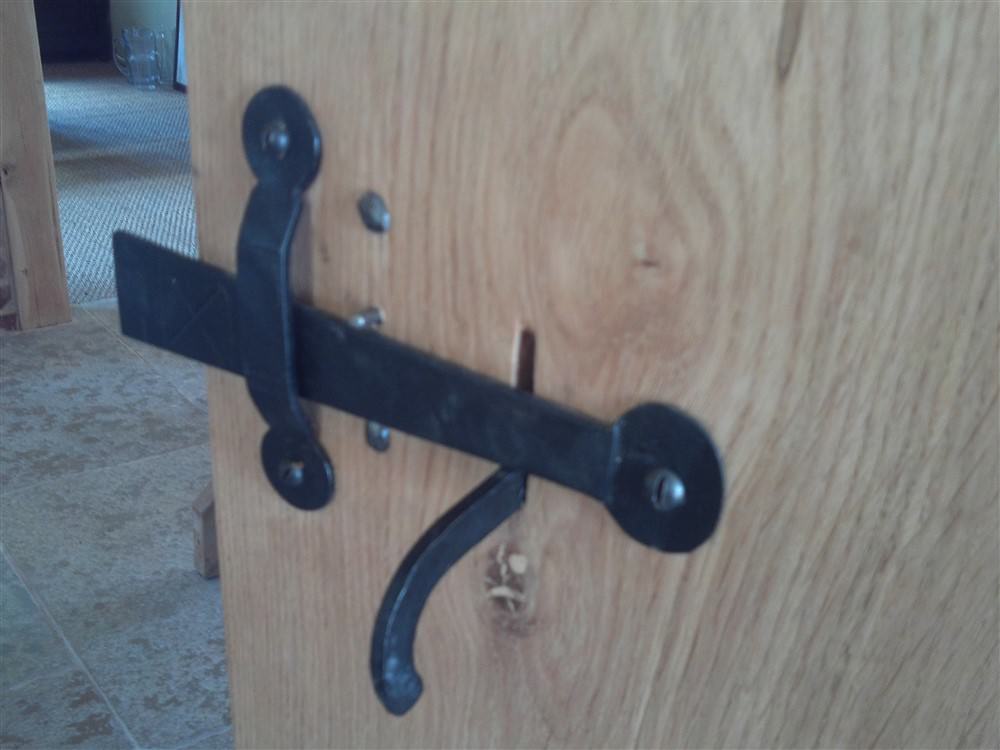
Now, for the ironmongery. 18" tee hinges and some monkey-tail bolts from Suffolk Latch Company:

OgtnWfH.jpg


Photos out of sequence, somewhat:

1uCx9eG.jpg


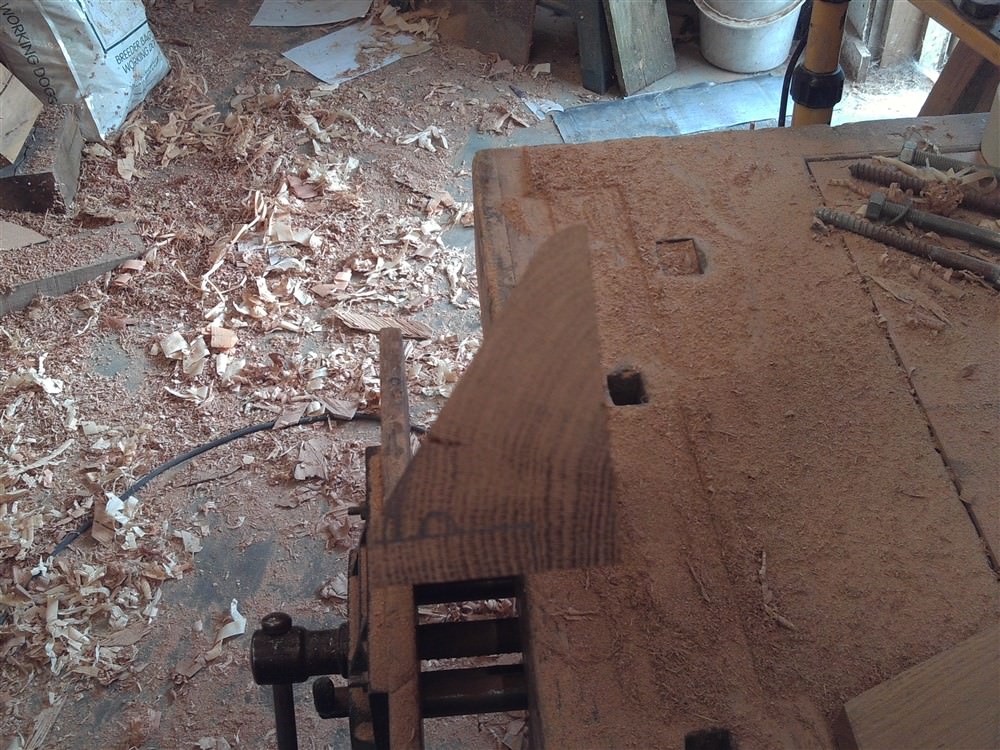
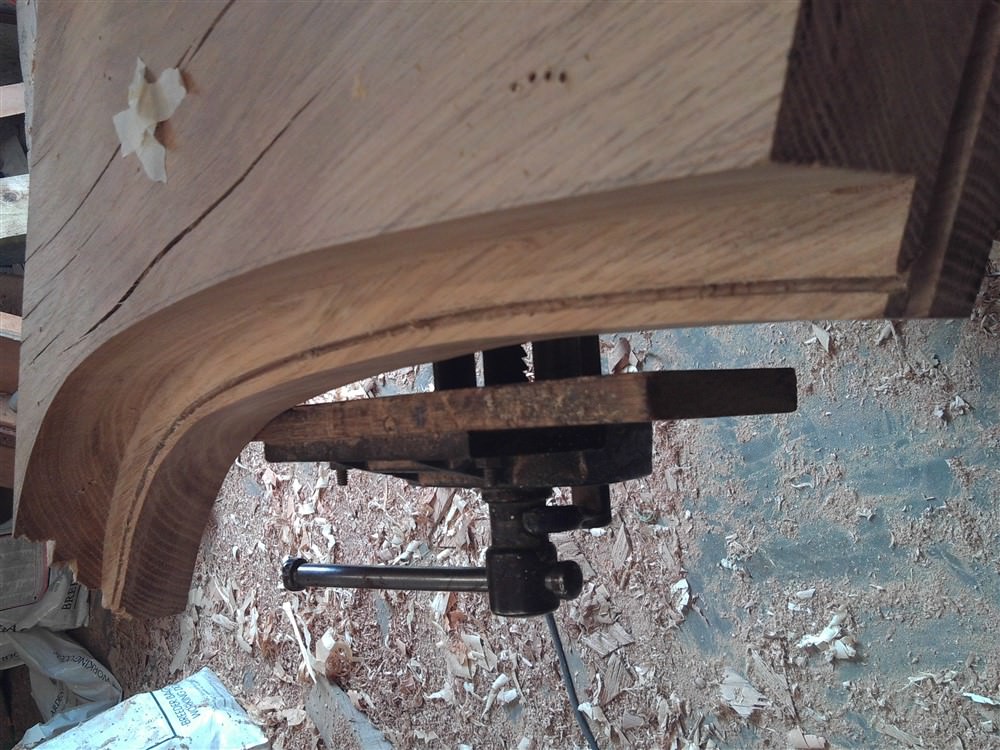
This is how I rebated the spandrels to suit the door head:

8hXUUeS.jpg


MjMohm3.jpg


5XuXxZR.jpg


XEp6vds.jpg


MWcbux5.jpg


jSsG4RE.jpg


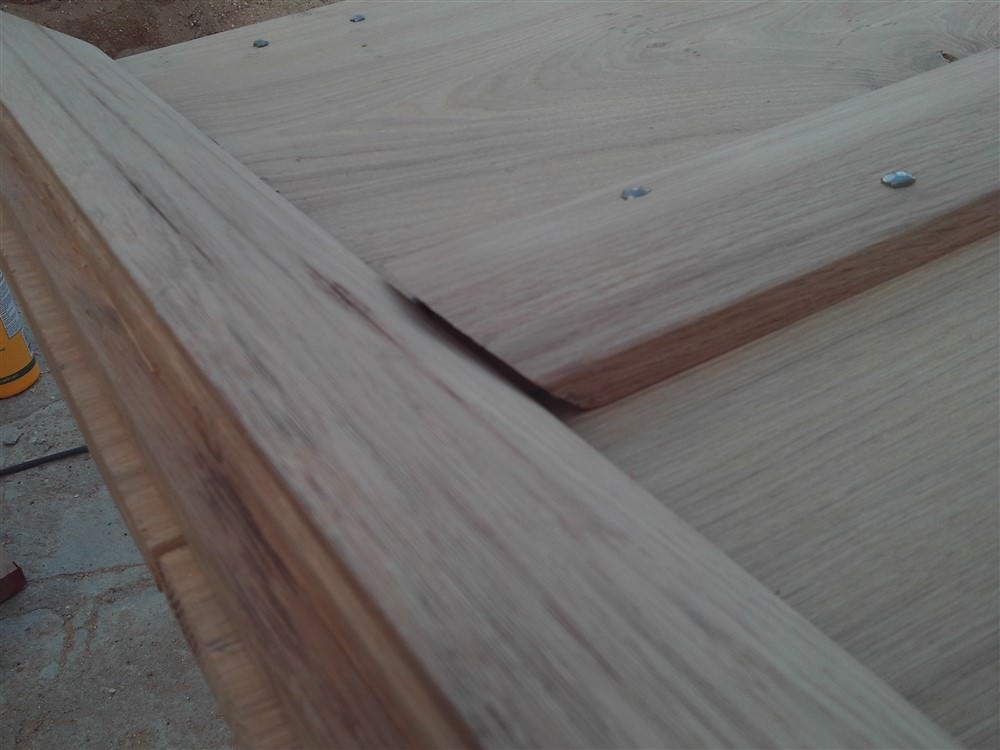
Note the damage where the 45 degree grain tapers to zero. This is obviously a design flaw, and I'll have to do a repair later on. There was something of a cover-up opportunity for me on the leading edge, though:

cPD6gu1.jpg


y2CwMf7.jpg


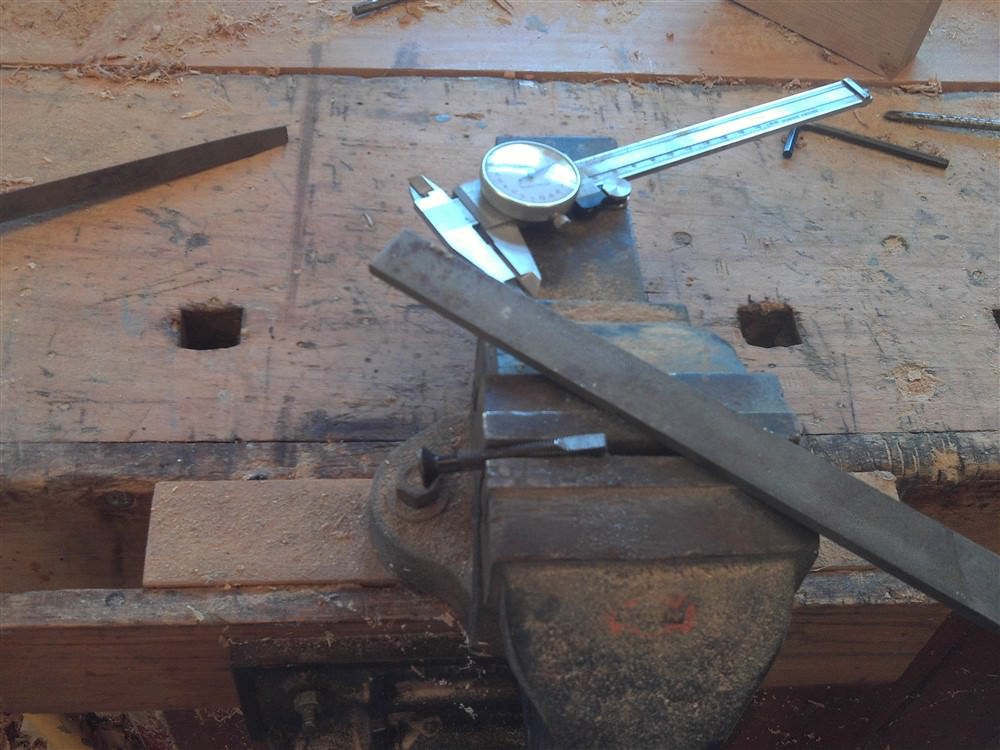
Again, those photos are slightly out of order as I haven't yet shown the making of the groove for the seal. I have worried about this part of the job for, literally, years. I may even have asked a question about it here some time ago. Anyway, I made a scratch-stock:

KK3HdHJ.jpg


lLK9Ekw.jpg


XERKe2B.jpg


LhEHvv3.jpg


6Bnw8bs.jpg


Fx1psNu.jpg


It isn't the neatest groove I've ever run, but it will be hidden by the seal itself. It was an awkward and slow job, not helped by the changing grain direction around the curve.

That will do for that door for the time being. I'll come back to it in a few weeks. Now, on to the second......
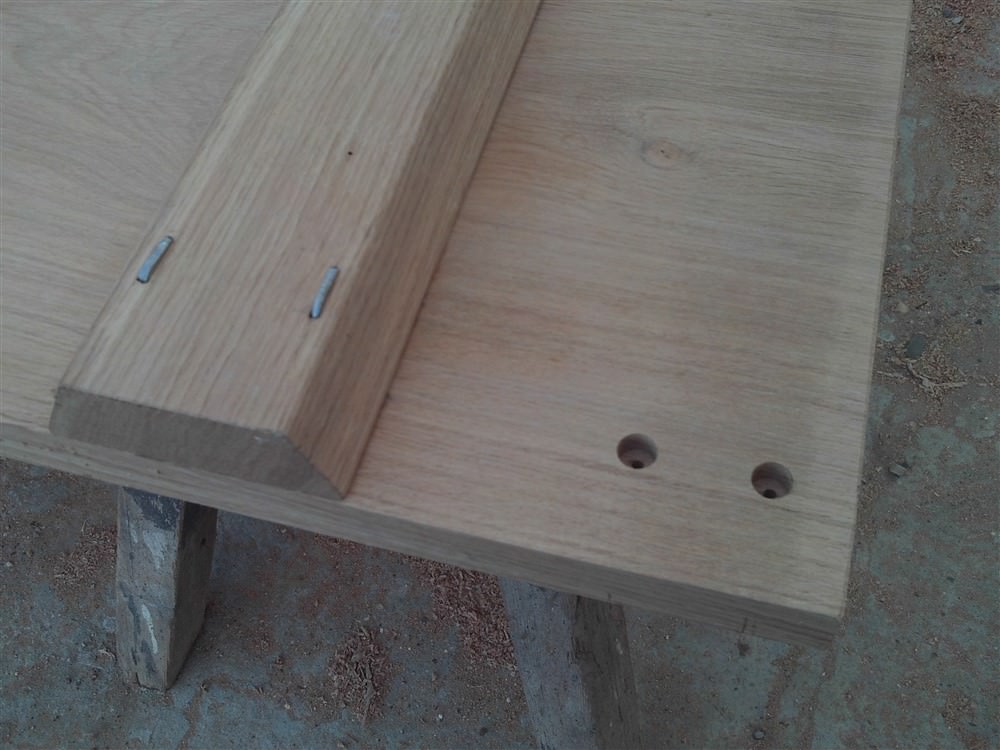
 
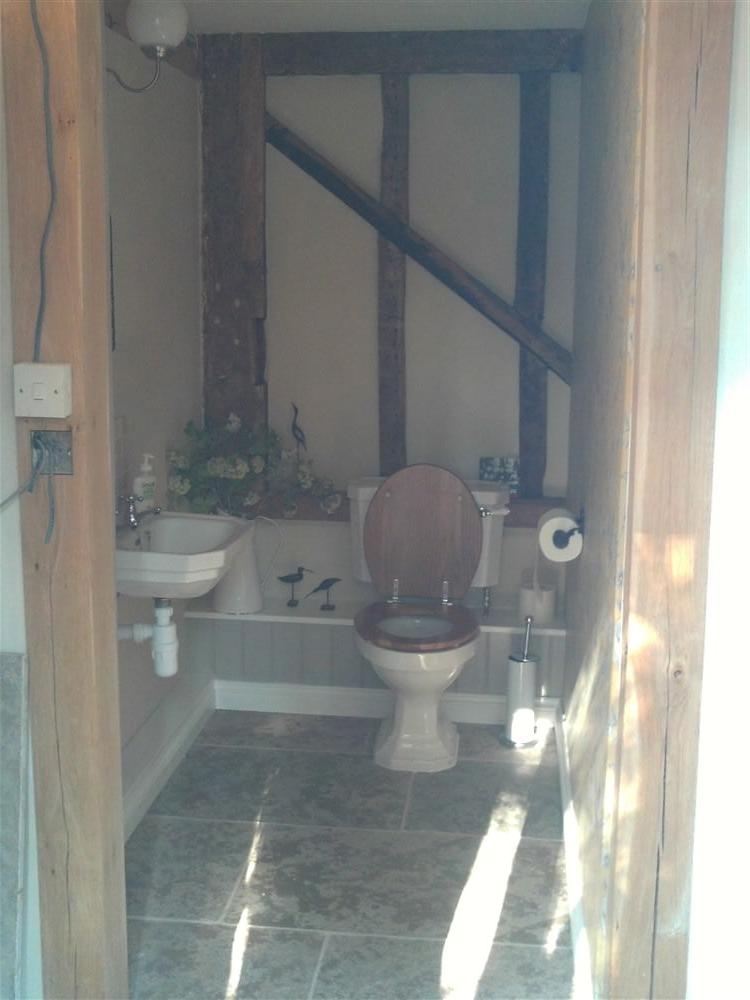
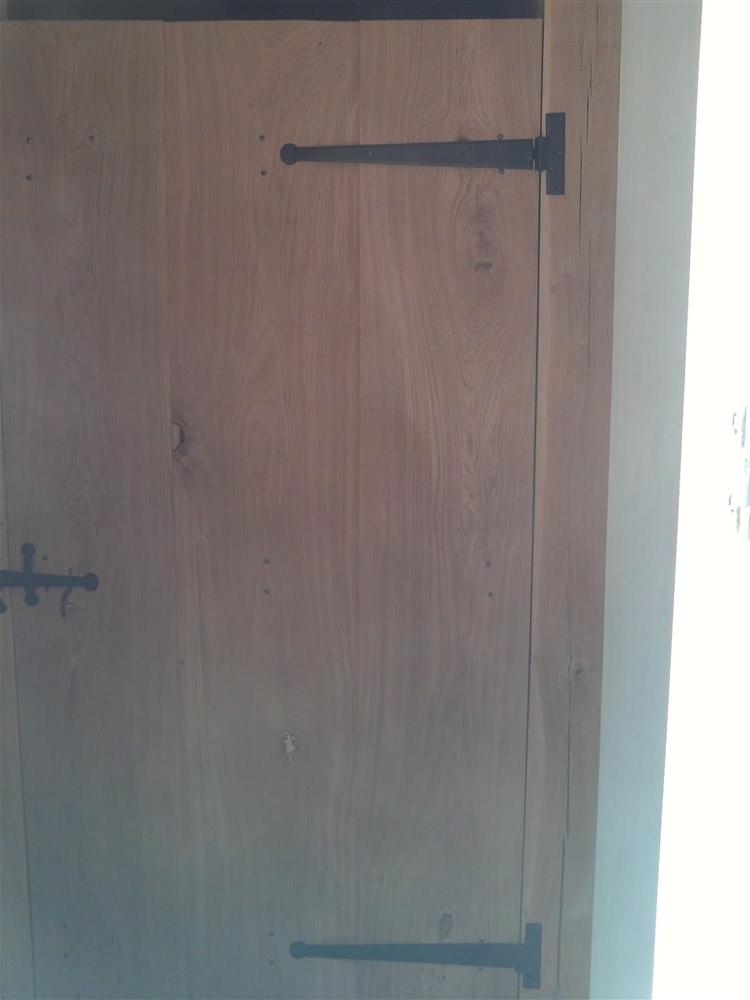
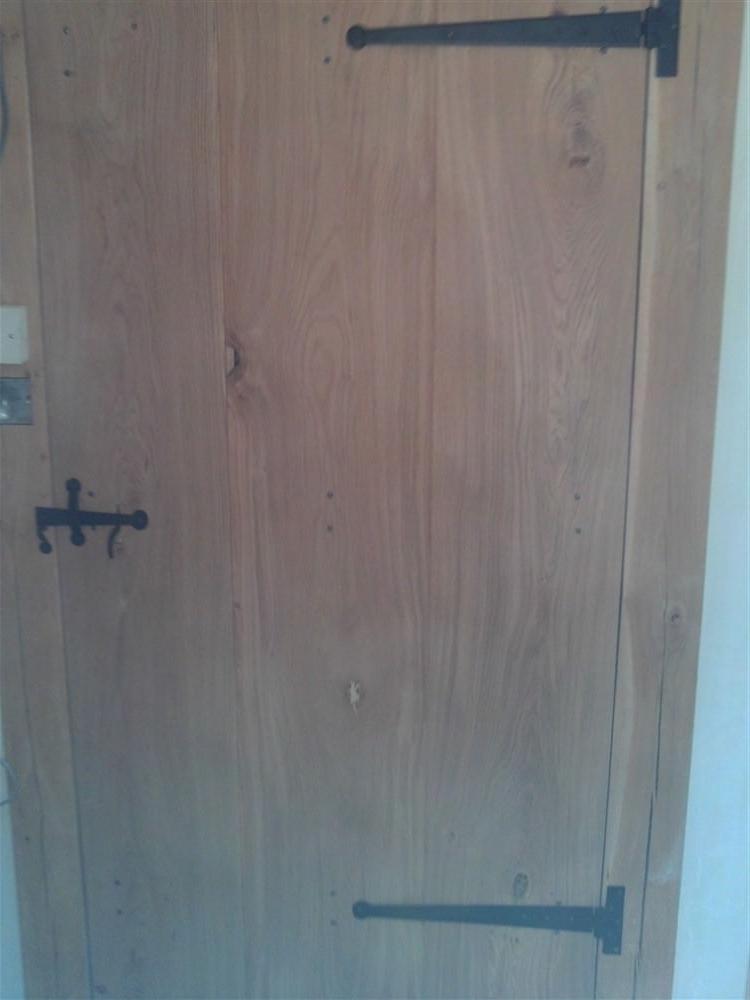
The next door. This is the downstairs loo door, and is 900mm (C.3 feet) wide. This is where it is going:

Og2PgjH.jpg


Again, I needed to squeeze as much width as I could out of 3 boards. The boards were already planed, and the head isn't arched, so this was a much quicker and easier build:

j6iDHcC.jpg


Again, half-laps at the board edges. This not only allows for expansion & contraction without leaving gaps through the doors (who wants gaps in a loo door!), but it means that the edge of one board acts to trap down the edge of the adjacent board. However, this one wasn't going to be just as simple as half-laps:

EACp1QJ.jpg


fiYjzLZ.jpg


f87us2A.jpg


I profiled the middle board, planing and sanding away half the depth tapering down to nothing. This is a traditional mediaeval detail, giving some texture and interest to what would otherwise be just a flat expanse of wood. The slight complication with this one is that it is outward opening, so the hinge is one the board side of the door, not the ledges. I had to offer the hinge up first to make sure that there was a flat bit for the end to rest on. otherwise I would have tapered the board to an apex in the middle.

apR6AY5.jpg


I did my trick with the pins again, hidden under the ledge positions:

vB8iTqS.jpg


I glued and nailed the ledges as per the last door, fixing the outer edge of the outer boards, and the centre of the middle board:

GCI8IpG.jpg


The inner edge junctions needed to allow for expansion and contraction, so I did the following:

PjDkvWH.jpg


FfkG6pl.jpg


dr5Hz3n.jpg


fSMXSbs.jpg


nIZ5Qvy.jpg


QTar4GR.jpg


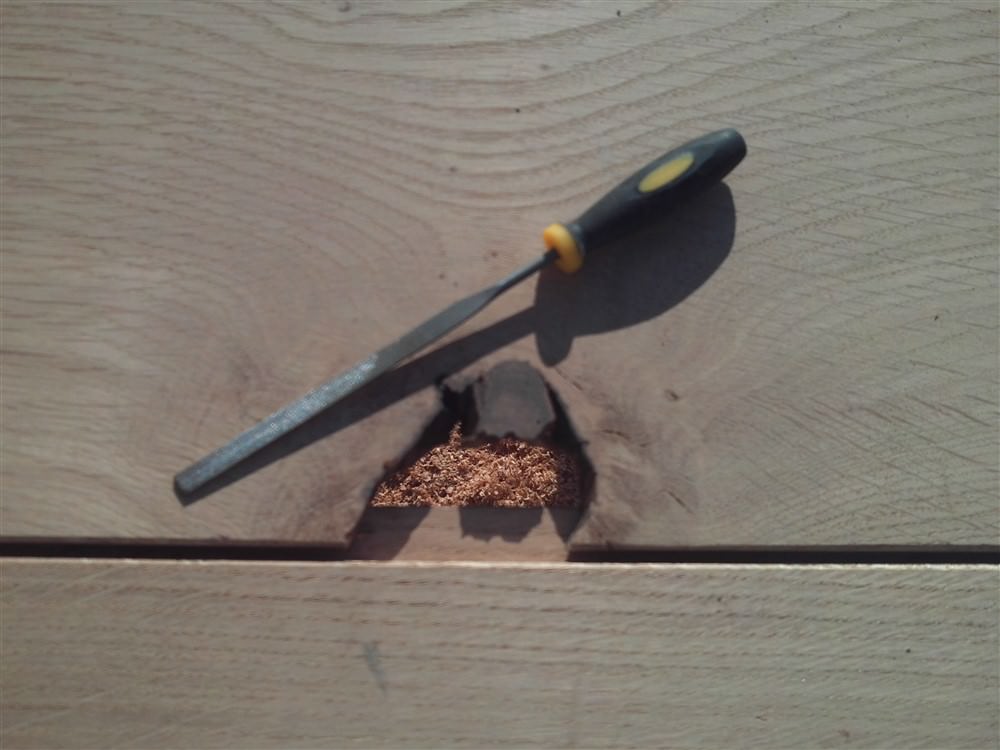
There was a nasty little knot hole on the edge of one of the boards:

8oqA6xZ.jpg


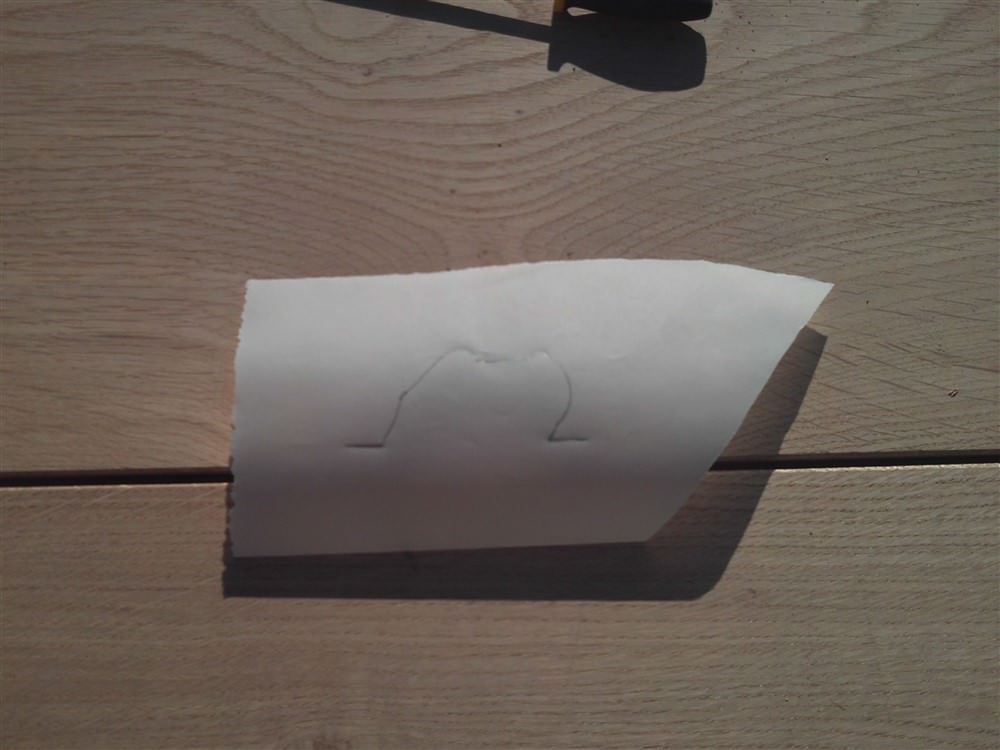
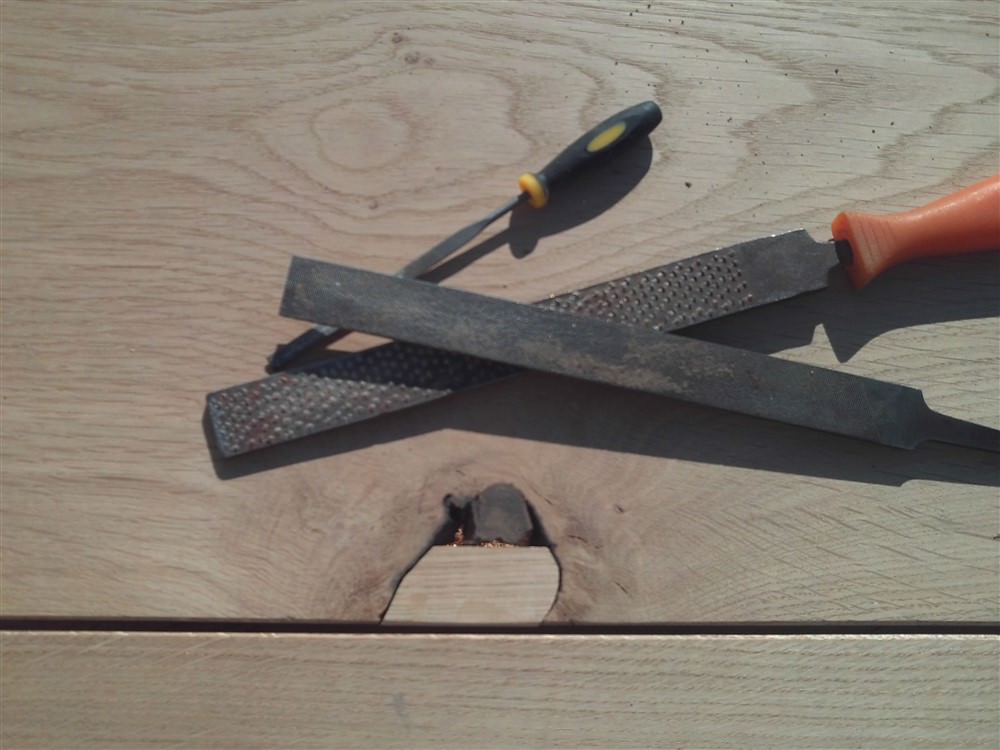
I cleaned it up and made a patch:

UuLi8di.jpg


xdy4AzK.jpg


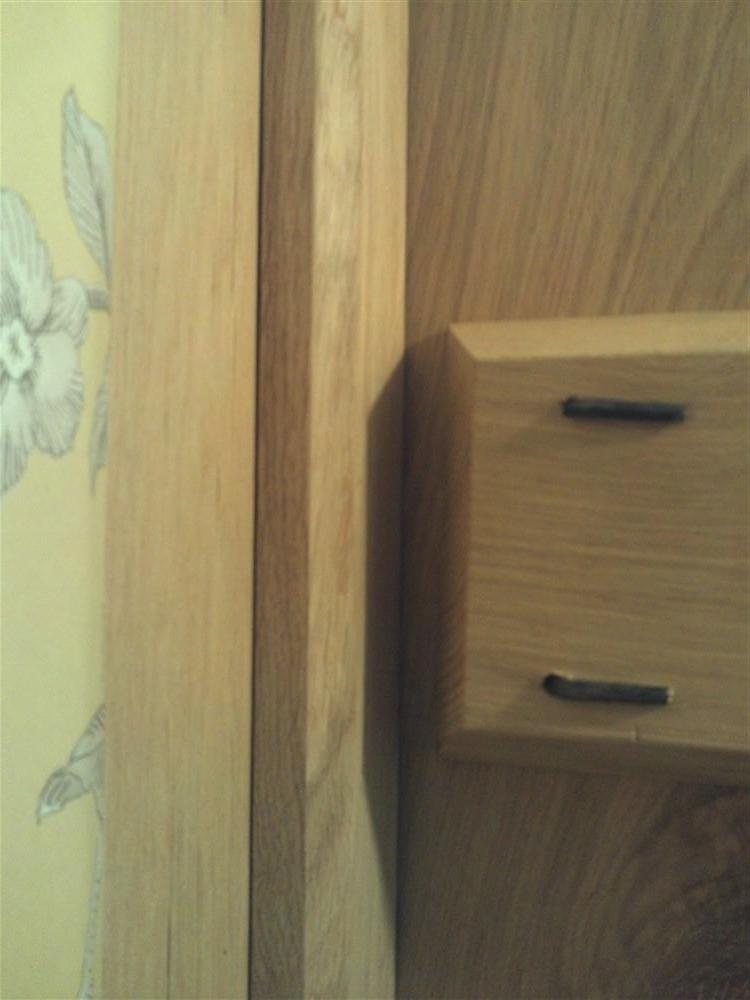
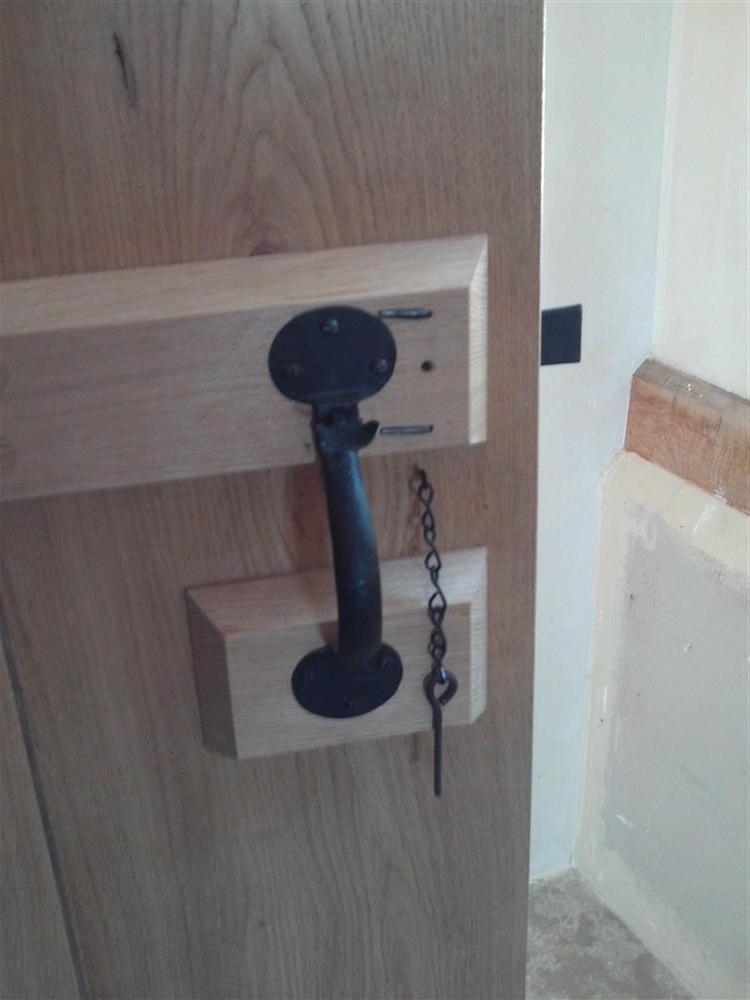
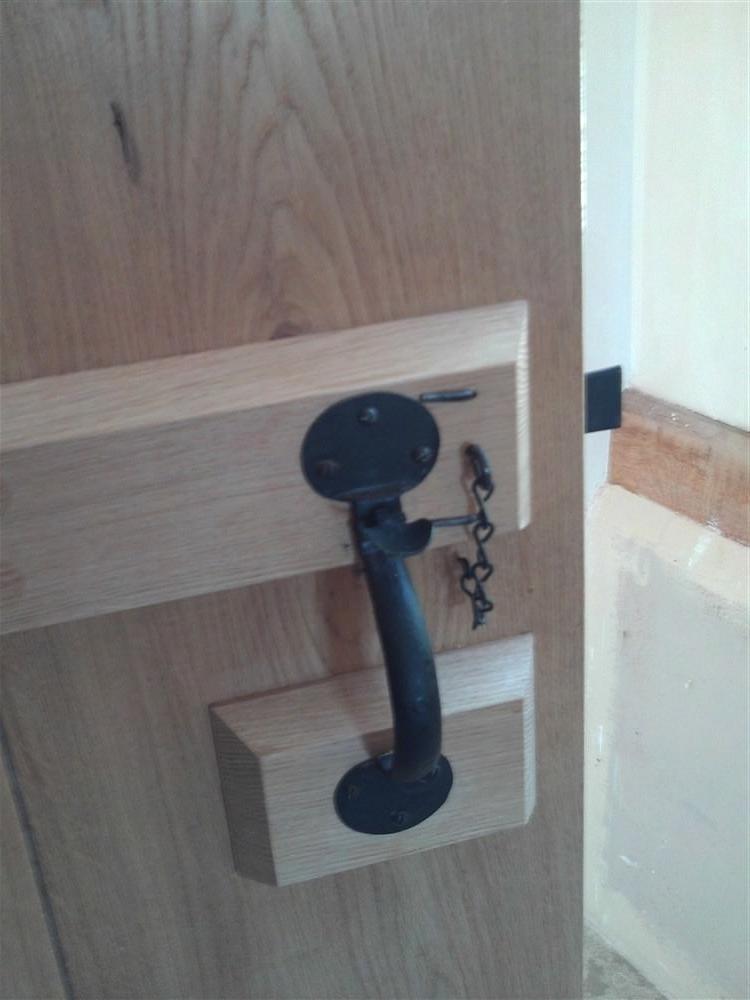
The Suffolk latch took some working out, particularly as it was on the "wrong" side of the door (it being an outward opening door). I had to make a small packing piece for the handle:

66rS1ql.jpg


I cut a slot longer than proved necessary, but no matter. Note, too, how far from the edge of the door the ledges finish. Again, this is for the outward opening door, to allow for the stops being on the ledge side, rather than the normal board side.

Ready for hanging:

jUWNHvG.jpg


I can't back far enough away to get a decent photo of the whole door:

MTK9Dym.jpg


fjlA6kF.jpg


Here's the stop, showing the ledges cut short to clear it/ them:

RuaeNu0.jpg


The hinge flying across the tapered board:

J2jiQ0h.jpg


I cobbled together a pin and chain to lock the door:

wfjBQV1.jpg


zlTEQZA.jpg


DKdVtKE.jpg


What's this? Did I mis-measure?

B5MKTO1.jpg


In due course that will have a leaded light for a little "borrowed light" into the room. The loo doesn't have a window. I finished the door with a couple of coats of a satin water-based lacquer. It could probably do with another one, next time I've got some on the go.
 
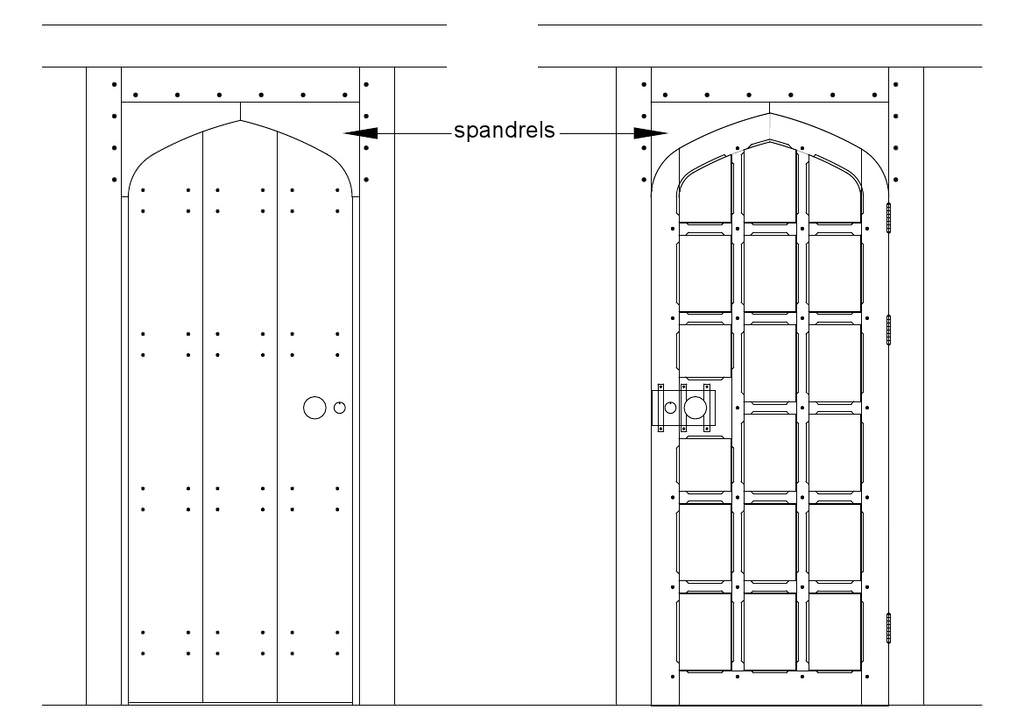
Here's a drawing of the next door. It will be far more complicated than these previous two, and will be insulated. This will take the thickness up to 71mm, so it will weigh a ton:

XnXhwcI.jpg


Again, the spandrels will eventually be carved. I'll get to this door in 2 or 3 weeks, I reckon.
 
Wow, wow, and what a beautiful house you are building there Mike!
Threads like this will be so useful for anyone wanting to do anything similar using currently available tools and materials. For the rest of us, it's a fascinating story to follow along and understand the care, effort and skill that goes into it.
And what fun it must all be!
 
Thanks for posting this, I enjoyed it very much. The doors look superb and I am looking forward to door number 3.
 
Thanks guys. Yes, more than anything I've done on this house for a year or two now, I'm looking forward to the next door. It should be great fun to build, and look fab. In the meantime, I've got to build a new shed because my workshop is now uninhabitable with building materials and building-type tools. So there will be something of a hiatus.
 
MikeG.":3rf6rac6 said:
In the meantime, I've got to build a new shed because my workshop is now uninhabitable with building materials and building-type tools. So there will be something of a hiatus.

I'm sure there's a really useful guide on how to build a shed properly somewhere on this site... :wink:
 
That really is VERY good looking work, you must be very proud of yourself. FAR far beyond anything I'd ever even contemplate! Well done Sir!
Just as a matter of interest (it's not clear from the posts so far) is this a new build house which you're "just tricking up" to look old, or is it a refurbish of an old building? I see some pictures early on in your post of some horizontal "timber siding" like you see in some old houses in parts of Kent & Sussex.

Anyway, congratulations, if I didn't absolutely HATE the (over-) use of the word, I'd say "I stand in awe" :D =D>
 
Thanks AES, that's very kind (and effusive) of you.

No, it's a 300 year old cottage that I have spent the last 4 years renovating and extending. If you have the appetite for 114 pages and 4500 photos you can see the whole saga here. I doubt it would take less than a week to read the whole thing. A Dutchman, from memory, contacted me a while back to say he had just spent well over a week full time going through every post. The porch to which the first door fits is new, and I posted about it somewhere on here a while back. I struggle to find the thread under the new format.
 
Been watching and learning with no comments because I have nothing whatsoever plausibly helpful to add. Thanks for taking the time to post in detail Mike it's much appreciated.
Chris
 
Thanks for that link to the extended blog on your build. I shall look forward to reading it. Not that I can get near to emulating your skill.
 
re-read twice as was fascinated
so interesting to see the way you worked around board widths
the rebate that you will wedge in the spandrel looked interesting
will that be a green wedge or dried?
only out of curiosity if it will dry and fall out

Steve
 
Back
Top