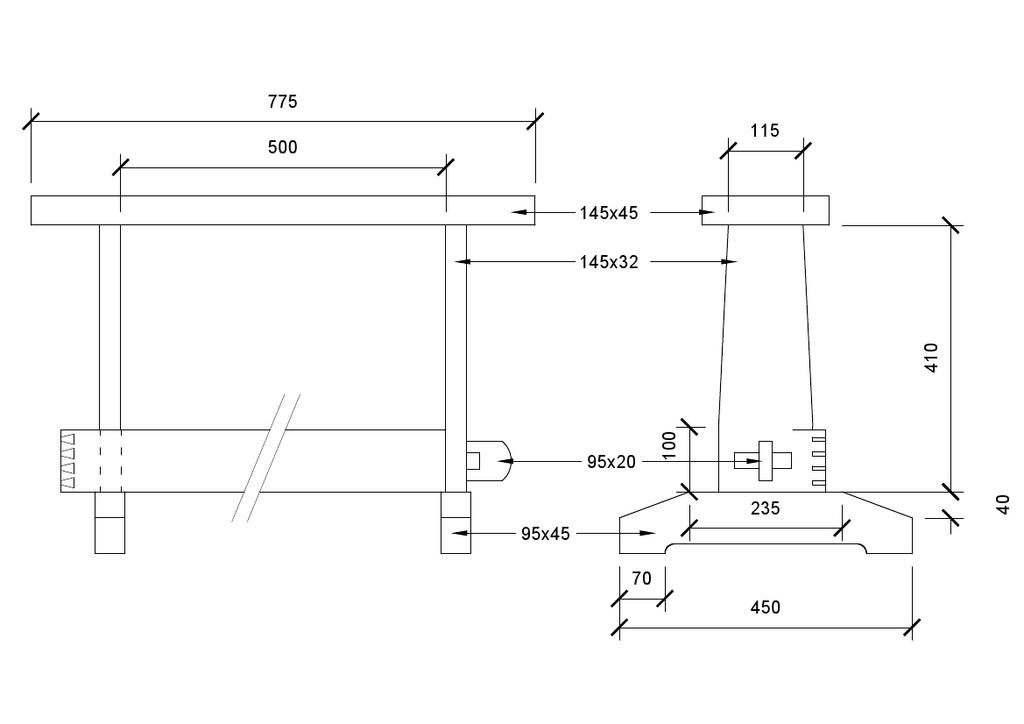
Saw horse build.

UKworkshop.co.uk

Help Support UKworkshop.co.uk:

This site may earn a commission from merchant affiliate links, including eBay, Amazon, and others.

MikeG.

Established Member
Joined
24 Aug 2008
Messages
10,172
Reaction score
704
Location
Essex/ Suffolk border
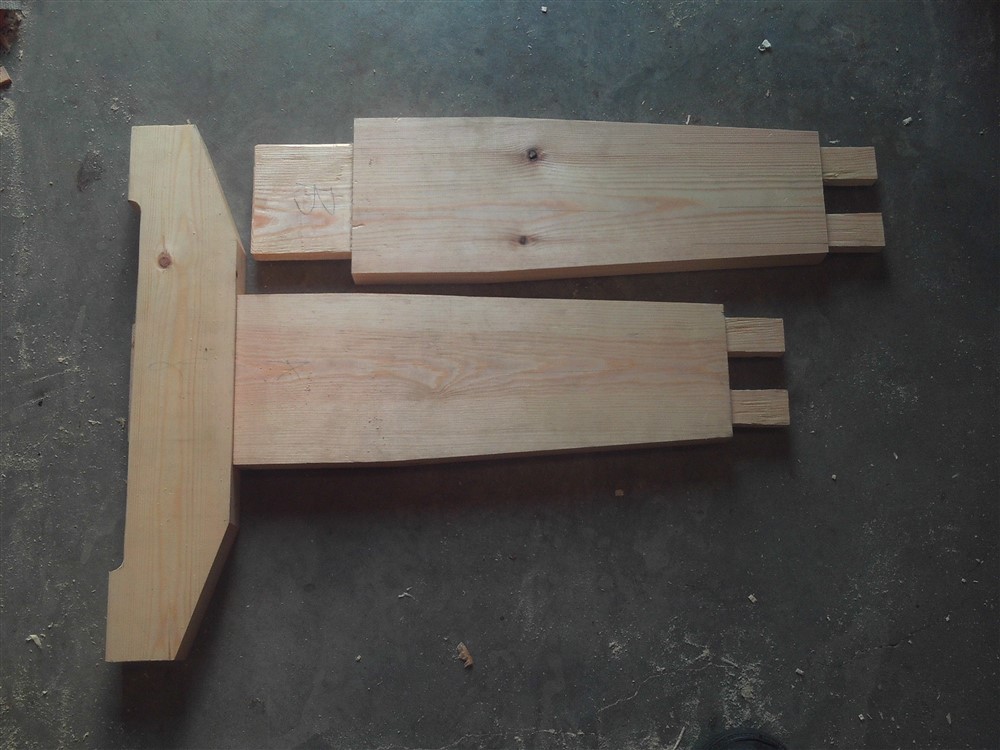
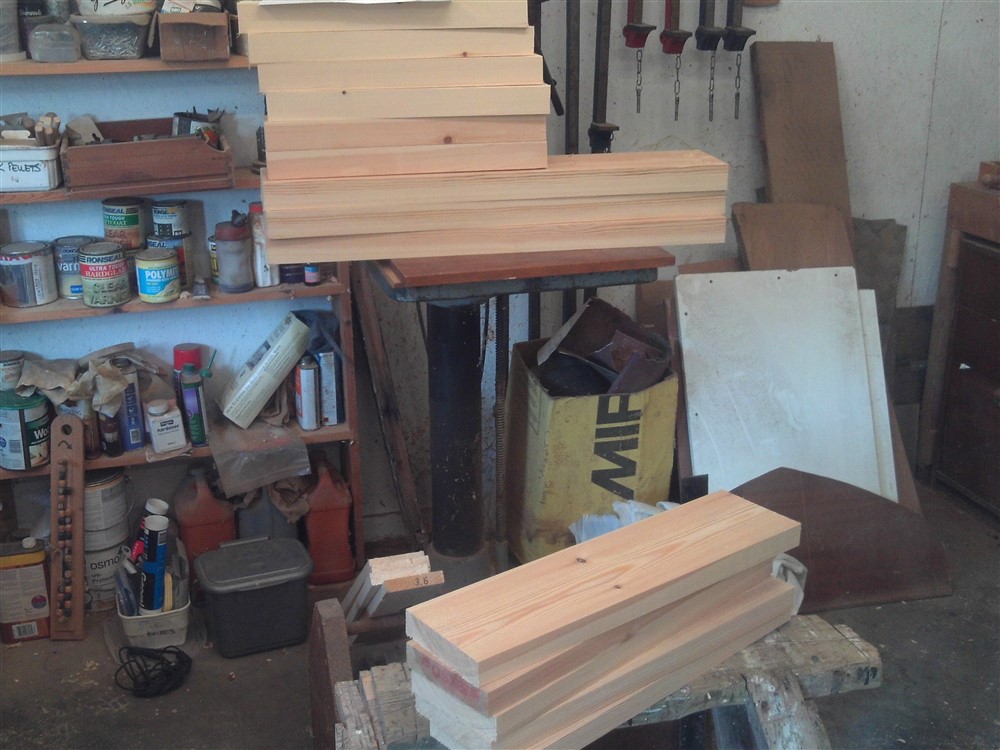
This is something I've been meaning to do for a while. My son in law was over for a few days and wanted some workshop time, so this little project seemed like an ideal hand-tool teaching project for him. We started with a pile of wood (all "redwood".........PAR pine):
xHgKnm4.jpg


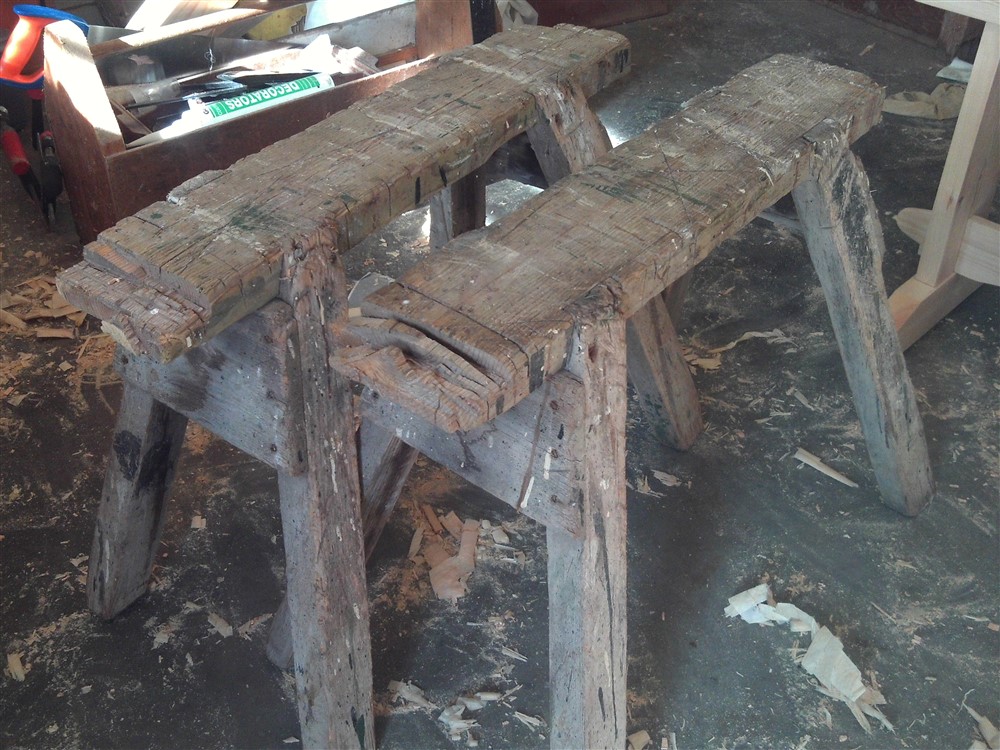
This is why I need new saw horses:

dnTJKxM.jpg


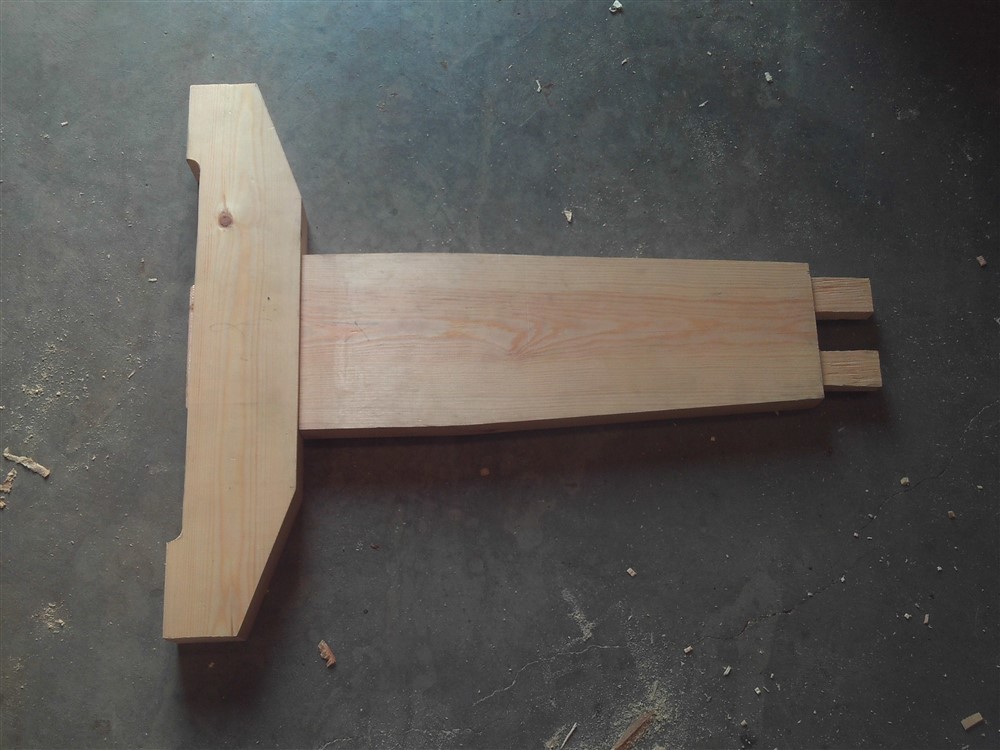
I decided on a new design because the splayed legs are always getting in the way of the saw, both hand saws and the circular saw, so I came up with a tee-shaped foot and leg.

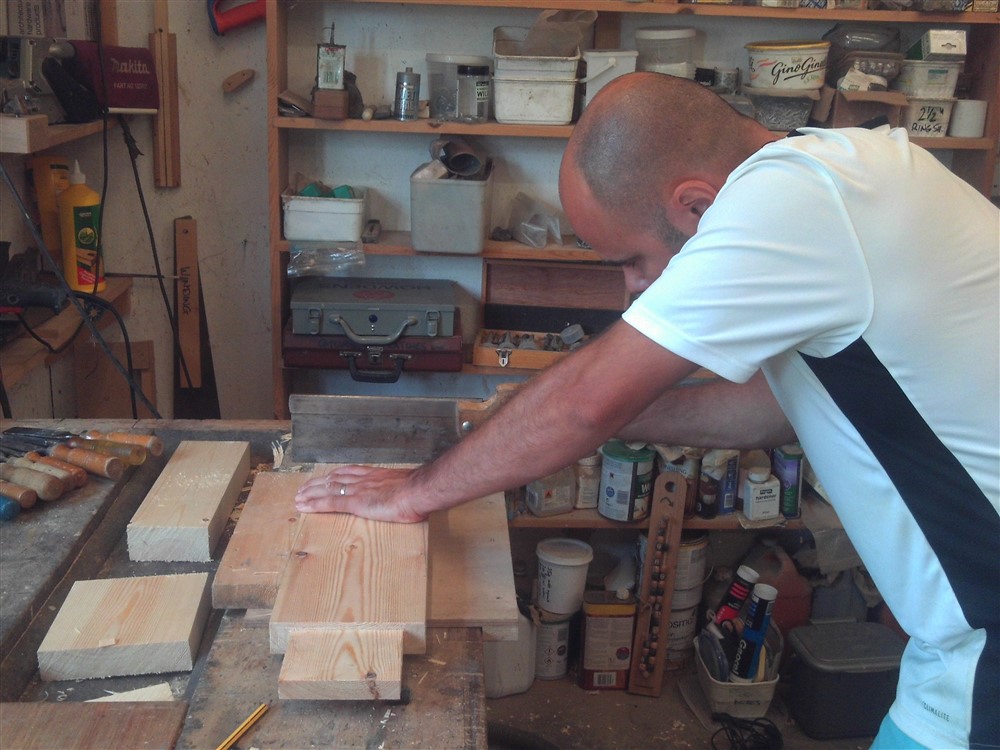
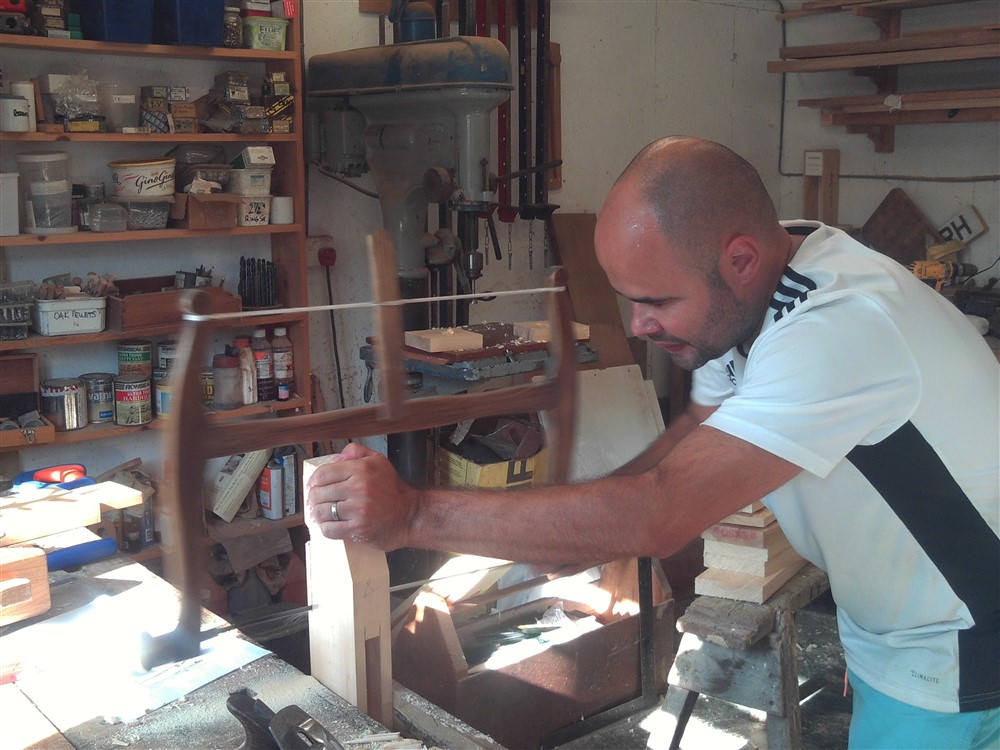
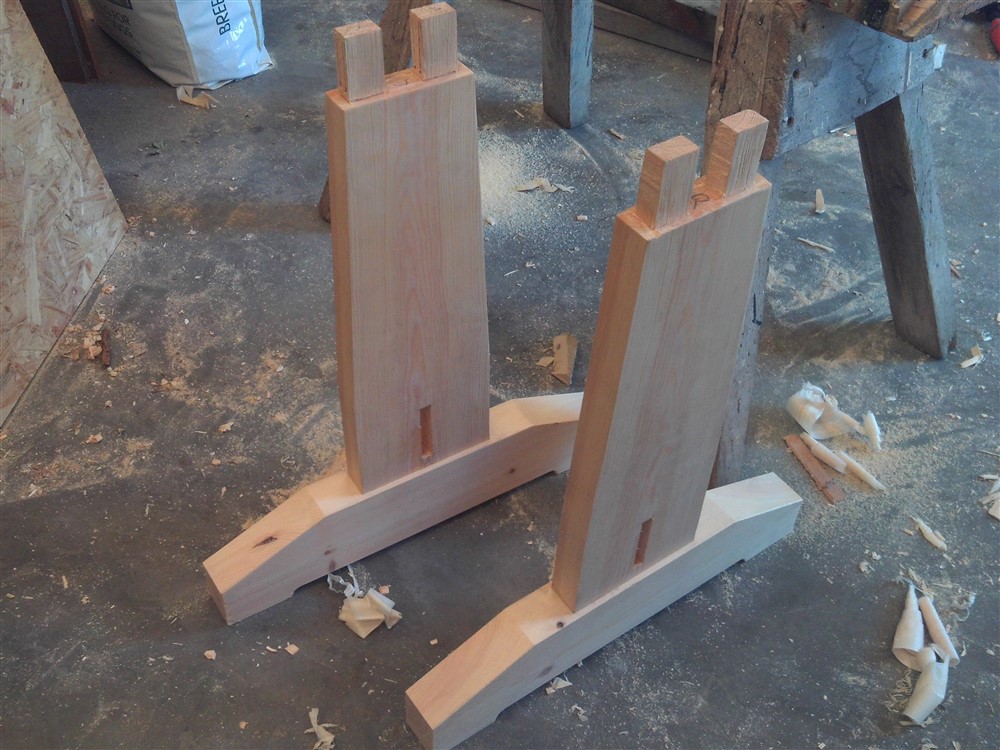
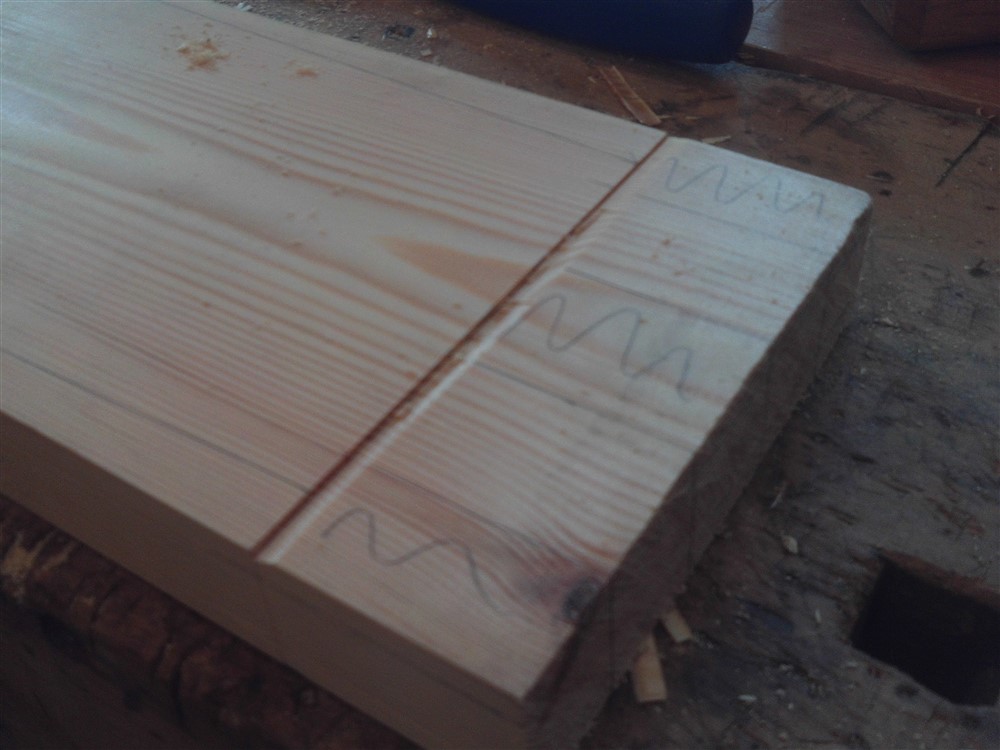
These big tenons are great chisel practise:
ZLrJn1G.jpg


XruS5br.jpg


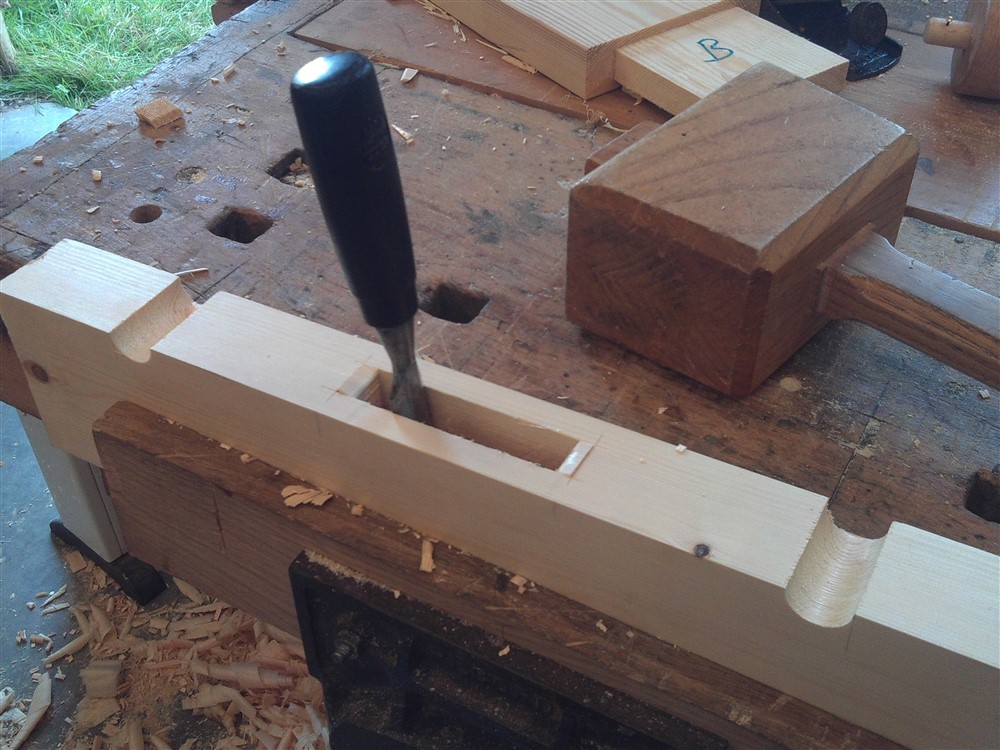
The huge mortise also is good chiseling practise:
WDbZZk1.jpg


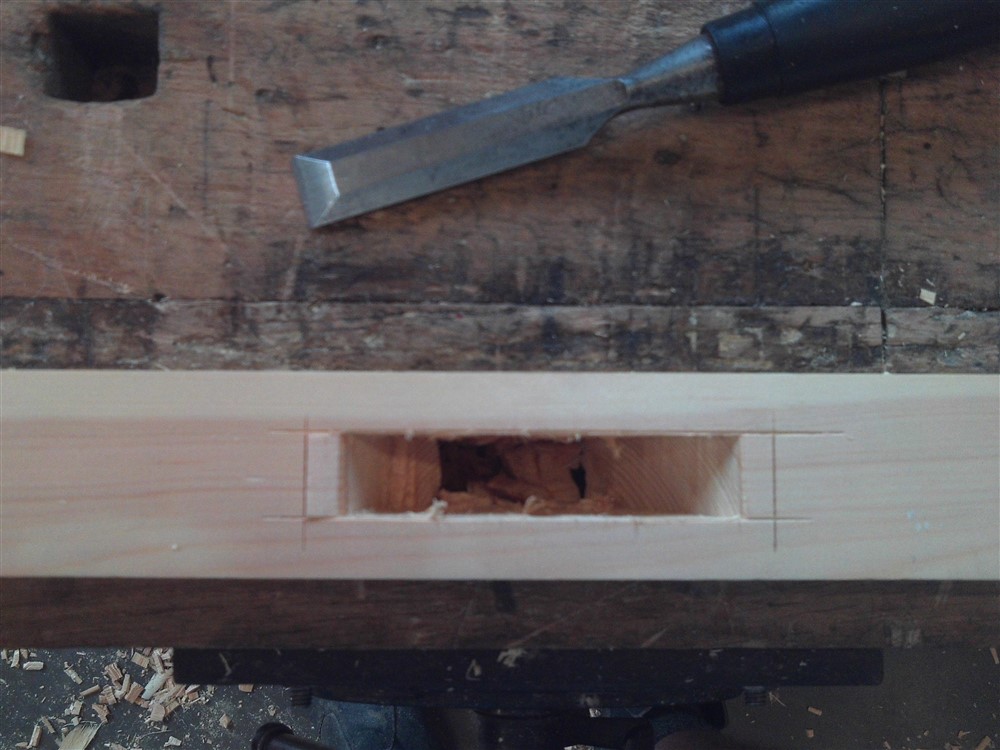
Here;s how I advocate chopping out mortises, leaving a good bit of wood inside the end line until right at the last minute so that you can lever the waste out with a chisel without denting the wood just outside the end lines:
Ekbz3E6.jpg


The feet needed shaping:

m3fW61n.jpg


Dry fit:

d9HfdSn.jpg


xIEwXpl.jpg


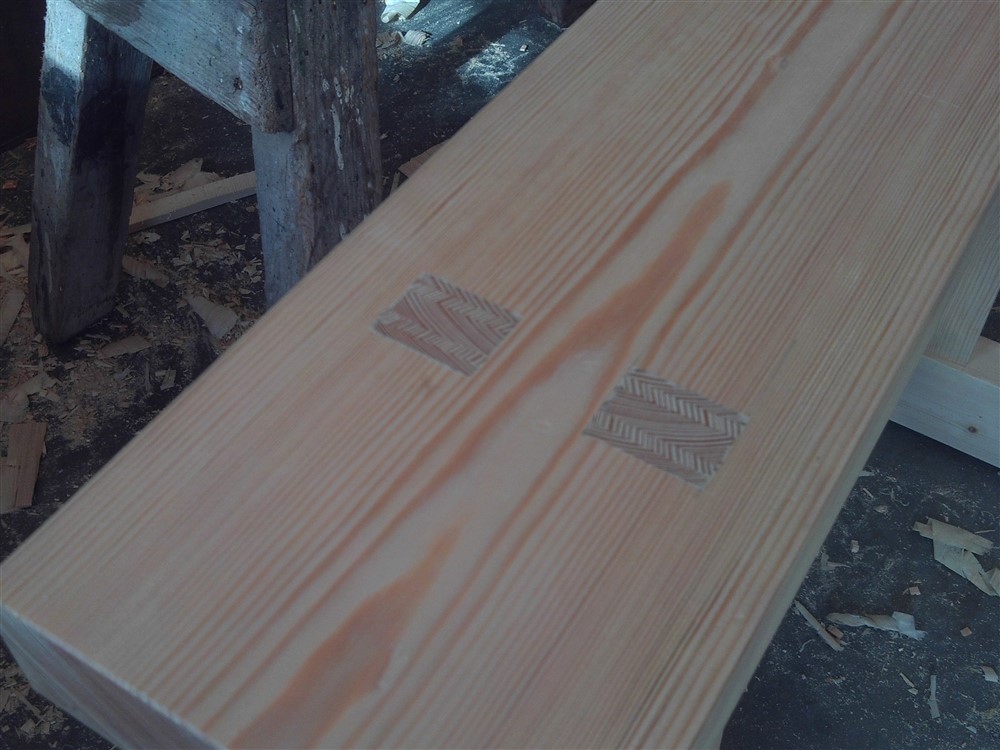
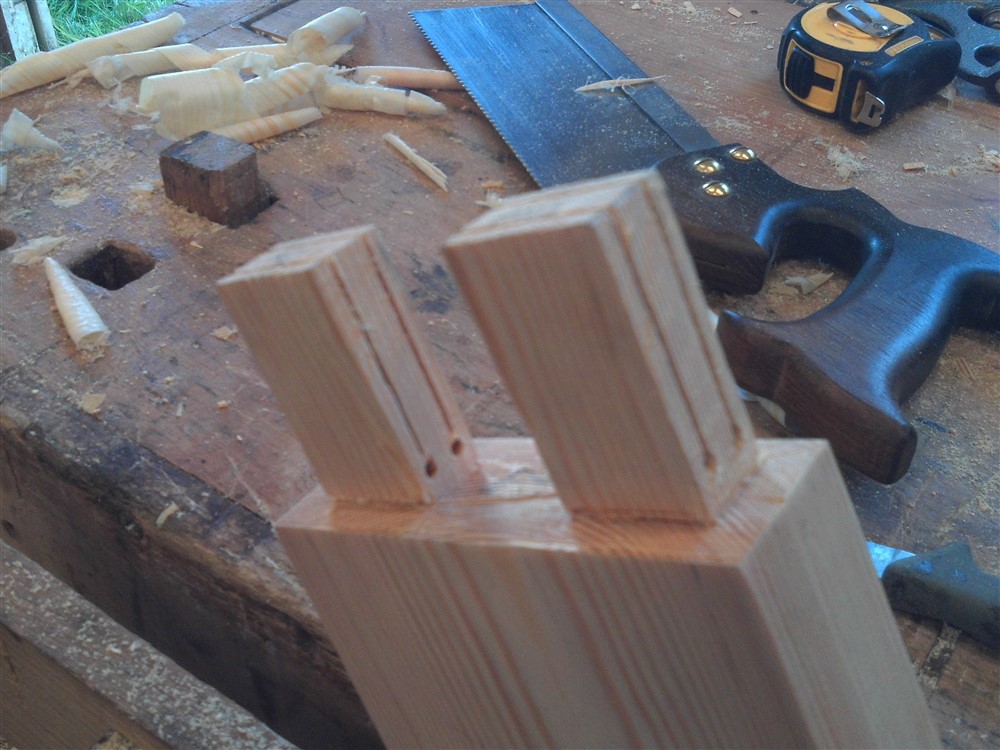
Wedged through-tenons, preparation thereof:
pPwH3WD.jpg


PELkm66.jpg


vc84Mjc.jpg


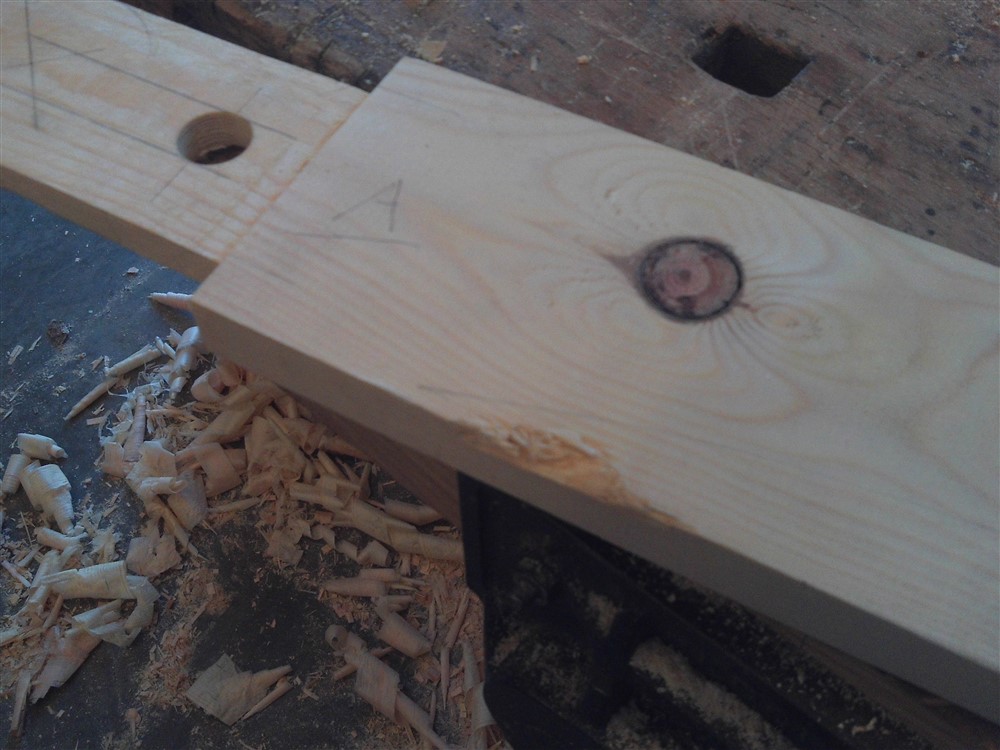
I missed a really nasty ding in the edge of one of the stretchers:
fvSYrKF.jpg


This forced a change in the design, and we put in a curved bottom edge to cut away the problem You'll see this in the "After" photos right at the end.

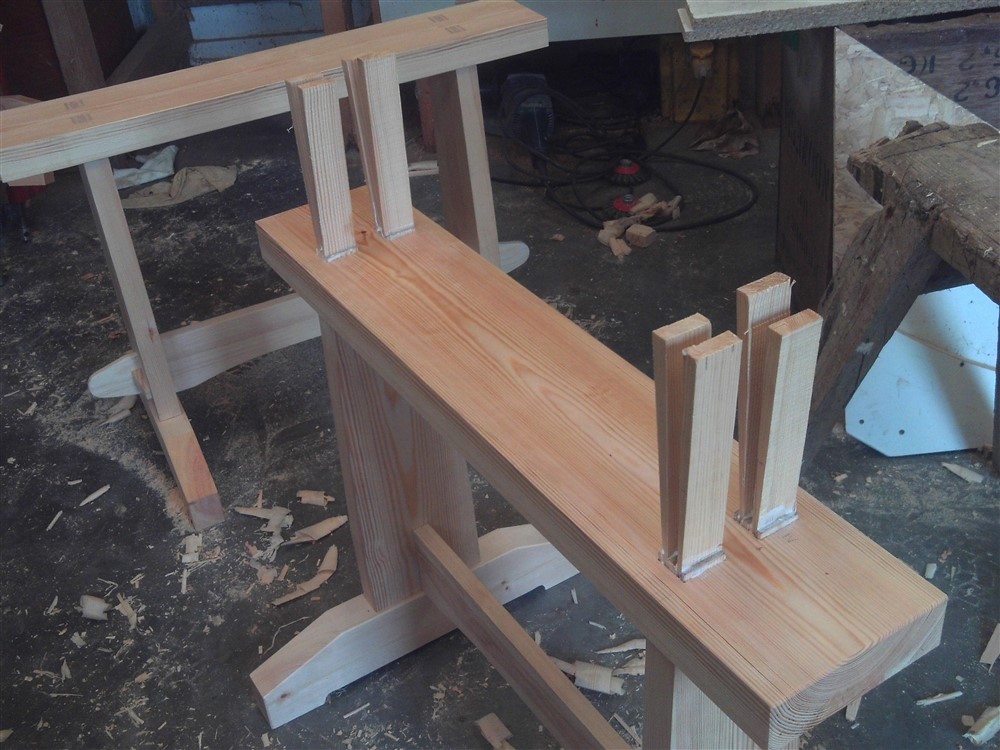
There were just 4 small mortises to chop out in the top, and some wedges to make, and that was the bulk of the assembly done:
ILgIMal.jpg


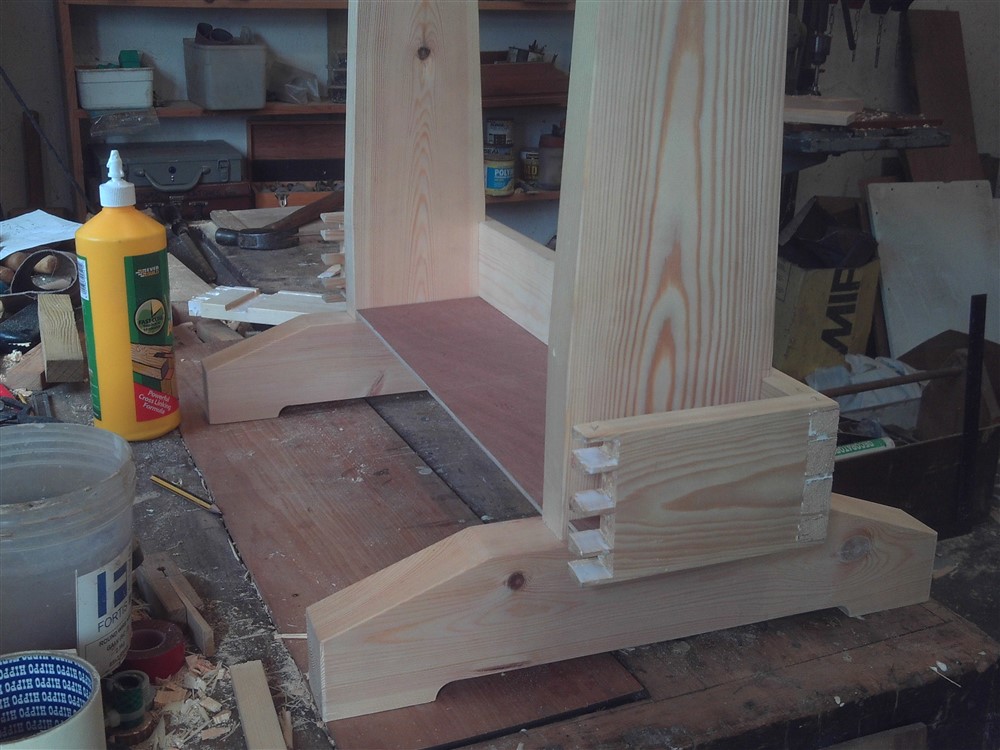
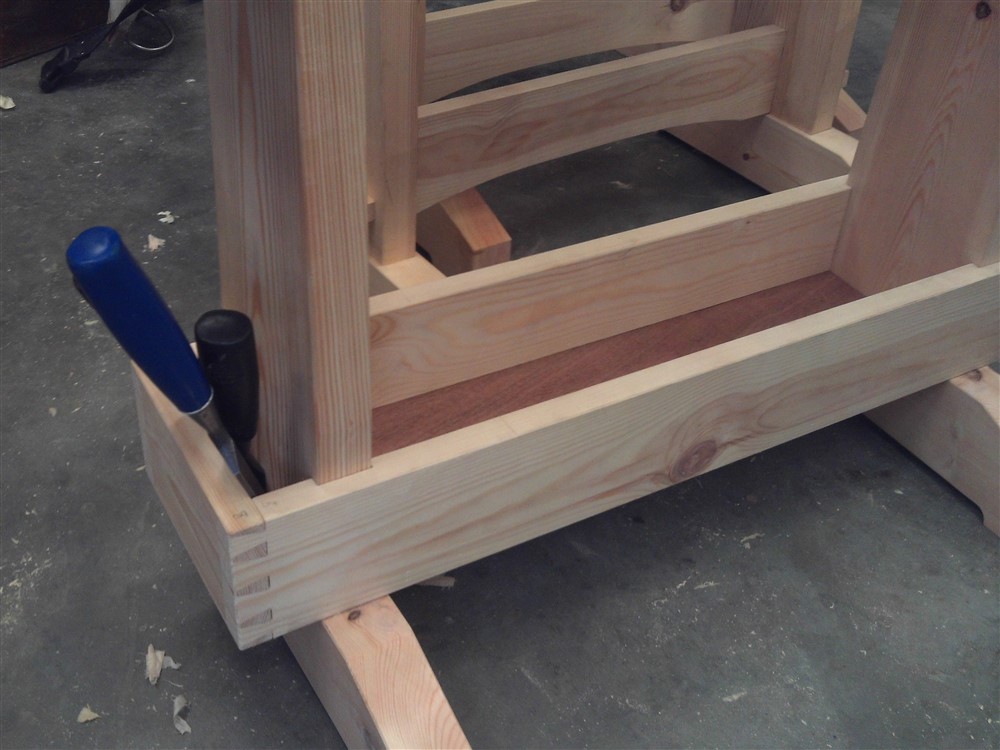
Two of the three horses are the same, but for the third I wanted a tool tray/ box instead of a wedged stretcher. With a rather tight set of dovetails, a base-board, and a housing joint to hold the legs stable, this made for a damned awkward glue-up against the clock:
pskqe9l.jpg


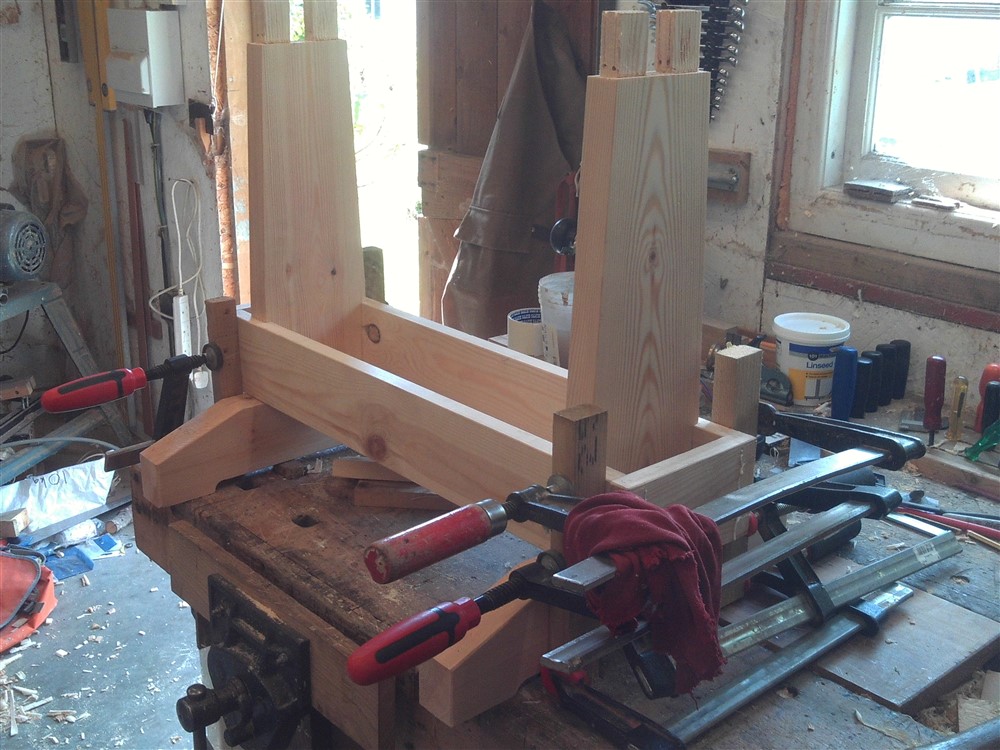
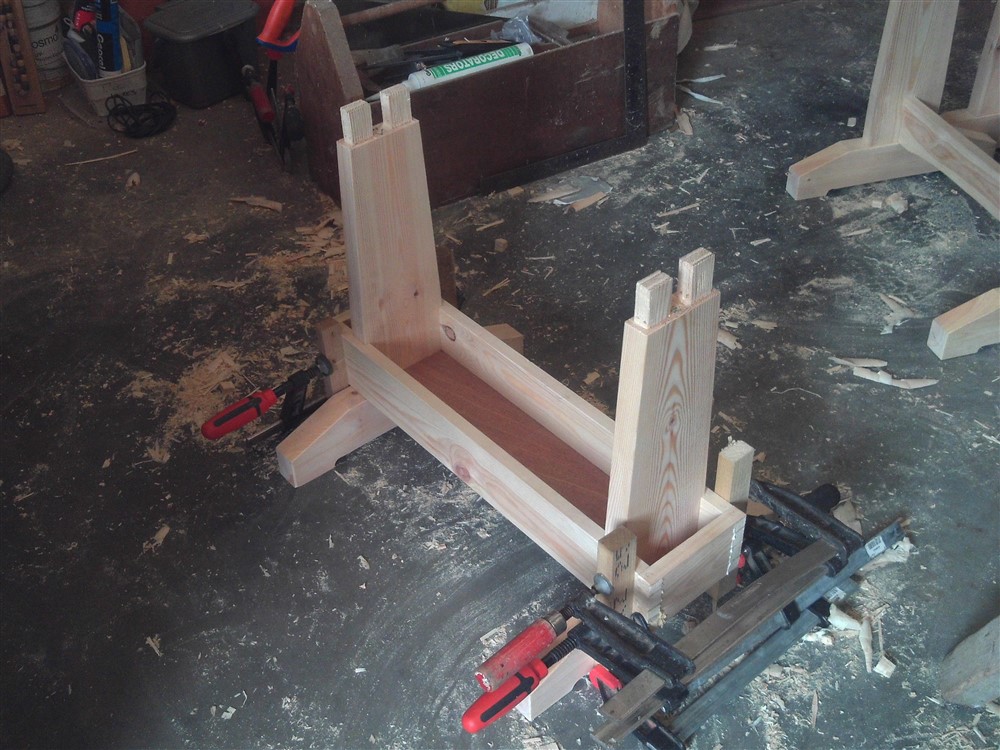
If anyone plans on copying this design, I'd think very carefully about this detail. It really isn't easy. With the glue starting to go off, and without being able to bash the dovetails home with a mallet, it took 4 clamps on one end to get everything into place:
AAahtSw.jpg


yWJxR46.jpg


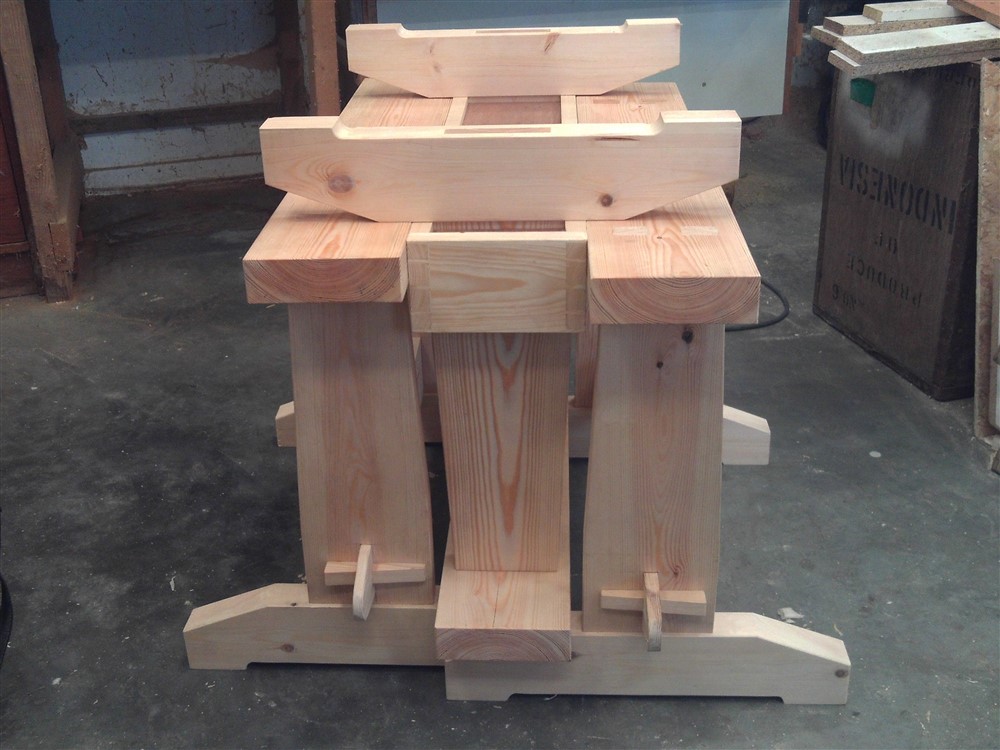
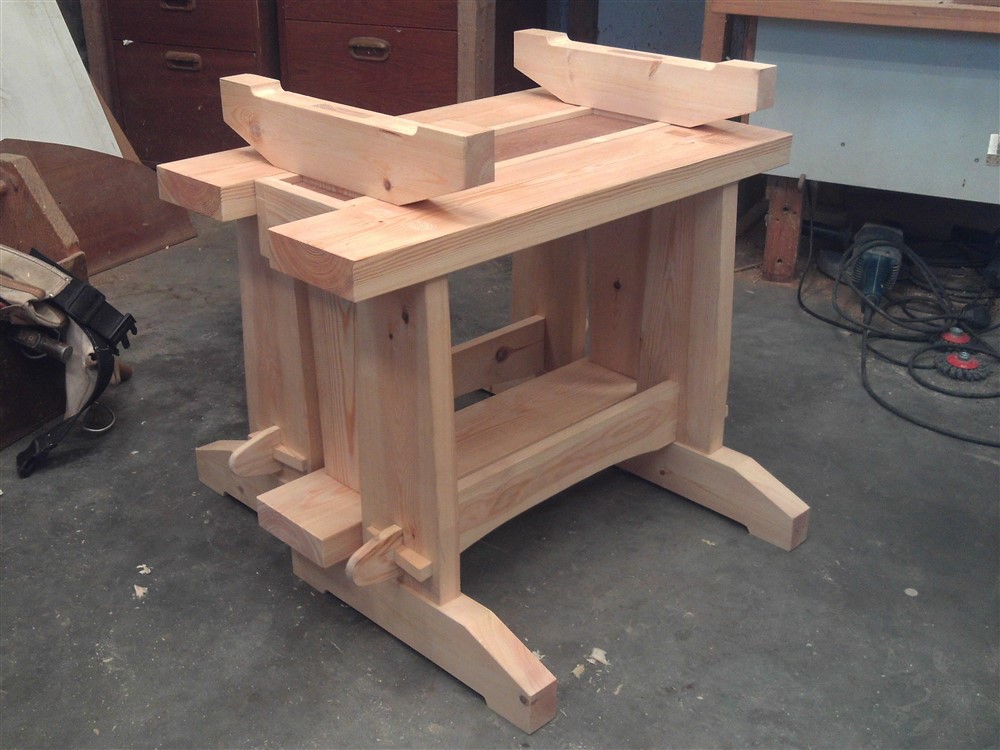
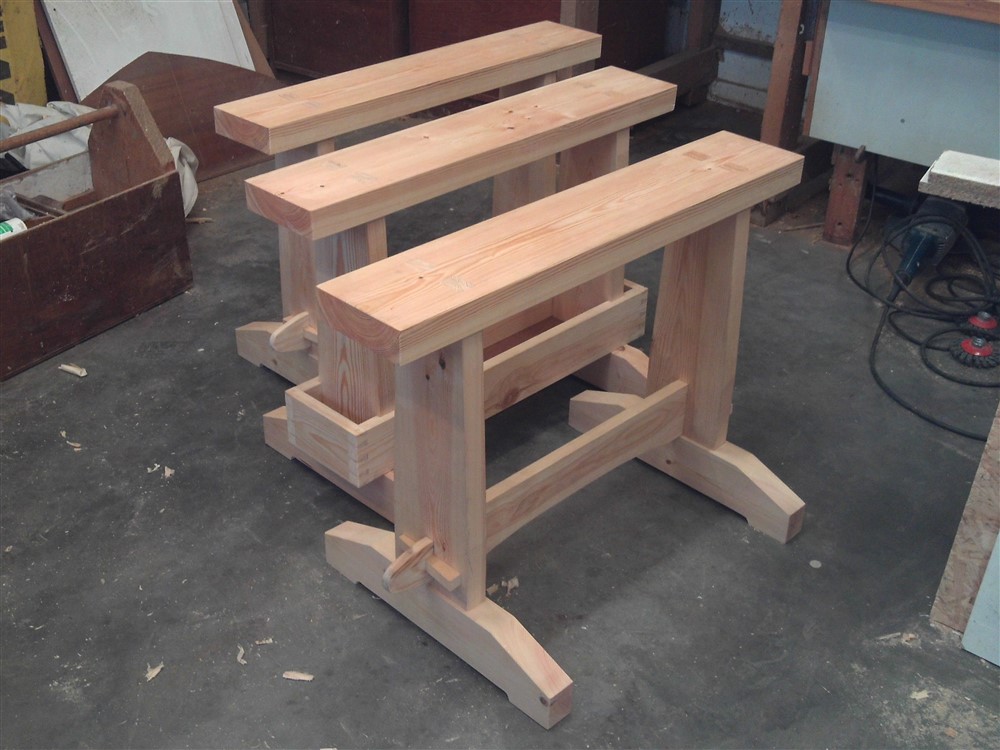
I designed these horses to stack as much as possible:
AzvuPwW.jpg


85cPMYi.jpg


I had to sweep the floor carefully to check that they all sat perfectly level:
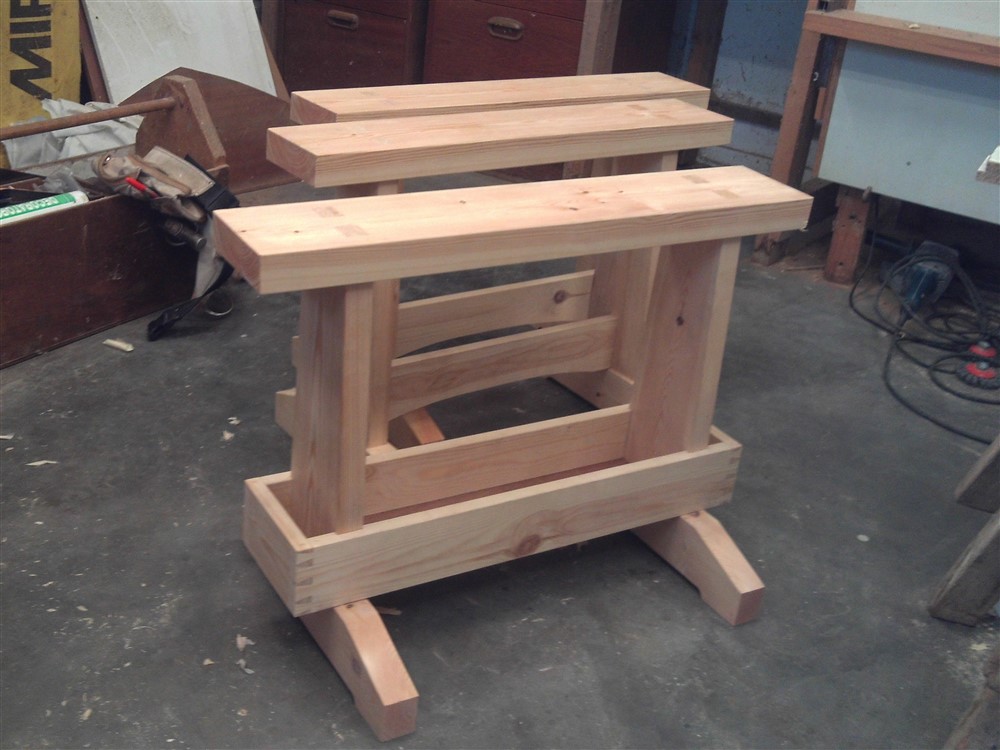
VsF8Gb9.jpg


The little compartment at each end of the tool-box version is for chisels and pencils etc. If I take a horse into the house it will be this one, enabling me to keep my tools off the floor, and to help carry everything back out to the workshop afterwards:
JciLjUt.jpg


VtcWj9j.jpg
 
great idea mike,

it's like a cross between a tool tote and the saw horse in one, he's lucky to have you as a teacher, my very first woodworking build was a pair of sawhorses, it's the perfect starting point. =D>
 
Thanks, thetyreman.

To be clear, my SIL made the first horse with me, but as it took longer than we expected I made the second and the tool-box version alone after he'd gone home to Spain.

-

To cheer up those here who are addicted to the idea of "reference surfaces", next time my wife isn't looking I'll sneak these into the kitchen and use the stone work-top as a reference for truing them all. Damned if I know why, as they'll never stand on anything perfectly flat........
 
I think most would be happy to have them off you to use for furniture in the house! Trestle tables are all the rage at the moment :lol:. Almost seems sacrilege to use such lovely workmanship for actual work.
 
If I could make saw horses as impressive as those, I would never, ever use them. I actually need at least one pair for the next project, and I have never attempted wedged tenons before so...
 
Trainee neophyte":30qbwxcc said:
If I could make saw horses as impressive as those...

You can. You just don't know it yet. Most of the skill involved in this project involved a square and a marking knife. The rest was just grunt work and a bit of cleaning up, and it was entirely a hand-tool project, using a very limited range of tools.
 
They look clever and smart. :)
Quite interested to see how you get on with them, and if you do any mods in future.
Looks like the best design of them I've seen so far.

Thanks for showing
Tom
 
Your horses are on my list to make.

I have workbench for my drill, vice and sharpening. I used the same construction as a dining table: flat jointed top, an apron, stretcher, cleats to hold top down with blind pinned mortise and tenons and stretcher with wedged tenons, laminated big legs. All from CLS timber but finished with wax and an oiled finish.

So a lot of care (and learning) went into it - but it also needed a bunch of holes (careful butchering) on the top to hold H/W down. But no regrets...

There’s a YouTube channel Next Level Carpentry. After making a pair of horses, they tested its ability. It has some faults but holds up very well. The second version has replaceable tops - so it should retain its appearance.

There is a 3rd version planned - I think you (already) built it!
 
My father made a simpler version, screwed and glued, with a tool tote something like yours, a leg vice on the end and a couple holes in the top for holdfasts. He made a wood screw for the leg vice. It made it easy to hold a door on edge for a little planing or fitting hinges and lock sets. Worked real nice and someday I'll make some for myself. Not sure if I'll go as deluxe as yours though.

Pete
 
Nice job Mike!

Saw horses are a great opportunity to practise hand tool joinery...and for traditional angled saw horses they're a great opportunity to practise laying out the job.
 
Great project and result Mike =D>

Takes me back when we first got hitched though, would go to stay with the inlaws for a few days and he would always have a job lined up for me to do. The missus wondered why I was a bit reluctant to visit as the years passed. :lol:
 
MikeG.":170f2zzk said:
Trainee neophyte":170f2zzk said:
If I could make saw horses as impressive as those...

You can. You just don't know it yet. Most of the skill involved in this project involved a square and a marking knife. The rest was just grunt work and a bit of cleaning up, and it was entirely a hand-tool project, using a very limited range of tools.

I own a handful of cheap chisels. One of them is nearly sharp. I own a plane, but have no idea how to sharpen it, so it doesn't really work. The good news is that I understand my deficiencies, and I am on the learning curve. If I can get some wood to make these beasts then I think I will have a go, but my wood of choice is currently rough-sawn pine shuttering and scaffold boards - cheap and cheerful is me!
 
Trainee neophyte":3dqv1lb7 said:
I own a handful of cheap chisels. One of them is nearly sharp. I own a plane, but have no idea how to sharpen it, so it doesn't really work. The good news is that I understand my deficiencies, and I am on the learning curve.

Can I make what I sincerely hope is a constructive suggestion?

Learn to sharpen your tools.

It's not actually that difficult and you don't need lots of fancy gizmos. You don't need every sharpening system under the sun, either.

You do need some practice.

I was taught, by my dad, to sharpen by hand with an oil-stone. My technique has improved a bit over the last half a century (!), but I do still use an oil stone. I bet if I had learned on water stones, or diamond stones or scary sharp, I would use them first too.

I do have waterstones and scary sharp, and I do use them, but my oil stone is my first port of call.

IT DOESN'T MATTER WHAT YOU USE. It does matter that you learn to use it in a way that delivers results. I repeat, it's not difficult, it just takes a bit of practice. And there is a lot more training material now, (Youtube, but let's not get our threads crossed here :)) than there ever was when I was young.

Learning to sharpen properly will be your single most important step-change in improving your woodwork and your enjoyment of that woodwork.
 
Steve Maskery":3o2nti64 said:
Trainee neophyte":3o2nti64 said:
I own a handful of cheap chisels. One of them is nearly sharp. I own a plane, but have no idea how to sharpen it, so it doesn't really work. The good news is that I understand my deficiencies, and I am on the learning curve.

Can I make what I sincerely hope is a constructive suggestion?

Learn to sharpen your tools.

It's not actually that difficult and you don't need lots of fancy gizmos. You don't need every sharpening system under the sun, either.

You do need some practice.

I was taught, by my dad, to sharpen by hand with an oil-stone. My technique has improved a bit over the last half a century (!), but I do still use an oil stone. I bet if I had learned on water stones, or diamond stones or scary sharp, I would use them first too.

I do have waterstones and scary sharp, and I do use them, but my oil stone is my first port of call.

IT DOESN'T MATTER WHAT YOU USE. It does matter that you learn to use it in a way that delivers results. I repeat, it's not difficult, it just takes a bit of practice. And there is a lot more training material now, (Youtube, but let's not get our threads crossed here :)) than there ever was when I was young.

Learning to sharpen properly will be your single most important step-change in improving your woodwork and your enjoyment of that woodwork.

Yes, yes, and yes again!!! I have been practicing a bit, which is why I now have one chisel that is "nearly" sharp. I need to do something about the plane, but I am a bit flummoxed by it, to be honest. It was a gift from my father when I was 8 or 9 - he decided I needed a tool box full of tools, because that's what fathers do for their sons. He never once showed me how to use any of it (not sure he knew, to be honest), and all I have left is the plane, and 40 years of cobwebs and dents from it banging around in my toolbox. I absolutely WILL get it up and running, but fun stuff like making bathroom cabinets keeps getting in the way. Given that three months ago I had never heard of a shooting board, I think I am now on the right track, even if progress is slow. At least there is now progress. I am reading every new thread here, every day, in the hopes of absorbing new knowledge, and it seems to be working. All I need now is time to make stuff. I should probably retire, so I can do some real work.
 
custard":2zekjjj9 said:
Saw horses are a great opportunity to practise hand tool joinery...and for traditional angled saw horses they're a great opportunity to practise laying out the job.

They still do it as a practical project in the local college, I remember the layout was quite daunting for a beginner! 1:4 angle housings in the seat, compound cut joints in 3 planes on the legs and compound angles the feet. I don't think anyone ever made one that didn't sit on all 4 feet perfectly first try, it was very complex even when I think of it now.

I think I still hold the student time record, but mine still wobbled a little :lol:
 
Trainee neophyte":1qsgkq41 said:
........It was a gift from my father when I was 8 or 9 - he decided I needed a tool box full of tools, because that's what fathers do for their sons. He never once showed me how to use any of it.........

No-one has ever shown me how to use any of my stuff. I just worked it out for myself........so you've no excuse!! :)
 
They look great - thanks for sharing. I made a couple to a plan that’s available online from Chris Schwarz a few years ago when I started to get back into woodworking. To the point that this sort of exercise is also a good learning opportunity I remember 1970’s woodwork o level lessons coming back (it will be called something like materials and design now!) while doing it.

The link is here if anyone wants it https://woodandshop.com/wp-content/uplo ... wbench.pdf but I would highlight I agree with Mike that splayed legs tend to get in the way.
 
I just thought I should add a post script to this thread. If you are planning on standing on saw horses (and admit it, most people do) then these are a bit tippy. You should trim the length of the top by 50mm or so at each end so that the overhang isn't so long. Alternatively, keep the top the same length and widen the gap between the legs by lengthening the stretcher and moving the mortices in the top out towards the ends. They're great for sawing and general workshop use, but not good for standing on as I built them.
 

Latest posts

Back
Top