markblue777
Established Member
Hi all,
So as I do not have a fixed workshop I need the ability to pack up my workbench and because of this I carriage bolted a bit of 18 mm MDF that I had around from an old desk onto the top of a cheap workmate. This worked well and I have even added bits to the "bench" to hold tools and to be able to attach my sharpening setup. I even mounted my router table (a cheapy one from aldi) to the bench as well.
But lately I was thinking that when the router table is mounted it is just to high up and I dont get enough control and the feed area is just not big enough. So I thought I would modify my popup workbench so it could take my router.
The initial step (sorry no pictures here) was to take the top off the workmate and remove the standard "tops" that you get on it. After removing these I then re-attached the sheet of MDF back onto it and mounted it via the screws that held the original tops in place (so 16 screws in total to secure it) once this was done I was good to go.
I did not just want to rabbet the underside of the board out and then mount the router under it. This to me is too much of a fiddle each time I need to put the bench away and get it out, but I also did not want to buy a router insert plate as I wanted to keep this build to as low as possible.
After reading an old fine wood working article (I believe it was one of theirs) I saw a part in there for using some Perspex as a router insert plate, it just needed to be 6mm thick. So a quick look on ebay and I got an A4 size sheet for about £5.
So with the sheet received I marked it out on the table and drew around the routers existing base plate to centre it.
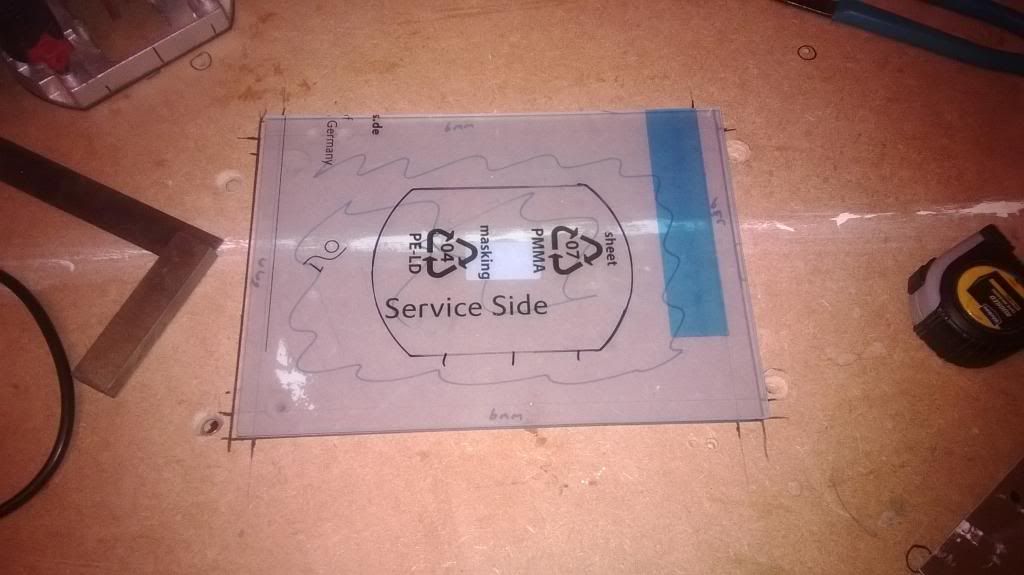
I then measured out how I was going to rebate the edges and what area I could just chop out. The rebate to hold the insert is of 6mm all around.
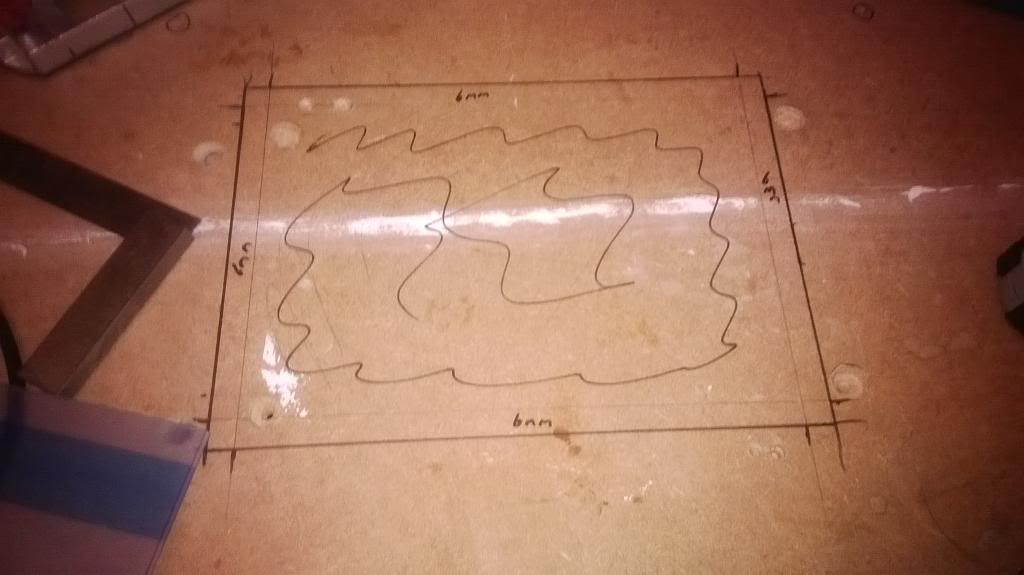
I then fitted the router to the Perspex sheet to ensure all fit as expected
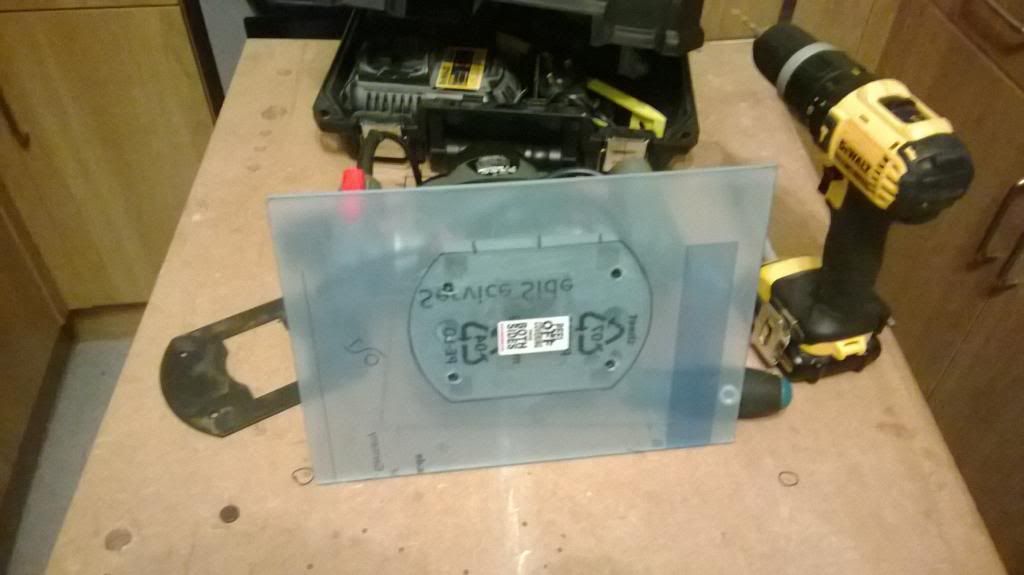
I then forgot to take further pictures but basically the following day I cut out the centre piece and routed the rebate to hold the Perspex. After some tidying up with the chisel the Perspex fit in it nicely but I had to add 4 screws in each corner to act as levellers.
With the router mounted to the plate and inserted into the table all works well; well, wellish. I need to go back and really mount the levelling screws through the bottom (I bought some 3.5 machine screws that should do the job so at the weekend Im looking at sorting that out).
I also need to be able to fix the plate to the table, I am going to do this with 4 screws I believe and then that way I can use the old car jack router lift trick for the table and the plate wont pop out, well that the plan anyway.
I will get further pictures of this as I am doing it and will try and get some to fill in the gaps above.
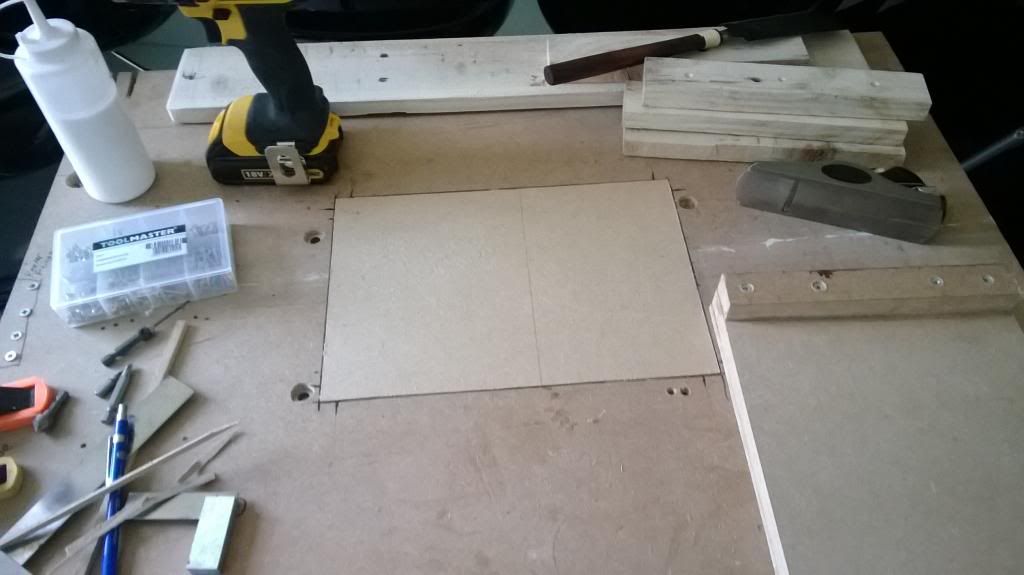
Below is a shot of the workbench without the router in place (and with another WIP on it that will have its own post soon), obviously the gaping hole is not brilliant (you can sort of make out the levelling screws in the hole on the top left and right).
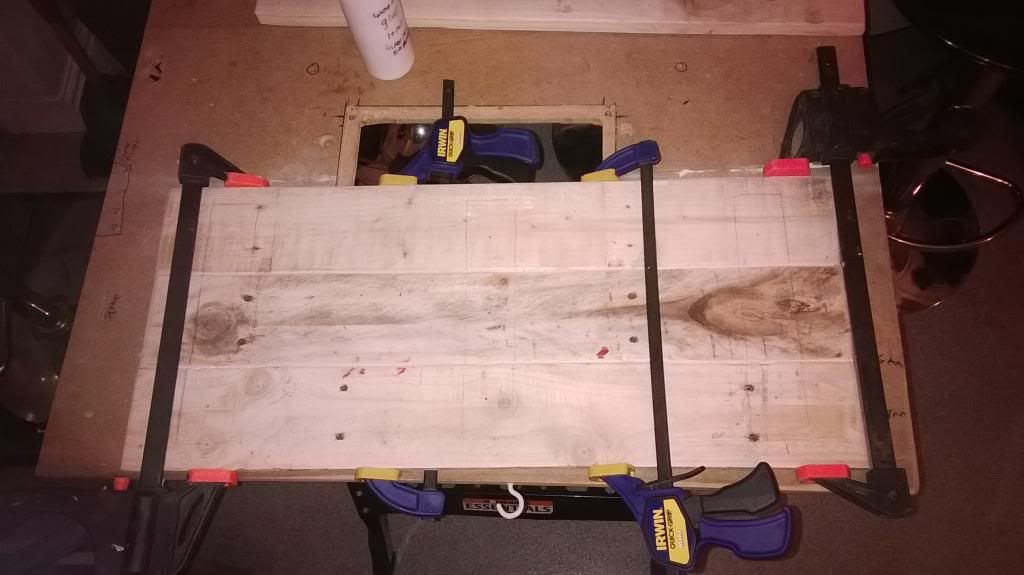
I looked in the cupboard and found that I had some 6mm MDF doing nothing so I made an insert for the hole so that I could have a full workbench when I do not have the router in it.
So far it is working out nice but I am now thinking I need to do a version 2 before I have even finished this one. But I will persevere with this and when I have it ground out I will get a new sheet of MDF and do Version 2
More updates to come, but thanks for reading
Cheers
Mark
So as I do not have a fixed workshop I need the ability to pack up my workbench and because of this I carriage bolted a bit of 18 mm MDF that I had around from an old desk onto the top of a cheap workmate. This worked well and I have even added bits to the "bench" to hold tools and to be able to attach my sharpening setup. I even mounted my router table (a cheapy one from aldi) to the bench as well.
But lately I was thinking that when the router table is mounted it is just to high up and I dont get enough control and the feed area is just not big enough. So I thought I would modify my popup workbench so it could take my router.
The initial step (sorry no pictures here) was to take the top off the workmate and remove the standard "tops" that you get on it. After removing these I then re-attached the sheet of MDF back onto it and mounted it via the screws that held the original tops in place (so 16 screws in total to secure it) once this was done I was good to go.
I did not just want to rabbet the underside of the board out and then mount the router under it. This to me is too much of a fiddle each time I need to put the bench away and get it out, but I also did not want to buy a router insert plate as I wanted to keep this build to as low as possible.
After reading an old fine wood working article (I believe it was one of theirs) I saw a part in there for using some Perspex as a router insert plate, it just needed to be 6mm thick. So a quick look on ebay and I got an A4 size sheet for about £5.
So with the sheet received I marked it out on the table and drew around the routers existing base plate to centre it.

I then measured out how I was going to rebate the edges and what area I could just chop out. The rebate to hold the insert is of 6mm all around.

I then fitted the router to the Perspex sheet to ensure all fit as expected

I then forgot to take further pictures but basically the following day I cut out the centre piece and routed the rebate to hold the Perspex. After some tidying up with the chisel the Perspex fit in it nicely but I had to add 4 screws in each corner to act as levellers.
With the router mounted to the plate and inserted into the table all works well; well, wellish. I need to go back and really mount the levelling screws through the bottom (I bought some 3.5 machine screws that should do the job so at the weekend Im looking at sorting that out).
I also need to be able to fix the plate to the table, I am going to do this with 4 screws I believe and then that way I can use the old car jack router lift trick for the table and the plate wont pop out, well that the plan anyway.
I will get further pictures of this as I am doing it and will try and get some to fill in the gaps above.
Below is a shot of the workbench without the router in place (and with another WIP on it that will have its own post soon), obviously the gaping hole is not brilliant (you can sort of make out the levelling screws in the hole on the top left and right).

I looked in the cupboard and found that I had some 6mm MDF doing nothing so I made an insert for the hole so that I could have a full workbench when I do not have the router in it.

So far it is working out nice but I am now thinking I need to do a version 2 before I have even finished this one. But I will persevere with this and when I have it ground out I will get a new sheet of MDF and do Version 2
More updates to come, but thanks for reading
Cheers
Mark


