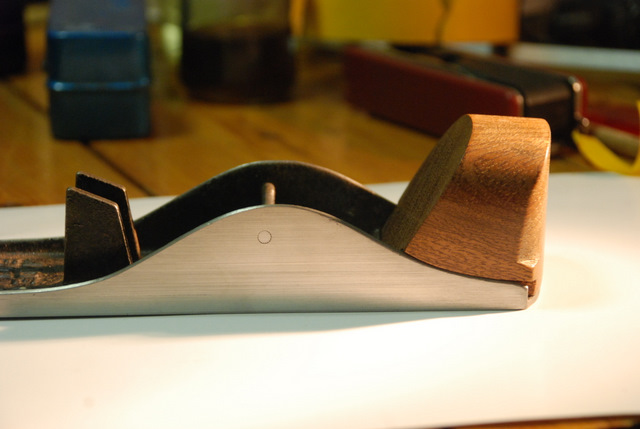
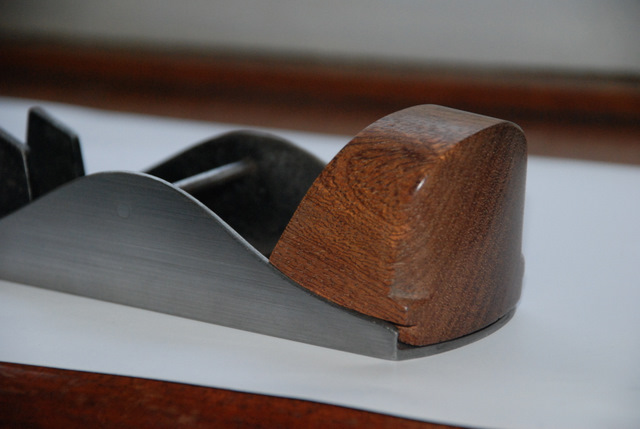
jimi43
Established Member
Well...since reading Derek from Oz's fantastic thread "Galoot Smoother II", I have learned three things...
1) What the hell "Galoot" means (yup...sheltered life I know!)
2) That describes me exactly!!!
3) I wanted to build one!
So....since I have more smoothers than I need and don't have a decent block plane I thought I would take a very "not decent" one and make my very own Galoot Block plane....
If you have read Derek's thread which I partially hijacked you will remember this Stanley 110 which was scheduled for the bin....
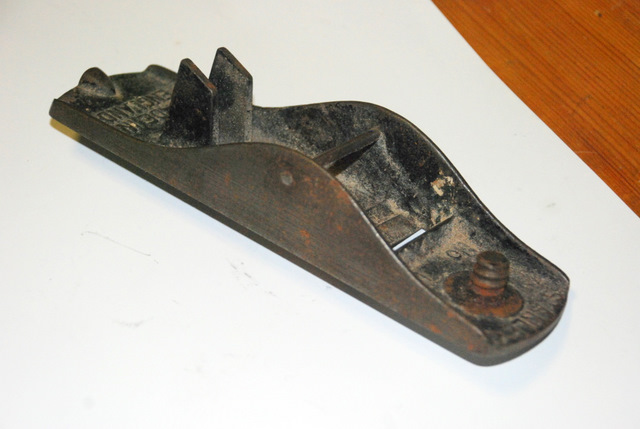
A mate gave it to me and it had a broken wheel and a pretty crap body as you can see!
I fettled it up a bit and it came out really well but could do with further work later...
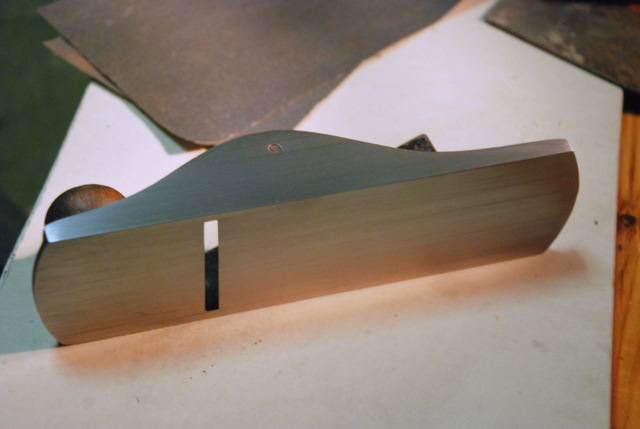
I didn't want to waste too much time at this because I wasn't sure how it would come out....
Next was the issue of the wood to use for the infill....which was quickly solved by our dear friend John...(benchwayze) when he so very generously offered me this gorgeous piece of mahogany he had going spare:
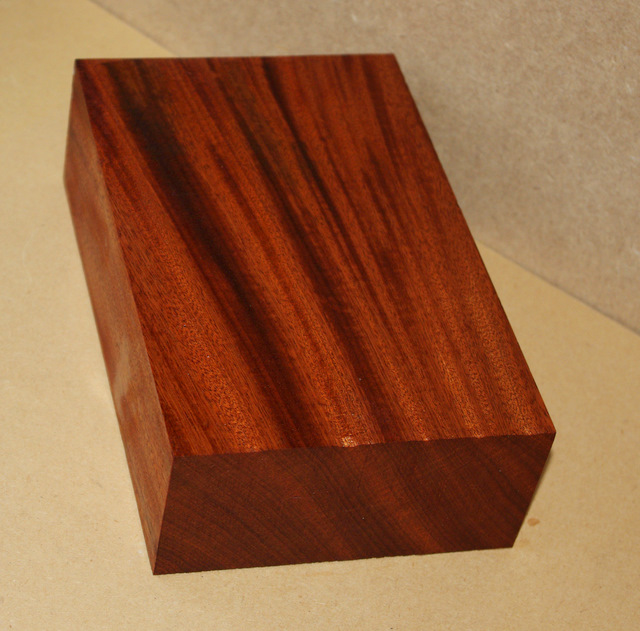
It was perfectly cut and arrived really quickly despite the snow! I really was nervous about cutting it up as it is so very easy with mahogany to get the "terrible mixed grain" scenario if you are not careful and I really wanted to bring out the beautiful grain whilst keeping the cut strong enough for the front tote...
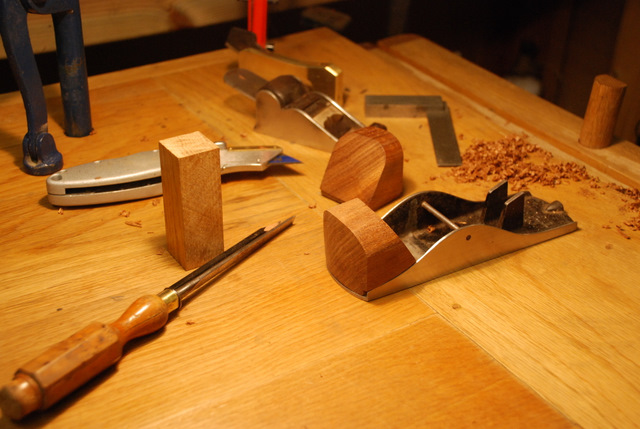
So today...the first day of my leave...I bit the bullet and took the saw to it...cutting the approximate width from the original block:
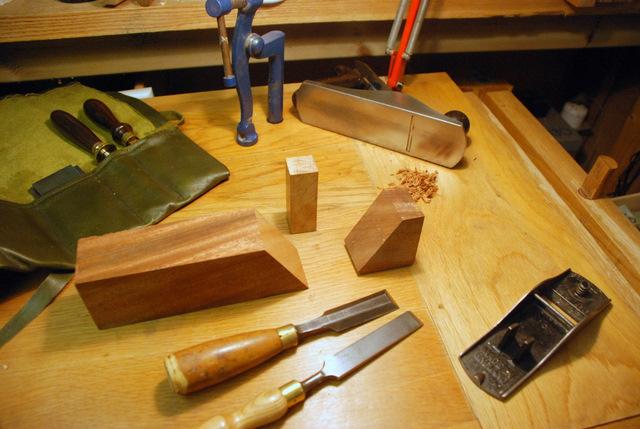
This was then cut at the correct angle to give a right angle between the frog infill and the tote infill...the plan being to keep the original slope on the frog....
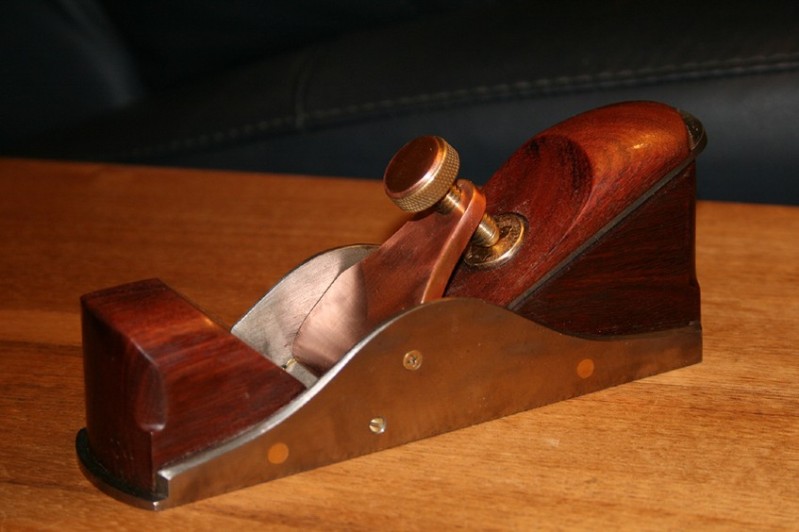
I was really dying to try out my Aled shoulder plane build and this project gave me the ideal opportunity since the front step will be retained and so the infill tote needs to be cut to fit this flush:
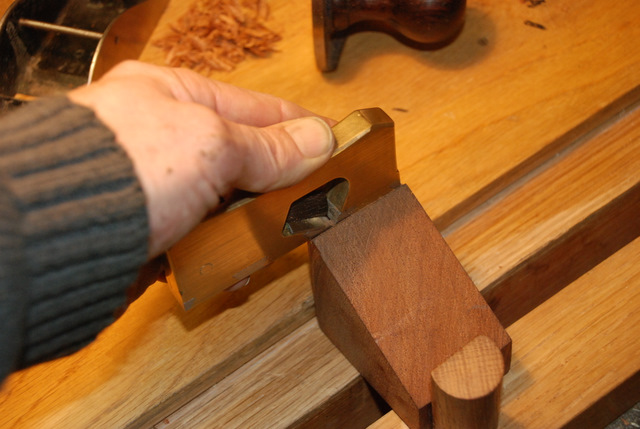
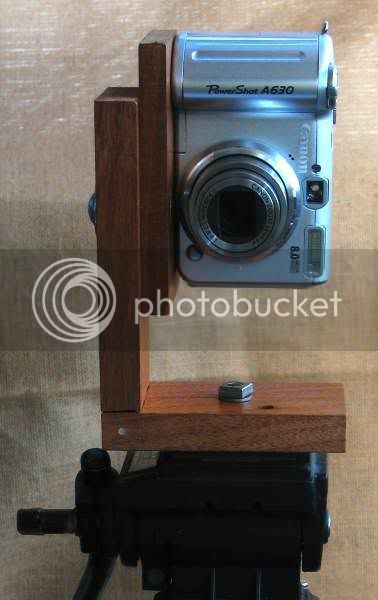
I wish to point out that I don't use a plane like this! I had the camera in the other hand as my trusty cameralady was at work...boy Aled...is your plane SUPERB!!!
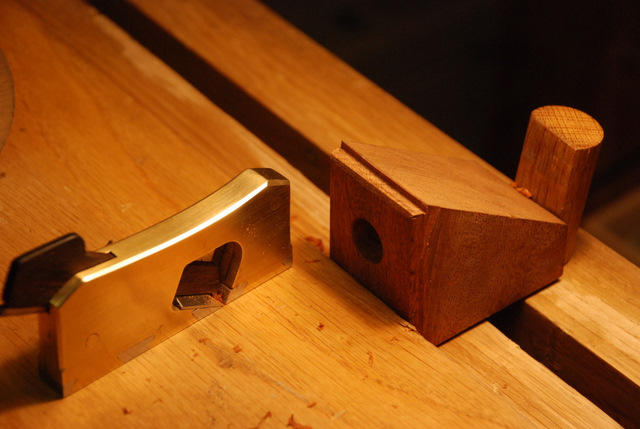
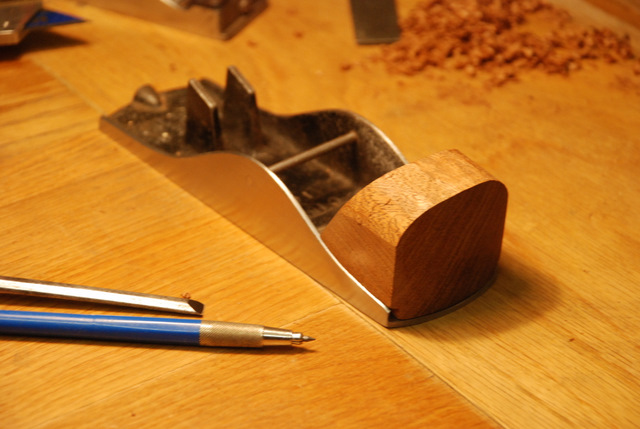
Nice fit!!
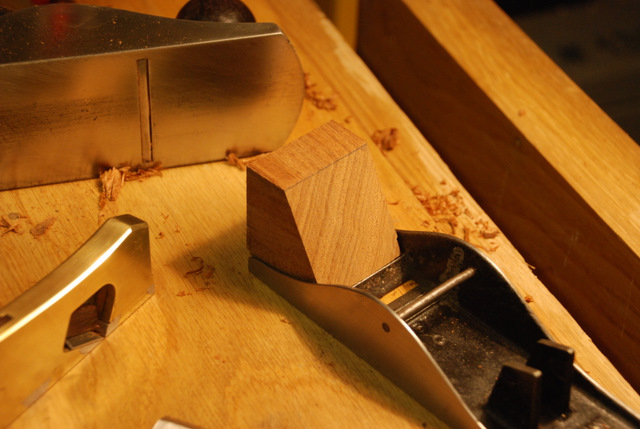
I ground the "STANLEY" name off the front of the tote but retained the original knob stub because this is probably going to be the only thing that is going to hold the new infill on! I think I will epoxy the tote in and see how it goes...I might put some brass studs in but not sure I have the room yet...
Even though the weather is FAR warmer and the shop was up to 50 degrees today with a little heating...I decided to take the job inside and finish off the infill with the little Greaves plane and progressive work with 3M Micromesh....I wanted to get this mirror finish without any actual finish yet to see how the grain turns out...I was not disappointed!!
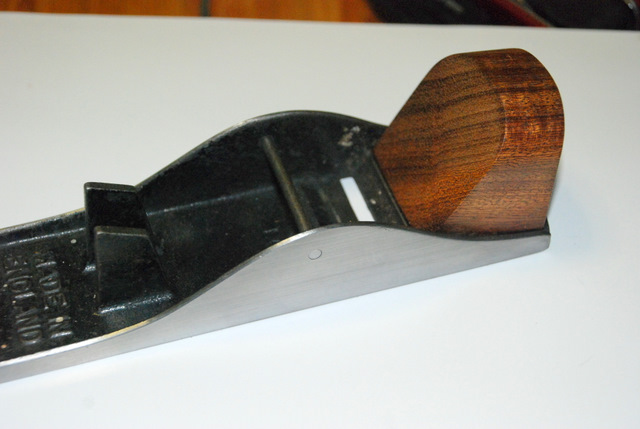
I am going to leave the detailed work until tomorrow, some bevels and counter curves like Derek's beautiful work...
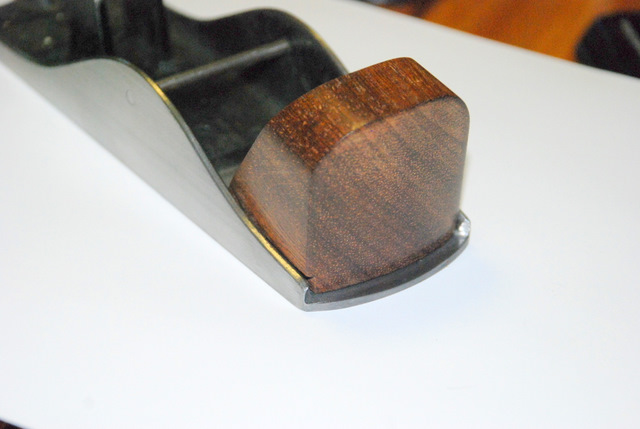
but I am rather pleased with the job so far....this is going to be a nice plane...
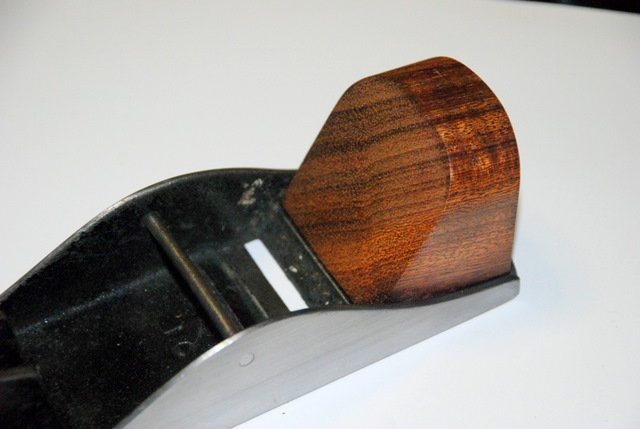
That's all for now folks...
Jim
1) What the hell "Galoot" means (yup...sheltered life I know!)
2) That describes me exactly!!!
3) I wanted to build one!
So....since I have more smoothers than I need and don't have a decent block plane I thought I would take a very "not decent" one and make my very own Galoot Block plane....
If you have read Derek's thread which I partially hijacked you will remember this Stanley 110 which was scheduled for the bin....

A mate gave it to me and it had a broken wheel and a pretty crap body as you can see!
I fettled it up a bit and it came out really well but could do with further work later...

I didn't want to waste too much time at this because I wasn't sure how it would come out....
Next was the issue of the wood to use for the infill....which was quickly solved by our dear friend John...(benchwayze) when he so very generously offered me this gorgeous piece of mahogany he had going spare:

It was perfectly cut and arrived really quickly despite the snow! I really was nervous about cutting it up as it is so very easy with mahogany to get the "terrible mixed grain" scenario if you are not careful and I really wanted to bring out the beautiful grain whilst keeping the cut strong enough for the front tote...
So today...the first day of my leave...I bit the bullet and took the saw to it...cutting the approximate width from the original block:

This was then cut at the correct angle to give a right angle between the frog infill and the tote infill...the plan being to keep the original slope on the frog....
I was really dying to try out my Aled shoulder plane build and this project gave me the ideal opportunity since the front step will be retained and so the infill tote needs to be cut to fit this flush:

I wish to point out that I don't use a plane like this! I had the camera in the other hand as my trusty cameralady was at work...boy Aled...is your plane SUPERB!!!

Nice fit!!

I ground the "STANLEY" name off the front of the tote but retained the original knob stub because this is probably going to be the only thing that is going to hold the new infill on! I think I will epoxy the tote in and see how it goes...I might put some brass studs in but not sure I have the room yet...
Even though the weather is FAR warmer and the shop was up to 50 degrees today with a little heating...I decided to take the job inside and finish off the infill with the little Greaves plane and progressive work with 3M Micromesh....I wanted to get this mirror finish without any actual finish yet to see how the grain turns out...I was not disappointed!!

I am going to leave the detailed work until tomorrow, some bevels and counter curves like Derek's beautiful work...

but I am rather pleased with the job so far....this is going to be a nice plane...

That's all for now folks...
Jim


