Would you believe I have got another lemon

UKworkshop.co.uk

Help Support UKworkshop.co.uk:

This site may earn a commission from merchant affiliate links, including eBay, Amazon, and others.
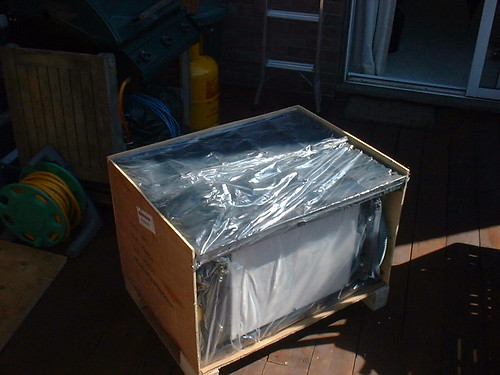
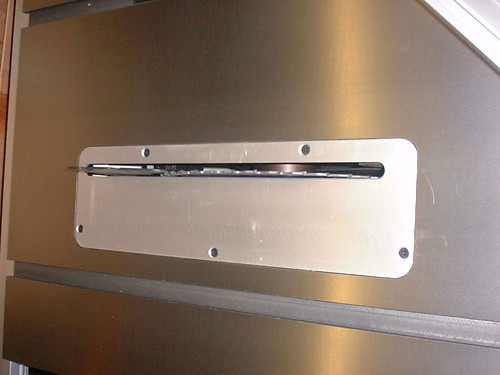
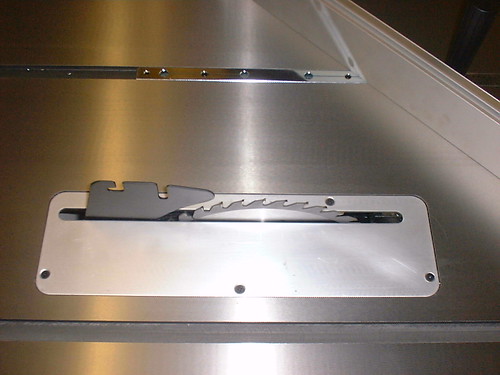
Ok, I`m gonna die sometime, may as well make use of the situation....


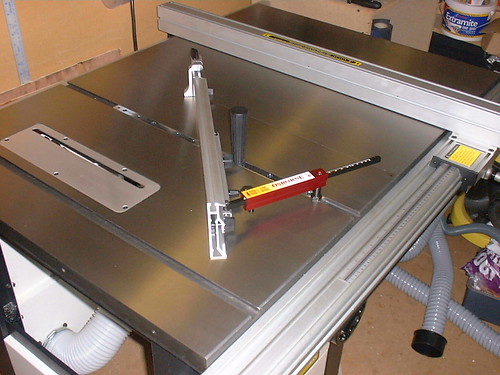
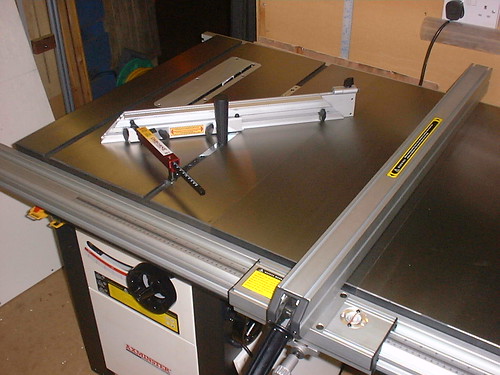
dimensions of LEGS..looking from front of saw.

width 54cms (21 1/4") x depth 68cms (26 3/4") the threaded holes are horizontal at the front facing forward and vertical at the back facing sideways,, and are the same distance apart being 38mm ( 1 1/4")
 
Mike.C":jvt8tvho said:
Neil thanks for explaining it better then me :oops:

As I said the holes on my saw were for the wheel kit that came with it. If you want a kit and Axminster do not sell them, you could get a set from a SIP agent, there about £40 and well worth the money. If you give me a measurement I can check to see if they will fit your saw.

Cheers

Mike
When I purchased my saw I also bought the planer/thicknesser and managed to convince the salesman to give me 2 mobile wheelbases FOC :D , these bases did not bolt to the machine but were made of L section steel which bolted together and were adjustable to the size needed, the only thing is that they only had 2 swivel wheels which makes it difficult or not as easy to wheel about with accuracy, a bit like an ASDA shopping trolley :lol: , well worth putting wheels on though.

Martin
 
For anyone interested, my pics just cant get them to display directly on here:

http://www.flickr.com/photos/neilo2007/


if some nice person could follow link above and leave a comment, just so I know you guys can access the site , i`d appreciate it ..


Edited (several times) I give up I cant get these poxy things to display.....Argh!!!!!!!
 
Looks like flickr doesn't let you link directly to the image Neil, might need to find another host
 
1367914680_29c6eaba06.jpg

1367019761_2728dfc9d9.jpg

1367020019_a58ea854a8.jpg

1367915778_d77848d5fc.jpg

1367020665_19001b0ecf.jpg

1367020939_232cdeb878.jpg
 
thanks Chas, I have been trying since monday, to do that :cry: :cry:


see its not just a figment of my imagination...


thanks again Chas....
 
Neil, DW, its blinking cold out there. Sorry guys but it is not going to fit yours because both sets of threaded holes (at each end) need to be horizontal.

Nice saw Neil and look at that Osbourne :lol:

Cheers

Mike
 
Sawdust producer wrote " Nice Setup BTW"....Thanks ...

but now needs sorting out properly everything was hastly moved when I realised how bloody big the TS actually is....
 
Thanks for checking Mike, think axminster do one anyway, around £60 mark just got to remember , that it needs to be sturdy enough for 270 kgs...
 
Of course you could have a bigger shed :lol:
1343006466_1bc2b08ff4_o.jpg


Neil I think what you are doing when pasting the properties location you are including the end of the properties which has the affix ?v=0 when you drag across to highlight the property location stop short of the ?v=0 bit.

Or an easier way is to click on the (All Sizes) button above the pic, choose which size you want and the property location address is below the pic, copy that.
 
Thanks LN, Chas (CHJ) pointed me in the right direction , I have the hang of it now, ....yes I was leaving the .$ ? vo rubbish on the end....

just check out my ability in "dust extraction advice " in general woodworking..

again many thanks , just love you guys for helping (platonic) :lol:
 
Mike.C":68nxbqe3 said:
Neil, DW, its blinking cold out there. Sorry guys but it is not going to fit yours because both sets of threaded holes (at each end) need to be horizontal.

Nice saw Neil and look at that Osbourne :lol:

Cheers

Mike

Its chilly down here in Devon this morning. We have horizontal holes at leg bases and the other end we have a pair of vertical as well.

Our vertical holes centre at 16" I am unable to ascertain the horizontal ones becase I would need to transfer the legs orientation.


The strap mentioned earlier by martin and myself is obviously a part of an old jockey wheel set up (b...... awful on a previous saw I had). It would screw up to those verticle holes mentioned above.
 
The Australian have got the same saw.

copy of forum message and reply.


Originally Posted by ptygmit
I recognise that saw!!

Its the taiwanese MJ2325 clone, and i have the Ledacraft version. Carbatech and hare forbes also sell it.

The top piccie is exactly how mine came, the blade runs about 2mm from the left side of the insert.

Out of interest, grab the saw blade and give it a vertical tug. Does yours move upward about 2-4mm? I put a post on here a while back, and the consesus was that this was a fault, but Ledacraft said that all the saws of this model do it, and the weight of the assembly keeps the blade in place. I was pretty dubious, but checked it out and every one of these saws i located did the same thing.

I built myself a new insert mate. Its pretty easy to do (use the old one as a template) and fixes the problem.

Cheers

pete

Thanks for that information above, I have just gone straight out and mine does the same. (the blade raises when grabbed and lifted)

So if I make a new insert the traditional way, a sheet of ali cut to shape, screwed down, raise a spinning saw blade through the insert I should have zero clearance.

But do I not need some space between blade and its gullet. Above working would be nil so do I file off a bit?
__________________
 
needing space between the blade and the gullet depnds on how your going to use the saw DW....as I see a zero tolerance insert, there would be a minimum amount of free space between the blade and the gullet, possibly a mm all round...
but if your going to use the R Knife and crown gaurd , do as Tony suggests by driving the blade through the new insert then use a jigsaw or similar tool to elongate the hole for the r.knife to pass through.

unfortunately I wont be using the crown guard , as my shop is a little small, so im making using of the TS by covering it with ply and using it as a secondary bench/ assembly table when not in use..
 
Oh come on DW!!!

So much fuss! :D

You want a zero clearance a plate and you have one. The gap on the other side of the blade is needed for tilting. Why make another when the first is OK.
If you think it is too tight to the blade then file a little off. 5 mins at the most.
A replacement can't be expensive to buy. Make another out of thin plywood and sand it flush to the table top. I do not think you have a lemon ---- just tweak the saw to your satisfaction.
If you want perfection then spend a few thousands on an industrial job.

Aldel
 

Latest posts

Back
Top