


Nigel Burden
Established Member
Having made a wooden Strike Block Plane which, after a fair amount of fettling, worked reasonably well, I thought that I'd have a go at making a wooden Mitre Plane. Firstly, I had never handled one of these, and had no idea of the dimensions involved so I went to Bill Carters website to have a look at some of his work. This gave me an idea of the layout of one of these planes. I then watched his video on the mouth closer. That's when I began to think that I'd bitten off more than I could chew, as Bill said that making one of these is ten time harder than making a smoother. Any way, nothing venture, nothing gain.
I'd already prepared the cherry billet which was 8 1/8" long x 2 1/4" wide x 1 7/8" high. The iron I am using is a J Herring 1 1/2" new old stock that I'd previously bought from G & M Tools.

After marking out I decided that I would drill out the mouth. Error one, I drilled too far to the side which just caught the edge of the the mouth.

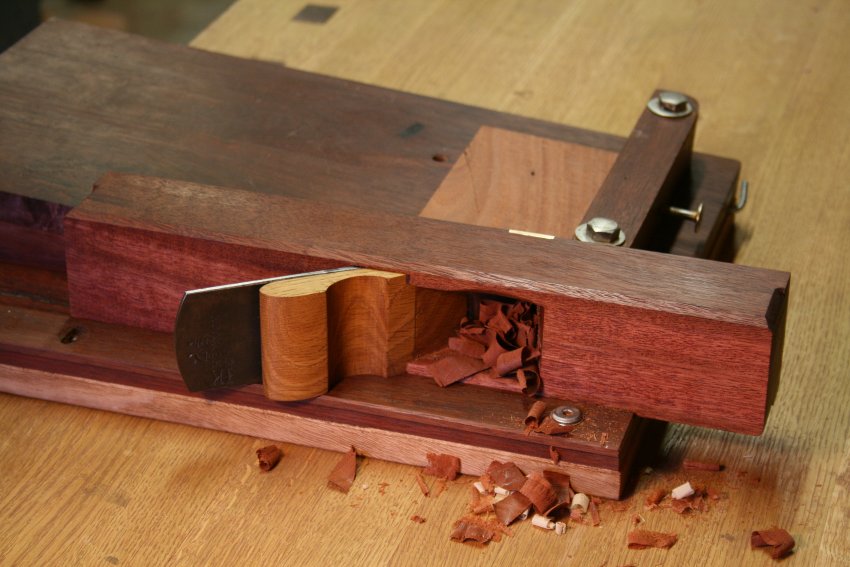
The next image where I am chiselling out the bed shows this error, fortunately, not terminal. The bed angle is 25 degrees. You can see that I'm cutting the edges of the bed with a pad saw. The wood was quite hard and took quite a time to chisel out.

It would have been better to have only drilled the width of the throat and not into the outer edges of the mouth, I could have then cut the outer edges where the mouth closer fits with the pad saw and chisel. The mouth closer abutment line has to be recut once the wedge abutments have been cut due to the mouth closer forming the wear, which takes the line behind the mouth opening. The wedge abutment line goes through the mouth, and cutting this first allows room for the saw to complete its stroke when cutting the mouth closer abutments, which would not be possible otherwise.
The next image shows the bed cut and the mouth partly formed. The error that I made drilling the mouth can be seen on the right hand side.

Nigel.
I'd already prepared the cherry billet which was 8 1/8" long x 2 1/4" wide x 1 7/8" high. The iron I am using is a J Herring 1 1/2" new old stock that I'd previously bought from G & M Tools.
After marking out I decided that I would drill out the mouth. Error one, I drilled too far to the side which just caught the edge of the the mouth.
The next image where I am chiselling out the bed shows this error, fortunately, not terminal. The bed angle is 25 degrees. You can see that I'm cutting the edges of the bed with a pad saw. The wood was quite hard and took quite a time to chisel out.
It would have been better to have only drilled the width of the throat and not into the outer edges of the mouth, I could have then cut the outer edges where the mouth closer fits with the pad saw and chisel. The mouth closer abutment line has to be recut once the wedge abutments have been cut due to the mouth closer forming the wear, which takes the line behind the mouth opening. The wedge abutment line goes through the mouth, and cutting this first allows room for the saw to complete its stroke when cutting the mouth closer abutments, which would not be possible otherwise.
The next image shows the bed cut and the mouth partly formed. The error that I made drilling the mouth can be seen on the right hand side.
Nigel.


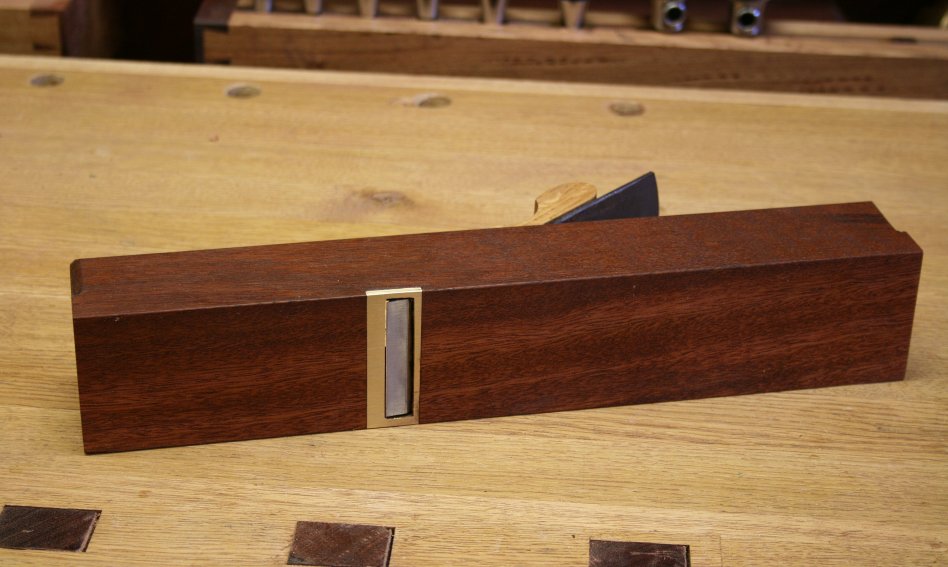


 . Oh well too late now. I'll have to insert a brass plate at a later date to reinforce the mouth.


