


Hi, I haven't post here for a while.
Decided to make use of some ash and sapele off-cuts left from a flooring/parquet job and had the idea of
making a bracelet (or indeed a set of bracelets) using a technique akin to segmented turning.
I opted to make the bracelet oval instead of round since I think it would fit better on the wrist.
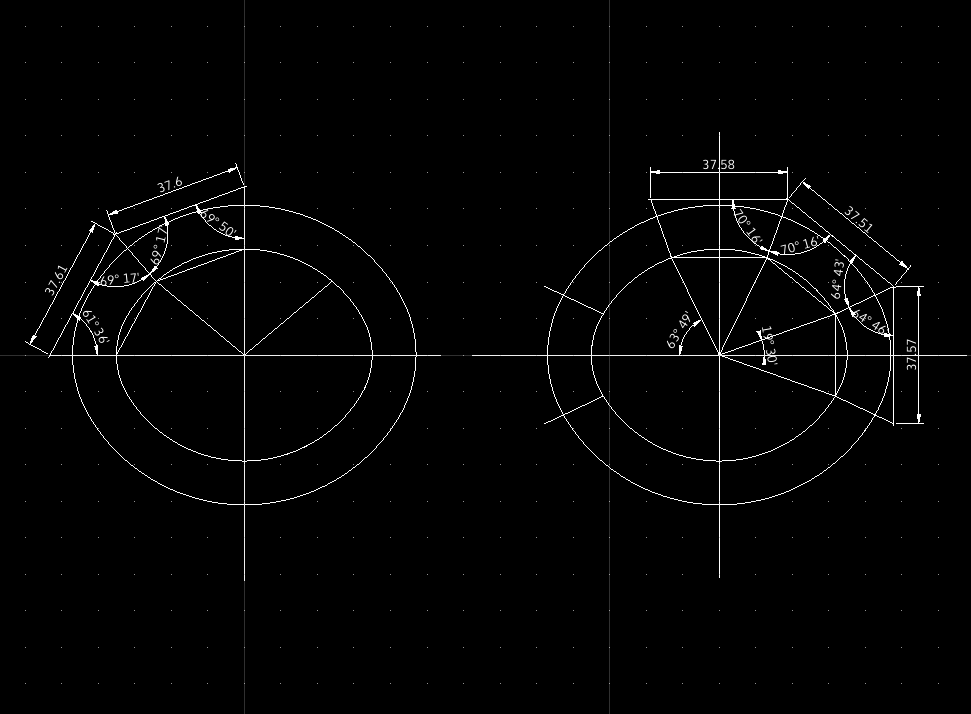
First off, I used a cad program to help me draw the bracelet and figure out the relevant dimensions/angles for the segments.
I also used the drawing to build a set of templates for routing the shapes as shown further on.
A good source of how to approximate ellipses with circular arches can be found here:
http://www.thisiscarpentry.com/2012/02/ ... es-part-2/
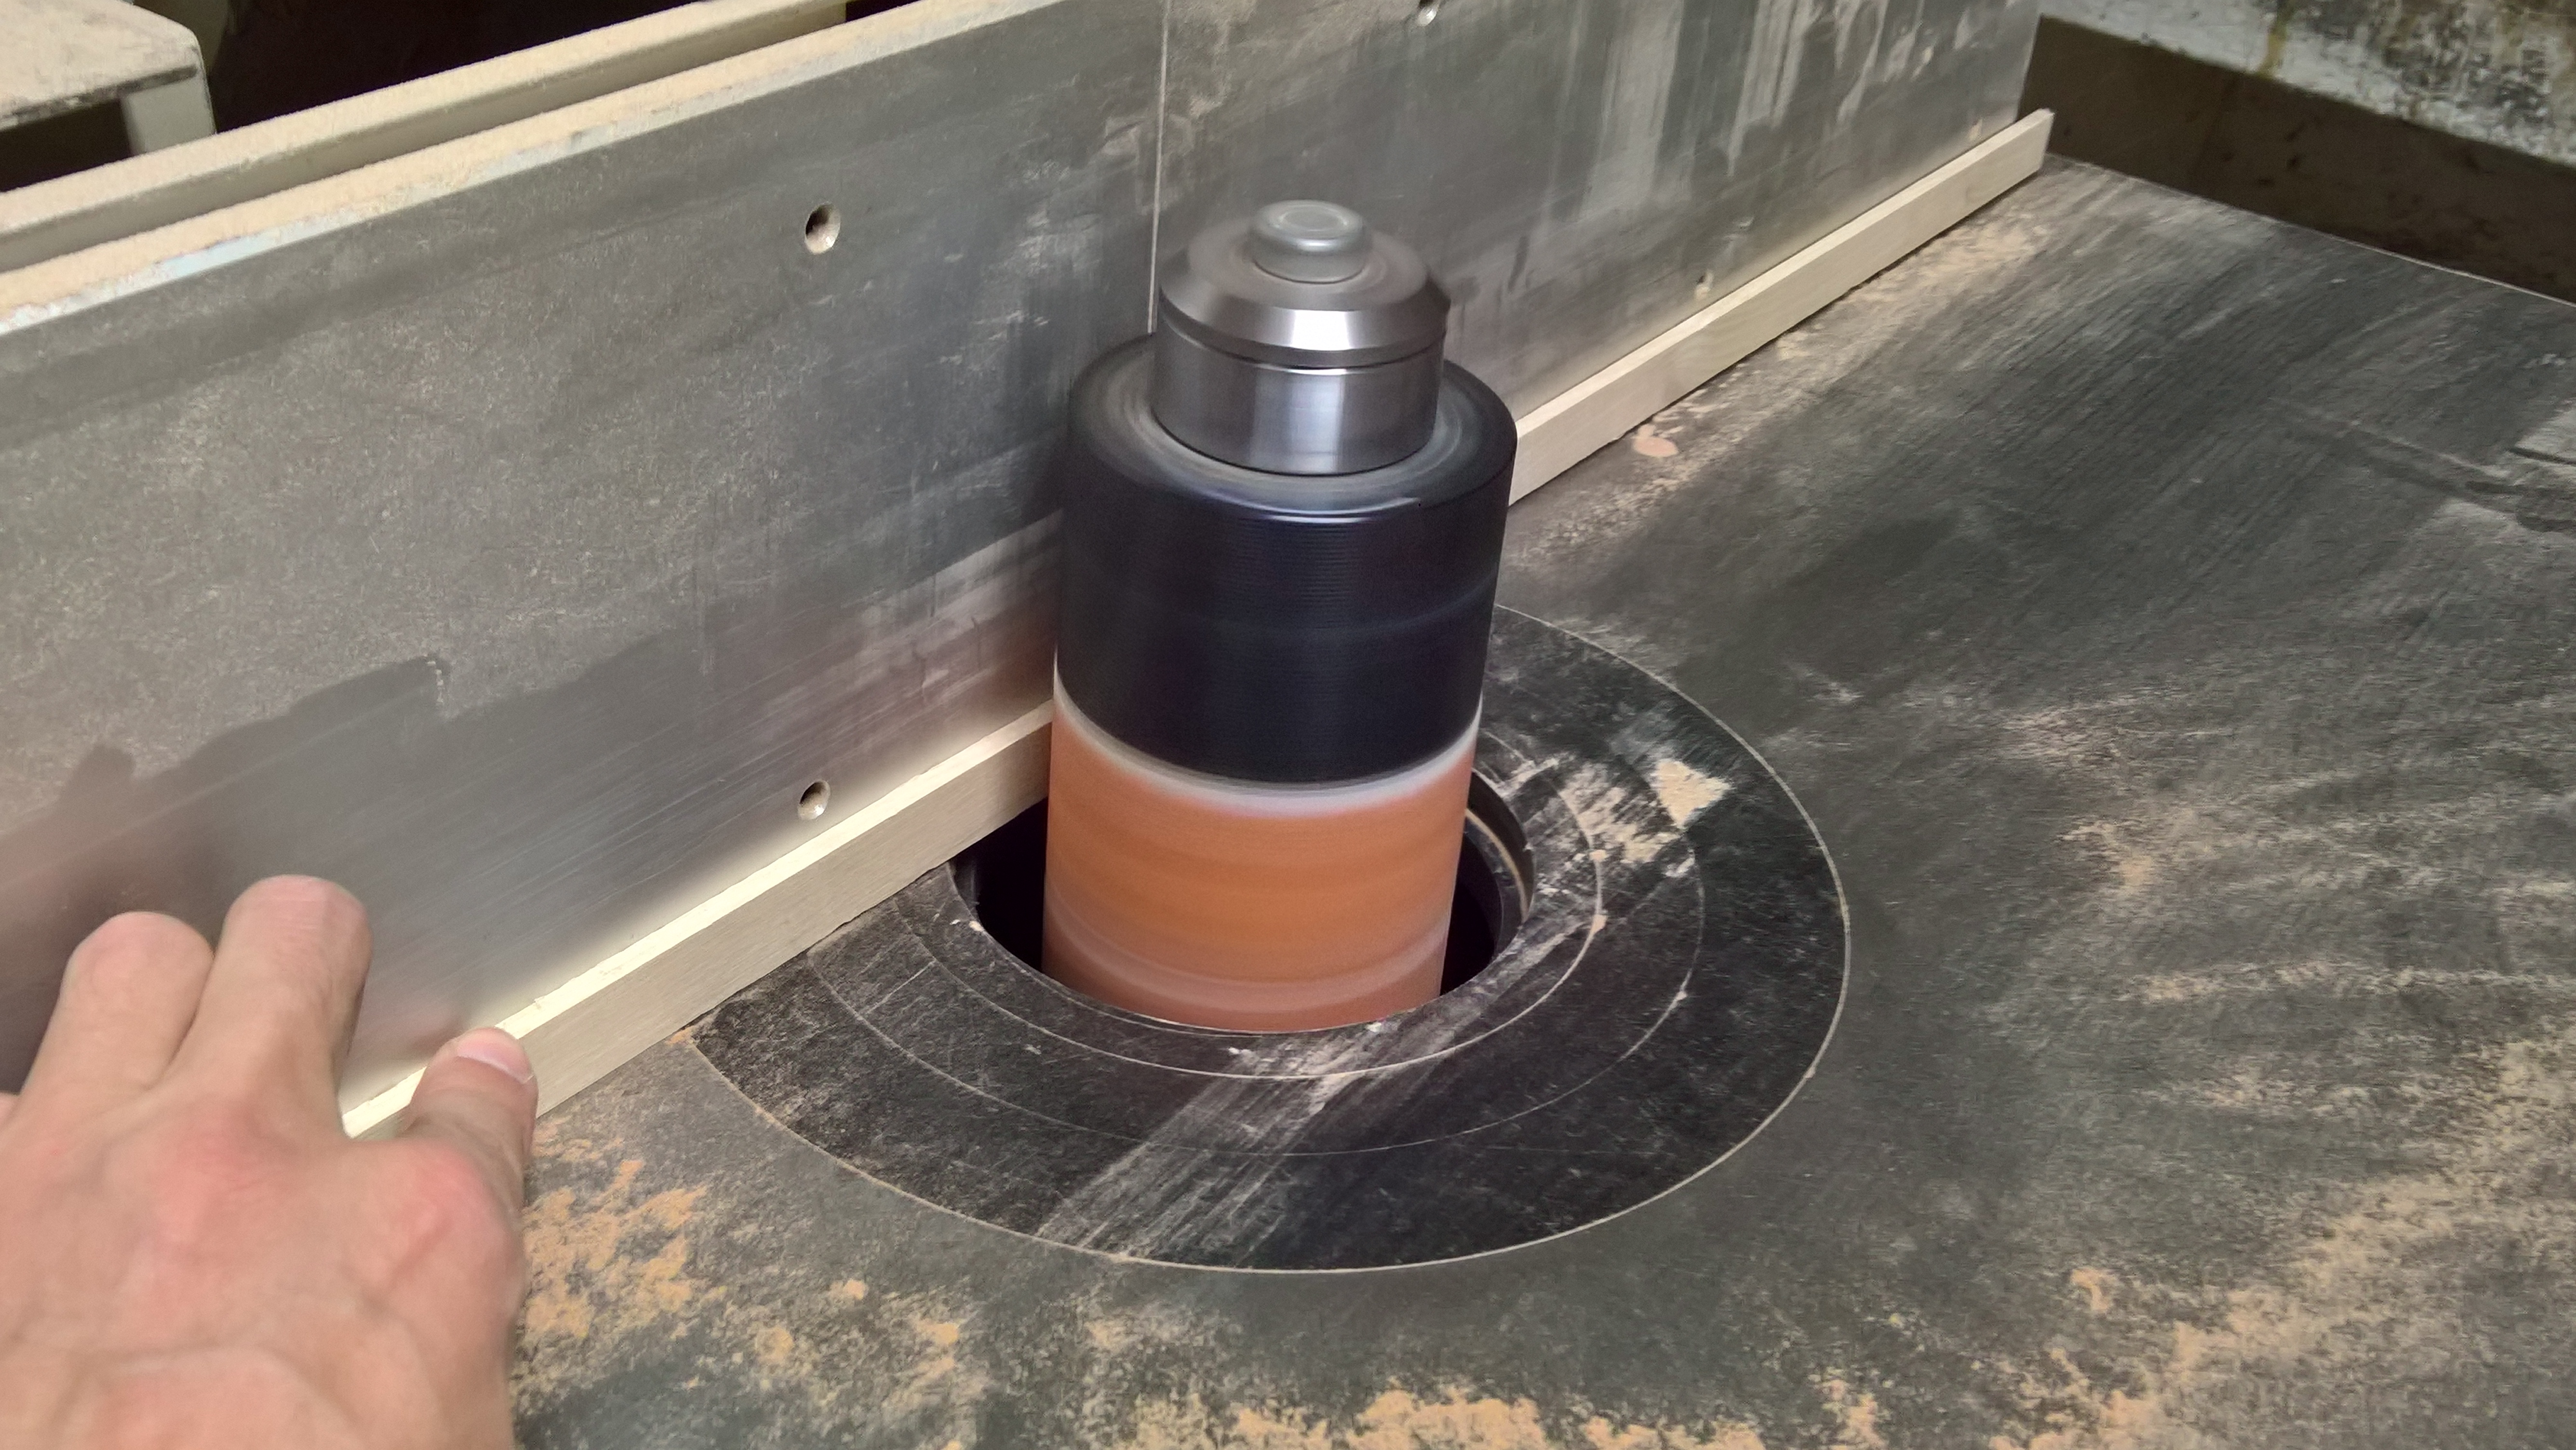
The offcuts used came from bandsaw cuts and had to be thicknessed down to 5mm, so I used my spindle moulder,
doubling as a spindle sander and a sanding block and made several passes until I got to the desired
thickness:
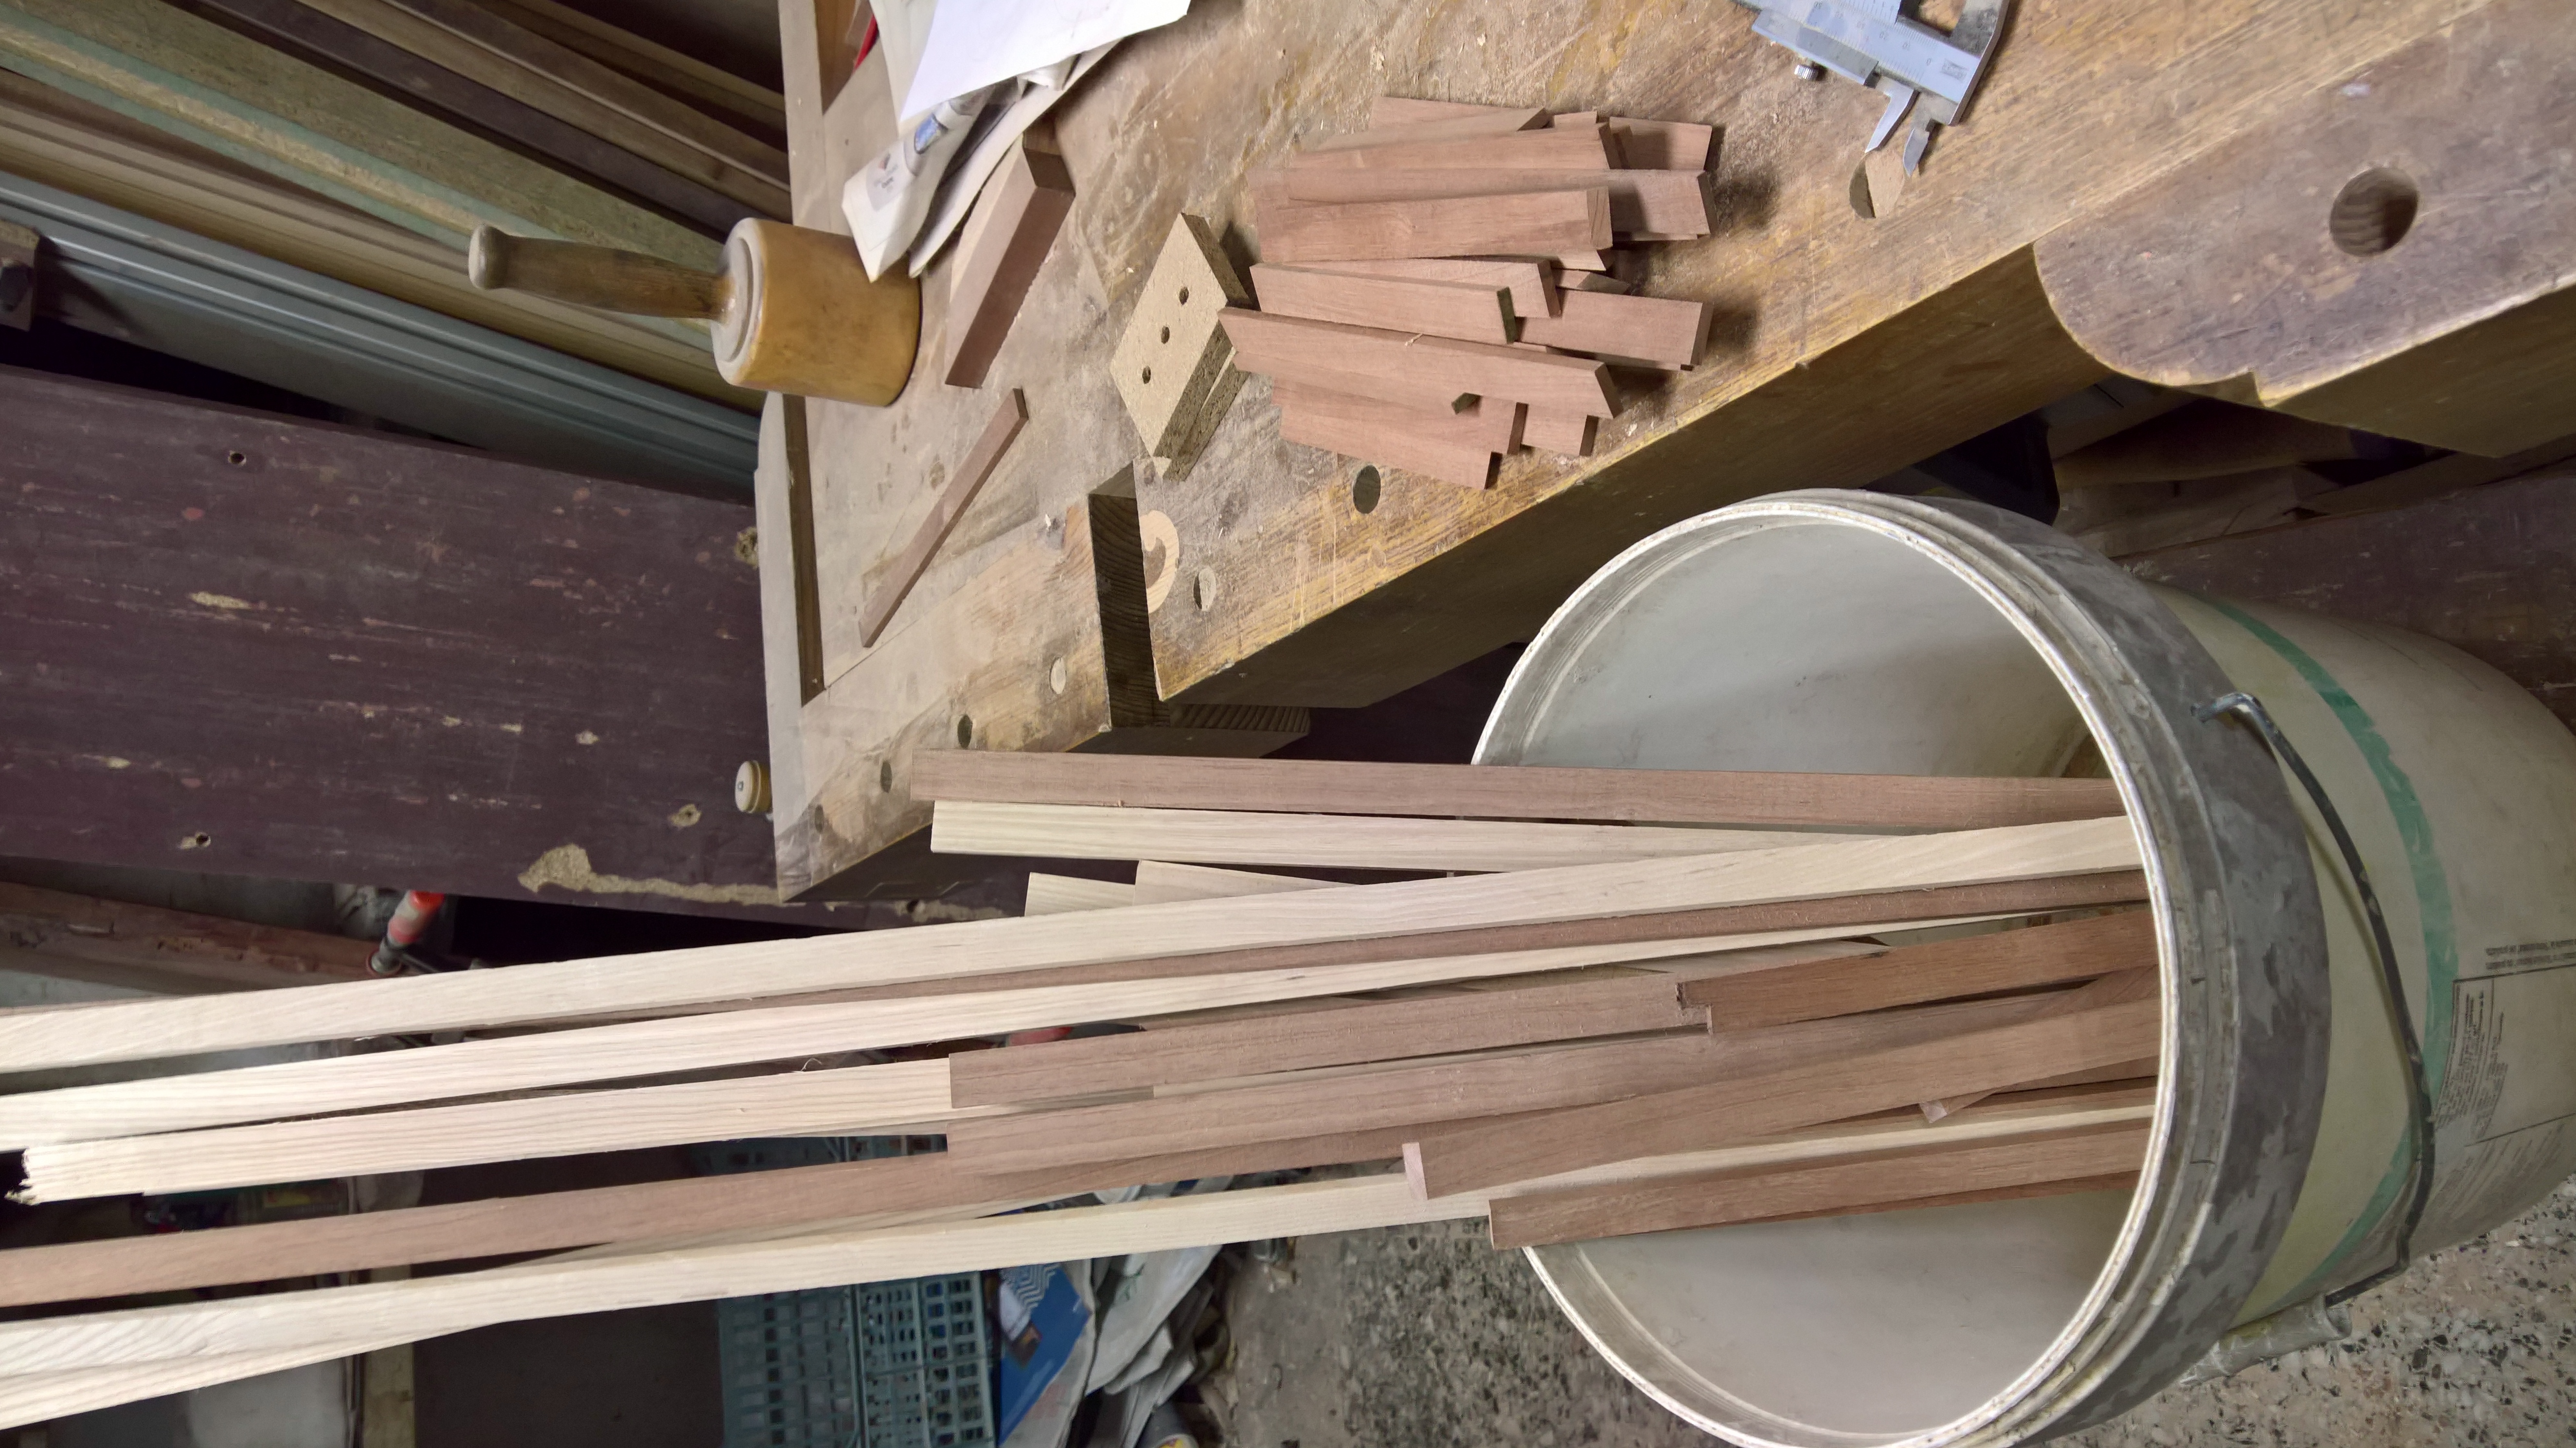
The final batch:
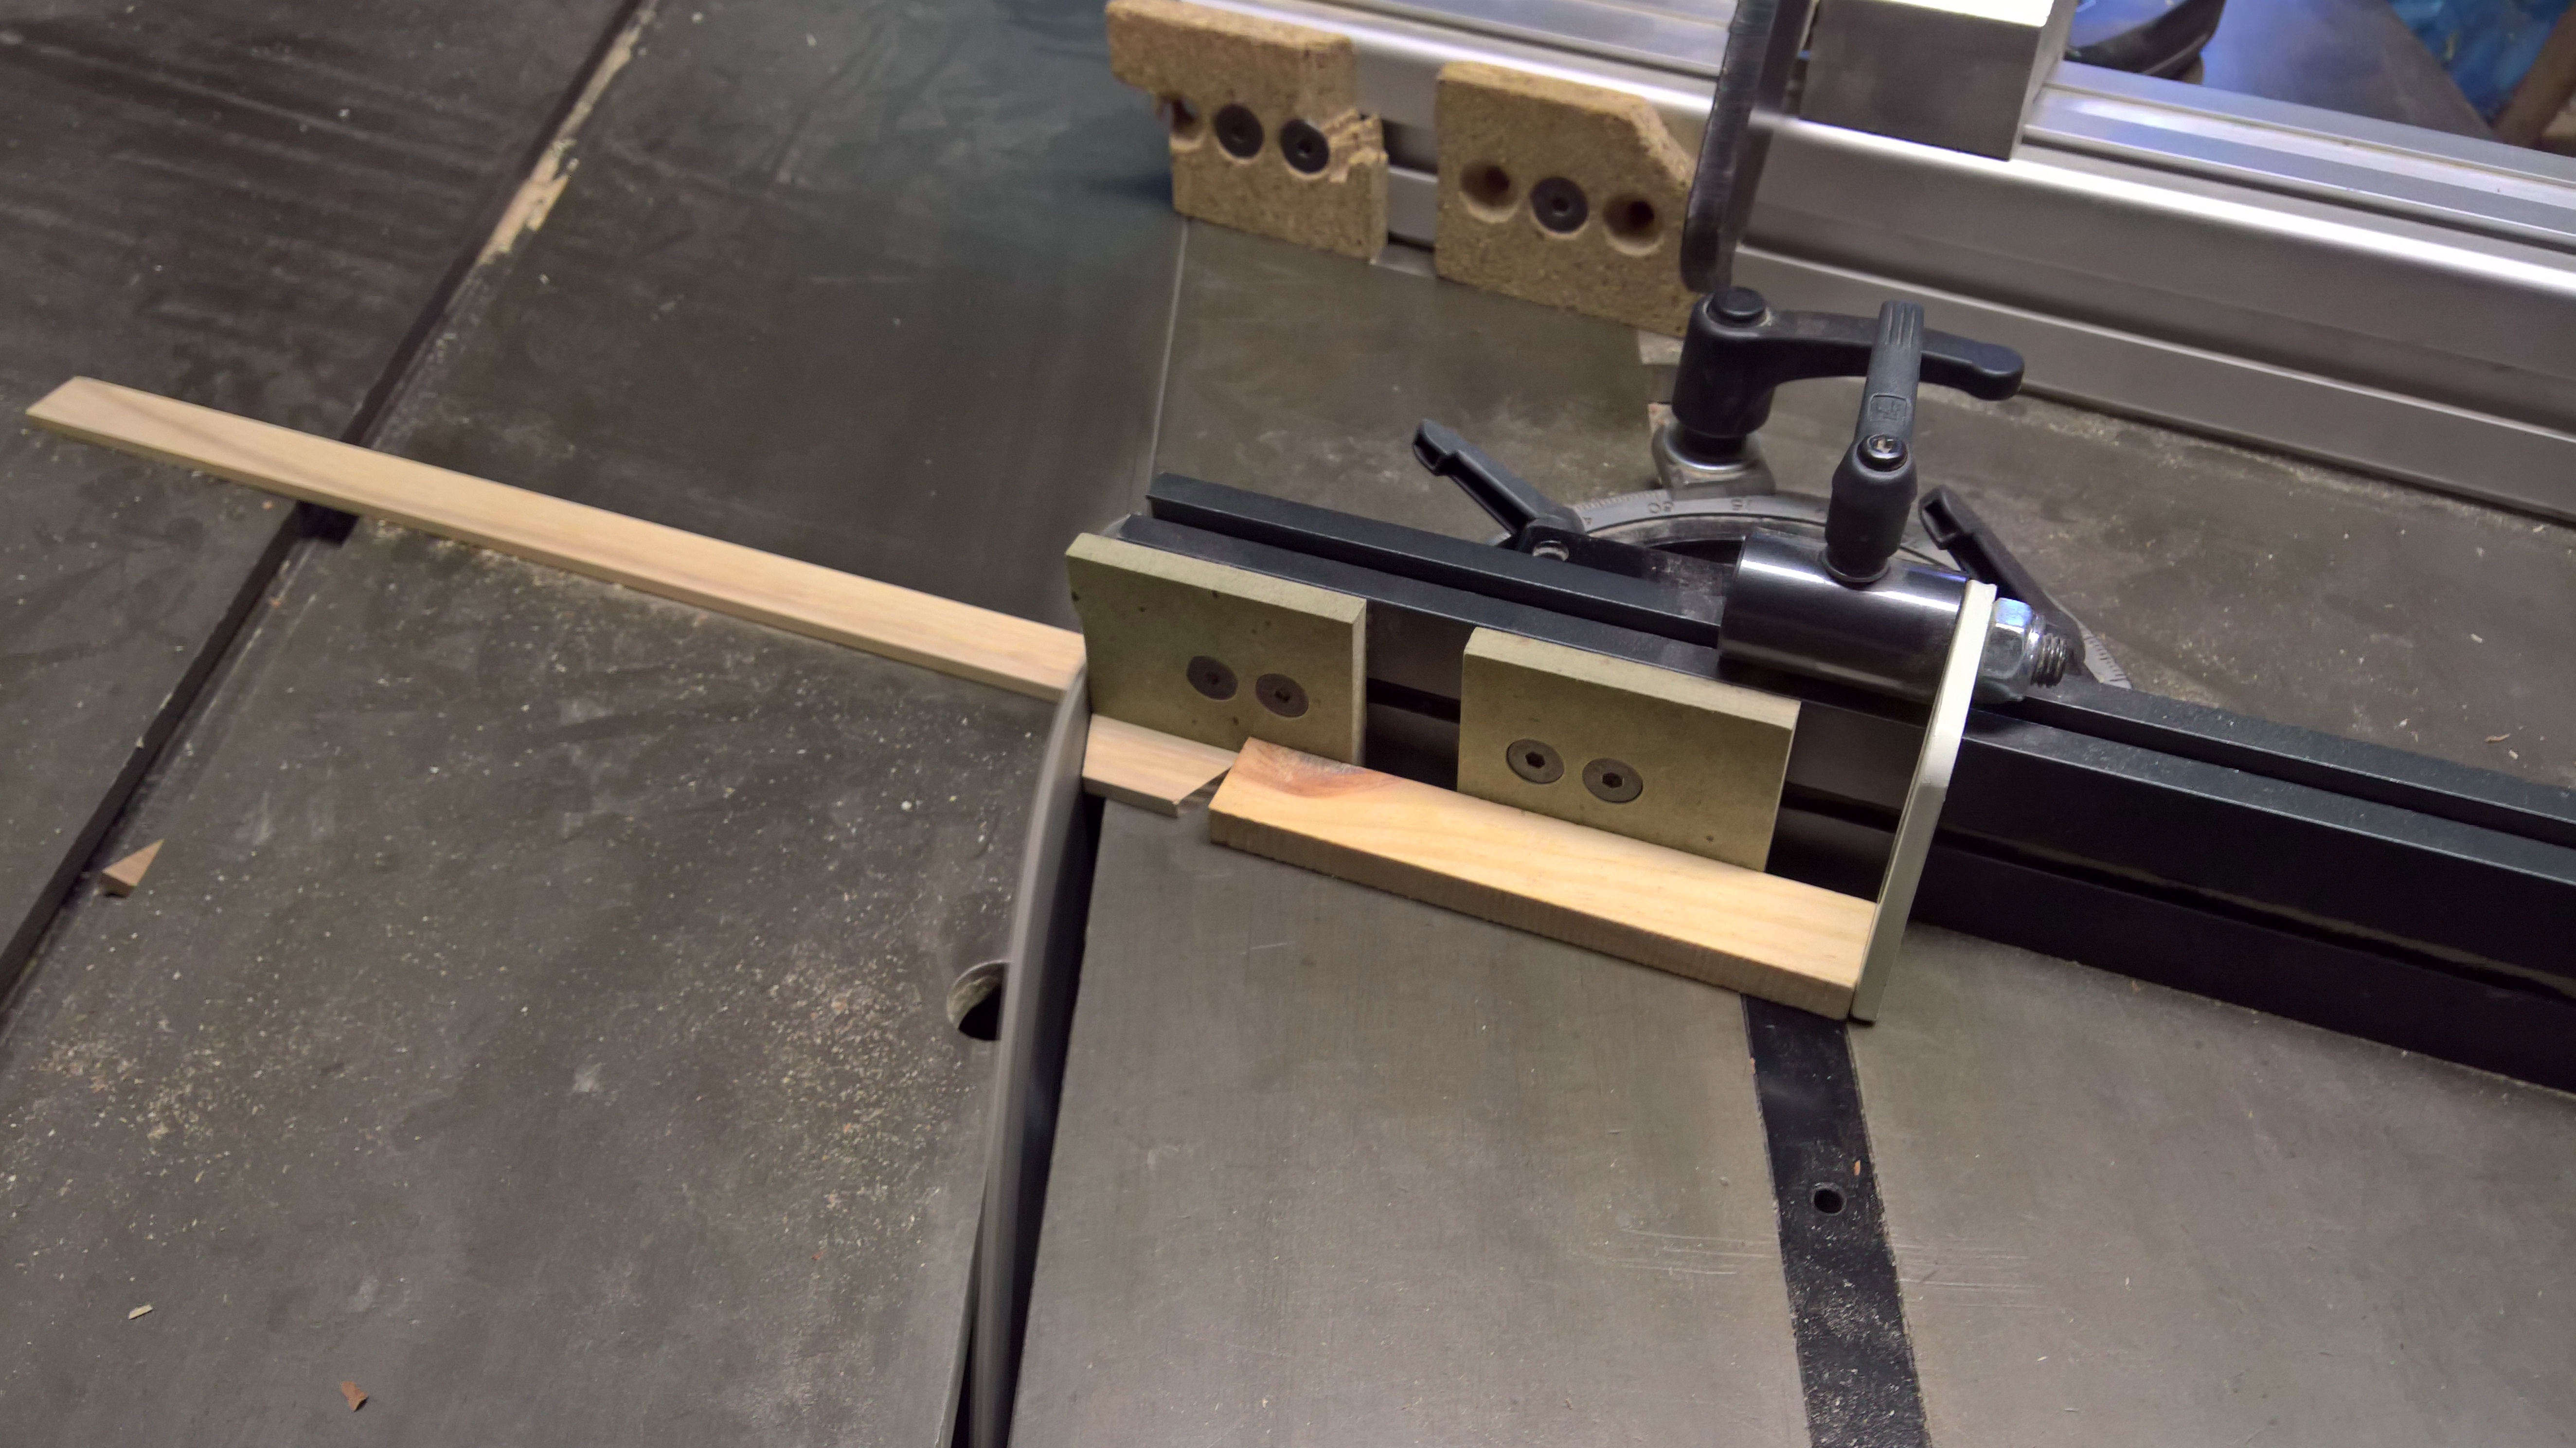
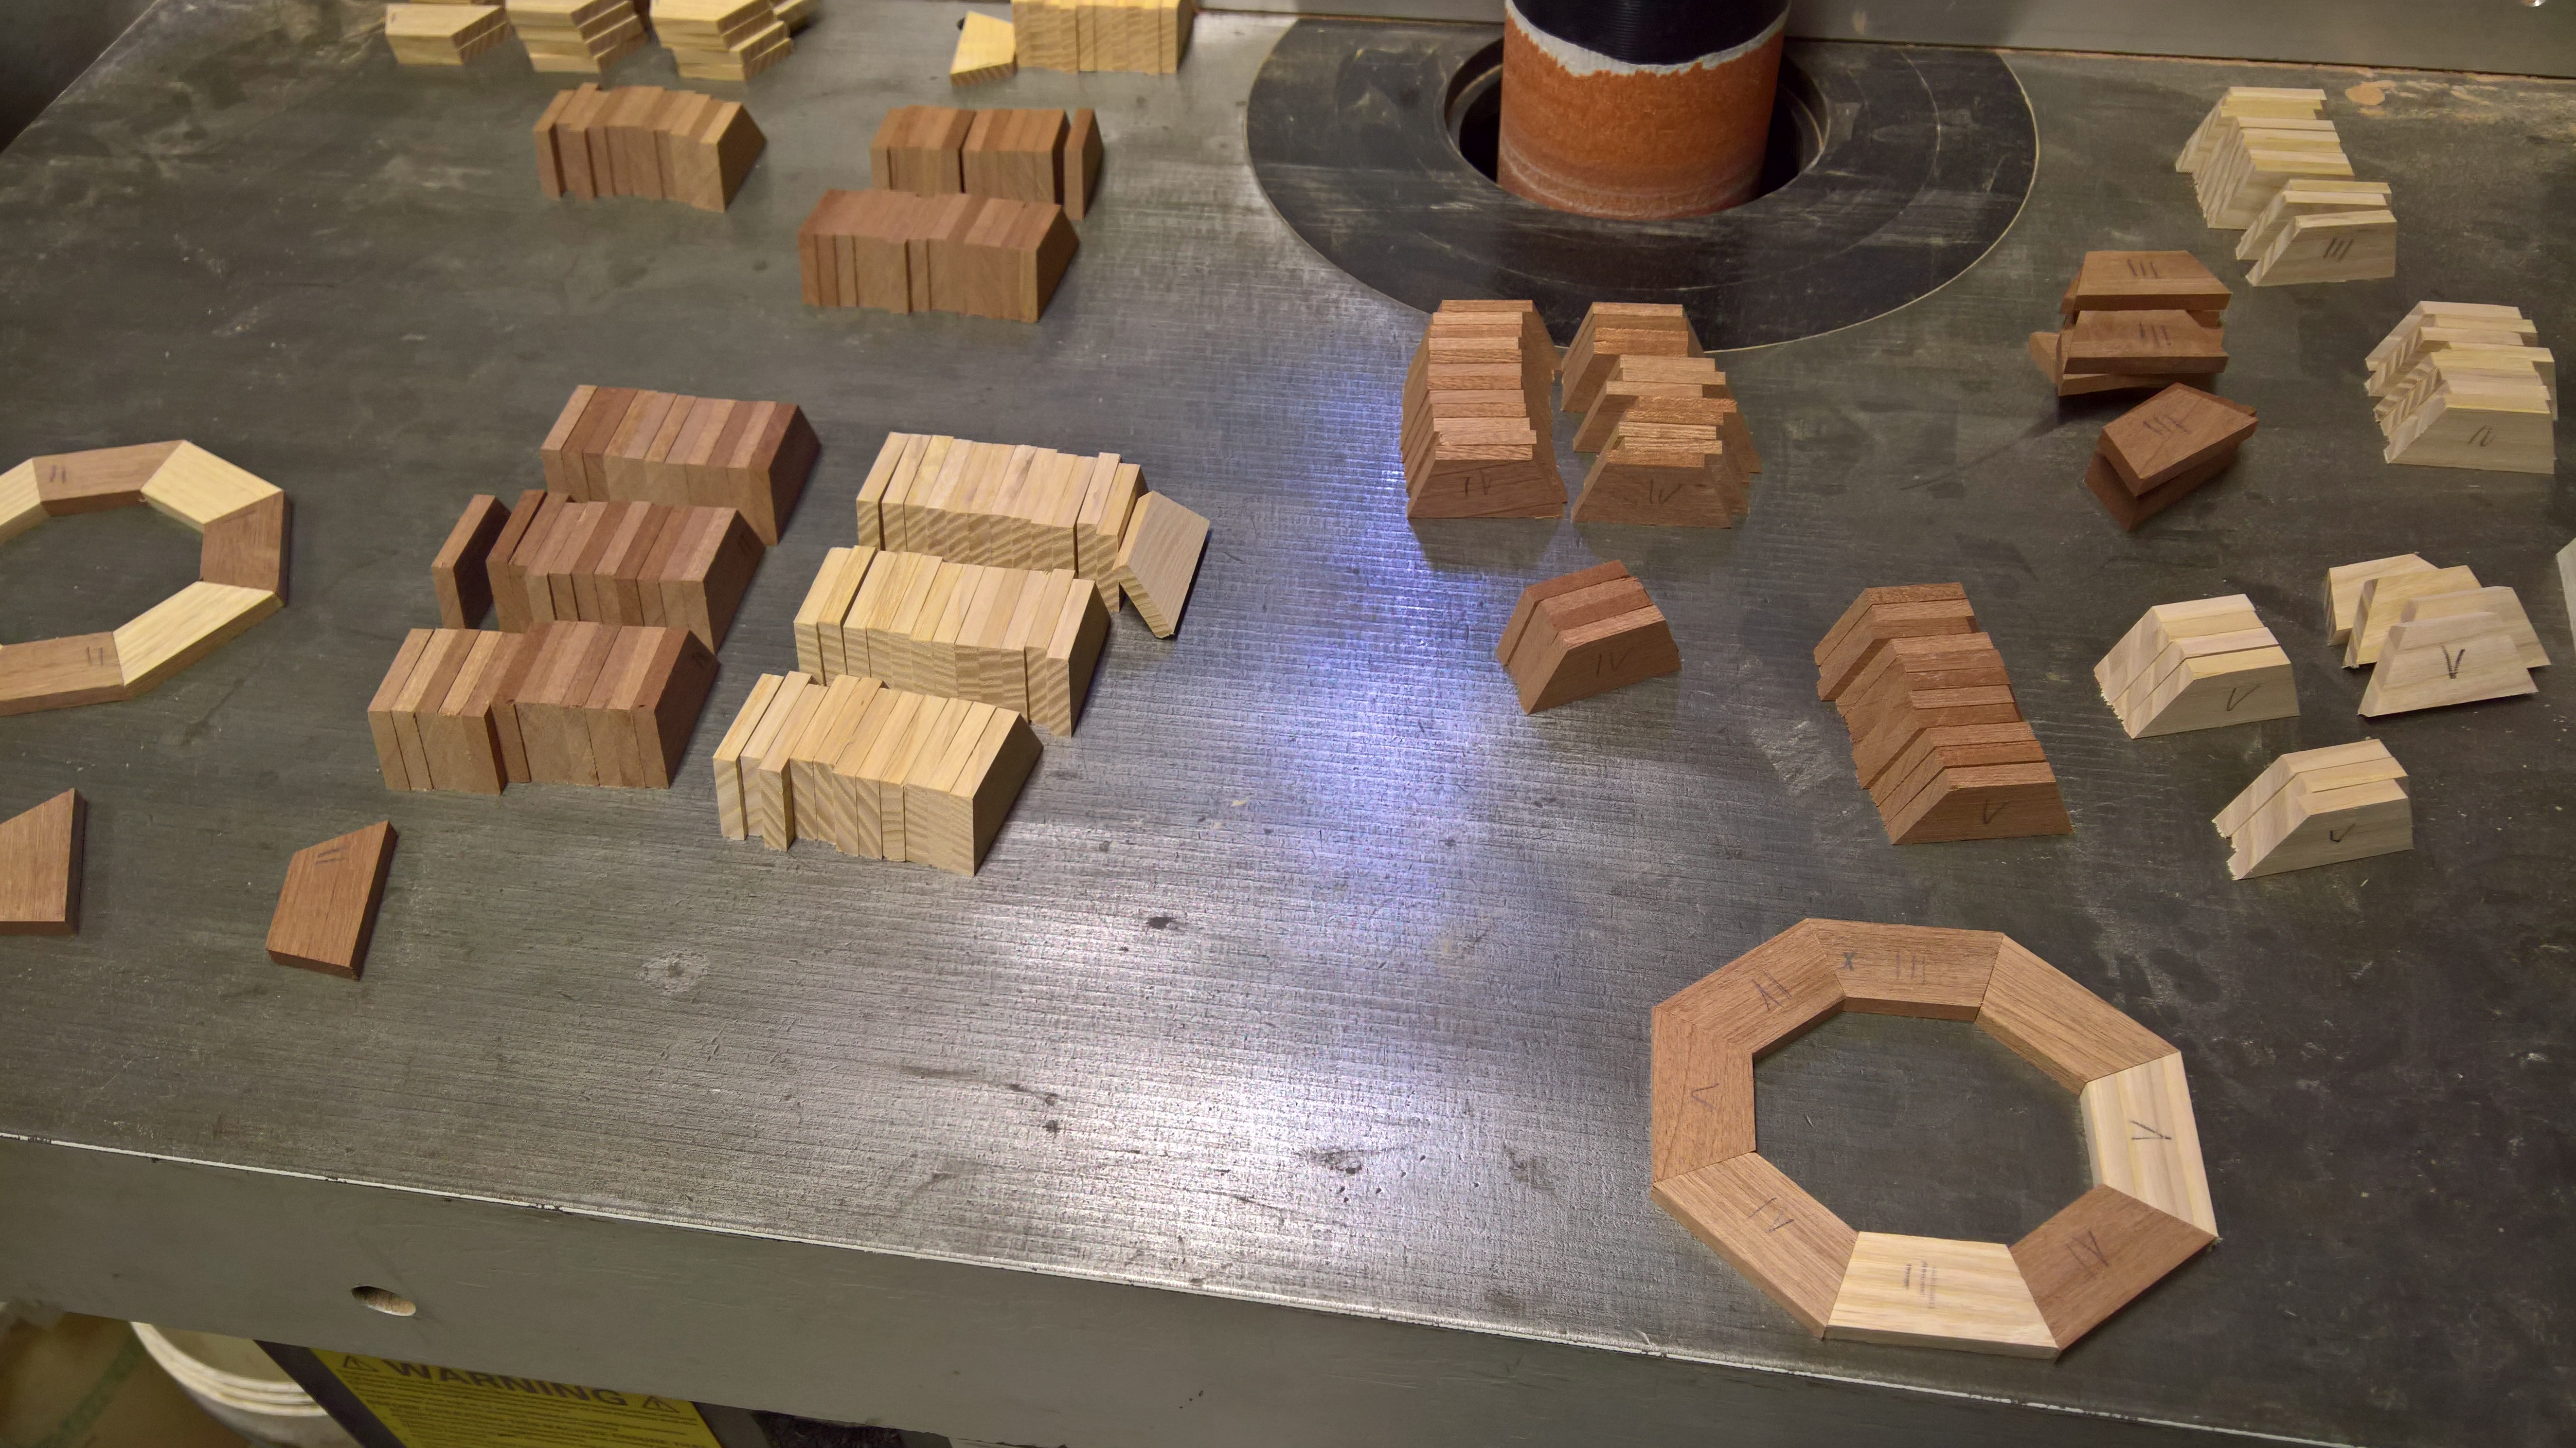
Then I cut the segments on the sliding table of the saw bench. I used two mitre gauges to speed up the process
since, in an oval shape, each segment has different right and left angles:

Cutting such small pieces can be hazardous. I used the eraser side of a long pencil to hold down the piece while cutting (not shown):
After a session of cuts, the pieces are all organised and tagged:
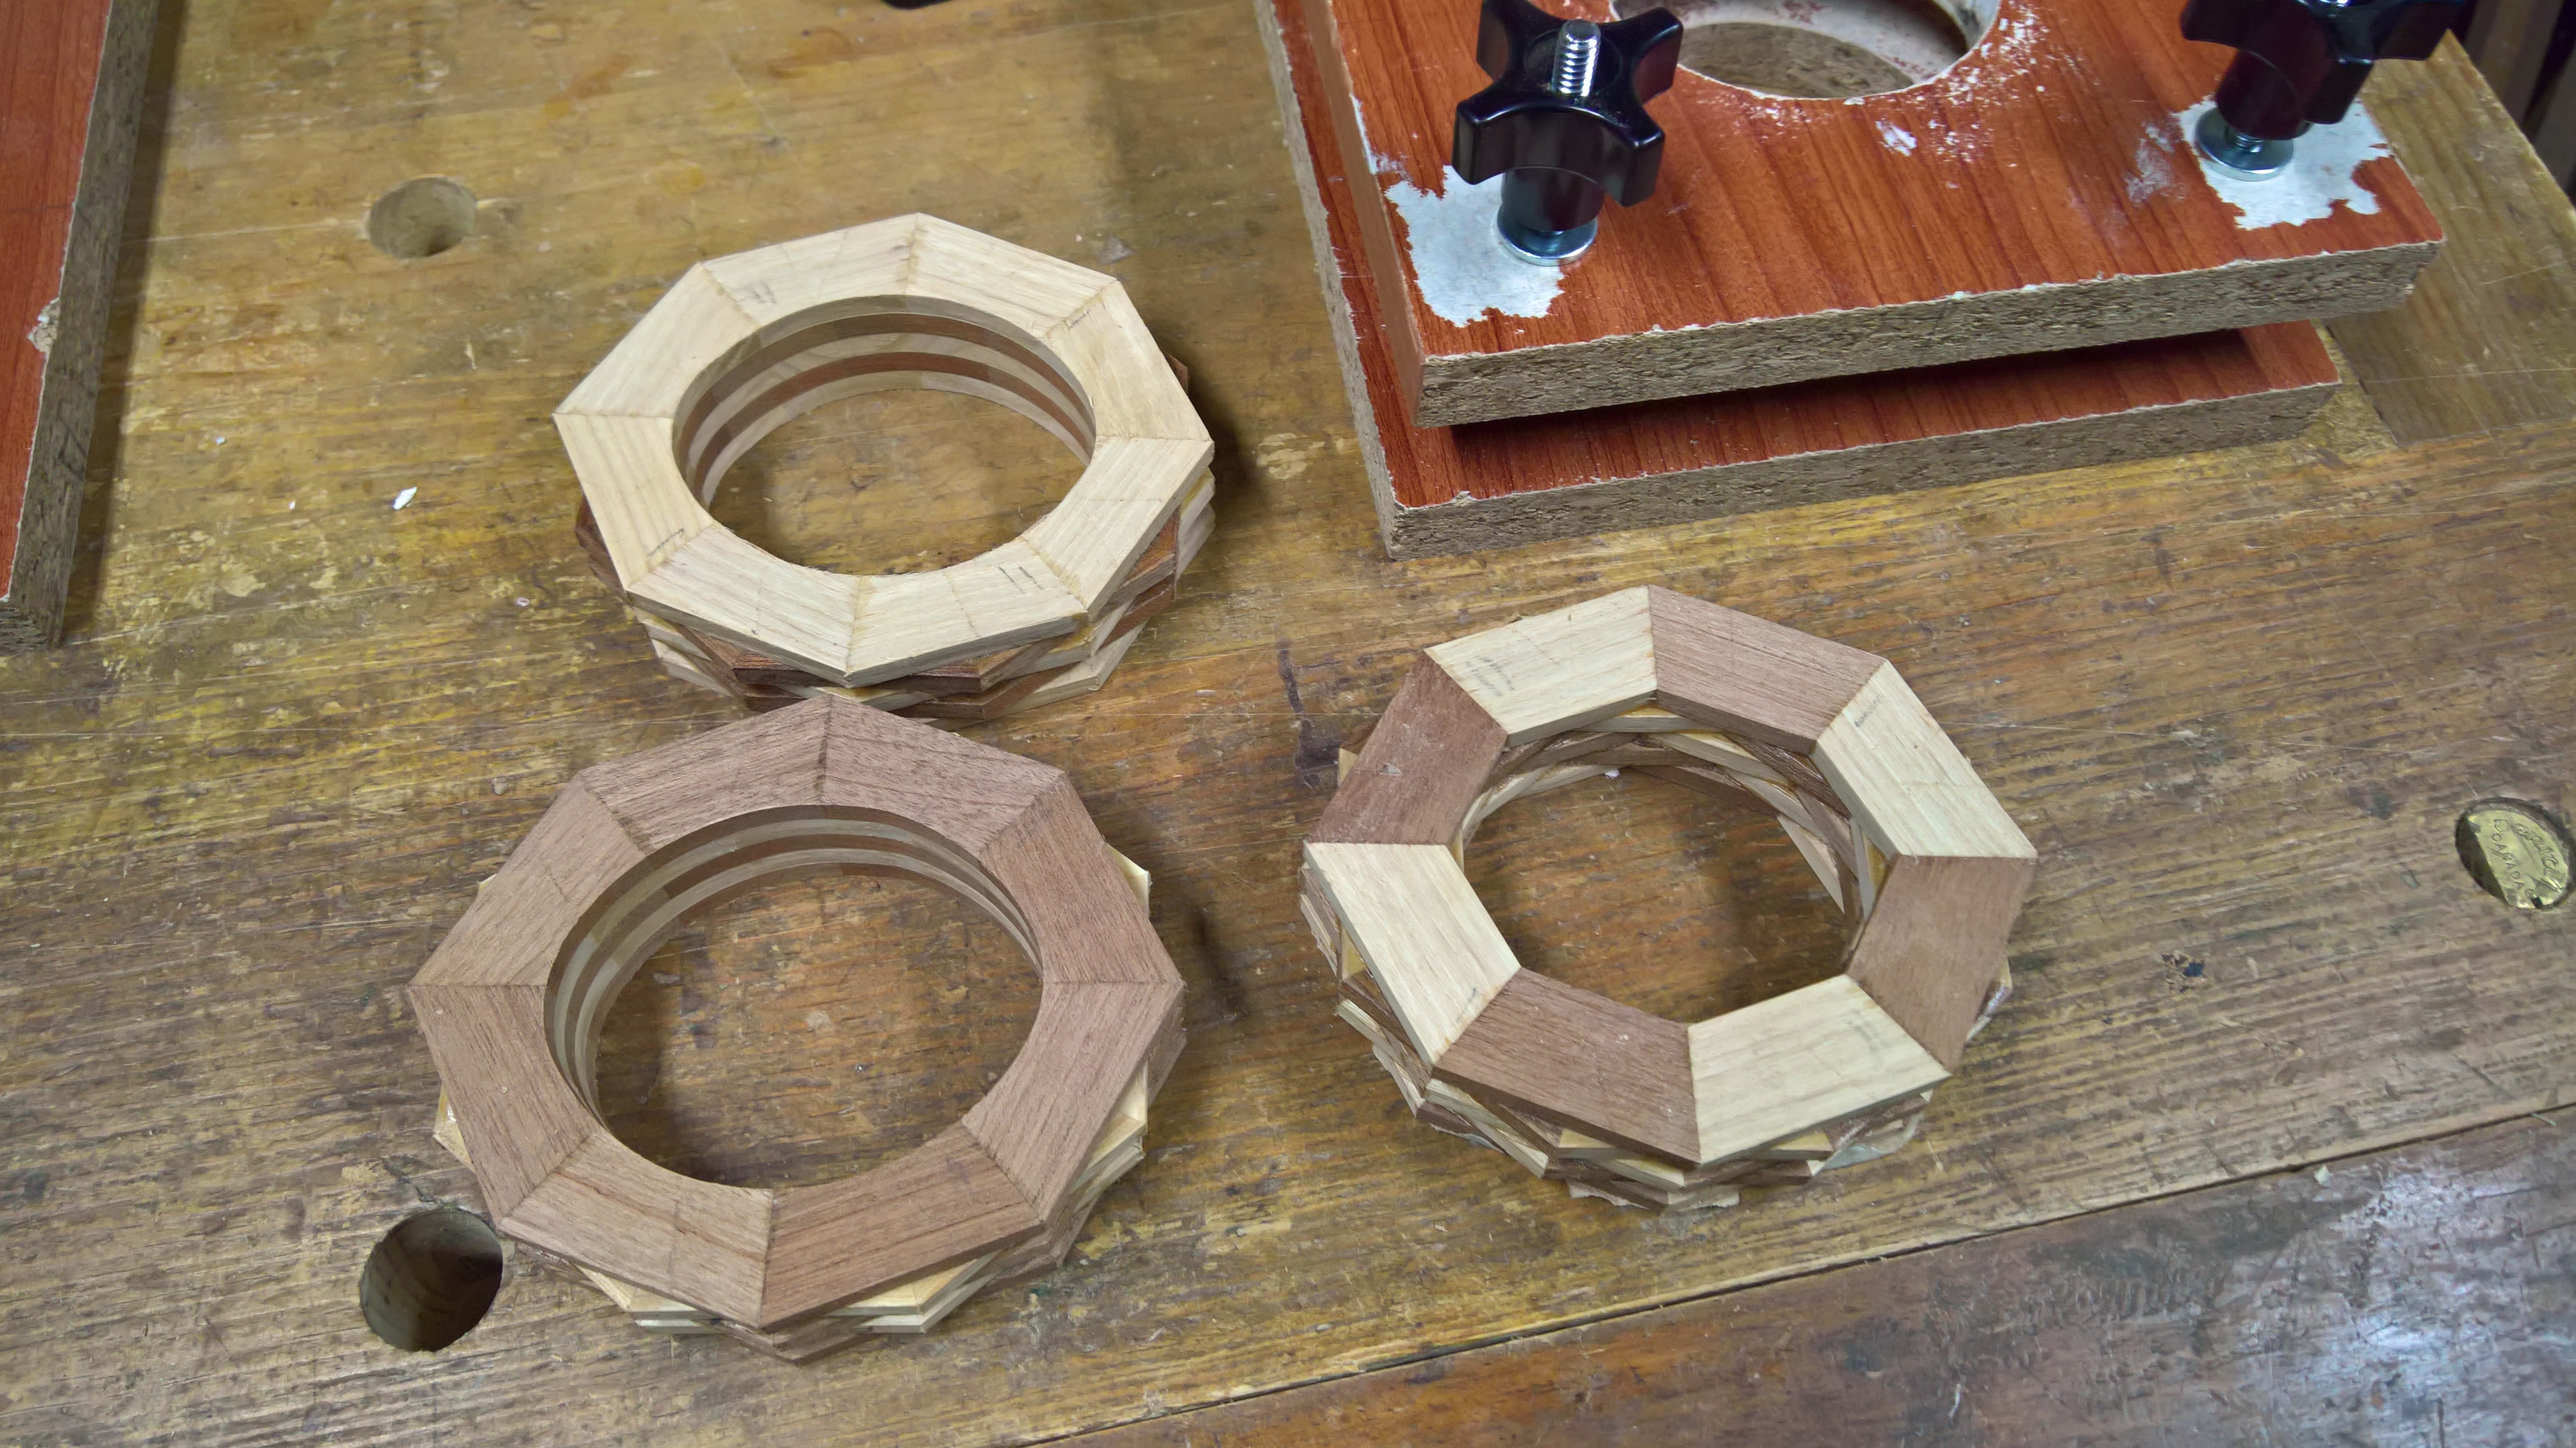
I then proceeded to gluing up. Firstly, I assembled each layer. I used masking tape to hold the segments together:
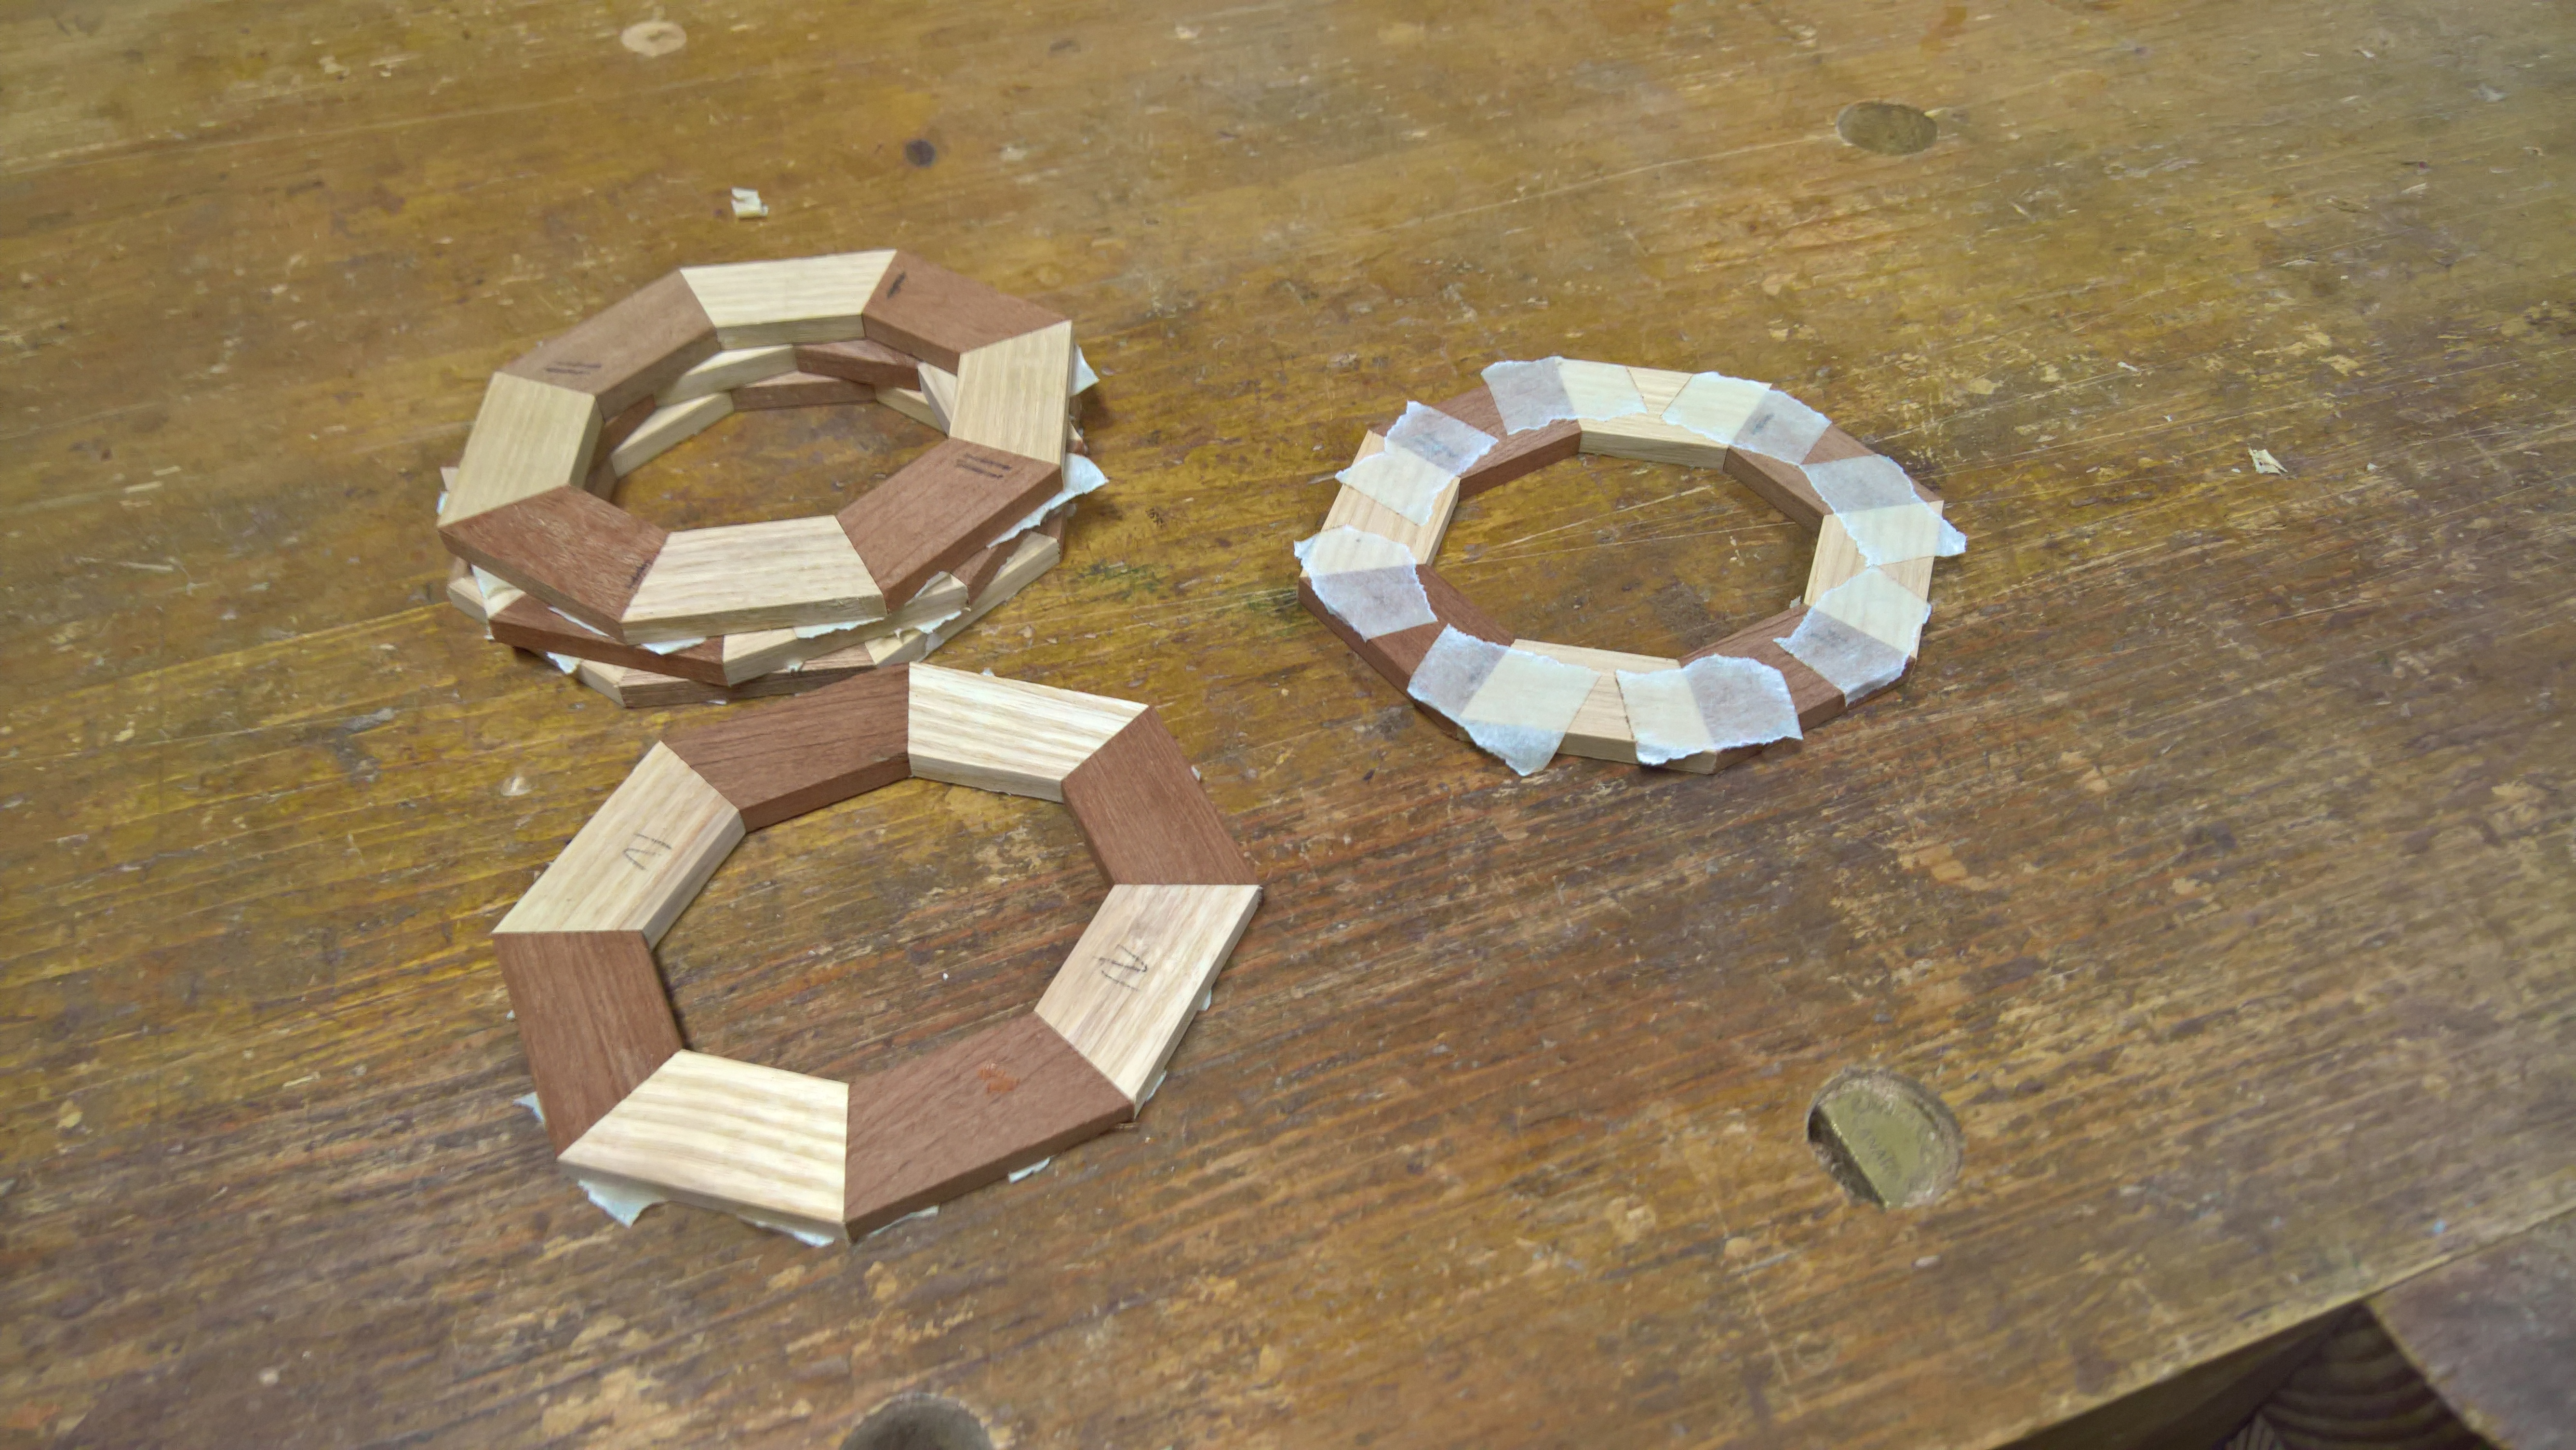
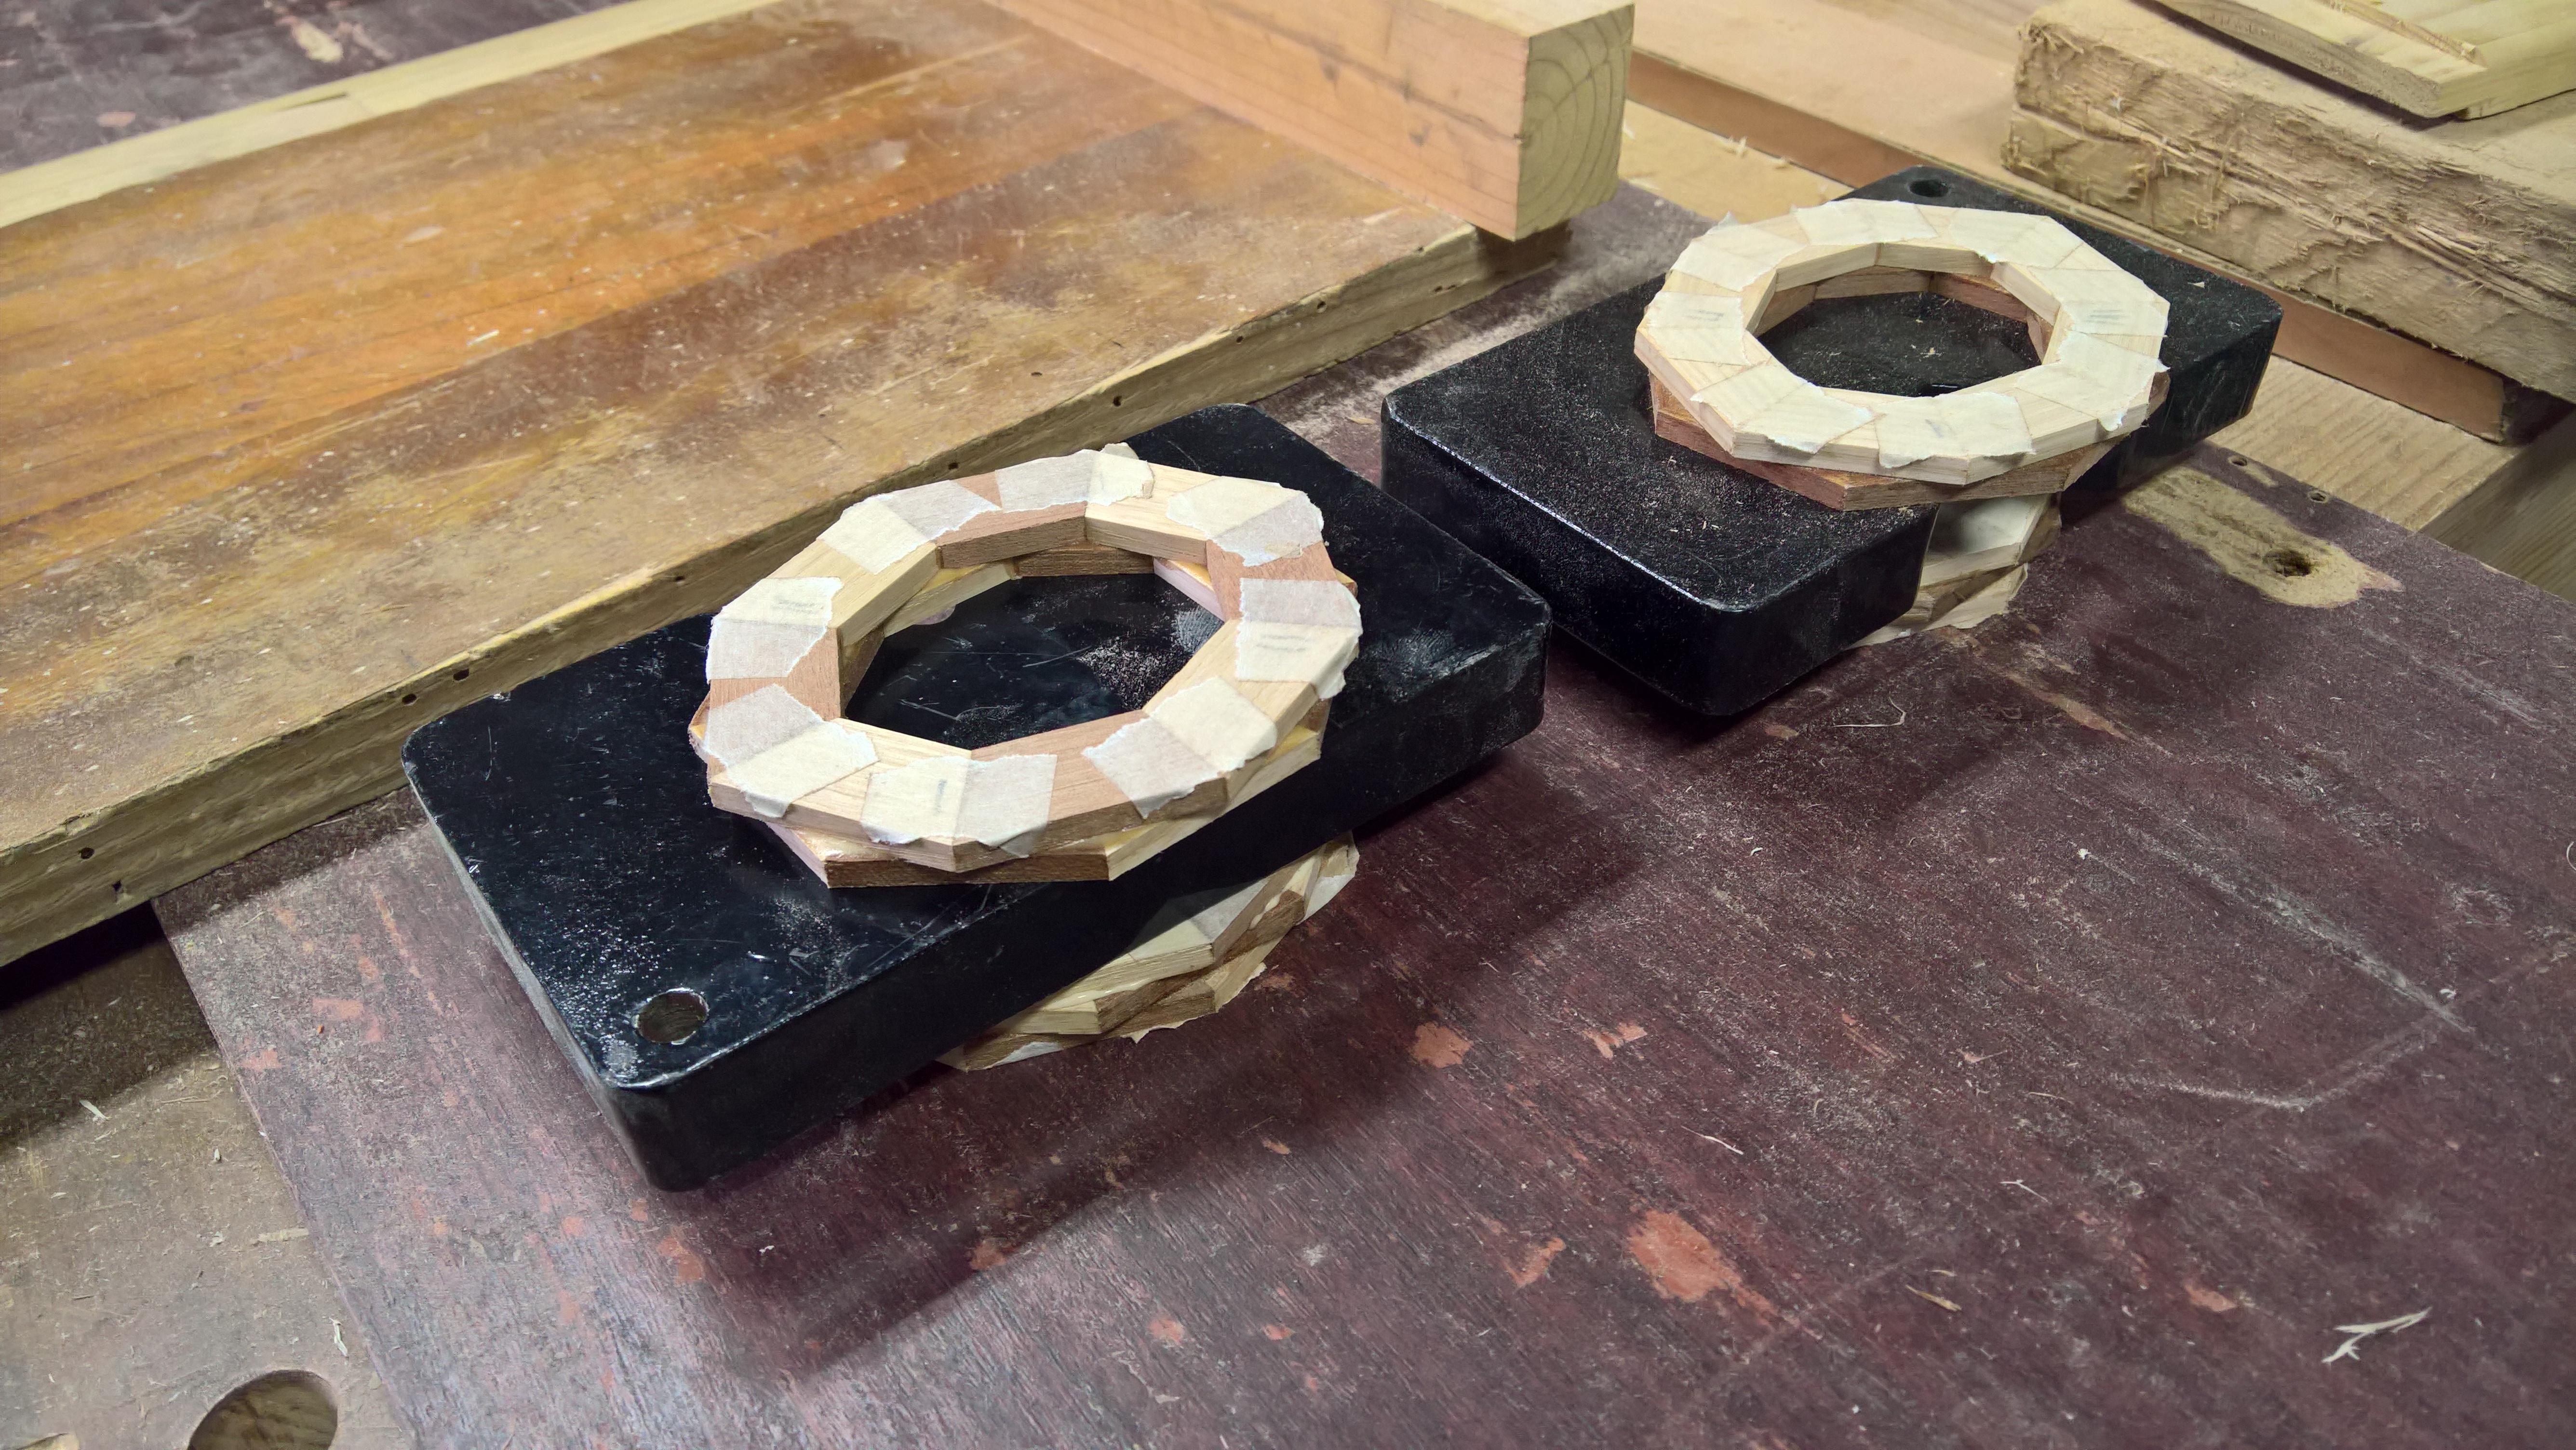
After the glue had set for each layer, it was time to glue them together: I stacked the layers and
placed weights on top to keep all tight.
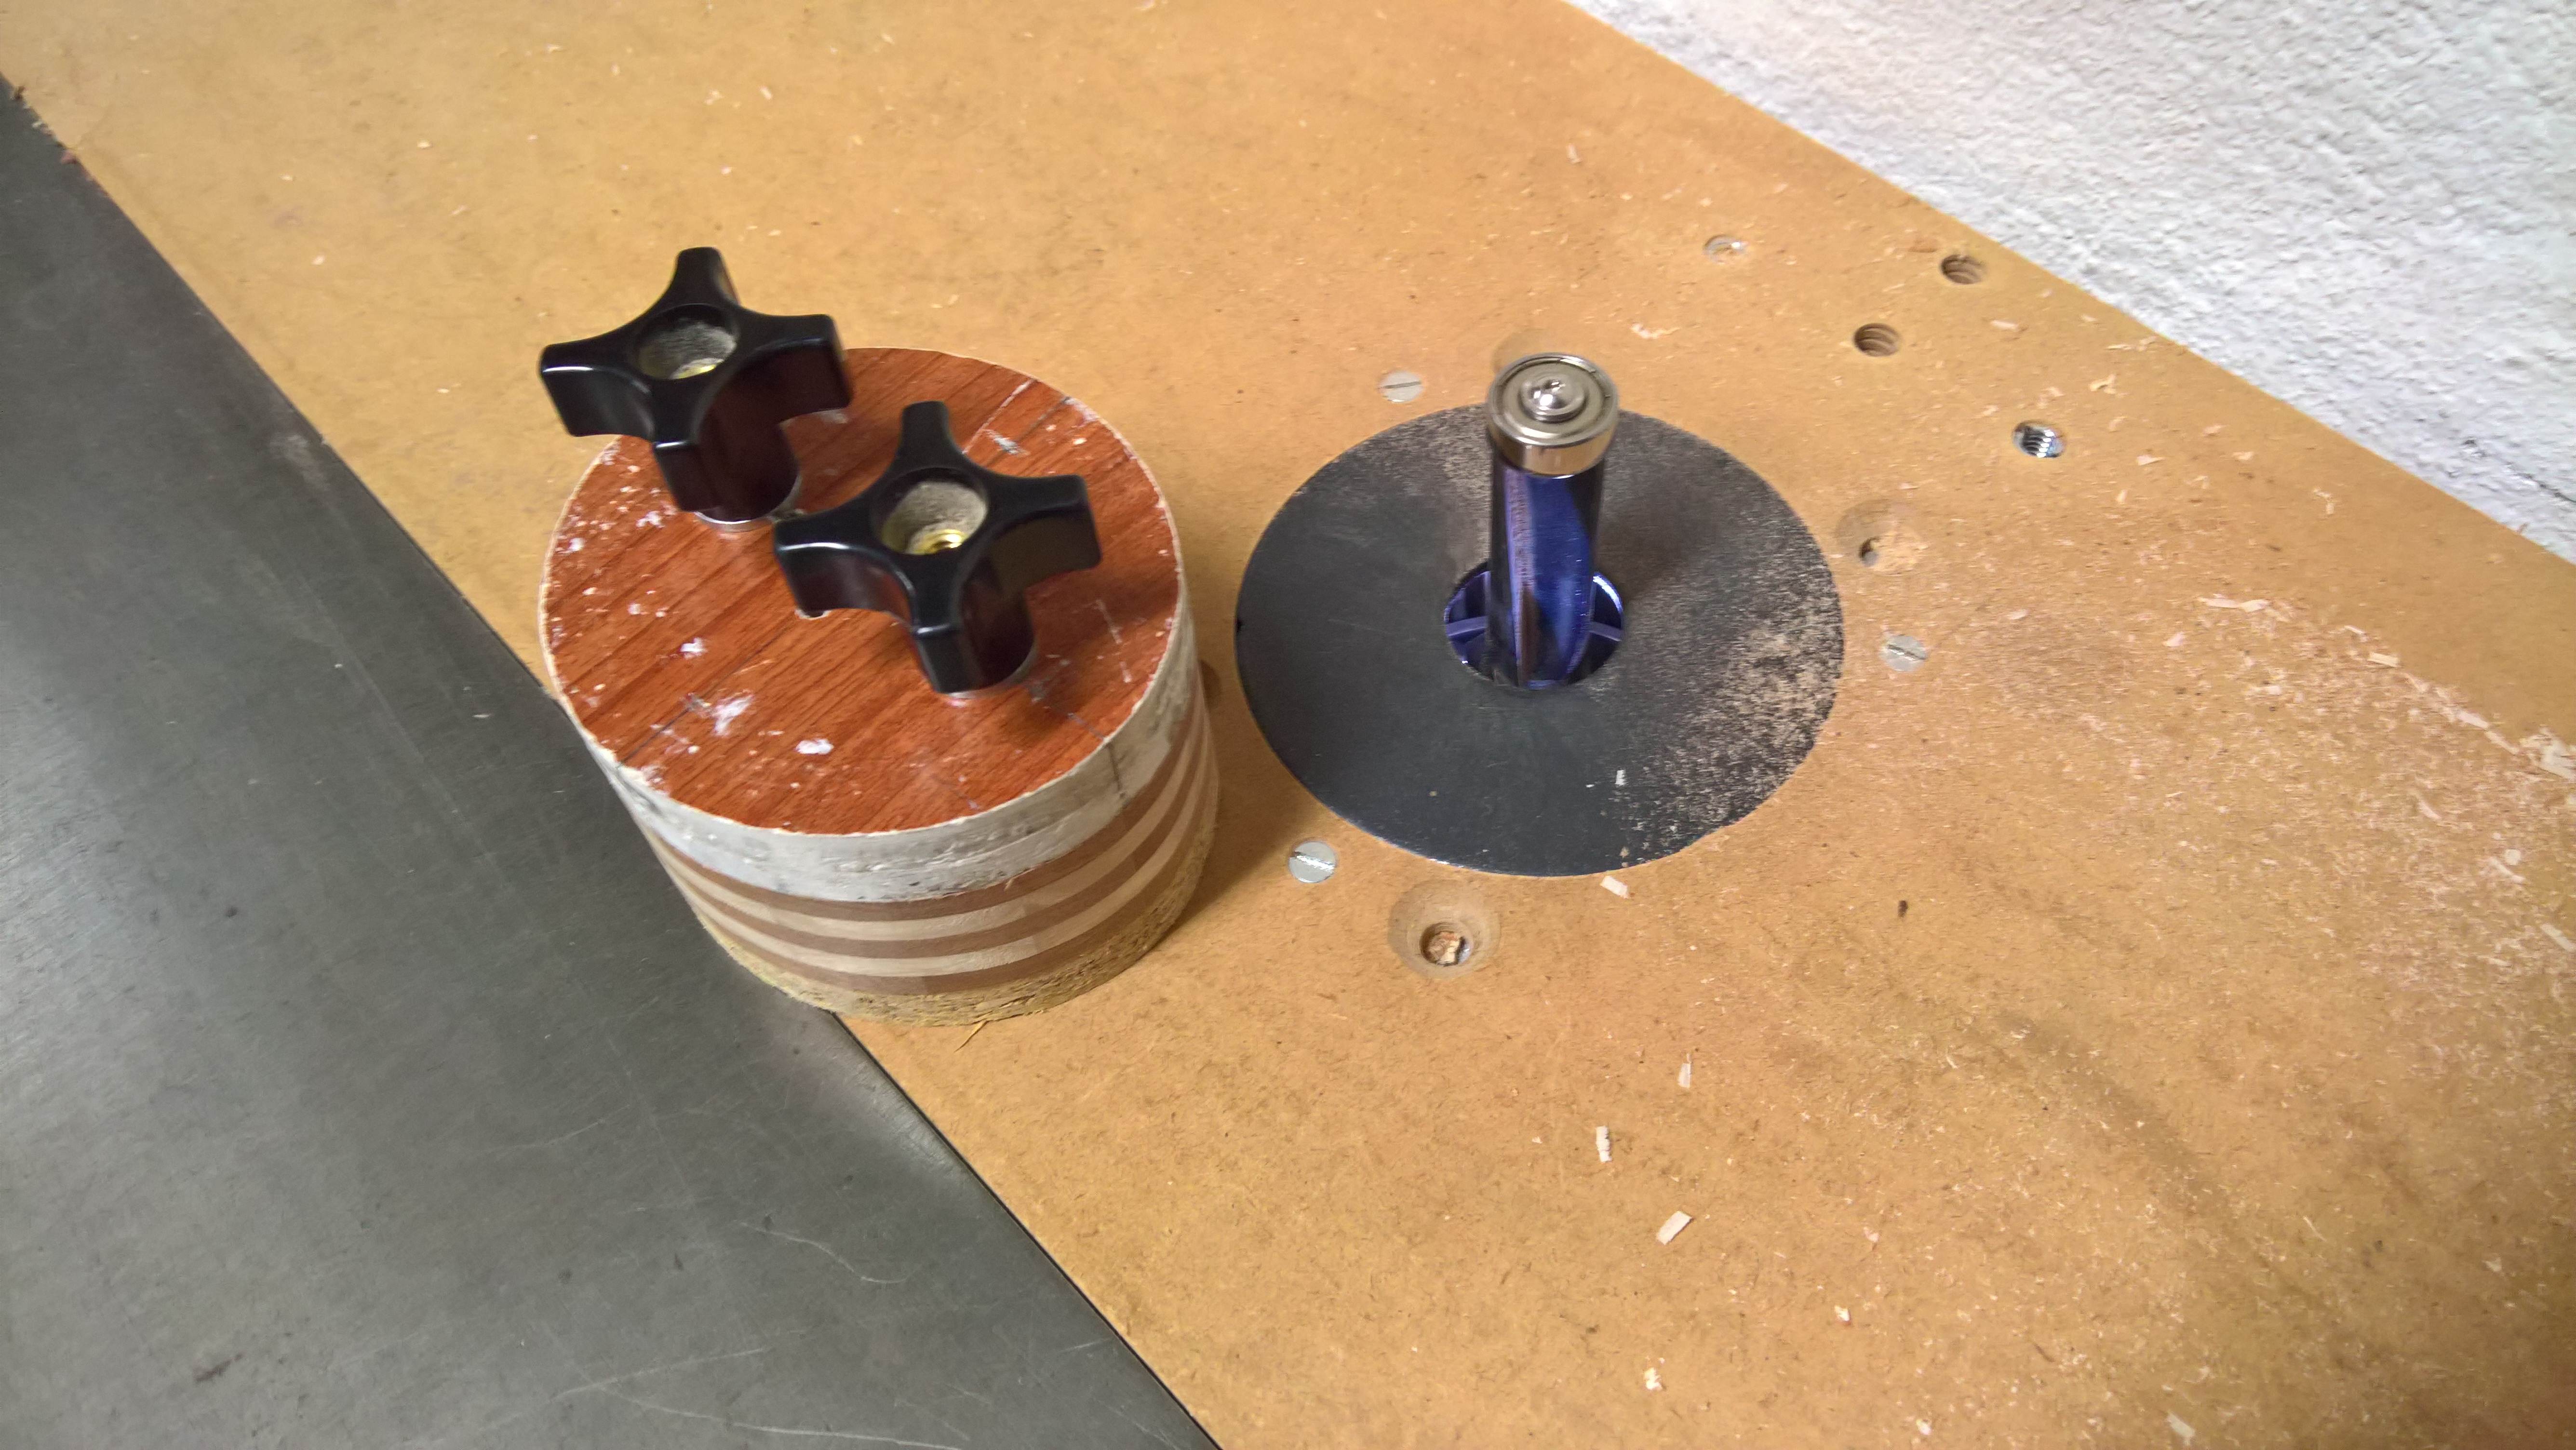
Here I'm using a template jig to hold the glued layers and a trimming bit to form the final shape:
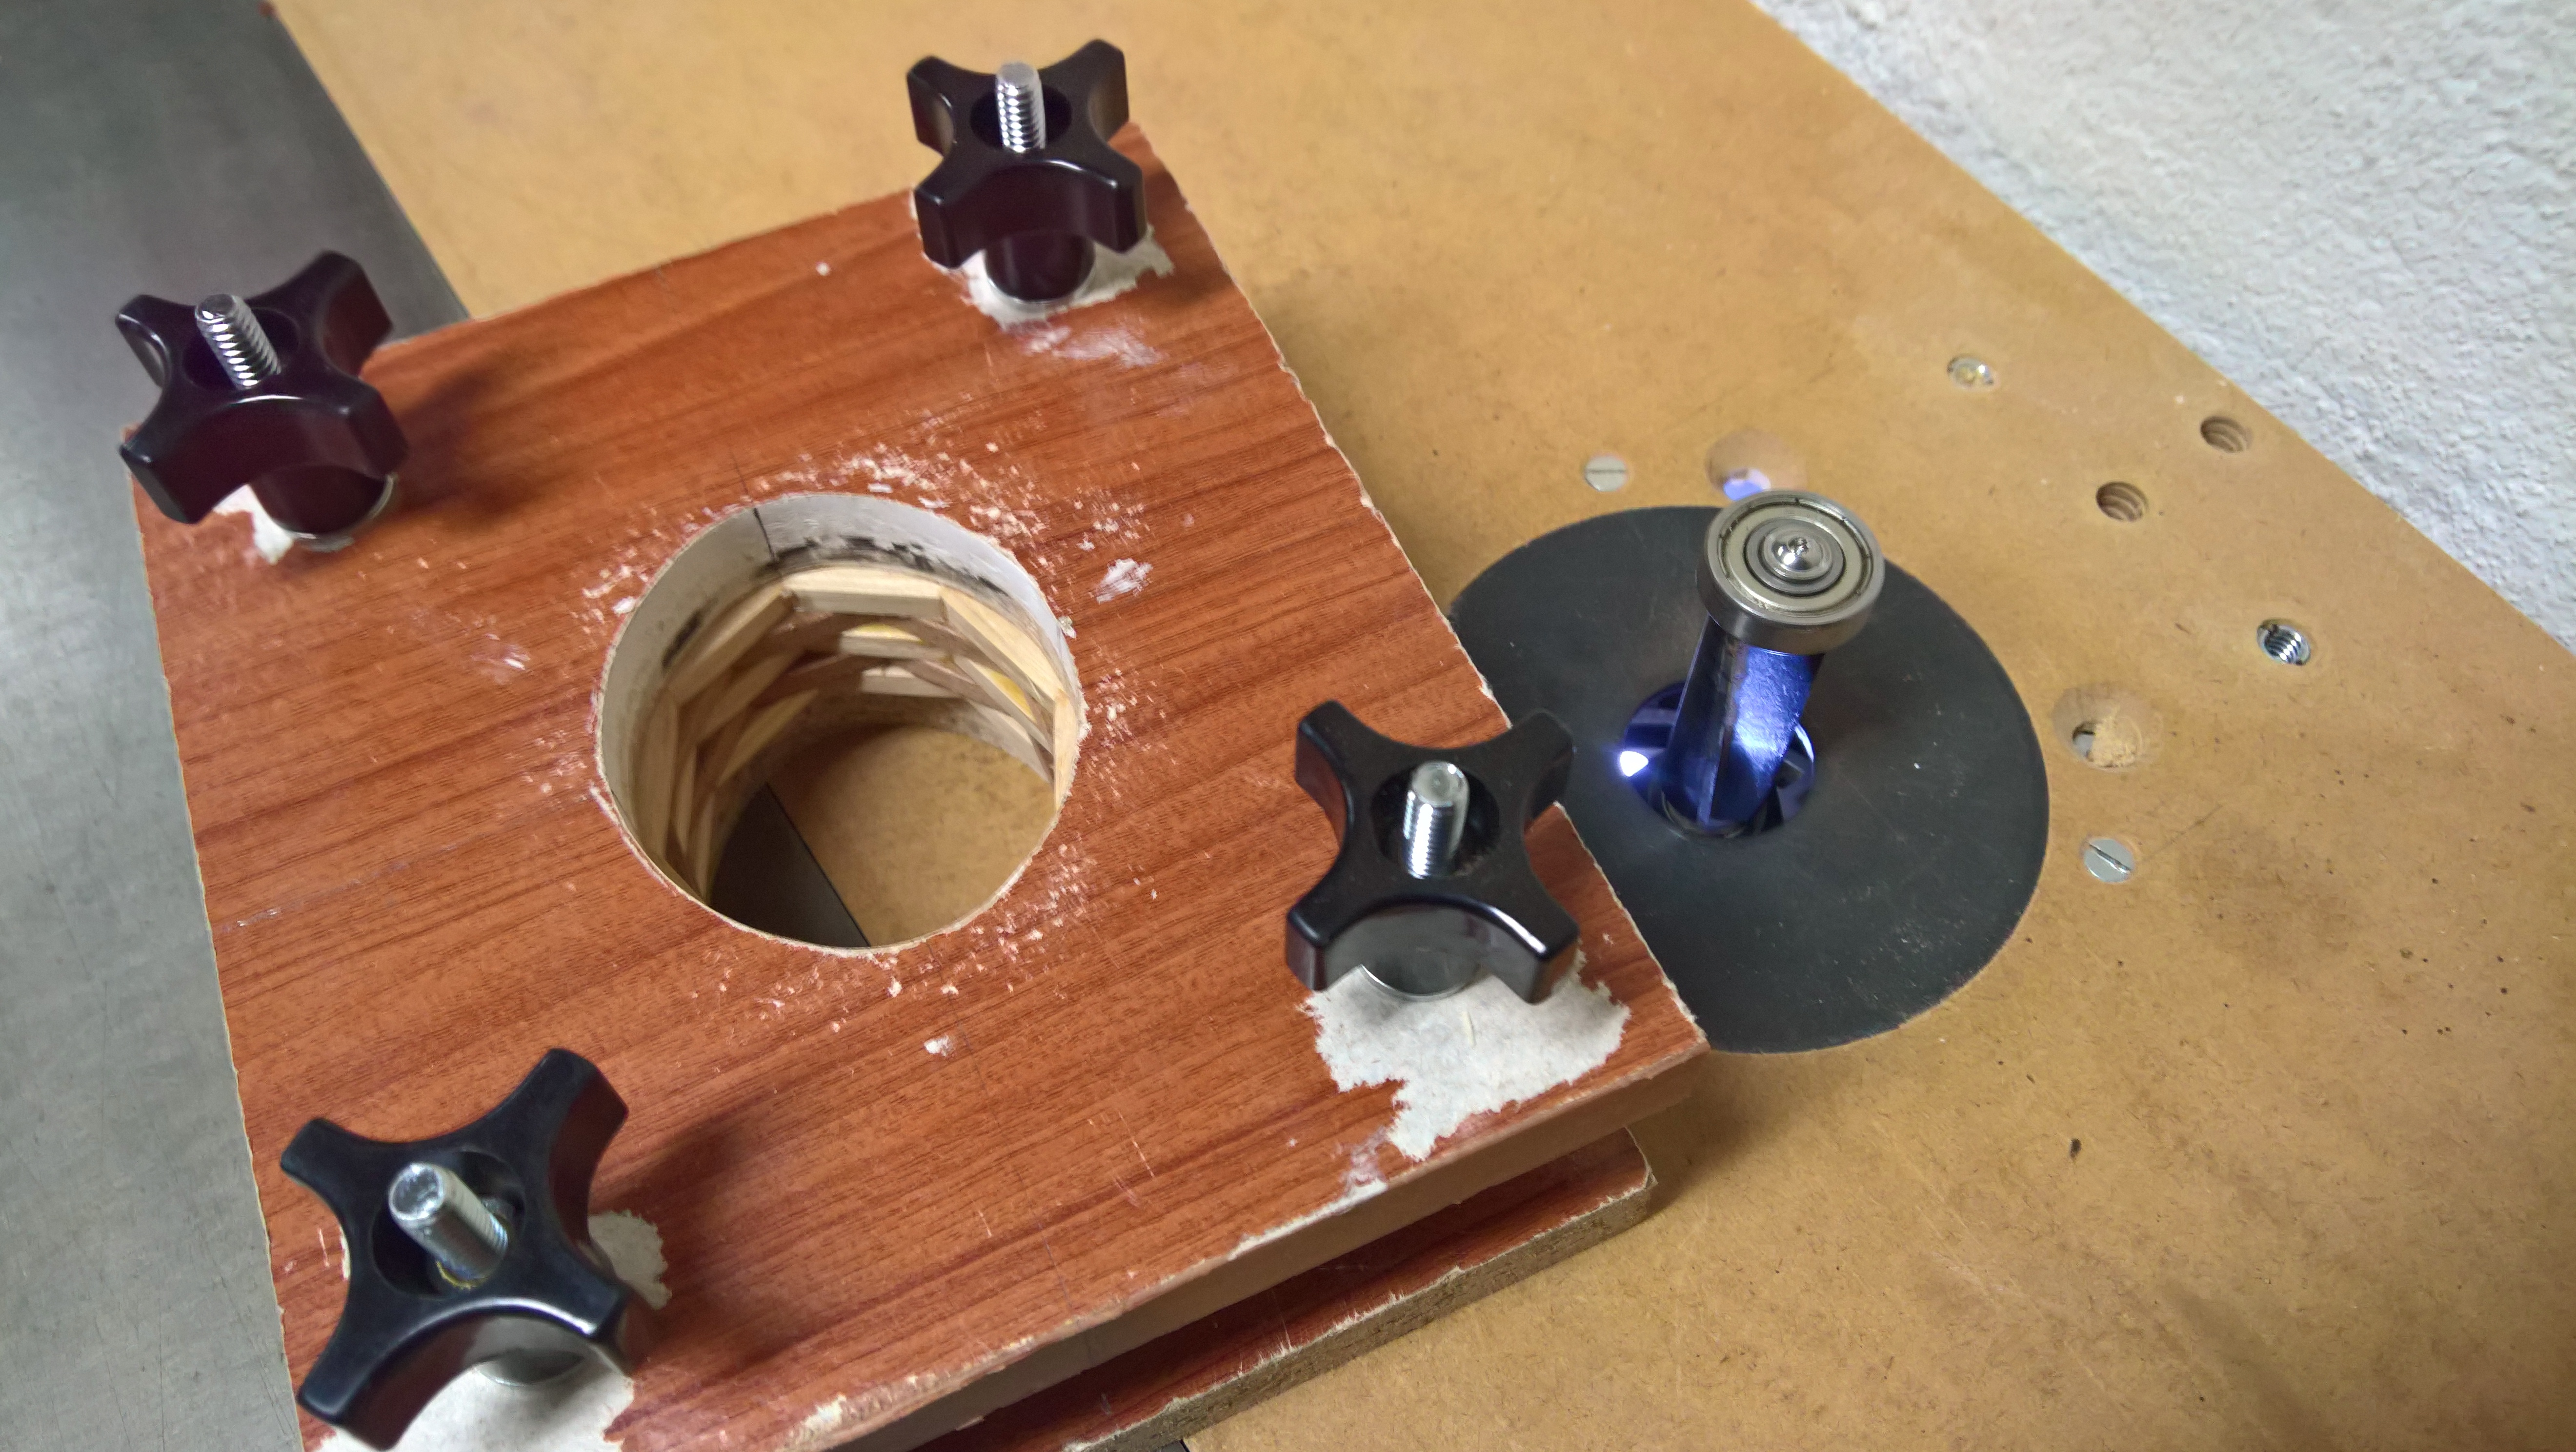
The inner oval is done:
Now the outer one:
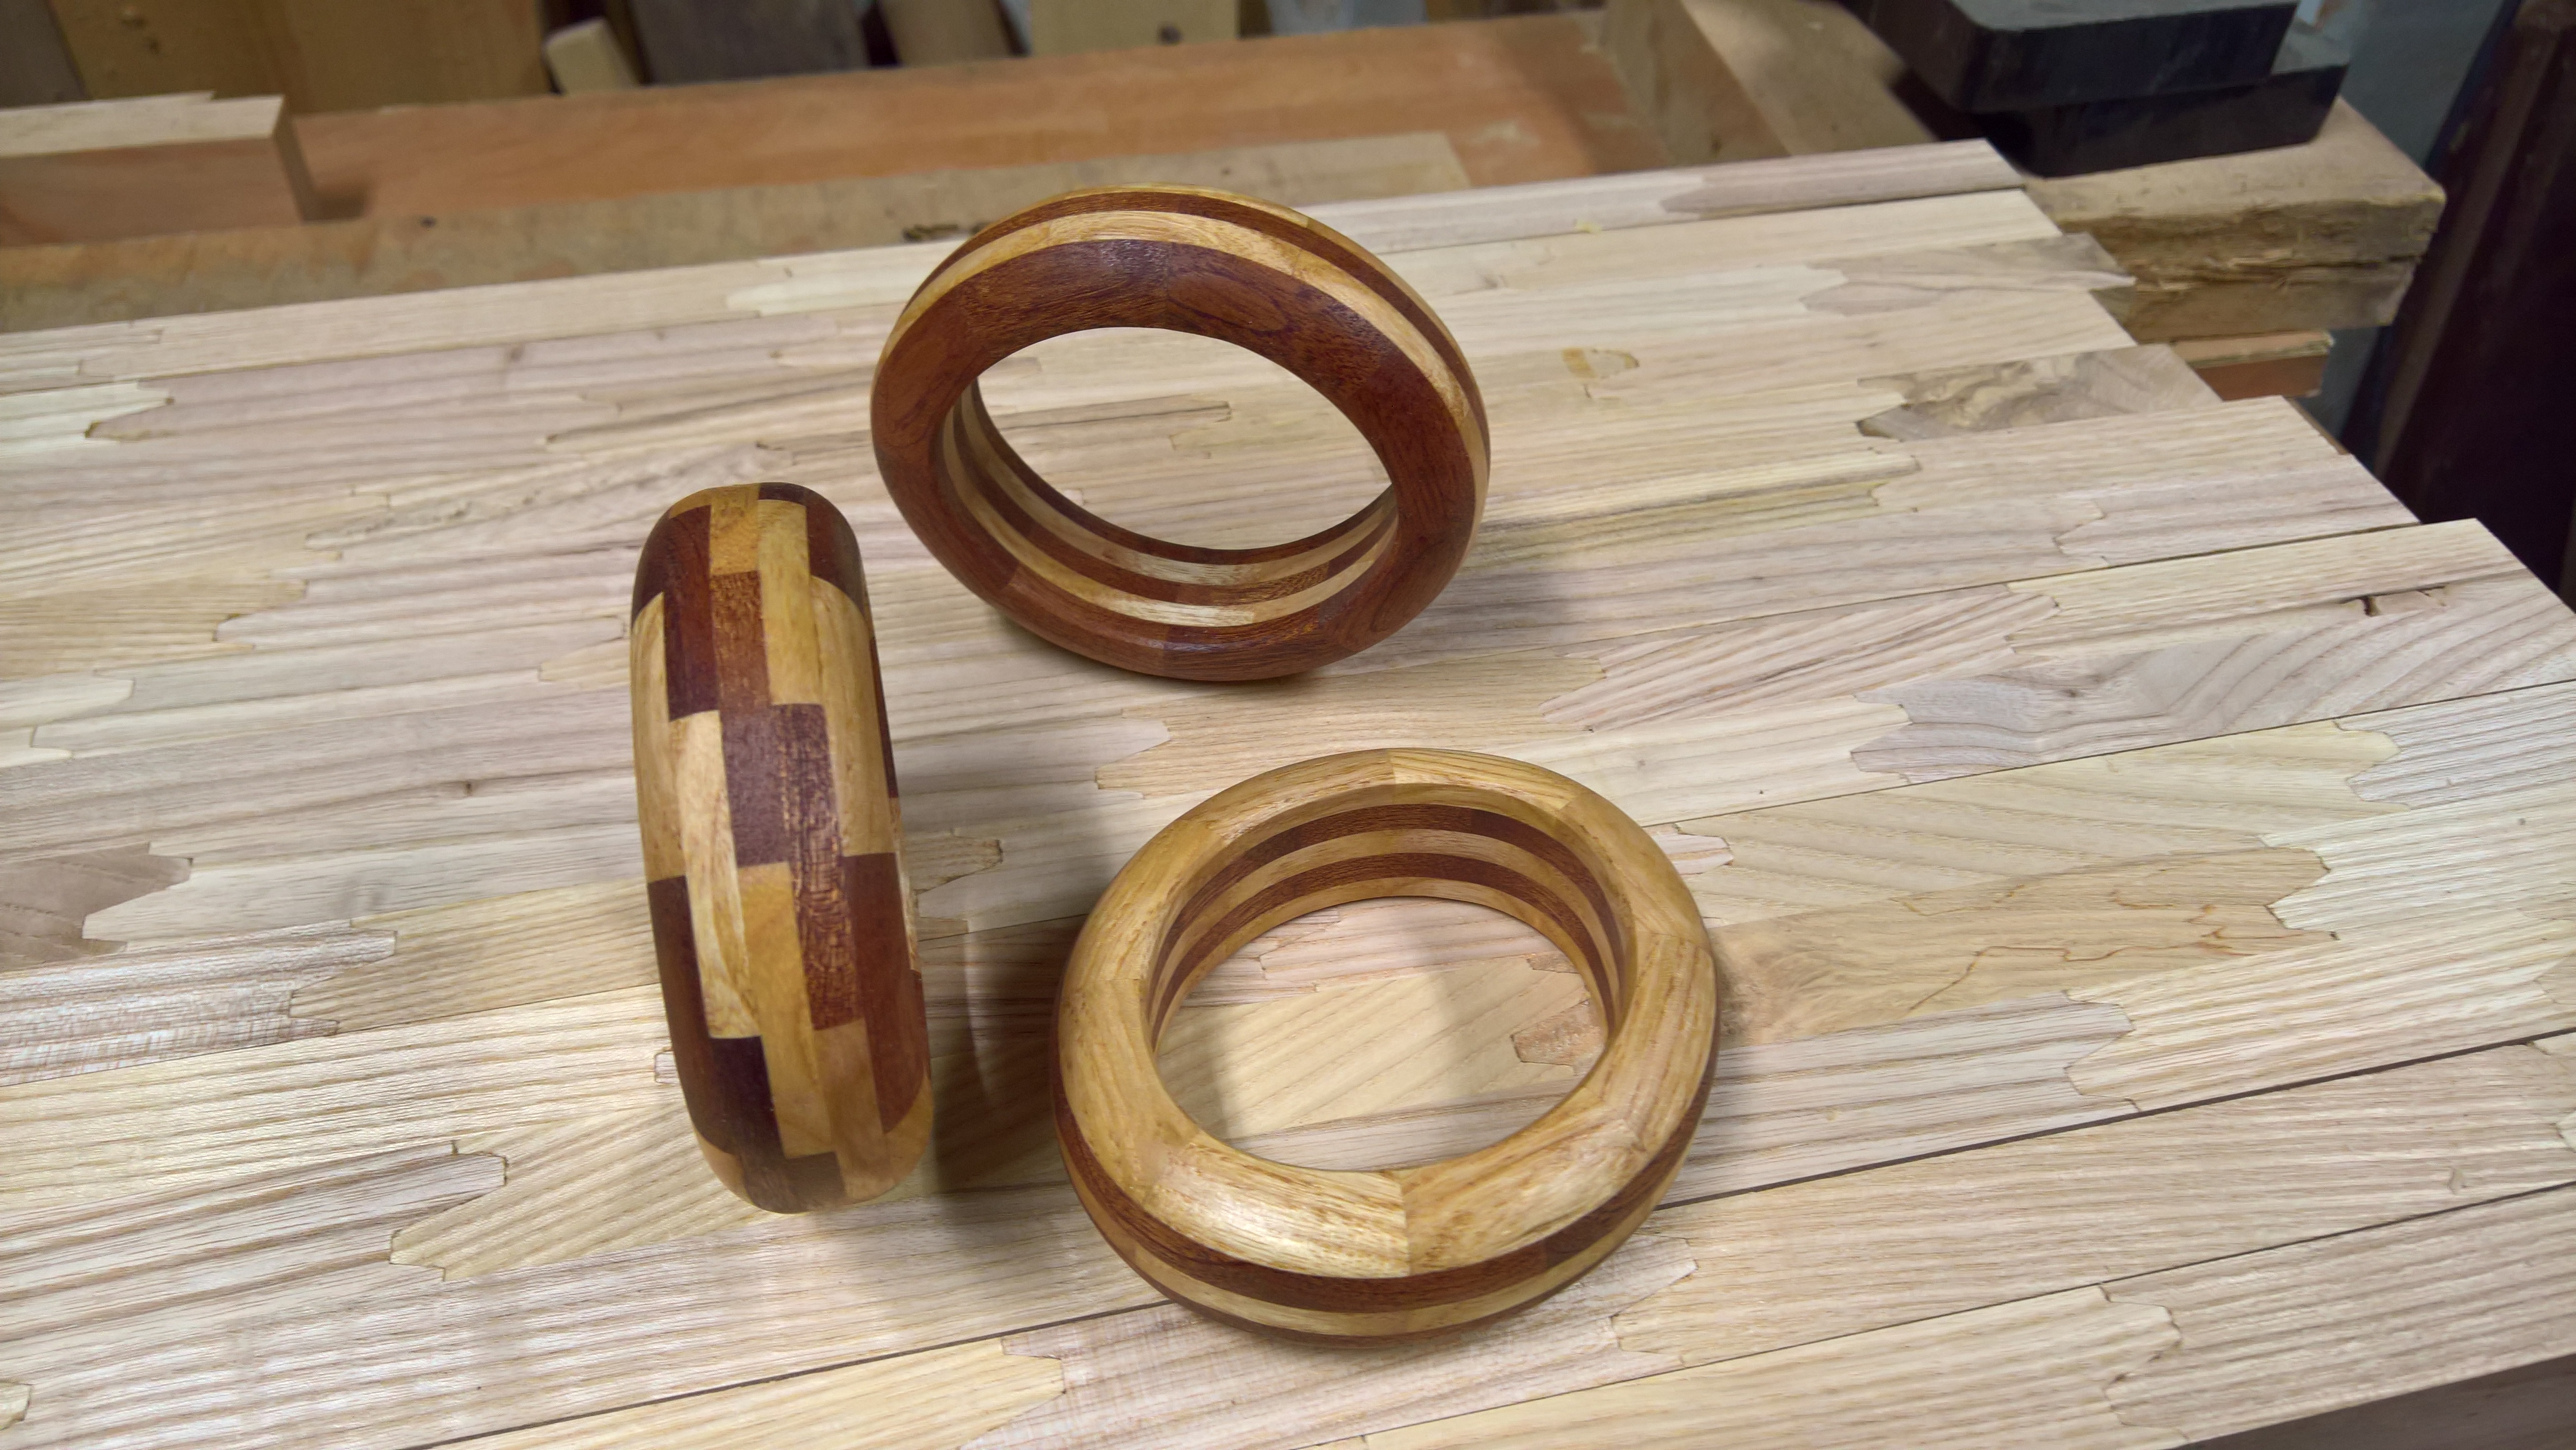
Finally the result after rounding over the outer edges and two coats of oil:
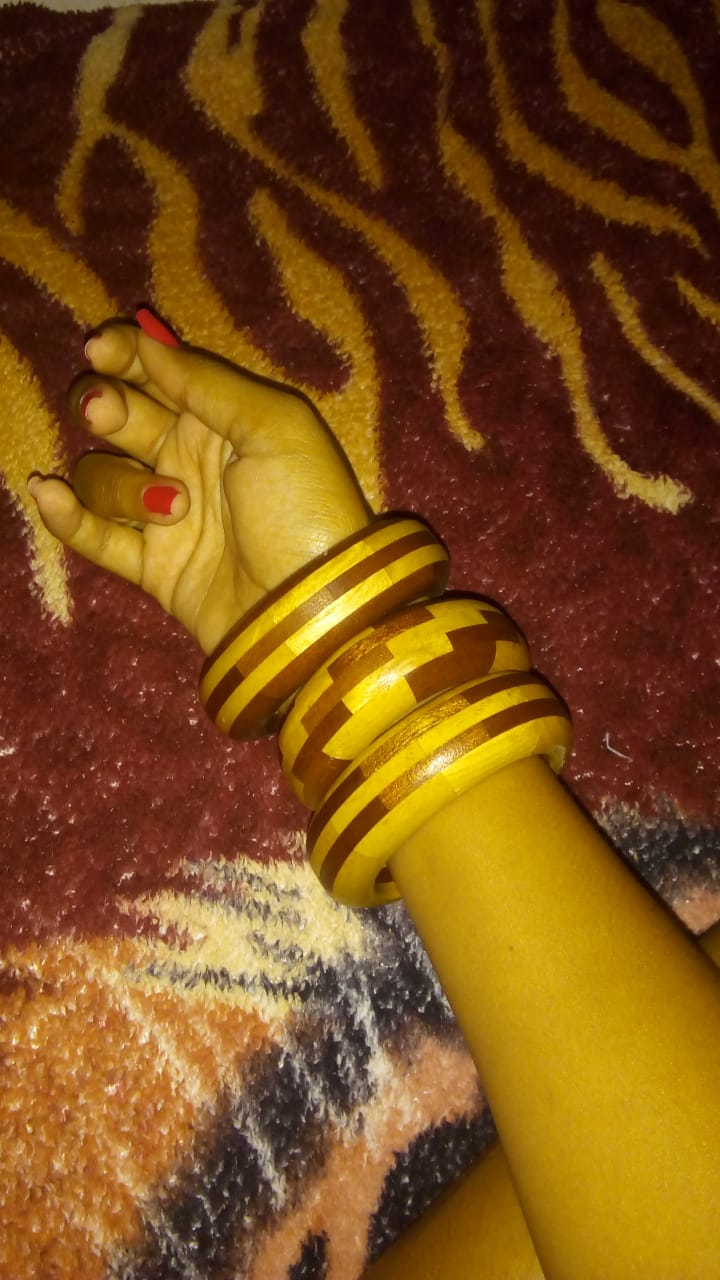
She got little uncertain on which one to wear:
Decided to make use of some ash and sapele off-cuts left from a flooring/parquet job and had the idea of
making a bracelet (or indeed a set of bracelets) using a technique akin to segmented turning.
I opted to make the bracelet oval instead of round since I think it would fit better on the wrist.
First off, I used a cad program to help me draw the bracelet and figure out the relevant dimensions/angles for the segments.
I also used the drawing to build a set of templates for routing the shapes as shown further on.
A good source of how to approximate ellipses with circular arches can be found here:
http://www.thisiscarpentry.com/2012/02/ ... es-part-2/
The offcuts used came from bandsaw cuts and had to be thicknessed down to 5mm, so I used my spindle moulder,
doubling as a spindle sander and a sanding block and made several passes until I got to the desired
thickness:
The final batch:
Then I cut the segments on the sliding table of the saw bench. I used two mitre gauges to speed up the process
since, in an oval shape, each segment has different right and left angles:
Cutting such small pieces can be hazardous. I used the eraser side of a long pencil to hold down the piece while cutting (not shown):
After a session of cuts, the pieces are all organised and tagged:
I then proceeded to gluing up. Firstly, I assembled each layer. I used masking tape to hold the segments together:
After the glue had set for each layer, it was time to glue them together: I stacked the layers and
placed weights on top to keep all tight.
Here I'm using a template jig to hold the glued layers and a trimming bit to form the final shape:
The inner oval is done:
Now the outer one:
Finally the result after rounding over the outer edges and two coats of oil:
She got little uncertain on which one to wear:
