WIP Pt 1: Combi drill/sanding table for vertical drill press

UKworkshop.co.uk

Help Support UKworkshop.co.uk:

This site may earn a commission from merchant affiliate links, including eBay, Amazon, and others.
Well AES here is my interpretation of the drill press table. I have yet to add the sanding table but I do have a design in mind for it:
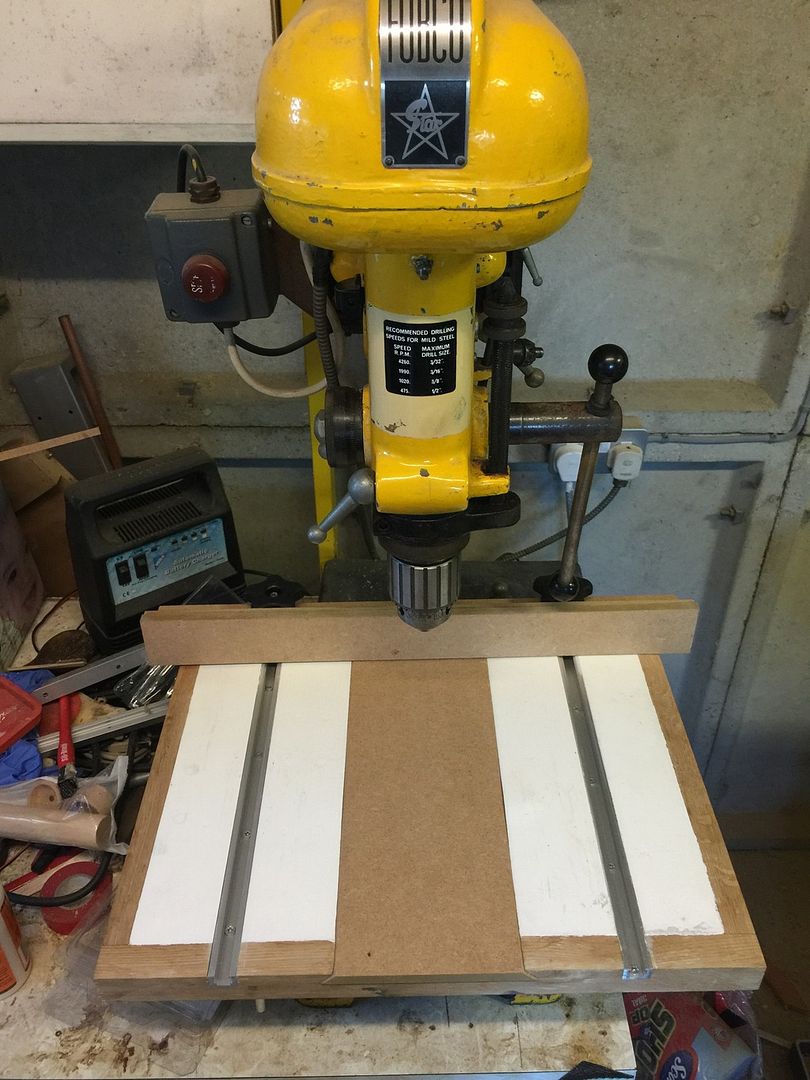

The central strip is removable and sacrificial:
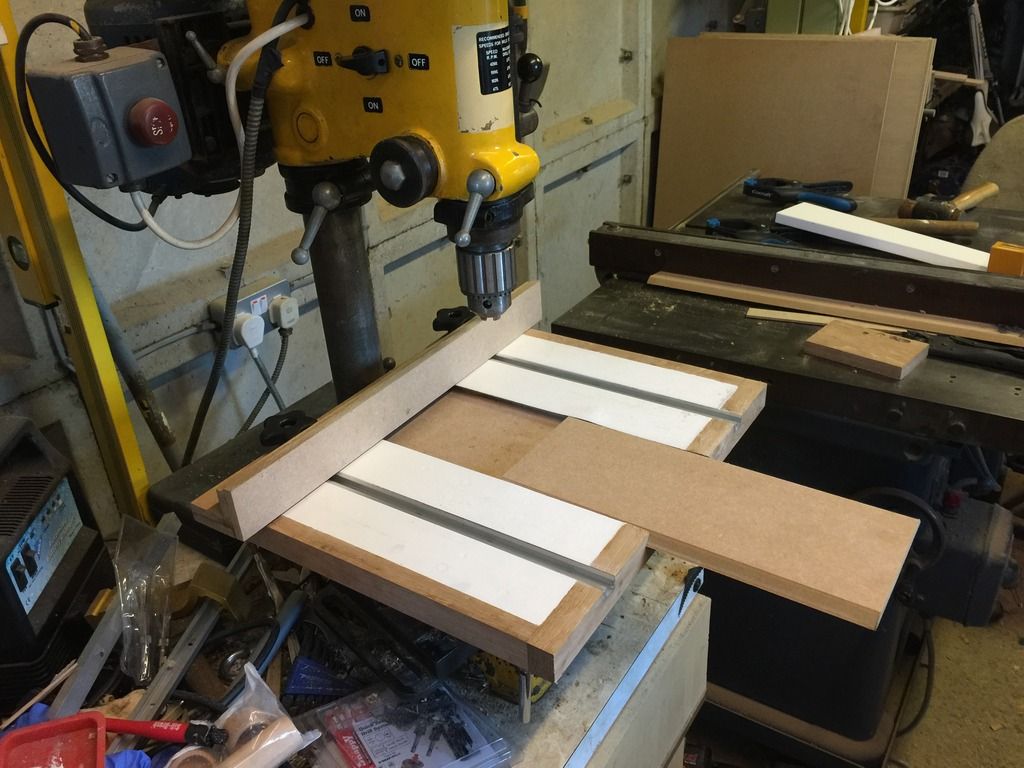

It is held in place by a dovetailed way formed by bevelled strips of 12mm MRMDF (the whole thing is formed by laminations of the same material):
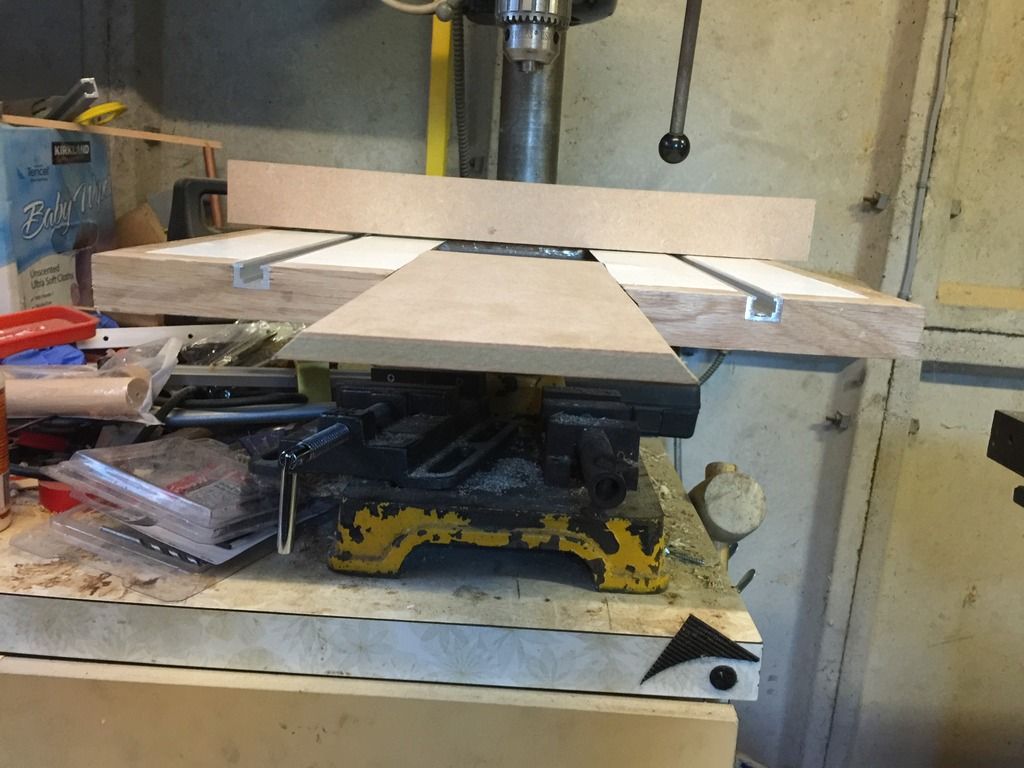


I edged the table (a lamination of 3 layers of MRMDF) in some oak I had with glue and biscuits. Once cured I milled the channels for the t-track with the dado stack. I also had to clear the oak at the front of the dovetailed way. As the dado stack was in the dimension saw I removed most of the waste with that and trued it to the table with the router plane, back saw and chisels:
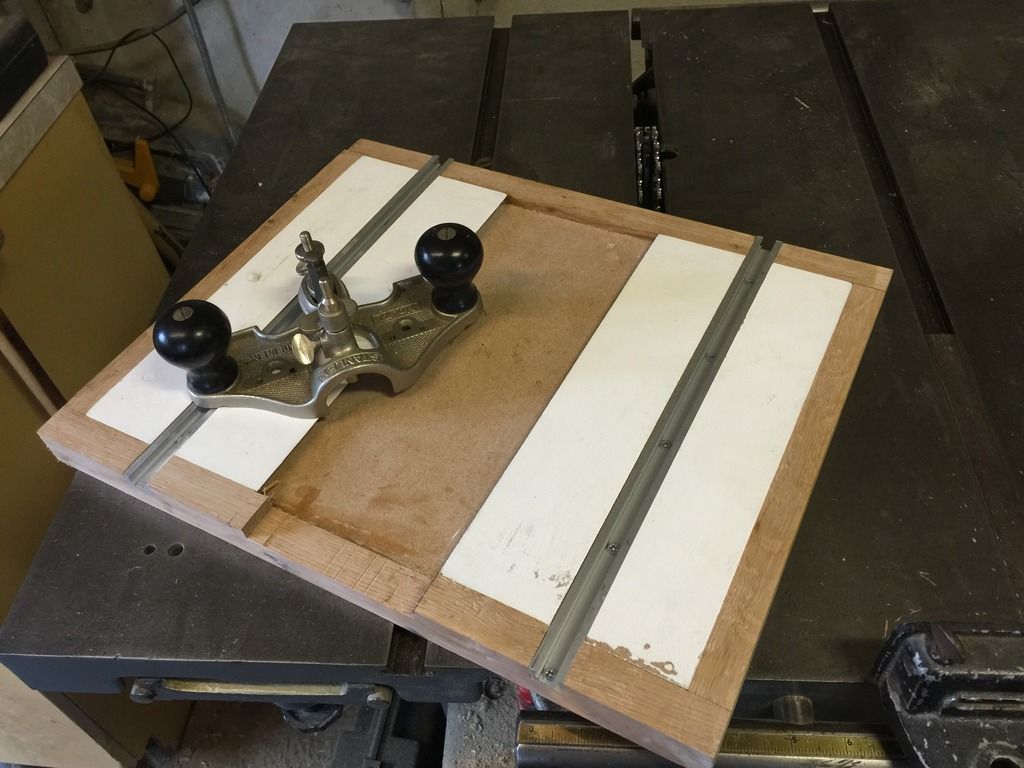
I know, I know; dado stack and router plane in the same project - it's like an abomination formed by Paul Sellers and Norm :). Anyway I'm happy with how it turned out and will pick up the sanding table over the next week or so.
 
Ooh, I like that memzey - your table is deeper front to back than mine (good idea), and your fence is much neater/less big & clumsy than mine.

I await your drum sander add on with interest.

Thanks for posting.

AES

Edit for P.S. And your edging and T rack looks much neater than mine too.
 
Hi Memzy.. If I may I've had a bit of an idea about one way to do the drum sanding setup. You could sink the bearing into the base section under the sacrificial mdf, then for DE and to raise the workpiece up to the side lvl of the drum, make a shallow "box" with no bottom with a hole in the centre for the drums and a hole in the side or summat for plugging in a shopvac, maybe with some sort of internal channelling and drum sideskirt.

Seal the bottom of the box with a silcone strip and you're good to go - pop it on and off with minimal faff.

and if you do that I want full credit ! :)
 
Ha! You can have full credit for that one rafe! It's a good idea but I have something slightly different in mind. I hope to be able to post it up by this time next week - work and family with three young girls getting in the way of shed time!

AES - you are being too kind about my shabby piece and too humble about your own project. If my table in any way looks nice to you I guarantee it's more due to shabby photography than any snazzy woodworking!
 
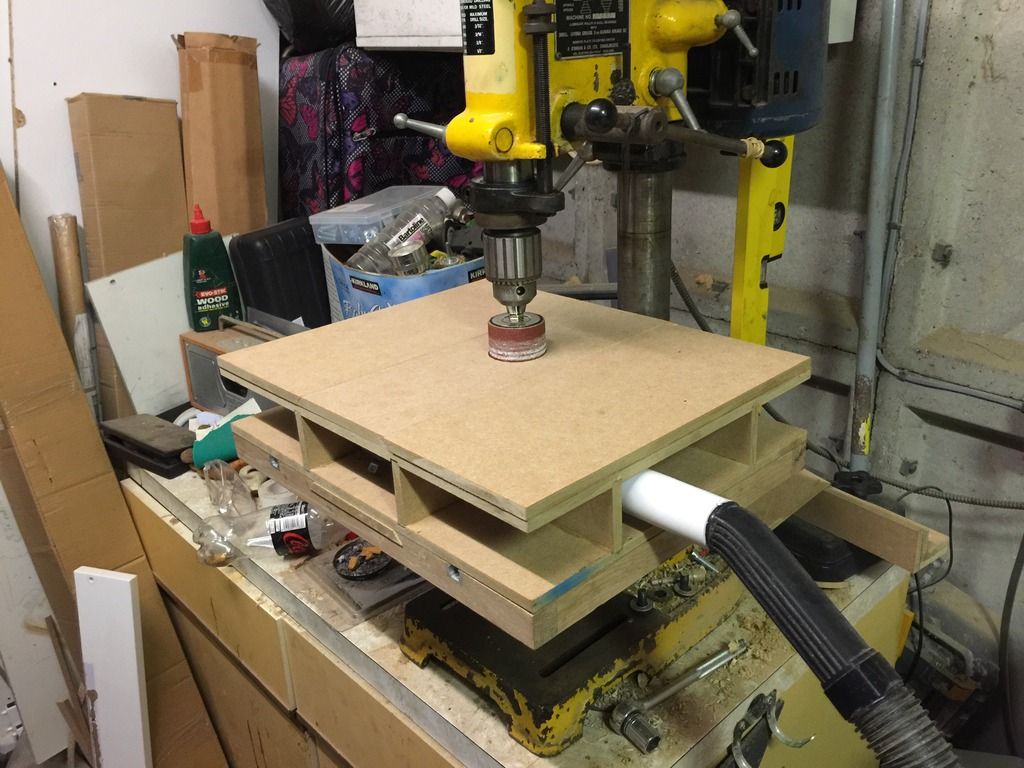
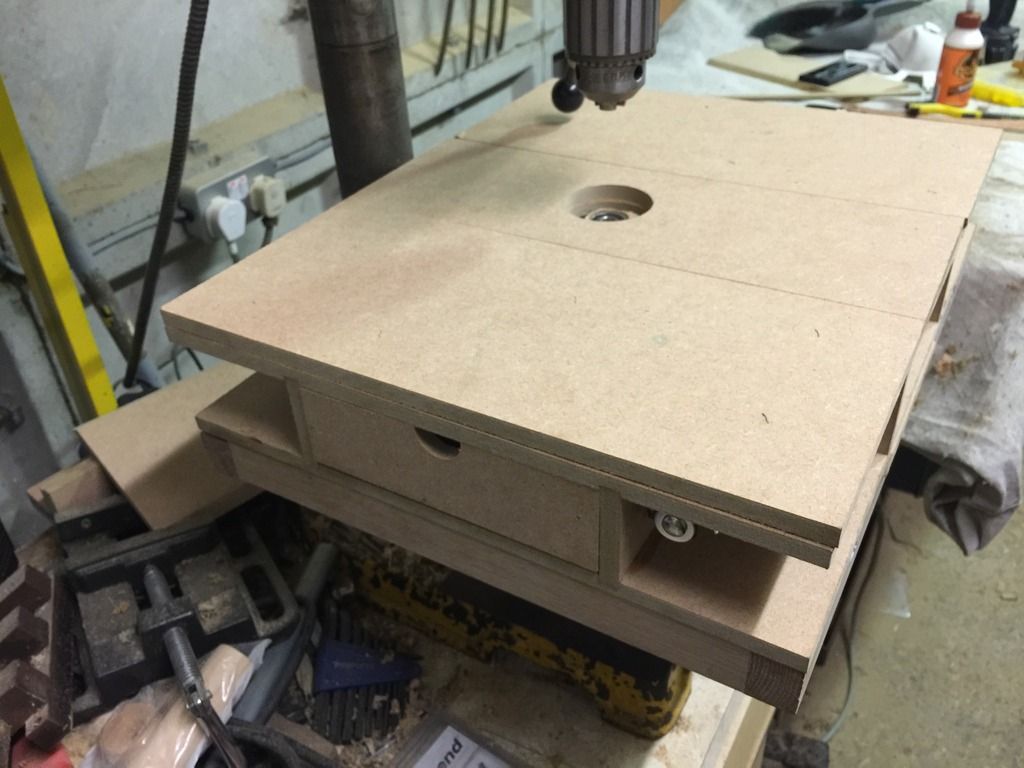
Well a little later than promised but here is my interpretation of the bearing guided drill press sanding table:

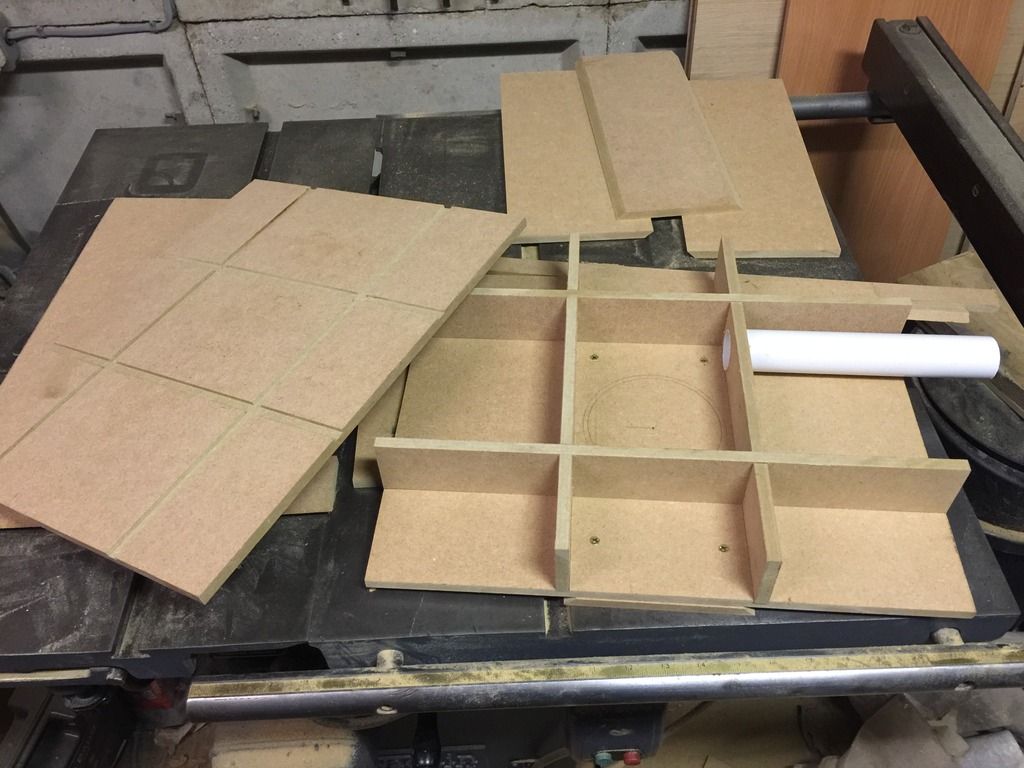
It is formed as a box section with the internal verticals jointed to the horizontals in through housings and with each other using half laps. This makes the central rectangle completely airtight and leads to much better dust extraction than would otherwise be the case:

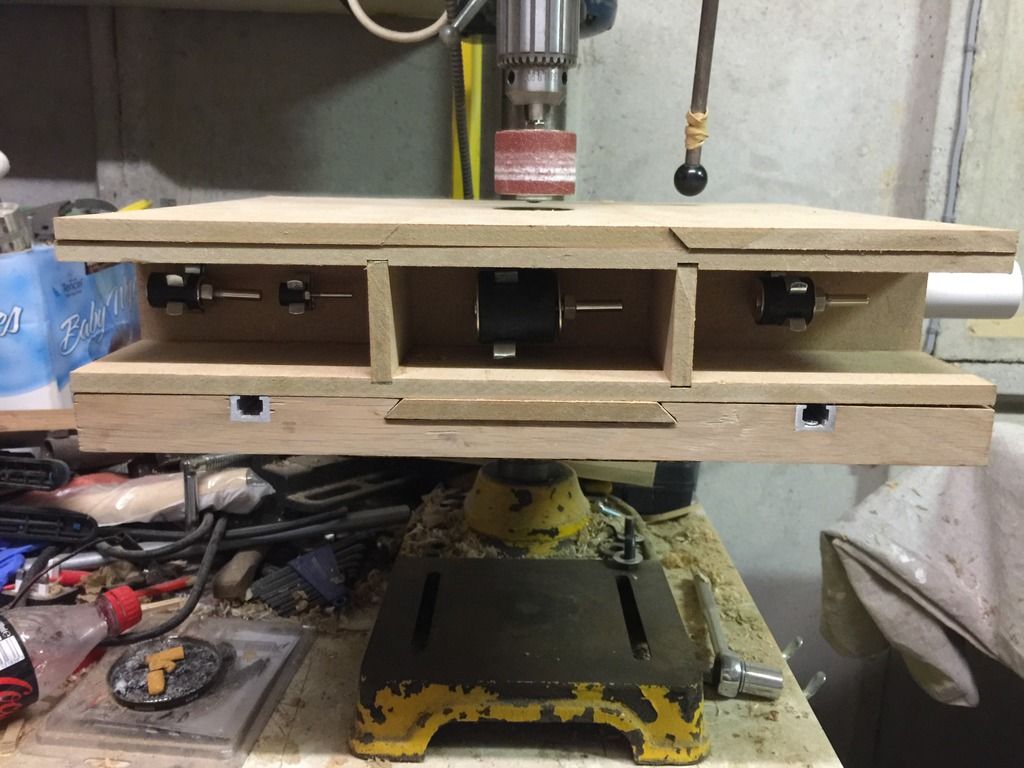
You can see at the bottom of the above picture that I fixed a sacrificial strip to the bottom which is how the sanding table afixes itself to the main table - it just slides in to the dovetailed way like any other sacrificial strip.
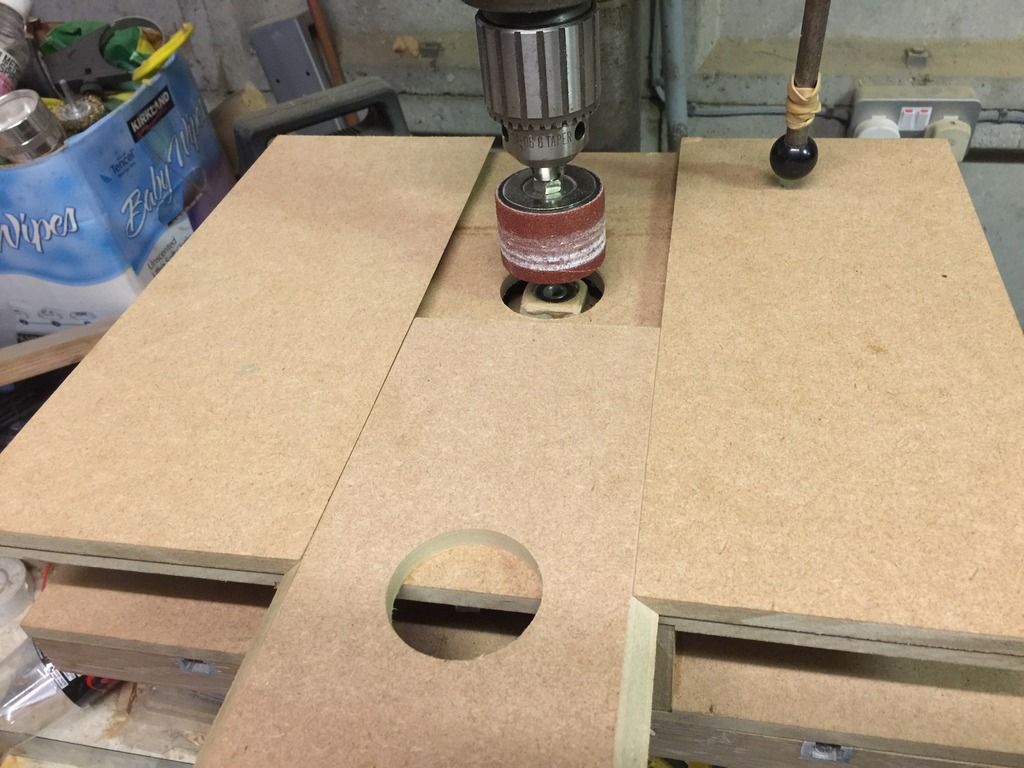
I used the same dovetailed way arrangement for the top in order to have strips with different sized holes accomodating the various drum sizes:

You can just see the bearing peeking out from under the table. It is set in a built up housing which is flush to the sub table thus allowing me to keep as much sanding capacity as possible.

Once assembled I noted the exposed little cubbies created by the box section around the edge of the table and thought I could use them for storage; tool clips keep my drums in place and make them easily accessible from the front:

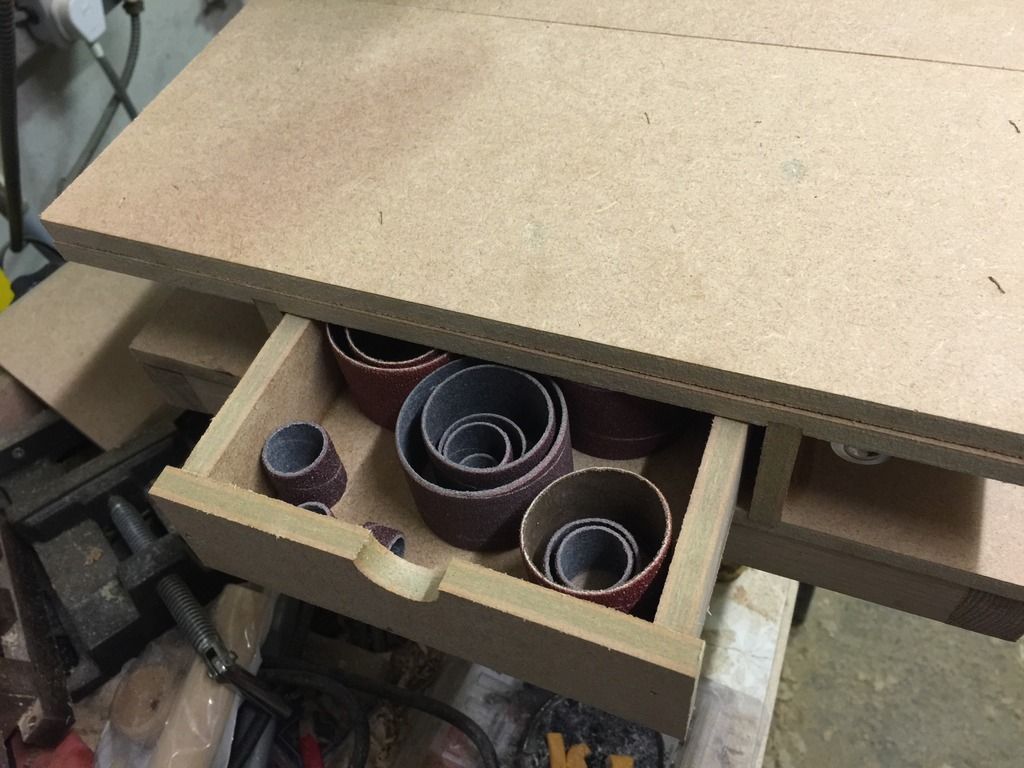
Whilst a crude small drawer was fitted to the left hand side for additional storage:

Ample room for all my loadings:

I can't take credit for all the ideas that went into it but I must say I'm pretty pleased with how it turned out in the end. I would welcome your thoughts gang.
 
Well I for one think it's excellent memzey. Most importantly, it looks like it'll do the job very well.

Since last posting I've done some fiddling myself, in between doing other, more pressing things, and you and rafezetter are dead right, my DE space under the table is too big and not airtight enough. I shall do a proper mod and post later, but as I said last time, "don't hold yer breath".

Meantime I've now made some more sanding drums, so that I now have a small one I bought from Axi (without a lower spigot, so I'll modify that one later on - it's about 20 mm dia I think) plus 45 mm, 60 mm, and 75 mm dia drums of my own design as per my OP.

And I've also started on 2 more hold downs of a better/more curved design. Those mods, plus an improved fence should fix it, but as said memzey, I think your's is excellent, and I particularly like the little drawer for odds n ends.

Thanks for posting. =D>

AES
 
Thanks for the kind words AES. On the topic of your drums; I was wondering whether you used left handed nuts and threads or if you used some other means of ensuring they don't come undone in use? I just bought a cheap set from toolstation but thought about making some up using threaded bar and locking nuts.
 
@memzey:
No I didn't bother with LH threads - I thought about it but didn't have any in stock so I thought I'd try with normal threads first.

As per my OP, I used MDF for the drums themselves, and used a shake proof washer (the things that look like multi-pointed stars pressed out of sheet spring steel - see my OP) between the bottom of the drum and the upper face of the lower nut. I also used a nyloc nut as the lower nut itself and found that with normal tightening up the star had bitten into the bottom surface of the MDF drum and the nyloc nut seems to hold it all tight enough - so far anyway!

HTH

AES
 
Back
Top