WIP Plane Refurb

UKworkshop.co.uk

Help Support UKworkshop.co.uk:

This site may earn a commission from merchant affiliate links, including eBay, Amazon, and others.

SteveJ

Established Member
Joined
27 May 2009
Messages
49
Reaction score
0
I got home from work today and this lil package was waiting for me :D It is my firm plan to refurb it this weekend.

I bought this on fleabay last week for shade over £10, needs some serious TLC but I'm fairly happy.

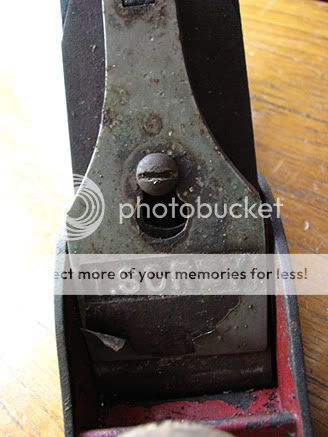
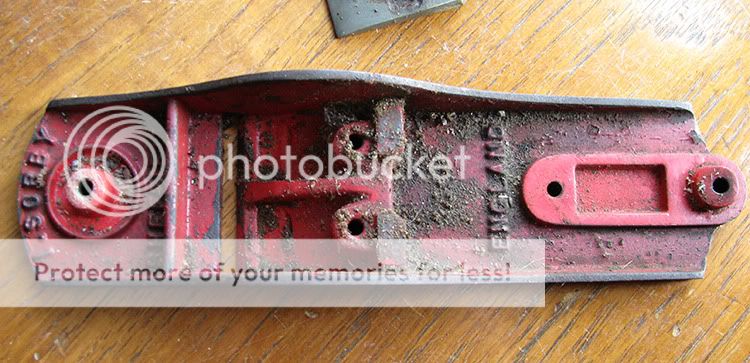
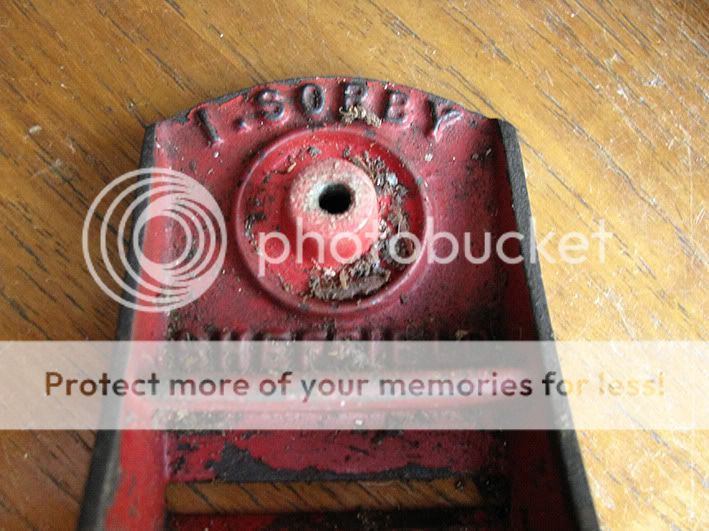
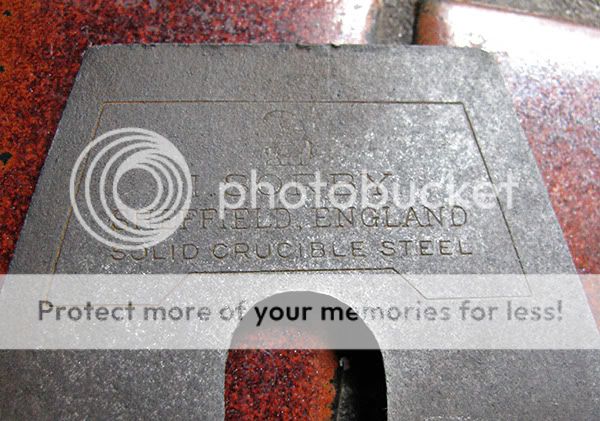
I can't find any info on it at all on the internet, I was hoping that someone could perhaps enlighten me. I've seen a few I Sorby bits floating about and they seem to attract reasonable prices... like I said though have no idea about this plane. Its about 9.5" long and takes a 2" blade, no size marked on it oddly though.
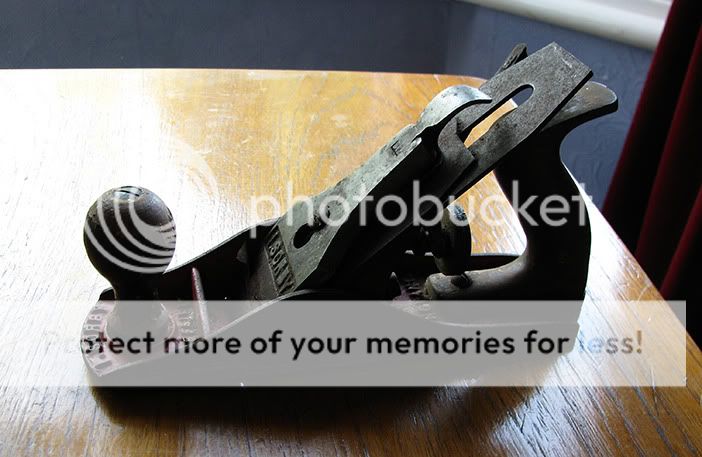
SIDE.jpg


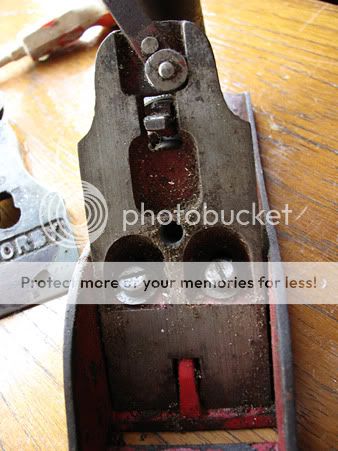
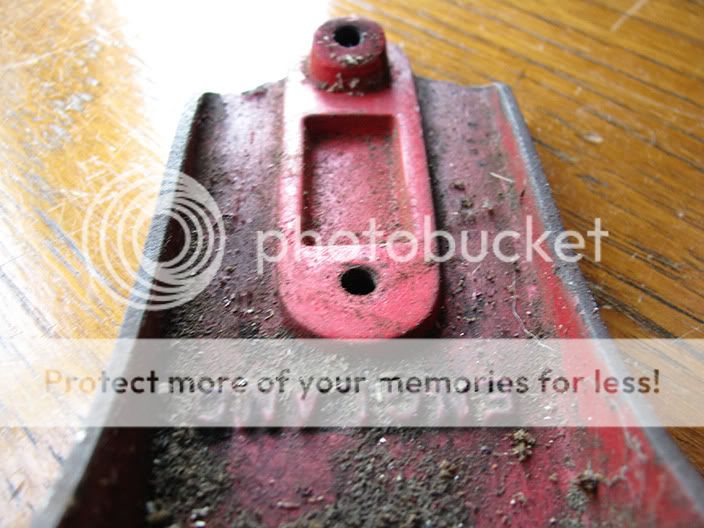
Wierdly it also sports two fixing points for the tote... would seem to be original though...
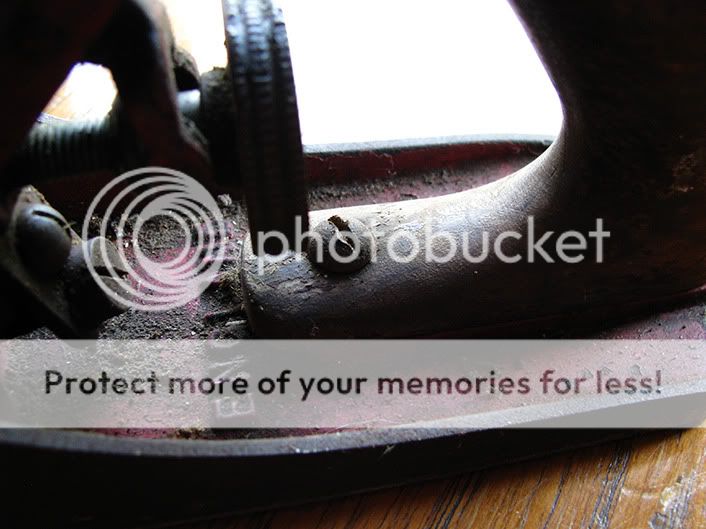
mount.jpg


CHIP.jpg


FROG.jpg


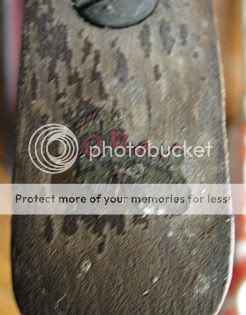
STAMP.jpg


TOP.jpg


FRONT.jpg


REAR.jpg
 
Damn I keep seeing these 'Plane Restoration' titles and hoping it's the restoration of an old wooden aeroplane :(
 
In spite of Wizer's wise-*rse comments I'll continue :wink:....

First job this morning was to get the electrolysis bath set up..

1.Bucket and water :)
bucket.jpg


2. Soda Crytals
Soda.jpg


3. Bucket, water and soda crystals.... :D
SodanBucket.jpg


4. Battery Charger (suitably covered in sawdust)
Cherger.jpg


5. Suspend plane in electrolyte solution, negative terminal attached to plane, positive to stainless steel fork.
Rig.jpg


6. The result - lots of purdy bubbles..
bubble.jpg


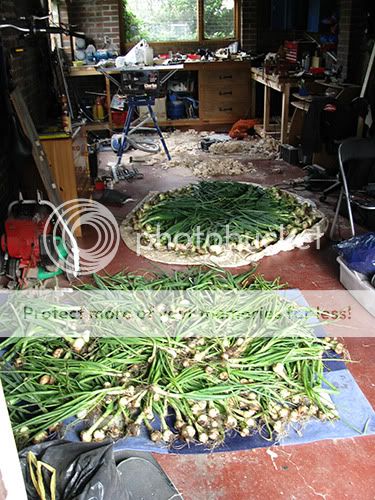
7. Go pull oinions down the allotment, realise that your 'workshop' aint big enough...
Oinioms.jpg


8. After a brew notice things are slowing down a bit, pull out the plane and rub it down with a scouring pad to get rid of any loose material which may be impeding the process..
couphrs.jpg


...and clean off any rust which has collected on your fork...
forkrust.jpg


9. Another few hours later... almost there...
almost1.jpg


almost2.jpg


To be continued....
 
Nice progress - but can I ask why you did the electric bath treatment, and didn't just get the Nitromoors out?

Cheers

Karl
 
I've always wanted to try that method on something but never had anything so rusty.

Funnily enough was only talking today about the onion crops when I had my allotments. Are you going to braid them?
 
Karl":3nfy69ui said:
Nice progress - but can I ask why you did the electric bath treatment, and didn't just get the Nitromoors out?

Cheers

Karl

Nitromors won't remove rust but the electrolytic bath works well.

I've not thought of using stainless steel as the anode. Must try that next time.

Bob
 
I think the results speak for themselves. :)

Workshop Heaven also do a couple of rust removal products which don't require electrolysis. :wink:
 
ARgh! Todays been one of those... :evil: I got some paint on the plane body, first coat ok, second coat went seriously **** up... I've no idea why, thus spent a great deal of the day stripping the plane body AGAIN!

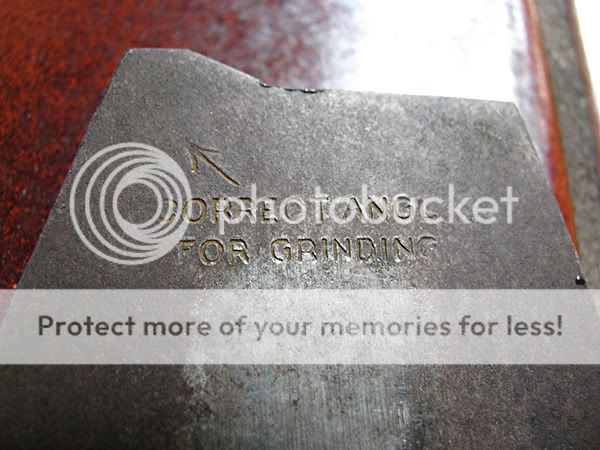
I also attacked the cap iron, was hoping to save some chrome, nasty rust had crept in undeneath the lot though - much sweat later its still looks the dogs dinner :(

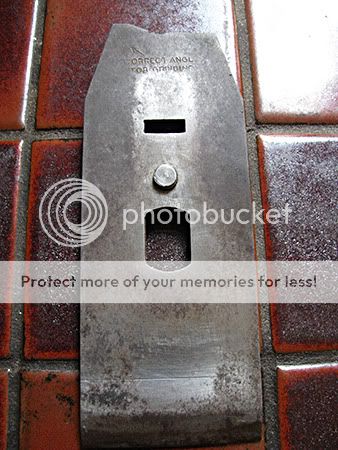
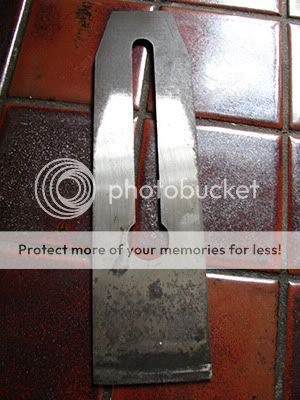
The silver linning though came after a few hours of electrolysis for both the chip beaker and iron.... where before there was nowt but rust, now there's....


I did wonder what that dog-ear was for...
CBfull.jpg


CBtop.jpg


IronFull.jpg


IronTop2.jpg

(They're looking even better now having given them a once over with the dremel and some metal polish).

To be continued... yet again....
 
I have to admit the possibility of home chroming crossed my mind... sounds like alot of work with some nasty chemicals though so maybe not.

After the difficulties with the paint I reckon I'd lean towards the nitromoors for paint stripping duties in future, using the electrolysis for shifting grime and rust etc.

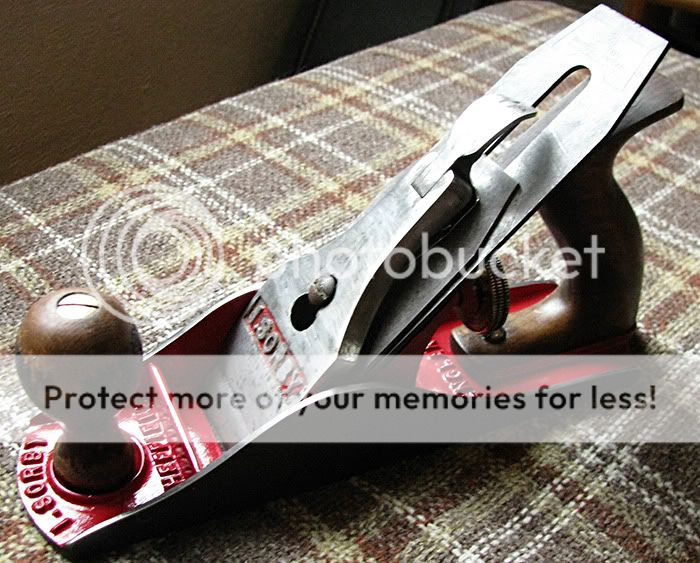
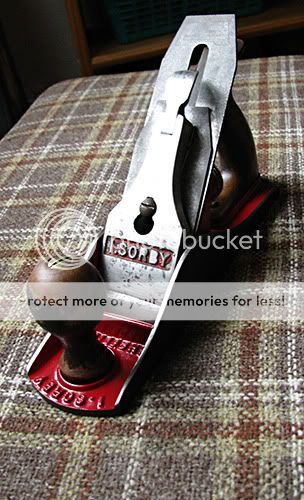
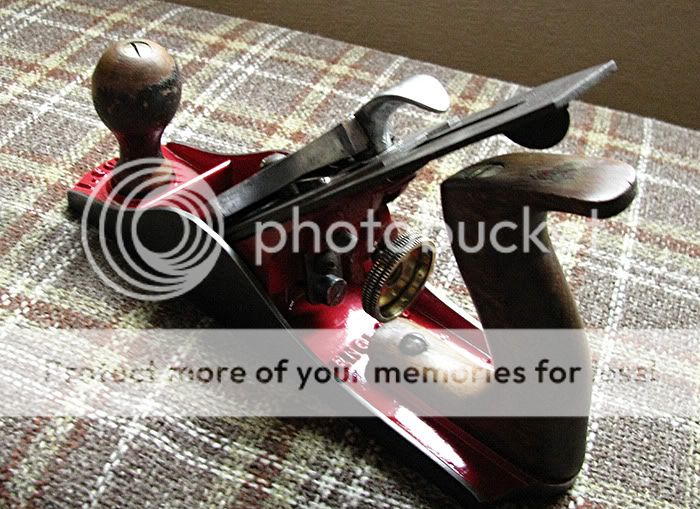
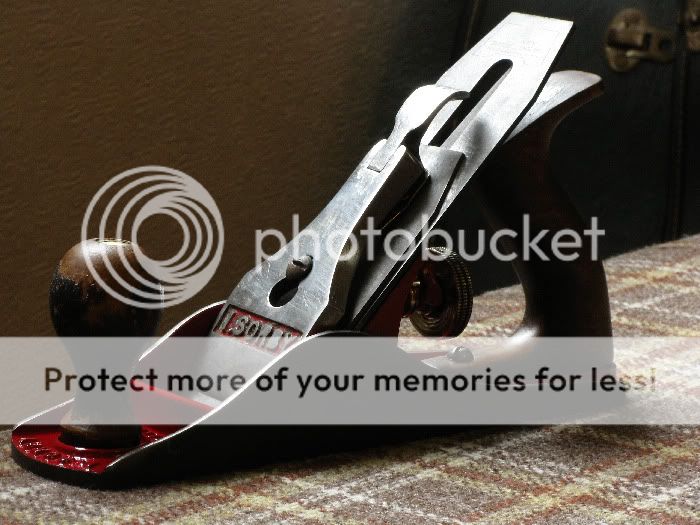
That being said, the paints now just about dry and I couldn't resist putting it together and snapping a few pics (not the best sorry). There's still a few little bits that need sorting, I'll get round to those this weekend... then its time for some shavings :D .

IMG_4697.jpg


IMG_4698.jpg


Quite glad I decided not to strip back the tote and knob completely, instead I just tickled them with some sandpaper / steel wool before sealing and rubbing down with some home-brew micro crystalline wax.

IMG_4699.jpg


IMG_4704.jpg
 

Latest posts

Back
Top