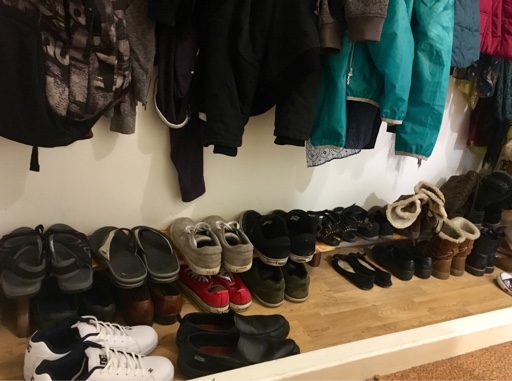
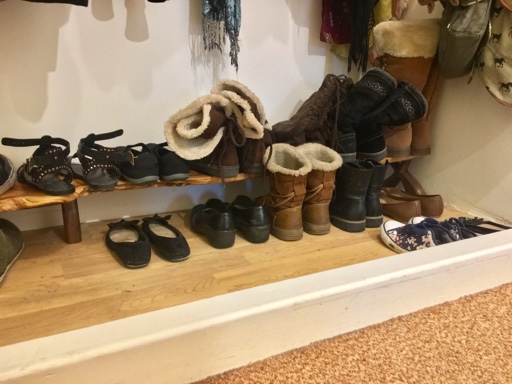
WIP - Overly decorative shoe rack shelf type thing

UKworkshop.co.uk

Help Support UKworkshop.co.uk:

This site may earn a commission from merchant affiliate links, including eBay, Amazon, and others.

Sawdust=manglitter

Established Member
Joined
14 Feb 2016
Messages
863
Reaction score
653
Location
Nr Cross Hands, South Wales
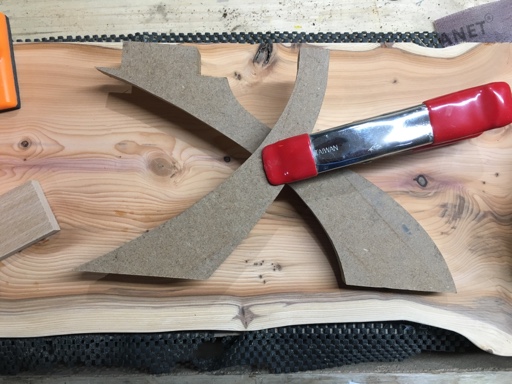
I looked at this project as an excuse to get in some practice at more curvy/sculptural type work. So I sketched some designs for the feet. Once happy with the shape I drew it full size and accurate, using some French curves to refine the sweeping curves.

Once drawn properly on paper I then cut them out and stuck onto MDF to make the template. This was the cut out template...
c28c2fcb0349a51419ba4d3fc8a2260d.jpg


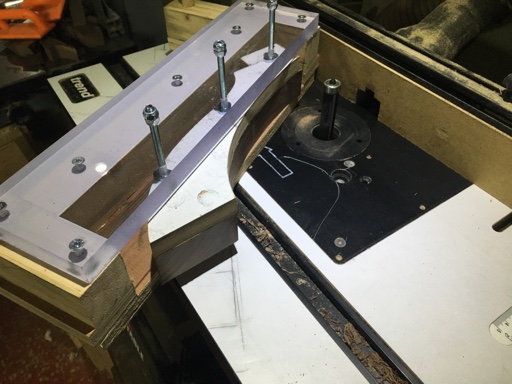
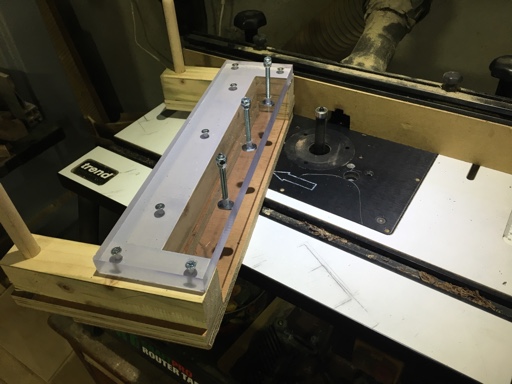
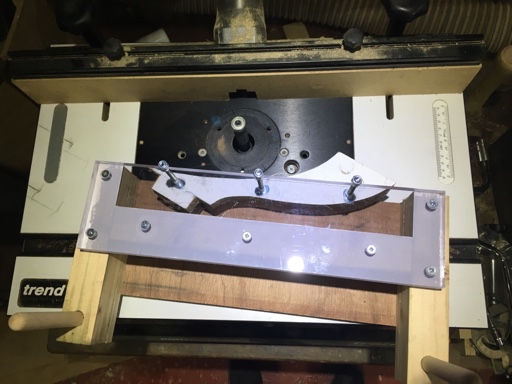
I originally intended on making three sets of legs, but having had a bit of a twitchy bum moment and a catch with one of the legs which got thrown to the floor (and broke!!) I mad a much needed jig holder thing for smaller pieces on the router table...
081320e0e4990b503ad8aa79262648e3.jpg


6f7ca26c8e921371fde007bbe7ebcf85.jpg


d13377357b90d98bdc14cbe957a427db.jpg


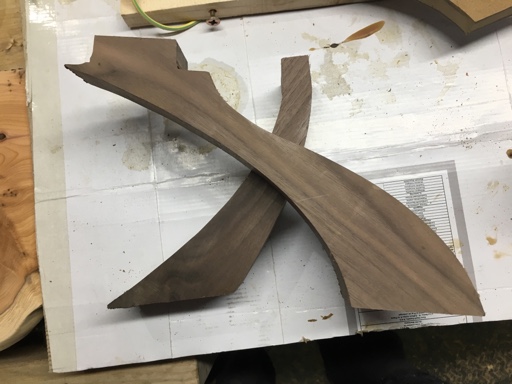
These are the freshly cut legs...

06aa30e12542d33157fad155ecef811b.jpg


Not got loads of photos every step of the way sorry.

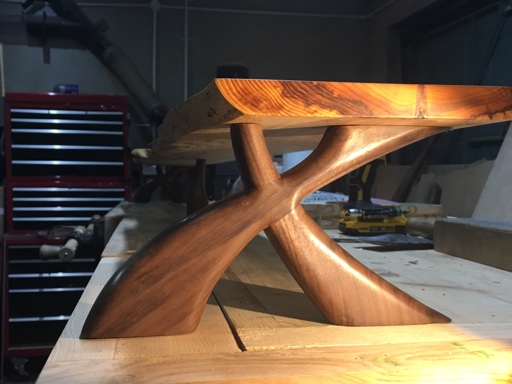
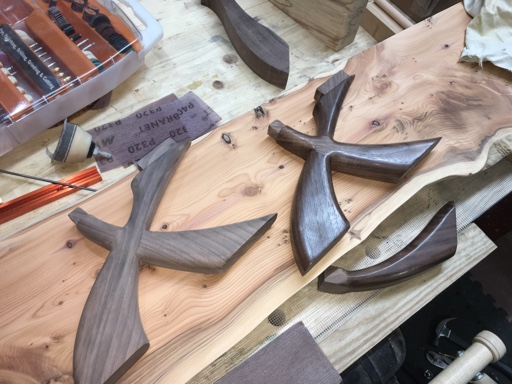
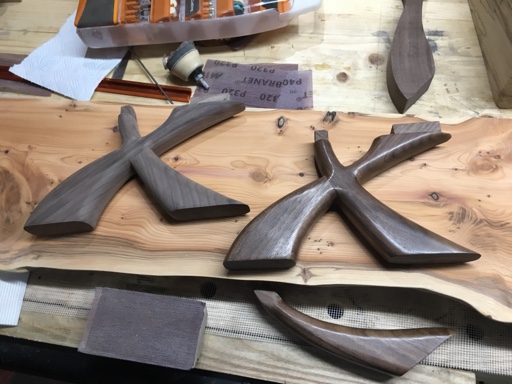
Once in this state with square corners I cut a half lap joint which needed a curved profile for as good a fit as I could manage before shaping etc. Once glued I used a round over bit to roughly shape the corners, cleaned up a bit with chisels and lots of hand sanding. Following the hand sanding I did what I could to buff them up on the buffing wheels. One mostly buffed, the other not done yet...
3479bffc36cf3bd34d61506ead9c28cc.jpg


7d696b6df0e238fa51de5a7af34e6c86.jpg


More photos etc will follow when I get more time later on
 
Having hand sanded these up to 240 grit, including spraying with water to raise the grain in between grits, i buffed as much of the surface area as i could on my buffer with a large buffing wheel. The American Black Walnut buffed up so nice i decided to leave it as it was with no other finish applied! It was this heavy cut polishing compound i used...
https://www.thepolishingshop.co.uk/poli ... 5-menzerna

The only issue was that there were a lot of nooks and crannies which i couldnt get to with the buffing wheel, so i finished buffing off the rest using the dremel with various sized buffing cone type bits, and even use a strip of leather to try to get all of the way into sharp corners which i couldnt reach with the dremel.

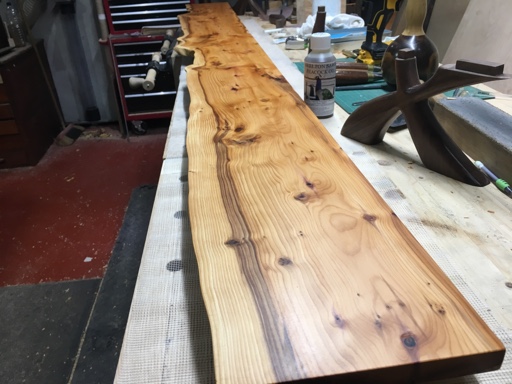
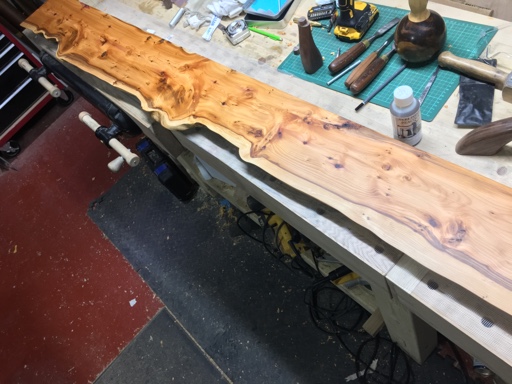
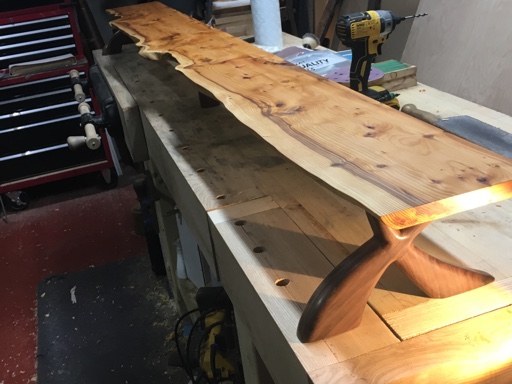
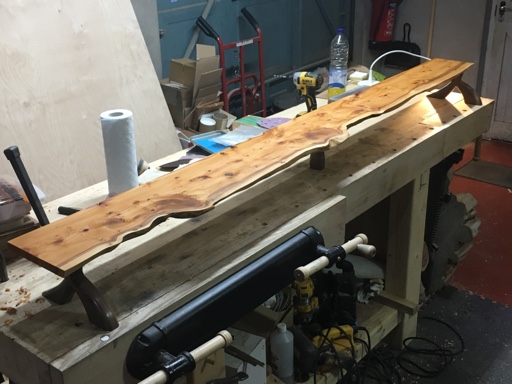
The shelf bit was a lovely board of waney edge yew i had, so after cutting off the live edge to one side (to be against the wall) i finished the board in with the planer thicknesser and brought it up through the grits to 320 and tried out some clear peacock oil for the first time (very pleased so far!)...


82598d18aa21848423e8d9b4ec089ec6.jpg


36c9e0e50c9e3bc61aa4b78ff6ce5f55.jpg


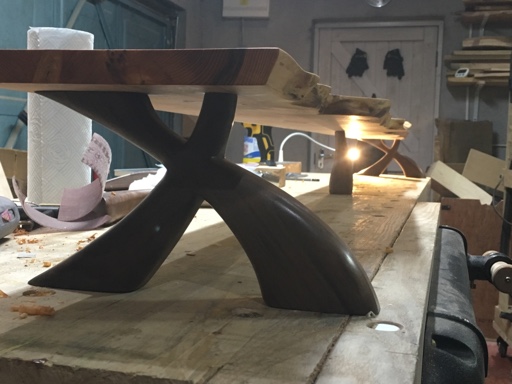
As i messed up the middle feet and didnt have enough of the same board of ABW, i wanted them to match so i decided the a single foot would be enough, so salvaged what i could, shaped, routered, sanded and was then ready to cut the mortices into the Yew.

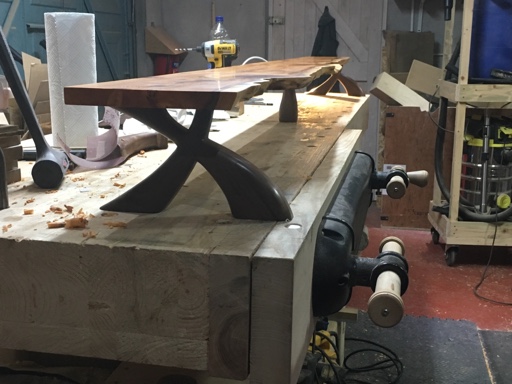
Once the mortices were cut it was time for assembly...

f445b57b9f5af20539e5569ac64390ed.jpg


1ce612ebf939266e39d62ca69870674c.jpg


245423daf03c1a7cd2da16fcc7474c4d.jpg


cdebe51647e860b7c741f720980f6bf3.jpg


8ef08602fd393c445496817c6a4883bc.jpg
 
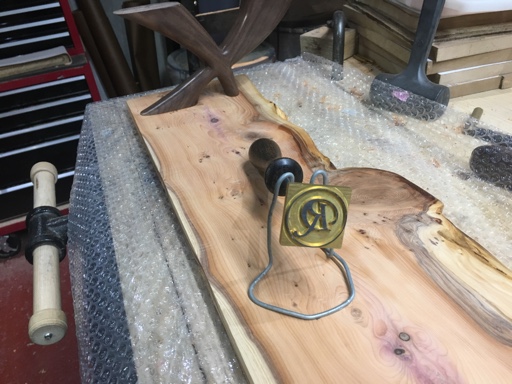
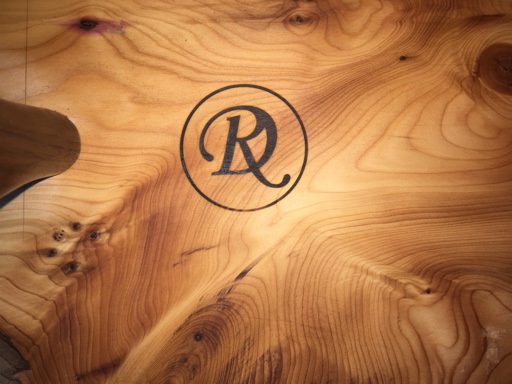
Oh, and before assembly i branded the board with my borderline pretentious ‘makers mark’ :D...

f8c57266f292afb7dc6b3dce9f68ee43.jpg


ac0b48141dab0db7fd79927850fbf150.jpg


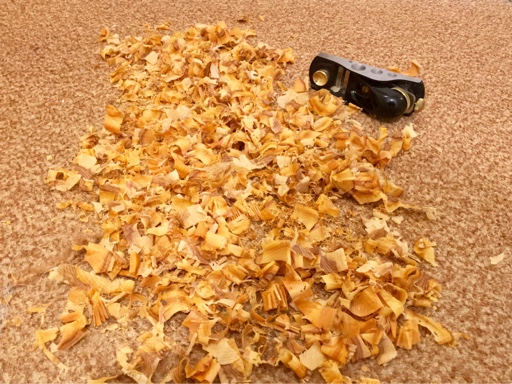
I wanted a fairly tight fit in the alcove in the hall so left the board a little long (that’s my storey and i’m sticking to it! Ha), so i needed to refine the fit so used my LA block plane. Was at it a little too long as you can tell from my pile of end grain shavings!!

ef47b7c15664025b518c5312e4ab90ab.jpg


And here’s the final resting place, where you can barely even make out any details. Haha. But i’m please with it and it was great practice for larger ‘sculptural’ projects...

edf6dad4ccb5043b2cf66ecb56344363.jpg


9b05643b73981bb7bf9df1493e5b594f.jpg
 
Yep, that should be at the back of a large desk with a smallish number of your favourite books and nik-naks on it.
 
Thanks both. I always knew it wouldnt really be seen properly, but i used it as practice in design and excecusion of sculptural/curved work, which it was! I still have the templates, so can always use them again for something else if i wanted to. I will deffinitely use this kind of shape again. (If you cant already tell, the front foot/leg is a bit of a stylised nod at horses legs - the OH has horses)
 
Really like the feet (not the ones for the shoes). Nothing pretentious about marking quality work
Ian
 
Just a tip/ suggestion, if I may. If that were me I might have had a look at keeping the two parts of the cross formation in slightly different planes, maybe by as little as 5 or 6mm. This would be slightly more sculptural, I think, emphasising each leg in the cross. Instead of rounding the junction, you could run the round-over straight on, again emphasising that this was two crossed legs, rather than a single cross. Obviously, you achieve that just by reducing the depth of each half of the halving joint by about 3mm.

That's not a criticism. It's great as it is. You might just experiment on some scrap before you use this pattern again, and see if this suggestion makes things better or worse.
 
I don't often think much of live edges and sculpted shapes, but I'm really impressed by that.
I do agree with Chris though, it deserves to go somewhere it can be seen and appreciated.
 
Thanks for the suggestion Mike, i may give that a go in future.

Thanks Andy. Although it's not entirely seen I feel a sense of satisfaction every time i walk past or use it to fulfill its function, which is enough for me :)
 

Latest posts

Back
Top