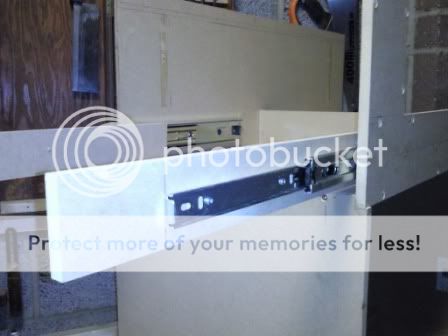
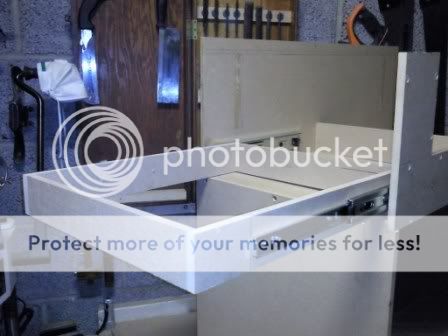
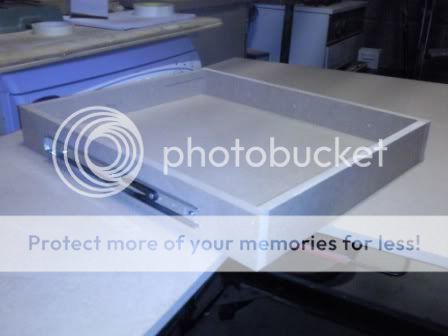
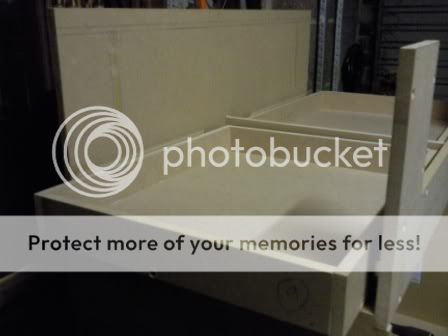
Way back in June this year I was pondering on building a workstation for my mitre saw. Now my mitre saw is only a cheap one, it doesn't even have a sliding function (tut tut), however I will be replacing it very soon with a sliding mitre saw. I dreamed of a workstation with some storage, support for longer timber and on wheels so I could scoot it around the workshop. Then as if by magic the postman launched my July issue of Woodworker magazine through my letterbox. I flicked through it whilst having a potta tea. Well, go to the foot of our stairs! In there was Keith Smith building a Mitre saw workstation!!
So I am going to follow Keiths build notes as close as I can. However I may alter somethings slightly along the way, to suit my needs more.
I thought it was only right I did a WIP for you all to follow, now the nights are drawing in and your all that bored. lol
This will be completed as quick as I can as I have a few jobs that need to be complete for Christmas this year.
Let battle commence...
I set about sourcing some sheets of 12mm MDF. B&Q came up trumps. I got the biggest sheet I could and made use of the 'first 4 cuts are free' option. I'd already mapped out the cuts to be made and they made them and reduced the huge board down to managable sizes.
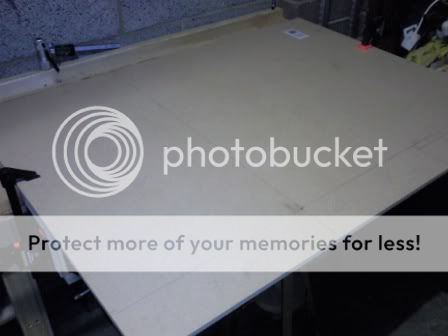
I got it home, laid the first piece onto the bench (remember the bench? I did a WIP on that too) and started marking out the pieces. Then I remembered I had forgot the most important part of preparing ANY job...

ahhhhhhhh! now I can start! Where was I? oh yes, marking out...
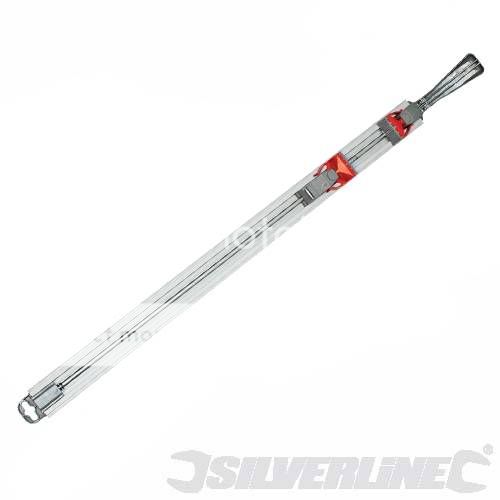
I then set about cutting the pieces. To cut them I used one of these guide clamp objects...
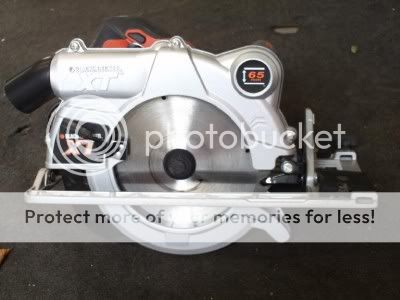
...and my trusty B/Decker XT1600...
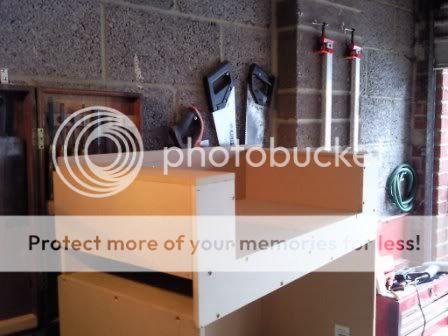
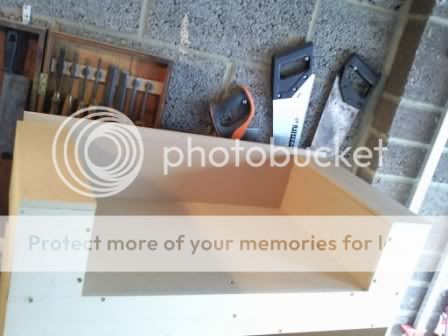
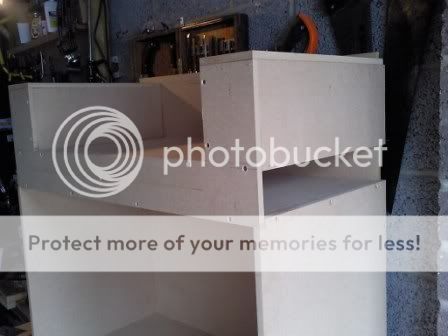
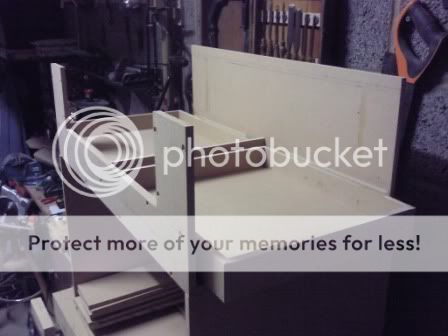
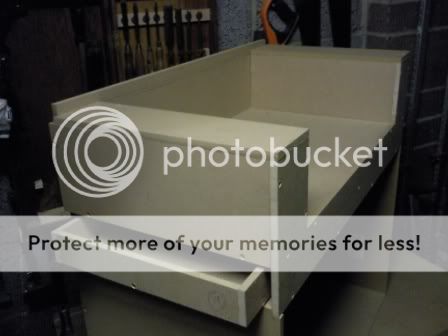
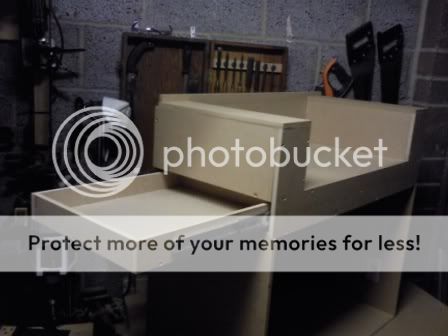
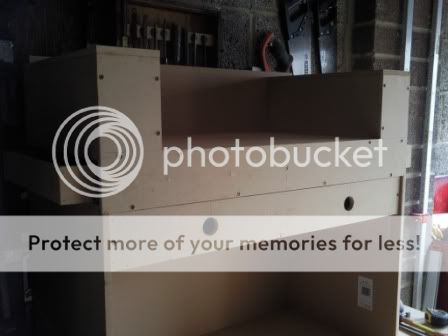
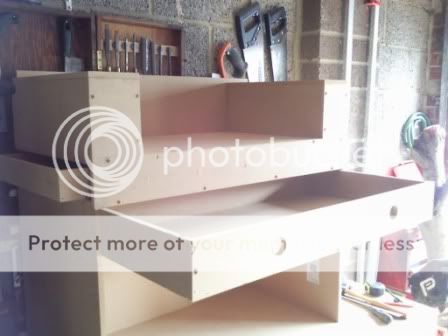
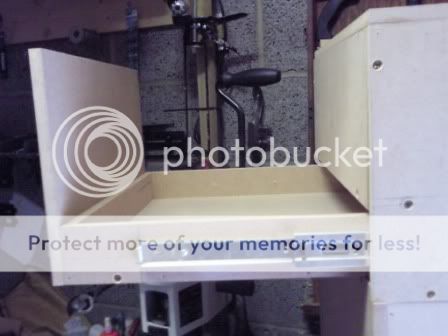
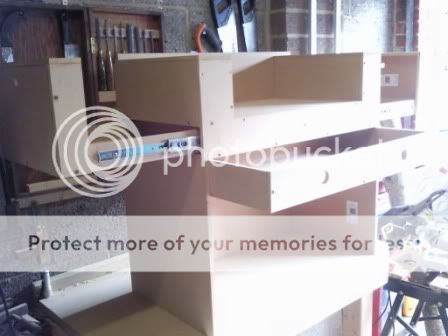
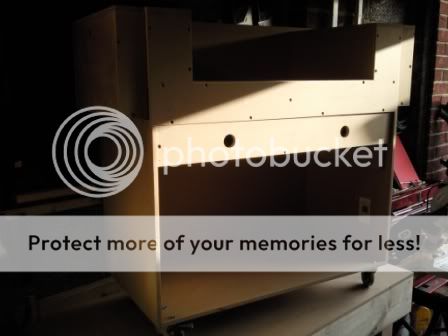
I started to assemble the pieces. Now Keith uses 18mm MDF but I am only using 12mm MDF so all the measurments of pieces had to be recalculated. However, I seem to have got them right cos they all fit.
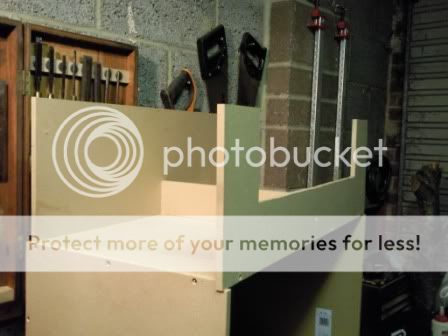
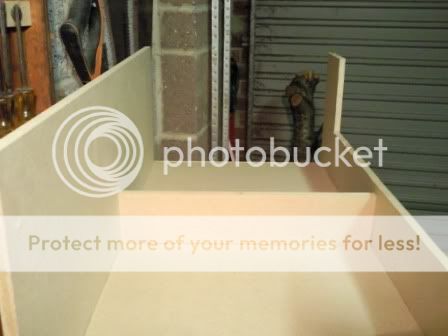
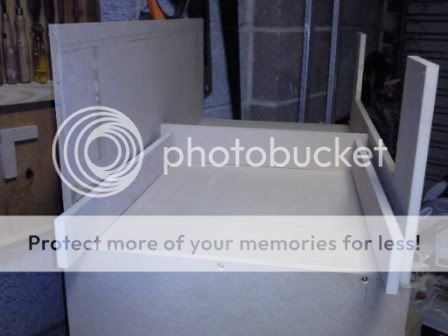
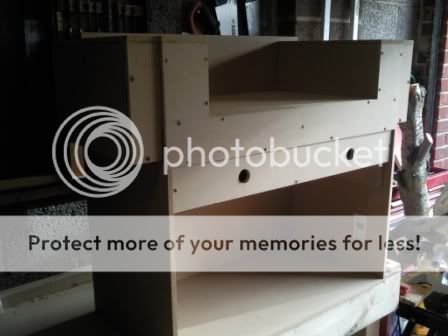
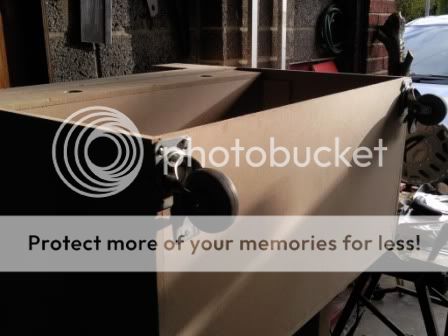
I attached the back to the base, then the 2 sides...
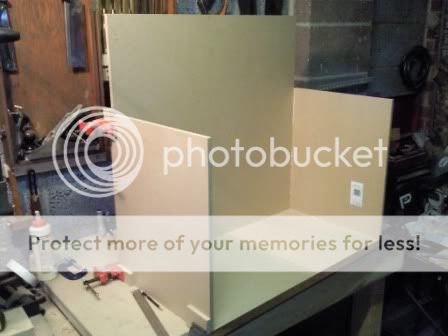
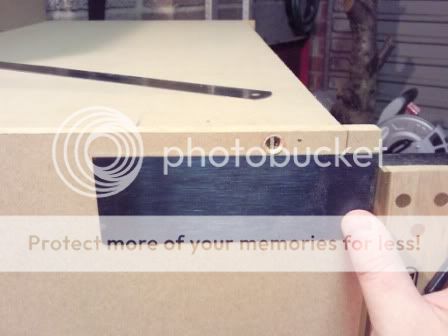
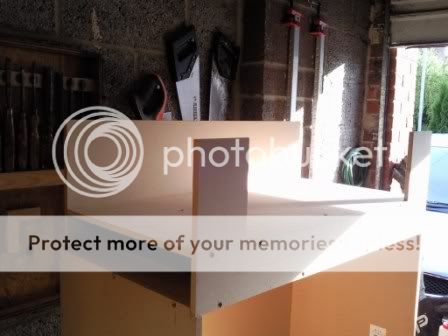
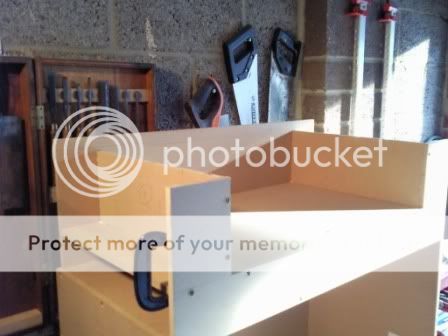
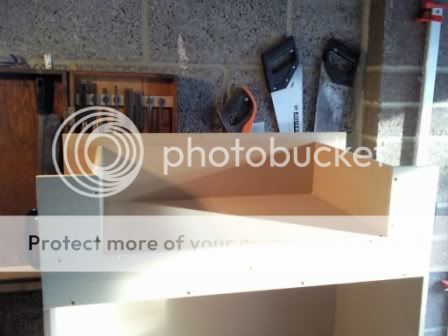
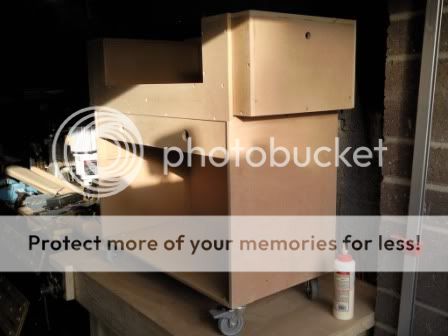
Then the top bit...
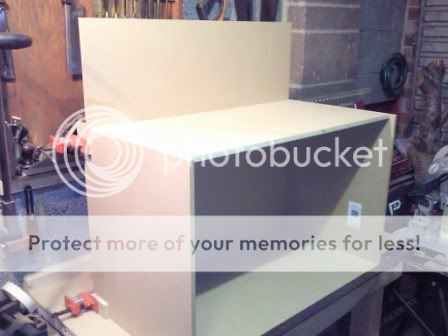
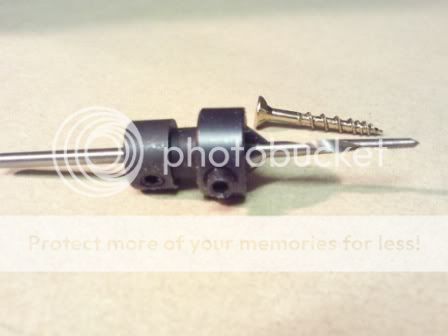
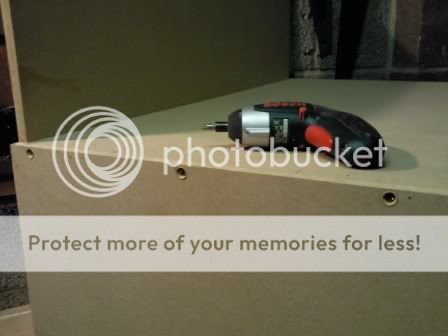
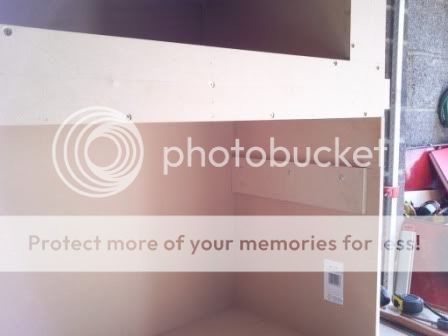
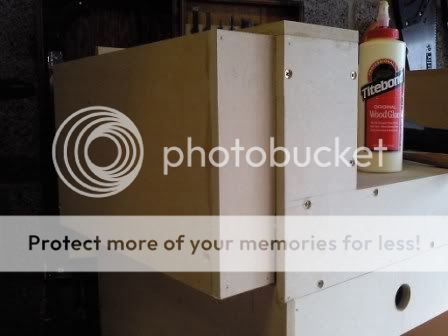
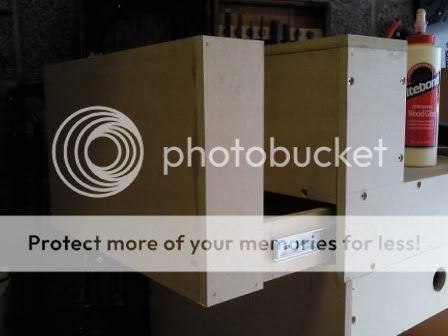
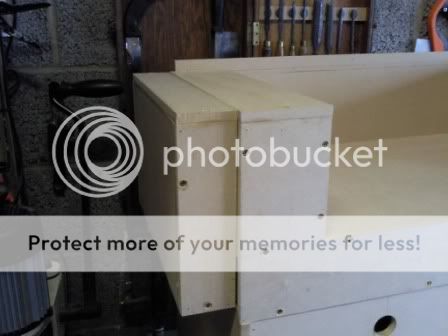
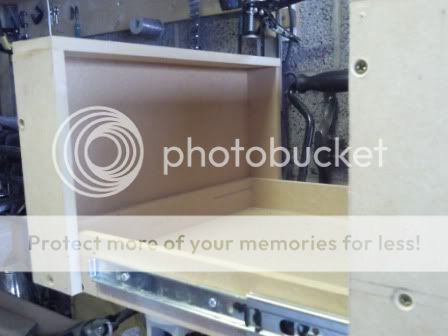
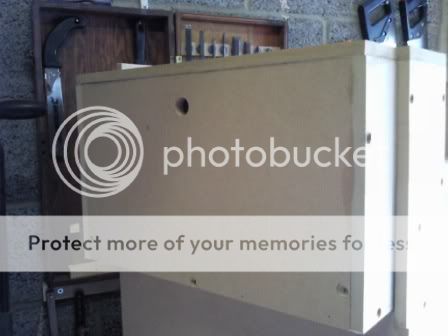
For ease of assembly I'm using Titebond and my nail gun to quickly assemble the carcass. Once it's together I went around and drilled/screwed the panels securely.
Thats it for now, more to follow.
So I am going to follow Keiths build notes as close as I can. However I may alter somethings slightly along the way, to suit my needs more.
I thought it was only right I did a WIP for you all to follow, now the nights are drawing in and your all that bored. lol
This will be completed as quick as I can as I have a few jobs that need to be complete for Christmas this year.
Let battle commence...
I set about sourcing some sheets of 12mm MDF. B&Q came up trumps. I got the biggest sheet I could and made use of the 'first 4 cuts are free' option. I'd already mapped out the cuts to be made and they made them and reduced the huge board down to managable sizes.
I got it home, laid the first piece onto the bench (remember the bench? I did a WIP on that too) and started marking out the pieces. Then I remembered I had forgot the most important part of preparing ANY job...

ahhhhhhhh! now I can start! Where was I? oh yes, marking out...

I then set about cutting the pieces. To cut them I used one of these guide clamp objects...

...and my trusty B/Decker XT1600...

I started to assemble the pieces. Now Keith uses 18mm MDF but I am only using 12mm MDF so all the measurments of pieces had to be recalculated. However, I seem to have got them right cos they all fit.
I attached the back to the base, then the 2 sides...

Then the top bit...

For ease of assembly I'm using Titebond and my nail gun to quickly assemble the carcass. Once it's together I went around and drilled/screwed the panels securely.
Thats it for now, more to follow.


