CHJ
Established Member
Following a request from Blister for some WIP Pics. I put these together today.
I know there are a dozen different ways to tackle such but this is typical of my normal approach. click on images for larger view
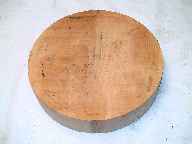
Starting with a Suitable Blank and not wishing to penetrate the surface with fixings I attach a scrap block to take a worm screw.
First action is to determine the centre of the blank if not previously marked during cutting.
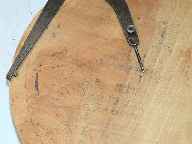
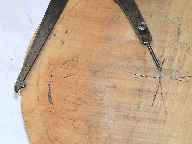
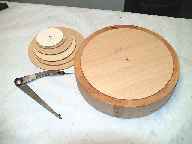
I use OddLeg callipers and scribe centre or place pattern discs visually in centre and mark through centre hole. I then use a spur bit to drill some scrap and using the drill bit locate the scrap on the centre and mark the blank and scrap with a pencil witness marks to aid location.
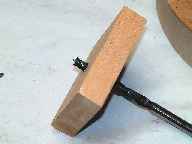
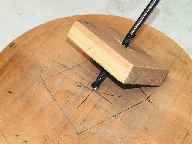
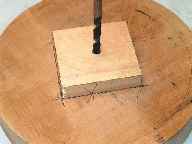
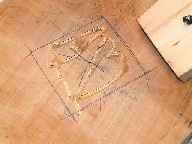
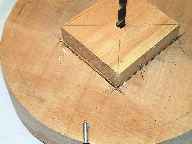
I then apply Hot Melt Glue to the blank and using the drill bit as before press home the scrap wood, applying a little extra glue along the edge joins if felt necessary.
This results in a blank that runs true when mounted on the screw chuck, requiring little truing up. (note the four witness marks on periphery and clearance from rest.)
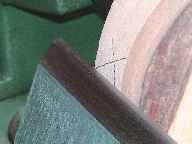
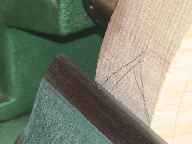
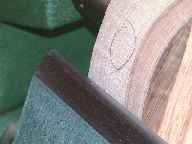
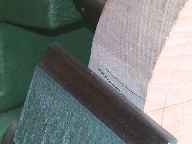
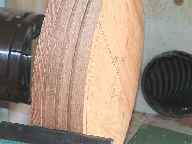
If I am making more than one item to the same pattern such as a bowl I sometimes part witness groves to pre determined depths to act as guides, but this is rare.
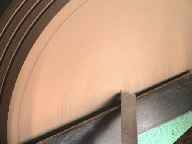
Next I true up the face if necessary and make a small centre point cut with the skew.
This acts as a positive location point for my Chuck Socket Recess Marking Gauge and in this instance some additional marks for the stem diameter.
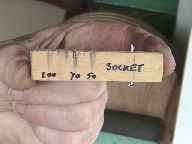
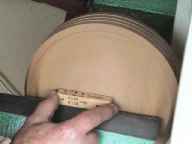
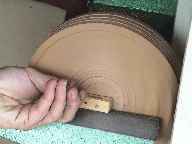
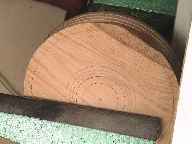
I have a similar one for Spigots. (How to make details here)
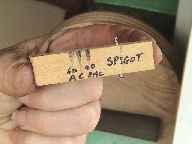
I then remove the bulk of the socket recess with a parting tool and cut the dovetail on the socket with a skew, (sharpened with correct angle) and part a witness grove at the outer point of this pieces base.
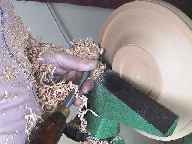
And proceed to shape the bottom curved surface.
Light sanding follows to remove any tool marks and or rogue grain, finishing with a polish through the grades with Nyweb, and with the lathe stationary the application of Cellulose Sanding Sealer using a circular motion.
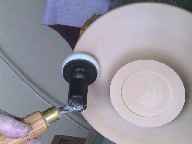
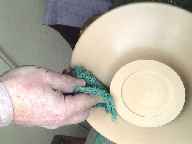
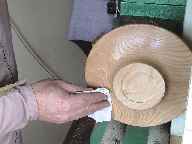
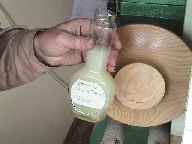
In this instance diluted about 15%. this is then immediately buffed at high speed to a gloss with a dry cloth.
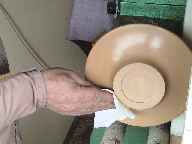
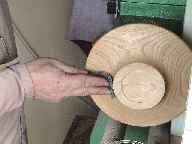
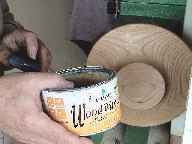
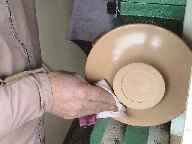
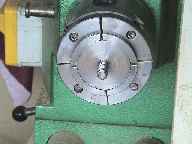
Again with the Lathe stationary, Wax is applied with a piece of fine Nyweb using a circular motion. This again is immediately buffed at high speed with a soft cloth.
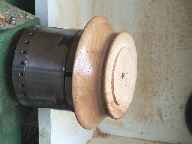
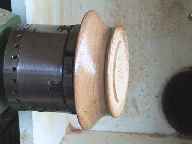
The piece is now taken off screw chuck spigot and reversed on the jaws to finish the top.
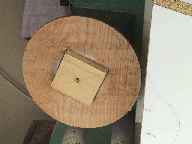
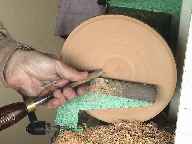
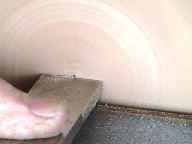
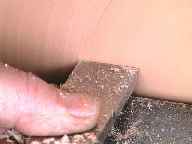
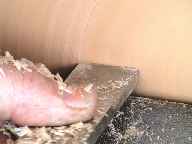
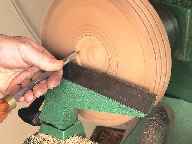
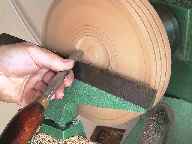
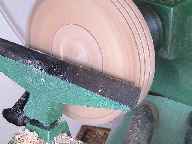
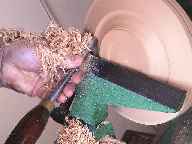
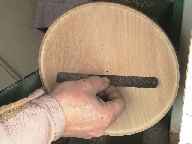
If you have difficulty in producing a flat surface try the method shown above, (pencil centre spot only for demonstration)
With flat ended scraper flatten central area so that scraper when positioned either side of centre is rubbing on surface, (this proves you are at right angles to the surface) then proceed to take small plunge cuts with the scraper until the scraper contacts the previously cut surface, working to the periphery, if you have kept the scraper square on then a steel rule placed on the surface should show no ridges or depressions.
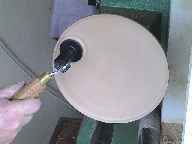
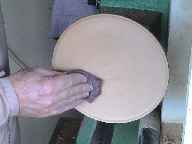
Lightly sand and finish with Nyweb.
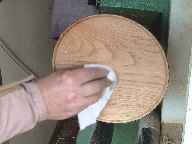
Then seal buff, apply wax and finish buff.
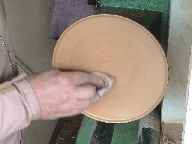
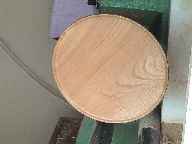
Now starting on the Base, as there is no reason why a hole cannot be hidden in the stem, the blank is just drilled to suit the screw chuck.
The socket size is then marked and the same gauge used to make guide marks for the foot bead etc. I prefer to shade the ‘to be cut’ surfaces with the pencil for ease of subsequent turning. (As a matter of interest the socket gauge sitting on the rest located by the pin with the lathe turning) and the foot bead portion is isolated with a parting tool.
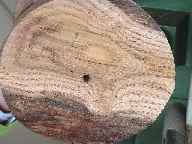
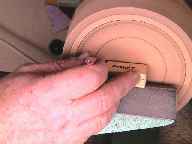
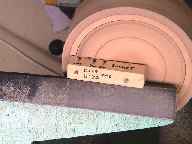
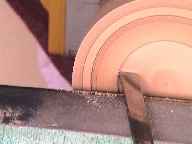
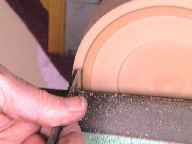
The bead is then accentuated with the point of the skew and round off. Sanded, sealed waxed etc.
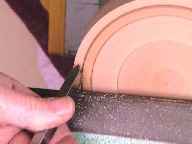
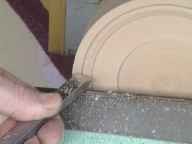
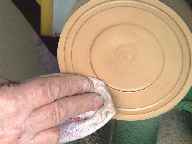
The base is then taken off the screw chuck and mounted on the dovetail jaws, and the recess in the base of the top measured. This dimension is transferred to the top of the base piece; together with a witness mark for the external dimension of the bead. I use a pencil for this as I find it easier to work up to a dimension by slowly removing a portion of the pencil witness mark than a scribed line.
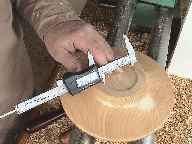
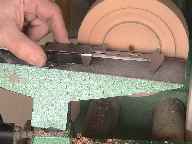
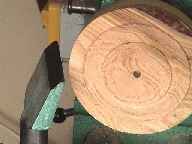
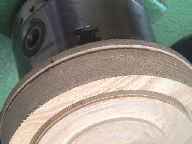
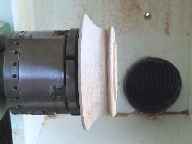
The shallow spigot and bead is formed and the rest of the base shaped.
Followed by a final sanding and polishing.
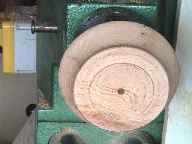
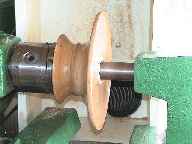
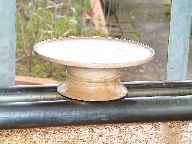
And finally the two parts are glued up using the lathe tailstock as support.
I know there are a dozen different ways to tackle such but this is typical of my normal approach. click on images for larger view
Starting with a Suitable Blank and not wishing to penetrate the surface with fixings I attach a scrap block to take a worm screw.
First action is to determine the centre of the blank if not previously marked during cutting.


I use OddLeg callipers and scribe centre or place pattern discs visually in centre and mark through centre hole. I then use a spur bit to drill some scrap and using the drill bit locate the scrap on the centre and mark the blank and scrap with a pencil witness marks to aid location.


I then apply Hot Melt Glue to the blank and using the drill bit as before press home the scrap wood, applying a little extra glue along the edge joins if felt necessary.
This results in a blank that runs true when mounted on the screw chuck, requiring little truing up. (note the four witness marks on periphery and clearance from rest.)


If I am making more than one item to the same pattern such as a bowl I sometimes part witness groves to pre determined depths to act as guides, but this is rare.
Next I true up the face if necessary and make a small centre point cut with the skew.
This acts as a positive location point for my Chuck Socket Recess Marking Gauge and in this instance some additional marks for the stem diameter.


I have a similar one for Spigots. (How to make details here)

I then remove the bulk of the socket recess with a parting tool and cut the dovetail on the socket with a skew, (sharpened with correct angle) and part a witness grove at the outer point of this pieces base.


And proceed to shape the bottom curved surface.
Light sanding follows to remove any tool marks and or rogue grain, finishing with a polish through the grades with Nyweb, and with the lathe stationary the application of Cellulose Sanding Sealer using a circular motion.


In this instance diluted about 15%. this is then immediately buffed at high speed to a gloss with a dry cloth.


Again with the Lathe stationary, Wax is applied with a piece of fine Nyweb using a circular motion. This again is immediately buffed at high speed with a soft cloth.
The piece is now taken off screw chuck spigot and reversed on the jaws to finish the top.


If you have difficulty in producing a flat surface try the method shown above, (pencil centre spot only for demonstration)
With flat ended scraper flatten central area so that scraper when positioned either side of centre is rubbing on surface, (this proves you are at right angles to the surface) then proceed to take small plunge cuts with the scraper until the scraper contacts the previously cut surface, working to the periphery, if you have kept the scraper square on then a steel rule placed on the surface should show no ridges or depressions.


Lightly sand and finish with Nyweb.
Then seal buff, apply wax and finish buff.


Now starting on the Base, as there is no reason why a hole cannot be hidden in the stem, the blank is just drilled to suit the screw chuck.
The socket size is then marked and the same gauge used to make guide marks for the foot bead etc. I prefer to shade the ‘to be cut’ surfaces with the pencil for ease of subsequent turning. (As a matter of interest the socket gauge sitting on the rest located by the pin with the lathe turning) and the foot bead portion is isolated with a parting tool.


The bead is then accentuated with the point of the skew and round off. Sanded, sealed waxed etc.


The base is then taken off the screw chuck and mounted on the dovetail jaws, and the recess in the base of the top measured. This dimension is transferred to the top of the base piece; together with a witness mark for the external dimension of the bead. I use a pencil for this as I find it easier to work up to a dimension by slowly removing a portion of the pencil witness mark than a scribed line.


The shallow spigot and bead is formed and the rest of the base shaped.
Followed by a final sanding and polishing.


And finally the two parts are glued up using the lathe tailstock as support.


