WIP Comp entry - TV Stand in maple - FINISHED!!!

UKworkshop.co.uk

Help Support UKworkshop.co.uk:

This site may earn a commission from merchant affiliate links, including eBay, Amazon, and others.
Matt, like the idea of the tapered chamfers, that one could well work. Probably won't decide until the dry assembly and can see how it all looks.

By the way, what's wrong with a little hand tool bling!! If a man can't flash a nice plane what can he do...

In my defence, every plane shown here has been used. It's just the other ones you need to worry about 8-[
 
ahh good, so if I use the Festool Domino then it's justified. Cheers Damian :lol:
 
This is coming together nicely. A very thoroughly documented WIP, or is it a thinly veiled stealth gloat for plane ownership - by god you've used some kit so far!

Looks like nice timber as well.

Ed
 
Ironballs":2xmnnki5 said:
Dammit!

Do Domino offer a wedged through version? :D

The Wood Whisperer made a stool with through Dominos

You could wedge them too I guess 8) :D :lol:
 
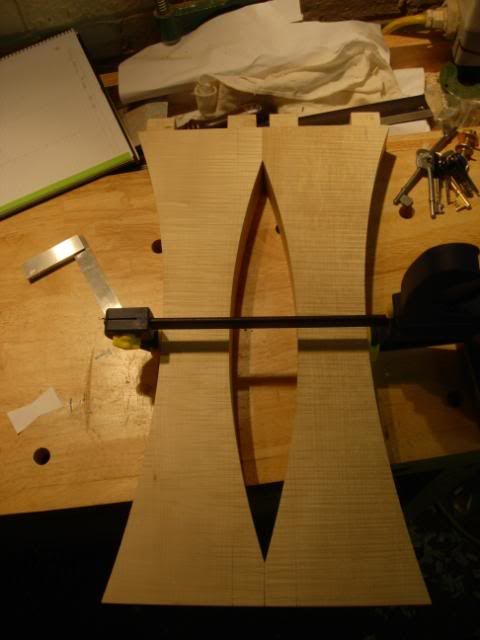
Got the mating surfaces on the rear legs sorted

tv53.jpg


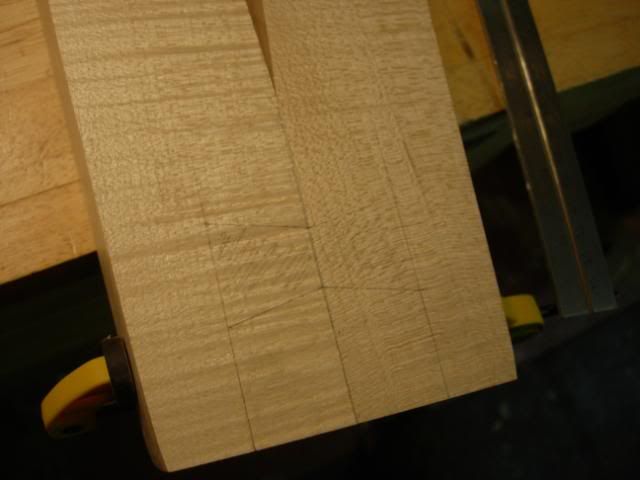
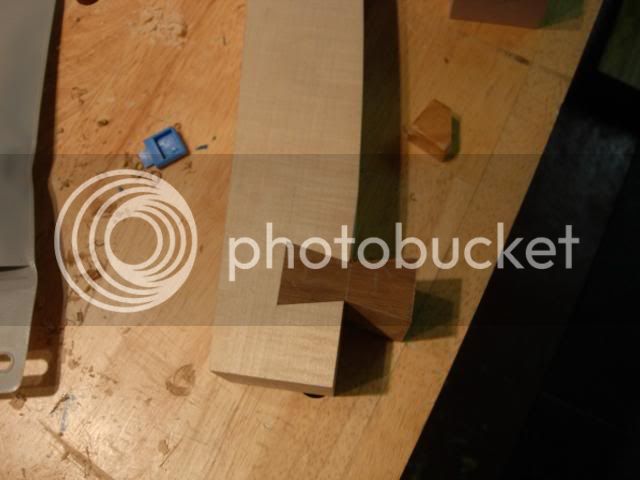
Then marked out the dovetails on the legs, can just about make it out on this picture

tv54.jpg


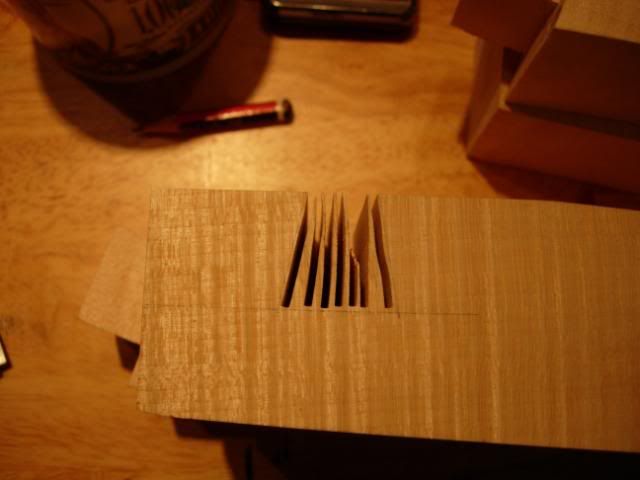
Then it was off to the bandsaw to hog most of the waste out and making paring a bit easier

tv55.jpg


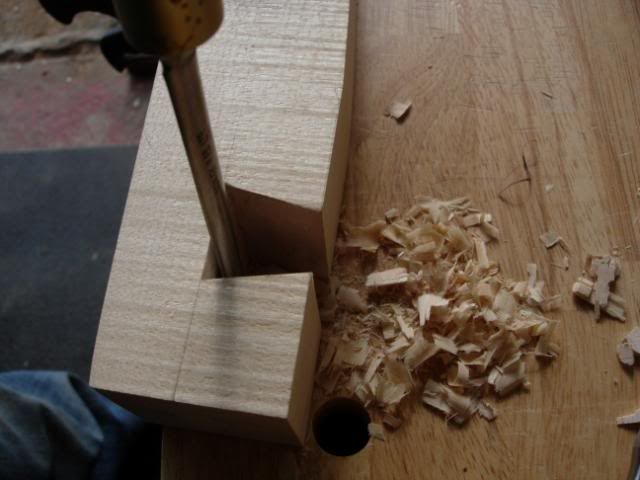
This is a slow process and if I was having to do it more often I think I'd invest in a big enough dovetail router cutter. It's also not a good idea to have these thoughts when you're paring hard maple and have broken your golden rule of using a chisel - always have soft fleshy bits behind the blade. At least the cut wasn't too bad :roll:

tv56.jpg


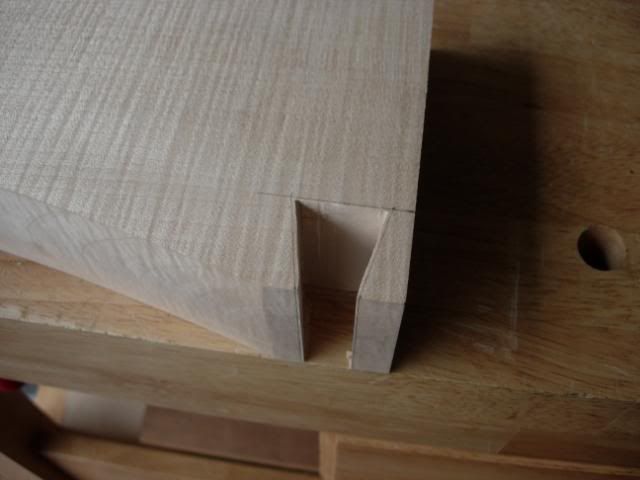
Was a bit worried about these dovetails at the bottom of the rear legs, i noticed it when marking up, they're a bit close to the end and I'm going across the grain. However I didn't have any choices about re-positioning. Shouldn't be a problem as it won't be a stressed joint, just need to take care when paring...

tv57.jpg


And I did!

tv58.jpg


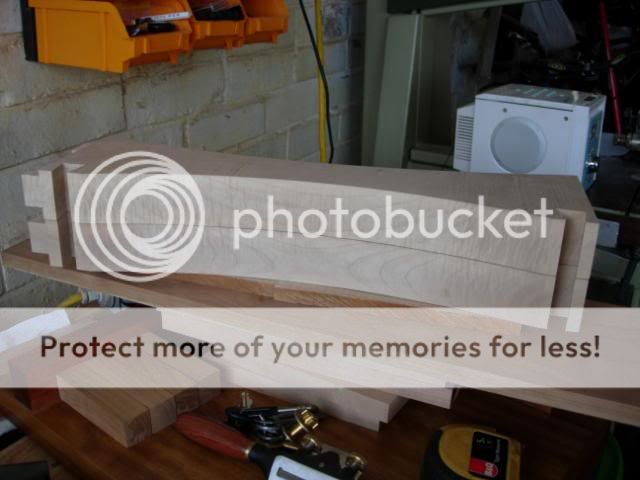
All the legs done, a long and back breaking job and I had to remember to re-sharpen the chisels periodically. Made a big difference

tv59.jpg


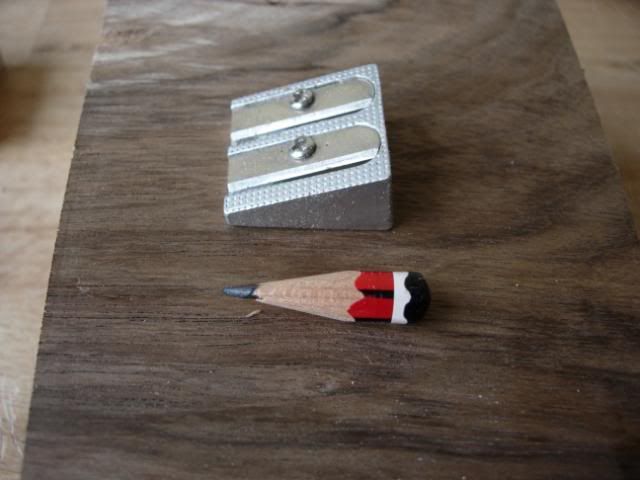
I think faithful 2B has nearly had it, I can't grab enough of it to turn it in the sharpener. It's served me well though

tv60.jpg


Ebay delivery today, a box full of shelf supports, should do the job nicely

tv61.jpg


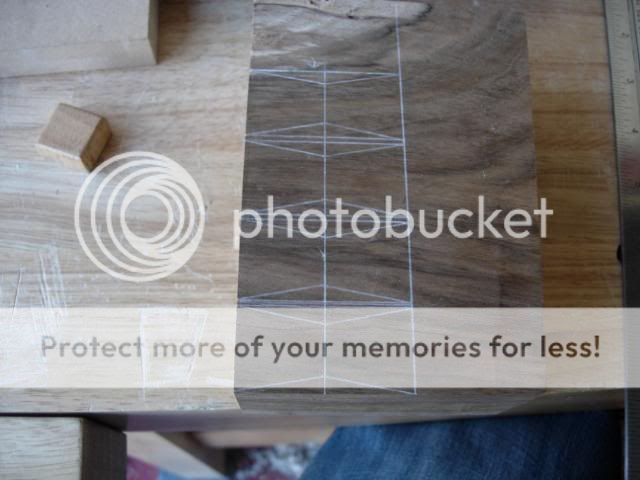
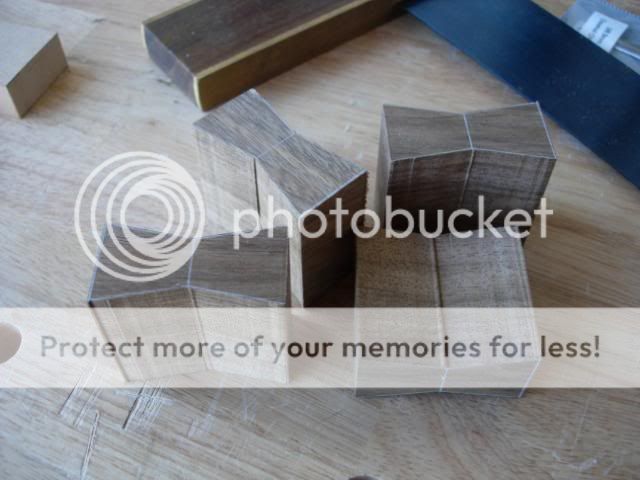
That chunk of walnut is now dimensioned and so I needed to mark out the dovetail keys, erred on the oversize side to allow trimming for fit

tv62.jpg


Then chopped them out on the bandsaw, mind those fingers!

tv63.jpg


Decided to mark up the keys for their eventual home and will then fit them in "halves" to keep it simple. Again a slow job and I've done half of one so far, just another 7 halves to go. Bugger...

tv64.jpg
 
They are very impressive. Until I saw the WIP I had assumed that the dovetail keys were going to be thinner (not 'through') and partly for decoration. Getting a tight fit at that thickness when viewed from both sides shows skill.

Dave
 
Well getting all of those keys fitted was a pain, long and laborious, some are a better fit than others but they pull up okay. Today was sanding prior to the leg glue up, dull but necessary and it brings the surface up nicely. Decided to stop at 220 grit as I plan to use a Behlen rattle can finish and don't want the wood too smooth so it can't adhere.

Did the glue this evening, glue ups are always fraught and I keep thinking I should find a glue with a longer open time then TB 3 - especially as it grabs as soon as you slide a dovetail key in :x Only called the legs a ****ing ****ard once but did have to break out the persuading device to get them seated on one of them. No pics of the glue up as I can't do that kind of multi-tasking. More will follow though and I'll be cleaning up post glue up and might get on to the top tomorrow
 
Ironballs":o24lr0d2 said:
I think faithful 2B has nearly had it, I can't grab enough of it to turn it in the sharpener. It's served me well though

tv60.jpg

Have you tried holding it with a pair of pliers? There could be more life left than what you thought! :D
 
I recall back in the 40's & 50's there used to be metal pencil holders specially made to hold short pencil ends.

Never saw any for sale after the war.
 
devonwoody":1m3fuwvc said:
I recall back in the 40's & 50's there used to be metal pencil holders specially made to hold short pencil ends.

Never saw any for sale after the war.

how long did the war go on for in devon then ? - in most areas it stopped in '45

that aside its an interesting idea for those of us who have embraced the roundside to try to replicate
 
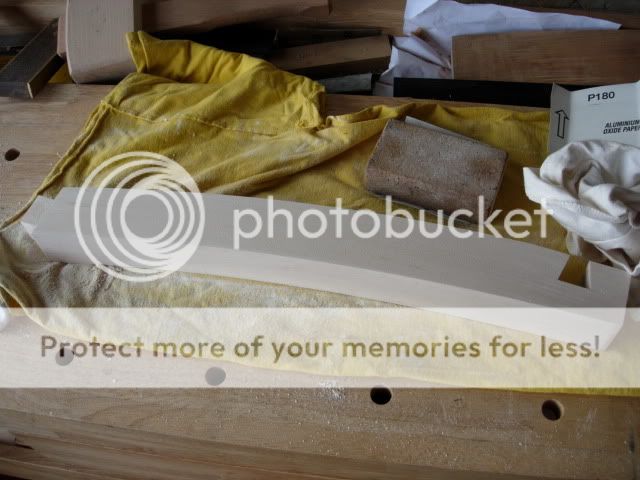
Okay, prior to the fun og the leg glue up there was another of my favourite jobs to do. Sanding. Doesn't his look like fun...

tv65.jpg


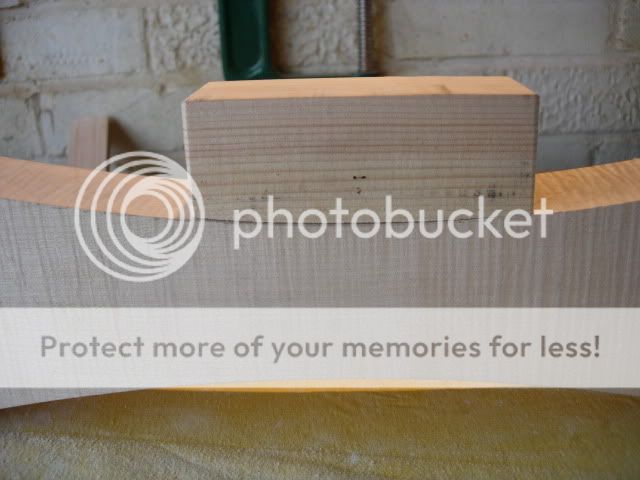
Made a couple of curved sanding blocks to make life a little easier

tv66.jpg


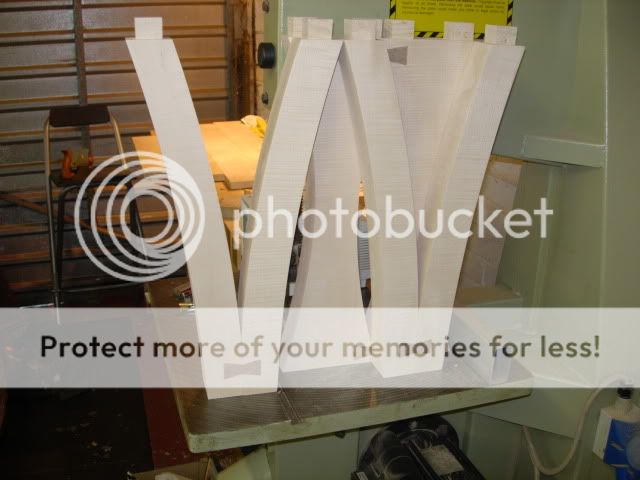
There was then the aforementioned glue up. Cleaned up the legs today after that, I'd left the keys a little oversize to allow for any "issues" when glueing. So planed them down and then sanded overall to clean up the finish. Hopefully this is as close to the bandsaw as they'll get and I won't be doing a Rob

tv67.jpg


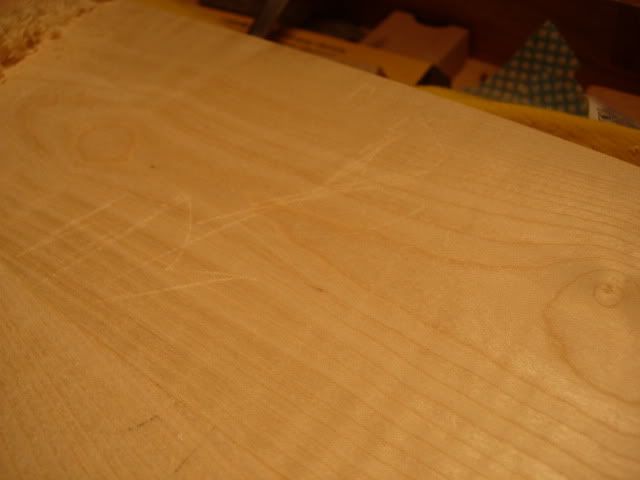
Time to turn attention back to the top, which has been sat in a corner for a couple of weeks. Cleaned off the glue over runs from each side, sanded the bottom and then flipped it over to sand the top. Which was when I noticed this. I did swear, quite loudly actually

tv68.jpg


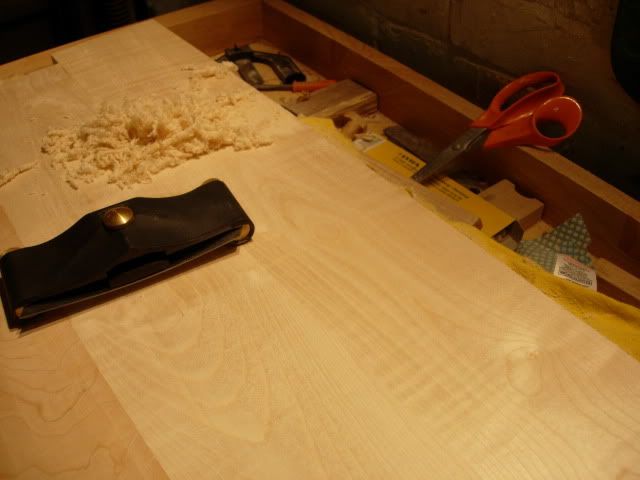
I'd neglected to put the t-shirt on the bench to protect the wood and there was a little bit of something that had dug in as the top moved around. Would be on the top side wouldn't it. Sanding wouldn't fetch this out anytime soon so had to break out the scraper. I also hate scraping. After destroying my thumbs I thought it might be a good idea to use the Veritas scraper holder under the bench :roll: it is easier on your thumbs but I don't think you have the same control as when freehanding. Anyway it worked. Ta dah

tv69.jpg


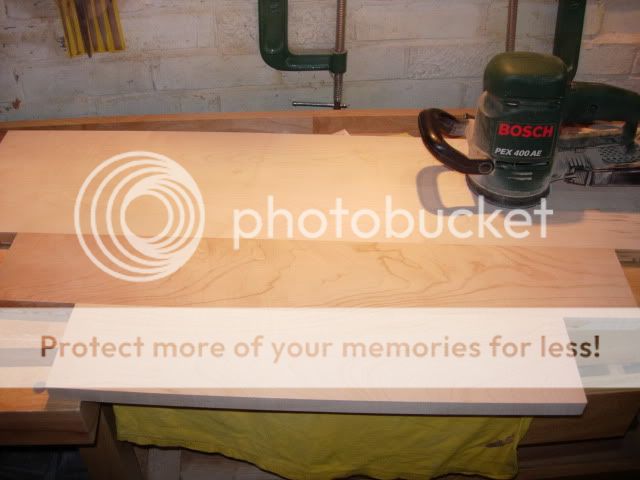
T-shirt now inserted under top on bench and a quick spin over with the sander (ROS) at 120 grit. Will give it a finish sand later after I've finished doing the mortices and edging

tv70.jpg


Marked out the dimensions again before going to the bandsaw too trim the waste

tv71.jpg


Getting closer to the finish, last tricky job is the mortices. Oh and I've never cut wedged tenons before. Well okay, one, but it was a while ago
 
The Pound shops (bazaars) sell a form of lattice rubber matting I use when I want to protect a surface from scratching, they also prevent slipping and dust drops down. The catalogues ask a lot more.

Your project is coming along nicely.
 
IB, you can usually steam out these marks with an iron and wet cloth, or at least bring them much closer to the surface! One of the boards for the top is a different colour or is the grain going in the other direction? perhaps its a trick of the light? Liking the butterflies on the legs :wink:
 
No you're right, one of the boards is a little darker, ideally I'd have them all the same colour but my choice was limited and also once in situ with the TV on it you won't really see as most of it will be covered.

Also have some of that lattice matting but it's currently wrapped around a part finished guitar body. I know, I know....

Anyway, I've been prevaricating again tonight after trimming the edges of the top. I'm going to rout a profile around the edge and ideally I think I want a curved profile, ie a section of a sphere. However a thorough search of my router bits and those available in the shops seems to suggest that such a cutter doesn't exist and you have to make do with a cove cutter, these are okay but you don't have two straight edges with a curve in rather than a sphere.

My other thought is perhaps a straight chamfer, but that seems a little plain. I'm trying to get something that looks modern and will sit well with the gentle curve of the legs. Any views one or the other will be appreciated, until I get this sorted I can't mortice the leg holes as I need to know how far in the cut will come.

Ta muchly
 
I think I understand what you are wanting to achieve with the edge detailing, having looked back to your initial ScribbleIt drawings... However, I doubt that such a cutter exists, unless you had access to a spindle moulder - but, having a set of cutters ground especially for this one job would be a bit much. :?

Unless you could hog most of the waste away (very carefully!) using a 'golf ball' router cutter in several light passes? Then, you could go over that with a curved sanding block or similar?

I think you really want a wooden plane with a rounded sole - but, I doubt they exist either, unless you're prepared to make your own! :roll:
 
I think I've come to the same conclusion Olly, i want something that doesn't exist and even the spindle moulder cutters of that profile make too deep a cut for my needs.

I may have to break out Scribble It! TM again
 
Back
Top