What did you do in your workshop today ?

UKworkshop.co.uk

Help Support UKworkshop.co.uk:

This site may earn a commission from merchant affiliate links, including eBay, Amazon, and others.
Status
Not open for further replies.
MarkDennehy":3pxk2sdl said:
I'm just hoping those gaps close up enough that it's not embarrassing when its all assembled.


Good for you for having a crack at it! But if you do it again there's a trick for getting those tenon shoulders perfectly fitted into a curve. Imagine a chair with a curved crest rail (the rail at the top), the bottom rail, and a series of splats or back bars running between them and jointed in with mortice and tenons. Basically it's the same cabinet making conundrum that you're faced with. Here's how you resolve that problem in chairmaking,

Curve.jpg


You make the mortice at "A" about 2mm wider than the tenon, so it can float over to the left. Then you do a dry assembly and scribe all the tenon shoulders at "B" by an amount equal to the largest gap (which if you're reasonably competent will be less than 2mm!). In fact with chair making you're normally trying to close up gaps of about 0.5mm, so you generally allow a "float" of about 1.5mm and that will give you two or even three attempts to achieve perfectly tight fitting shoulders, even against a curve, across multiple mortice and tenons.

Easy peasy when you know how!

Pear-Chair-1.jpg
 

Attachments

  • Curve.jpg
    Curve.jpg
    250.2 KB
  • Pear-Chair-1.jpg
    Pear-Chair-1.jpg
    51.5 KB
Thought I'd post my finished hanging wall cabinet I made at Waters & Acland recently. This is made from maple and walnut and was a set project as part of the course however we had free reign over timber selection and door pulls. Really good little project for getting those hand cut dovetails right, as well as mortise and tenon in the stiles and rails etc. Overall I've learned a massive amount with this project so far, as i've had to fix so many "deviations" from the plan which is where you really learn about furniture making.
IMG_9320.JPG

IMG_9322.JPG

IMG_9335.JPG

IMG_9324.JPG

IMG_8453.JPG
 

Attachments

  • IMG_9322.JPG
    IMG_9322.JPG
    160.5 KB
  • IMG_9335.JPG
    IMG_9335.JPG
    133.6 KB
  • IMG_9324.JPG
    IMG_9324.JPG
    142.8 KB
  • IMG_8453.JPG
    IMG_8453.JPG
    122.4 KB
  • IMG_9320.JPG
    IMG_9320.JPG
    142.6 KB
Tight even gaps all around the doors, book matched panels, mitred dovetails on the carcass, individually made pulls...what's not to like!

How long were you at W&A? Tell us more about the projects on their training programme.

=D>
 
custard":29ml6qga said:
Tight even gaps all around the doors, book matched panels, mitred dovetails on the carcass, individually made pulls...what's not to like!

How long were you at W&A? Tell us more about the projects on their training programme.

=D>
Still at W&A until August this year, started in September. They take you progressively through hand skill projects for the first term starting with chinese puzzles, moving on to dovetailed bookends with chamfers and mitres etc. We then tackled this wall cabinet, followed by an occasional table which was to introduce us to the machines. Once we had a good foundation in hand skills we moved onto the machines, where you really appreciate how they can assist you. I'm now working on my own designed project which is a sheet music cabinet. Really enjoying the whole process and always learning.
 
Fair play Shuggy that's gorgeous =D>
Best of luck for the future mate, I can see you're going places.
 
Opened door, switched on heater, closed door and came back in the house for one more cuppa.

(hammer)
 
Made about 18 precise 90degree clamping templates out of 2x12mm birch ply. Boring, but the precision was satisfying :).
 
Strictly speaking this was from Sunday, but...

Endgrain.png


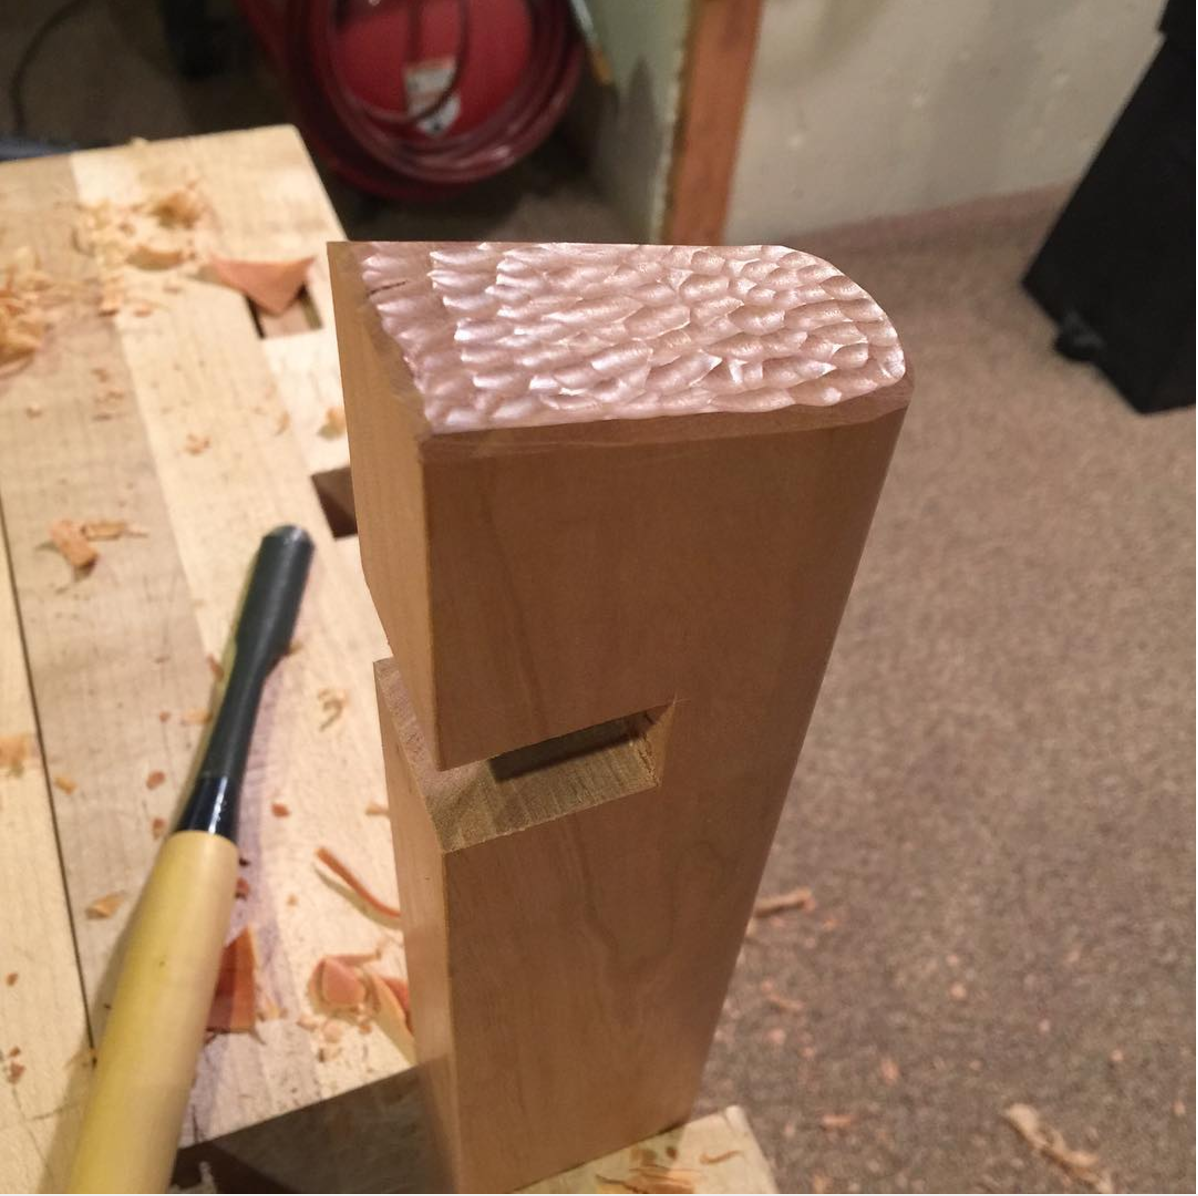
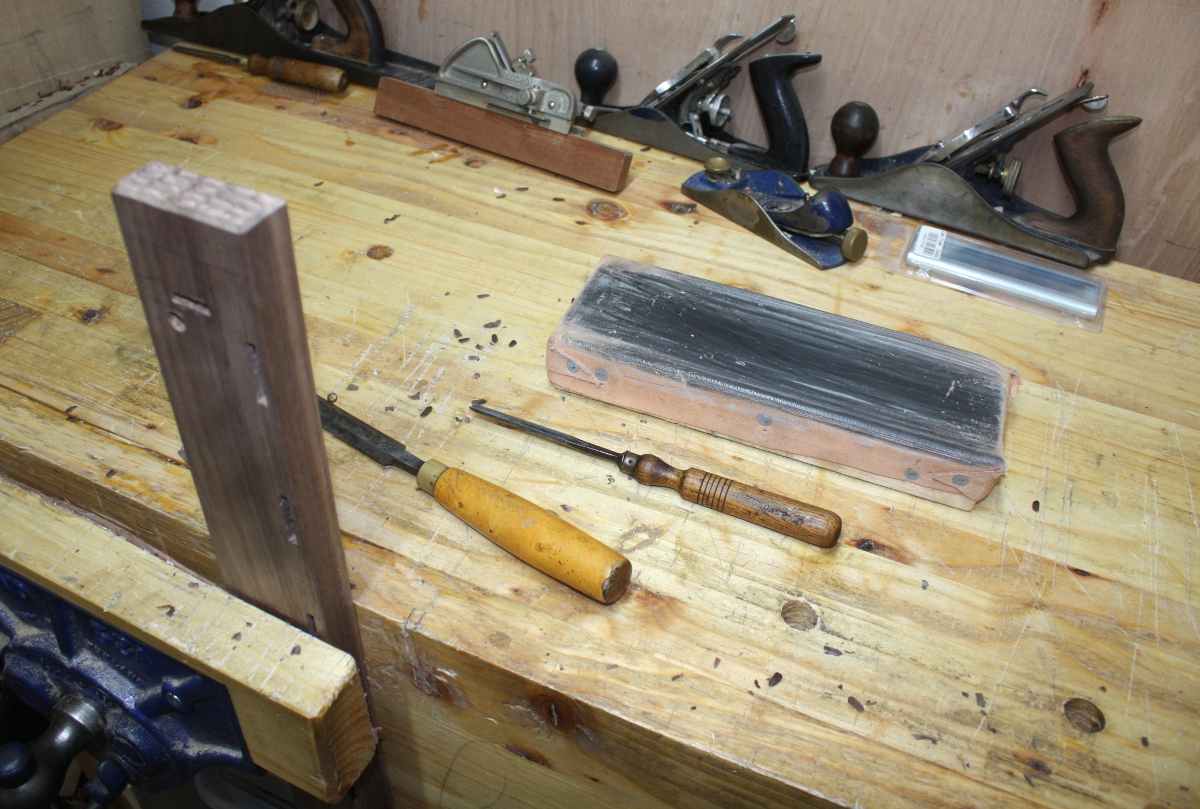
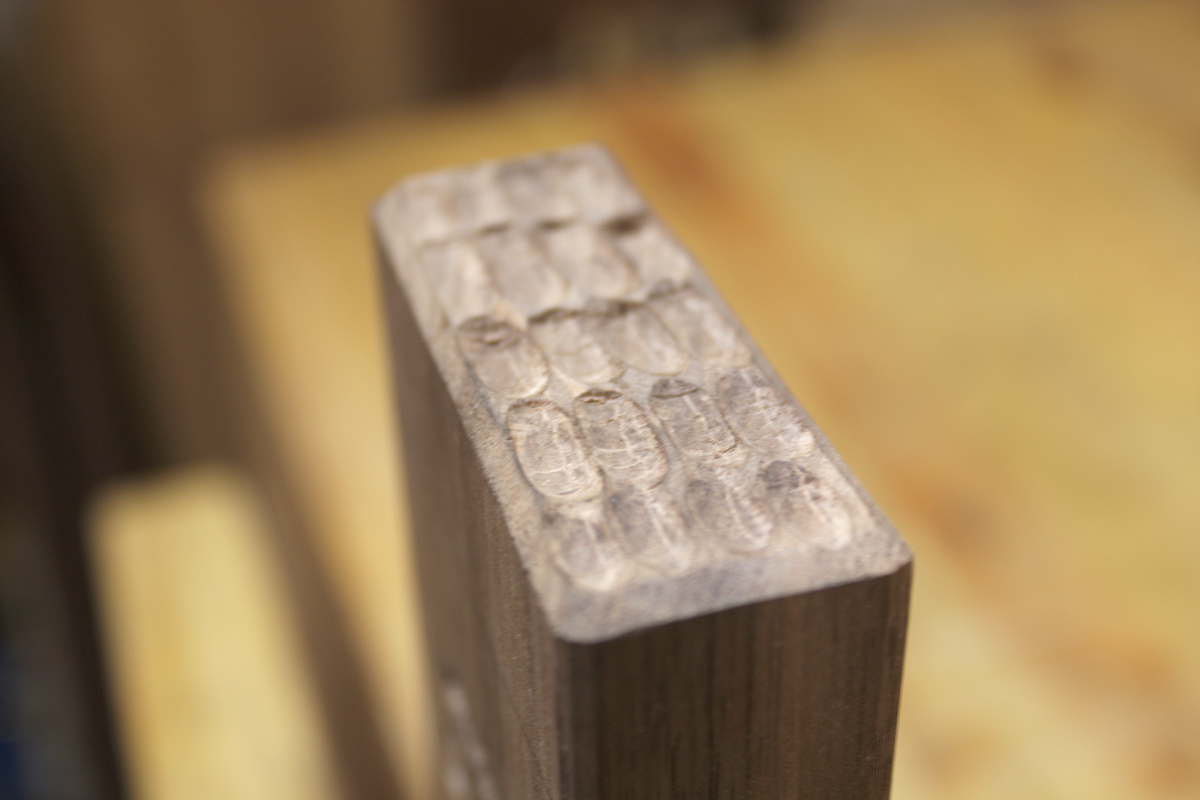
That's a little detail in some work Brian Halcombe was doing, and I was wondering if I could do that for two of the more exposed pieces of endgrain in the cot rather than just leaving the endgrain sitting out there. My gouges were a bit large, so I got two small ones on ebay for a few pounds and sharpened them up to give it a go.

IMG_0601a.jpg


IMG_0606a.jpg


I was stropping every minute or so, but it wasn't too bad once I got the hang of it. Two passes for every scallop, the first wiggling the blade a little to get some cutting and control over depth, the second being a straight push to clean the surface back up. Needs shellac and osmo, but I think it looks prettier than a flat end grain surface. Halcombe's is nicer, but that's decades of experience and practice for you, the cheating sod...

IMG_0626a.jpg


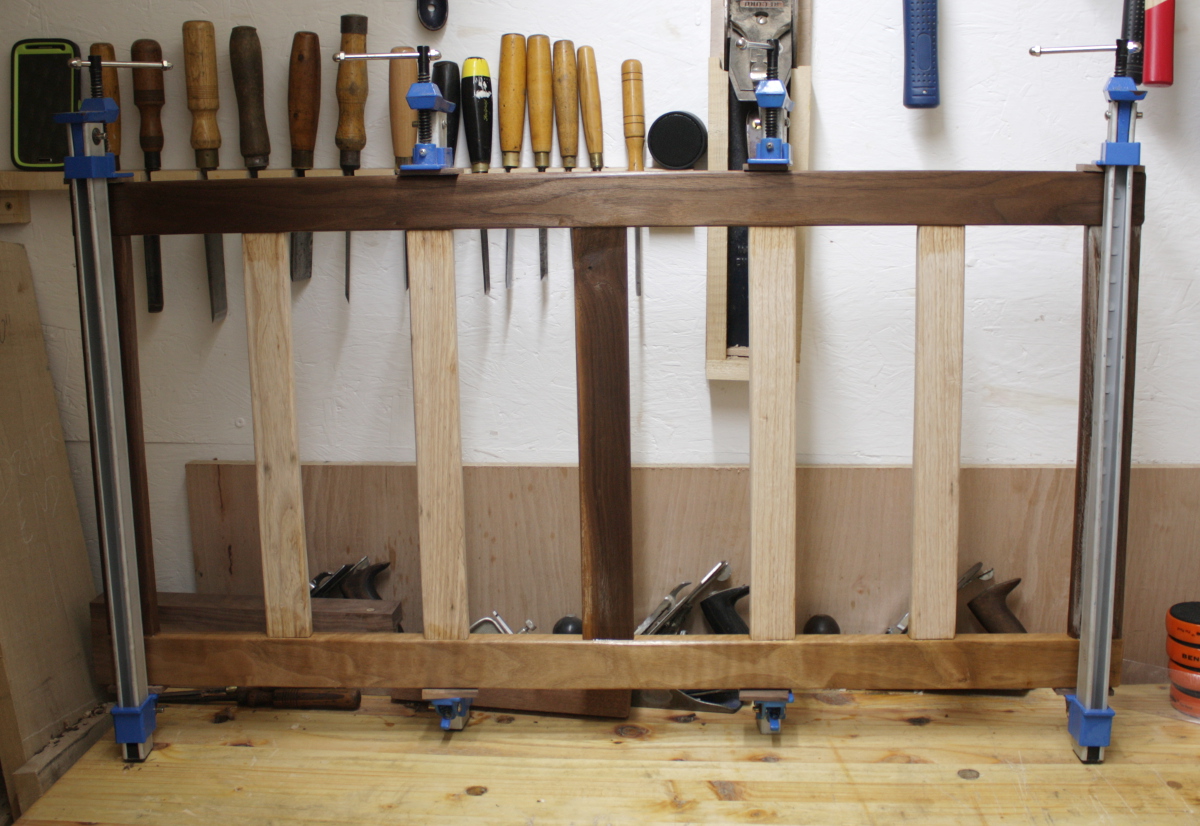
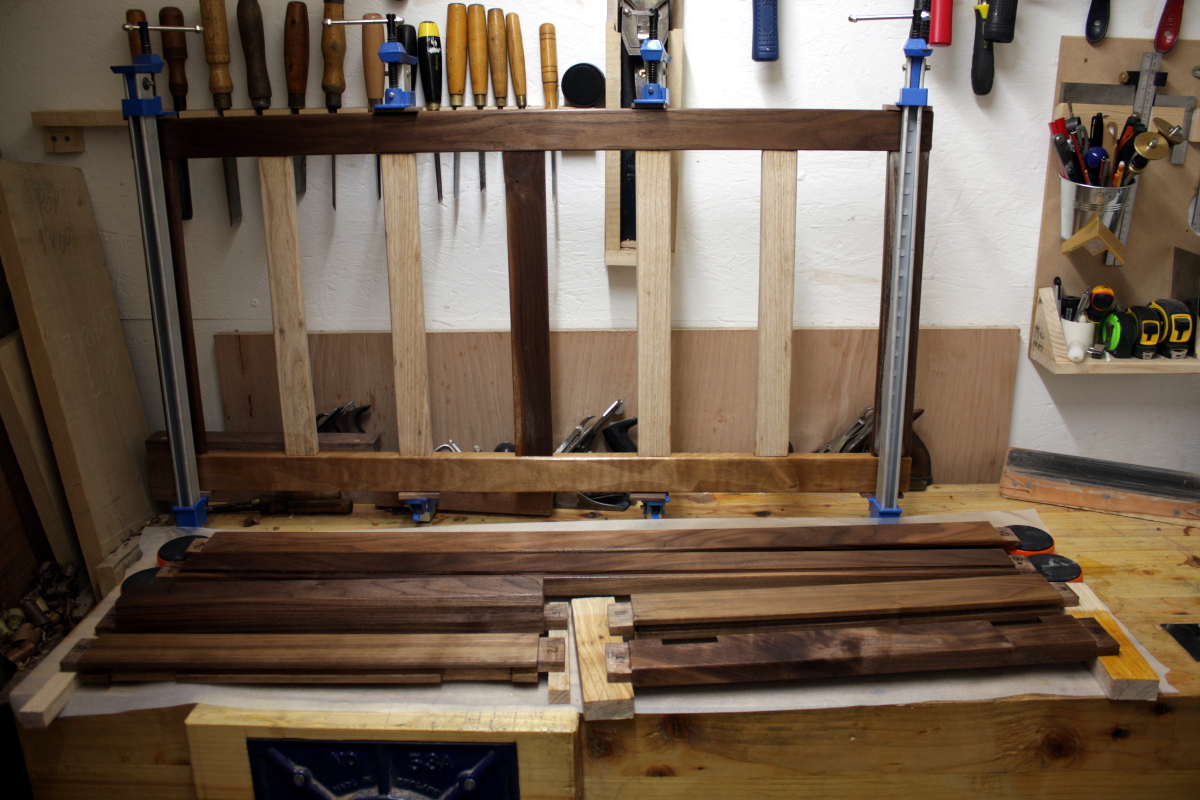
Glued up the mattress platform frame as well after rounding over the corners and shellacing the walnut pieces. The ash pieces are unfinished yet, the whole thing gets a few coats of Osmo at the end.

IMG_0641a.jpg


And more shellac for the rest of the walnut pieces. That's most of the frame now shellac'd, the only pieces left unfinished still have some small work to do on them.

I know it's kindof cheating to use such nice wood to distract from such a low level of skill, but I think it looks pretty :D
 
Went out to the shed, sat on the armchair with a Lemsip and wrapped in a blanket, I have the worst case of Man Flue every encountered in the world. =P~ :cry: :cry:
 
nice mark, that endgrain gouged detail reminds me of hammered copper, looks good.
 
Looks great! The internet where I am is so slow that for a second I thought it was copper... until the rest of the image loaded. Nice work.
 
My first ever woodworking project. I didn't do it all with hand tools (I tried but lack the right kit at the mo!)

Started as some pine stripwood and an offcut of MDF, routed the edges, cut the mitres. Used the stapler to pin the back on. I stained the pine with an Indian Rosewood dye, my first time doing anything like this. It seems a bit patchy but I guess that's just something that needs practice. It's a blackboard :)

Frame.jpg


It's not alot but I'm proud of it. I always wanted to do woodworking but never thought it would be something I'd be able to do due to expense, time etc. Then one day just before Christmas, I thought sod it, why not. Now I'm hooked! I made this for our kitchen. Thought we'd try a 'Thought for the day' board, might be good for the kids, teach them nice morals, old fashioned style.
 
BluegillUK":33y24zac said:
My first ever woodworking project. I didn't do it all with hand tools (I tried but lack the right kit at the mo!)

Started as some pine stripwood and an offcut of MDF, routed the edges, cut the mitres. Used the stapler to pin the back on. I stained the pine with an Indian Rosewood dye, my first time doing anything like this. It seems a bit patchy but I guess that's just something that needs practice. It's a blackboard :)

Frame.jpg


It's not alot but I'm proud of it. I always wanted to do woodworking but never thought it would be something I'd be able to do due to expense, time etc. Then one day just before Christmas, I thought sod it, why not. Now I'm hooked! I made this for our kitchen. Thought we'd try a 'Thought for the day' board, might be good for the kids, teach them nice morals, old fashioned style.

very nice! =D> I think that's a great first effort, I haven't even tried mitres yet after over a year of woodworking, that looks like it will last a long time.
 
Status
Not open for further replies.
Back
Top