What did you do in your workshop today ?

UKworkshop.co.uk

Help Support UKworkshop.co.uk:

This site may earn a commission from merchant affiliate links, including eBay, Amazon, and others.
Status
Not open for further replies.
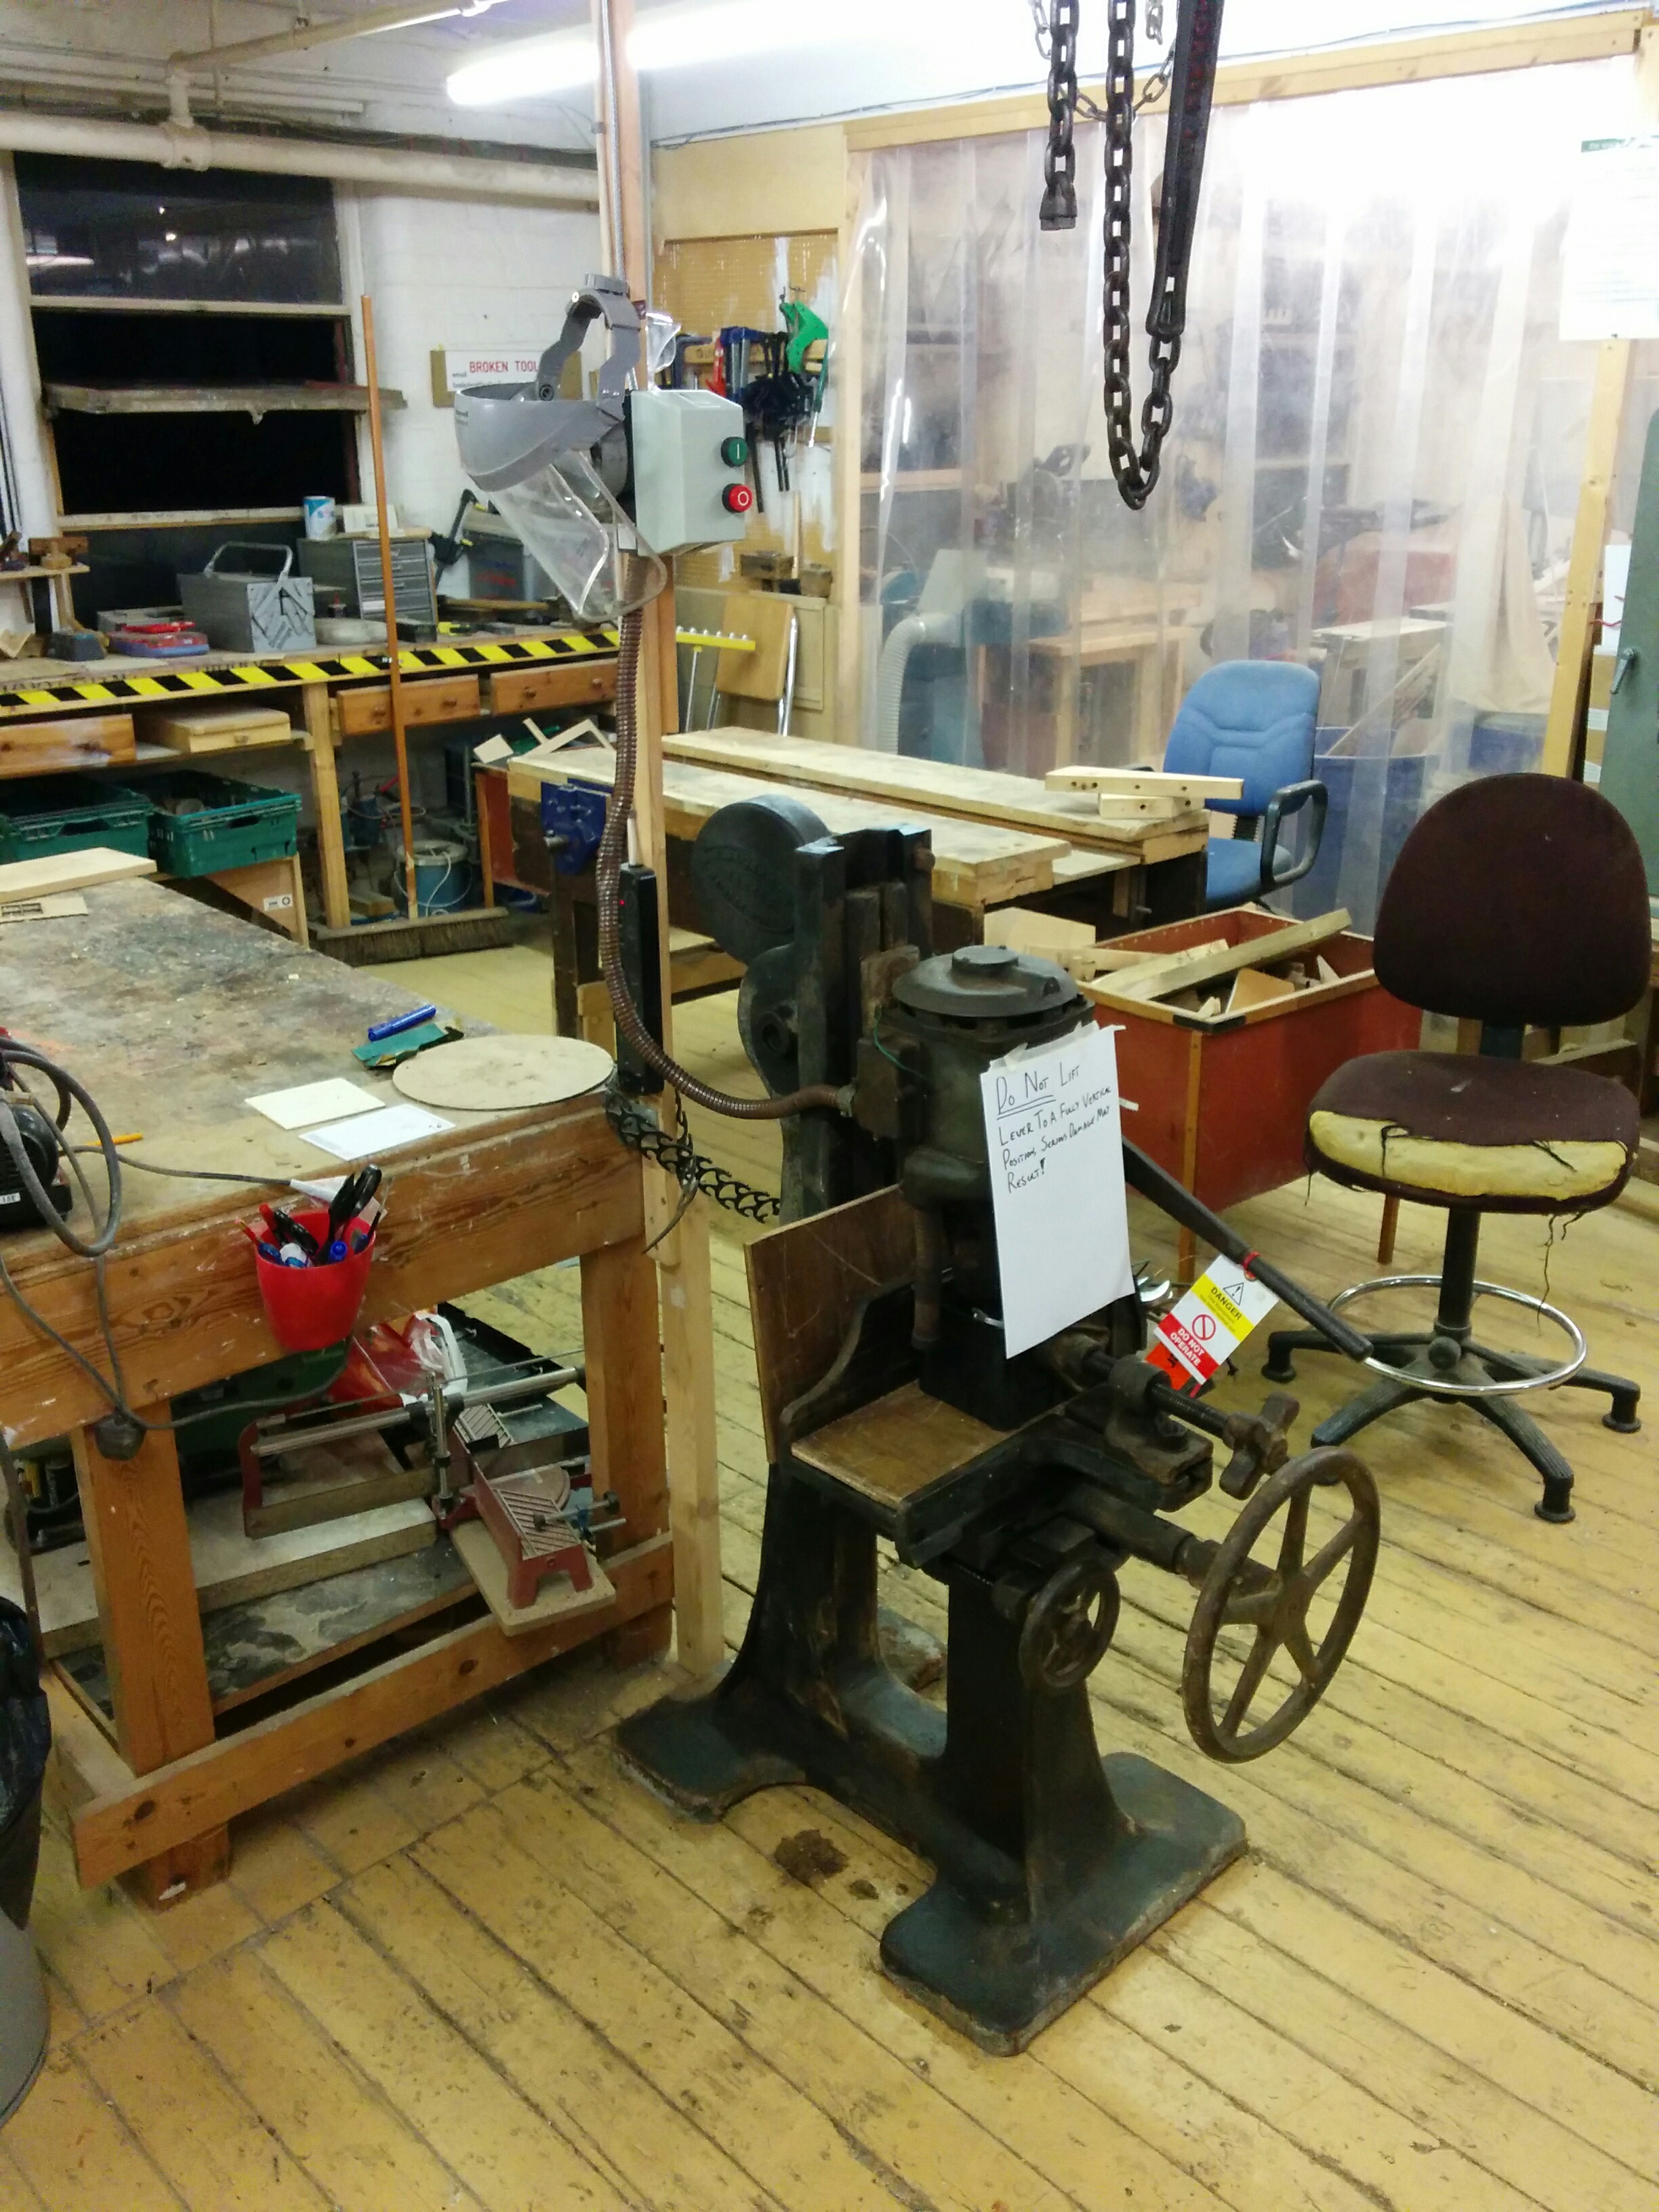
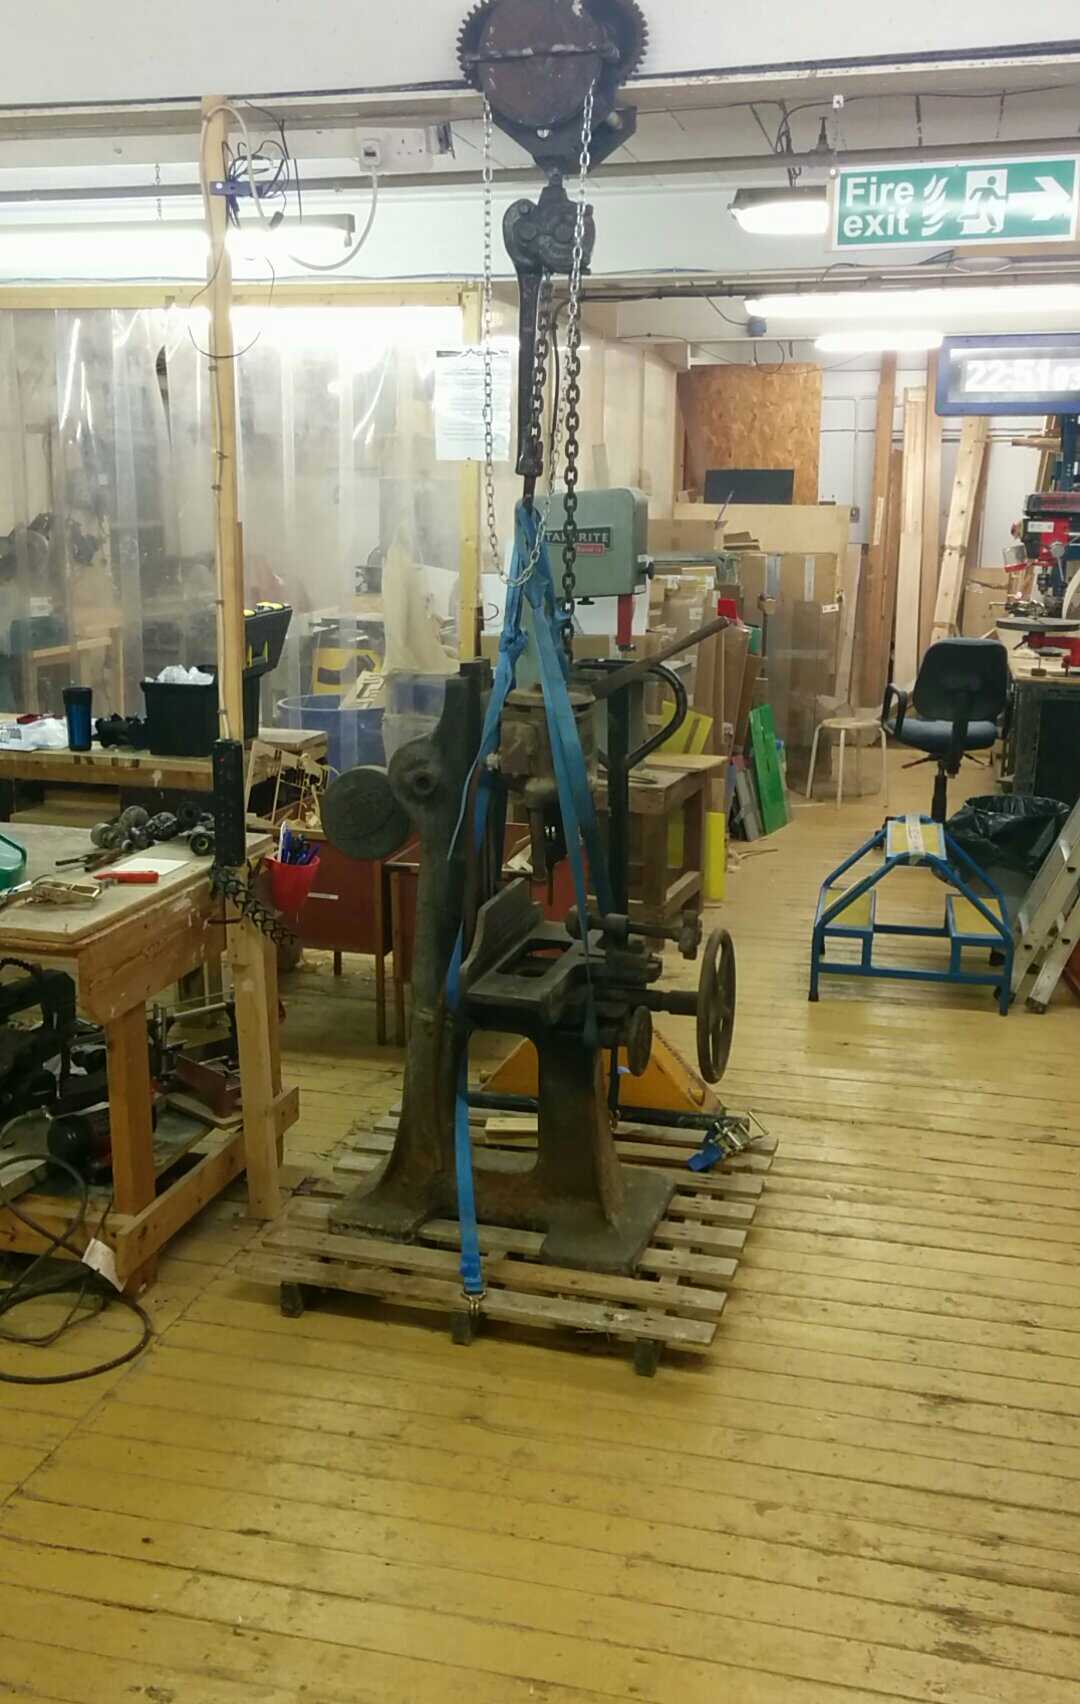
Moved in this hulk:

1472248266889.jpg


The bolt which secures the chisel in position, unfortunately seized and subsequently sheered on attempting to free it. The remainder of the bolt has been drilled out, the residue of the threads removed with a tap, and a replacement (and spare) set-screw of the appropriate size (5/16th Whitworth) has been sourced.

Machine has been stripped, wire brushed, cleaned and coated with a thin coat of light oil.

Threads on arm have been cleared with 7/16ths Whitworth tap.

Ways on the table have been thoroughly cleaned, all ways have been lubricated using light oil (debatable as to whether way-lube would be beneficial or cause excessive buildup of sawdust).

Damaged wiring to motor removed, motor has been stripped, all dust and chips removed, and the bearings checked, top bearing cover found to not be attached, needs 2 × 0BA 2" machine screws. sourced.

Chisel and auger sharpened, fitted and adjusted.

New depth stop machined from ½"O/D steel pipe from metalwork scrap bin.

Chisel collet has significant damage, still serviceable as is but replacement best course of action long term.

Auger collet has burr on bottom, could damage chisel holder assembly bearing surface during maintainance if not addressed.

Z-axis travel rack missing tooth, has been replaced with two set screws, long term brazed-in replacement sensible.
 
At some point you have to stop calling it a tool and start calling it a hobby you know! :-D
 
MarkDennehy":1xghk58h said:
At some point you have to stop calling it a tool and start calling it a hobby you know! :-D

Sounds worse than it is, that was about 3½ hours work...

Turning a new collet, taking the spindle out and putting a taper on the burred bit, another 2 hours work, when I do it.
Wiring it up will be a twenty minute job, but may involve several hours of waiting to be able to isolate the distribution board to add another 3 phase spur.
Total time to get it working will be less than the total time to get it in and out of the terrifying old goods lift with the stretcby cables...


Fixing the rack with a brazed in tooth, and possibly painting it can wait for now... That definitely puts it in hobby territory.
 
ColeyS1":3kh19ltr said:
Spice rack looks superb ! Nice use of smaller bits of wood [WINKING FACE]

Coley


beganasatree":3kh19ltr said:
Thanks Brian18741,I have just showed Janette your spice rack and guess what I have to make next??

Peter.


My thanks and my apologies in that order gentlemen! ;)

I was fitting some skirting boards in the house today and my mitre saw was really struggling with the bevelled cuts. So nipped into town and picked up a Freud Pro blade (€55) to fit to my crappy Aldi mitre saw (€99) and wow, the difference is unbelievable!
 
Rebuilt a fence panel that i had built the day before, which for some reason was 6 inches too small. Also cleaned and started an outboard motor that had spent 3 years gathering dust i the shed.
 
Brian18741":3oee4rar said:
I was fitting some skirting boards in the house today and my mitre saw was really struggling with the bevelled cuts. So nipped into town and picked up a Freud Pro blade (€55) to fit to my crappy Aldi mitre saw (€99) and wow, the difference is unbelievable!

You could have saved yourself abaout 75 euros by buying one of the Irwin Weldtec blades. A friend who has used them extensively and also visited Irwin's new state of the art factory in Italy reckons they are superb and perform way beyond their price point.

Jim
 
Thanks for the tip Jim but not sure about the maths! But will keep an eye out for the irwin blades next time!
 
IMG_20160902_003711.jpg


Almost ready to use... Unfortunately I wasn't able to wire it in to the distributon box and fire it up last night as the laser cutter (which is on the same distro box as I want to run into) is set up to be always on, I'm waiting to meet up with someone who knows more about it than me, in order to safely power it down.

As the keen eyed will see I need to sort out the limiting on the arm/quadrant assembly as currently you can lift the arm high enough to drop off entirely, if my thinking is correct, I just need to replace a missing grub screw and that will sort itself out.
 
MattRoberts":3cojwctu said:
LancsRick":3cojwctu said:
Built a fence for my router table as the existing one wasn't versatile enough for my liking. Need a few M6 coach bolts and a couple more slots routing and it'll be sorted. Nice high (15cm) fence, independently adjustable in and outfeed fences (offset), and both fences also adjust laterally to give zero clearance if required. Finally a piece of T-track along the top edge to let me run featherboards or tenoning jigs etc.
Pictures, or it didn't happen! ;)

As requested sir!

http://imgur.com/a/6Fdv2

First couple show the jig, including one of the 0.5mm aluminium spacers. Third picture is just to highlight the chamfer I put on the bottom to avoid dust stopping pieces from being flush to the fence, and the final bit is a piece of black walnut straight off the new router jig :).
 
Tidy up - made a very basic shoe rack for the kids shoes. Might stop them leaving them everywhere (probably won't)

Moved a new treadle lathe into position and did a little 'turning' - while the whole thing wobbled from side to side!
 
LancsRick":2olfpl1r said:
As requested sir!

http://imgur.com/a/6Fdv2

First couple show the jig, including one of the 0.5mm aluminium spacers. Third picture is just to highlight the chamfer I put on the bottom to avoid dust stopping pieces from being flush to the fence, and the final bit is a piece of black walnut straight off the new router jig :).

Looks great! Are you putting some poly on the mdf?
 
Nah, as you can see the front faces are really simple I plan on just replacing them when they wear :)
 
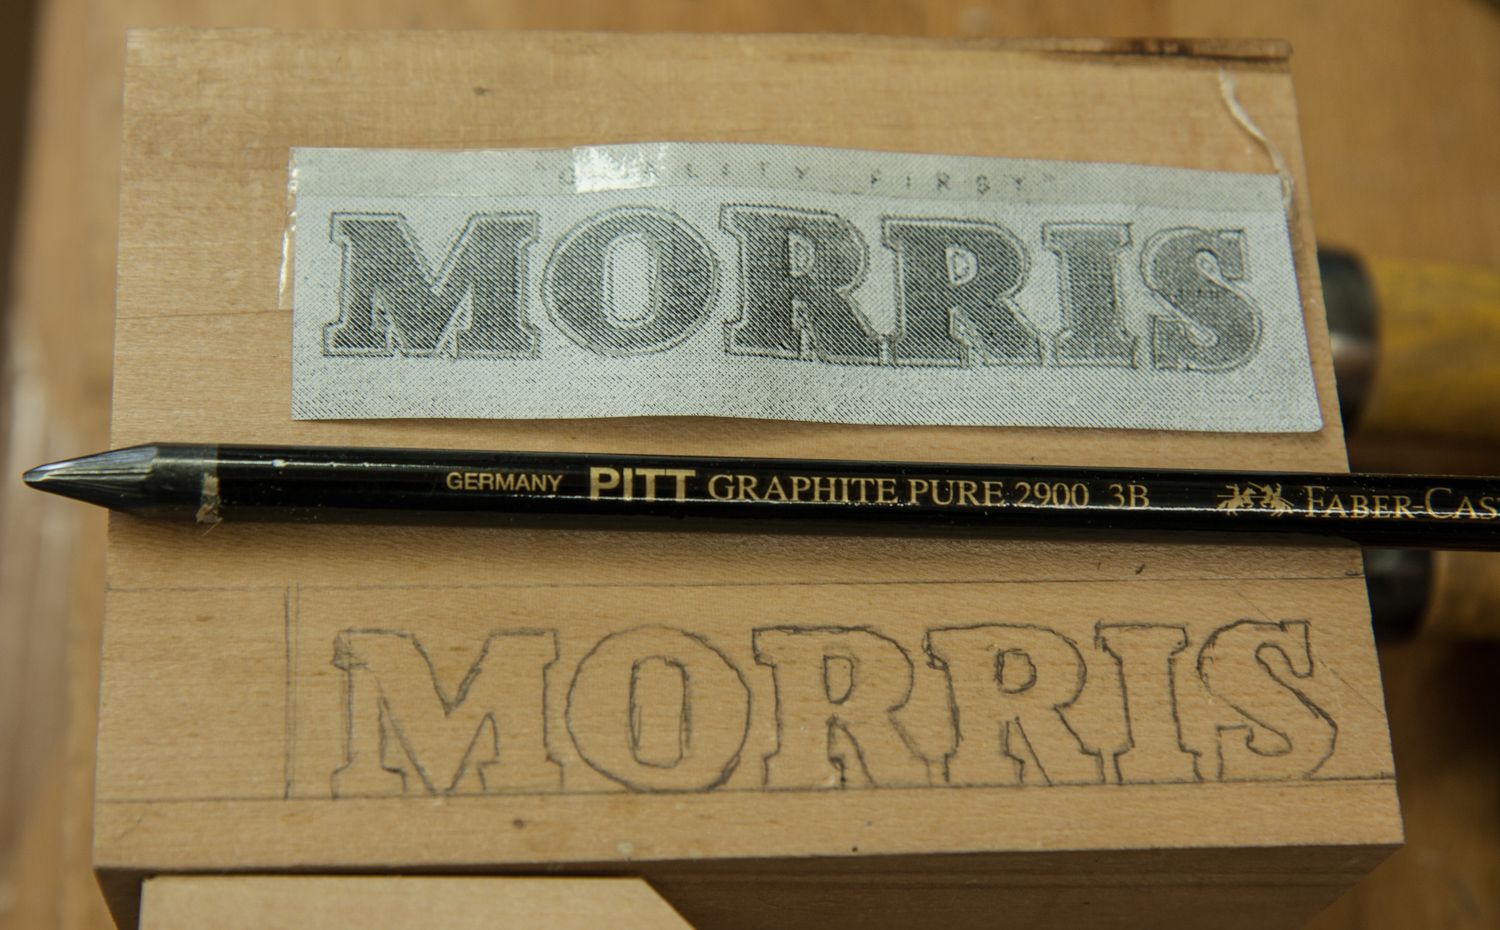
Son-in-law has recently bought a '66 850 Morris Mini-Minor, just like the one his Dad used to have even down to the colour, of which he has fond memories. The car has been christened "Morris" and looks good but in reality, is in need of restoration which starts this autumn. One problem is a weak handbrake. Daughter rang yesterday to ask if I could make some wooden wheel chocks as a jokey birthday present for him. I thought it would be fun to make them posh and personalised so printed off a copy of a period mini brochure to get the Morris typeface and found a nice piece of limewood from the woodstore.

chock-1_zpsoln8csai.jpg


These solid graphite pencils are great for applying graphite to the back of a paper template so that the outline ccan be traced onto the work.

chock-2_zpstunqavyy.jpg


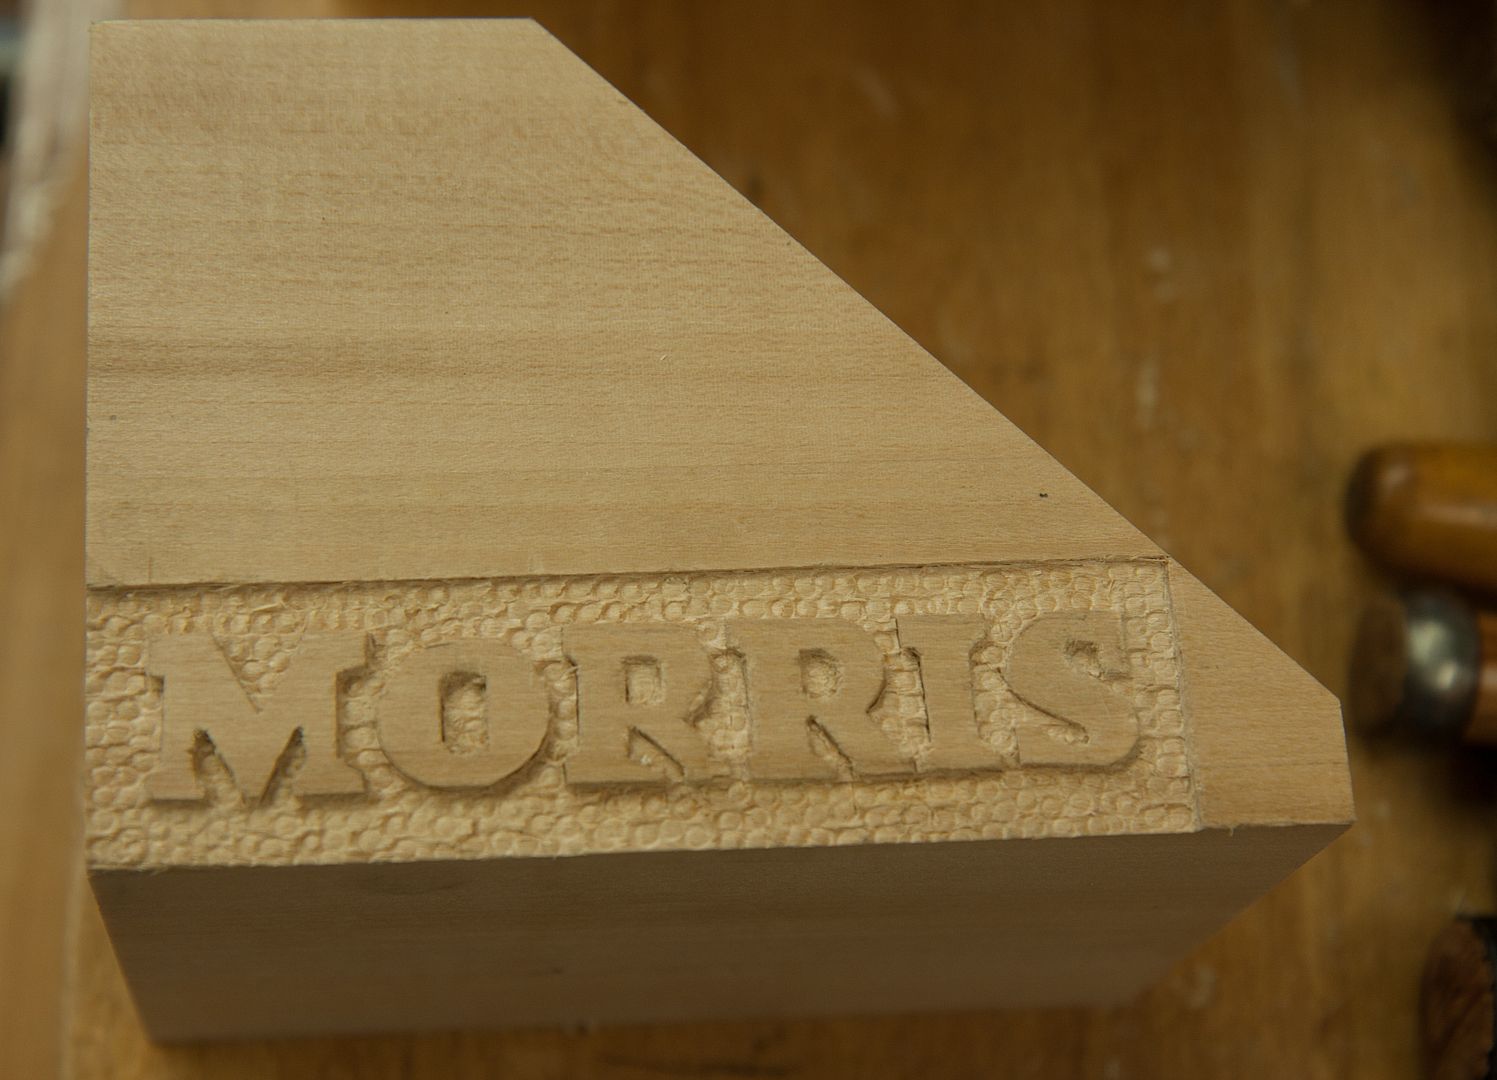
The first finished chock. My letter carving skills aren't that great and the recessed background wasn't as smooth as I would have liked, so I used a nail punch with a domed recess to create the texture. I was pleased with the effect and, as I had hoped, it disguises a multitude of sins. One more to go and a few coats of Danish oil will see it done.

Jim
 
started to disassemble my wadkin sp12.

after 12 years in my ownership its leaving me tomorrow, the workshop demands more of other things it takes up too much room, i dont need a panel saw for what i do...
but its been a hard choice to get rid of such a reliable machine, its worked 6 days a week for 12 years with out a single issue, service or anything more than a clean, and thats just my ownership. it sat in the same spot since it was bought brand new, working for a busy joinery company that was here before me. i took ownership of it when i moved in & the owner retired, i still remember the day i went to view the space for the first time & was offered it.

i didn't realize i had become so attached to my equipment. :shock: :(
 
Prepared the top for a new computer desk. (That is, I bought a piece of laminated pine, and put it in the shop. :mrgreen: )
While I was at it, I decided it was okay to assume my planer had dried out, after its dousing when the water tank overflowed.

With much trepidation, I switched it on. It worked perfectly! I am now feeling much better about the shop altogether.

Next job:

Mill some 50 mm square Douglas Fir pieces, for the legs of said desk. Didn't really want to use the Douglas Fir, but it's taking up space I need.

 
Moved stuff around to make space to start to make the windows for the shed. I found that the larch i bought is indeed wet!

Don't leave wet wood lying on the planer table, doh!
01 Planer.JPG


The table had needed a little attention for while anyhow, so scraped the worst of the rust of with a knife blade. Could probably bag that and sell it on the street, red smack, new in from Far East.
02 Planer.JPG


Table surface was sanded with 240, then 400 grit wet and dry, using white-spirit as a lubricant.
03 Planer.JPG


Couldn't be bothered to do the in-feed table as it was ok condition. Also sanded the fence back as it was rusty in places. Then gave the whole thing a coat of paste-wax and a buff. Ready for work making window frames.
04 Planer.JPG


F.
 

Attachments

  • 01 Planer.JPG
    01 Planer.JPG
    112.6 KB
  • 02 Planer.JPG
    02 Planer.JPG
    113.9 KB
  • 03 Planer.JPG
    03 Planer.JPG
    132.5 KB
  • 04 Planer.JPG
    04 Planer.JPG
    132.2 KB
Got some new wheels and tyres for my Disco :D so the only place for the old ones is in my workshop :roll:
can I find space :? very tricky, maybe under one of the wood stores, :!: along side the other two. :eek:ccasion5:
 
Status
Not open for further replies.
Back
Top