OK Folks, here it is, the final installment..........
Despite the worries, the veneering went pretty well.....If anything, I probably used slightly too much glue, as you can see below from the shots when they came out of the bag:
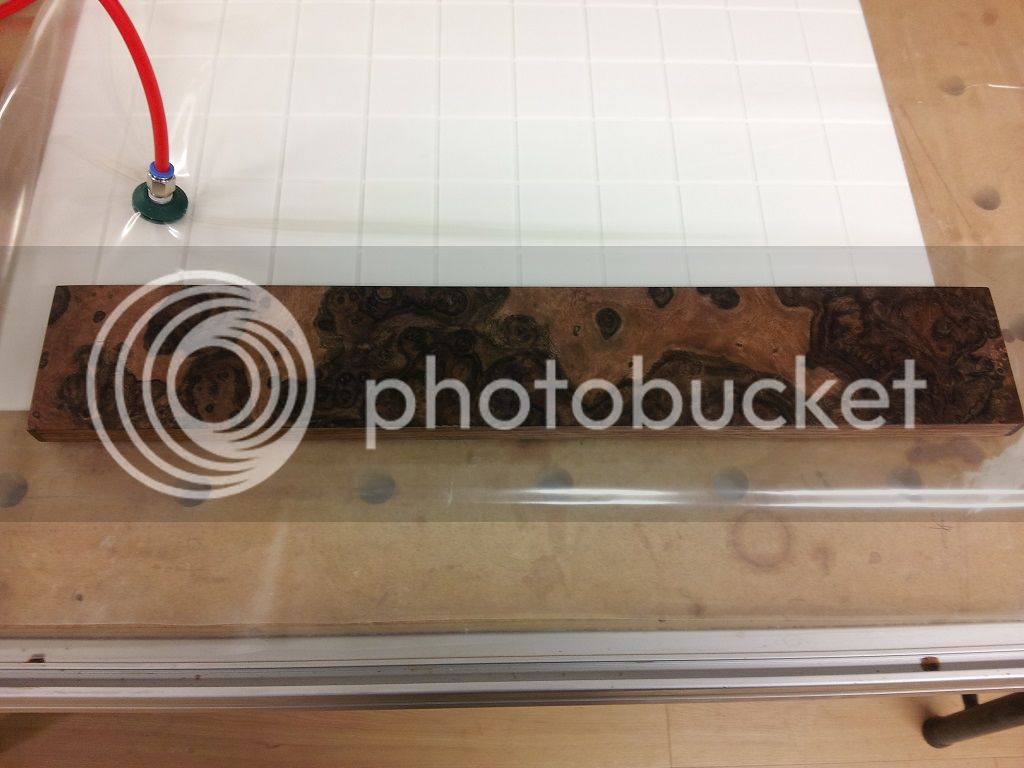
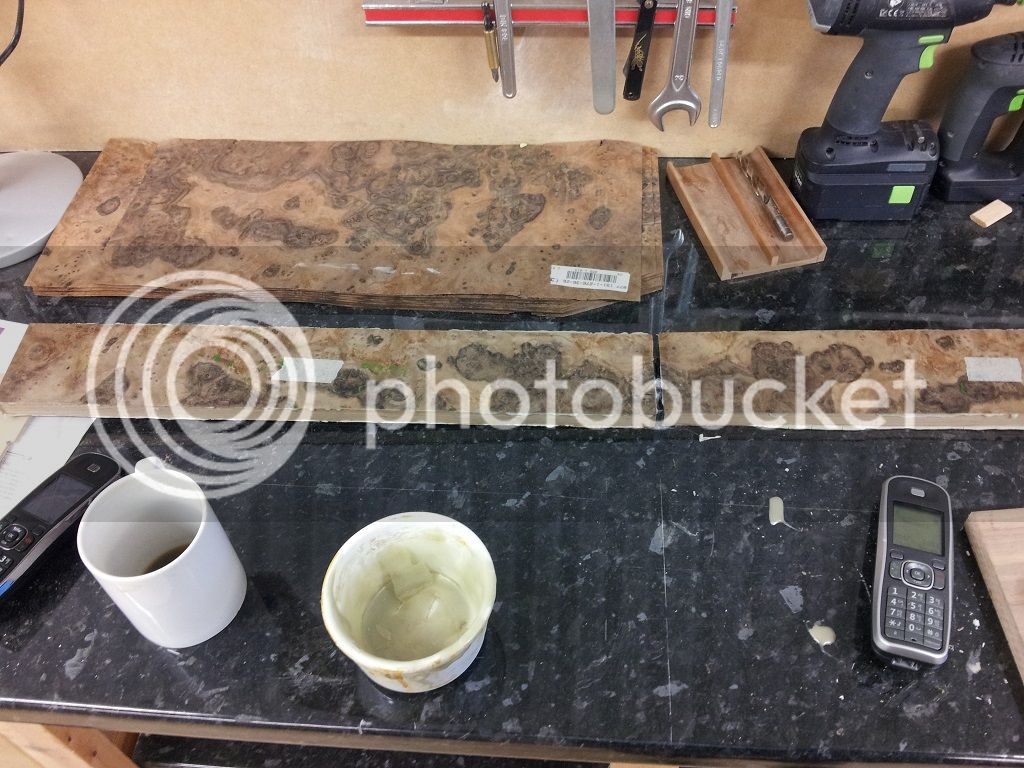
i was a bit unsure how best to deal with trimming the frontals, without damaging the fragile veneer overhang, but figured out using a chisel on the bulk of it and then a plane and then my trusty festool laminate trimmer to clean it up properly. I also had to decide whether to leave the veneer flush with the edge , but decided in the end to put a very small champfer all around:
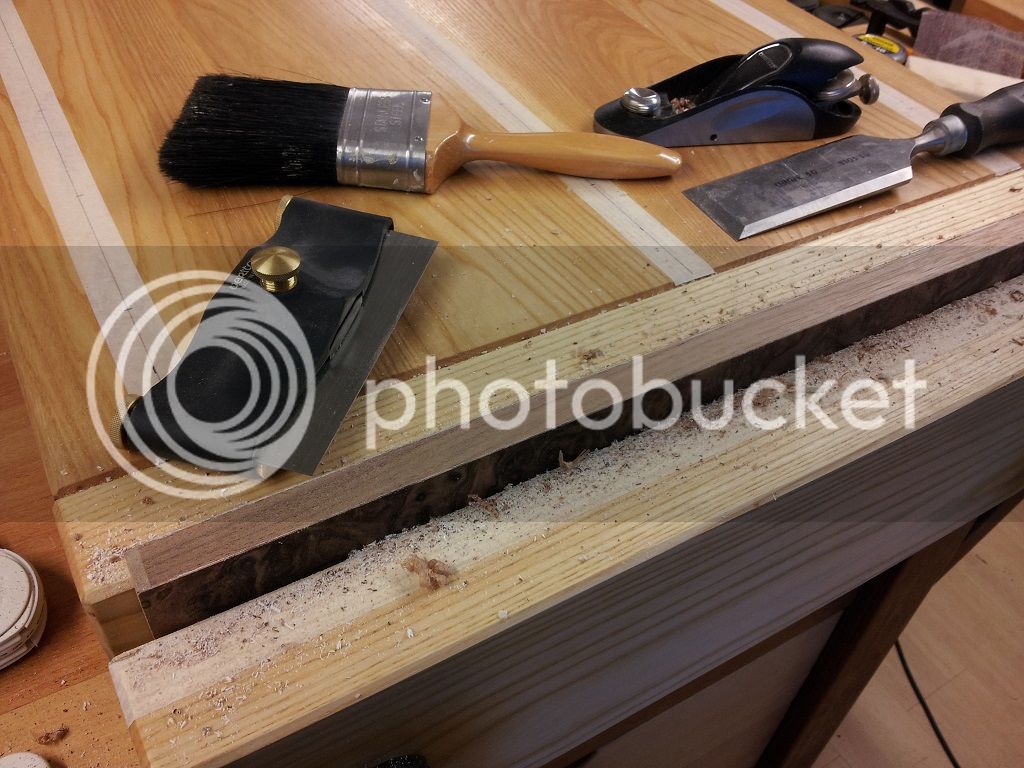
So, with the frontals cleaned up and profiled, I was ready to fit them. The bottom two were easy, as I could align and clamp from above, then screw fix from behind. But the top two were trickier, as there was no way of clamping them in position when shut. In the end, I decided to use contact adhesive and let them dry in position, then screw through. it worked fine.
I then applied the finish, i always ues the Festool surfix one step oil, its really nice, does not dry sticky, and gives a beautiful smooth silky sheen, it also smells really nice and does not stick to your hands! Anyone who has not used it should try it, they do 3 types, heavy duty, outside, for furniture, the one step is the one to use. You can add wax over the top if you like as well.
I then added the knobs for the doors and drawers, just some simple small solid brass ones that I thought went pretty well with the overall design.
And finally, it was done!! here are the pictures:
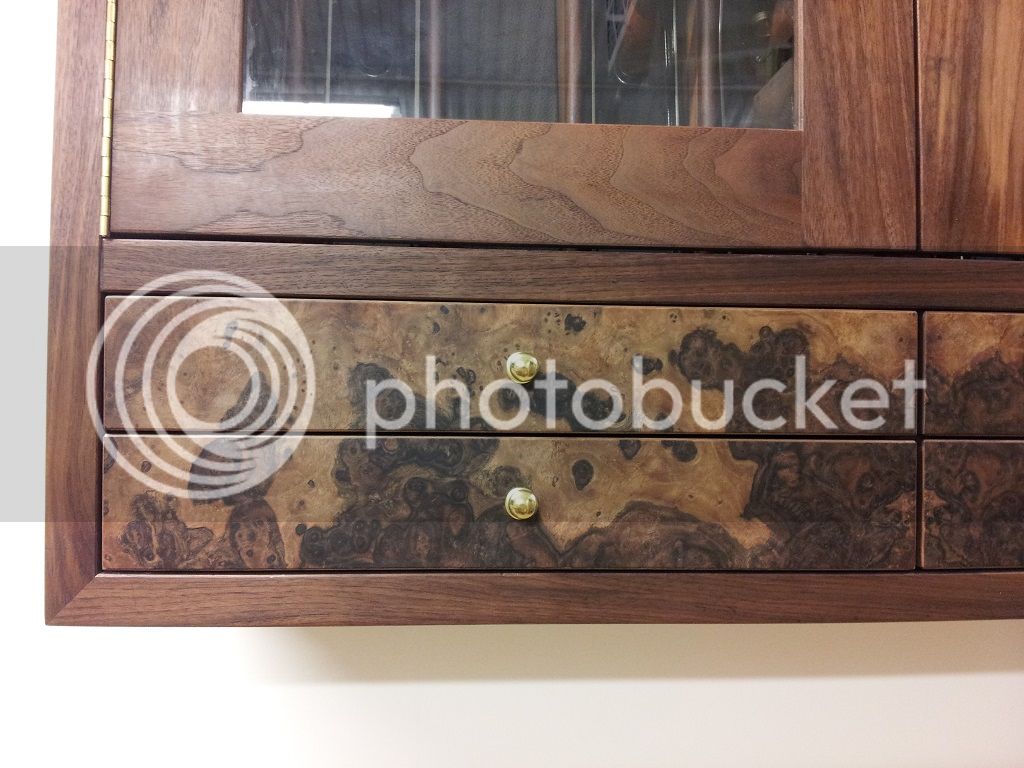
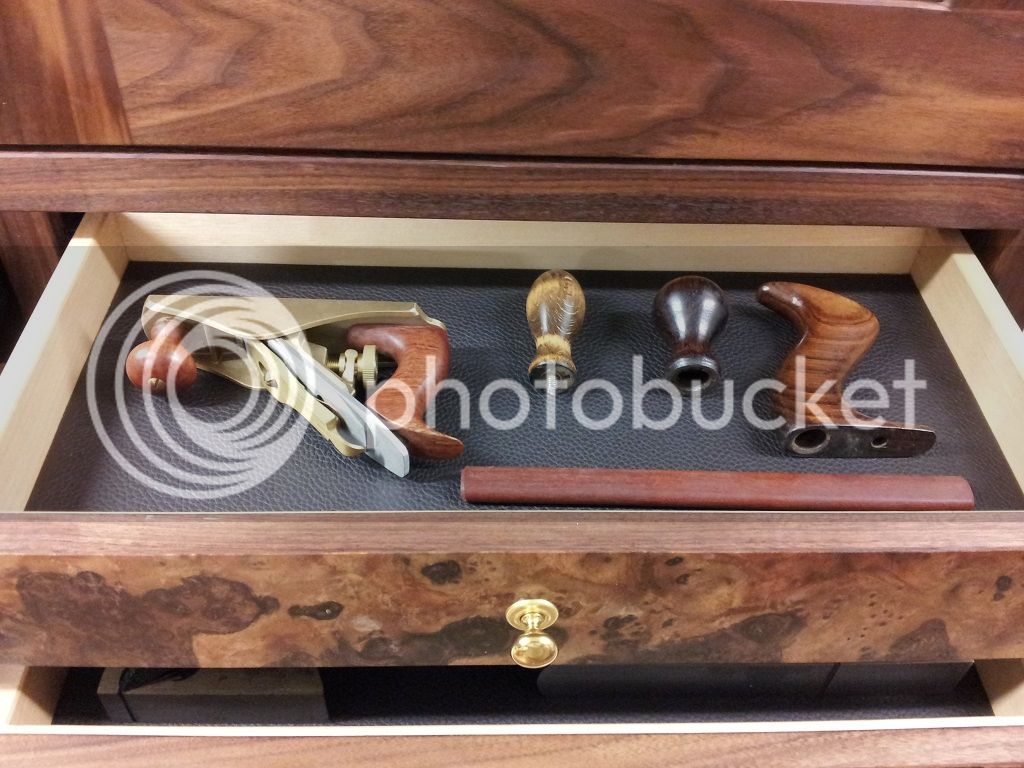
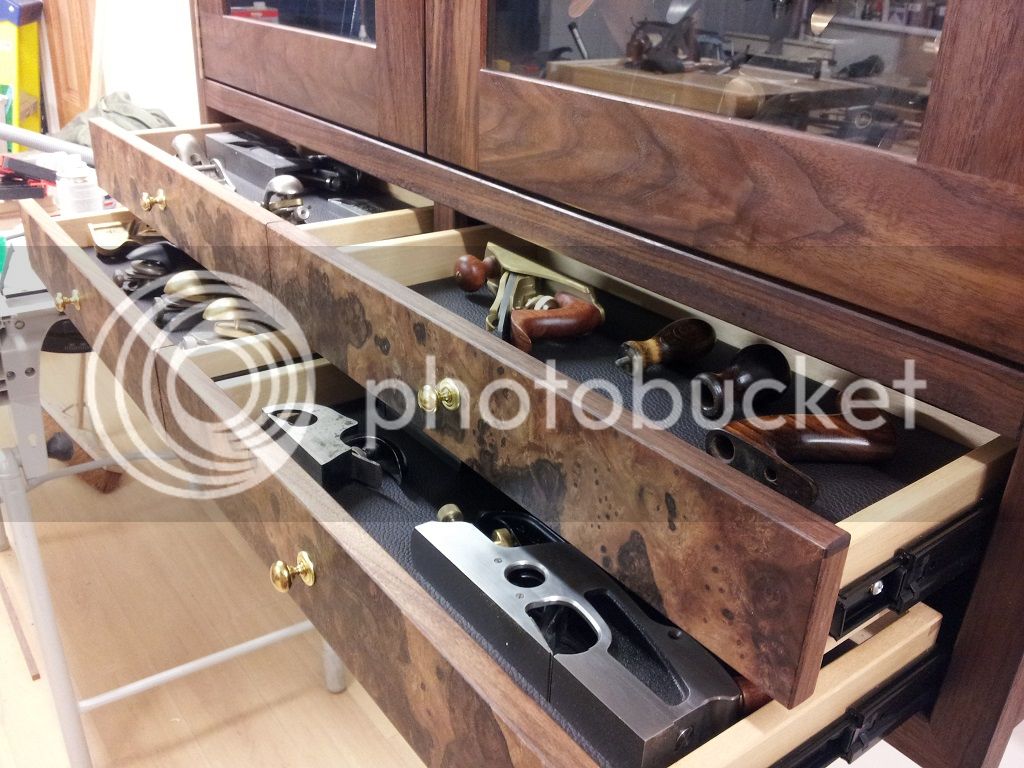
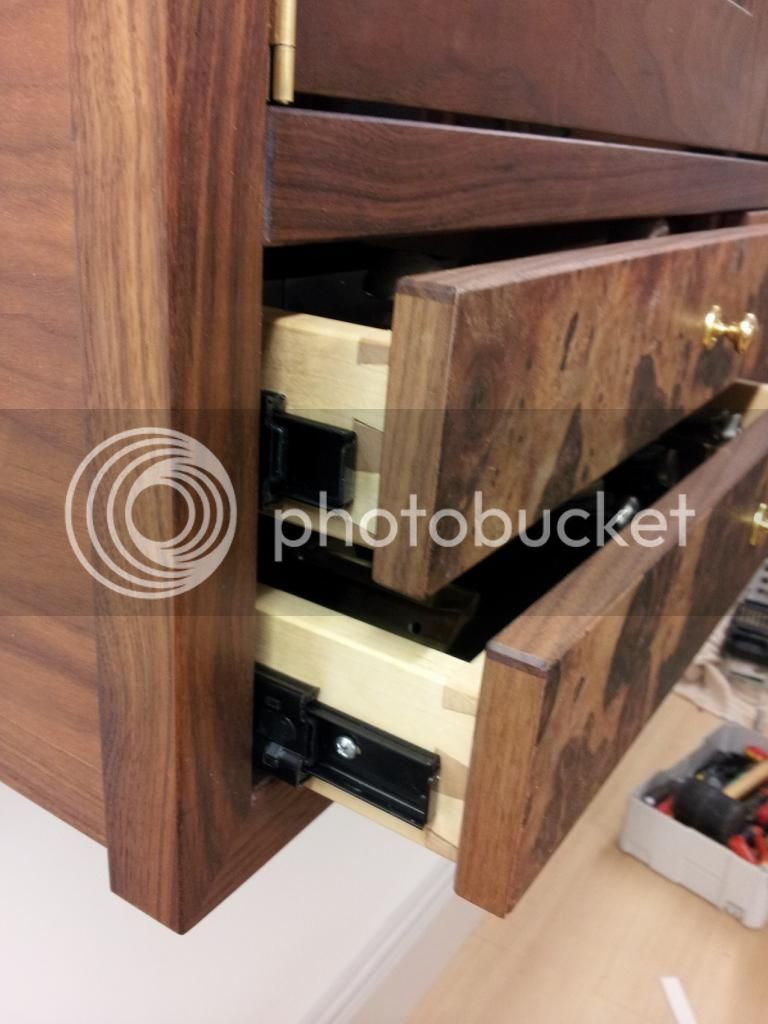
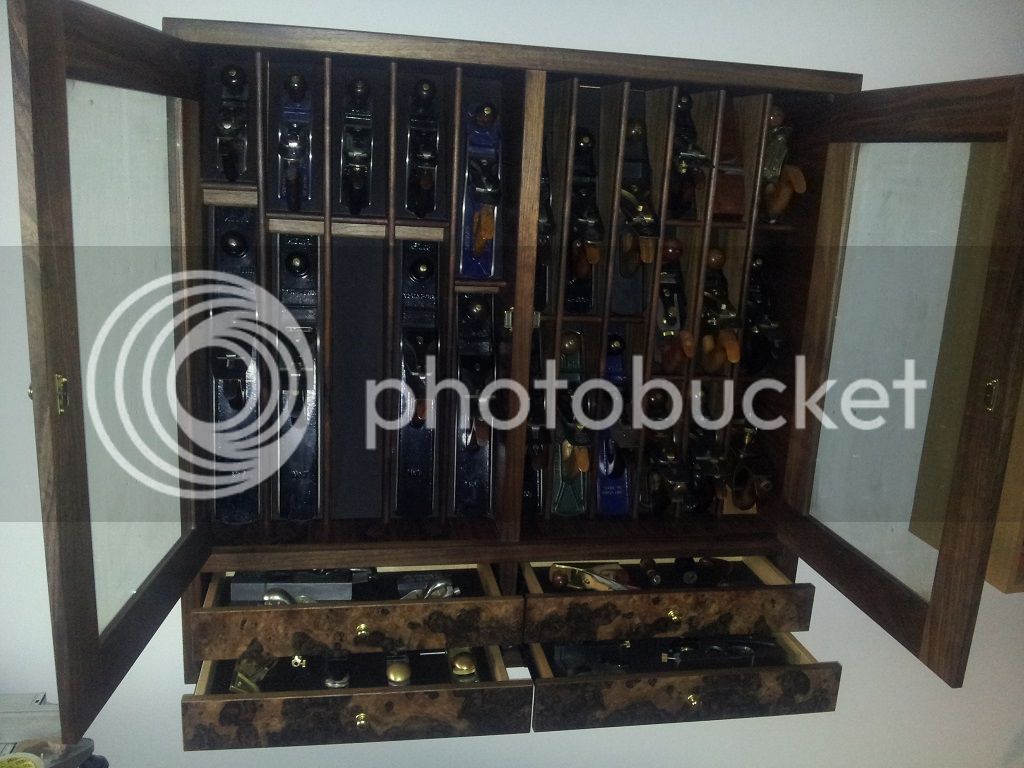
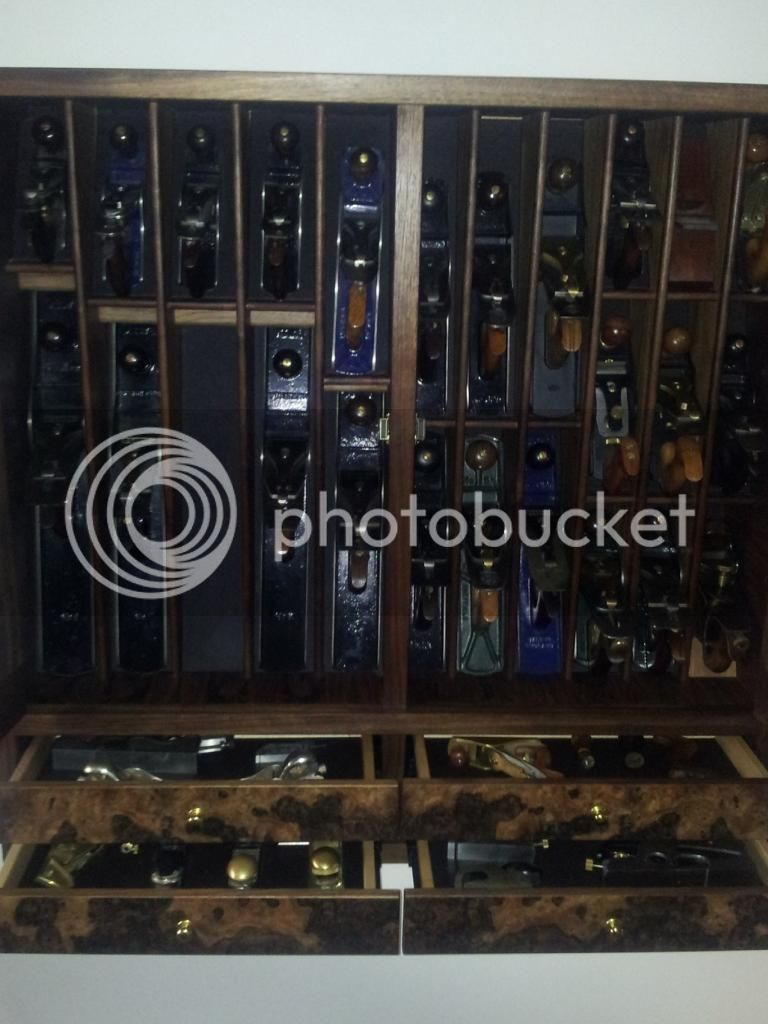
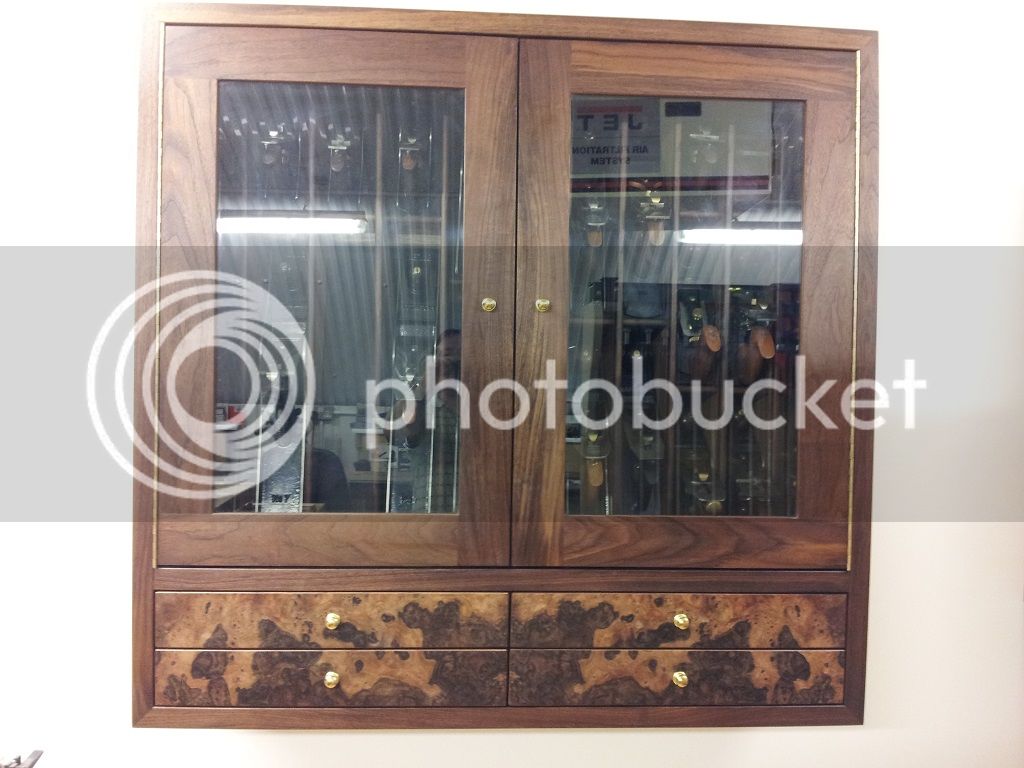
I am chuffed to bits with it, and it was a great learning experience, I hope you all enjoy the finished result as much as me,
Thanks, Mark


