Wall Tool Chest (potential WIP)

UKworkshop.co.uk

Help Support UKworkshop.co.uk:

This site may earn a commission from merchant affiliate links, including eBay, Amazon, and others.
After a bit of hiatus building some bird boxes and a toy chest for the son. I have managed to squeeze in some work on the chest.
Not a massive amount of work but fiddly as the handles of the planes are very close tolerance.
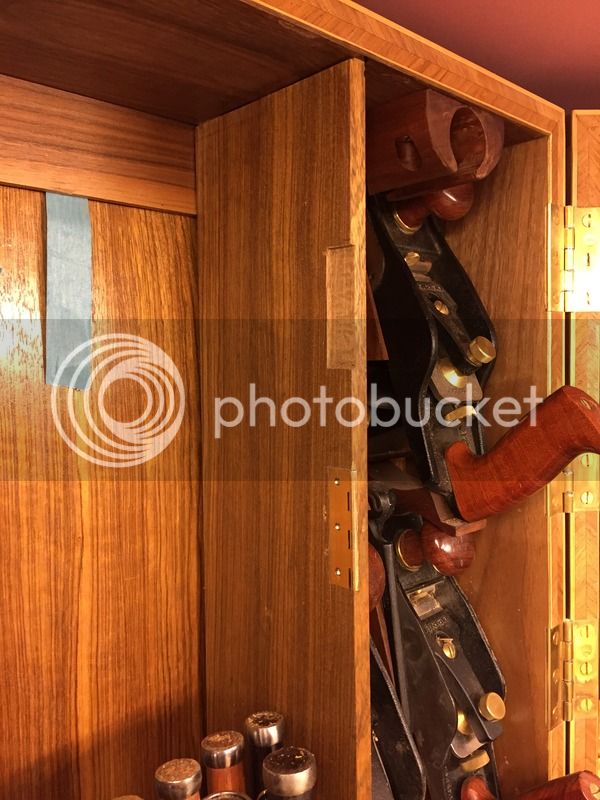
I started with the jointer plane as i had allowed for that to fit in gap below the hammer on the other half of the chest when closed. this would allow me to store some long tools and i have currently stuffed this with some spare tools. Then i added the carcass saw with space for the dovetail saw.
I then rustled up some dividers from some sapele off cuts i had and template cut them with the router, then using a combination of magnets and stops of wood fitted the tools in place. Took a long time but looks straightforward.
The fittings a bit ugly so i have a few bits of trim to stick on to cover the magnets and screws etc.
I have fitted an enclosure heater with safe touch closure to prevent rust on the tools. This will be hidded by a brass grill but i am not sure if i have been to clever and i would have been better with a low voltage light bulb, i am not sure this will stop the problem in the summer? Peoples thoughts on this would be appreciated as i have never used a heater before and one of the primary purpose of the chest is to hold back the rust.
Hope people are enjoying the slow progress.
Next fitting the some more planes and the long rasps, paring chisels and measuring tools.
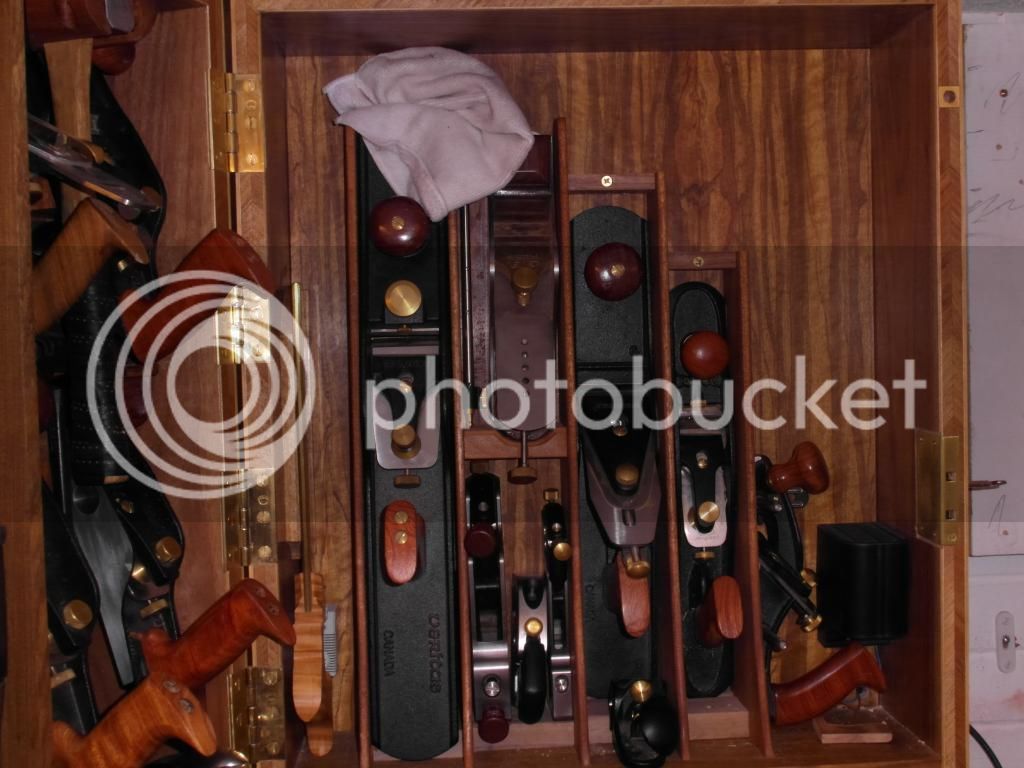
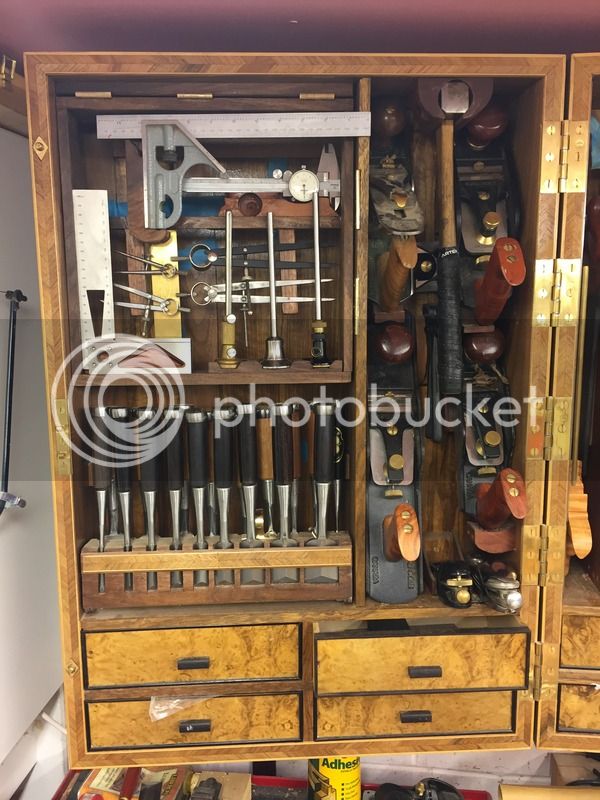
all tools in
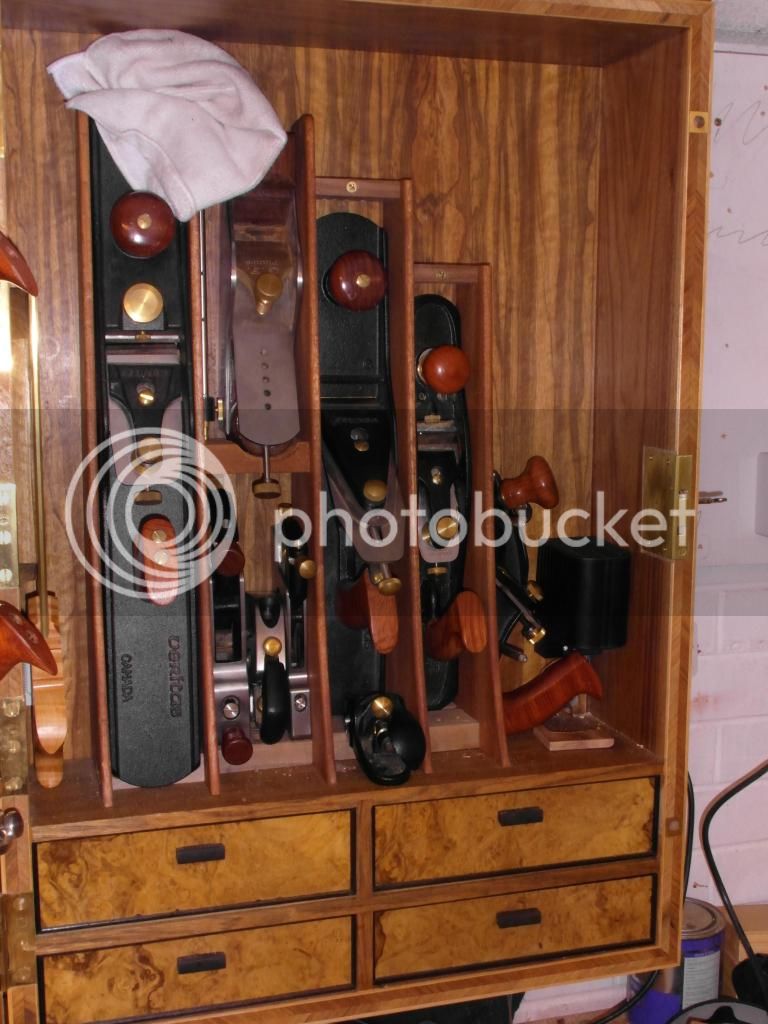
SAM_0174_zpsfe30c07c.jpg

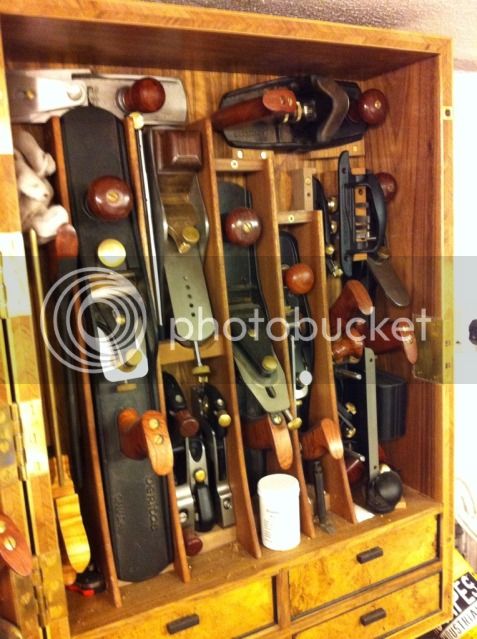
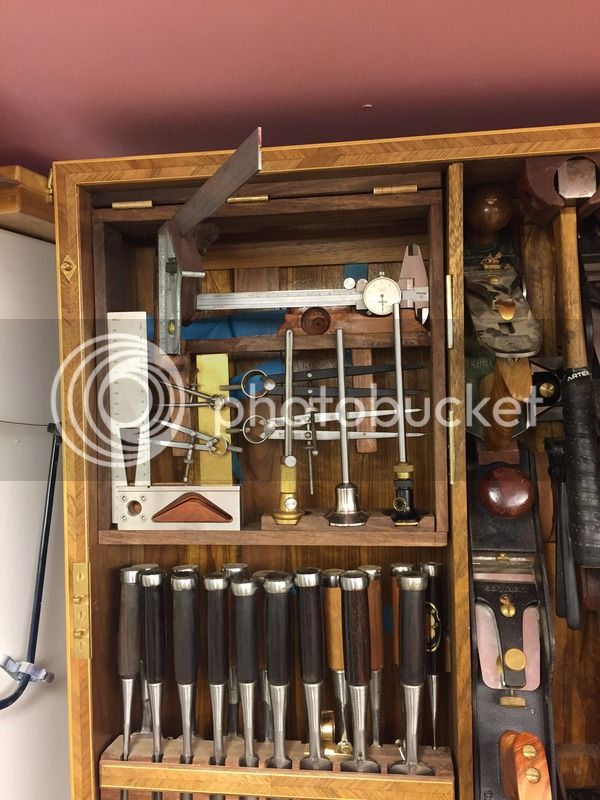
close up
SAM_0175_zps9280a96e.jpg

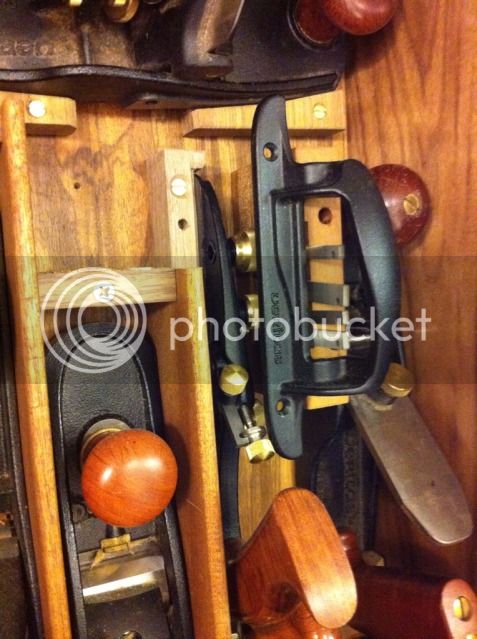
showing some storage behind the planes
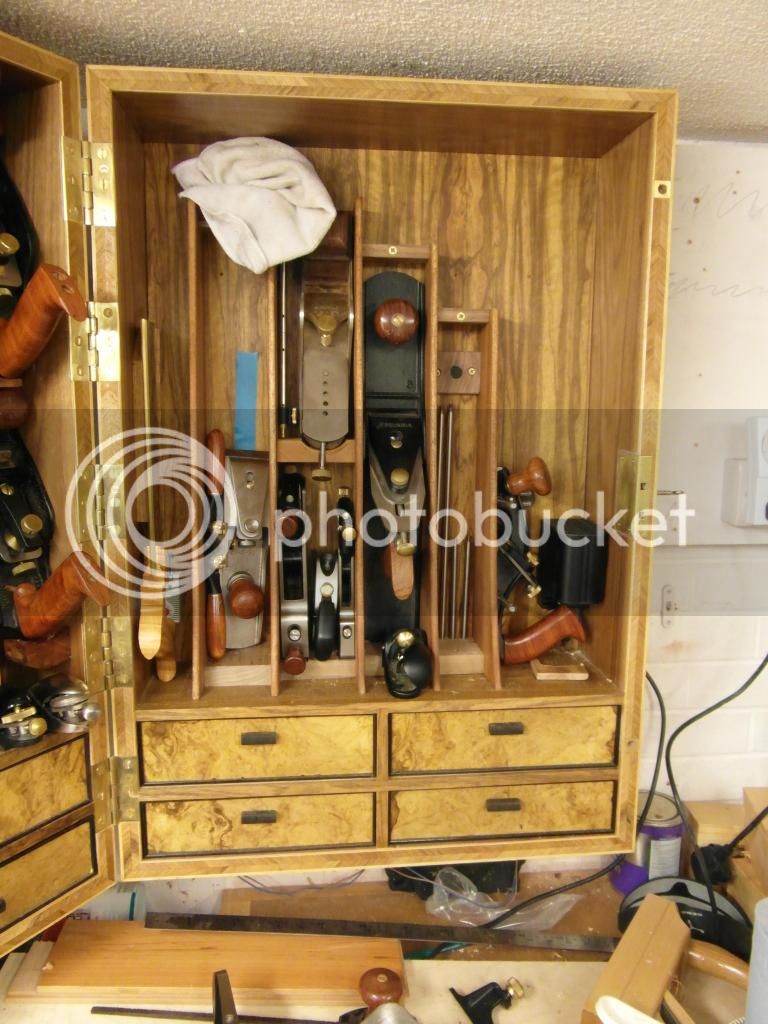
SAM_0177_zpscd0ac021.jpg
 
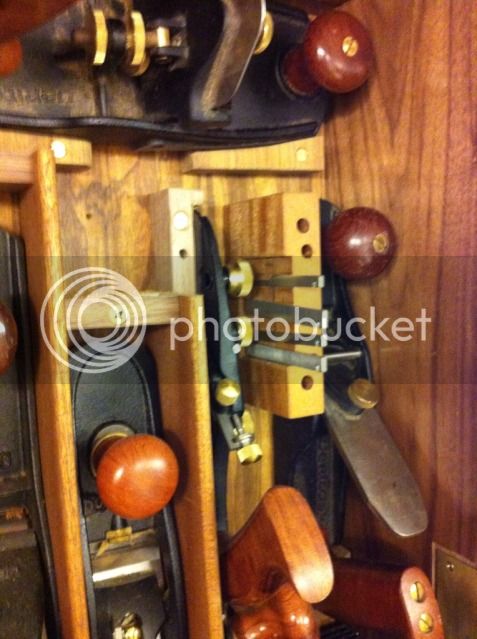
Its been a brief hiatus while i have completed some diy type tasks around the house however i have progressed a bit further.
I have fitted a few new planes with the usual combination of magnets and stops. While not oiled yet you get the general picture.
6DDFC856-1293-4614-AF83-7826B5EC173C-114-0000000D3993B0F4_zpsbf744133.jpg

0337DF5D-3FF4-4E08-ADE3-59D51F28967A-114-0000000D4C027418_zps3452af84.jpg

B48C9C74-A609-498B-A81A-F82E8342BB22-114-0000000D55A3B253_zps8e1ac352.jpg

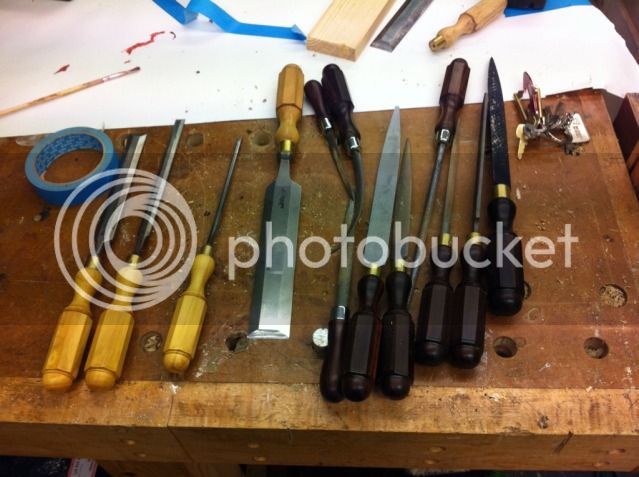
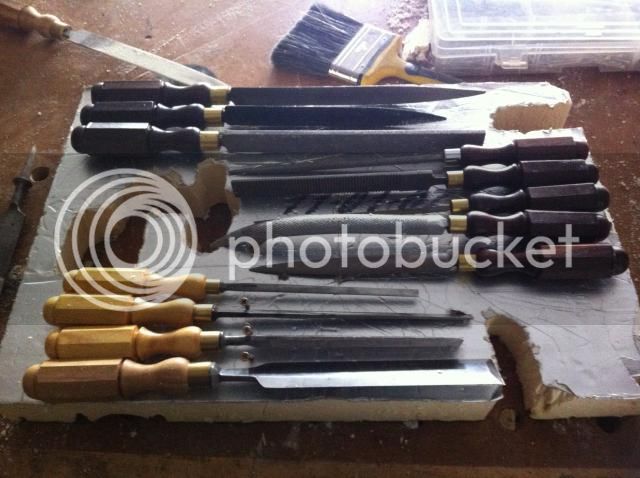
So after rehandling a few chisels and rasps of which i ama big fan i desecided to embark on the 3d bit.
D23B52F1-DF36-4359-8170-473CF6503C76-114-00000010D71C394C_zps17728a83.jpg

i had a racking plan!
4EA5465D-9C96-4219-A261-97F2EA318554-114-0000000D24A1A659_zpsb3c3f8ef.jpg

copied off a wrench rack i own.
I then had to work out the 3d space left or come up with a cunning plan.
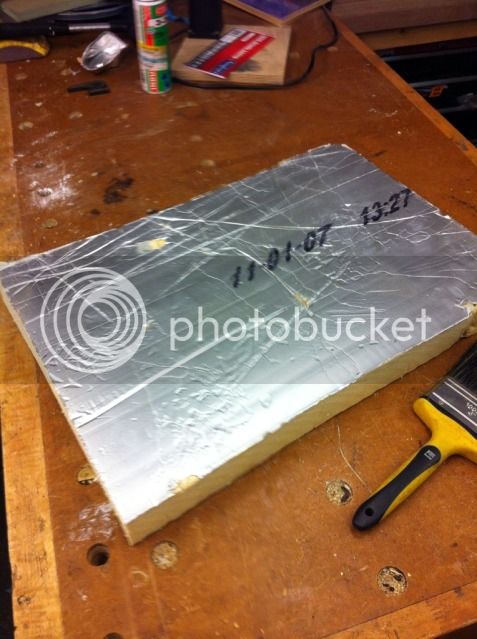
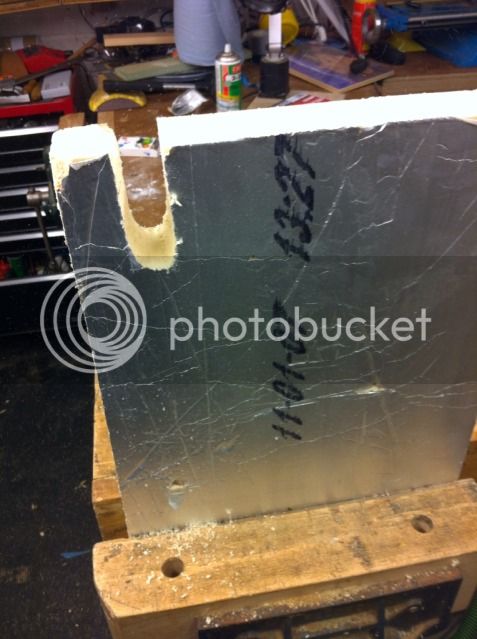
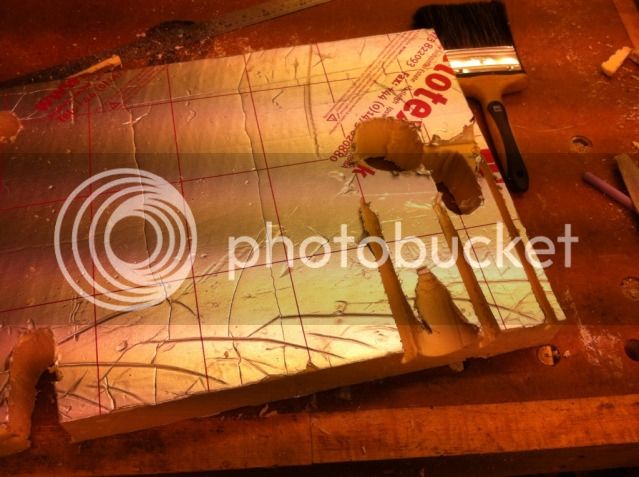
At work i found some celotex perfect
cut to size
517E38FA-2490-48F6-8968-1A0AF9AB38C6-114-0000000D0FDC1BA6_zpsb0eb0f7b.jpg

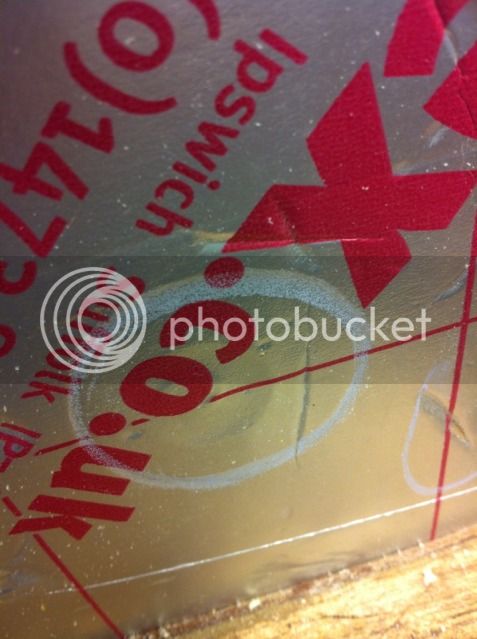
press hard into space
leaves dents!
01504233-F482-49FF-AFC4-8117173AC1E8-114-0000000CF6CD0709_zps38226a59.jpg

cut out dents front and back et voila!
963ACC4E-96CF-4856-94BA-A5DB22B7F258-114-0000000D0622576E_zpse4f19b49.jpg

F87AF042-9C06-4E74-98A5-B4720AFA603E-114-0000000CD4066E81_zps8531d312.jpg

A10757B0-A927-40BE-8F56-406BCFE6242A-114-0000000CDF78EF73_zps3e3faa05.jpg

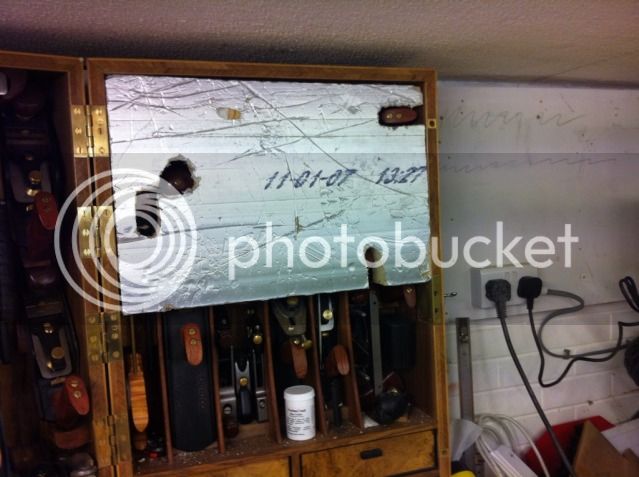
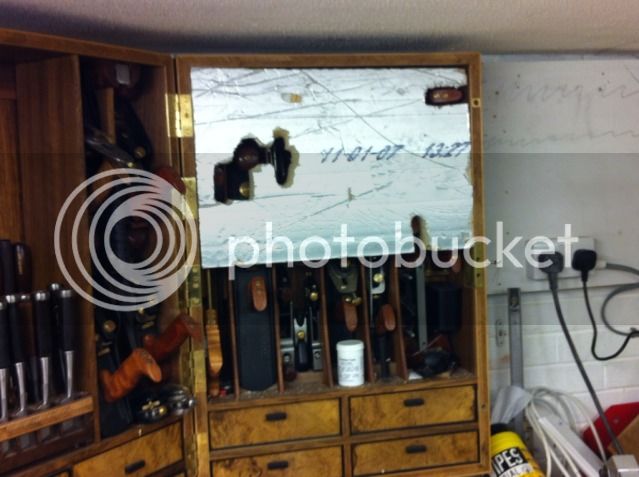
fold front door into rear
907D47CC-E6E3-4914-BEE7-9E07C6395E5C-114-0000000CC74C3170_zpsd1eb8cbe.jpg

i now have a template to lay out all my rasps and chisels for their lift up rack!
 
Ten out of ten to you buddy - both for sticking at the project and for posting so much interesting pictures - loving it

looks fabulous well done
 
I note from last post thats its been over a year and a half since i last posted. It appears with my garden overhaul and general diy jobs round the house the chest has not been worked upon. It has however been in regular use.
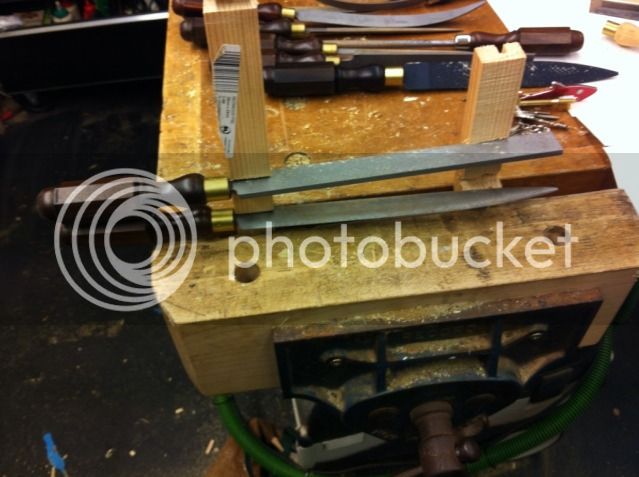
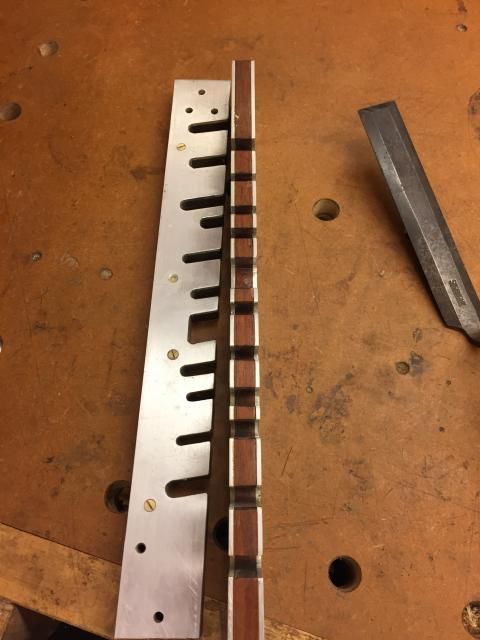
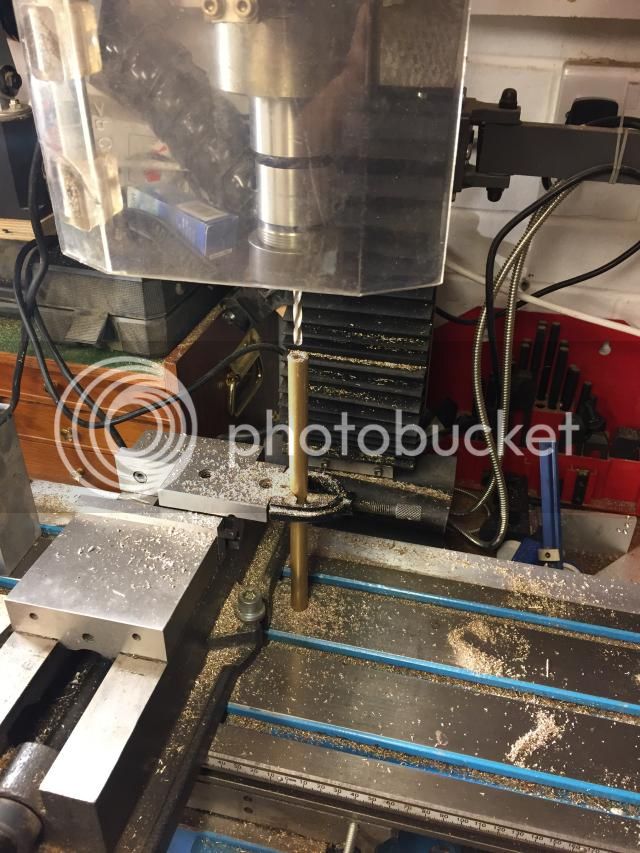
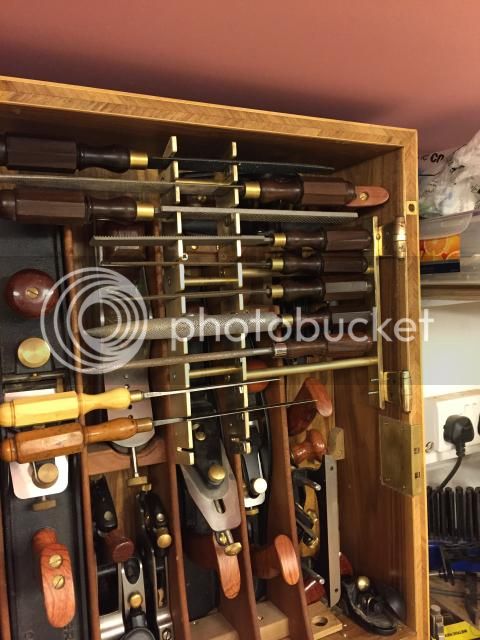
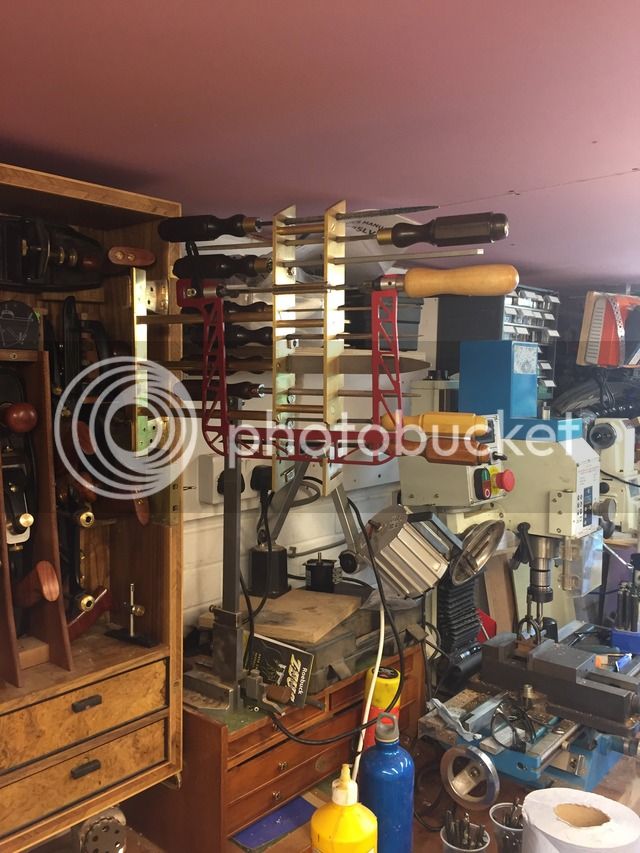
I have been fiddling with producing a chisel/rasp rack to the style that suits. I attempted a bit of metalworking so those whom are familiar with these dark arts should prepare to look away with horror...
My basic design was to produce a rack that could be moved out of the way and yet still allow easy access. Originally this was was going to be wood but i felt the rasps would errode this too quickly. I then tried an aluminium design that was part wood. But it loooked so wrong i started again.


I then came to the conclusion that a combination of brass and magnets would do the trick. I laid out the rasps etc on my foam to get a negative imprint

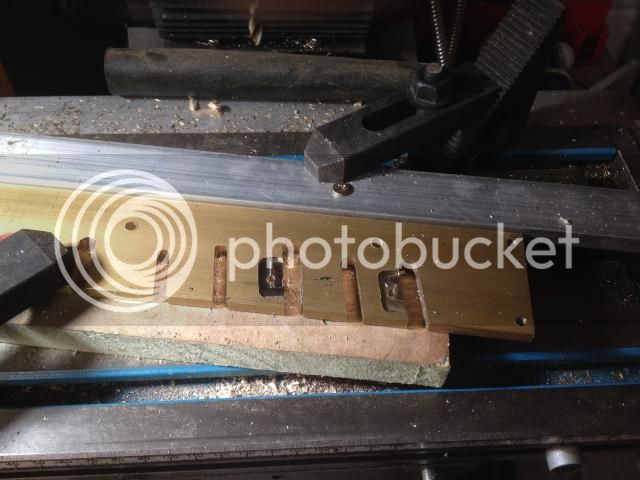
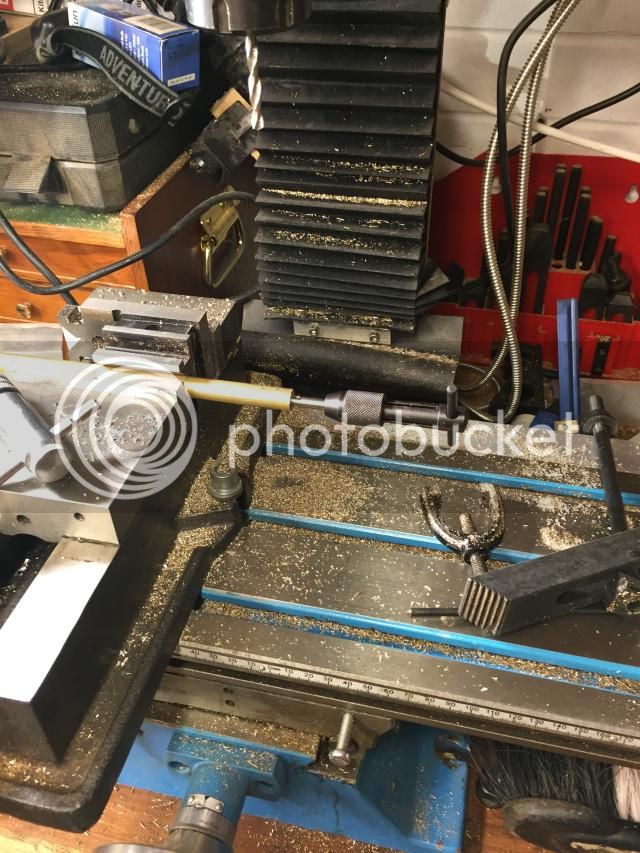
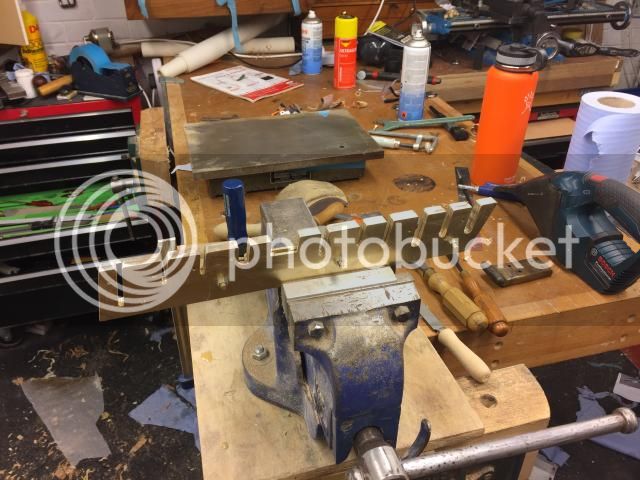
I then had a go with brass which resulted in the finalish design. However metalworking is quite slow and exacting so it seems to have taken a while to get there.

tapping and sizing


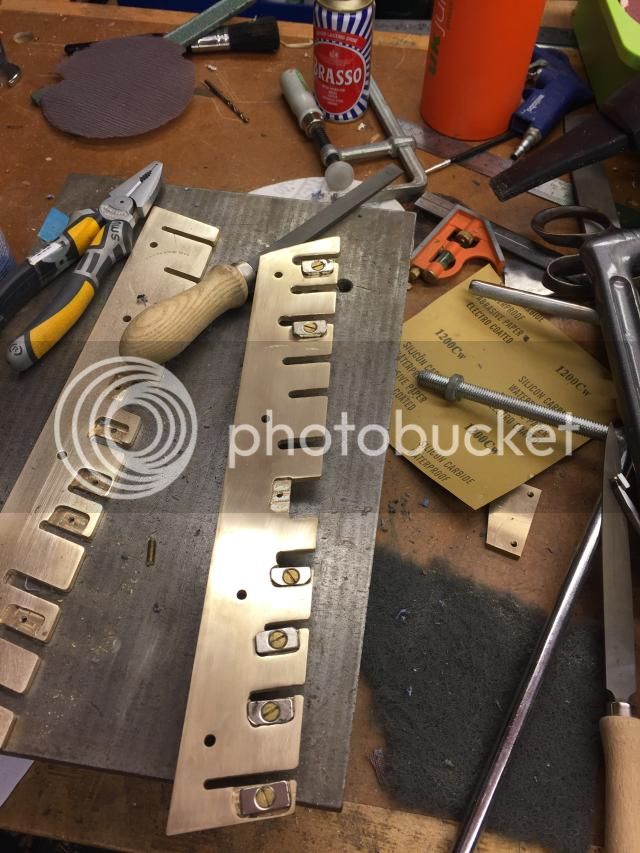
A bit of hand filing followed, polishing adjusting. i lost track of how many hours

each magnet was adjusted to fit note shocking accuracy of my milling and grinding


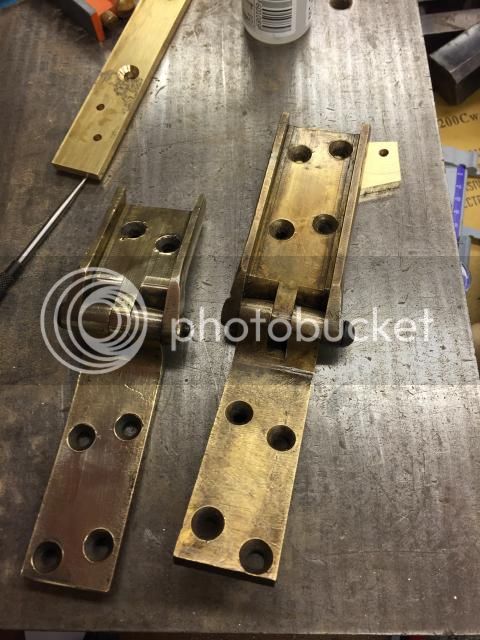
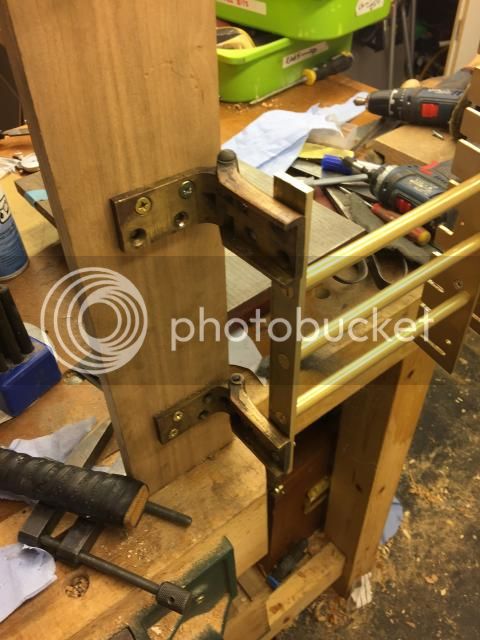
At this point i was going to make some hinges. However i totted up the time spent so far and decided life is to short. I bought these hinges which might have been used to hand a car door or something hefty. I felt the lipping would stop droop when fitted. I cut the long ones the wrong length so ending up using a shorter pair i had as spare.

testing fit to align in cabinet. I then used the wood to as a jig to fit the rack hinge accurately

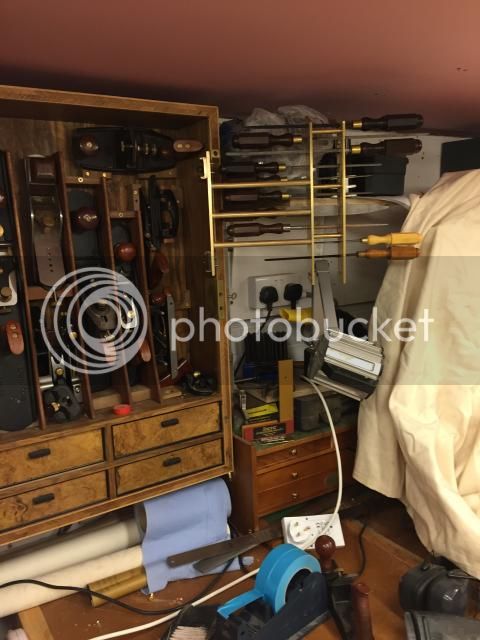
After a bit of fun and games here it is fitted. I have a bit of trimming to do and the not brass machine screws need replacement with some brass ones and a few bits of polishing to complete.. However i am broadly happy and next job racking in the measuring tools. And moving the scrub plane 5cm to ensure a clean fitt

open


I look at it here and it looks pretty simple but i think about 40hours has gone into maybe more.quite worrying.........
 
Woow Owen, just woow. Some great work there. Love the grain on that wood and like the tool chest as a whole. I especially like the little touch of the fold out rack.

When I get the my own dedicated workshop I will be making something like this for sure.
Cheers
Mark
 
I missed this post some how......
Wow, has to be one of the nicest cabinet and tool selections I've seen. I really love the rasp rack that swings out genius

Keep it comming :)

TT
 
not sure how many hours have gone into it but its in the hundreds.
Its interesting as i have worked with it as i have been able to take my time in terms of what needs to go where and how.
When i get the marking and measuring section fitted the chest will be close to fully fitted and then it will just be a case of tweaking for the odd new item.
While i clearly have too many tools i find the wall chest means i tend to use them all more as everything is at hand. Plus i tend to tidy up at the end of the day.
I know that traditional tool chests are popular at present but they didnt work out for me, i was either tripping over it, put something on top of it when i needed to get it in or sitting on it being lazy.
In a small workshop it makes a lot of sense.
 
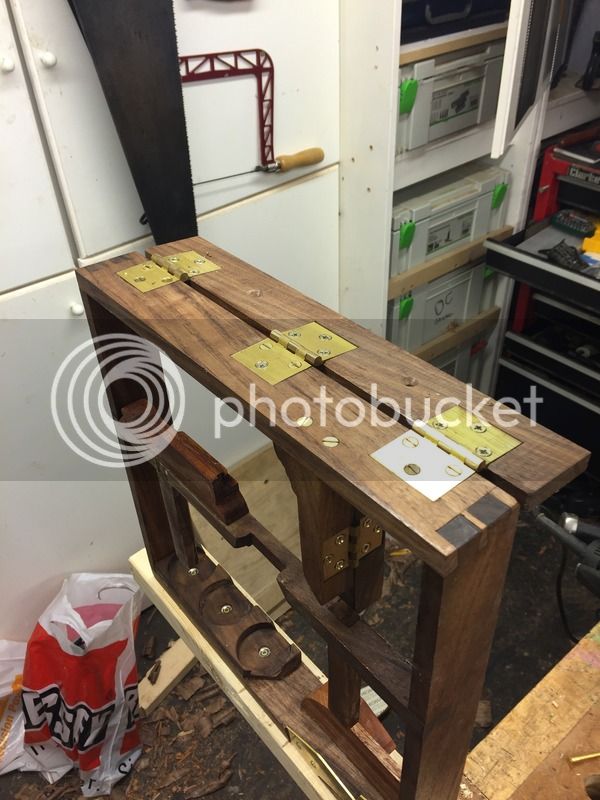
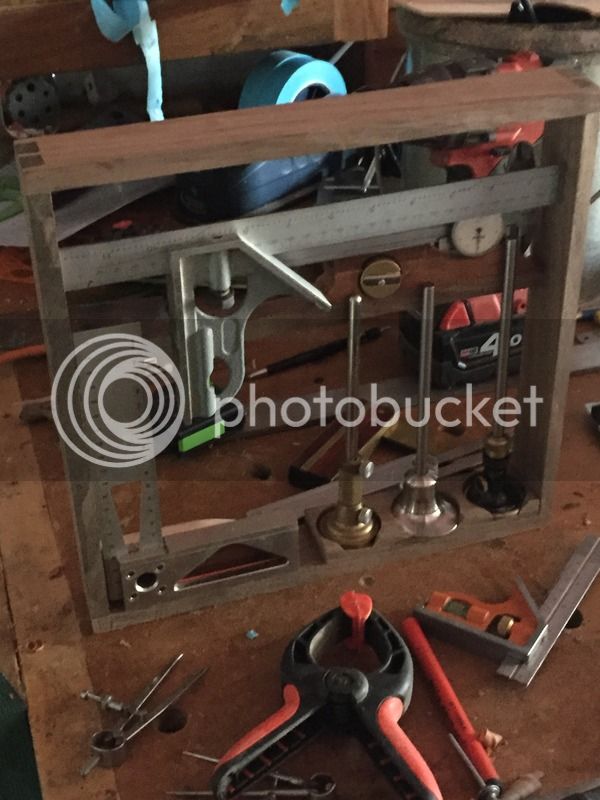
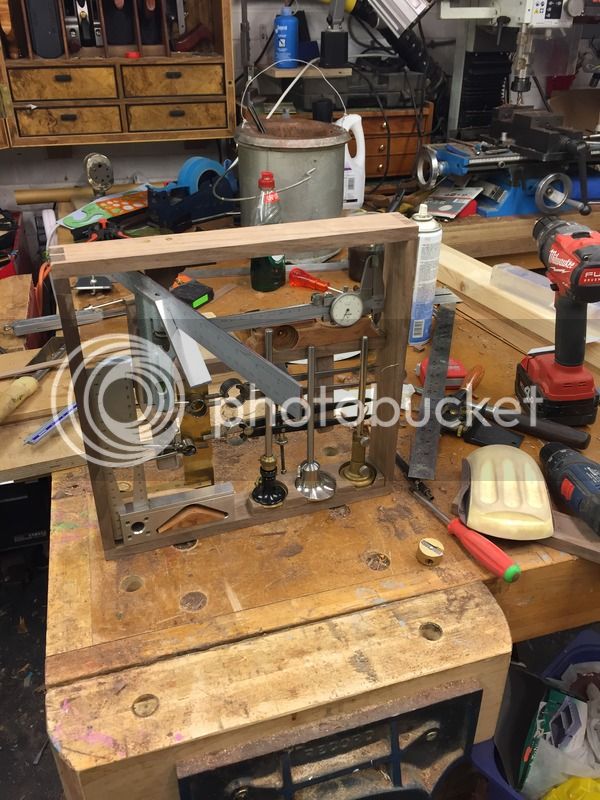
Its been a while and in between building a few things for the house, such as a shoe chest, its been hard to justify working on a project which is not entirely practical however i managed to sneak a few hours in and have begun installing the measuring/marking section.
I kept it simple and produced a simple dovetailed box and tilled it with some tools.
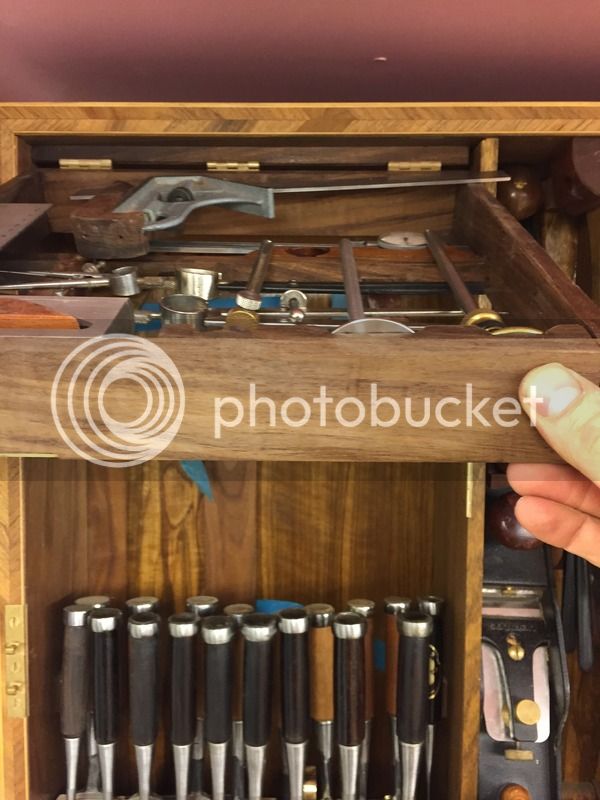
I had to hinge the storage for the combination square so its easy to access and as it does not quite have enough room to slide in gently. Its not as finessed as i would like but at the end of the day the tools were getting damaged lying around while i did it in drawers.
Its obvisually hinged and i need to make a bracket to hold it up and allow easy access to the area behind. Which is fairly substantial thank goodness.


empty unit

fitting top hinge section


test fitting tools


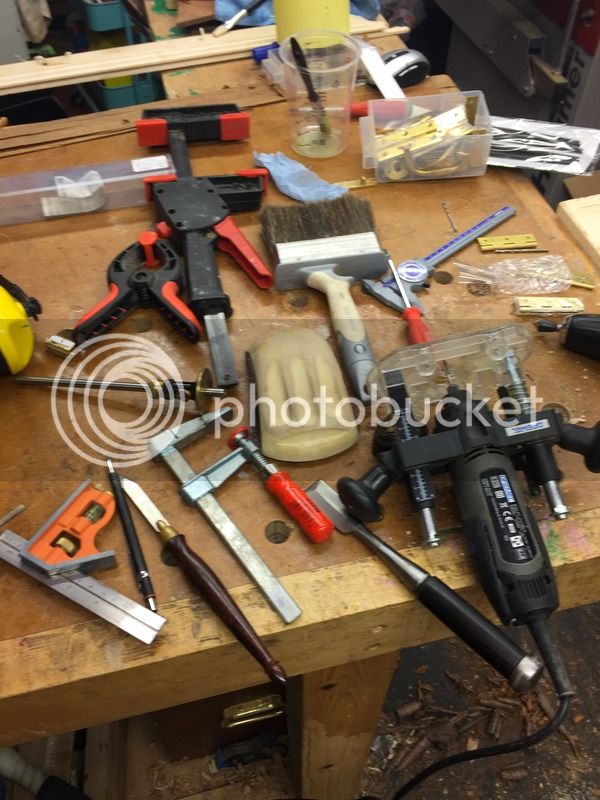
i am really messy!!!

pre cutting hinge mortice for the bracket to avoid mess later on/


fitted

lifted up


close up of fit of combination square hinge
any comments welcome
 
Just read your post from start to finish and loved every bit of it. Amazing design work , craftsmanship and tools :mrgreen:

Cheers Bern :D
 
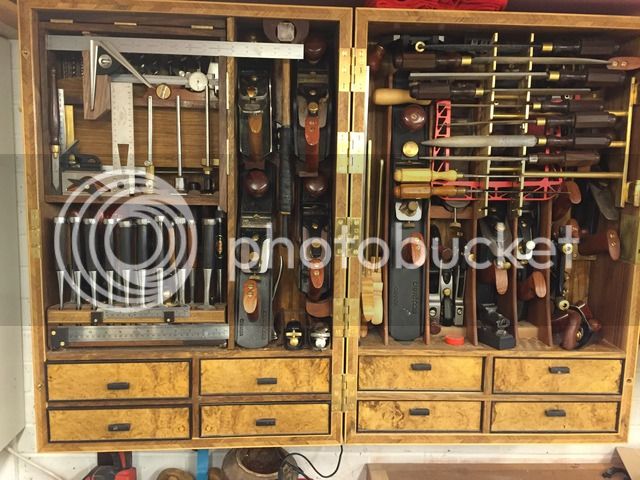
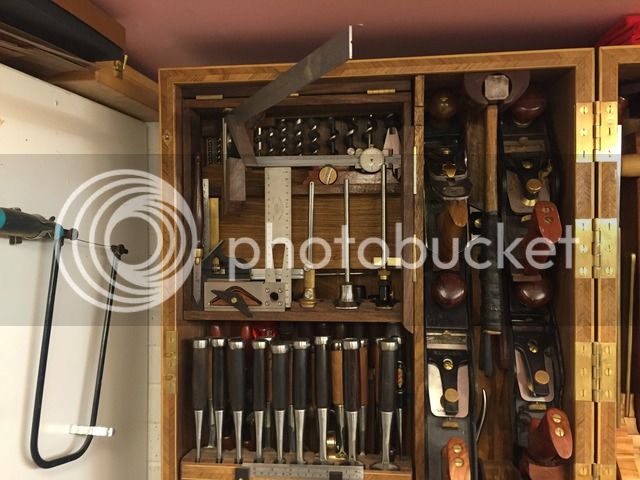
It seems like a long time since i posted and while it hasn't been a complete halt, i have slowed a bit. I bought the book on studleys tool chest and it psyched me out. I realised how far away from that i was, it was a bit depressing. However after reading through the book a bit more it became apparent that the tool chest was bulit more for appearance than pure practicality . While my tool chest is less a thing of beauty i am happy with the layout. So proceed i did!
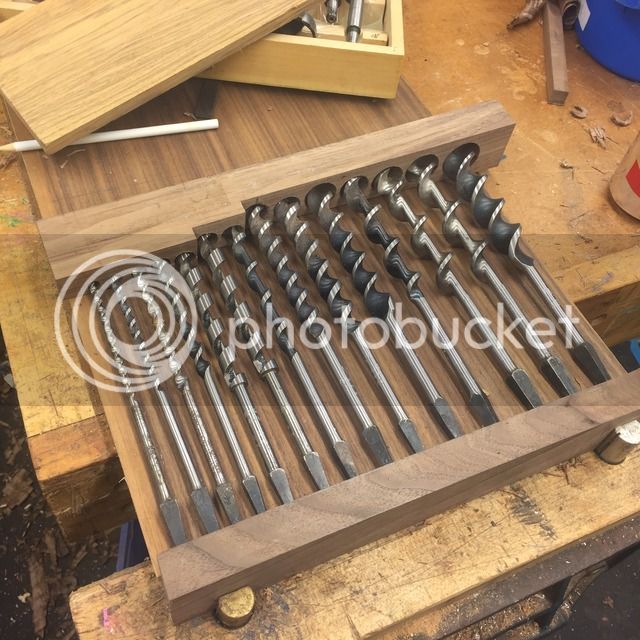
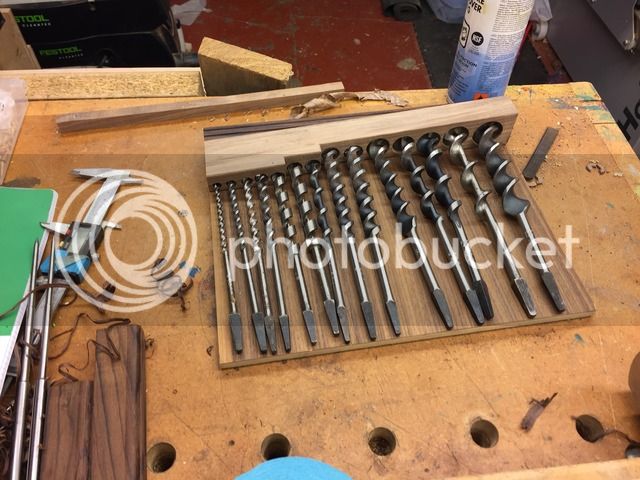
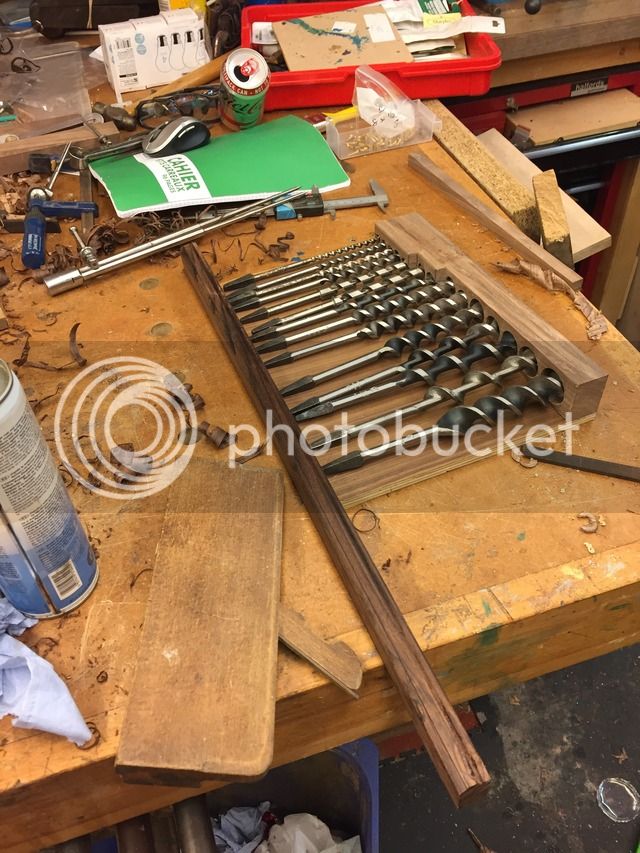
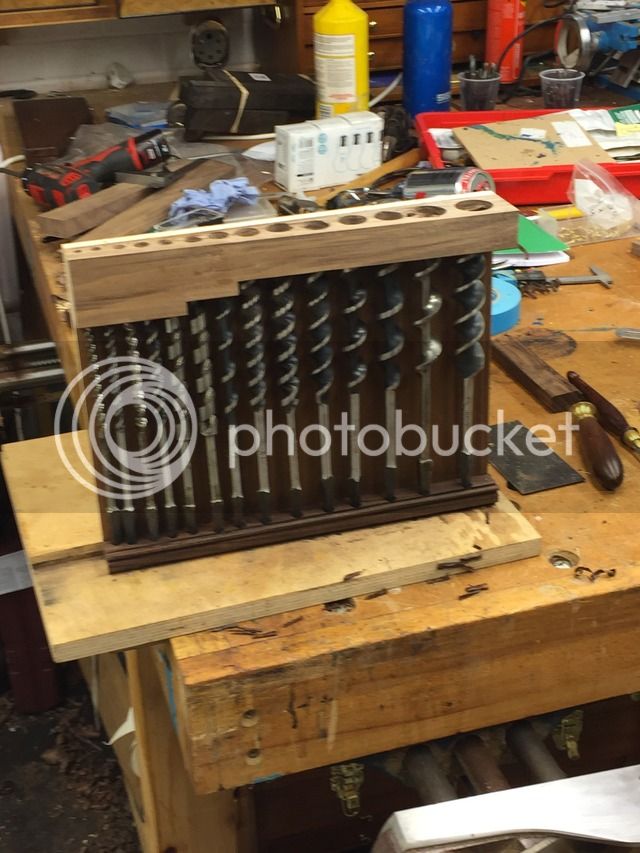
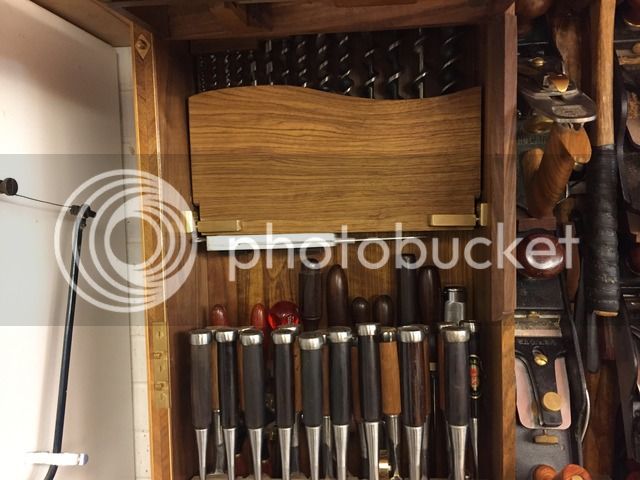
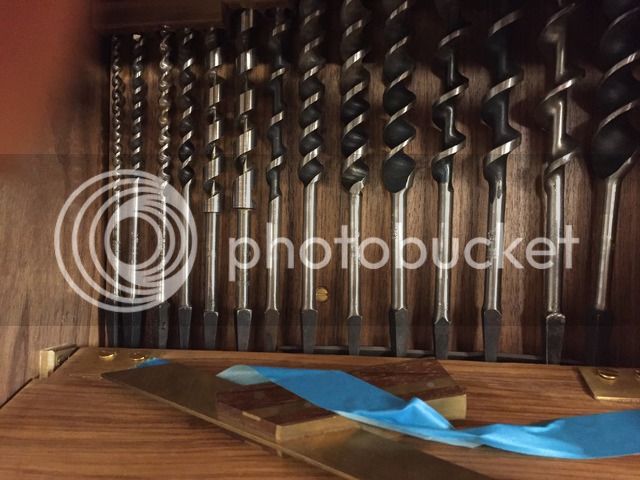
I have always felt i should make some brace bits storage and lets face it they look cool.
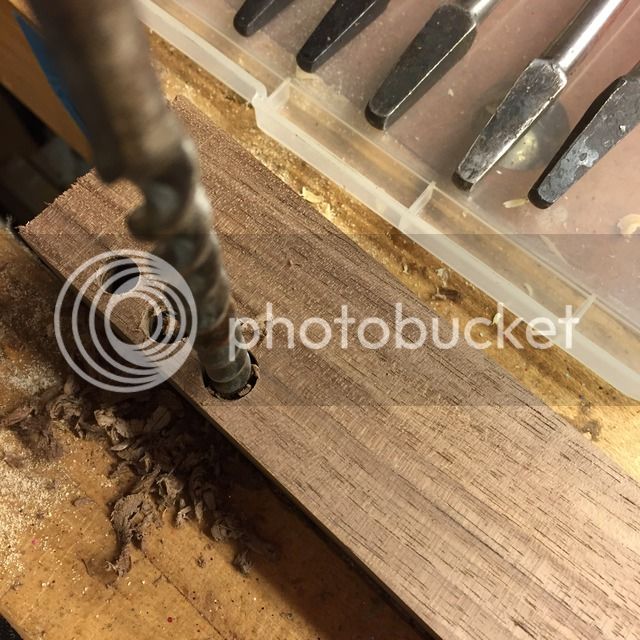
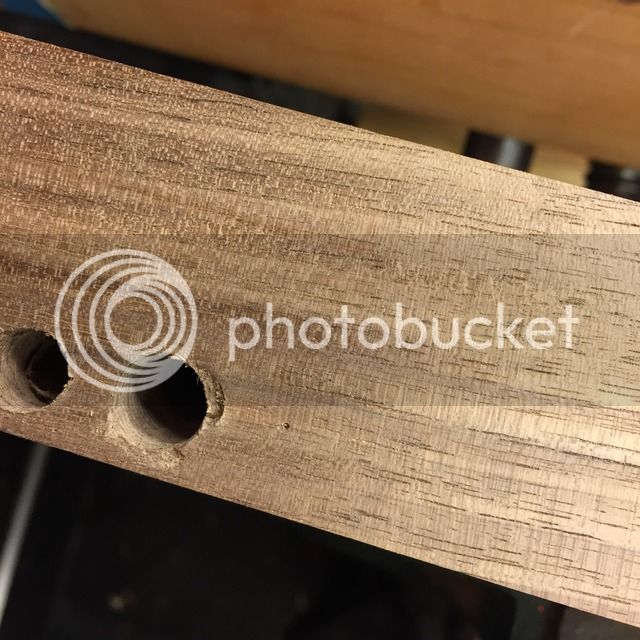
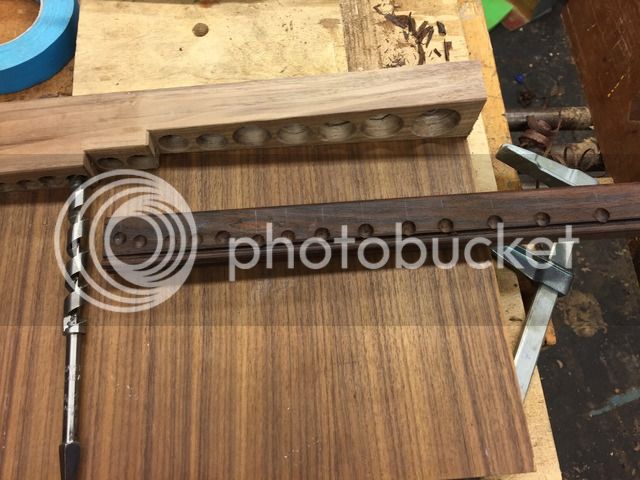
So starting with some bits of walnut i drilled out the holes to hold the top of the bits. I used the next size bit for the bit before if that makes sense and it allowed it to wiggle enough to pop it in and out easily.
I place a base piece that i hollowed the tangs of the bits for to stop the rocking when it opened. I had a bit of adjustment to get enough clearance to hold the bits tight and allow easy in out access


I was pretty happy with how i mounted in.


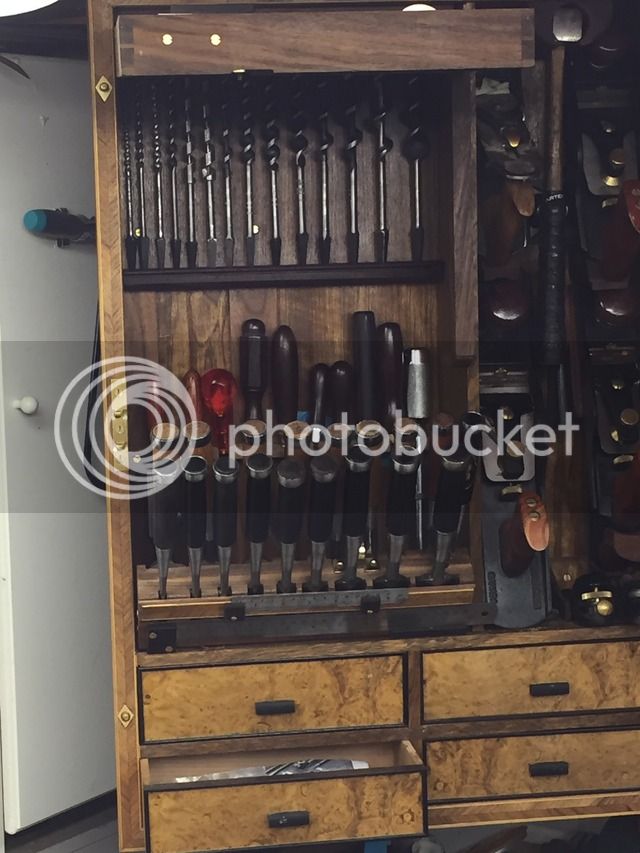
I then decided i had a bit of space for the router plane in the top left and made it out of some offcuts of ebony.
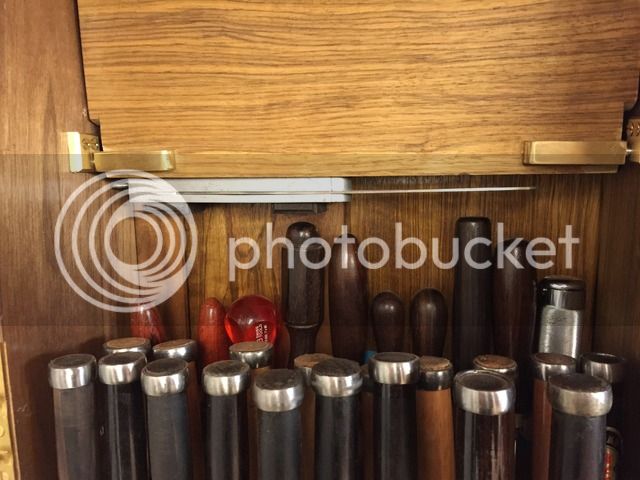
I also got my coping saw to sit perfectly on the rear of the rasp and chisel rack


Front storage back in with a marking knife. This was a bit cluttered so i trimmed out the magnetic strips which had the centre finder and angle finder on it. When this sort of thing occurs its just so impressive that studley seemed to get it right first time. I have had to take out, take in bits 20-30 times to get it right.
 
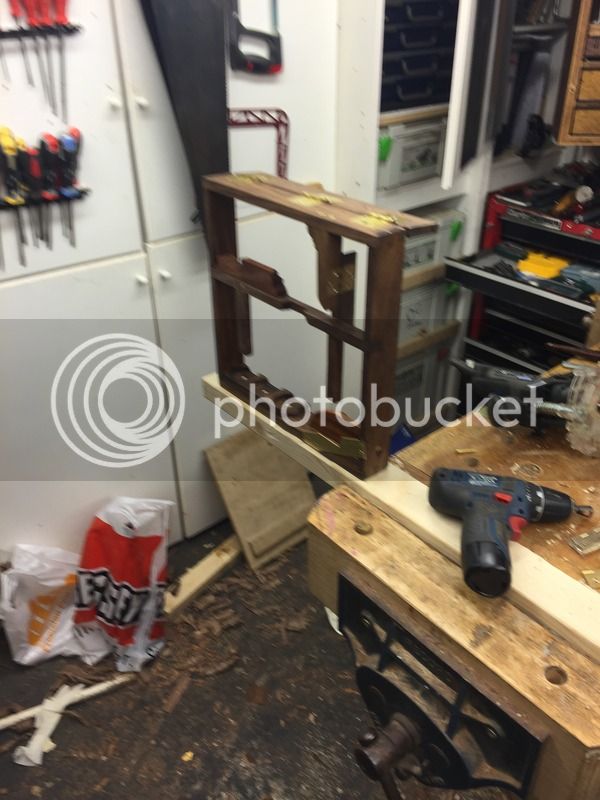
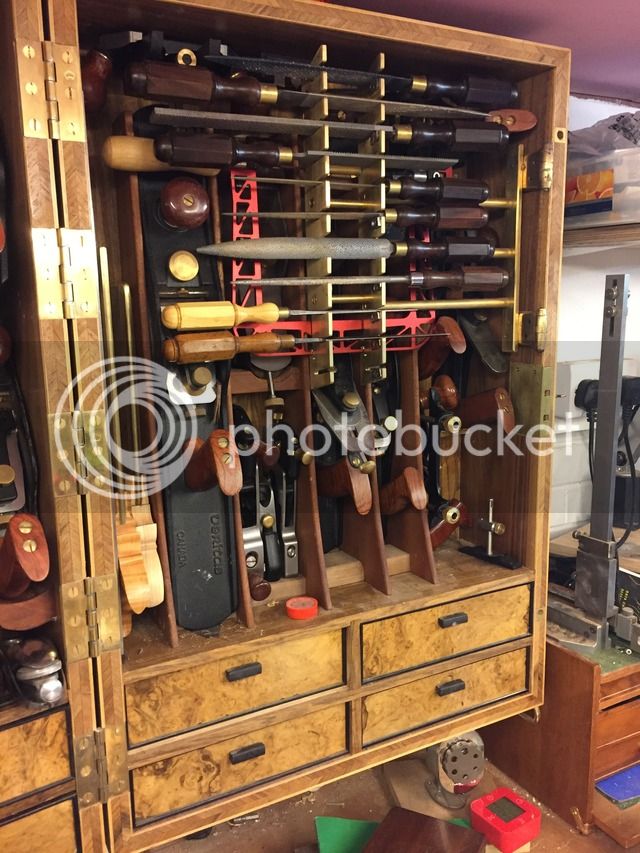
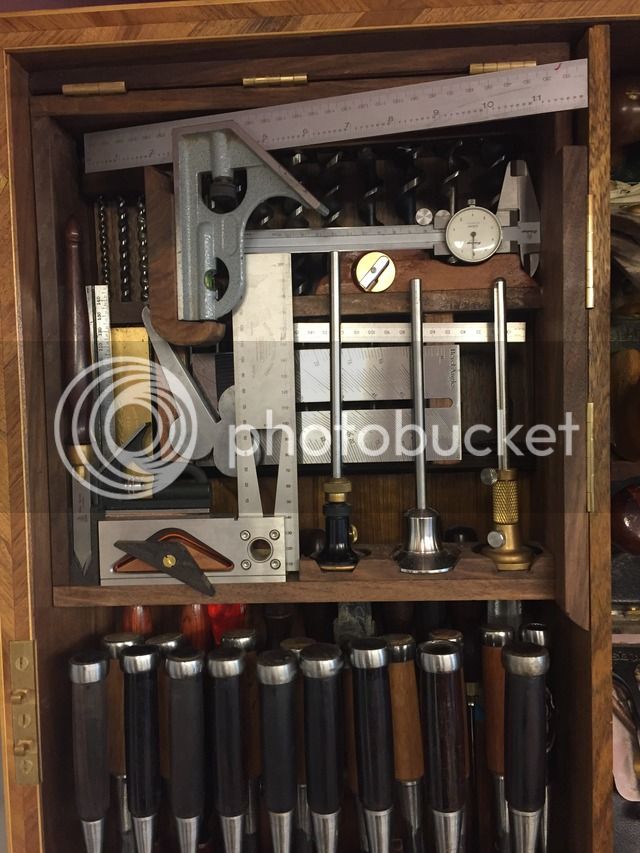
At this point i realised that i could fit in a section that would fold down to hold the dividers and other handy measuring devices. I tried out a few failed designs, some of which stressed out the fold down panel enough to break the wood. I therefore had to fabricate some hinges form some brass stock, silver steel etc. About 6 hours of faffing later you can see the results.


I also managed to knock in an ebony bracket to hold the sliding bevel.


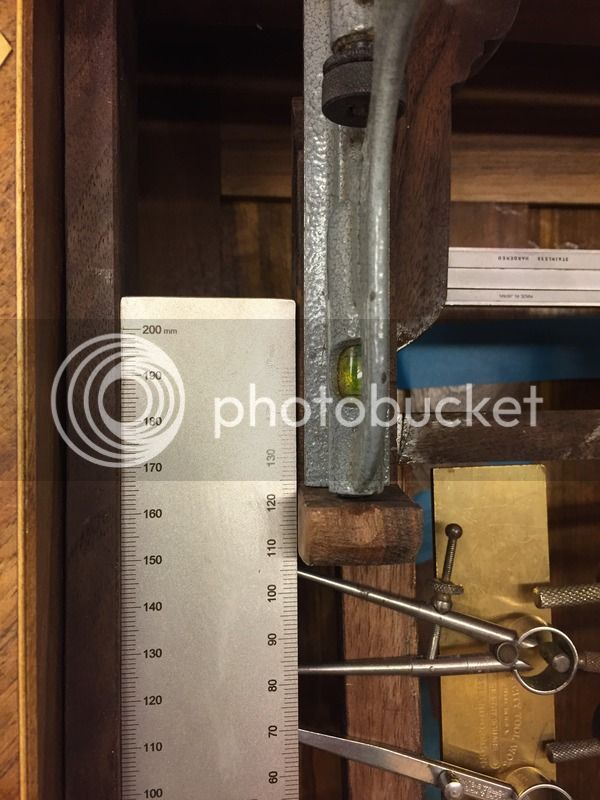
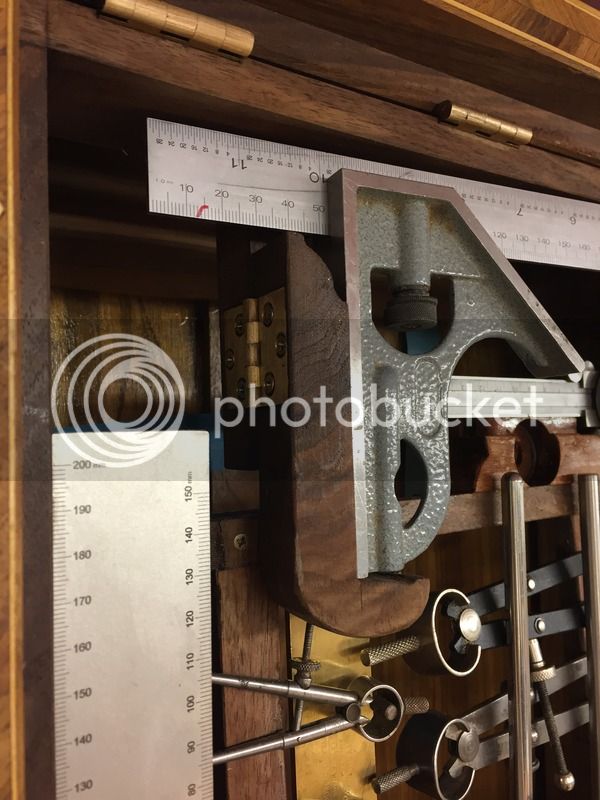
I then cleaned up the measuring section and a slightly indulgant combination square got squeezed in. I also managed to make some ruler holders that allow easy access but are firmly held with a magnet.
You can just see a little stanley no1 replica that i picked up from woodworkers workshop, a lovely plane and i cannot understand why people dismiss it as a toy. It allows more force in a small area than a block plane (for me anyway) and i can see why they are well used. plus they look cool!


I am using it quite a bit to make some christmans gift boxes, and some furniture for the house and it is surprisingly easy to work from, plus i tend to put everything back everytime which means i havn't lost anything for a while. I am very happy but a long way to go!
Hope the update is of interest!
 
Back
Top