Wadkin RU lathe restoration

UKworkshop.co.uk

Help Support UKworkshop.co.uk:

This site may earn a commission from merchant affiliate links, including eBay, Amazon, and others.
With the amount of paint removal you do with these restoration projects have you ever considered getting a grit blasting cabinet and/or a blasting pot for bigger pieces outside in a tent?

Pete
I bought a blasting pot years ago but my compressor wasn't up to it or I was using the wrong media.
 
Inspector...
I used a sand blaster pot with a road comp to clean old chassis and tractors......
Yes it's easy to get the paint off but the abrasive just gets everywhere.....
even an easy thing like a chassis, it keeps comming out no matter how many time u blow it out/off with and airline.....
Hows the weather over there..... we had snow last week.....!!!!! grrrrr...
 
wallace. Yes a big compressor is needed and it does get everywhere, the reason I suggested a tent to contain it. Masking the machined areas with the rubber resist would be needed to keep machined areas protected but media like walnut shell are gentle on the metal but still cut the paint. The media can be vacuumed up and reused a few times. I suppose in the end it would be a different kind of messy compared to grinding the paint off. The one upside is the hands wouldn't be subjected to the damaging vibrations of a grinder. Hate that numbness myself.

clogs. Daytime temps are starting to go a little above freezing and the snow if beginning to melt. It's always worse somewhere else. You could be near Russia and have bombs, shells and rockets falling on you. 😉

Pete
 
I have both. The sand blaster is a mess and can get expensive. I tried reclaiming abrasive but it’s not easy and you have to blast outside. My cabinet is a harbor freight which is a Chinese pile of junk. Like many I had to upgrade it just to make it work at a cost of close to 600 USD. If uou blast you can expect ten to fifteen bags of coal slag for one machine.

I found an air powered needle scaler to be the best tool for quick removal followed by blasting.

blasting is aggressive and leaves the casting a rough silver color. I recently learned that foundries use steel shot which gets you. That satin grey color. I have not tried it yet but am thinking of it.

In any event it’s a job to clean the castings.
 
Be careful with the steel shot. It compresses the surface that can result in warping thiner parts if overdone. I worked in an aerospace machining plant and lots of parts had shot peening as part of the process. Sometimes they came back warped or oil canned and had to be scrapped. If done carefully it could be used to straighten parts by peening the concave side a little more. On most old iron it may not make a big difference but I would be careful doing the backside of table saw tops and the like.

Sorry for sending the thread off track a little wallace.

Pete
 
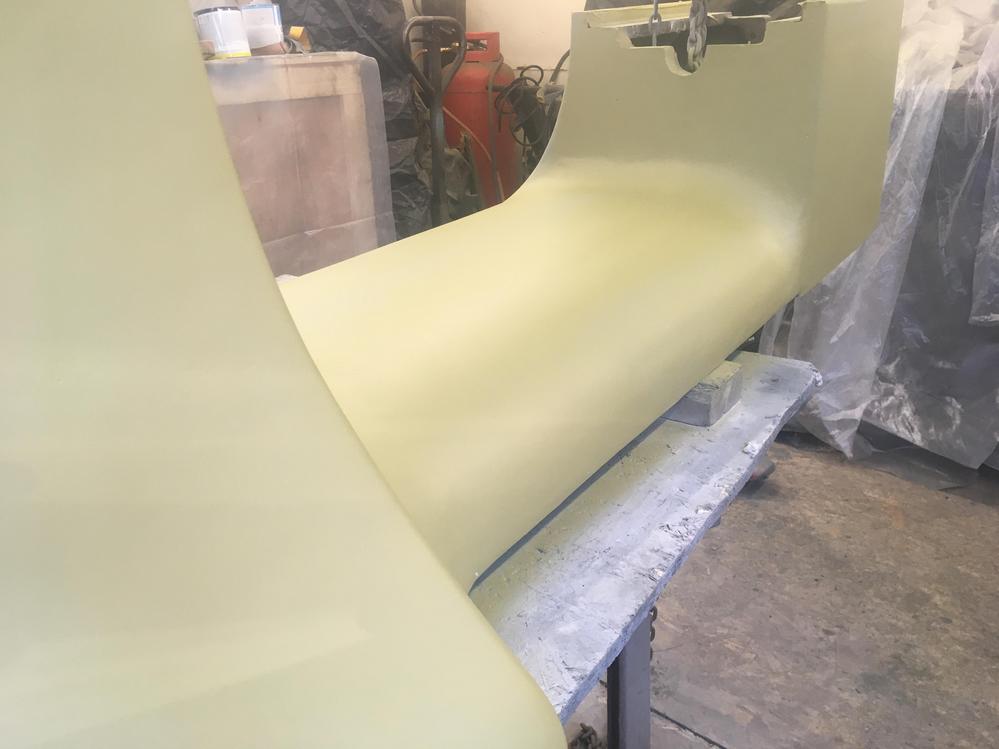
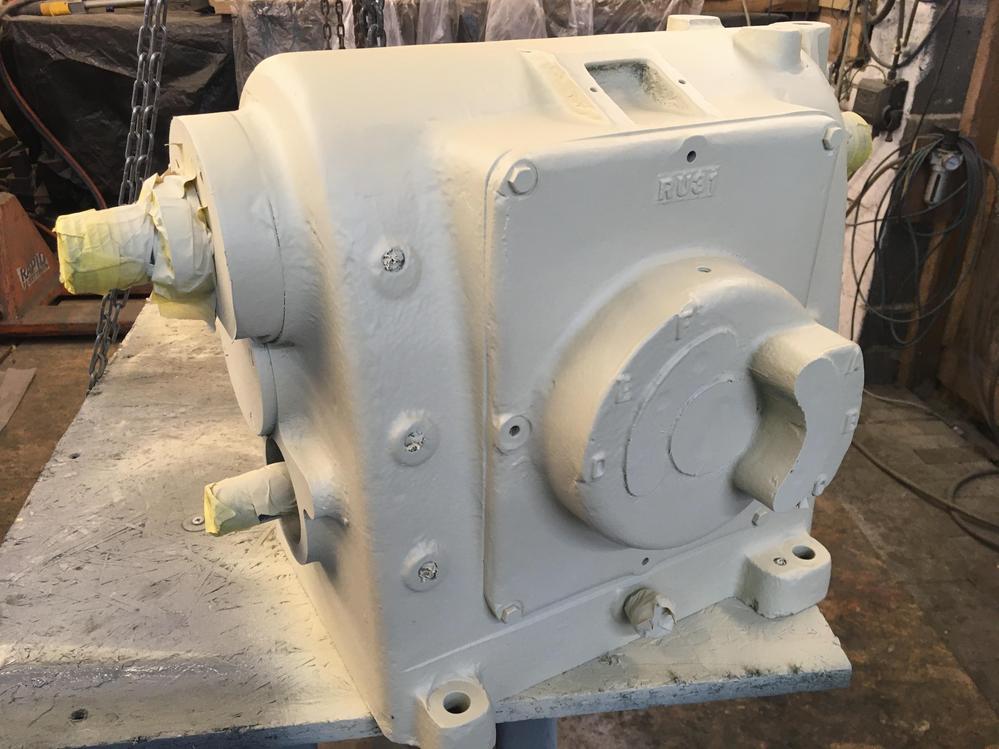
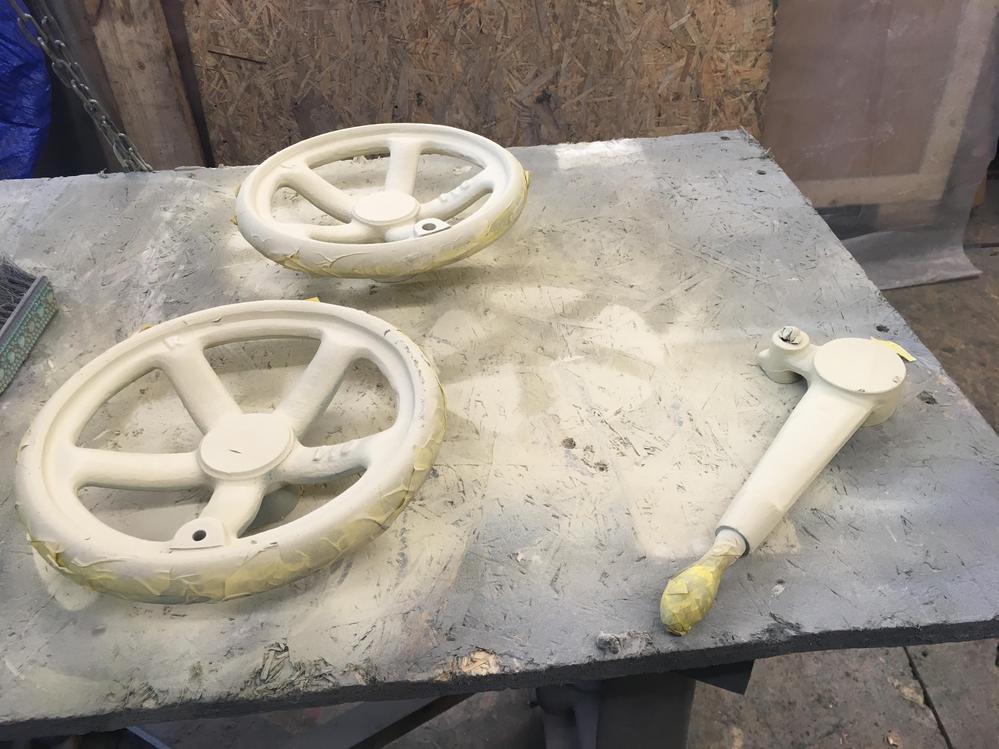
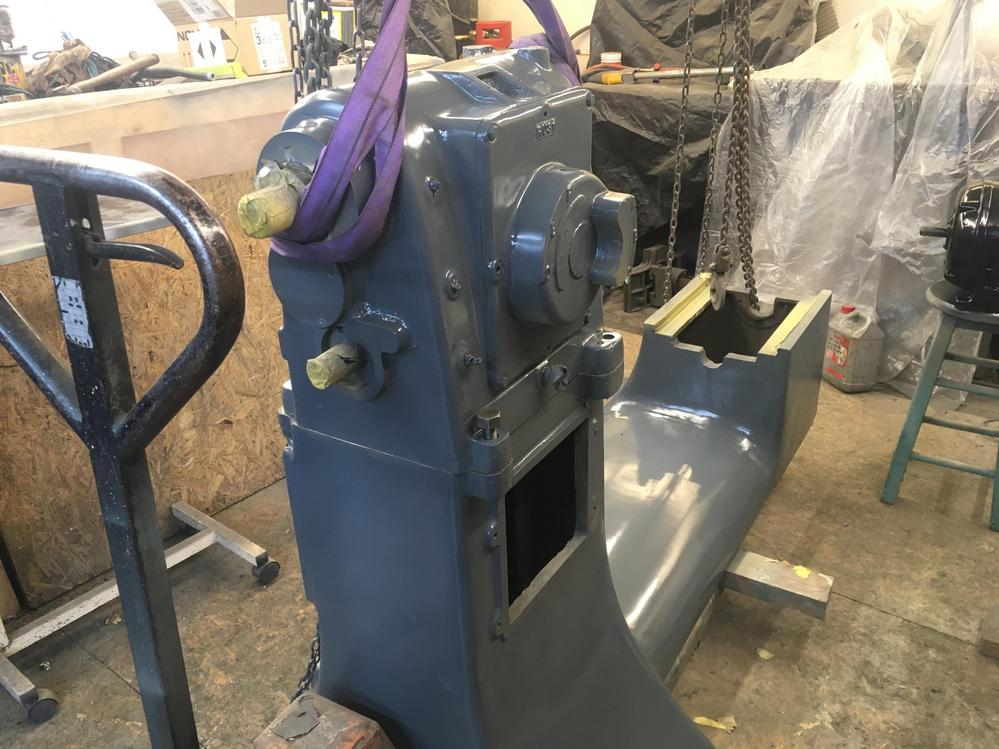
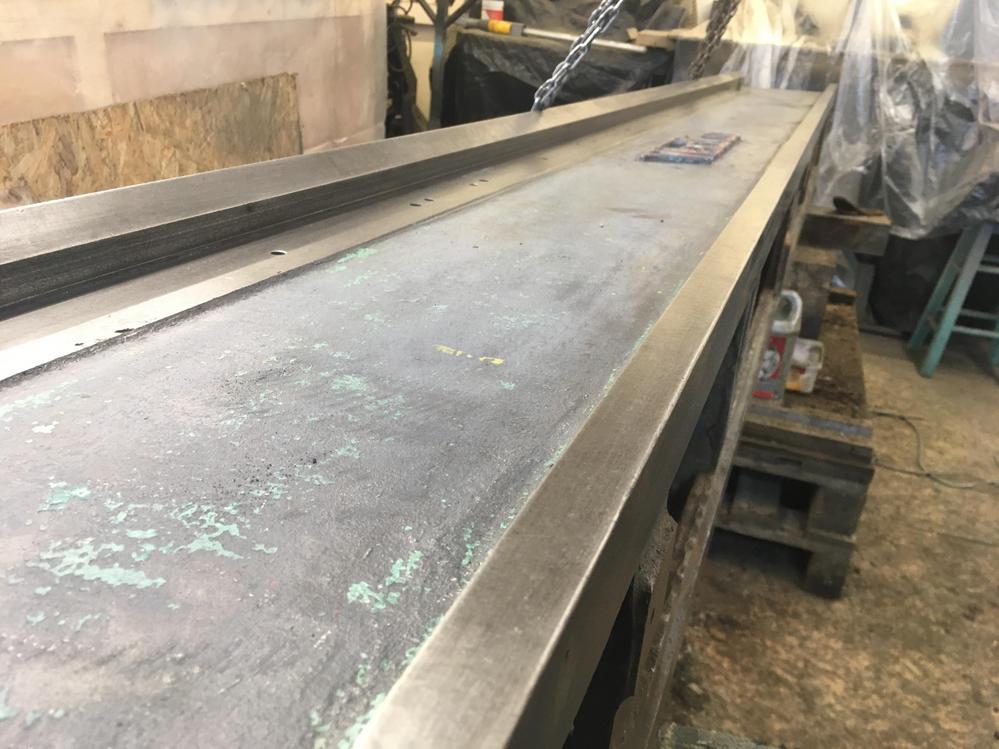
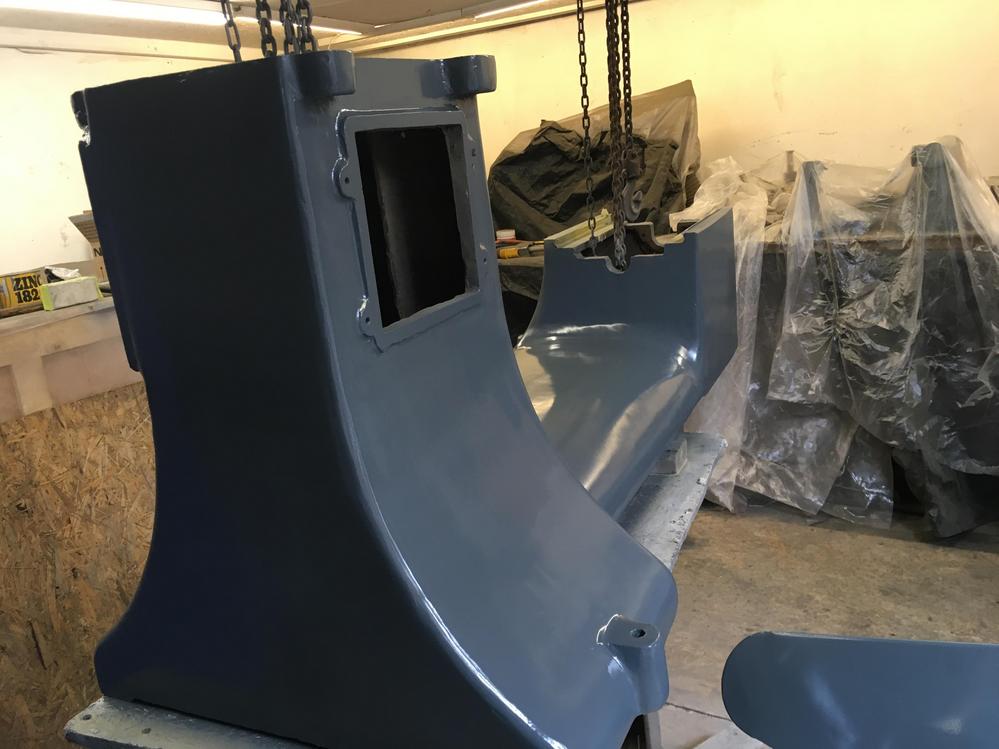
Spray primer applied

woKo5jG.jpg


CWhvDRm.jpg


IbnsA5C.jpg


1ENC9eK.jpg


gbCLFtk.jpg


After lots of sanding a coat of primer

HmdwDFF.jpg


aiV5NmJ.jpg


For some reason I find boring jobs quite relaxing

UvkV3pK.jpg


Yz9dtJ8.jpg
 
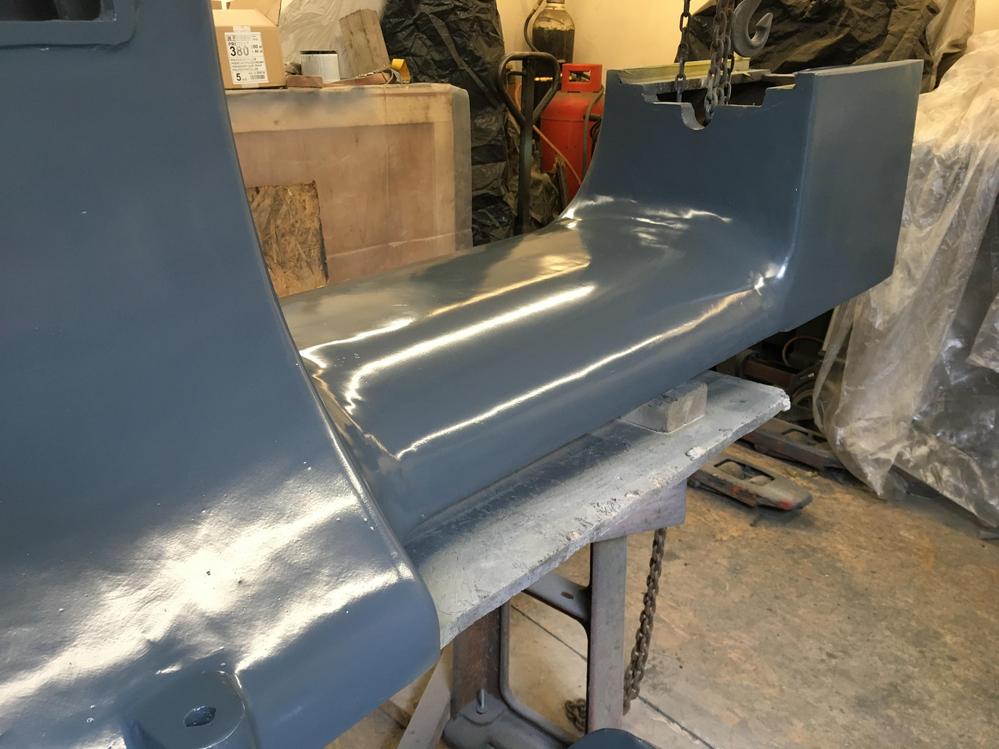
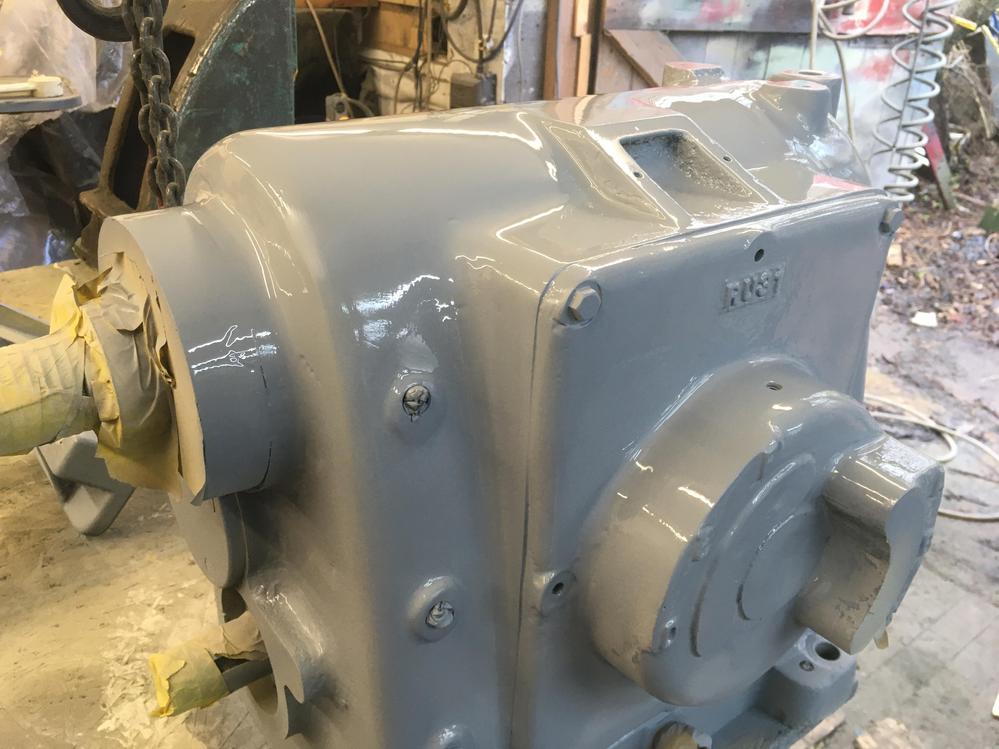
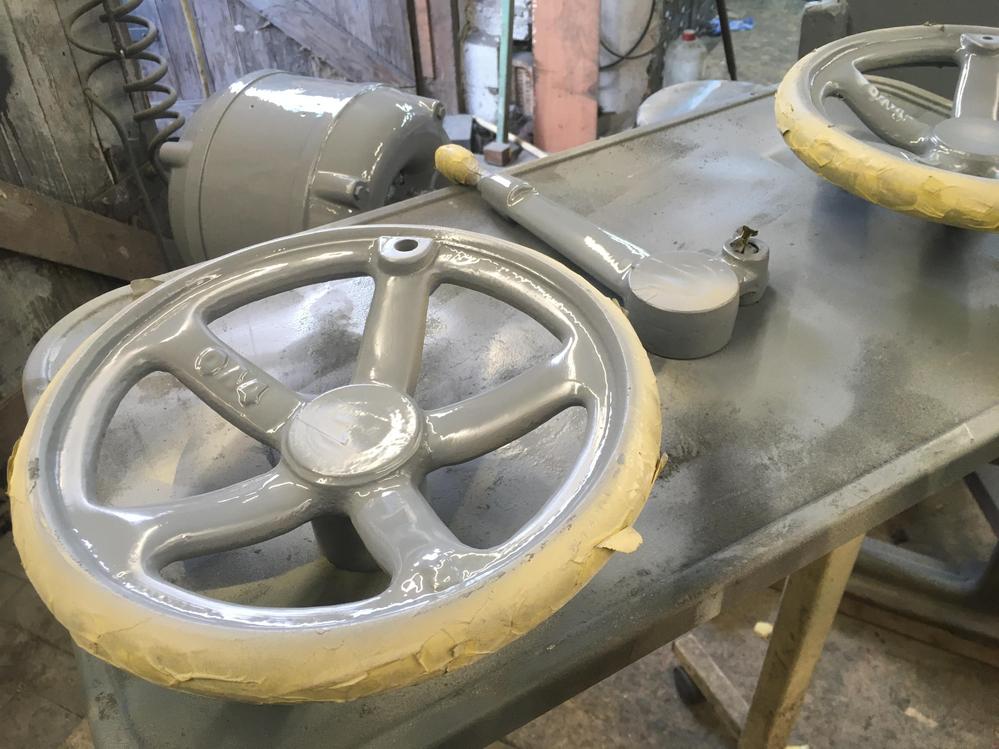
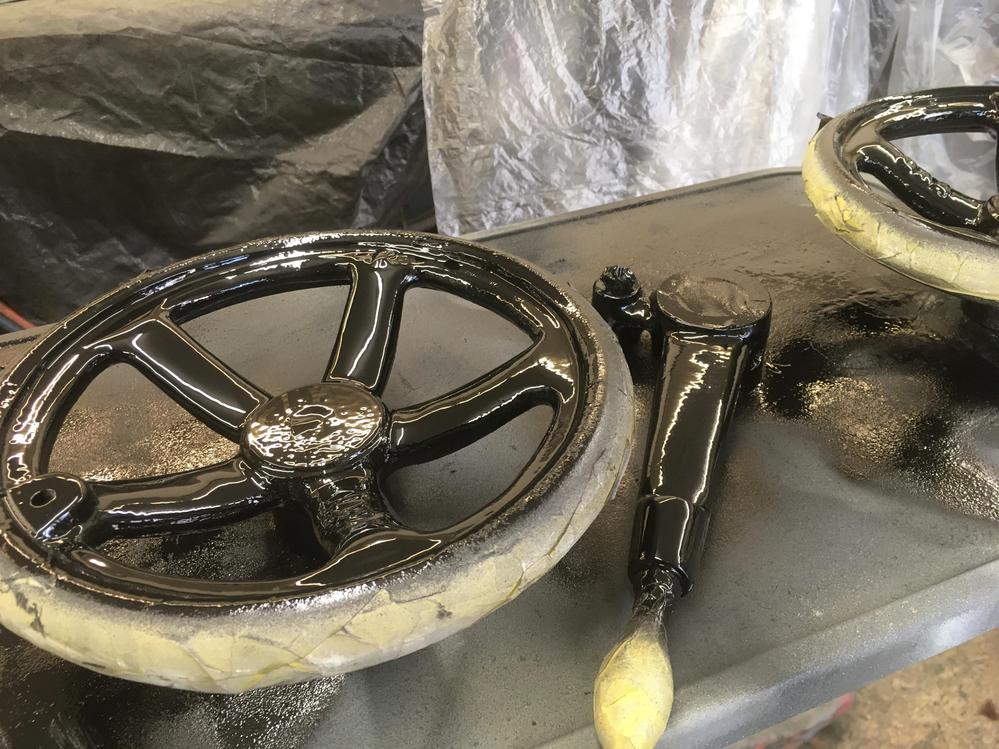
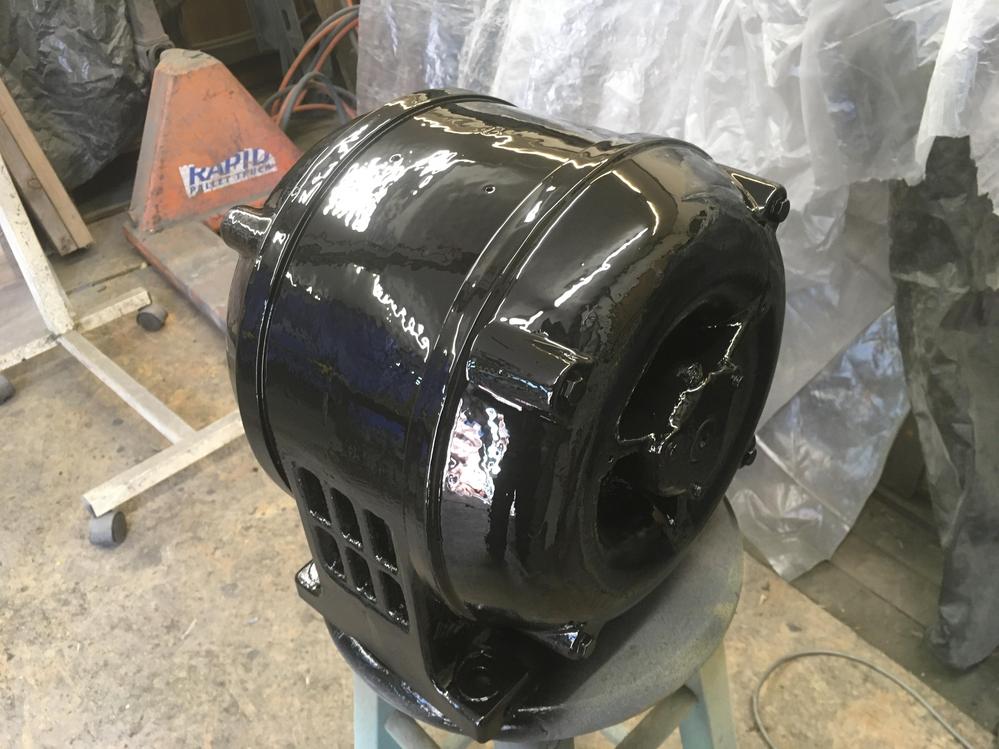
A bit black shiny enamel

3al9ytM.jpg


bETwPfn.jpg


gb4f5vF.jpg


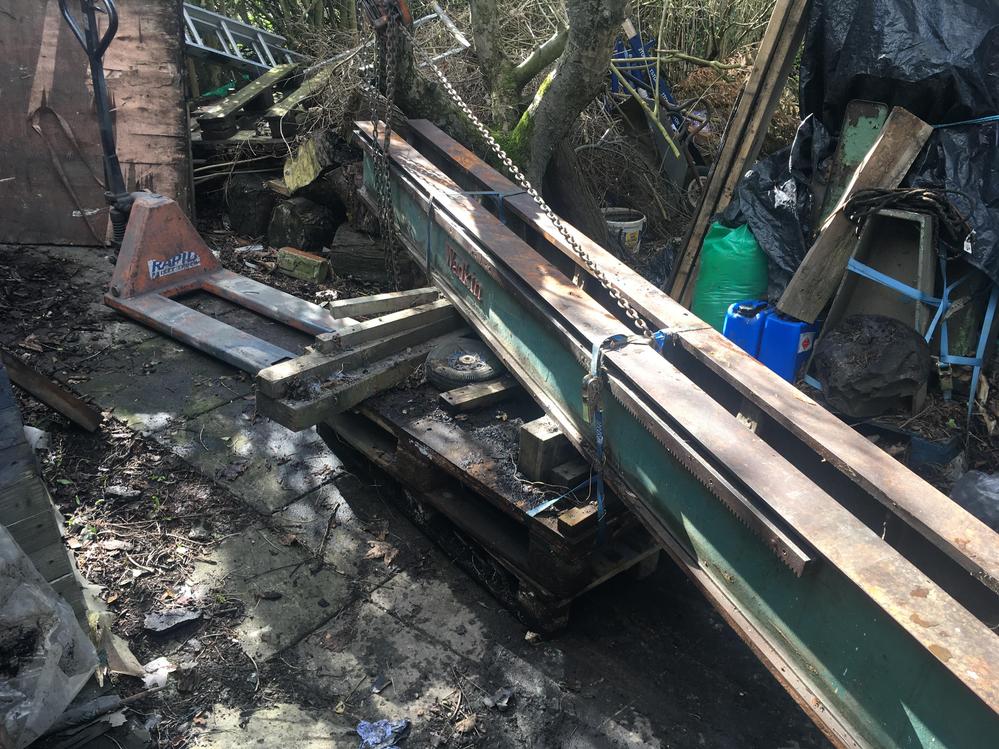
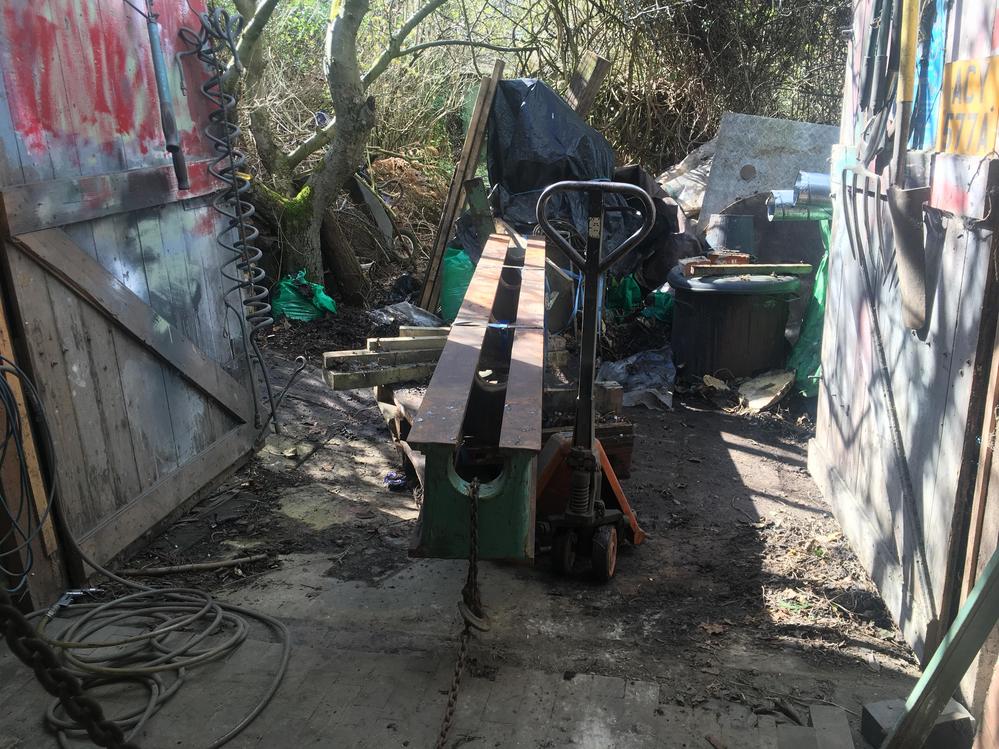
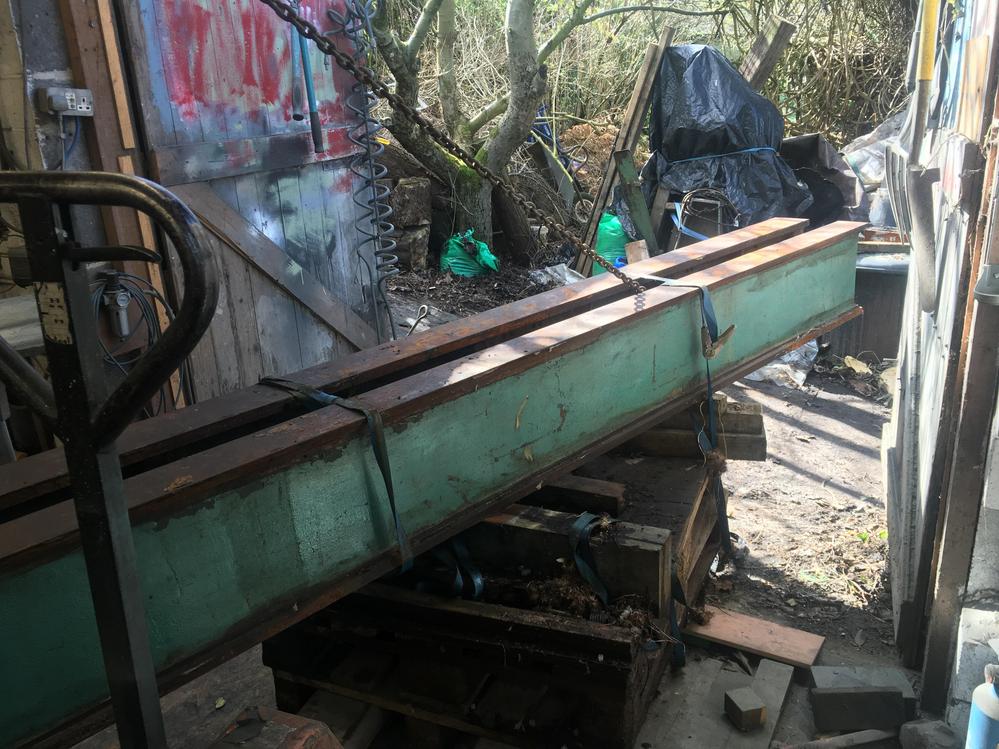
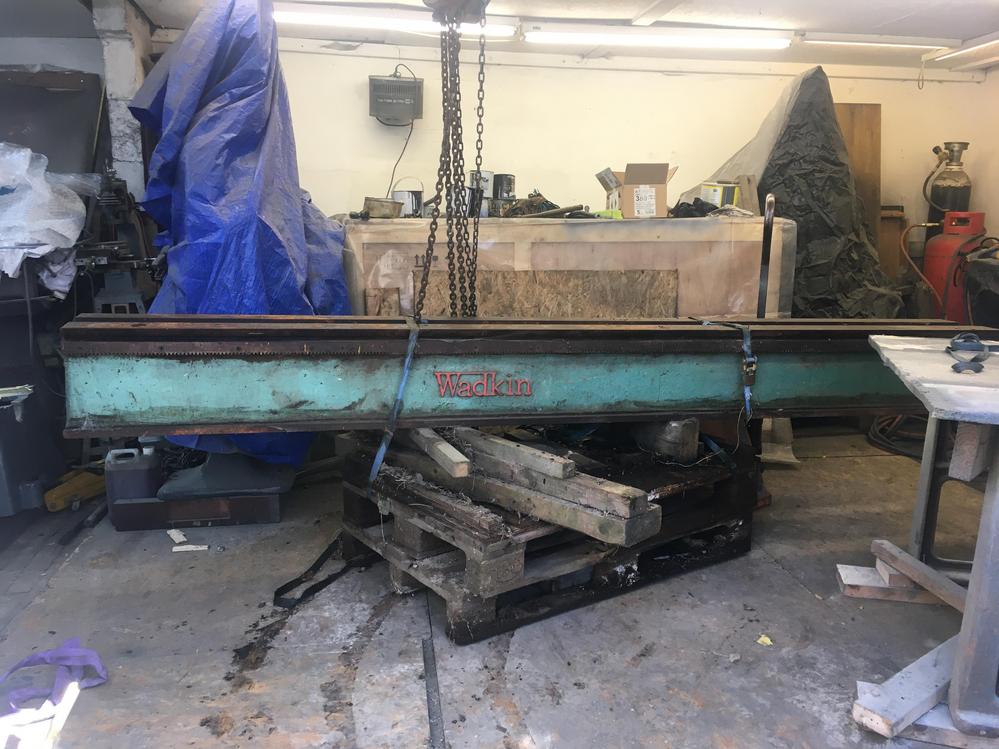
Time to drag the bed in, I've been dreading this but it went really smoothly

5mVC9aZ.jpg


Apple trees make really good anchor points

FKYQzLk.jpg


k9fJt9g.jpg


My roof timbers are reclaimed old growth ones, I cant imagine modern ones taking the weights I put on them.

3KGd75e.jpg


vO1EaFe.jpg


As the chief once said, 'gonna need a bigger shed'

idUjoFy.jpg


GIRlJpi.jpg


I smeared the bed in waxoyle when I got it a couple of years ago and it has done a great job of protecting it.

JAAsgtv.jpg


XmtjE6D.jpg
 
A bit more done, it was fun trying to rotate the bed. I really didn't want it to slip and put a big shock load on the joist.

Kmpal5N.jpg


5yOI7QF.jpg


Lots of filler later

1XuBznO.jpg


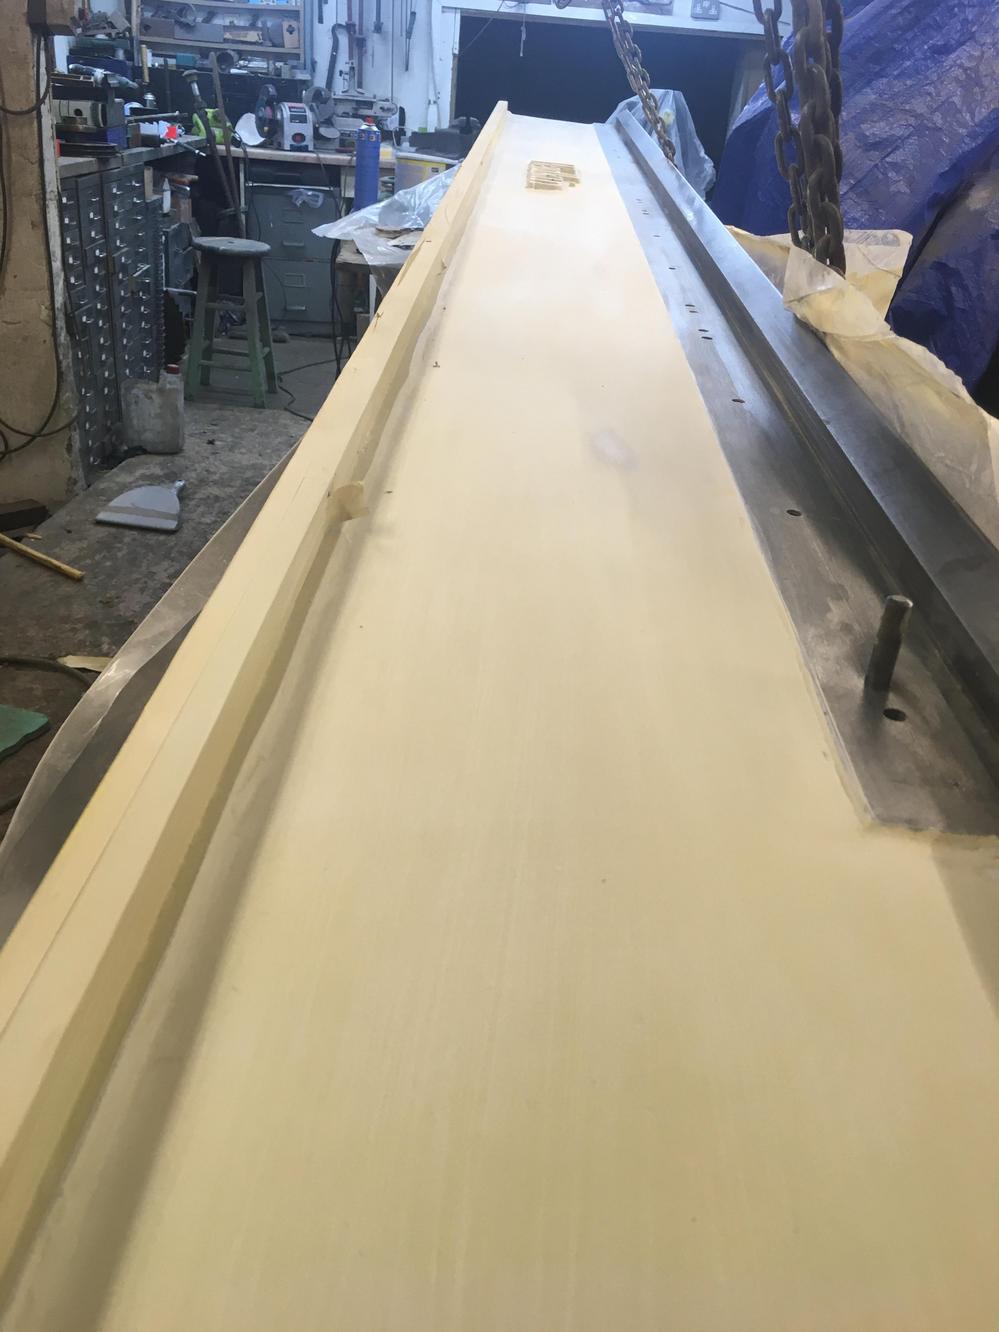
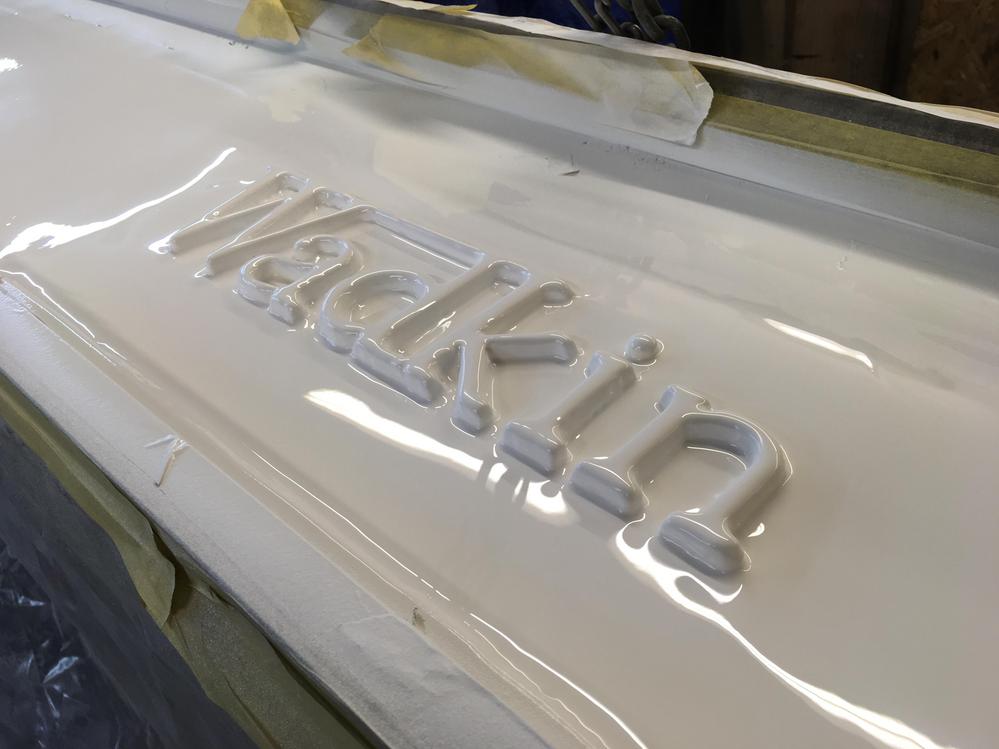
And a good coat of cellulose primer

QCB0IdM.jpg


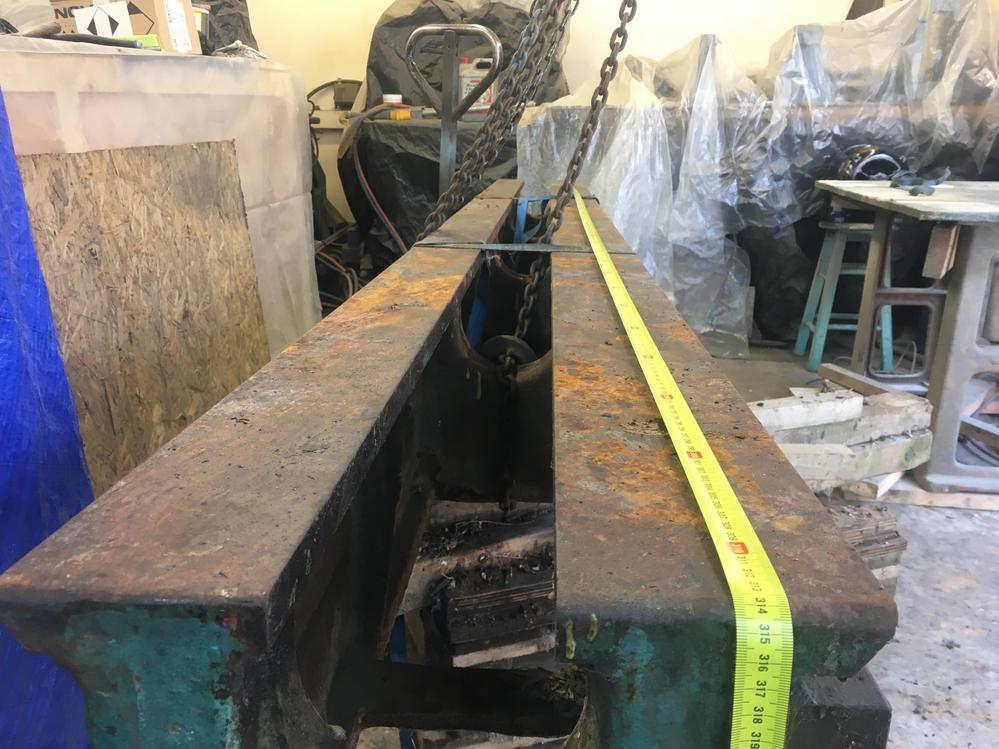
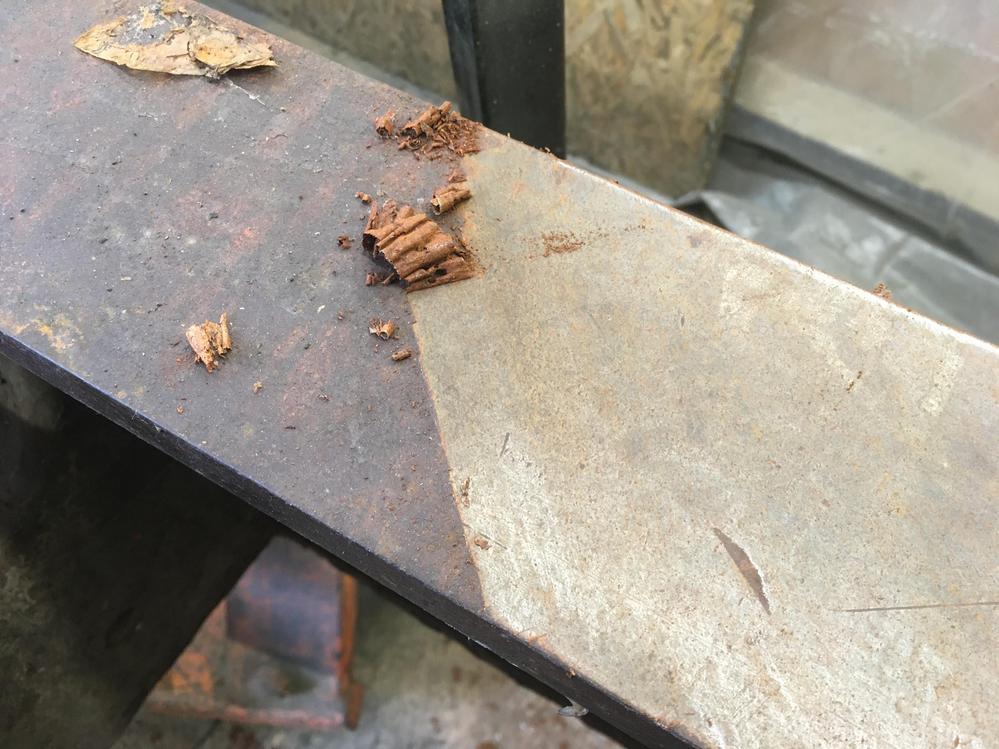
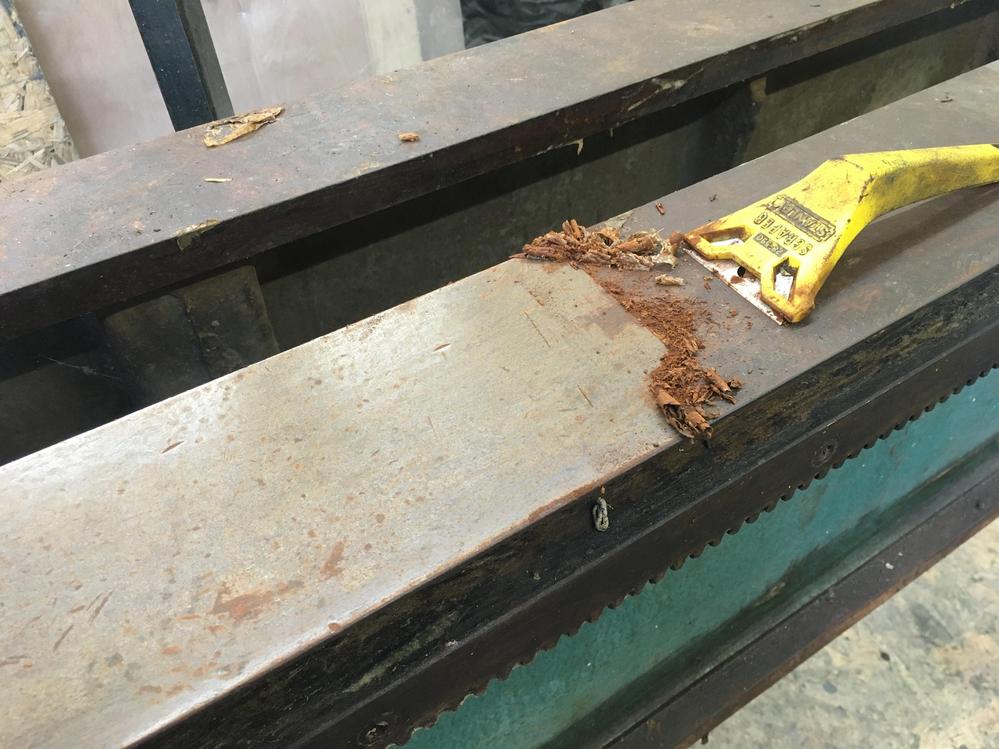
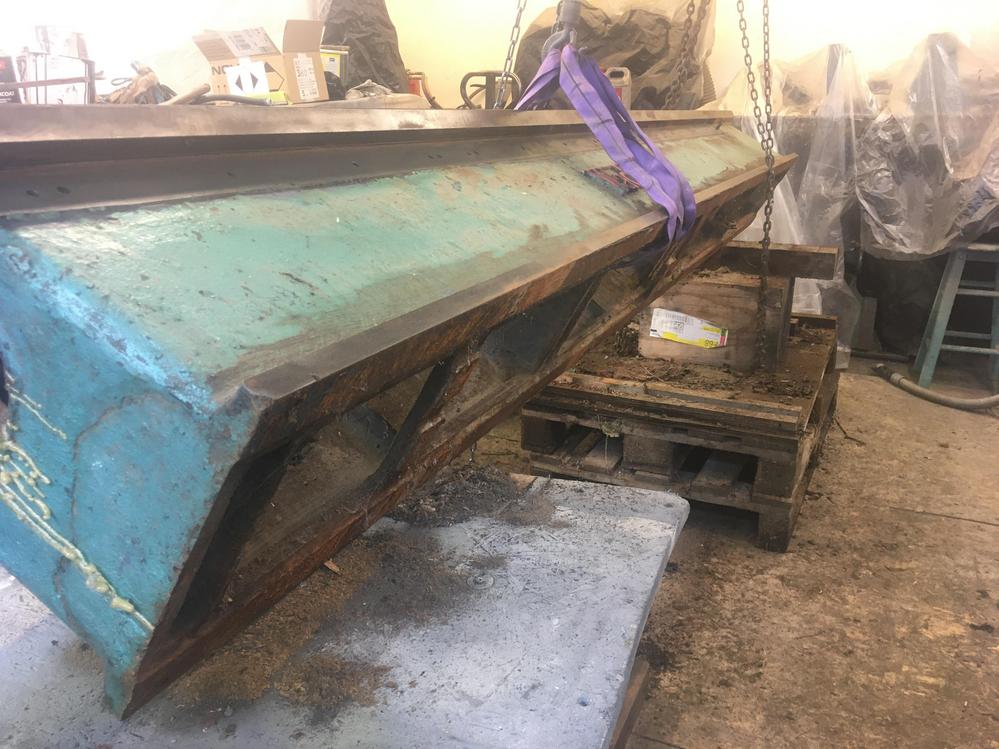
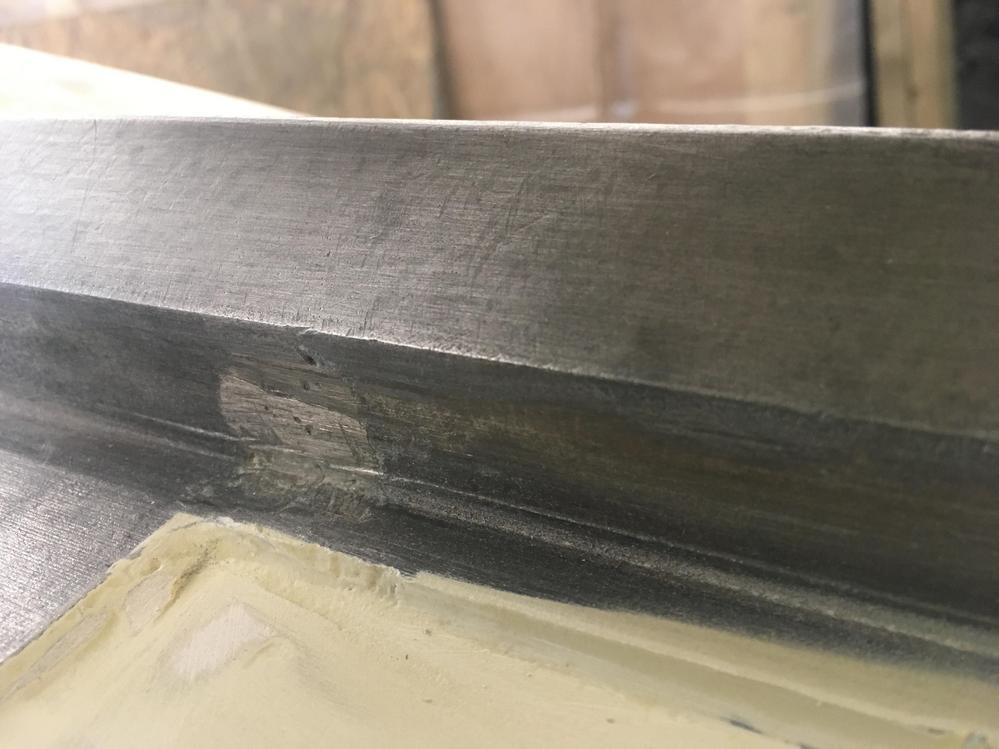
You can see a casting fault has been filled, you can also see a bit of hand scraping on the ways

C5vP0nm.jpg


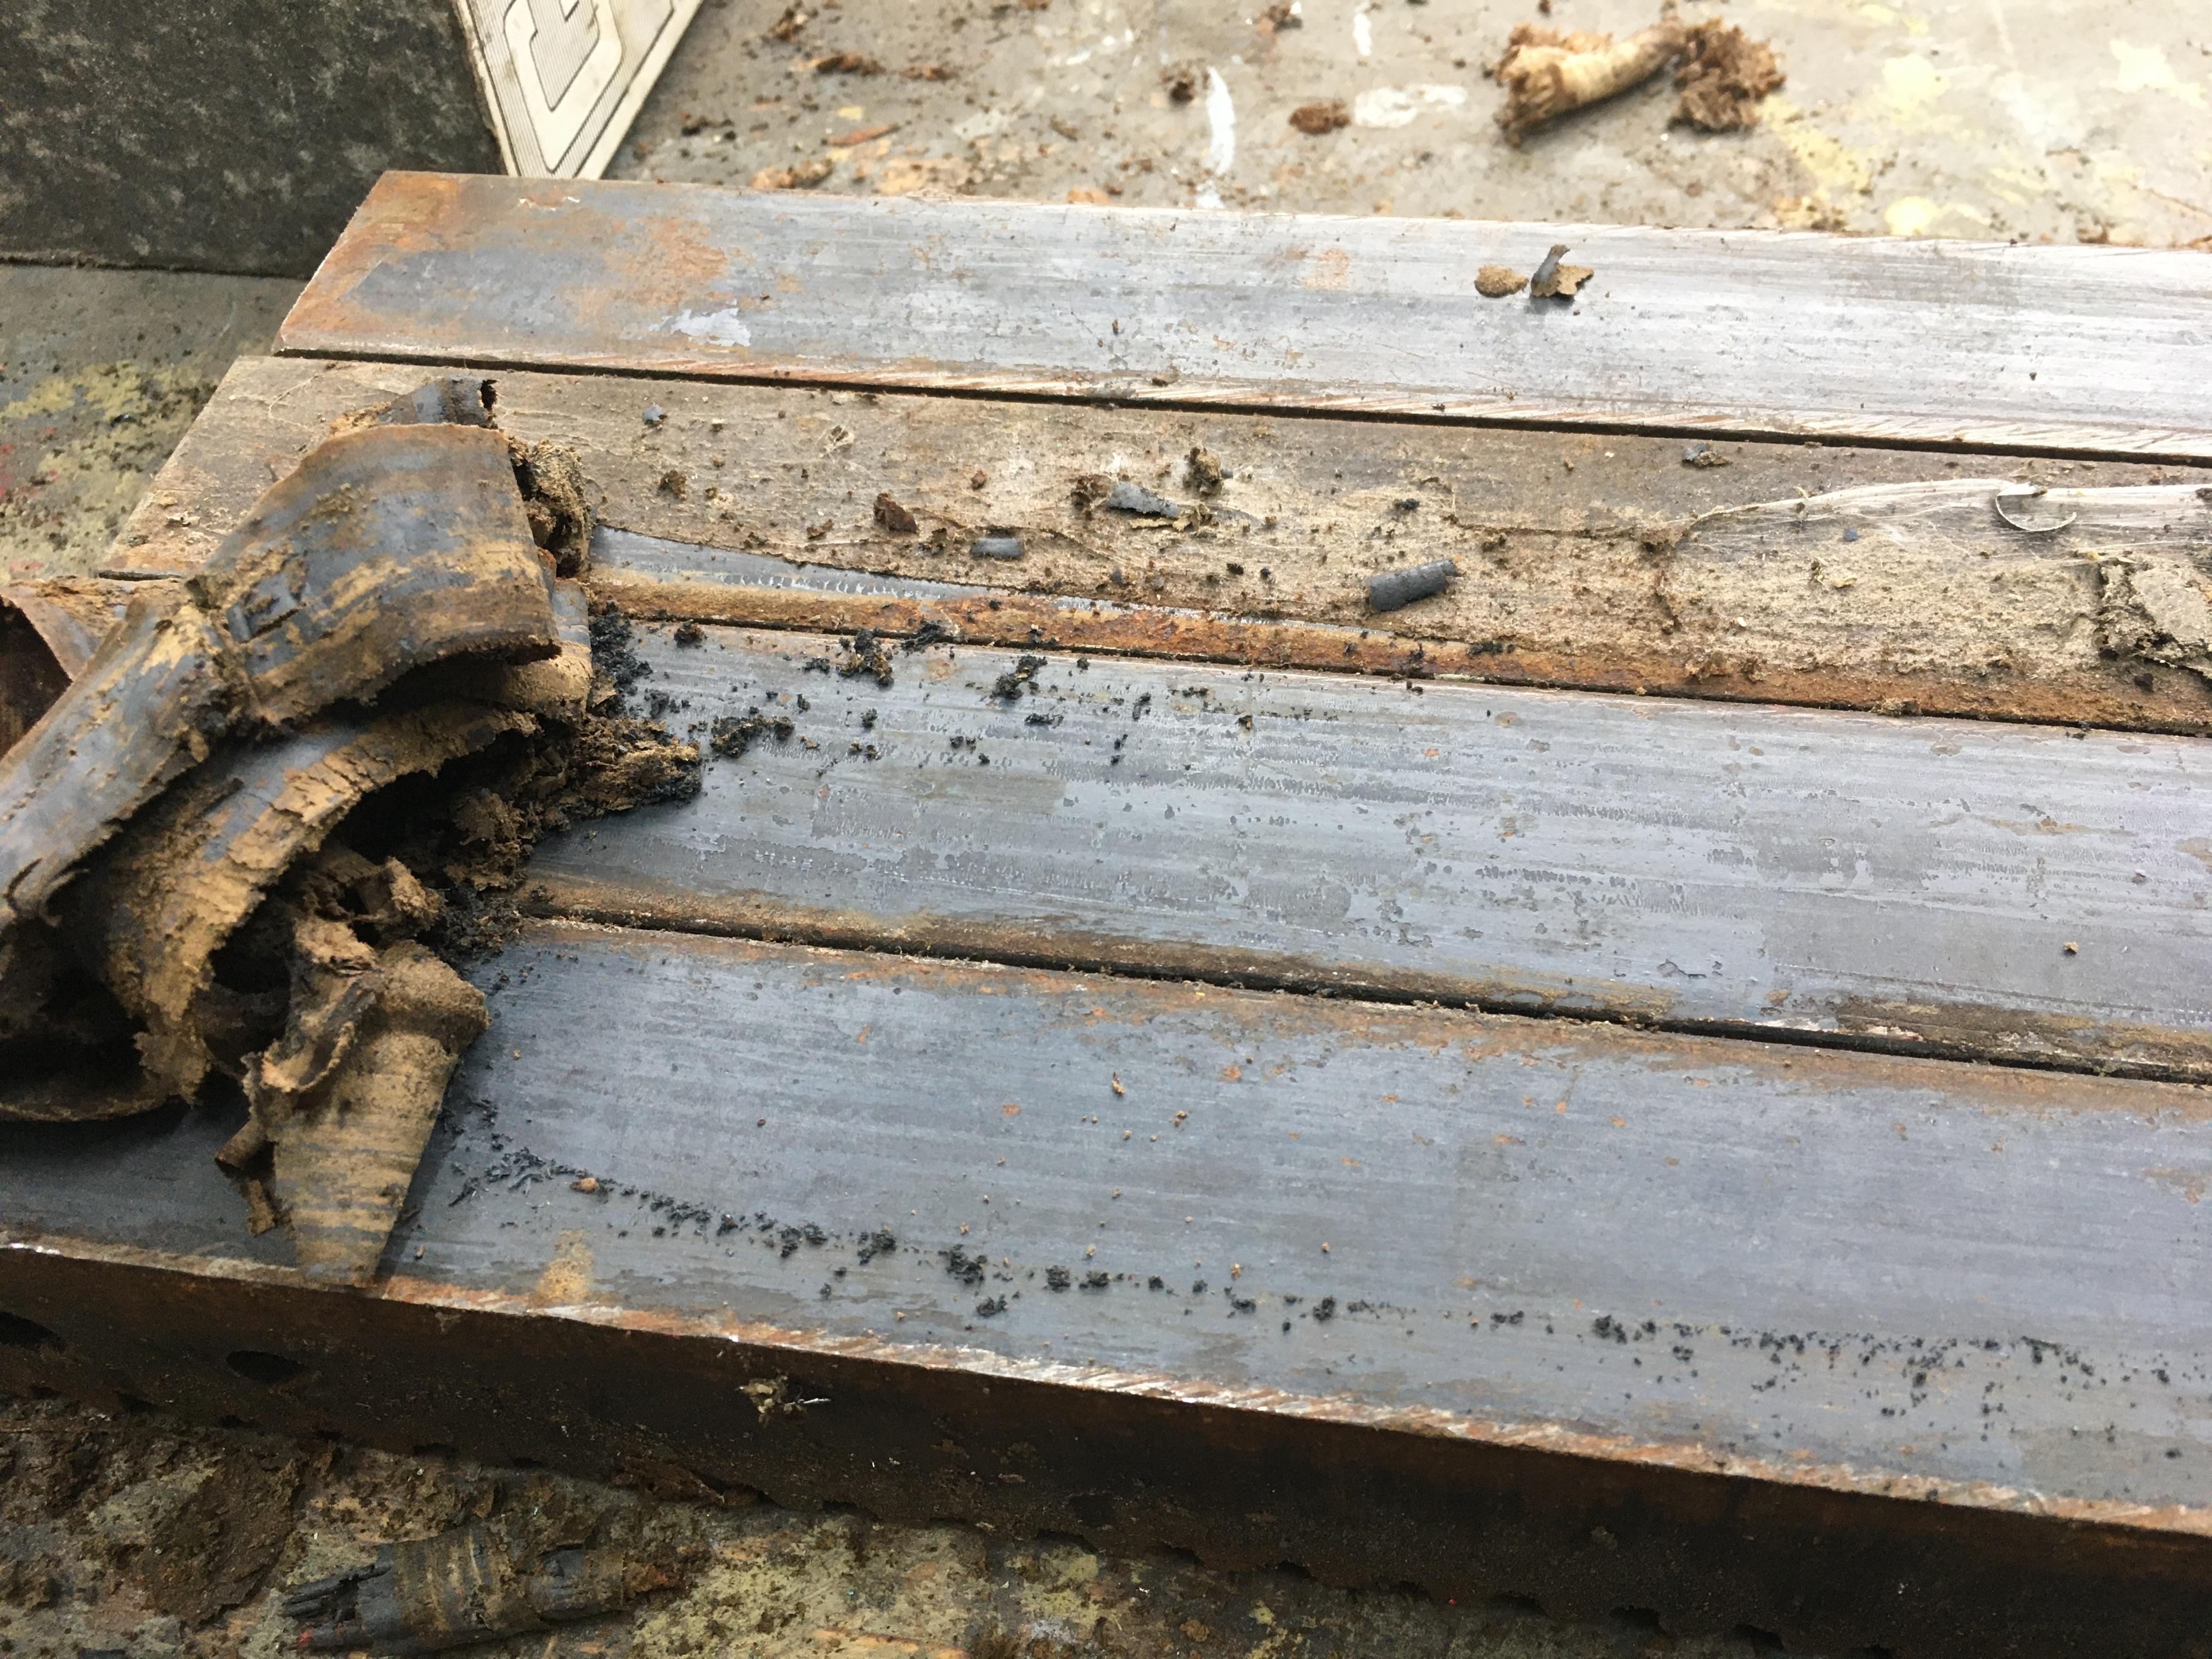
These are the racks for the carriage, smeared in waxoyle to protect

Tiov1K9.jpg


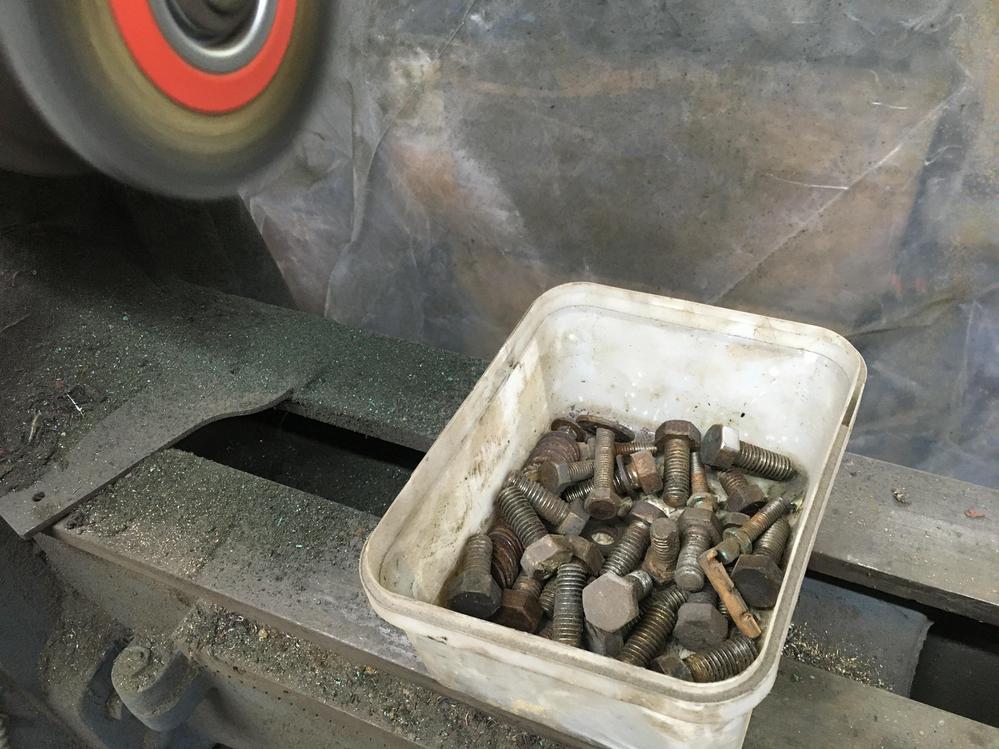
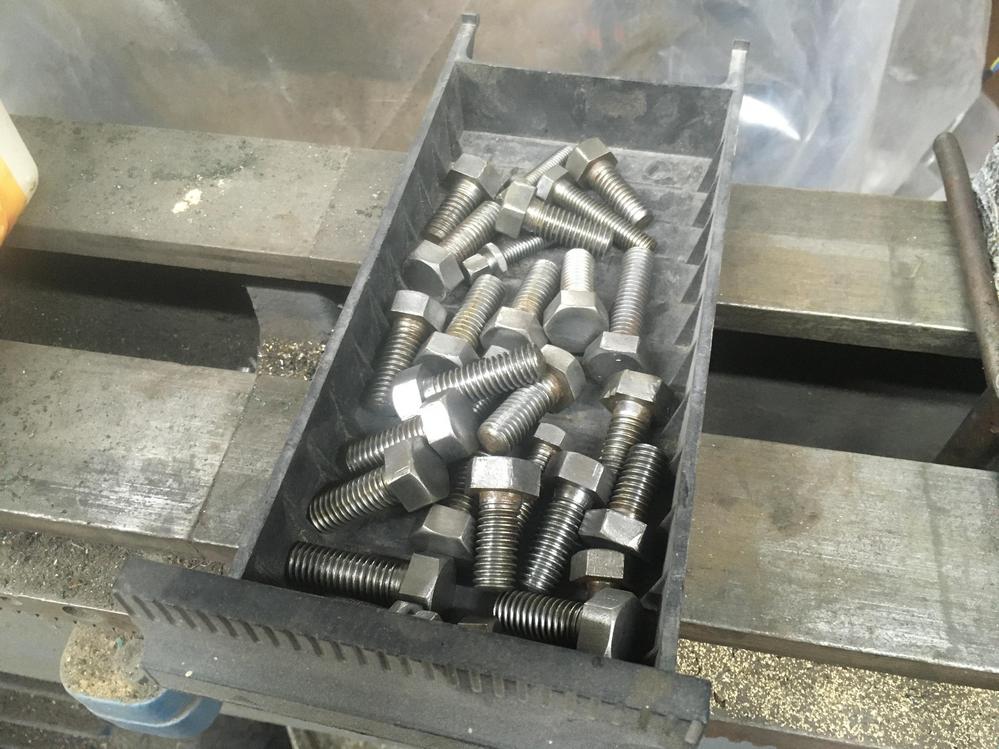
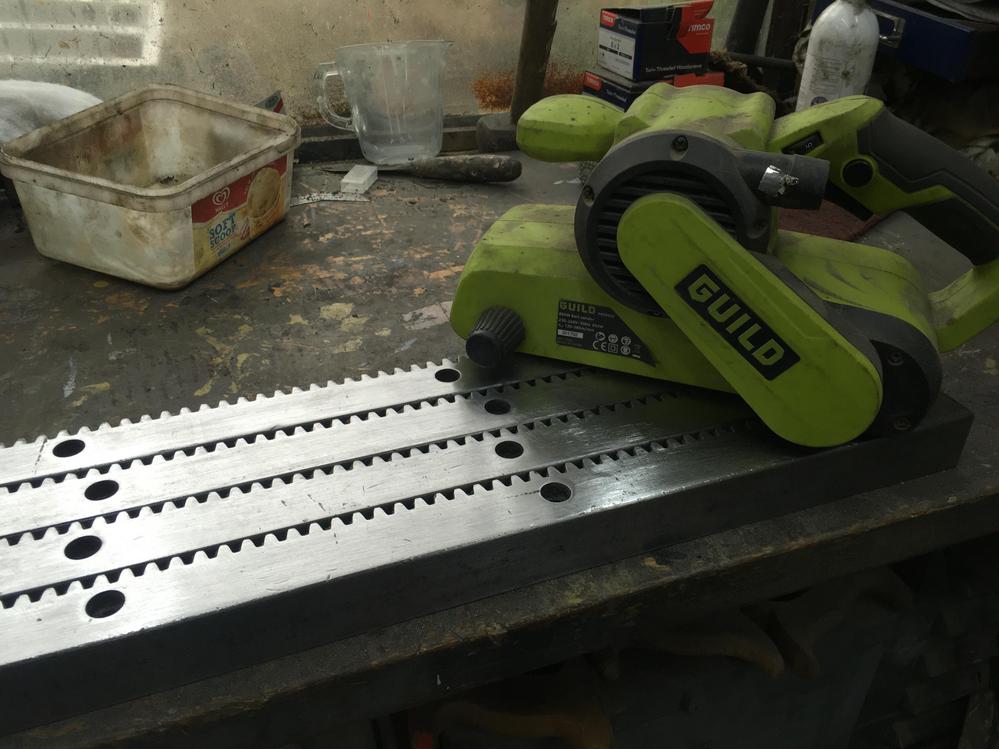
A bit belt sander action

lcvLSqy.jpg


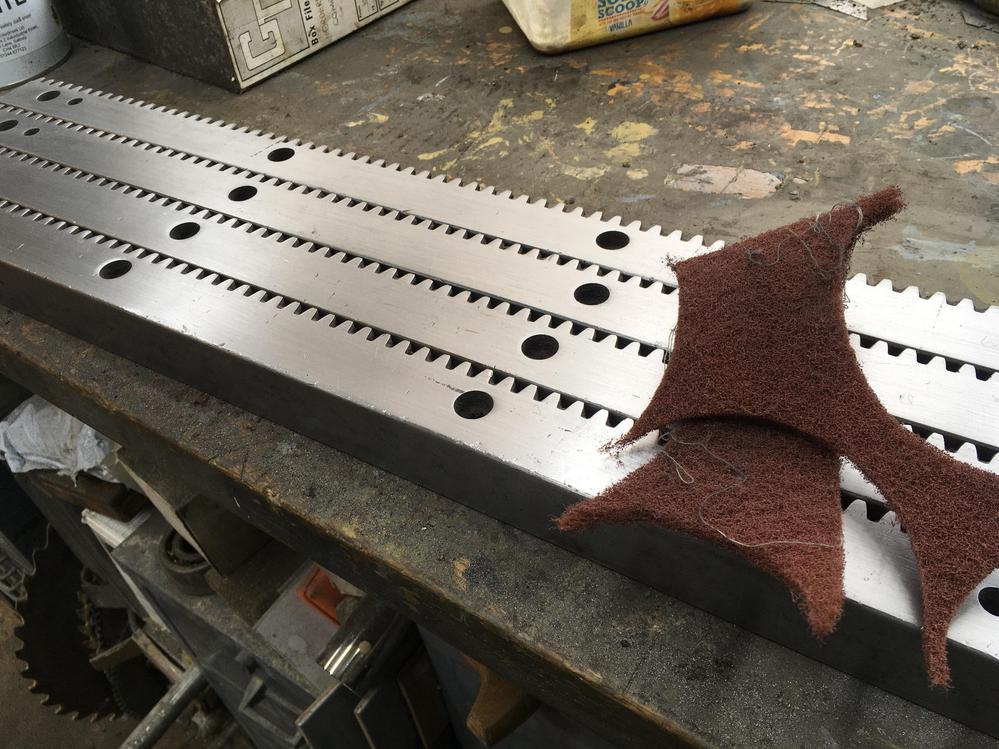
Then scotchbrite

8CDZrx9.jpg


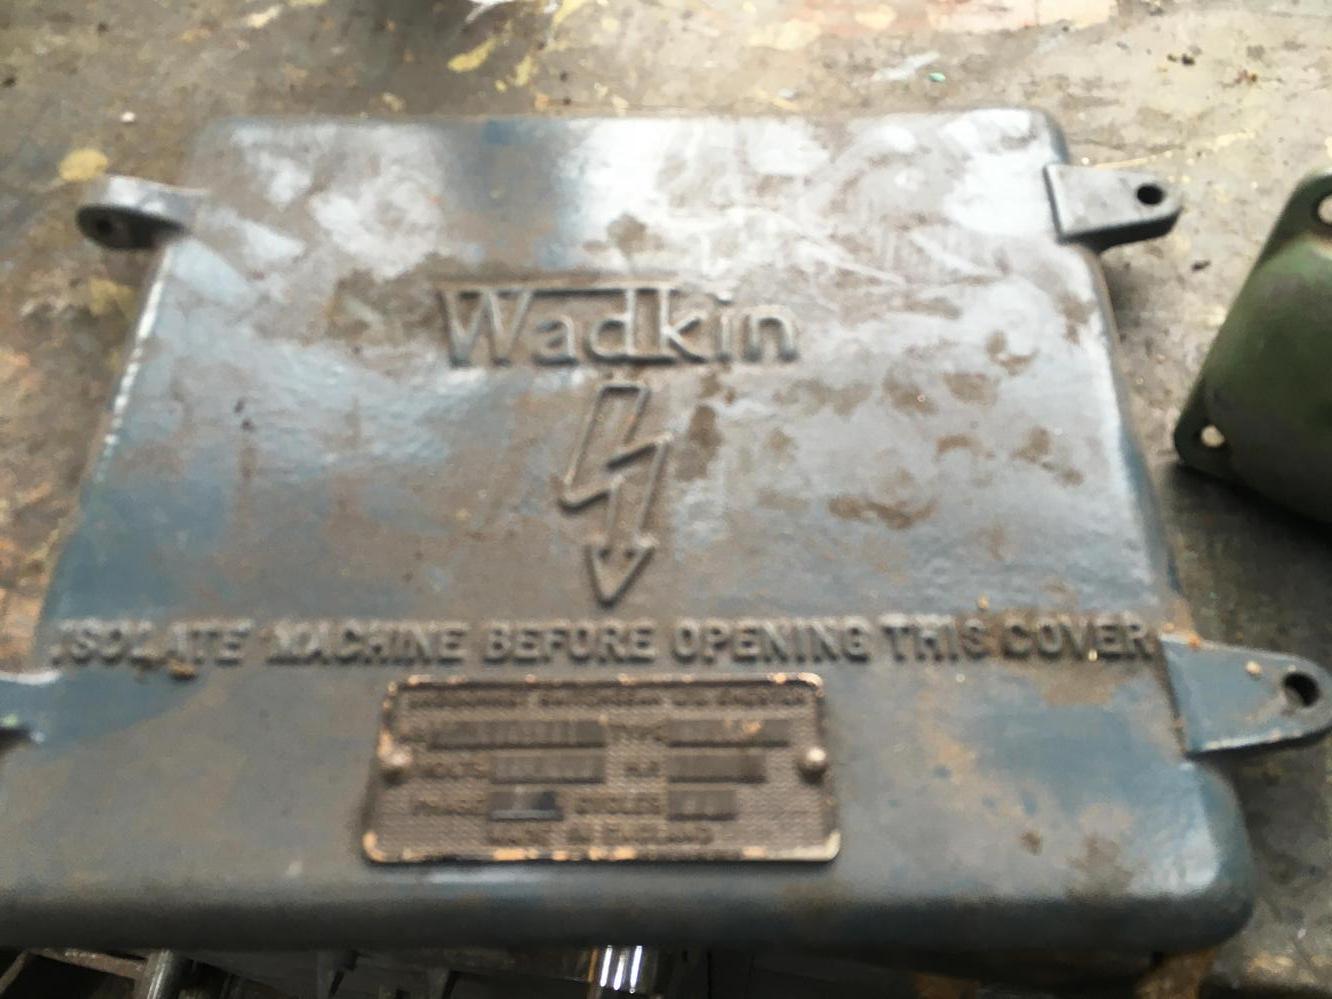
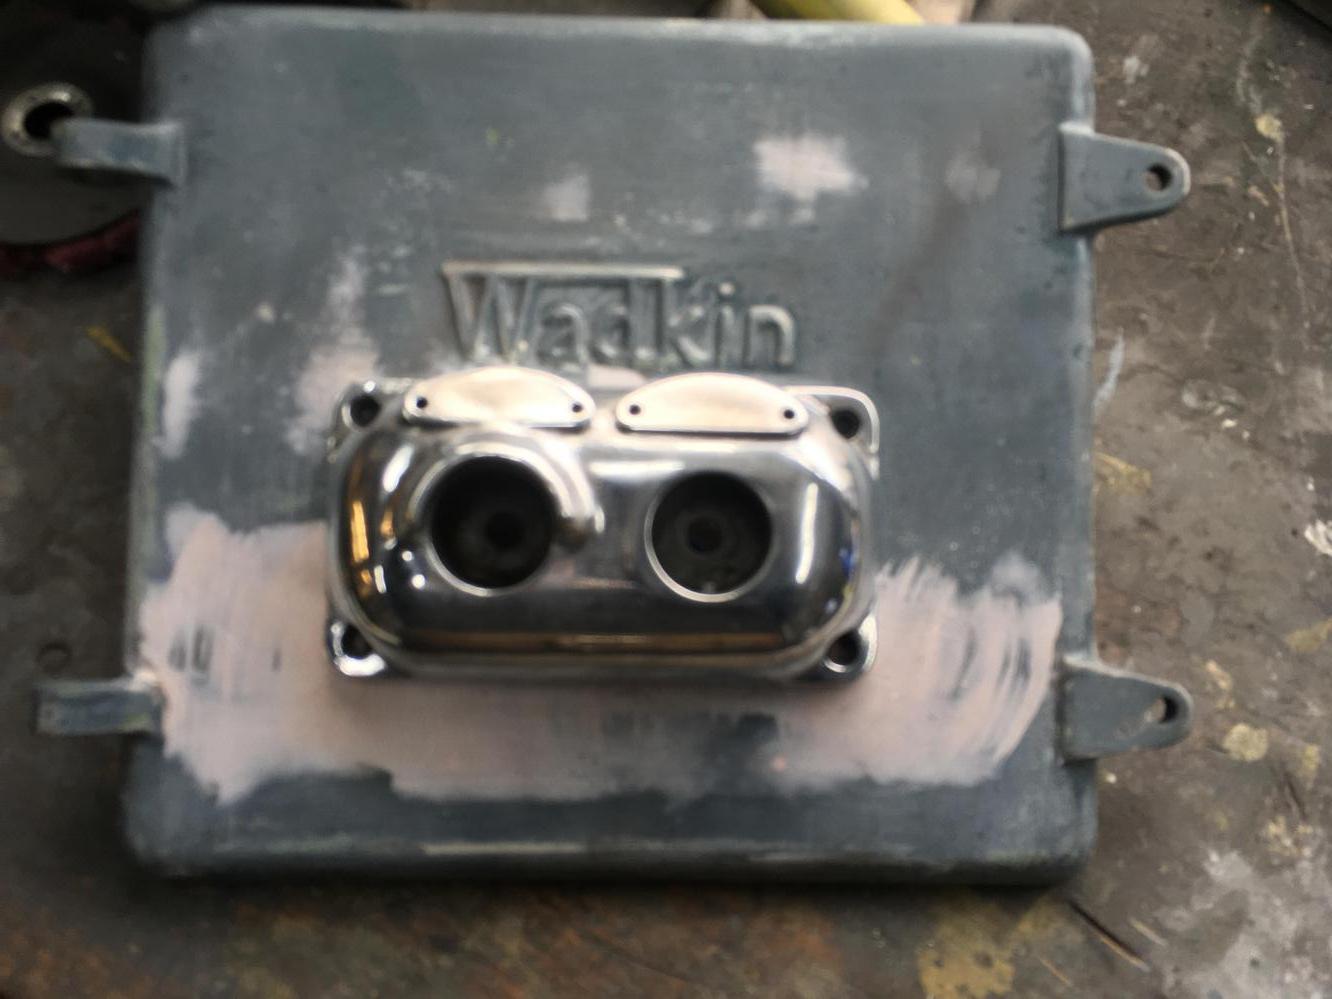
The electrics door was missing, but luckily the hinges were still their. I just so happened to have a spare in my stash.

c2H1Eph.jpg


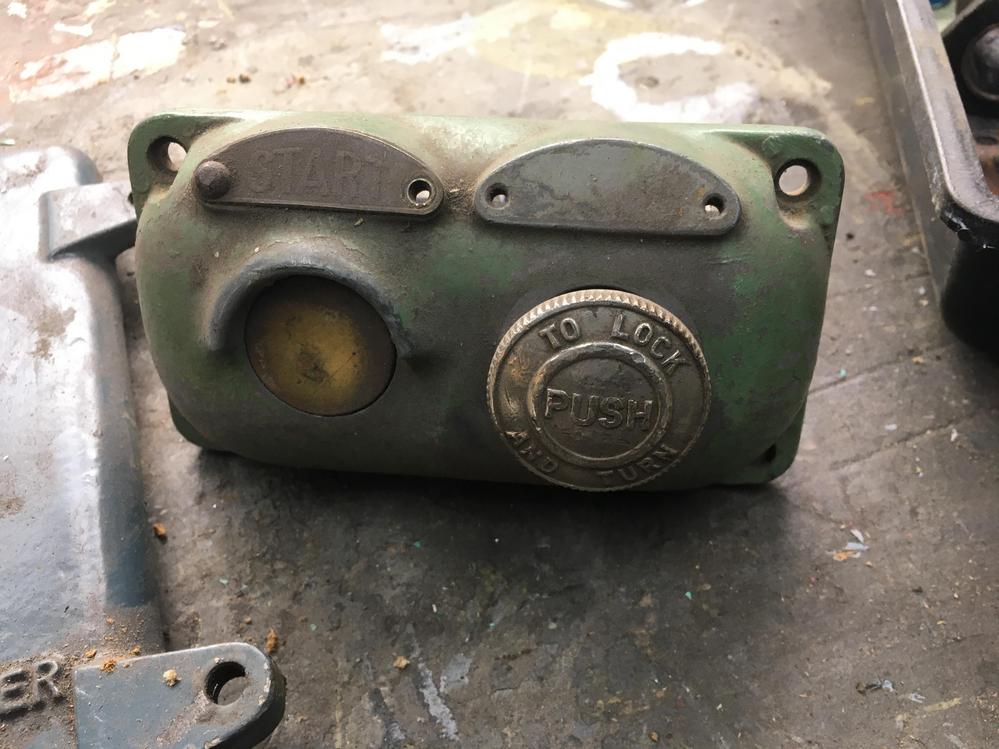
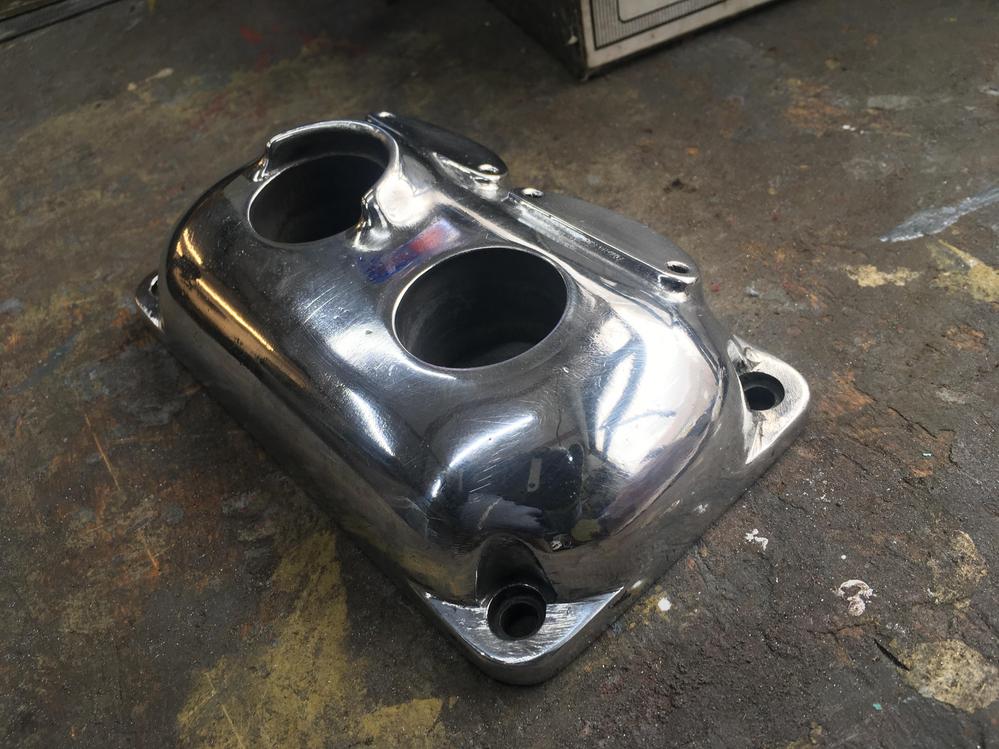
I also had one of these beauties.

pxEbp20.jpg


3f4L1fd.jpg


EUZ1ygU.jpg


When you put the locking pin in the spindle to remove a faceplate it pushes against a plunger which stops the lathe being started. That wouldn't be good with a geared head, I've done it on the RS but that is flat belt so no damage. This part of the lockout bit, I quite like the rough casting finish but this has been dinged afew times.

mvrVCQi.jpg


JHORbU3.jpg


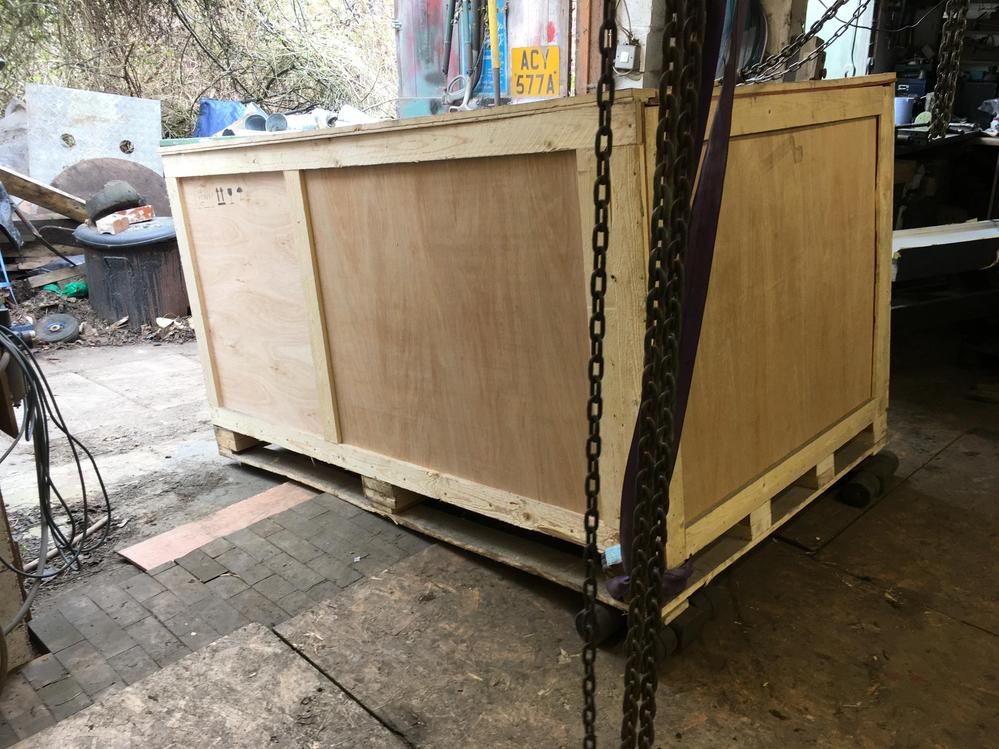
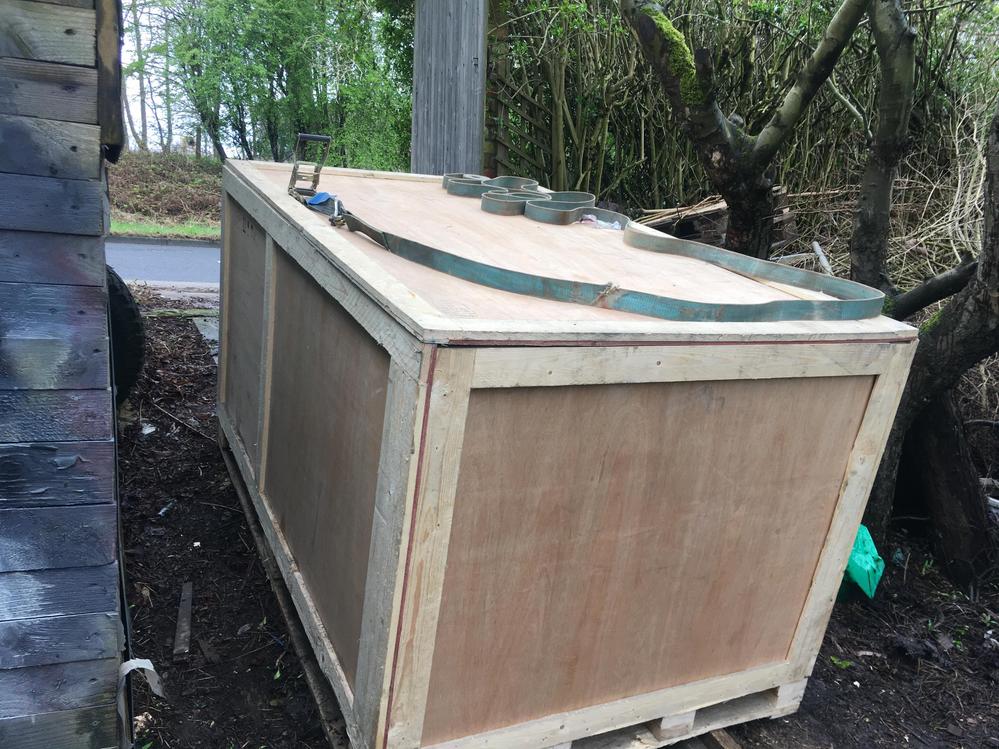
It was a monumental day recently, this machine has been in the way for a long time. It was fun getting it out. It weighs about 1.4 tonne.

9JTXSZs.jpg


It took 3hrs to get it ready for collection.

ePPZcsa.jpg


06K51fD.jpg


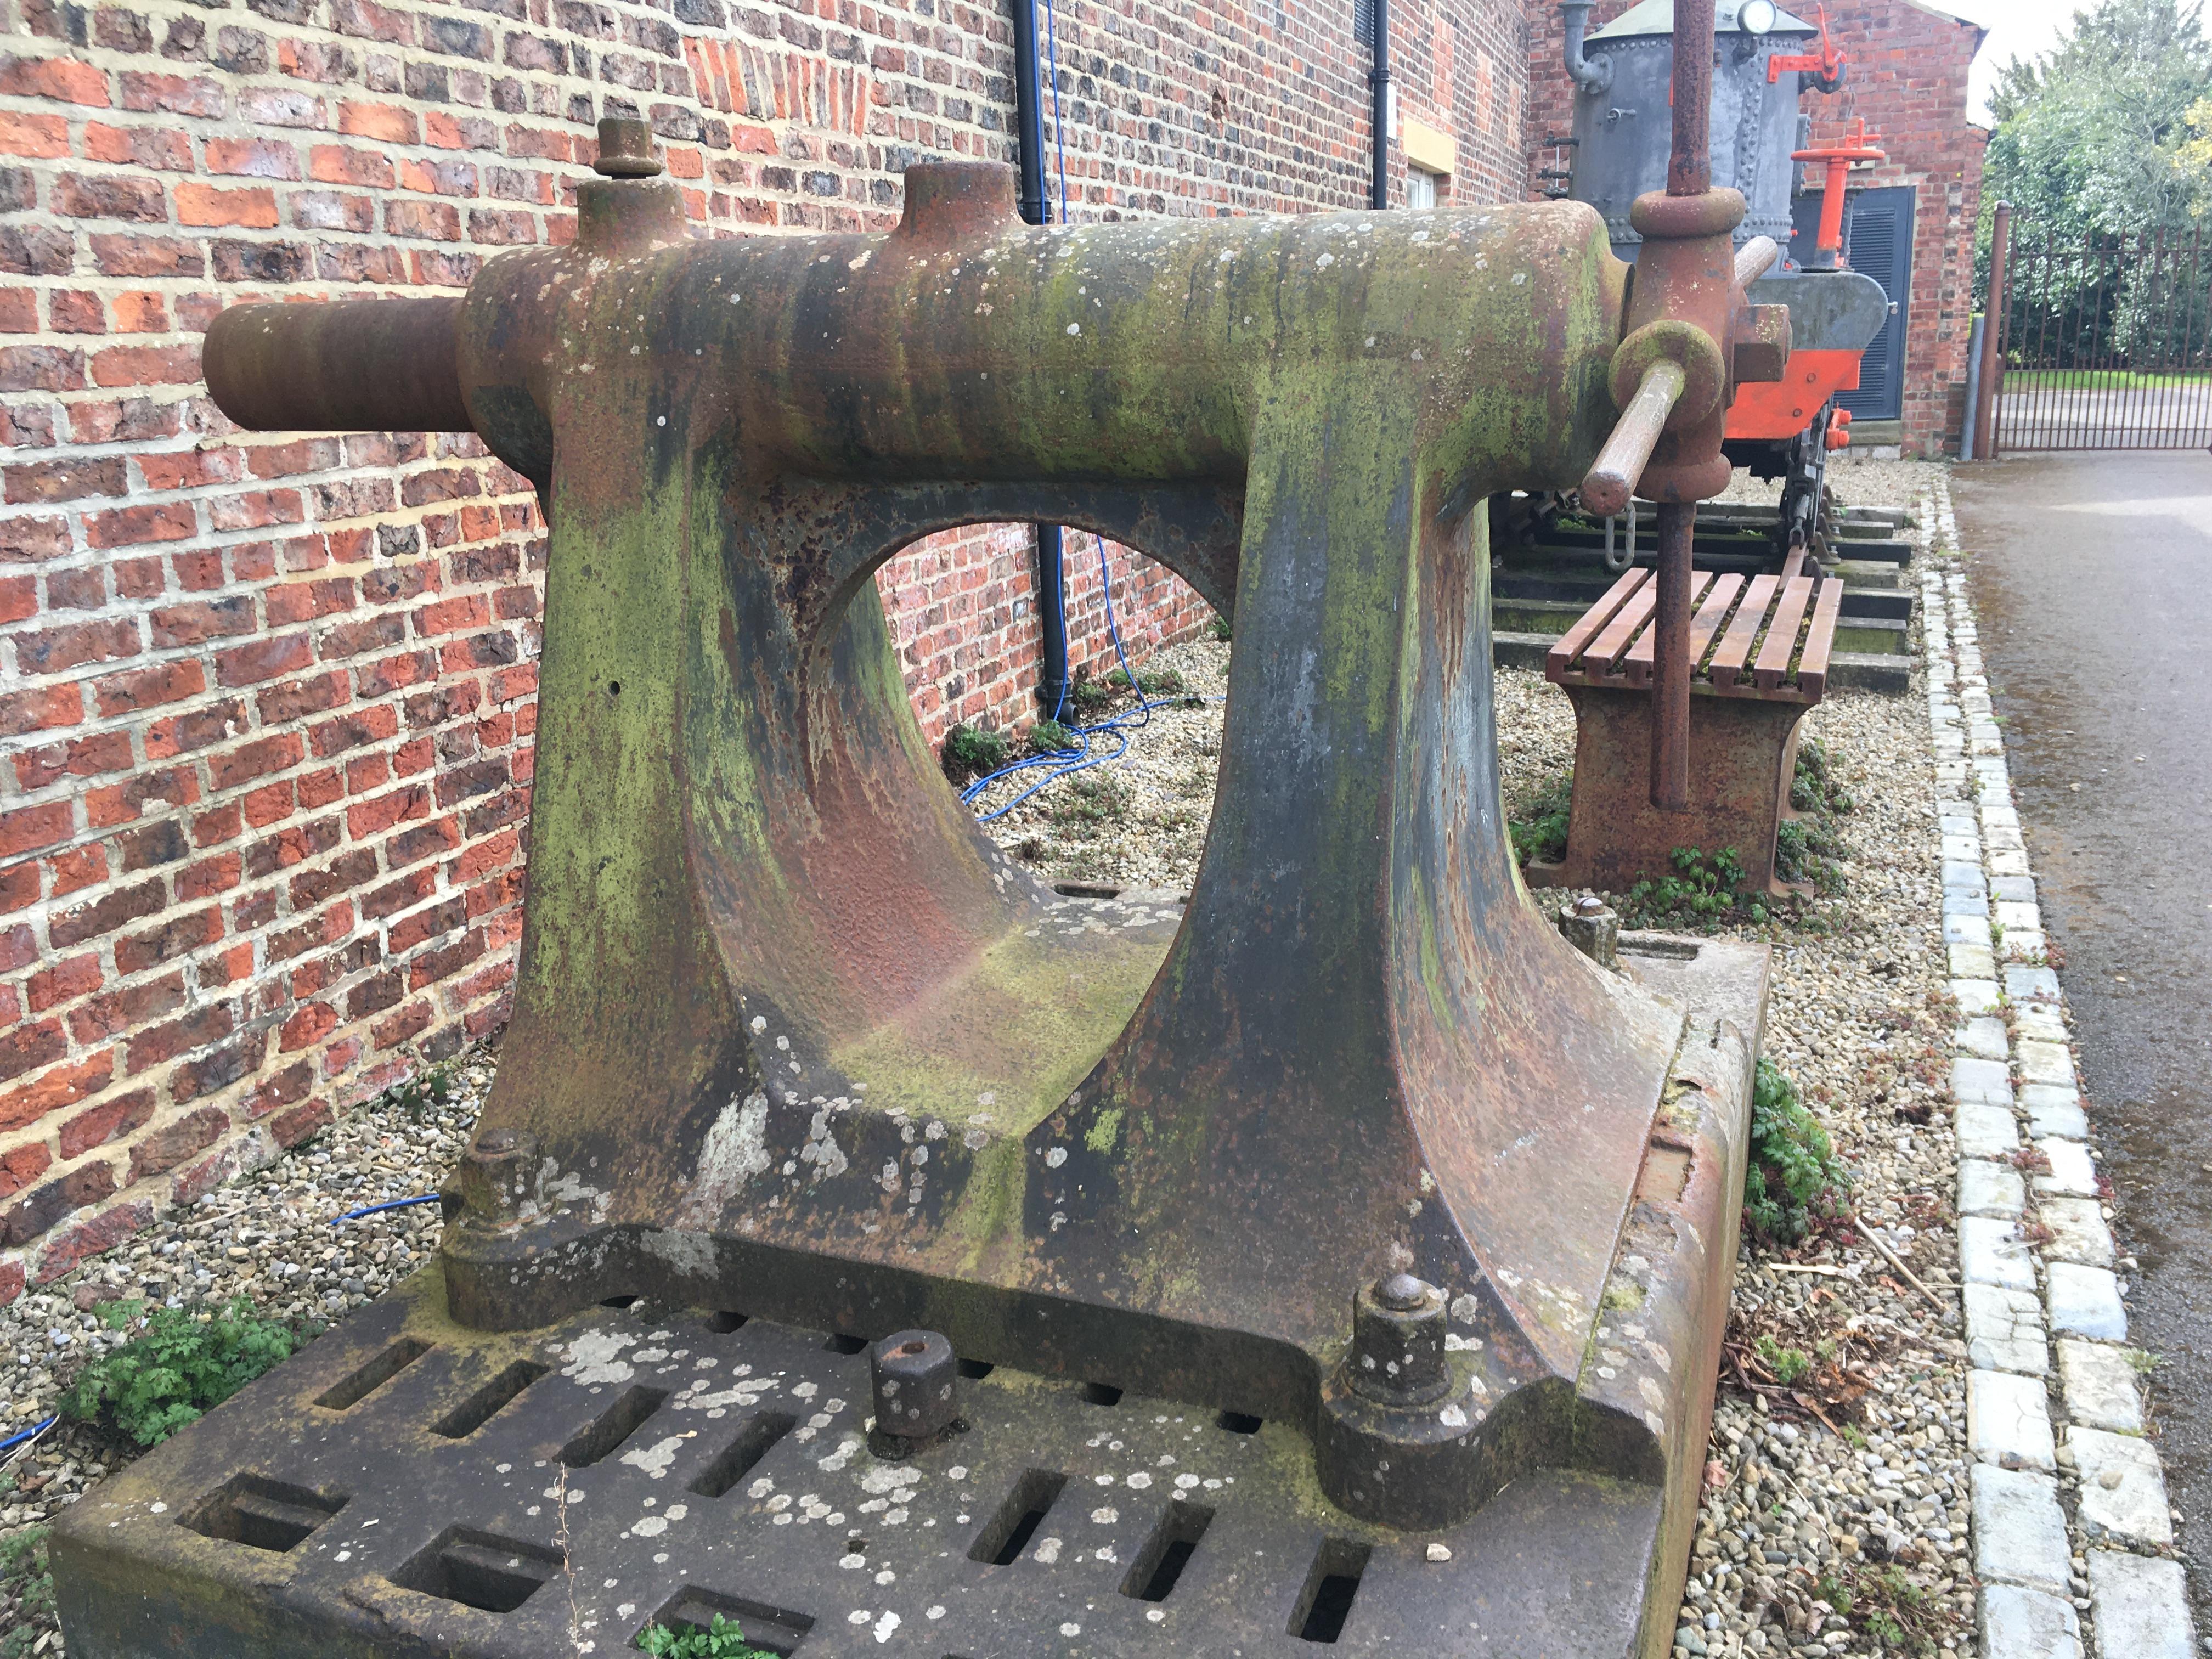
On a different note, I took me lady for a day out, I think I've found my next lathe. I think its maybe a lathe for loco wheels, I'm not sure.

CYVDsJ4.jpg


The tail stock is taller than me
C56WA5P.jpg
 
Interesting Lathe, The Loco wheel lathes I have seen in out local works (Eastleigh) were horizontal and burried in the floor. The face plate was about the same size as that one though.
 
Great restoration asa always - please keep them coming.

Some years ago my wife and I went up tothe midlands with her brother to collect a lorry for his business we went to drive the car back for him,
The lorry was in in a large old brick engine shed and they had a railway wheel lathe which was absolutely massive. Like the one you saw the wheel was vertical, but it was just the sheer scale of it that was most memorable.
 
...The Loco wheel lathes I have seen in out local works (Eastleigh) were horizontal and burried in the floor. The face plate was about the same size as that one though.
...they had a railway wheel lathe which was absolutely massive. Like the one you saw the wheel was vertical, but it was just the sheer scale of it that was most memorable.
The wheel lathes we had in the railway workshops here in New Zealand were quite different from that one. More like what Jamesc describes.

There was a centre at each end with picked up the centres in the ends of the axle. There was a "faceplate" at each end - except they weren't faceplates but had dogs or grips (depending on the design) that engaged the wheel discs to rotate the entire wheelset. There were two toolposts so that both wheels could be turned simultaneously.

Funny thing: When I started my apprenticeship there were three wheellathes at our works - one of four railway workshops. So probably 12 wheellathes throughout the country. Three of the workshops were closed between 1987 and 2012. The last wheellathe at the last workshop gave up the ghost about 2019. We have an underfloor wheellathe at the depot I worked at (until I retired last December). They were having to send wheelsets from the workshops to us, and our turners chained them down over the underfloor wheellathe to simulate the weight of a wagon - in order to reprofile the treads. A sad state of affairs.

There's a new multi million dollar, semi automated wheelathe on order - but it should never have been allowed to come to this.

Cheers, Vann.
 
The reason I saw the lathes is a sadly similar story. Eastleigh had bee a train repair depot but it was closed due to poor access - wait for it....
They couldn't bring the trains and carriages in on a lorry. They were however built on the main rail line from Southampton to London!
I attended an auction when the kit was sold off. Mostly to have a nose round if I am honest. Sadly I think the lathes went fro scrap.
 
I ran across an old narrow gage loco parked next to an old shop in Boulder. You would have missed it cuz all the trees and bushes had it over grown. When the machinist died, all went to scrap.

At the narrow gage yard in Durango they use Bullard vertical spindle lathes to repair wheels. Big ones!
 
Last edited by a moderator:
...At the narrow gauge yard in Durango they use Bullard vertical spindle lathes to repair wheels. Big ones!...

At the railway workshops where I did my apprenticeship they used Bullards to bore railway tyres (steel tyres) before fitting them the wheel discs. After the tyres were fitted they were run through the horizontal wheel lathes (refer previous posts) to true them up.

Here's a small-ish Bullard probably ex-railway workshops, currently located at a steam railway.

Bullard.jpg

They made the tyres out of steel best suited to the job and fitted them onto discs of various metals. I've seen fabricated steel "discs" (actually star spoked) and cast spoked discs (as seen on steam locomotives) and solid discs. Now-a-days they fit solid wheels (tyre and disc one piece). The steel has to be different at the running surface to the disc. I'm not sure if that done solely by heat treatment, or fancy casting where two different steels are formed together. But it results in less useable steel at the running face - i.e. as the tyre gets thinner the steel changes and wears faster. But it's cheaper that way as they save machining processes.

Sorry wallace, a bit off topic :oops:.

Cheers, Vann.
 
Sorry Wallace A bit off topic. You can post some fluff when I dig into my RU. It’s all in good fun and we’re an international group helping us out.

The Bullard photo posted looks just like mine but mine has more lovely rust.
 
Last edited by a moderator:
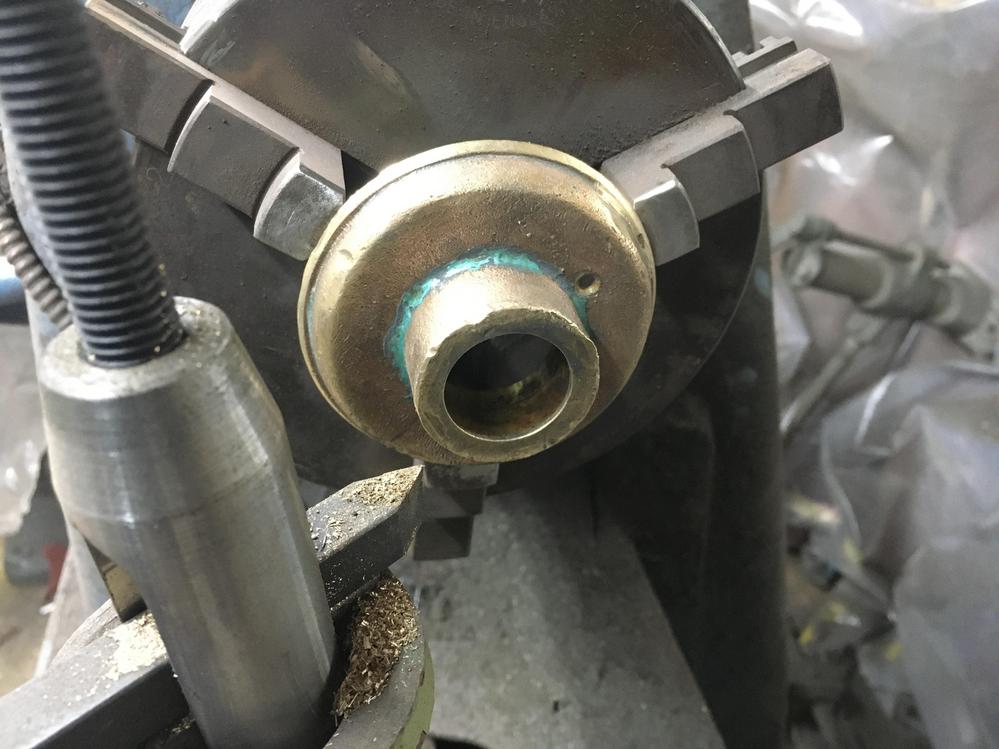
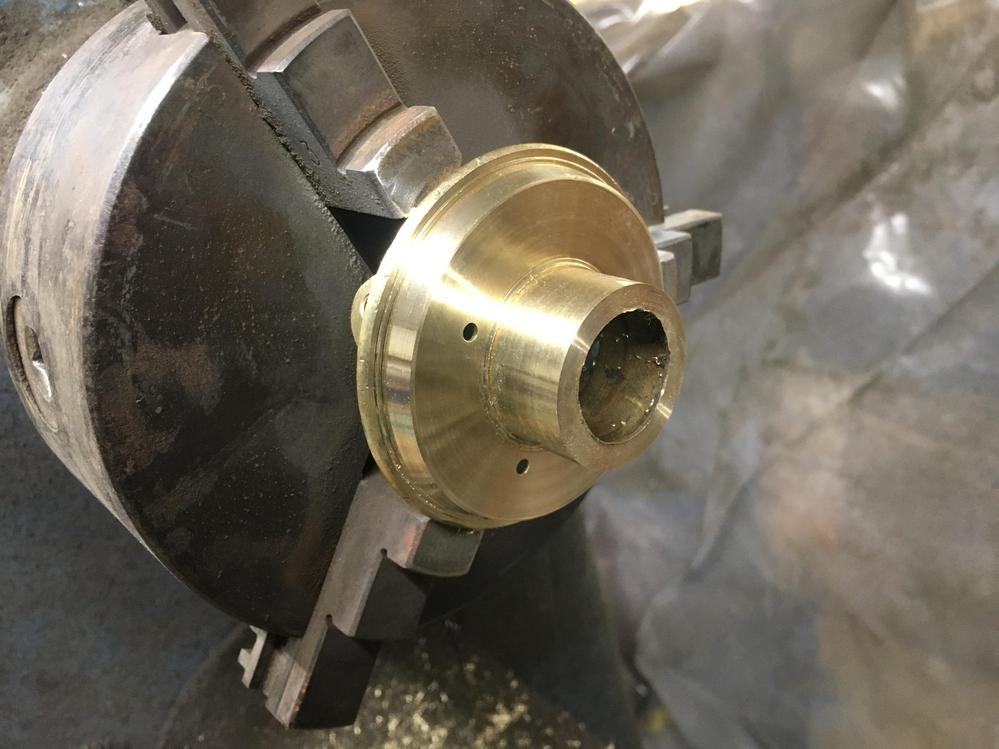
I am curious where that part goes on the RU. I love his technique with Silicone bronze. I pretty sure that’s what I will do with my RU repair.

It is part of the mechanism for moving the bed, 2 bevel gears mesh to drive a screw that moves it.
 
Last edited by a moderator:
Be careful with the steel shot. It compresses the surface that can result in warping thiner parts if overdone. I worked in an aerospace machining plant and lots of parts had shot peening as part of the process. Sometimes they came back warped or oil canned and had to be scrapped. If done carefully it could be used to straighten parts by peening the concave side a little more. On most old iron it may not make a big difference but I would be careful doing the backside of table saw tops and the like.

Sorry for sending the thread off track a little wallace.

Pete
Mate of mine used to dress up like a spaceman and do it in an old shipping container dedicated for it, just shovel the grit back up off the floor and in the hopper. I think he used copper slag if I remember correctly.
 
Back
Top