wadkin JY bobbin sander restoration

UKworkshop.co.uk

Help Support UKworkshop.co.uk:

This site may earn a commission from merchant affiliate links, including eBay, Amazon, and others.

wallace

Established Member
Joined
13 Feb 2011
Messages
2,130
Reaction score
274
Location
county durham
I bought this a little while ago and had no intention of restoring it because it looked in good nick. That was until I tried to start it and the motor went really slowly and the bobbin did not go up and down. It needed to be stripped cleaned and lubed up. So I thought I may as well 'wallace' it while I was on.
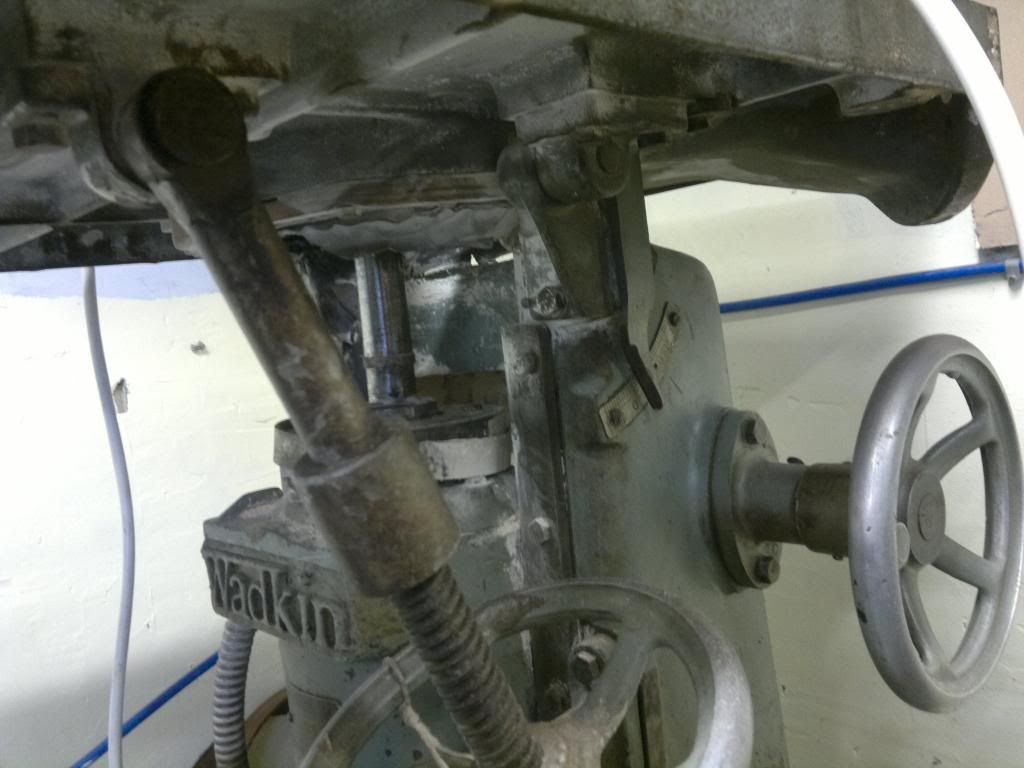
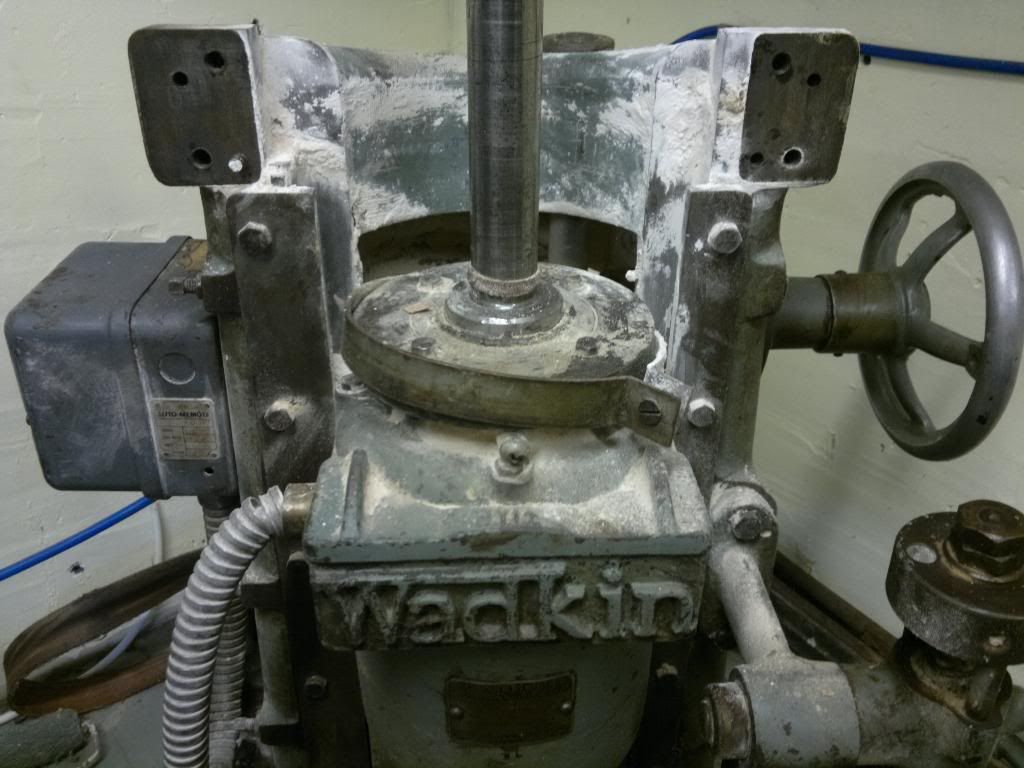


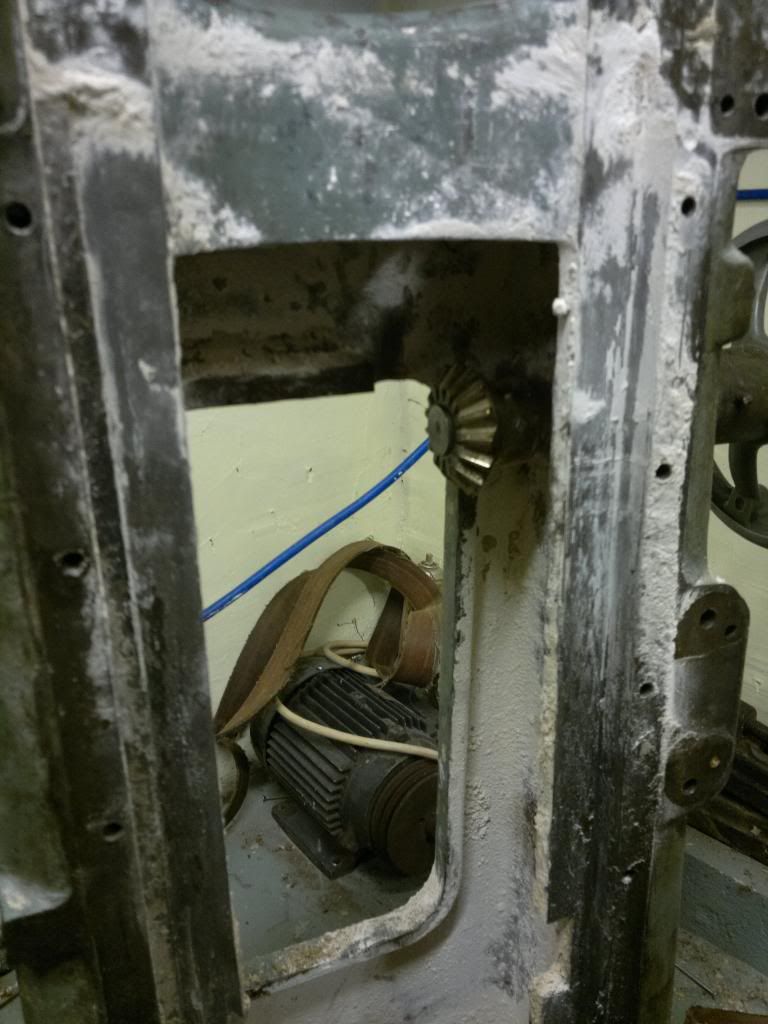
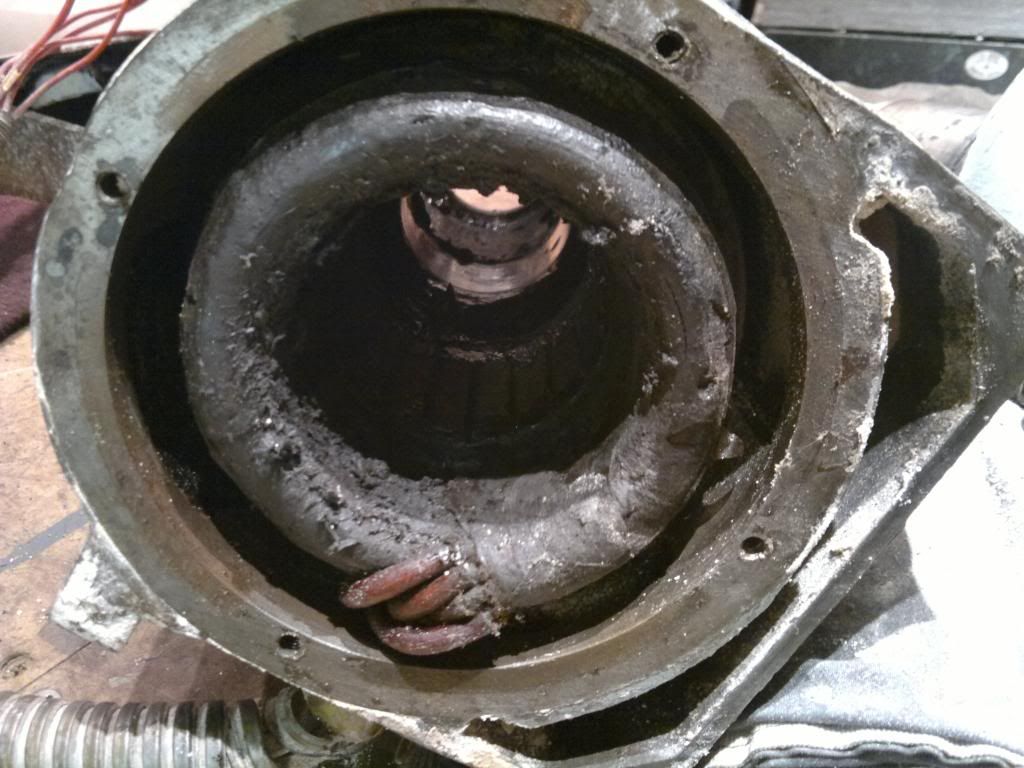
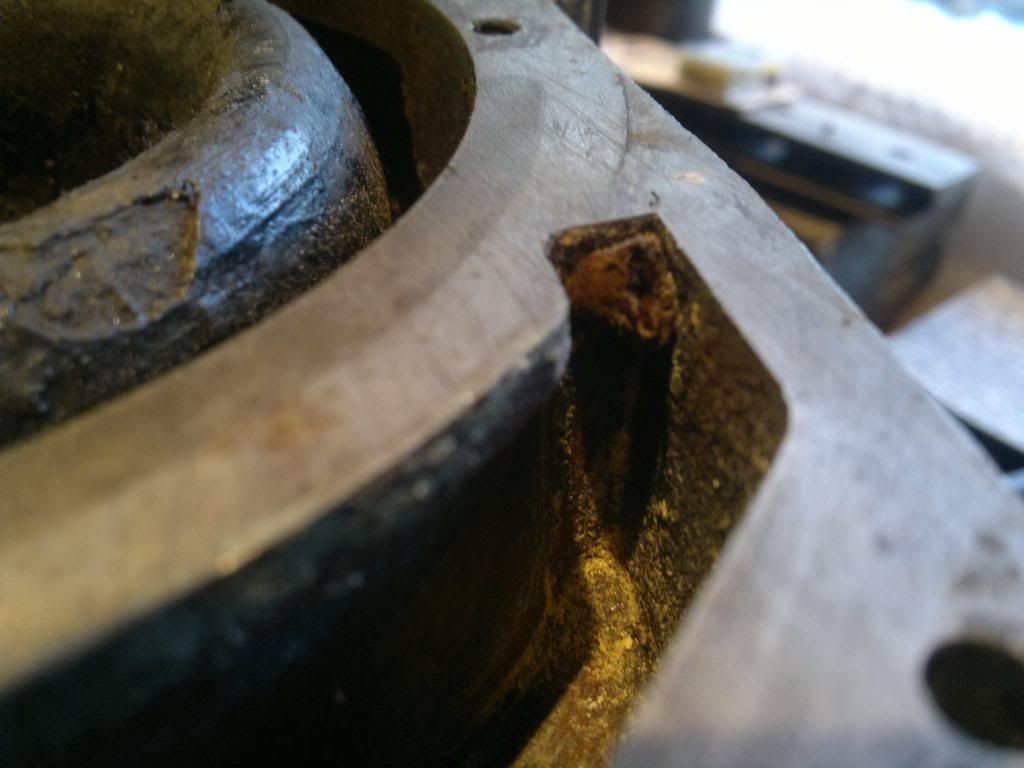
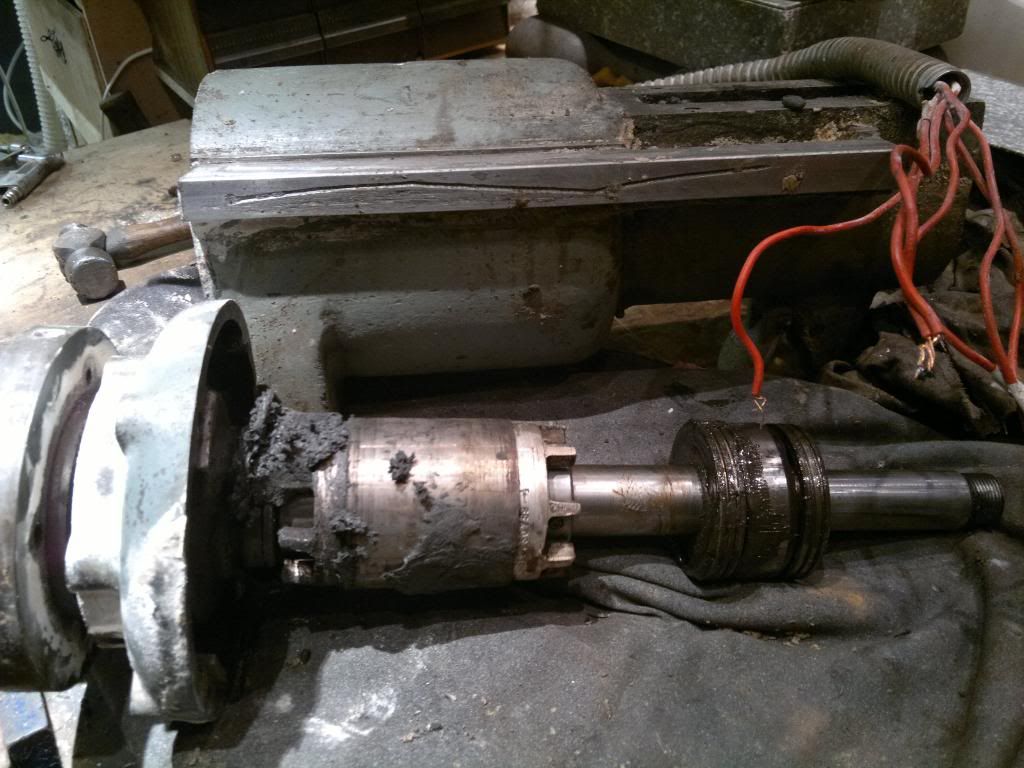
Everything is packed solid with a plaster type powder
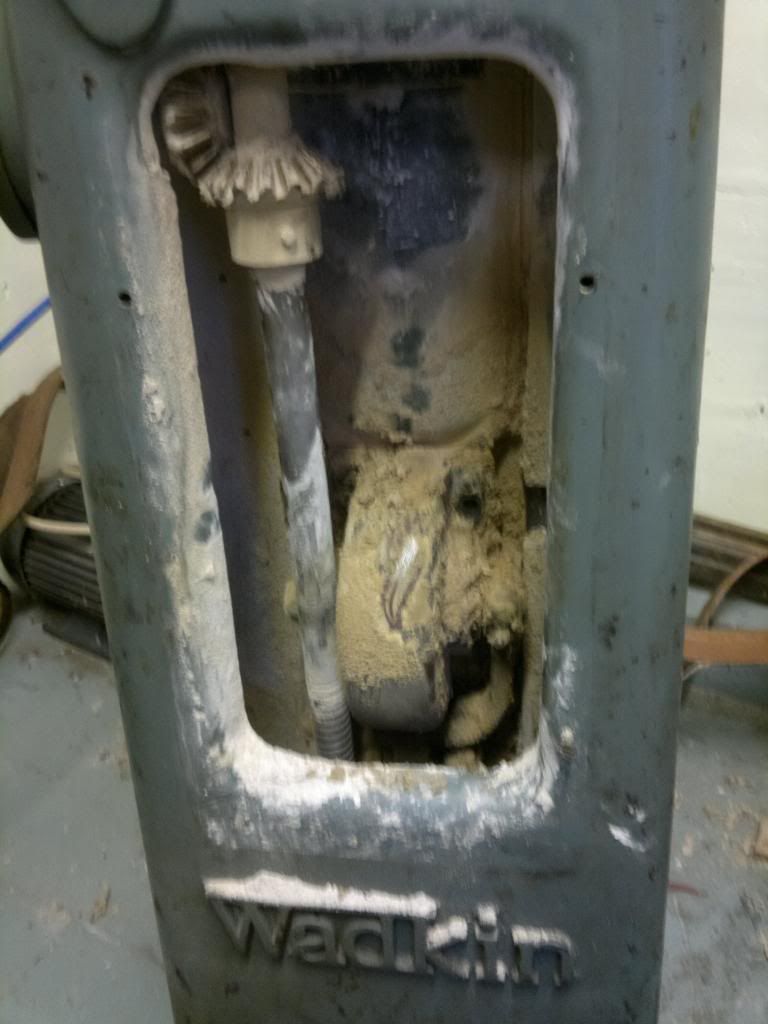


There are six wires coming from the motor but 3 are taped off. Maybe these were two speed? Anyone have one to clarify
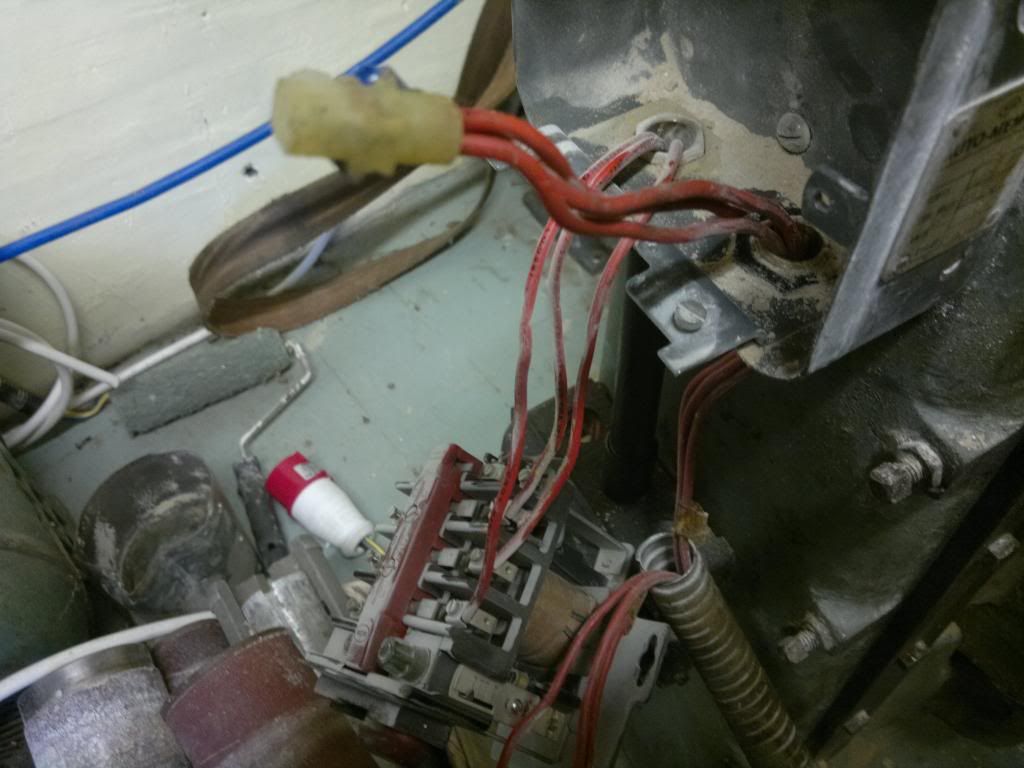


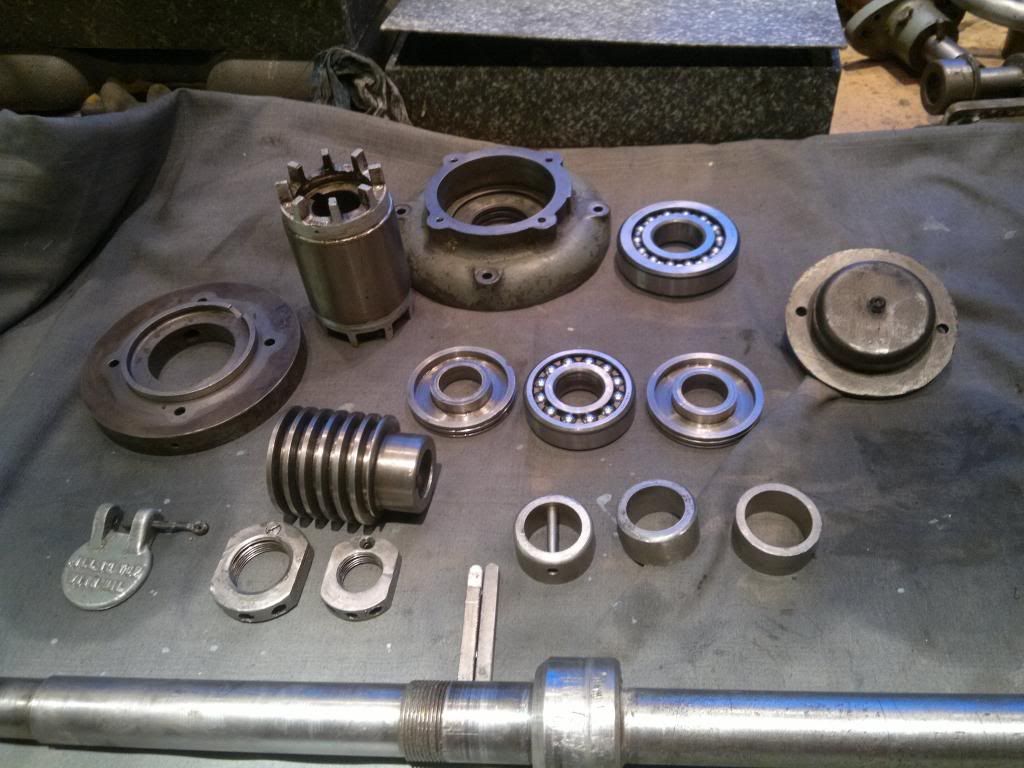
It took about 1.5hrs to get everything stripped off
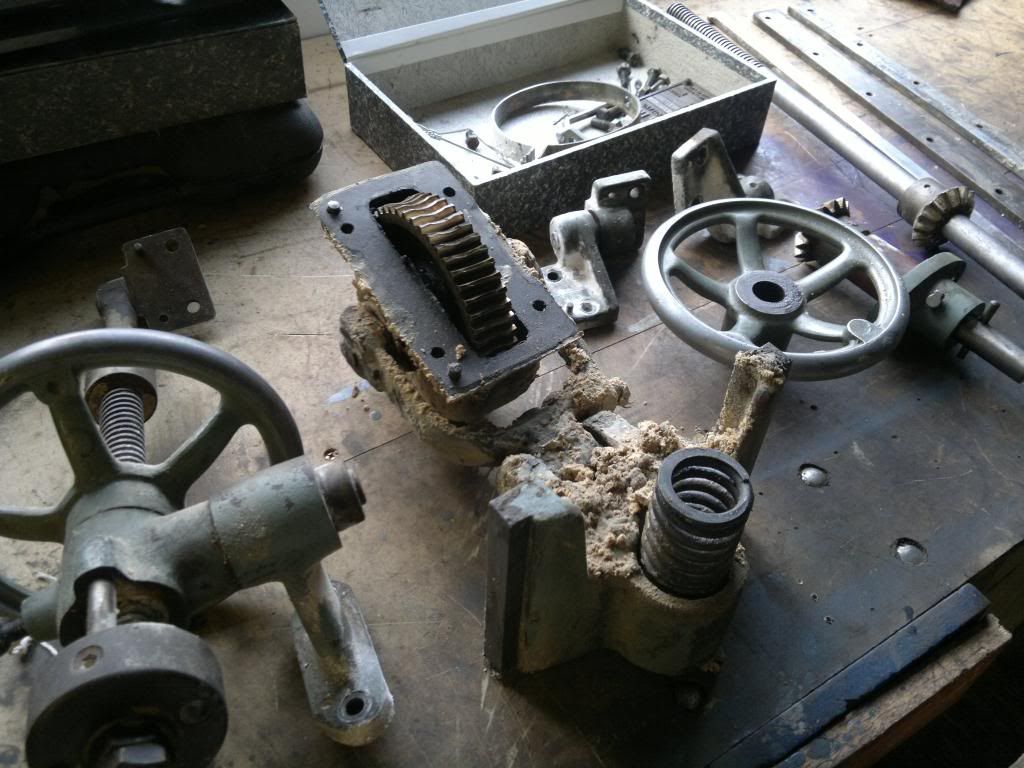


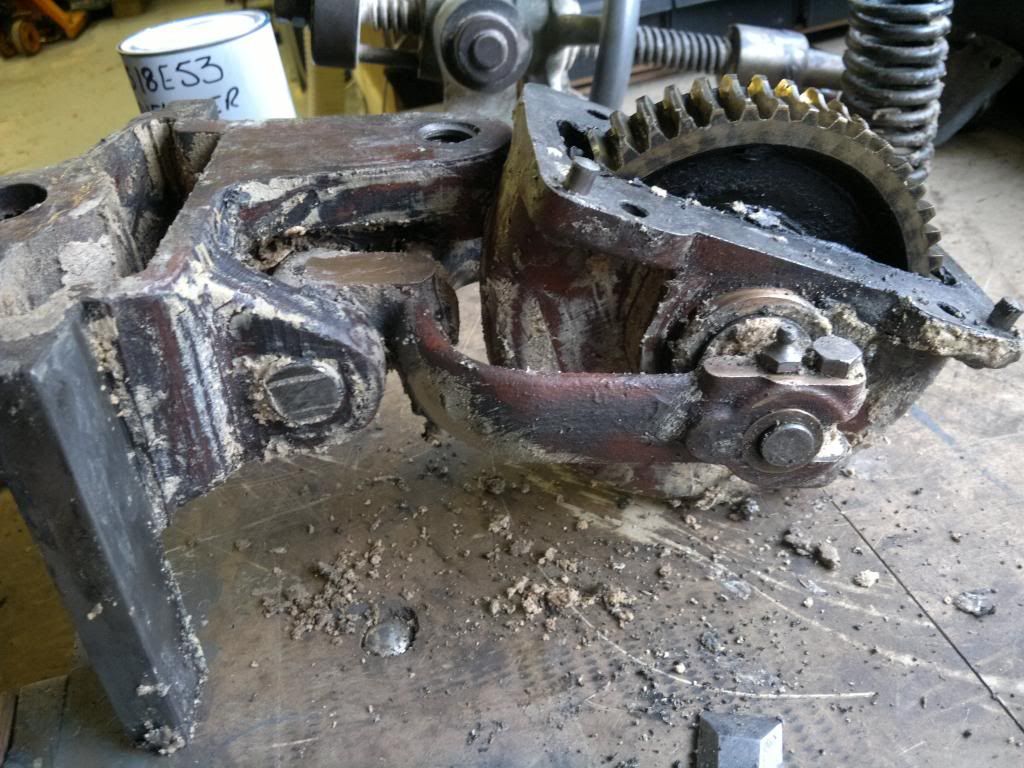
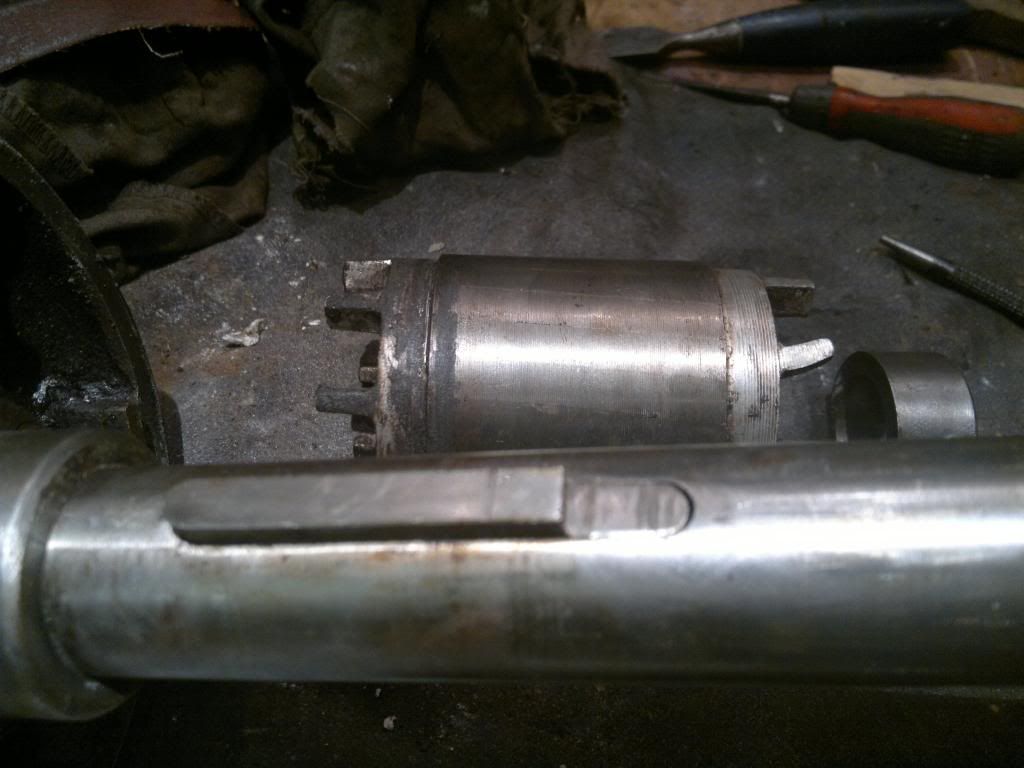
This is the bit that makes the bobbin bob all stripped and cleaned
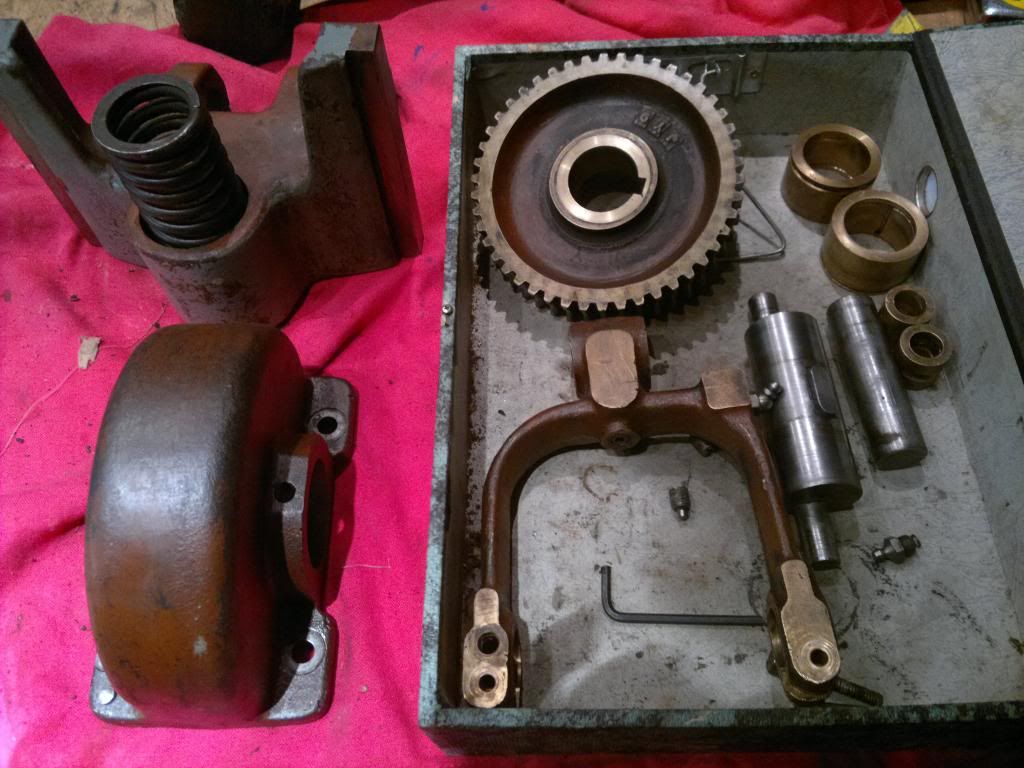
 
Good heavens man, you're at it again :) . Well done. I'm looking forward to another splendid WIP.
Keep up the great work.
xy
 
Danny this will be a doddle compared to the MJ. I'm still working on the planer. When I installed the head I found movement on the pulley side. I have found that the shaft and cap is worn by the broken bearing. I was thinking of sorting it myself but don't feel confident on such a crucial part. Jack has helped identify the problem. By all accounts the bearing on the pulley side needs to float to allow for expansion. I got a price to machine the shaft then build it up and machine to spec for £50 which I think is good
Myfordman, the wires are all secured together and insulated
 
wallace":1dduqx9i said:
Myfordman, the wires are all secured together and insulated

Quite possibly is a two speed arrangement. Connected as it is is normally the lower speed.
Opening the three wire junction, removing power from the existing terminals and applying power instead to the three wires that were joined should increase the speed.
The arrangement is called 'a consequent pole wound motor'
MM
 
Looking forward to seeing it coming along.

Out of interest, how much did it cost you?

Cheers

Karl
 
Karl, it was £340 plus courier at £50 so £390. Which I think is not a huge bargain but I have seen them go for £700
 
I did a bit disassembly, this is the table tilt adjuster. I am getting the distinct feeling that some one has taken this to bits before me. There are punch marks on all the shafts and the locating pins are mushroomed (hammer)


This next bit is not for the squeamish, when I started taking the motor to bits I found a number of things wrong which look to be caused by some muppet putting it back together incorrectly.

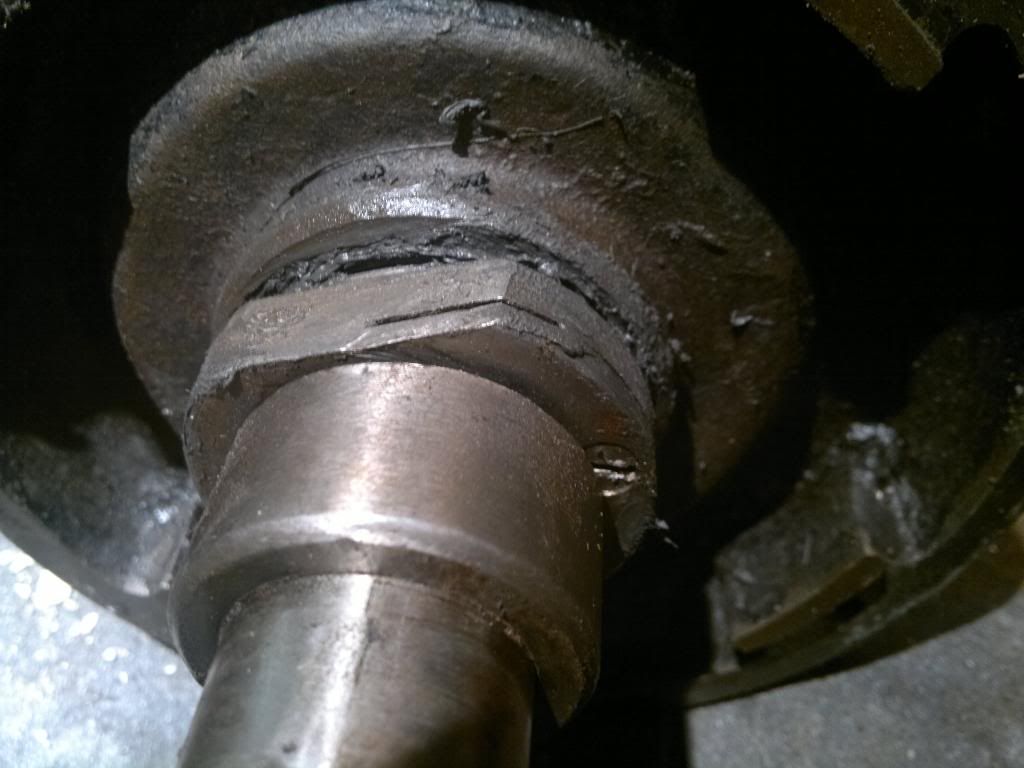
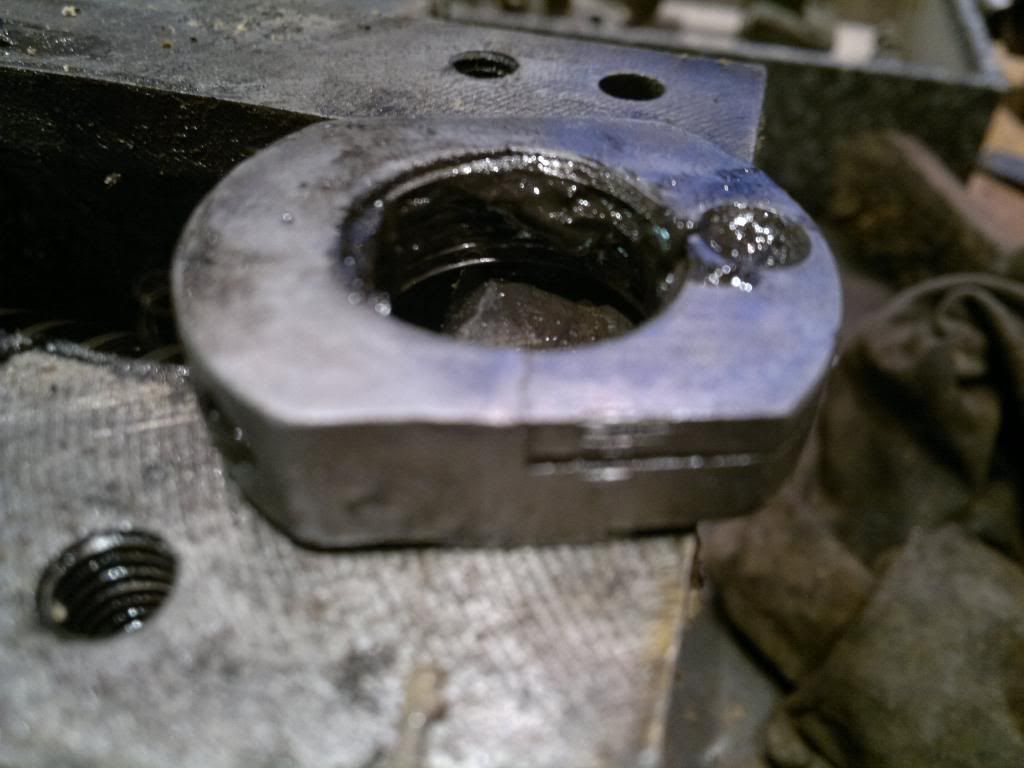
The nut was floating around in the sludge


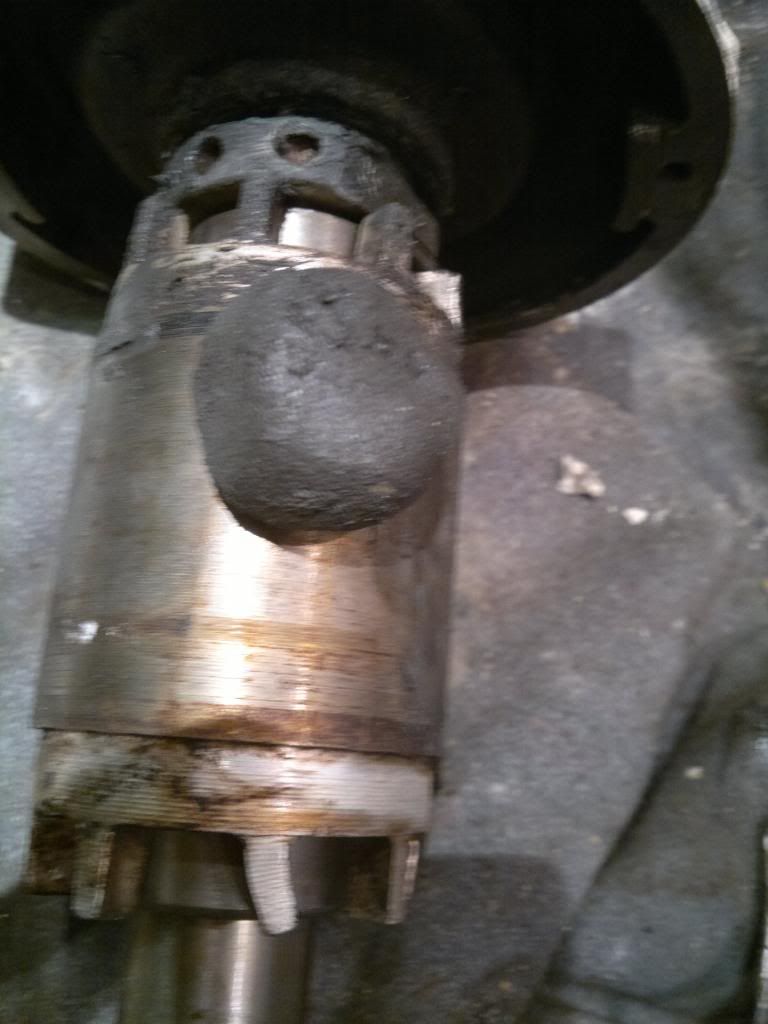
This is the grease I collected, it was more like blue tac


The nut has been put in the wrong place


Which the muppet who put the motor back together decided to do this instead of looking for a reason why things would not fit


Also I cant get the spindle off, does anyone know which way it screws off?
 
wallace":1lfe4yvu said:
Karl, it was £340 plus courier at £50 so £390. Which I think is not a huge bargain but I have seen them go for £700

That sounds quite reasonable. Should be a great machine when restored.

Cheers

Karl
 
Thanks Jim. I managed to get the motor stripped down and by all accounts the 'muppet' who was there last put it back together correctly. Things just did not look right. Heres me thinking that the shaft that holds the bobbins unscrewed like on a spindle moulder. Nope, its all one piece straight through the motor. Everything slides on via the bottom. Luckily I figured it out before the stilsons and a big bar were used.
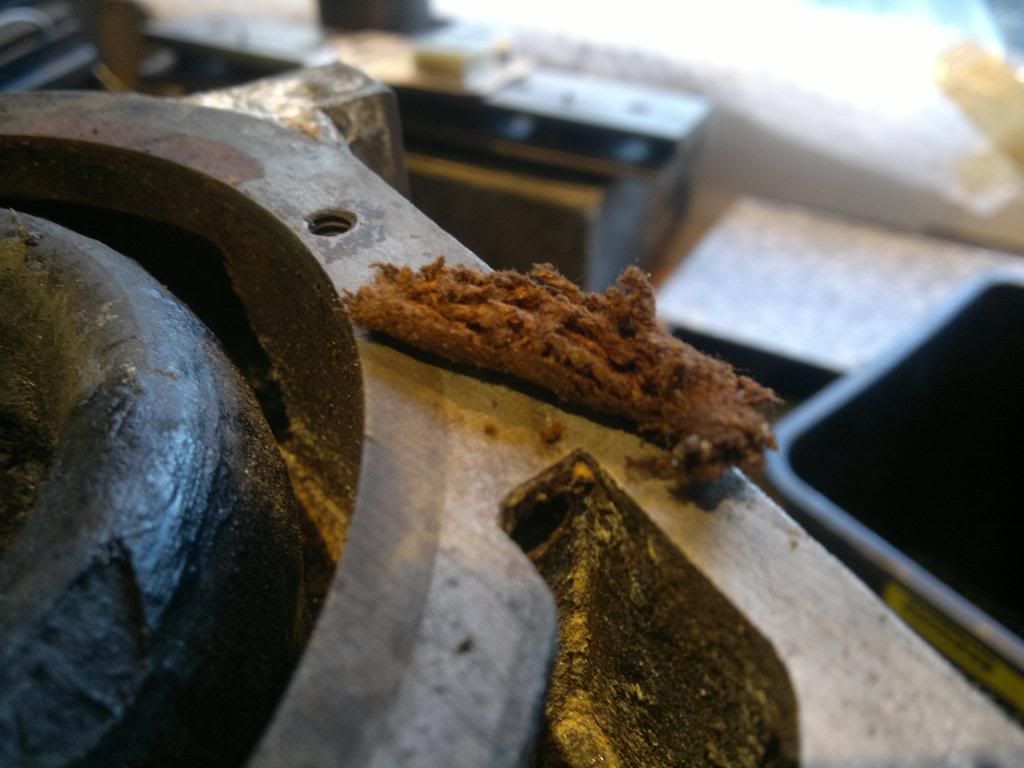
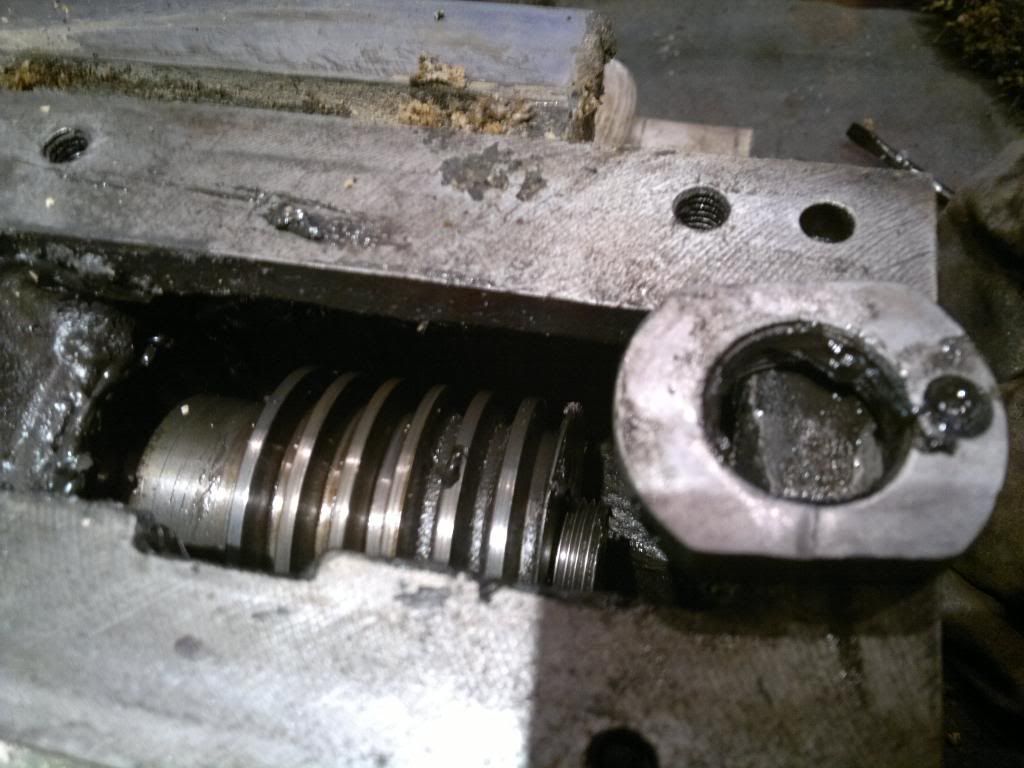
At the top of the motor there is a little reservoir of oil which has wicks that disperse the oil by capillary action onto the motor ways.


This is what was left


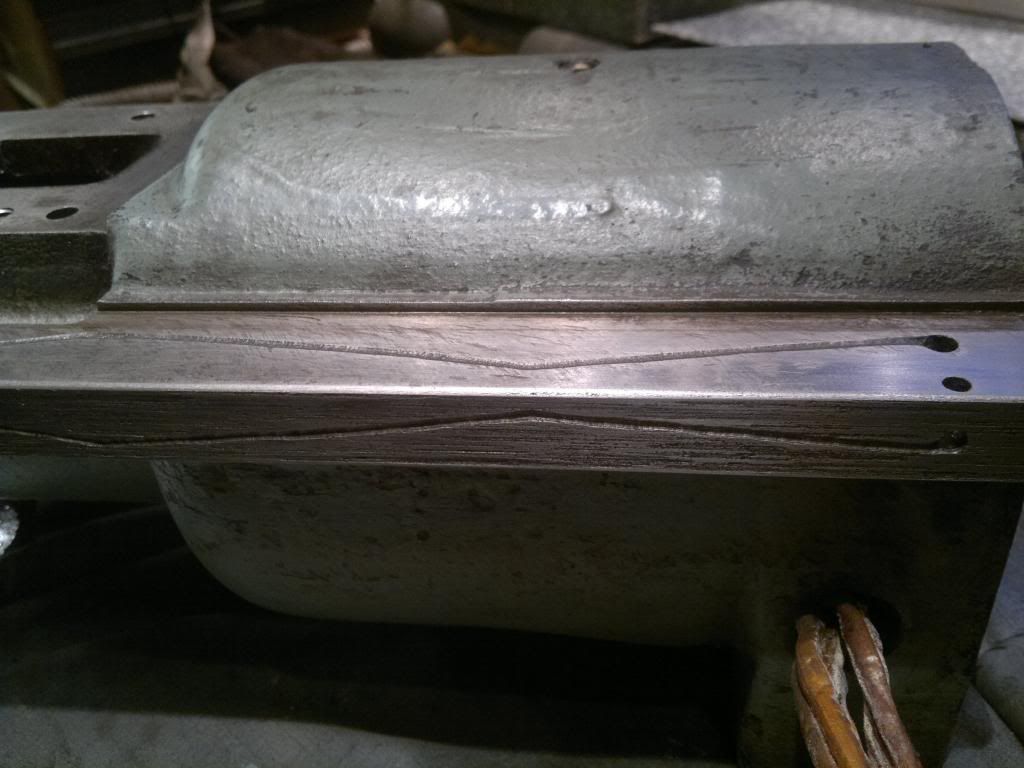
The ways have groves to disperse the oil


I was very surprised at the condition of the bearings, They look to be original and in good condition which is amazing considering the state they were in

 
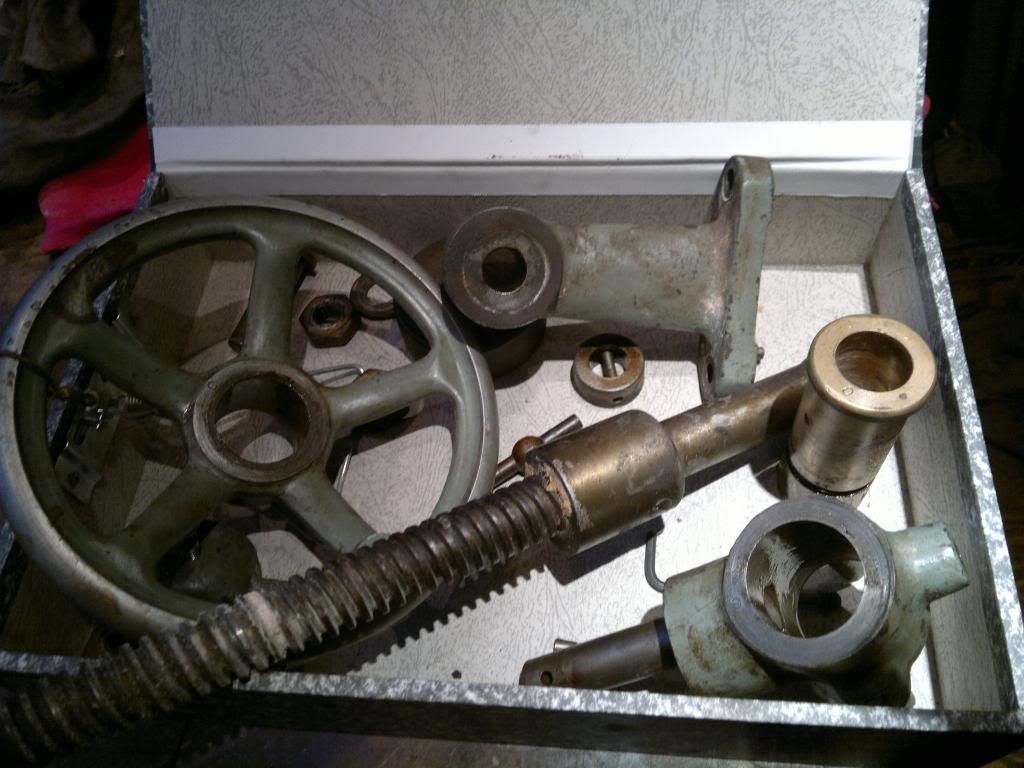
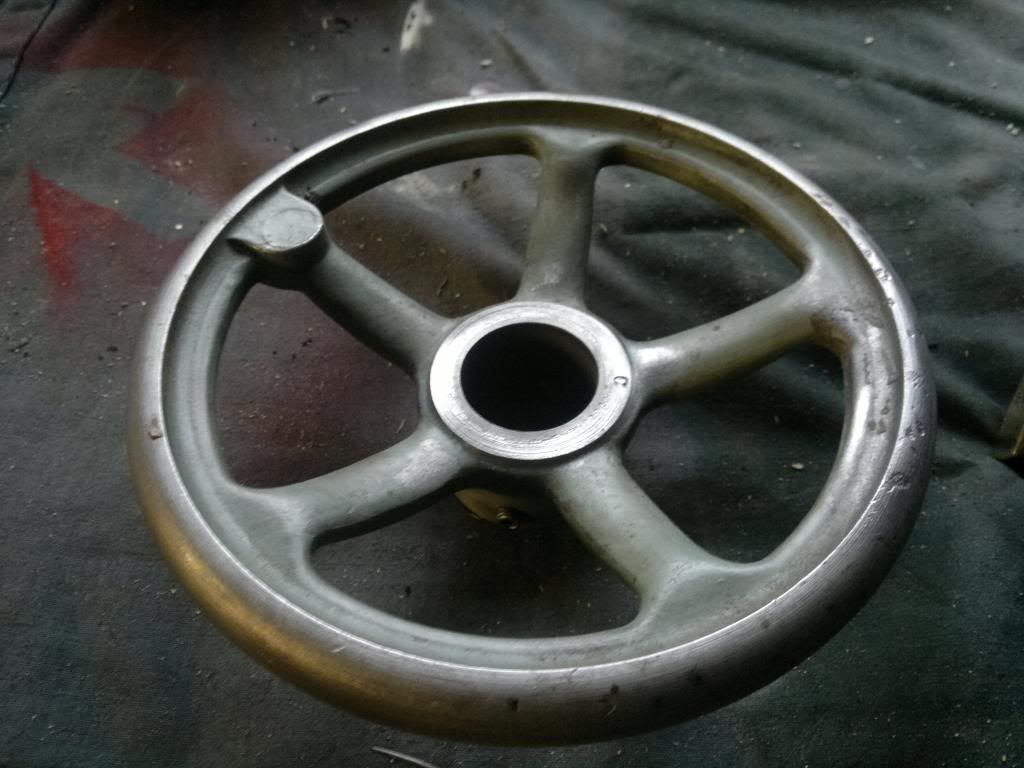
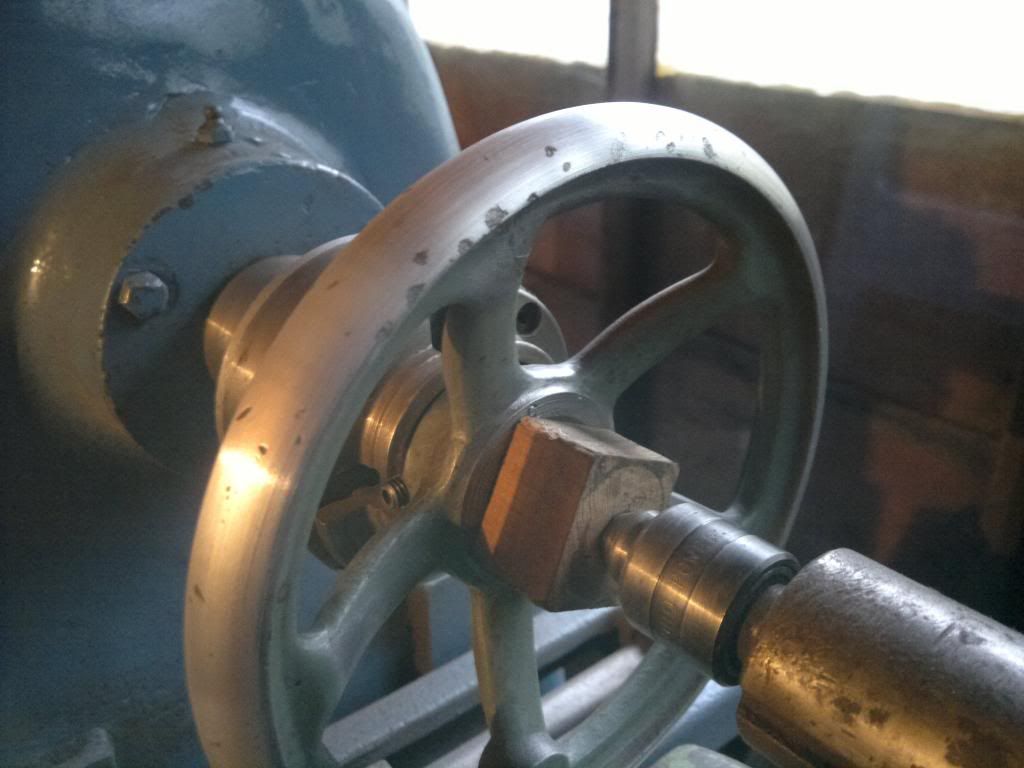
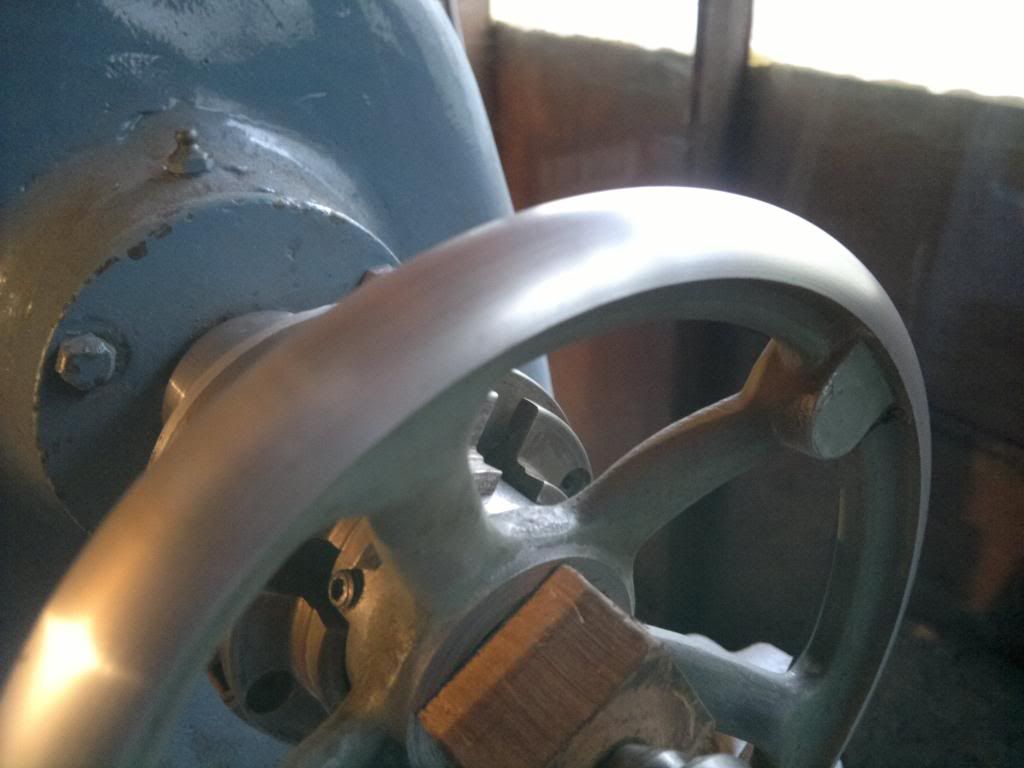
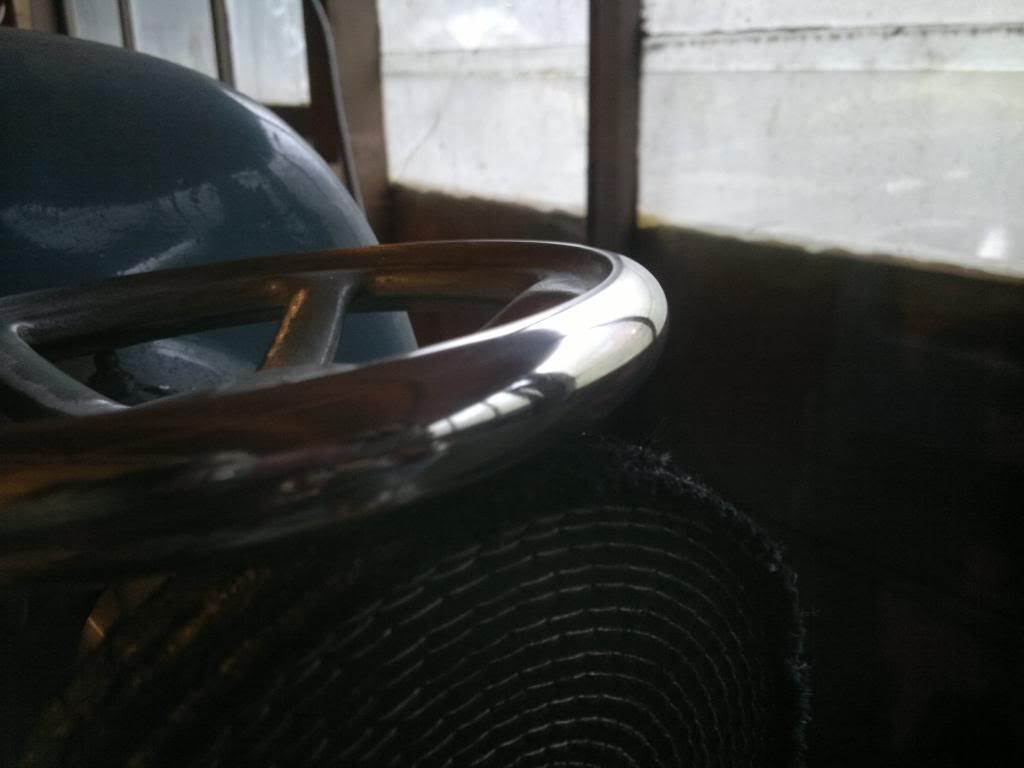
Its been a while so heres an update. The handwheels on this are ali and have cast defects and a few dings. I put them on the lathe and sanded with 80 grit. Once they were clear I went through the grits to 240. I then gave them a polish.


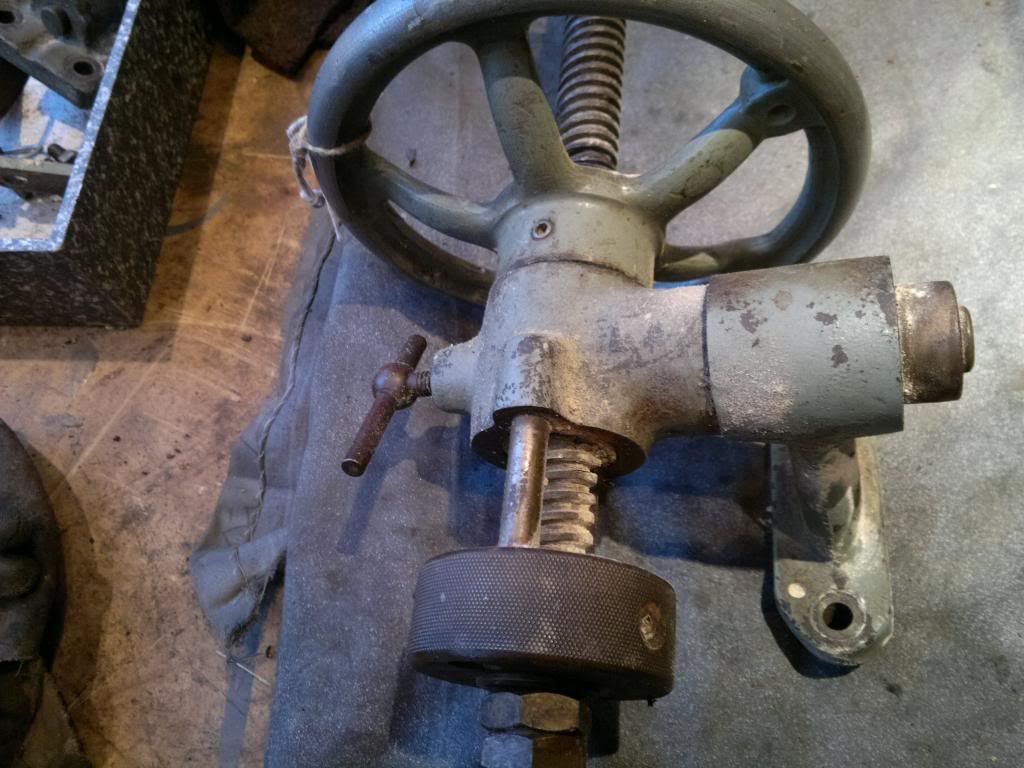
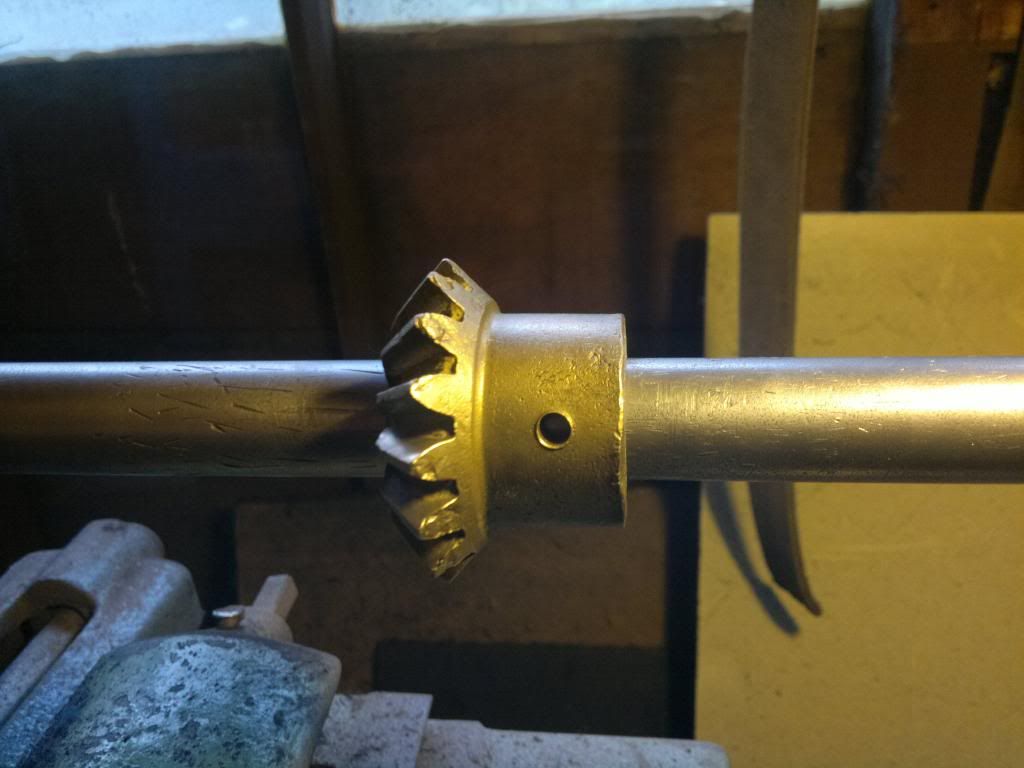
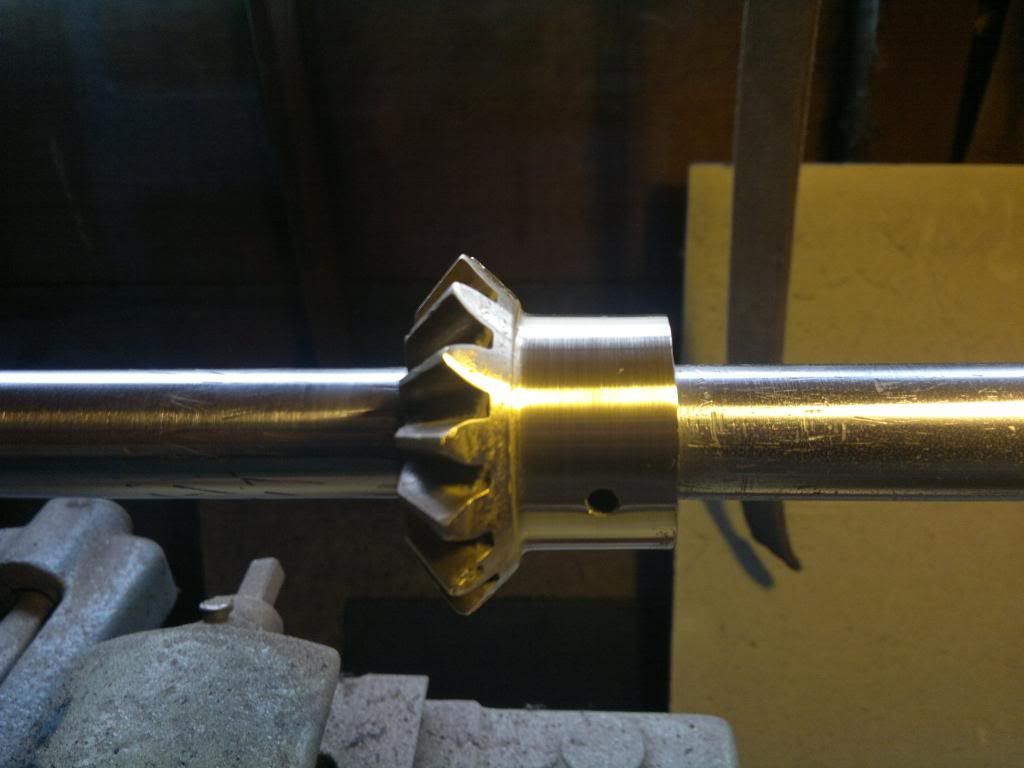
This is one of the height gears


mmmm. some nice shiny bits, recently realised how good it would be to have a lathe for this kind of stuff. bottle of brasso on your Christmas list Wallace?
 
I like polishing non ferrous metals, its so easy to get a really good finish. it lasts so much longer as well. I think I've tried most polishing potions and for me silverline red compound works well. Brasso is good for restoring old painted surfaces
 
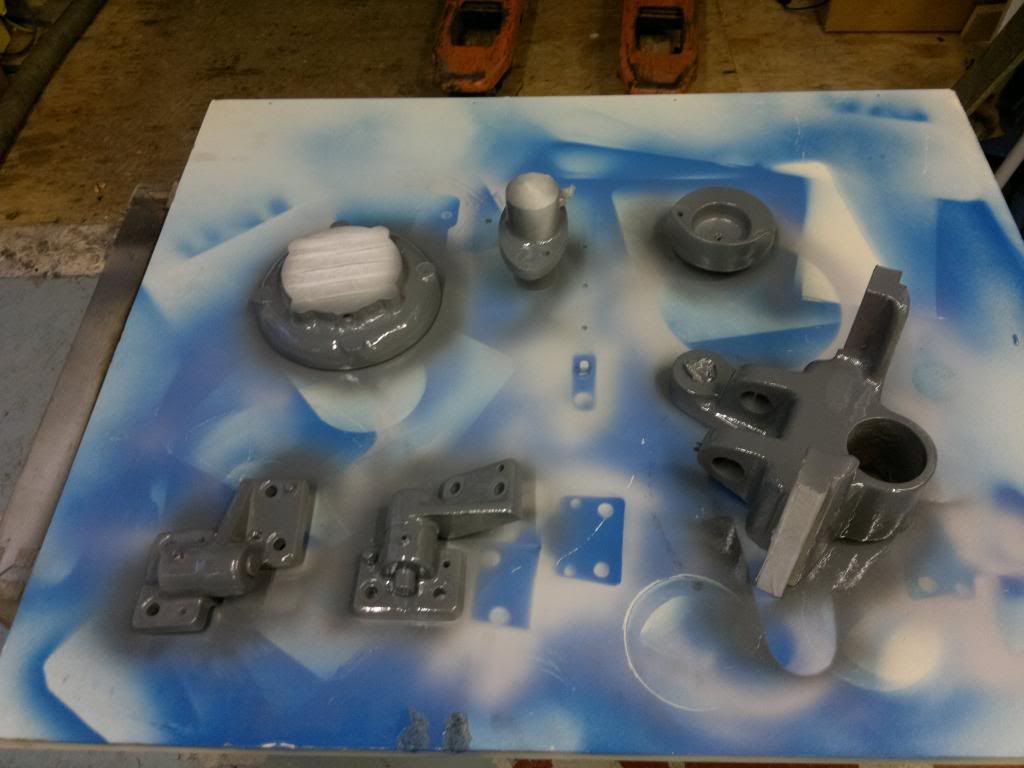
Things got a good coat of zinc primer


And then I started with the top coat of QD enamel


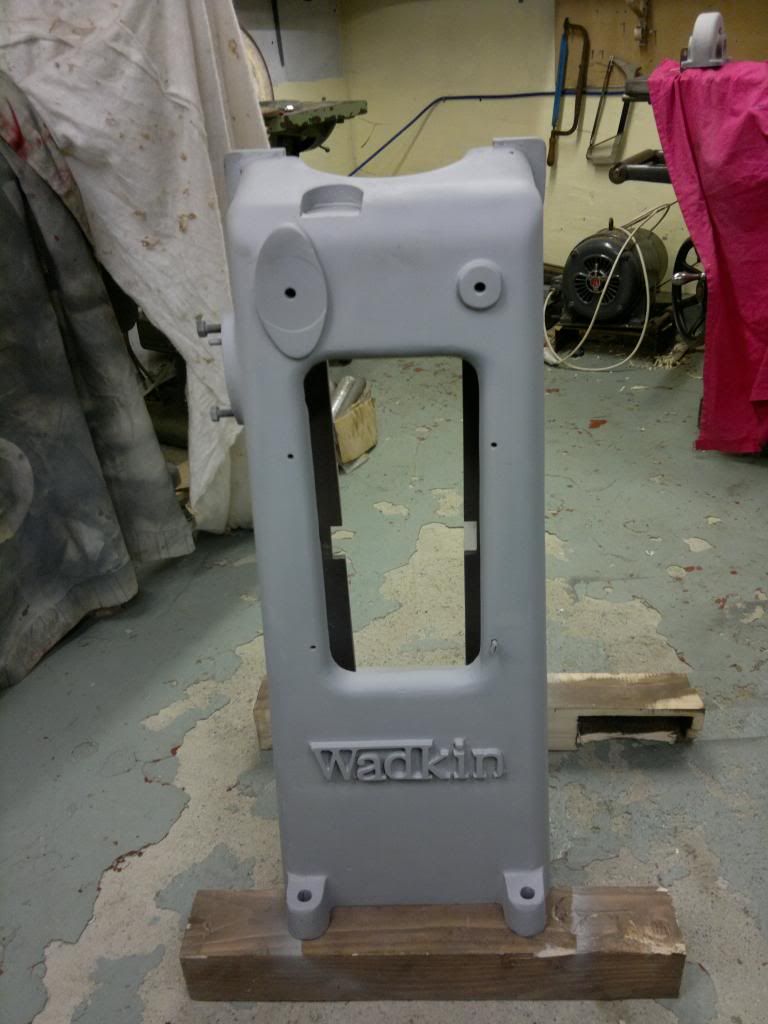
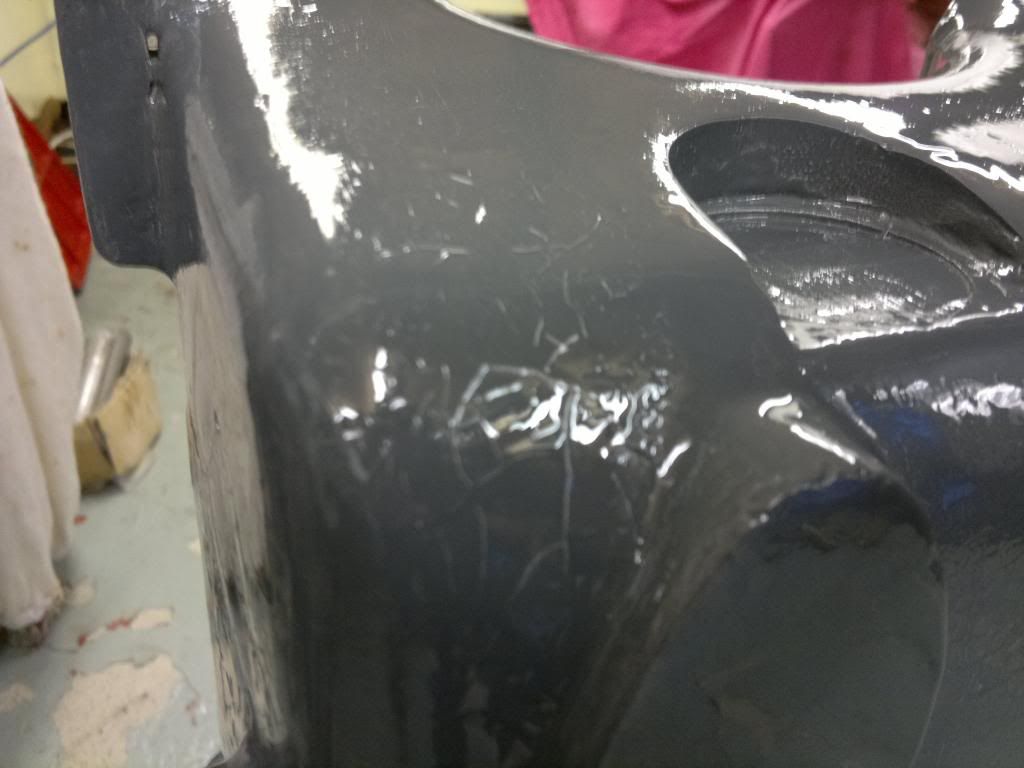
The first thing I painted was the main casting and its had a reaction so I will have to wait till it dries and start again :(

 
Looks more like cracking to me rather than reaction.
Possibly to thick a coat without enough time to flash off.
Looking forward to seeing this one finished, excellent work.
 
Back
Top