devonwoody
Established Member
Thought of another design.
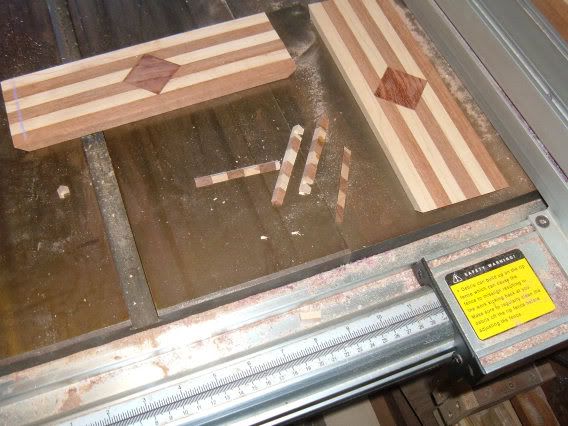
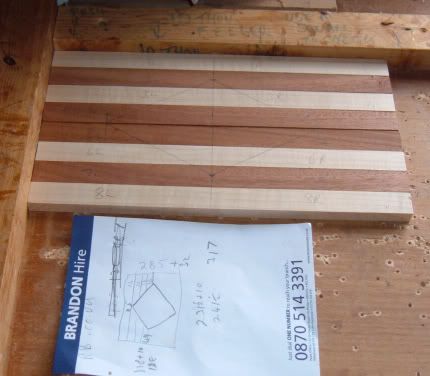
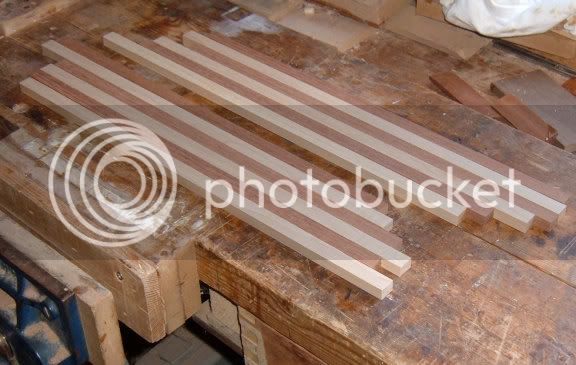
So machined up these strips in maple and sapelle.
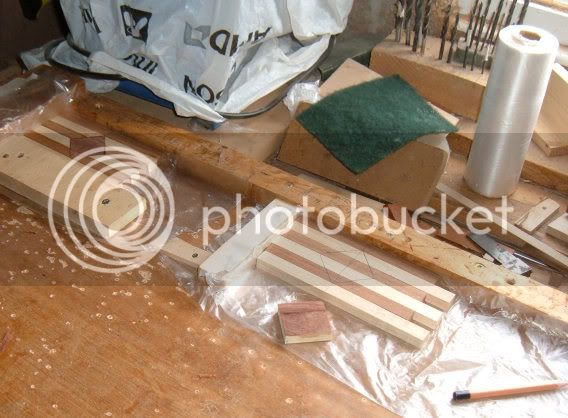
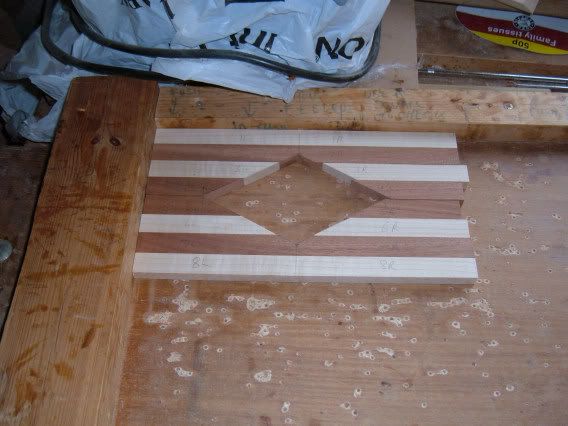
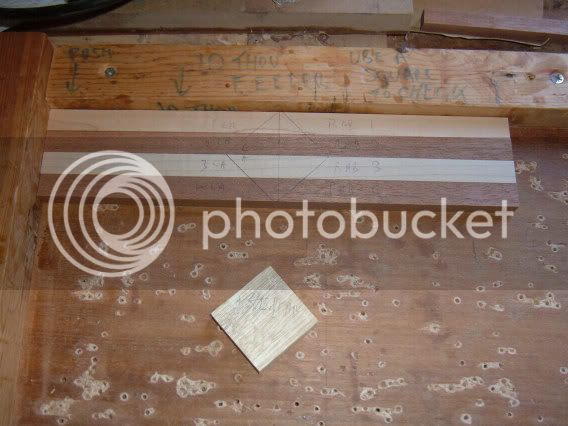
Cut some more diagonal blocks (slightly thinner than strips) and marked up the cutting line of carcass pieces.
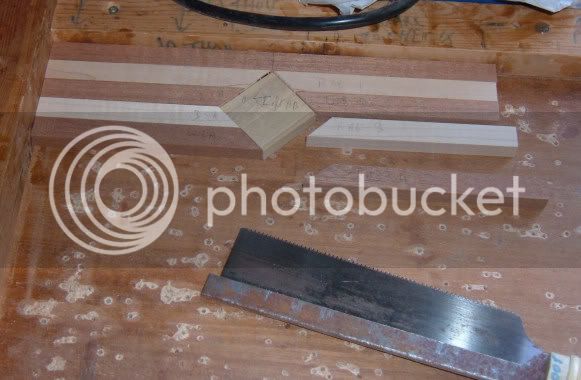
Hand cut the strips and sanded them to fit diagonal block.
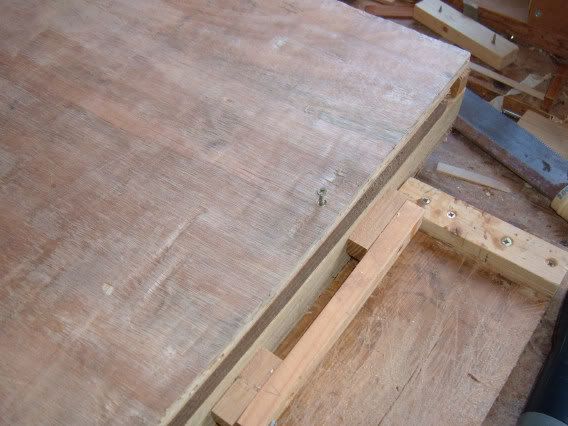
Then got out this box of tricks.

The lid of which is held down with 4 screws.
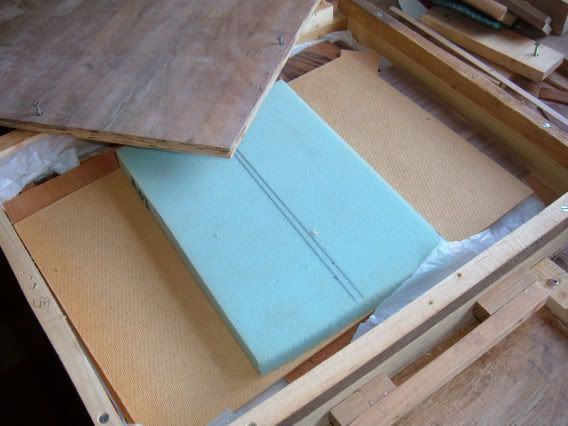
And when the lid is removed there is this packing below lid.
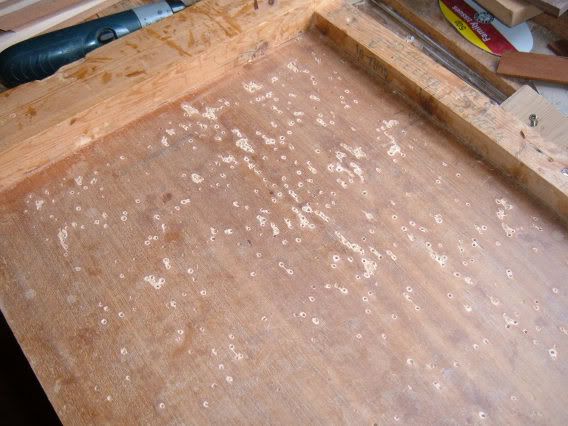
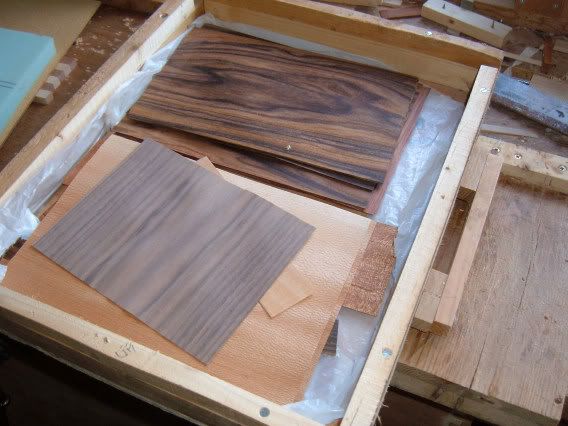
Which now reveals my stock of veneers. These veneers were a gift from LYNX a ukworkshop forum member around 6 years ago and to keep them safe I store them in this container made from an old pallet supplied with one of my machines.
Haven'T seen anything of Lynx for some years, "how are you keeping?"
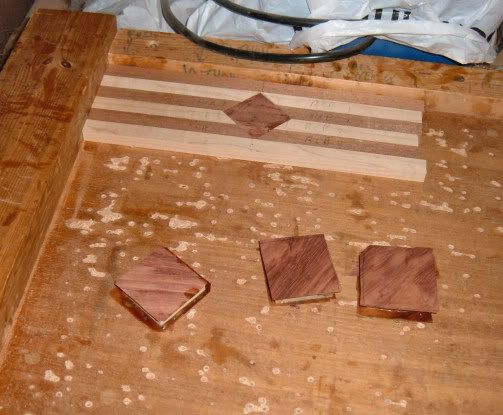
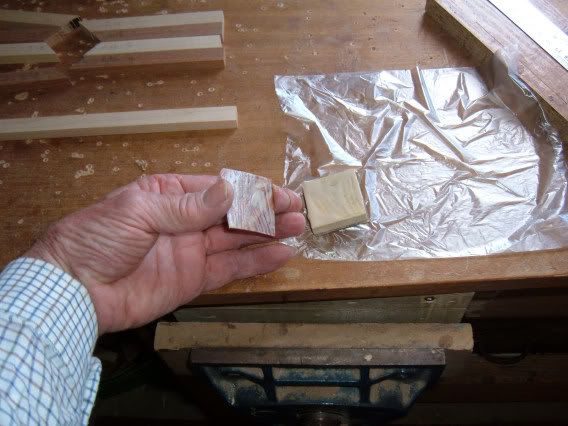
Selected this veneer which I think might be Australian Red Gum?.
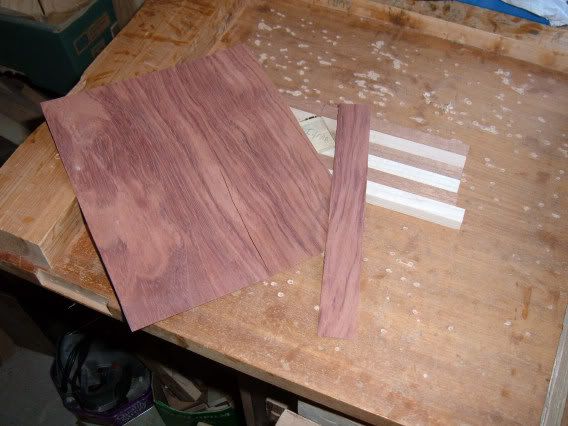
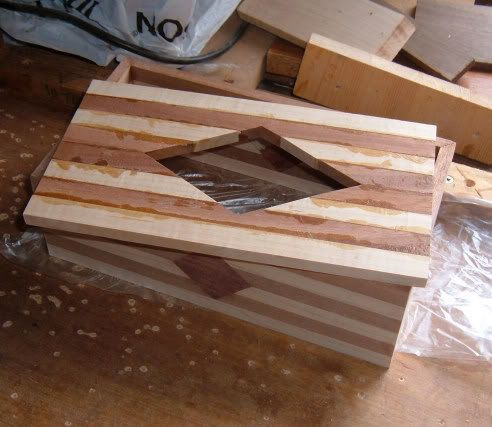
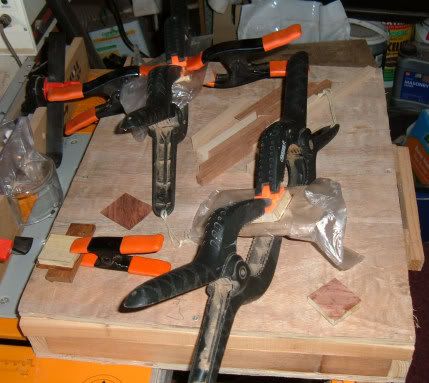
Gluing up veneer to diagonal blocks.
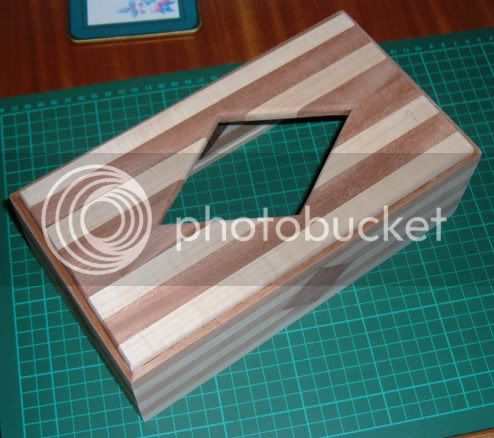
And things are a bit complicated at the moment.
So machined up these strips in maple and sapelle.

Cut some more diagonal blocks (slightly thinner than strips) and marked up the cutting line of carcass pieces.

Hand cut the strips and sanded them to fit diagonal block.

Then got out this box of tricks.

The lid of which is held down with 4 screws.

And when the lid is removed there is this packing below lid.

Which now reveals my stock of veneers. These veneers were a gift from LYNX a ukworkshop forum member around 6 years ago and to keep them safe I store them in this container made from an old pallet supplied with one of my machines.
Haven'T seen anything of Lynx for some years, "how are you keeping?"

Selected this veneer which I think might be Australian Red Gum?.

Gluing up veneer to diagonal blocks.

And things are a bit complicated at the moment.


