Droogs
Not the Sharpest Moderator in the box
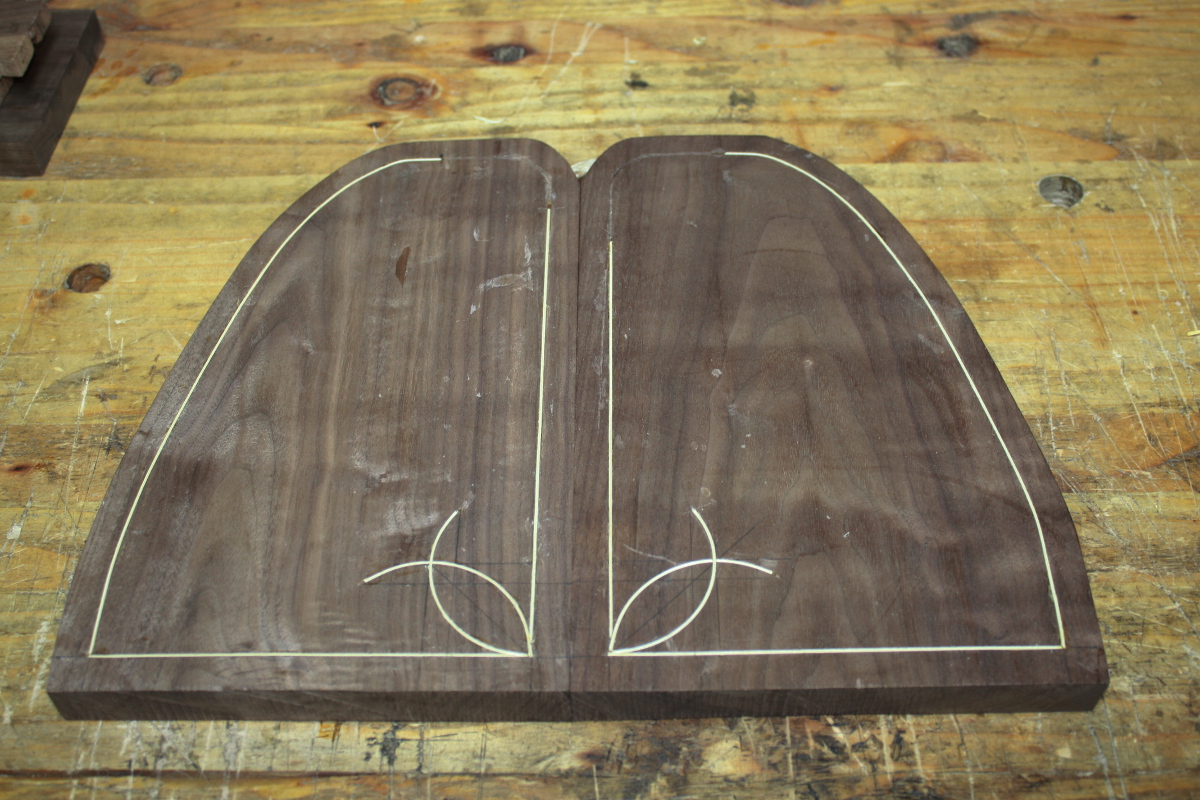
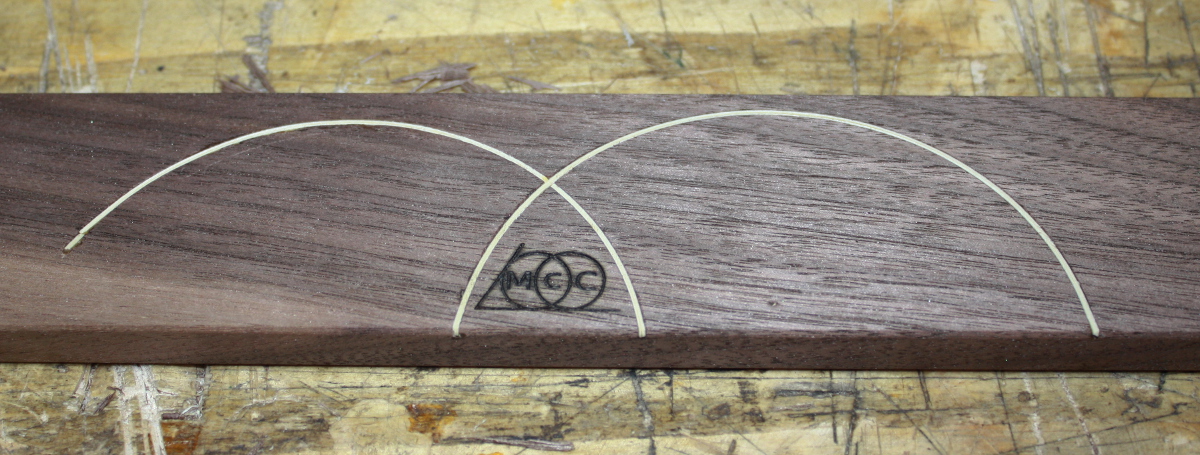
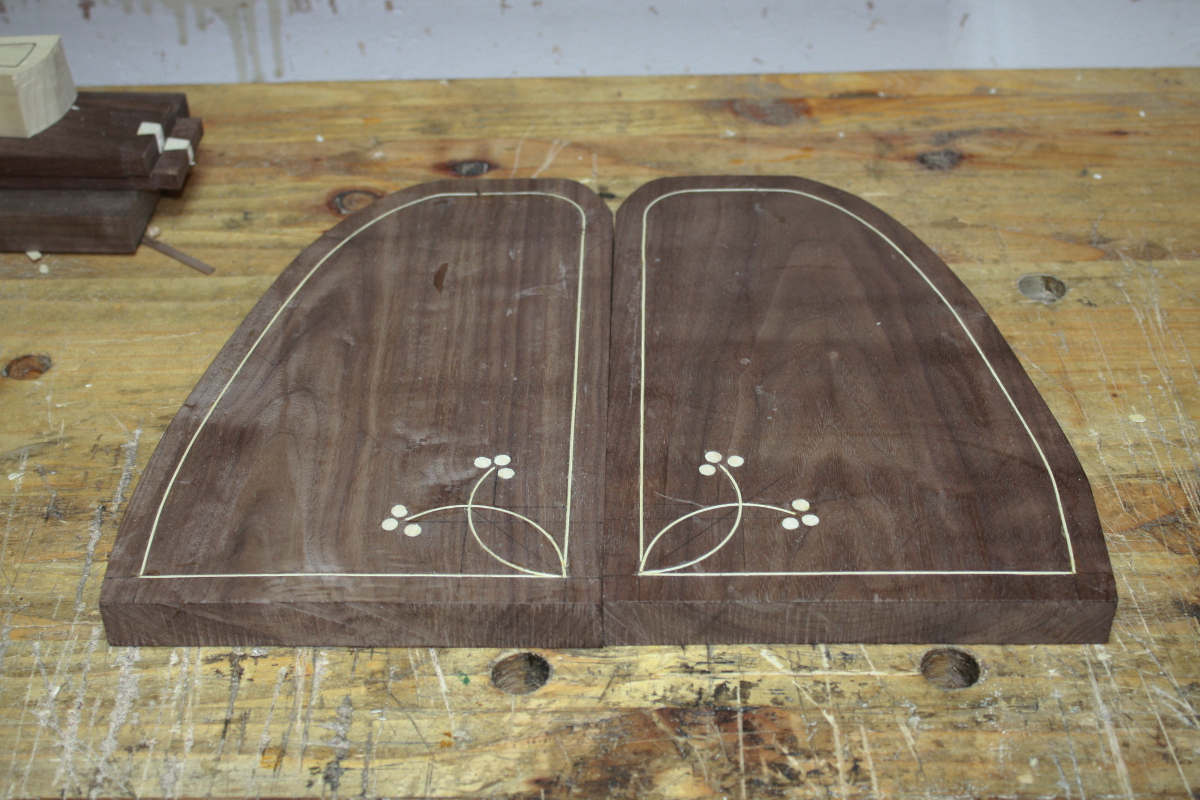
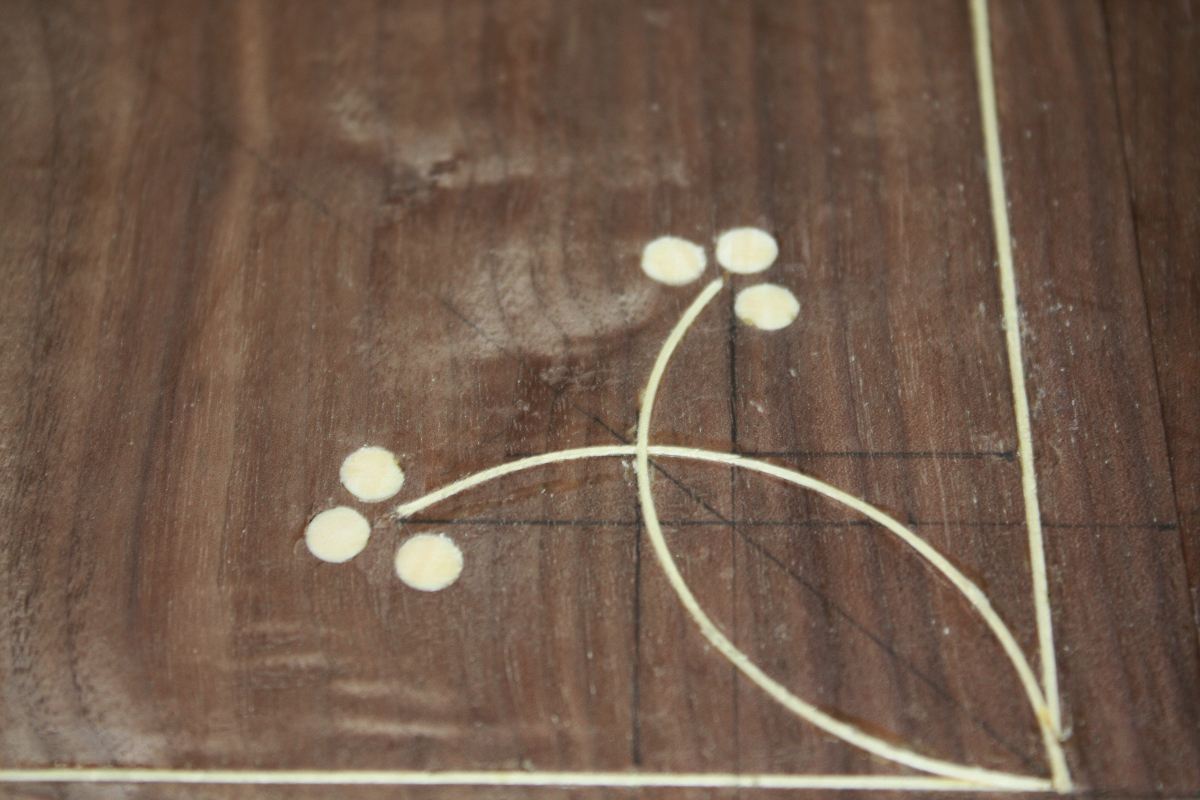
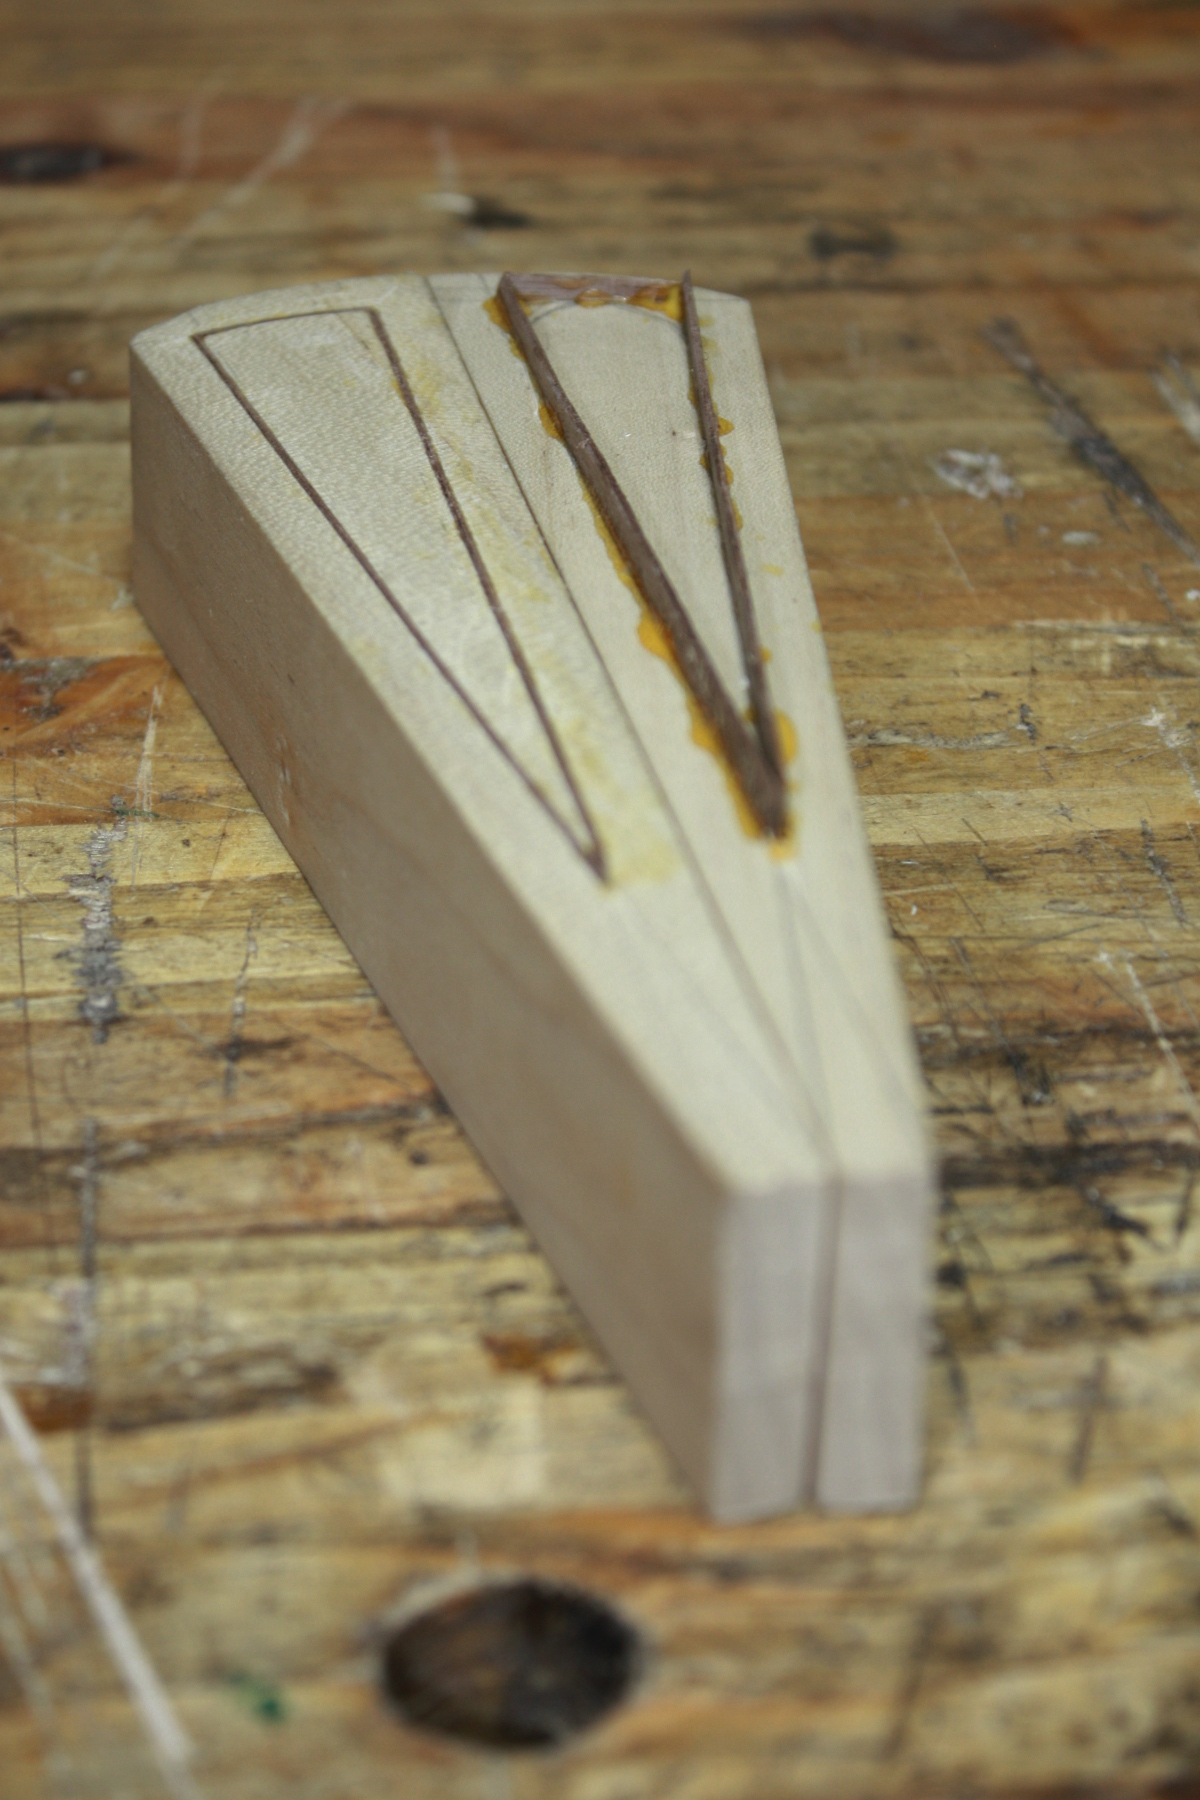
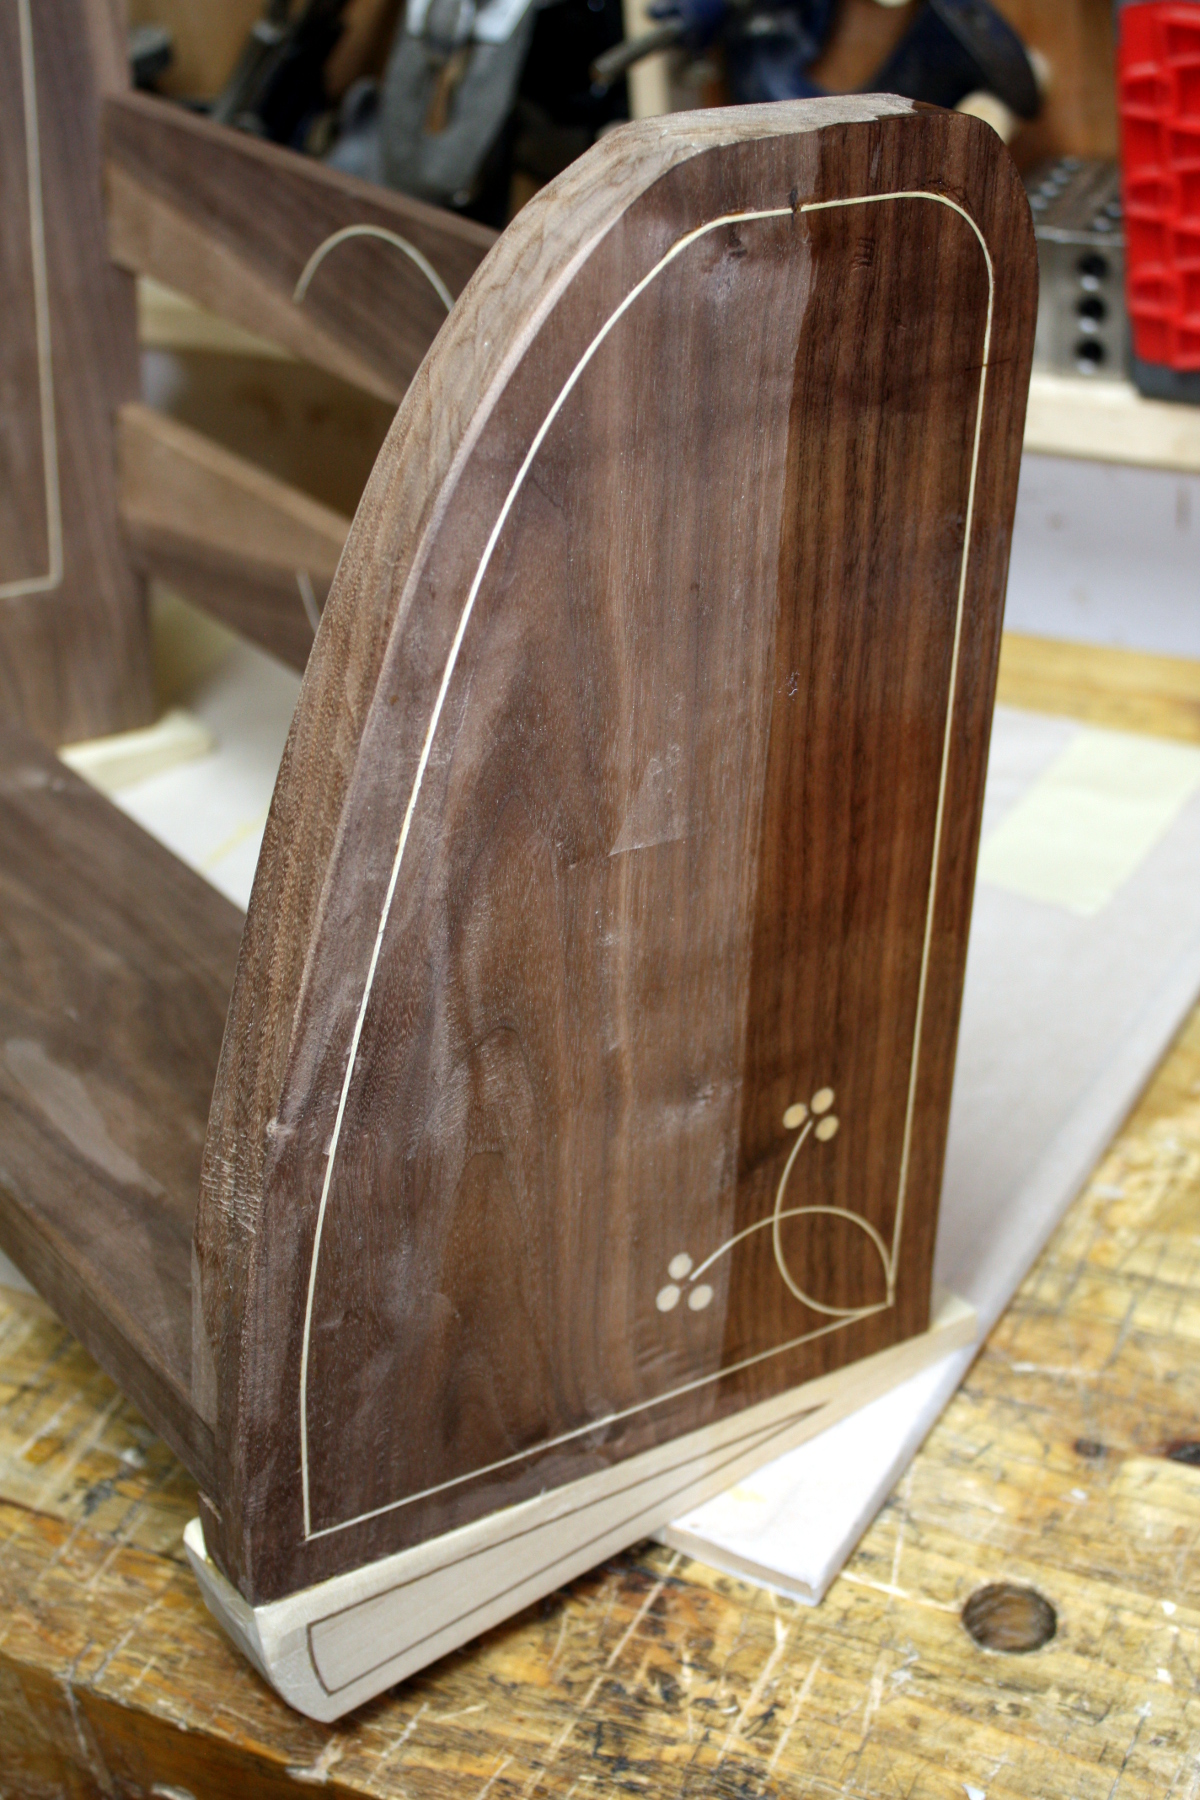
Great going Mark, looks good so far. each time you inset a piece you will improve as you will learn a bit more each time. With regard to the sawing of the inlay, the following vid may help you a bit. The main thing to remember is you are not trying to get the inlay to the needed dimension off the saw. I allways saw over size and then shave it down to size.
Once the wide strip comes off the saw, cut to just a little over the final seen width of the inlay. I then place the veneer strip flat on a cutting board and clamp a 1" high guide on top, leaving a section of the veneer sticking out to the side (still supported by the cutting board). The sticky out piece is as wide as the depth of the inlay groove I intend to cut plus 1mm ( to allow of scraping level later) plus the thickness of my hand veneer saw.
So I end up with a rectangular cross section, the longer side being the vertical face) and the shorter obviously being the horizontal face that will be seen once inlaid in place. Both dimensions at this time are too large.
The vertical face will not be changed until after the inlaying has been completed, the other face is now worked on to get it to the dimension needed. this is done by pulling it through a hand thicknesser, which has a blade as sharp as you can make it, and adjusting the gap down 100TH of a mm at a time until the inlay piece is evenly thicknessed and fits into the inlay groove. Once glued in the remaining overspill that is above the suface is then scraped of using either a #80 or a card scraper.
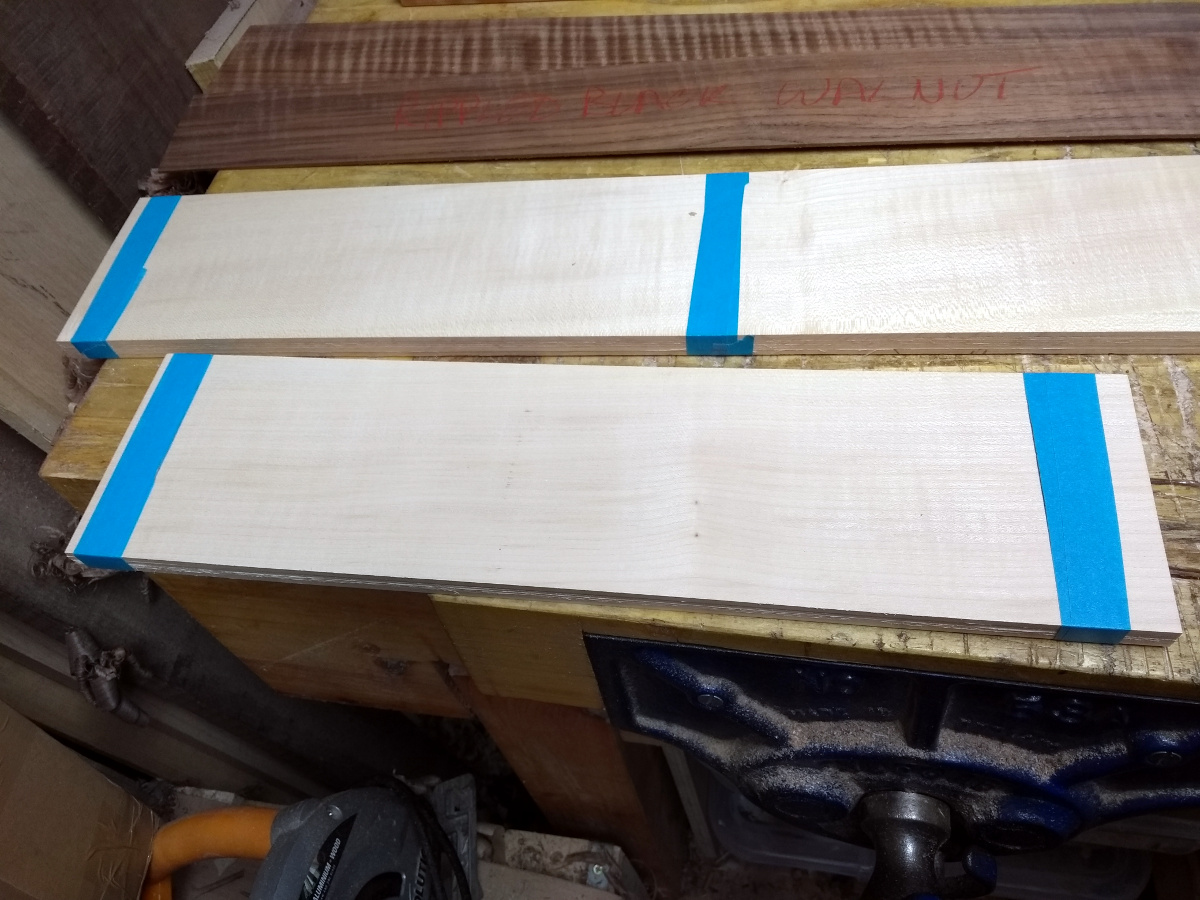
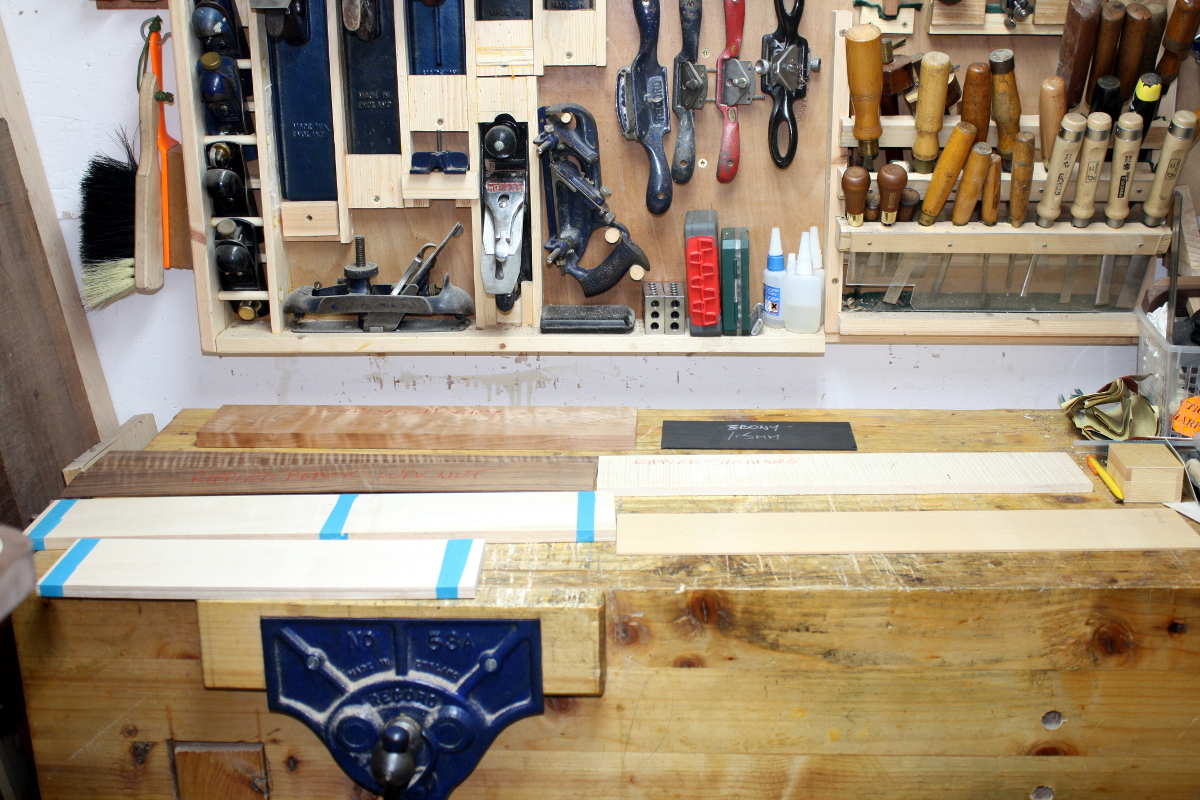
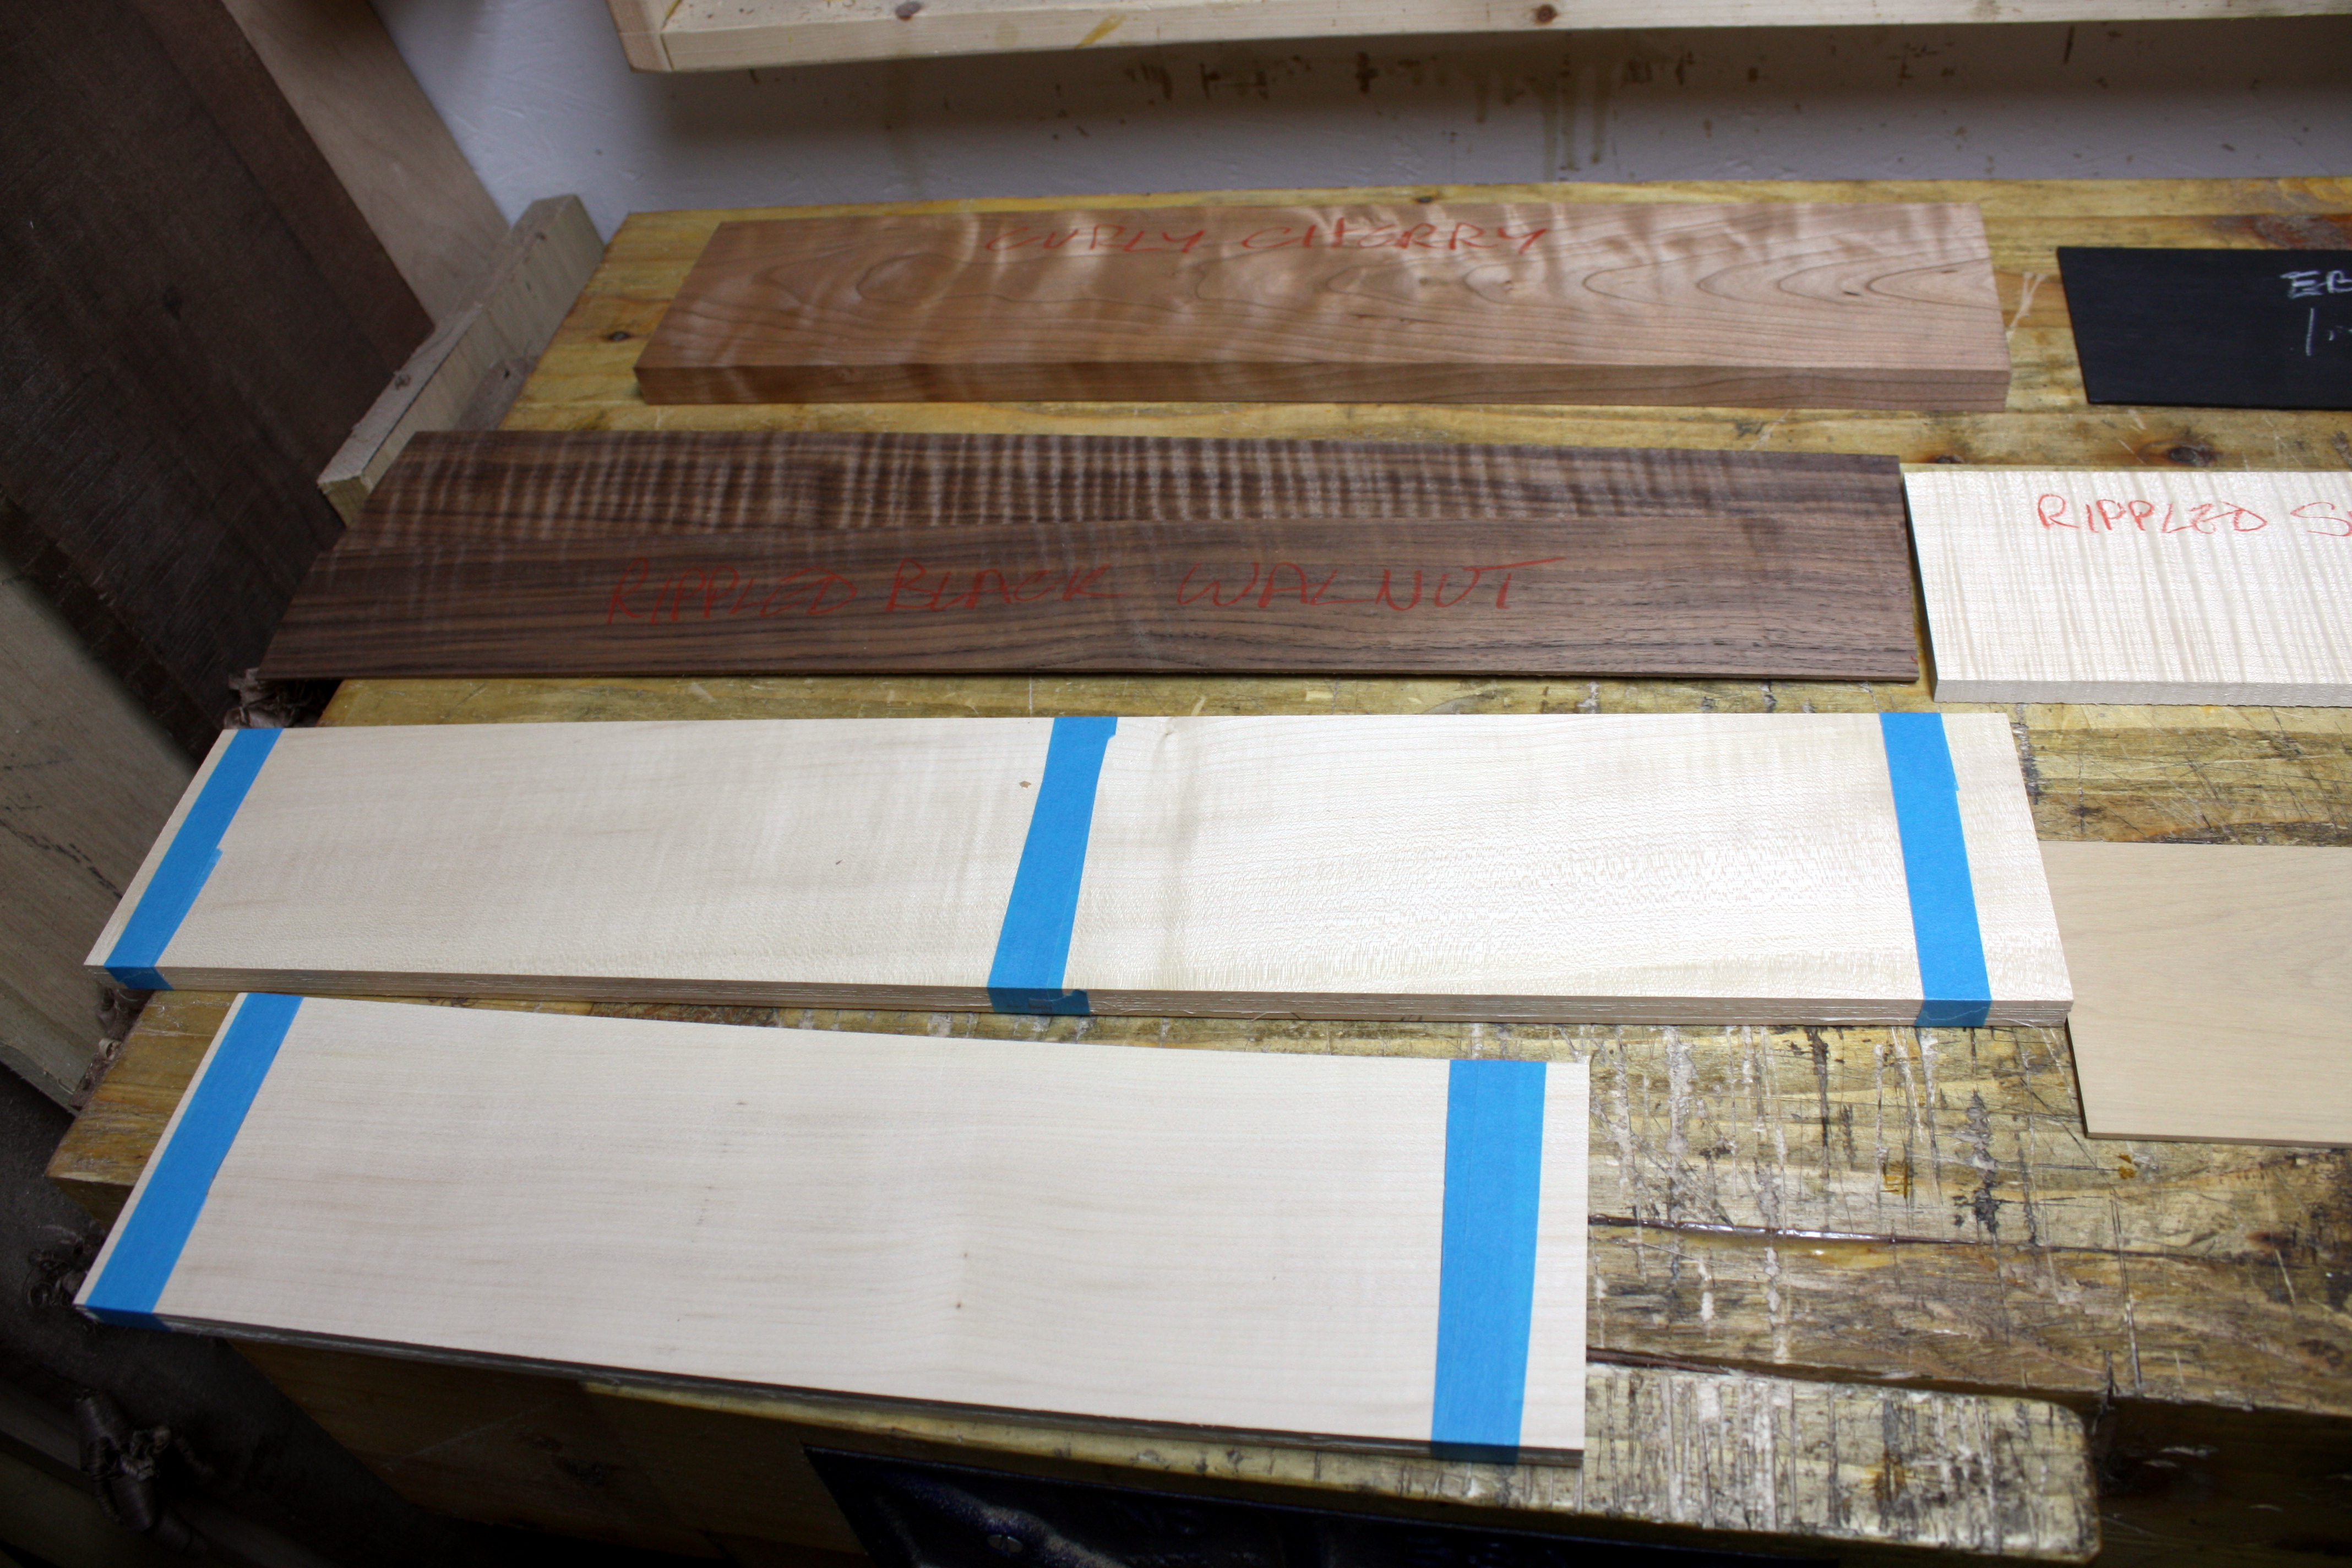
Just another thing I do, is this: when I am marking out. I cover the area carefully with blue marquetry tape first. This helps me to draw the design without marking or damaging the surface of the board and seems to give a much better, crisper arris to the inlay groove. When it comes to actual inlaying it helps prevent any glue compromising the board suface.
hth
EDIT (forgot to put vid link in #-o ) http://theapprenticeandthejourneyman.co ... -band-saw/


