V for Victory tissue box

UKworkshop.co.uk

Help Support UKworkshop.co.uk:

This site may earn a commission from merchant affiliate links, including eBay, Amazon, and others.

devonwoody

Established Member
Joined
11 Apr 2004
Messages
13,493
Reaction score
25
Location
Paignton Devon
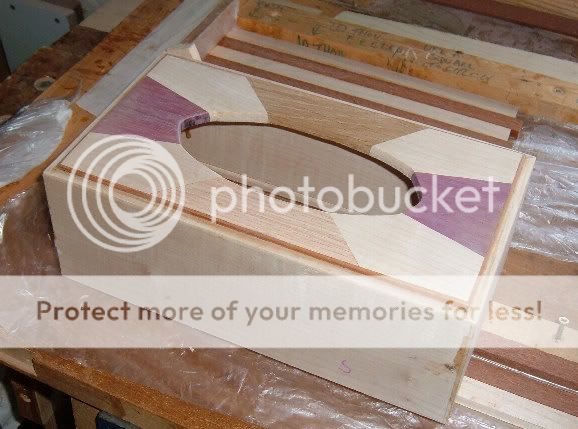
V for Victory tissue box to celebrate the English test match win at Lords over Australia 20th July 09 first since 1934.

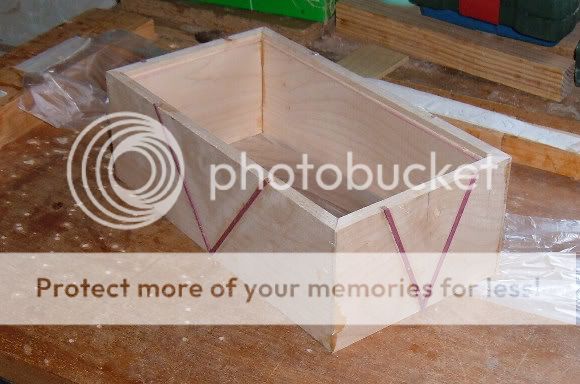
Started a new box with intarsia design. V or Victory.

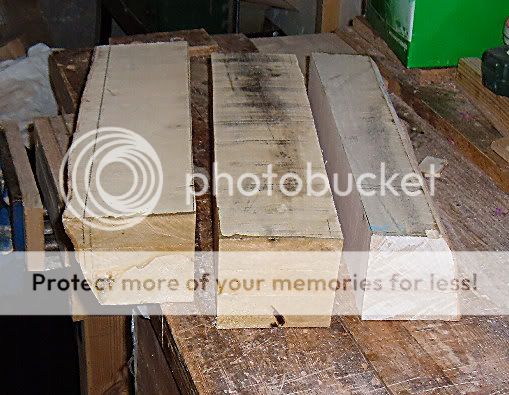
Prepared 4 Sycamore boards to 10mm thickness to make some more tissue boxes.
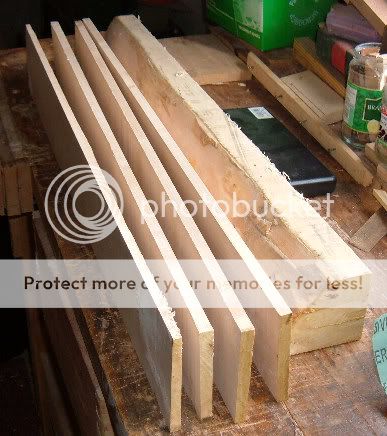
30w.jpg


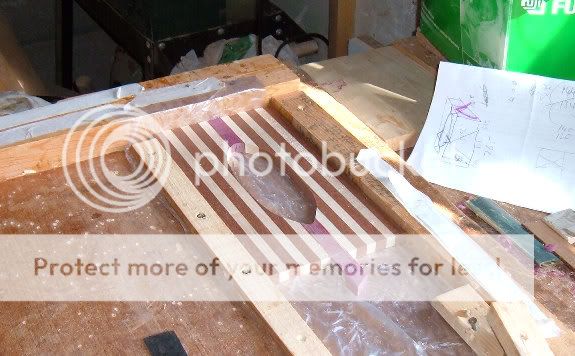
Then marked up boards ready for routering dadoes to v design. Put three boards down to give support to hand held router and fixed a spacing board over timbers to guide router and cut out.
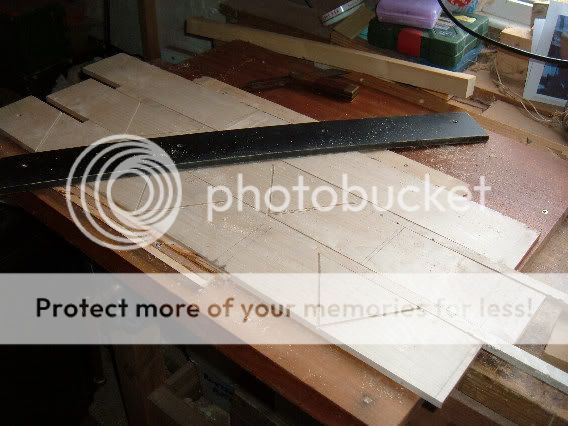
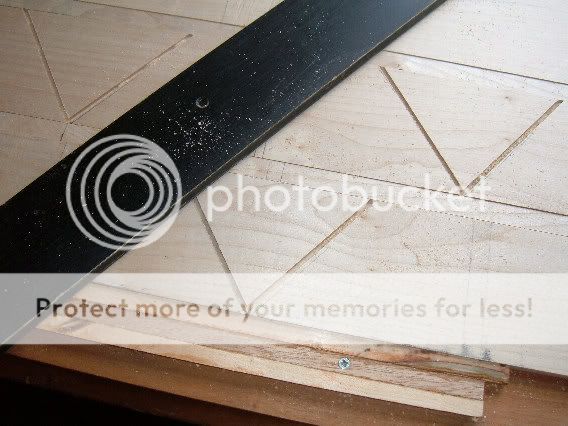
31w.jpg


32w.jpg


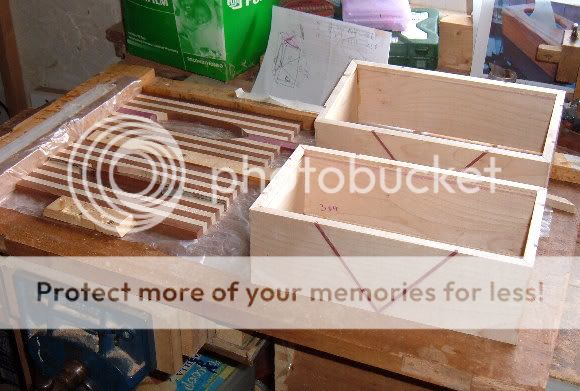
Various screws and clamps were needed to hold everything in position but things went very well.

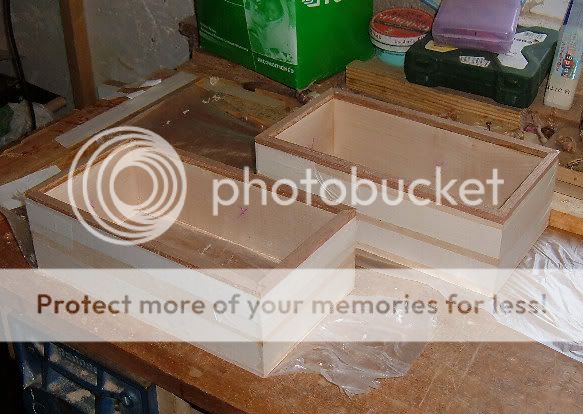
So glued in the p/h , cut mitred corner joints and glued up the carcass.
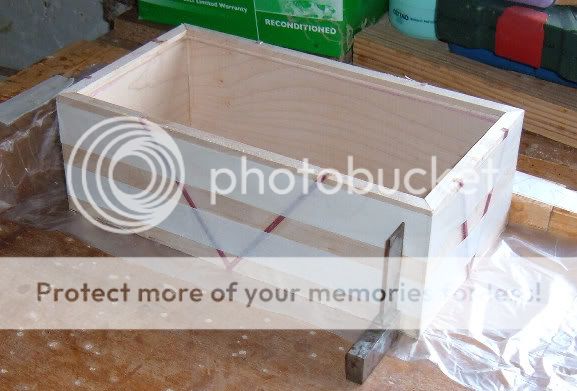
33w.jpg


34w.jpg
 
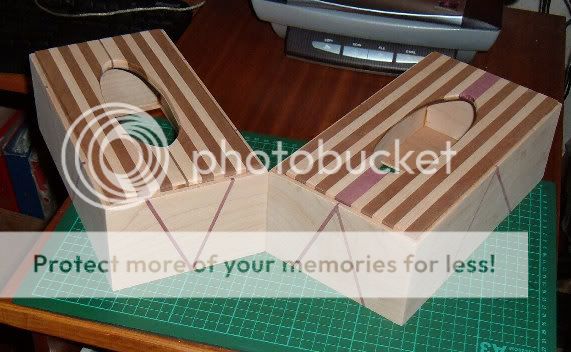
Finished the two v boxes, but decided to vary the pattern, because they are going to two sisters and you know how young sisters fight over their possessions.

37w.jpg


Going out to the workshop in a few minutes I am rather keen, a new design has come to mind for top of the remaining 5 boxes to make.
 
I do like the look of these DW. Shame I don't use tissues!!

BTW what is the brown wood in the tops? looks striking alongside the Sycamore.

Cheers

Bob
 
9fingers":128j4hh1 said:
I do like the look of these DW. Shame I don't use tissues!!

BTW what is the brown wood in the tops? looks striking alongside the Sycamore.

Cheers

Bob

Thats sapele.
 
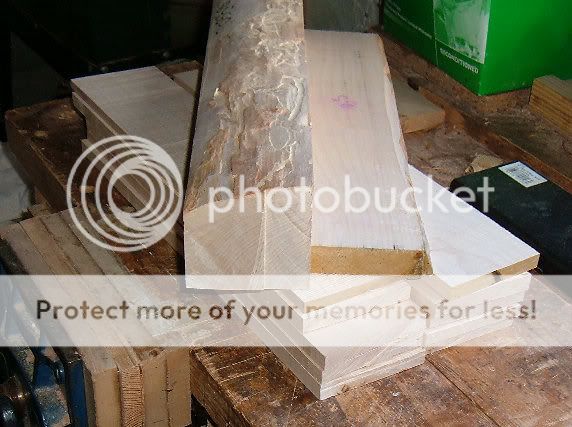
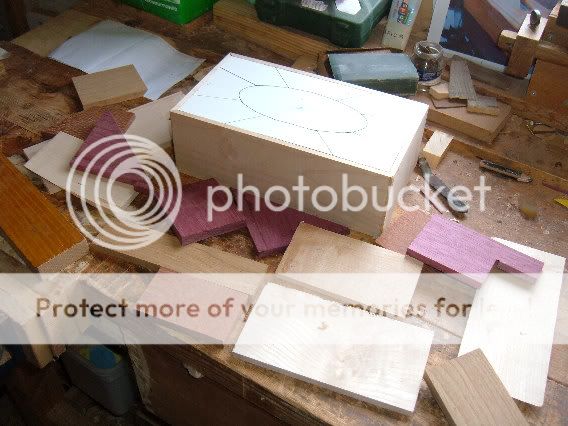
Cut some pieces of my sycamore board, trying to get the maximum I have not left any waste on ends, so keeping my fingers crossed.

38w-1.jpg


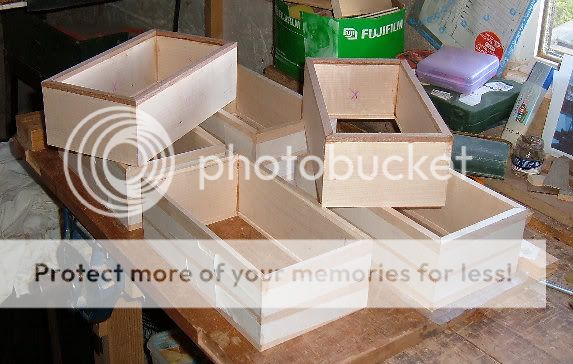
Couple of carcasses prepared with a dark band on top edge owing to not enough depth.

39w-1.jpg
 
The timber stock is being reduced.

40w-1.jpg


There is another six carcasses requiring the lid fitted, various decorative effects are in mind. Two of the carcasses have been rebated on their top edges and going to try something new.

41w.jpg
 
Something different in lid design for me.

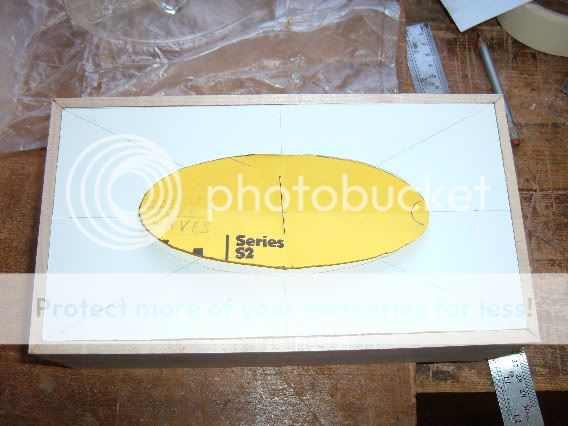
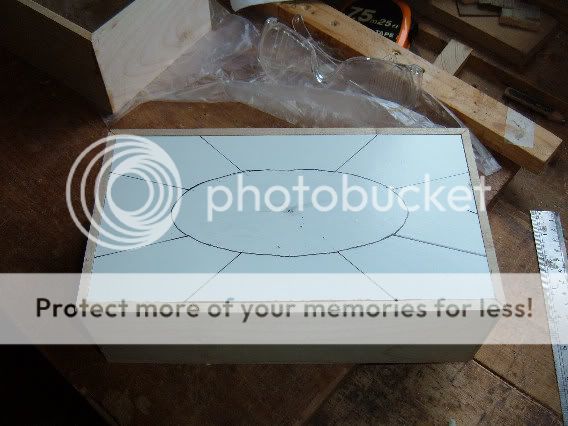
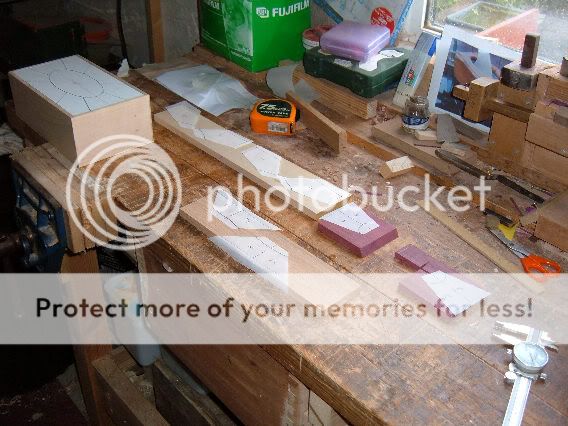
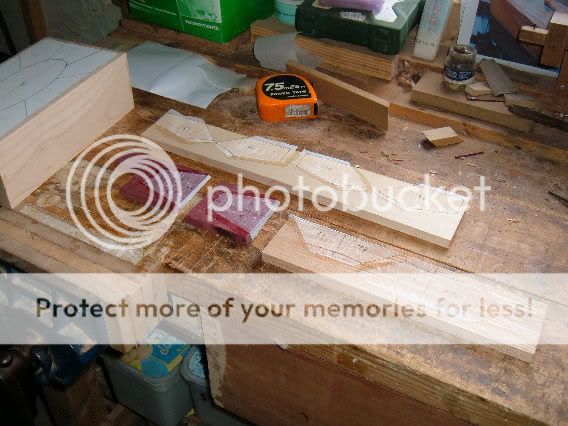
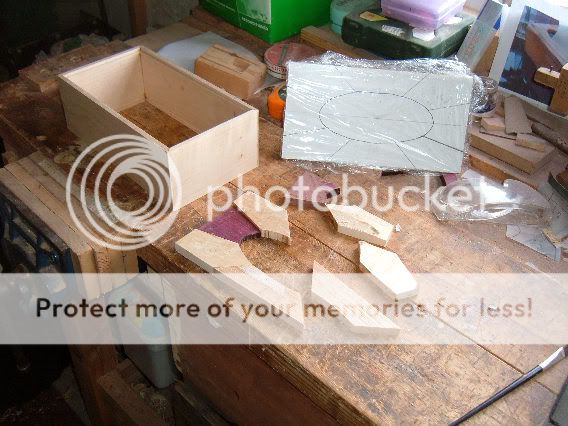
A paper template.

43w.jpg


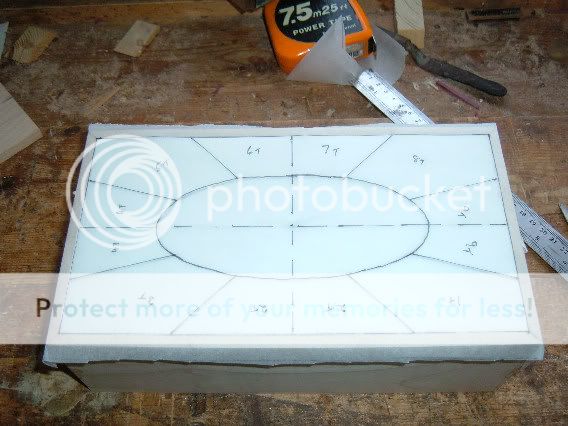
Drawn a pattern on tracing paper and numbered parts.

44w.jpg


45w.jpg


Regretting the number of small waste bits I have thrown away.

46w.jpg


Hoping to have a pleasant weekend in the workshop.
 
My idea of sticking paper templates to timber has not been successful.

47w.jpg


48w.jpg


Gluing the tracing paper using kids craft glue resulted in the baking paper I used shrinking and wrinkling.

Tried another set using carpet fitters spray glue, paper didn't shrink, but it was worse than super glue, it took me along time to clean myself up and pick anything up without problems.
So the day was wasted, going to try carbon paper type effect to get the stencil look or I will have to cut some card and fix on. Then I only have use of a bandsaw with a 16tpi blade, no scroll saw.

Any ideas?
 
Most of your shapes can be defined by straight lines joining points.
So from you templates, mark the points with pin prick and join up with fine pencil and ruler. Where there is a curved edge, make regular pin pricks, enough to define the shape.

I was reading only last night about someone who had used carbon paper and he found it the very devil to sand off the marking afterwards so I would avoid that method.

hth

Bob
 
DW,

I recommend Spray Mount or Pritt Stick on normal paper. Here's a shot of peeling off a template after using it to guide cutting on the bandsaw:
L1030859.jpg

The nice thing about Spray Mount is that it doesn't leave much residue afterwards so a light sanding and its effects on the wood are gone.

Carpet adhesive, something that is designed to hold thick carpet around a stair bullnosing through extremes of temperature for several years, I would have thought that will be very tough to remove.

Cheers
Andrew
 
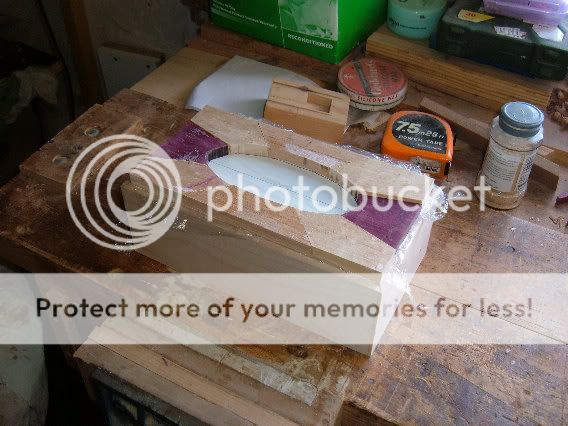
This is the effect I am trying to achieve.


48w-1.jpg


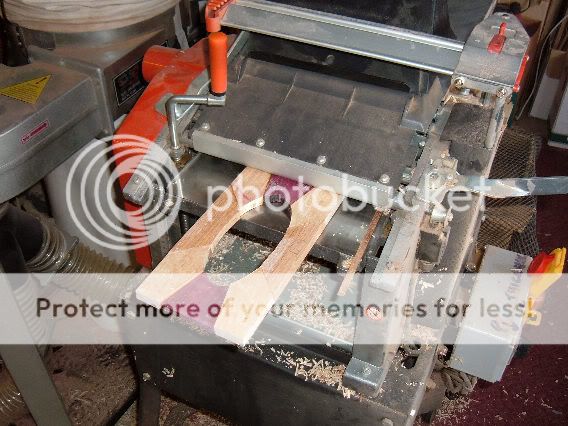
top ready to go through the thcknesser to reduce to around 7mm thick.

49w.jpg


Disaster.


50w.jpg


Whether I was too impatient and attempted only 3 hours after gluing (it works OK on strips).
End grain gluing is involved.
Glue might have caused dragging on the thicknesser table.
Anyway I will give it another go, and do a strip box whilst awaiting a glue set.
 
That is a shame. :( End-grain to end-grain joints aren't all that strong on their own, which is why people tend to 'reinforce' then with a biscuit or spline. :)
 
After being rained off for two days, I finally had another go at that box giving me aggro.

56w.jpg


I glued the sections and piece edges to a flat piece of 3ply and then worked it through the thicknesser, ( I had to do this with the chevron box).
Also after lots of fiddling I had to put a banding around the section edges.

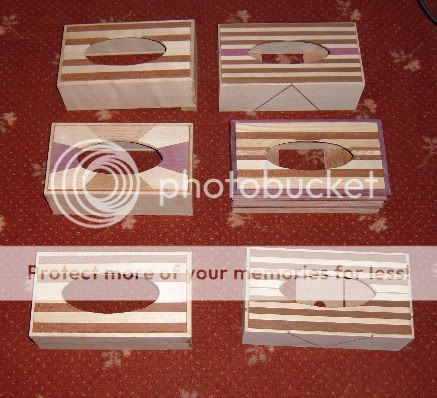
Picture of progress so far, all 6 boxes are in stages of completion,

There are another three boxes hanging about.

57w.jpg


The apertures on the lids are not perfect, I could most probably do with a bobbin sander.
 
You're a box addict, Devonwoody!

For getting a nicer finish for the hole, I'd recommend using a forstner bit to cut the ends with and then join them with a straight line maybe? It's what I did to make the slot in the side of my scrapwood box and it worked really nicely (as long as you don't look for breakout on the back, anyway :oops: )

Cheers,

Lee
 
Nice Work DW!

Maybe if you are making more tissue boxes then time spent on a wooden template for the aperture and then use that with a router to copy the profile onto your tops.

Bob
 
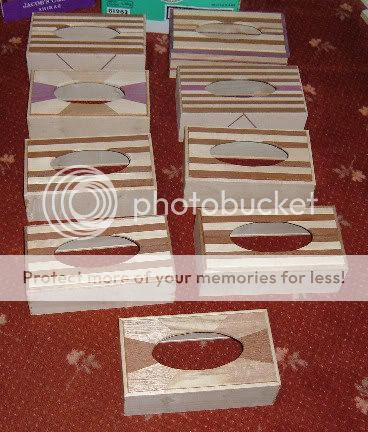
Nine boxes basically completed, need sanding and cleaning ready for a finish to be applied. Because the lacewood used I think I shall finish with varnish, the lacewood can be inclined to shed splinters and varnish should stop this?

58w.jpg


9fingers, you are correct, I should have made a former for the aperture, I had the pleasure of receiving a request for another two boxes yesterday from a neighbour.
 

Latest posts

Back
Top