Unusual flooring job

UKworkshop.co.uk

Help Support UKworkshop.co.uk:

This site may earn a commission from merchant affiliate links, including eBay, Amazon, and others.

chippy1970

Established Member
Joined
3 Jun 2007
Messages
3,027
Reaction score
1
Location
London
Hi all , I started a very unusual flooring job this week, ive posted about it on the Festool owners group , hopefully you can see it all including photos from the link below let me know if not then when I get time I will post them all here, or you can just join the FOG dont worry you wont have to buy any Festool :lol:

http://festoolownersgroup.com/member-pr ... #msg210306

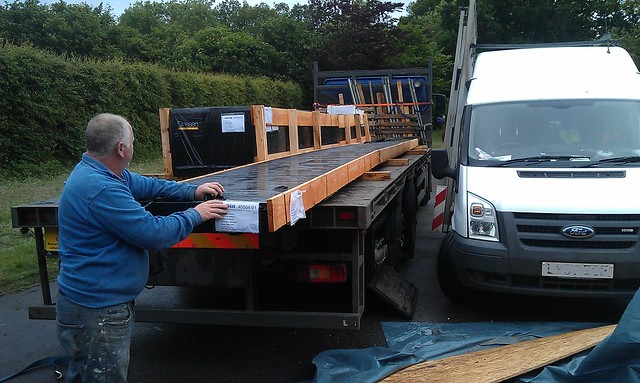
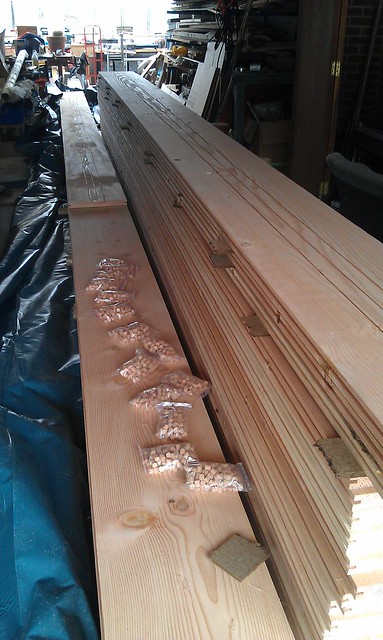
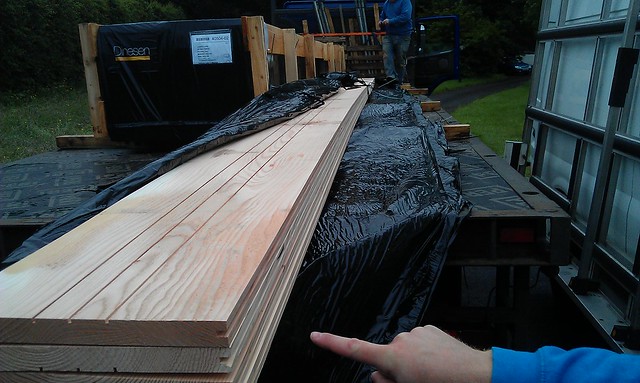
here is a teaser , these are the 10m lengths of douglas fir floorboards.
7180979109_05f122af21_z.jpg
 
I've copied and pasted the following thread over from my post on the FOG if you haven't seen it there enjoy.
 
DAY 1

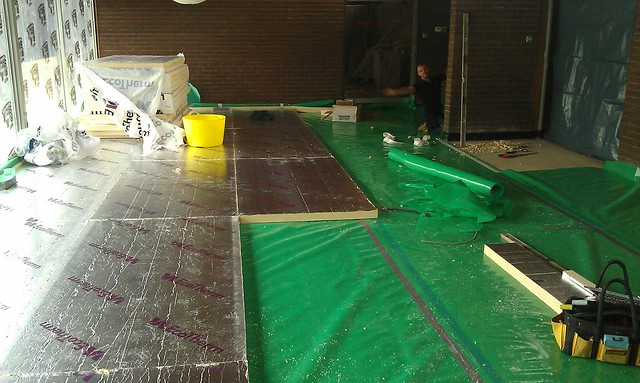
We started a flooring job today which should be fun . We are laying 70mm insulation over Vis-queen which then has a layer T & G chipboard glued together then a layer of paper/cardboard on top of that. The final layer is the unusual bit we are using 4000mm x 400mm x 35mm thick solid wood (maybe engineered not seen it yet) not sure what wood as its not been delivered yet. This as far as I know is T & G too and we are screwing and pelleting this down to the chipboard. The client saw this floor somewhere and decided he wanted it in his house, the 4 m lengths are so that you don't have any end joints anywhere, the boards go the entire width of the room. There is no skirting either the floor has to be cut with and exact 10mm gap all the way around which will be filled with cork , sounds small to me but that's what they have specified.

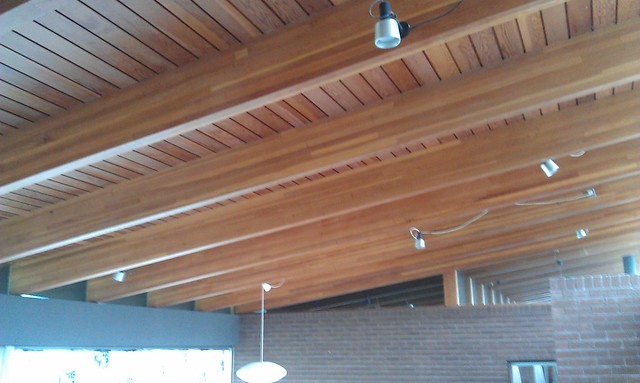
Its a very odd house too, looks like a club or bar or something. The roof is all huge gluelam beams and T & G cladding, all doors are huge pocket doors and there is no plaster anywhere all the interior walls are bare brickwork. Looks to me like it was a 1980's experimental house or something.

Here is today's job to lay all the vis-queen and insulation. On to the chipboard tomorrow
7362906758_c678a8a0d5_z.jpg
 
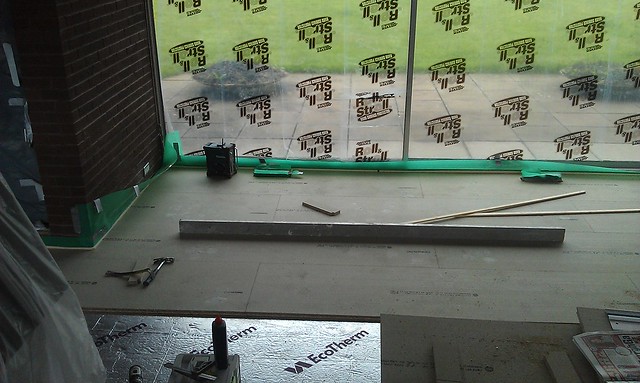
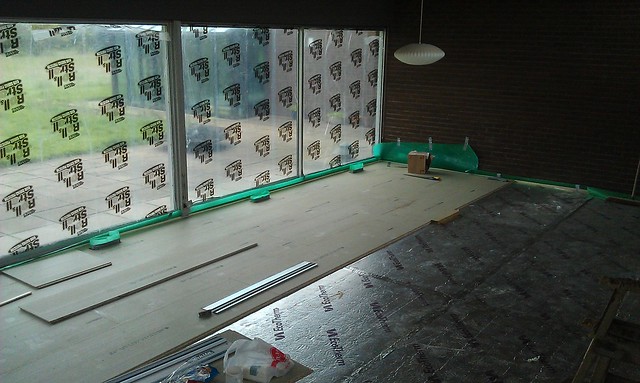
Here goes, we started laying the caberdeck today. Took a picture of the ceiling to show what a strange house it is, as I say I reckon it was an eighties designer house or maybe older. The brown interior brickwork is horrible makes the place really gloomy. Notice the really groovy lights . All the exterior and interior sliding doors are the early aluminium type but in great condition.

Regarding the cutting the 10mm gap I would love to buy a new ts55r but I don't think it would do 10mm and it would be too fiddly in places so we will just have to cut each length to size precisely
7180977817_84913c61a9_z.jpg
7180976579_0ae57fce82_z.jpg

7180976987_4143f5fffa_z.jpg
7180978471_ca5c118cb7_z.jpg
 
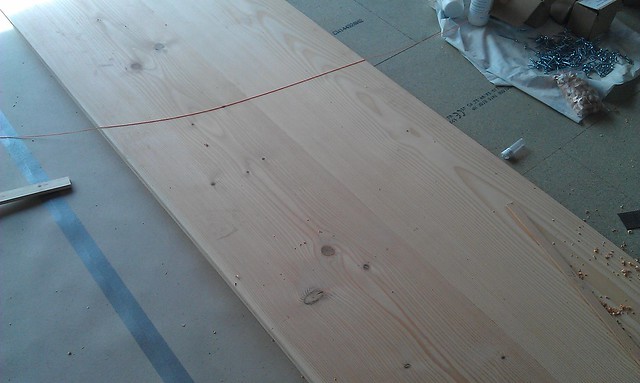
Finished off the chipboard flooring today, then we started setting out the Douglas fir boards. We have marks around 700mm apart starting 50mm in from the ends of the boards at each end of the room and the plan is to run a string line across every time we drill and fix so that the pellets are in a dead straight line. We have only cut in and fixed two boards so far but they seem to go together well and are nice and straight. As far as I know they were shipped in from Denmark, also found out that the home owner owns a chain of designer furniture shops in London , that explains the unusual choice of flooring .

Regards letting the boards acclimatise to the room , I asked about that today and apparently the supplier says this stuff can be laid straight away and only needs to acclimatise in the winter. The drill bits they have supplied with everything are really nice. A 5mm spur bit with an adjustable outer cutter which cuts the counter bore, they cut really nice clean holes.
7369171960_1f9a34af3c_z.jpg
7369211362_f7d1373533_z.jpg
 
The client told me that they can supply these boards even longer but they have to be tapered because of the shape of the trees. I haven't got a clue what finish it is they are using that's not my forte, I had a look and it says on some bottles "soap" others say "lye" anyway we are not sanding or finishing that's down to someone else.

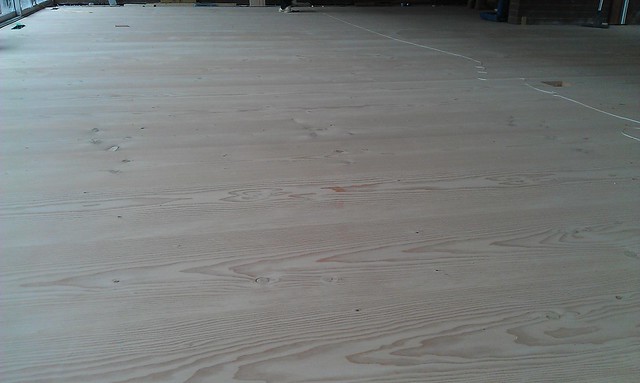
These pictures don't do it justice it really is a stunning floor I bet it will look amazing when its sanded and finished. Im not looking forward to putting in all the pellets

We've only fixed at the ends and centre at the moment and will drill the rest at approx 700 centres using a string line when we are finished laying it all
7187431249_e90d7cf7db_h.jpg
 
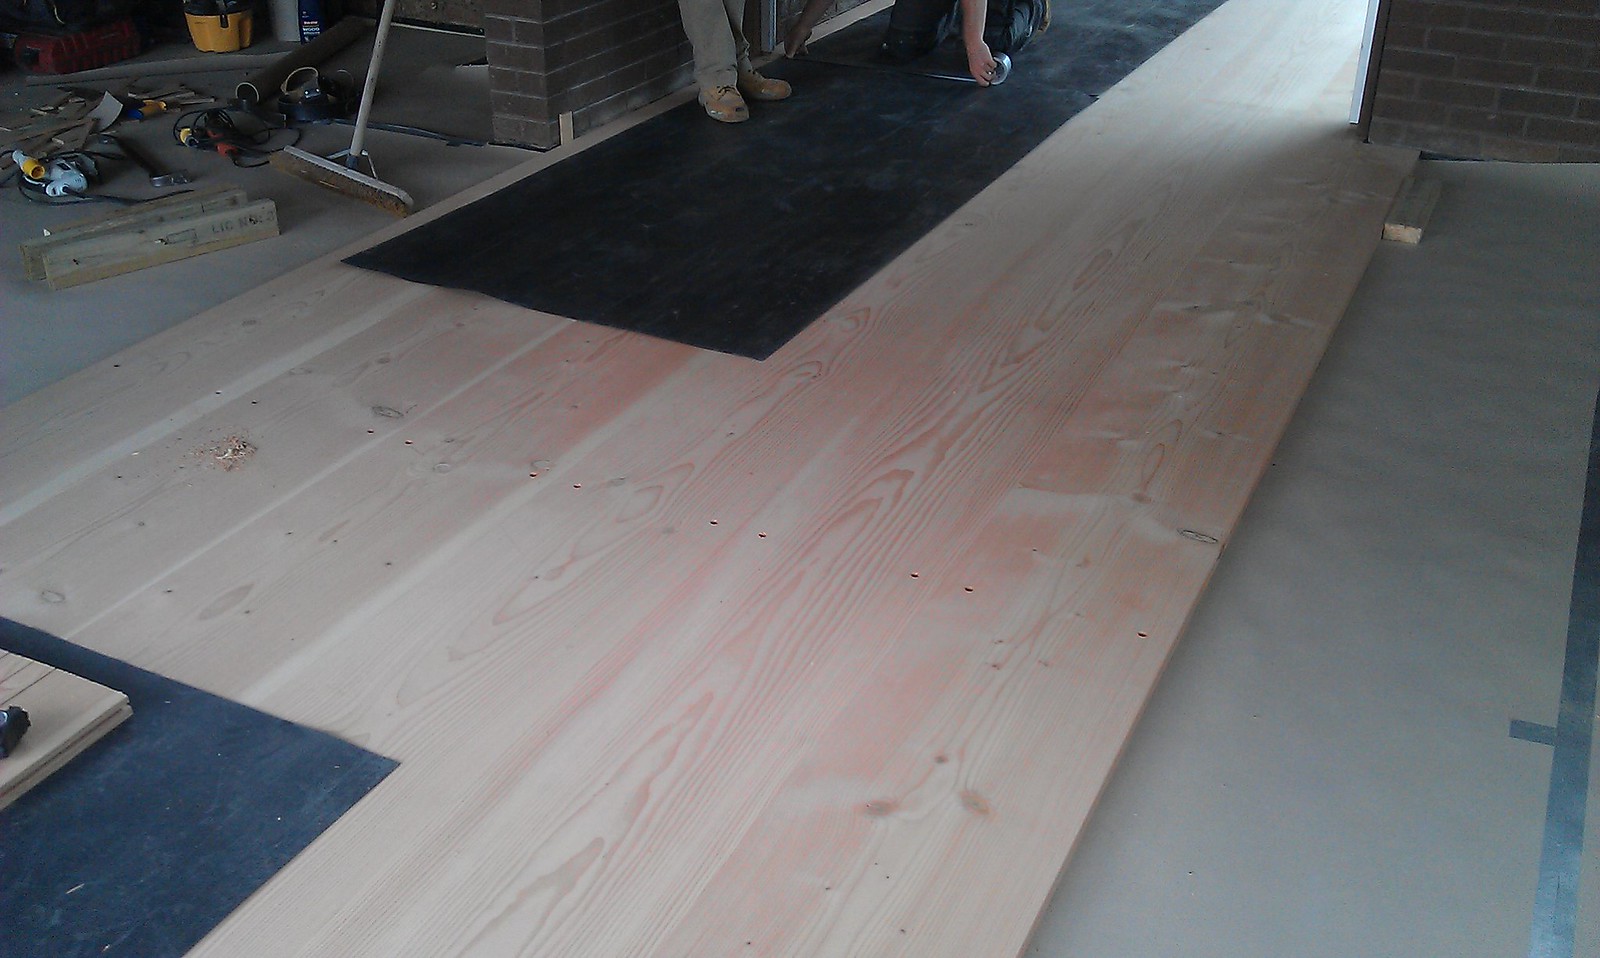
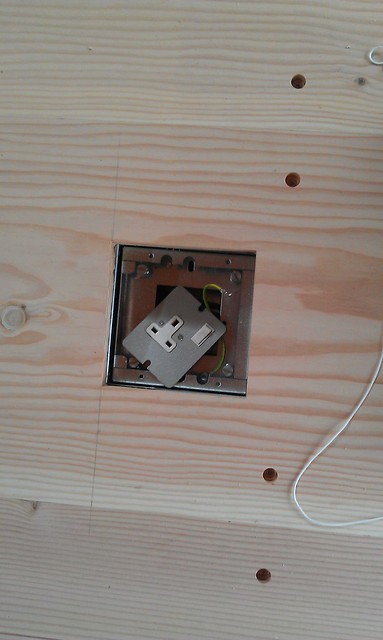
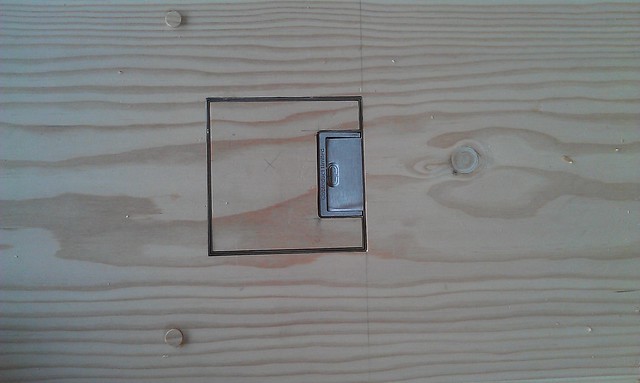
We are on the home straight now most of the large boards in now now it narrows down into a small corridor. Couple of pics one of the whole floor and one of the floor socket I had to cut out on Friday. I used my ts55 and a jigsaw to cut it out and managed to keep the cut out piece to fit into the flap/cover so the grain matches. It looks a bit wobbly in the picture but take my word for it the edges are perfect . The full fitting cannot be fitted until the floor is fully sanded so it can be set up flush with the floor. You can see how crisp the pellet/plug holes are in the second photo the drills supplied with the floor are really good quality (don't know what brand).

Another thing to note with this floor is that all the loose knots have been fixed with some sort of resin at the factory so no worry of them falling out.
7395787070_b1c8ef5ab8_z.jpg
7395788718_7d45d93a77_z.jpg
 
We have finished laying most of the floor now just one small cupboard/room but we are waiting for a floor access/man hole cover that we have to fit in that bit. Today we finished laying in the main room and started sanding off the plugs with my Metabo ROS they sand down really nice and almost vanish after all the fuss we made string lining all the holes .

Photo below of the floor socket almost finished, down to the floor sander/finisher now to do his bit now. When its all done the client has promised to email me some photos
7409043922_f7f45eaf1d_z.jpg
 
Certainly different, wonder if its some sort of limed finish they will be using (?).

Thanks for posting this up, hope you can get a pic or two when its all done.
 
We clamped each board in by using folding wedges off of a block screwed down to the chipboard. It was very straight flooring so went in like a dream but we still wedged it just to make sure.

The finish will be like a limed finish , they put on stuff called lye that turns the boards white then over that goes something called soap.
 
chippy1970":1221b2zc said:
We have finished laying most of the floor now just one small cupboard/room but we are waiting for a floor access/man hole cover that we have to fit in that bit. Today we finished laying in the main room and started sanding off the plugs with my Metabo ROS they sand down really nice and almost vanish after all the fuss we made string lining all the holes .

Photo below of the floor socket almost finished, down to the floor sander/finisher now to do his bit now. When its all done the client has promised to email me some photos
7409043922_f7f45eaf1d_z.jpg

Nice neat job. What is the power socket recess box, and who makes it, and where can I buy one. This would resolve a problem I have at the moment. Thanks.
 
Sorry can't help you Roger, the client supplied it. Just a standard floor box really as you would get in an office. Normally designed to take carpet but I managed to fit the timber into it with a bit of fiddling. The lid is only around 15mm deep if I remember rightly so I had to plane the floor down to get it level.


Edit: looks like the brand is Cableduct limited in my photo.
 

Latest posts

Back
Top