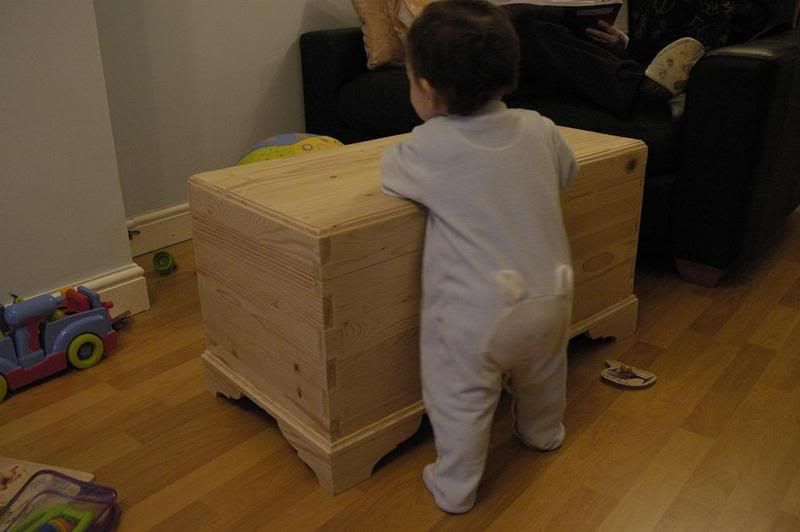
a quick write up, on popular demand:
feel free to ask any question if any of the point is unclear !
1- decides on your dimensions
2- cut the sides to size.
3- measure, trace and cut the fingers. I used a gaugue to set the depth of the finger to
the thickness of the planks.I used a Jigsaw to cut the waste, but a band saw could be more accurate.
4-cut the top and bottom to size. they should cover the whole chest.
5-rabet the top and bottom planks by the width of the sides and by half their width. i used a router. This way the top and bottom faces sit halway between the sides and rest pretty solid on the edges of the sides.
6- glue and assemble the box.
7-prepare or buy the bottom molding. it should be about half the width of the planks.
8-mitre this molding and glue it on the sides flush with the bottom face, all around the box.
9- prepare the feet (jig saw and mitre)
10- glue the feet. they should sit halfway on the bottom face, and halfway on the molding previously glued. Glue some small pine blocks on the inside of the feet, just for added strength.
12-route the molding on the top.
13-trace and cut the box open with a good panel saw.
14- fit hinges.
15- sand and finish, et voila


