Doingupthehouse
Established Member
As promised in another thread, I'm starting a WIP bench build. This one's a little unusual, as against all the advice of people far more experienced and competent than me, I'm building it without the aid of any formal plans.
I'm also trying to build it for under £70 if possible, and definitely under £100. There's a strong possibility it may end up on the woodburner after all!
This is just a bit of a fun project really - if it doesn't work out, I'm not really that worried. Progress may be very slow, as I've got lots of other projects on the go and regularly get very busy at work.
This definitely won't be a hand-tool only build, far from it in fact. There are a couple of very admirable hand tool bench builds going on here anyway.
My criteria for the bench - other than being cheap - are:
Mass, want it as heavy as the softwood I'm using will allow.
No wider than 600mm as its going against a wall and I need to reach tool cupboard etc above it.
No tail vice, don't think I'll need one - could always add later or use Wonder dogs etc
Possibly split-top, not decided.
Aprons for rigidity. Aprons also flush with legs.
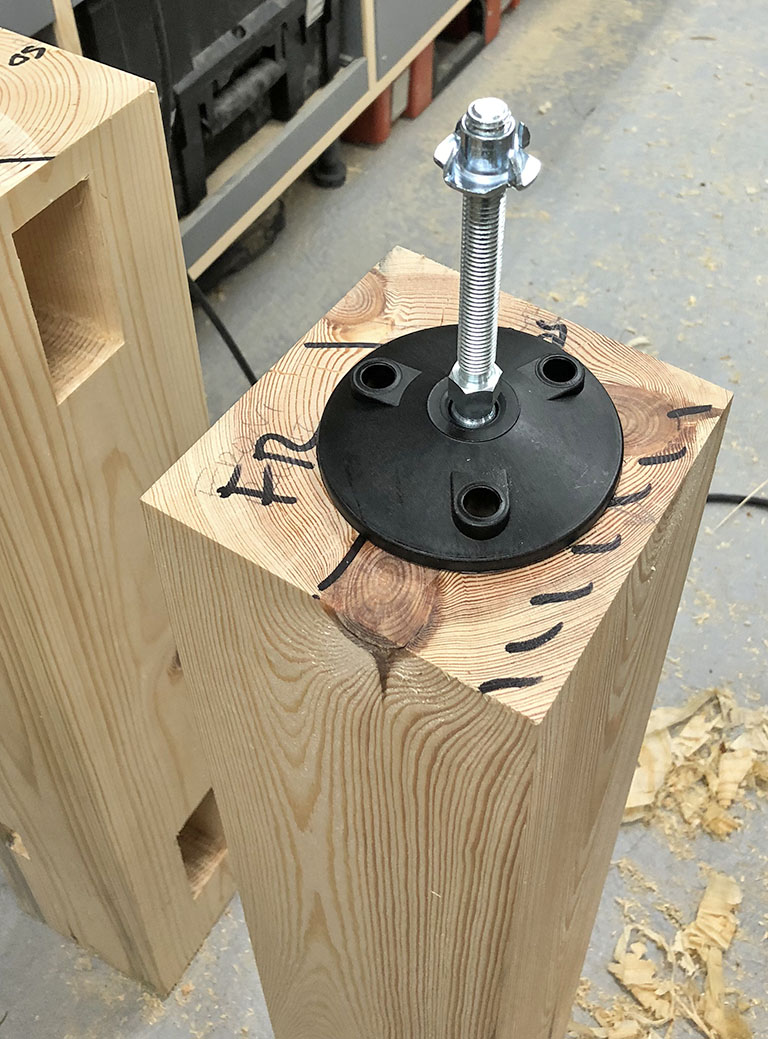
Must have adjustable feet - my floor is very uneven. Thought this would be a stability issue, the multi-purpose bench I built has them and doesn't move an inch, even when heavy planing.
Want a shelf underneath for added mass and much-needed storage space.
Not riddled with dog holes - some well placed holdfast holes.
Definitely no tool well.
I'm weighing the components as I go along, trying to ascertain the final weight, I'll also keep a running total of the cost.
Anyway on with the build...
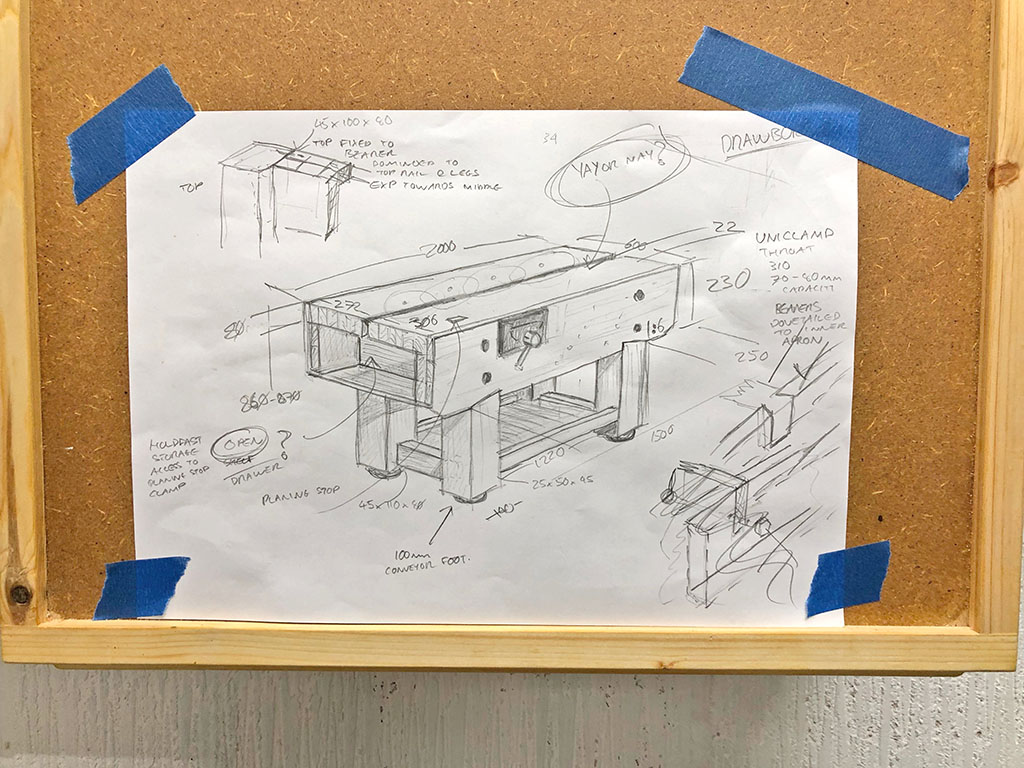
Started off with a (very rough) sketch of the sort of thing I have in mind. This is not in proportion, but it doesn't matter. Then I scribbled on the overall dimensions. Other dimensions are being added as I go along. You could argue that this is a plan, but most of these dimensions were added after I started cutting timber and I just scribble things on or rub them out as they come into my head.
After I'd worked out the size of overhang I thought looked right I could start on the base as I then knew how long to cut the stretchers.
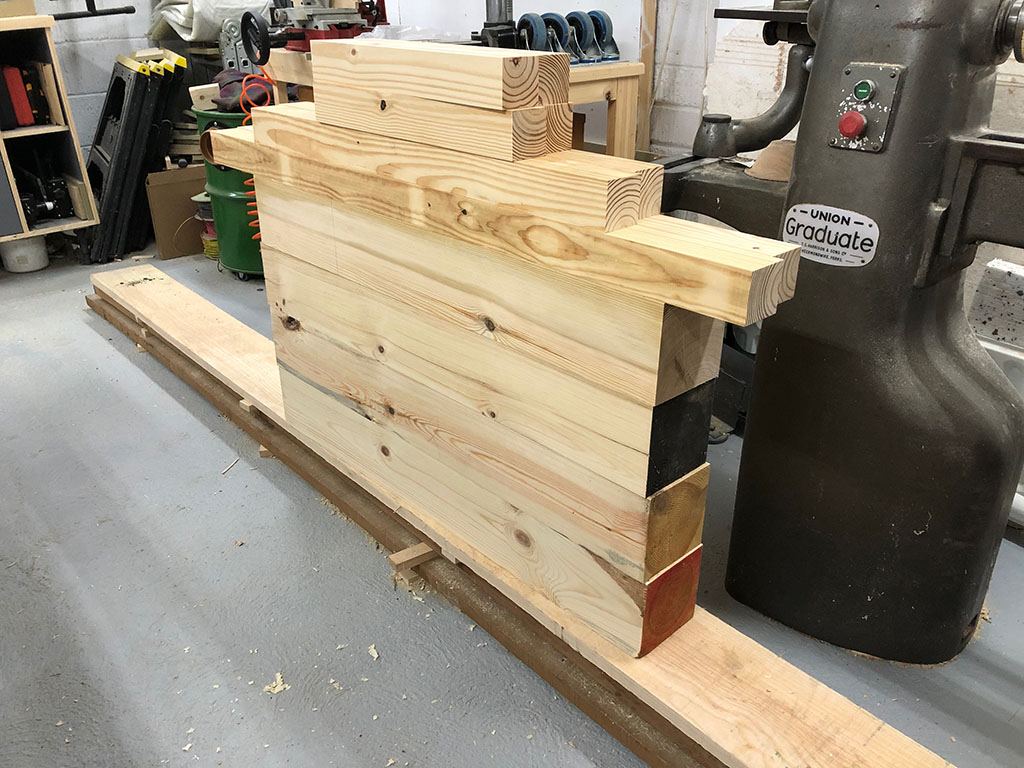
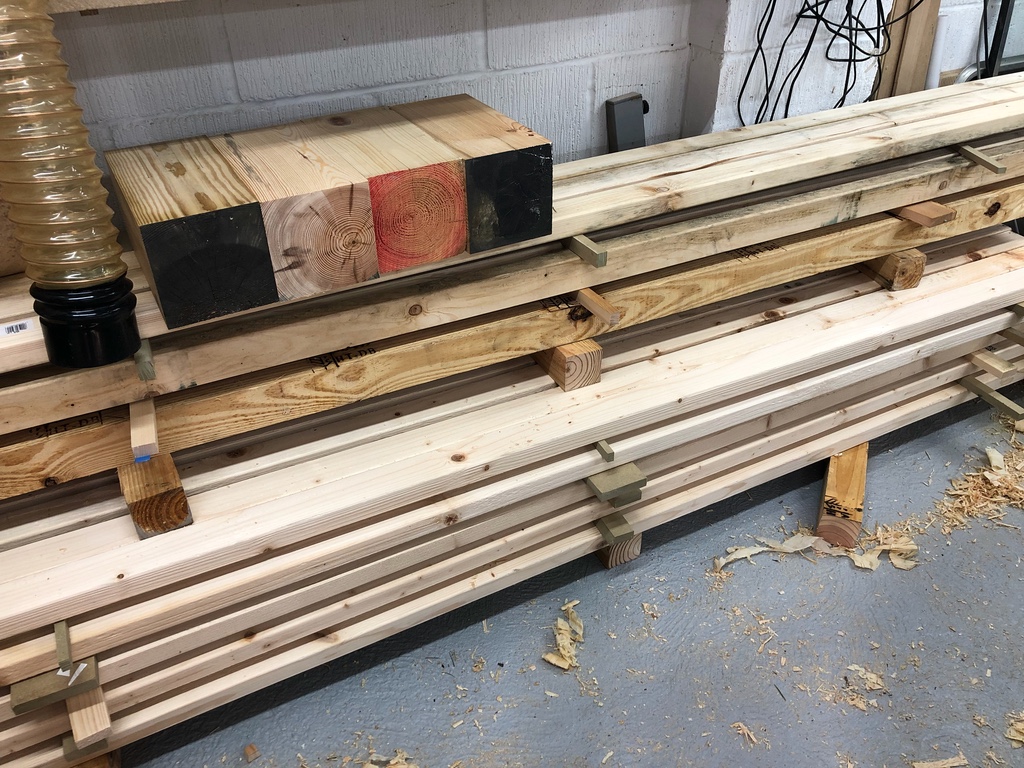
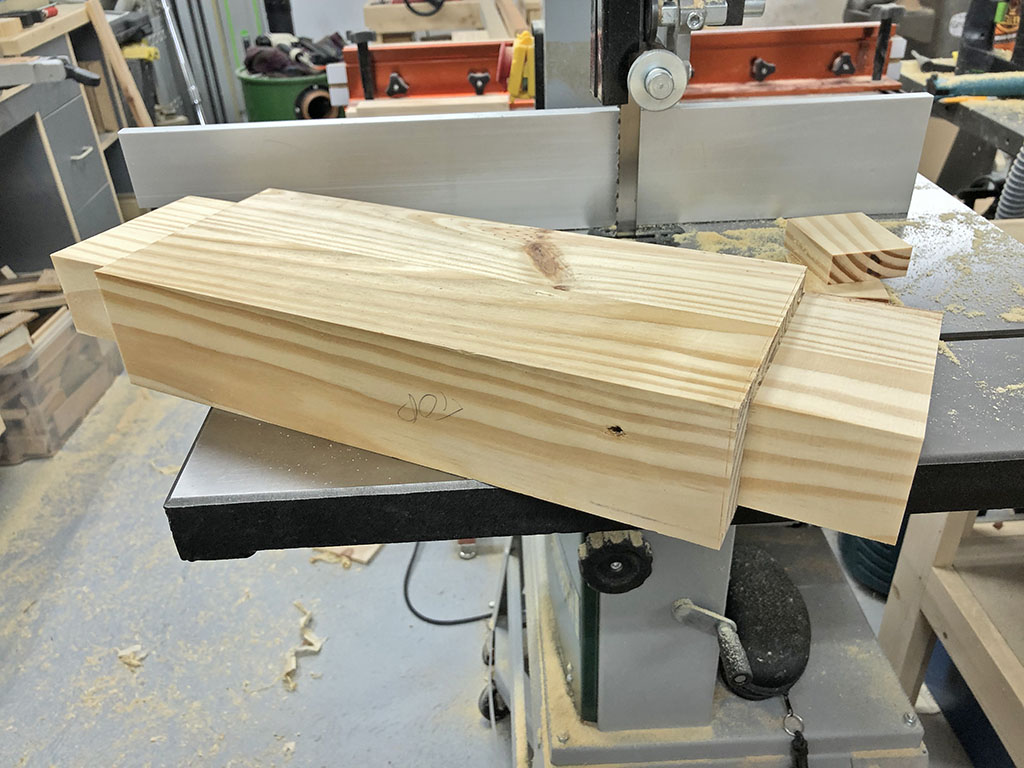
Started by milling up some rough timber. The Ash and Iroko in the picture have nothing to do with the bench.
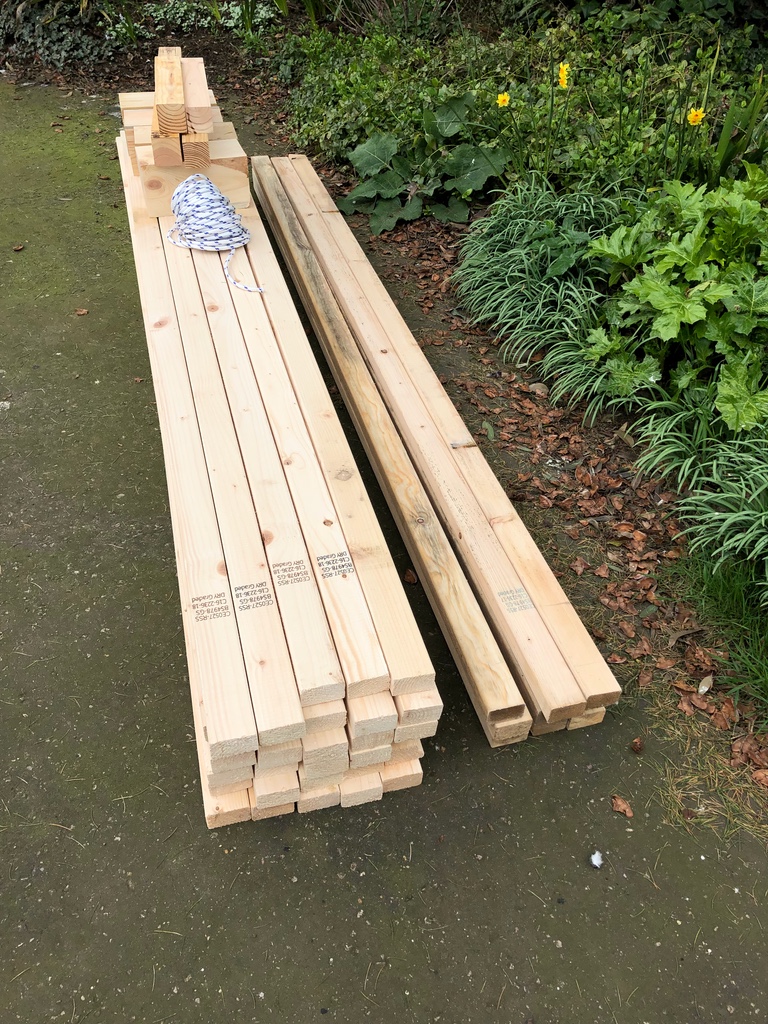
The timber for the base came from a distribution warehouse that was selling it off very cheaply. I got eight 2.4m 3 x 3s and four 1m 6x6s for £20. It's rough! Strangely enough, the 3x3s, in particular, work very nicely. The legs were a bit of a handful over the planer, but manageable.
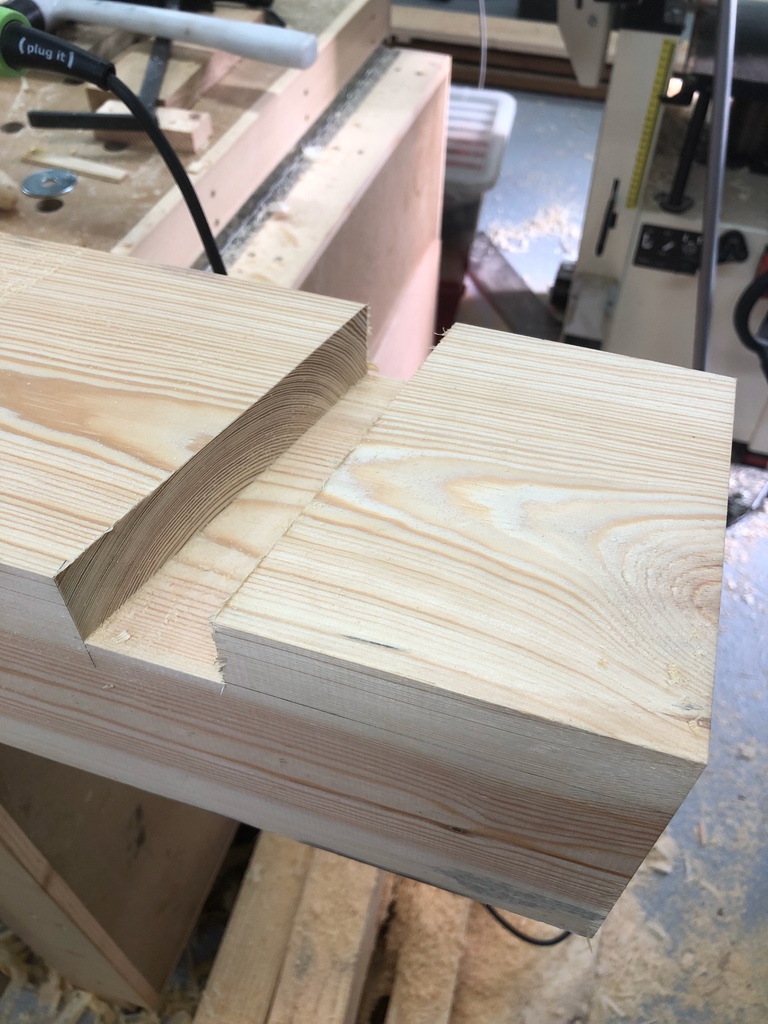
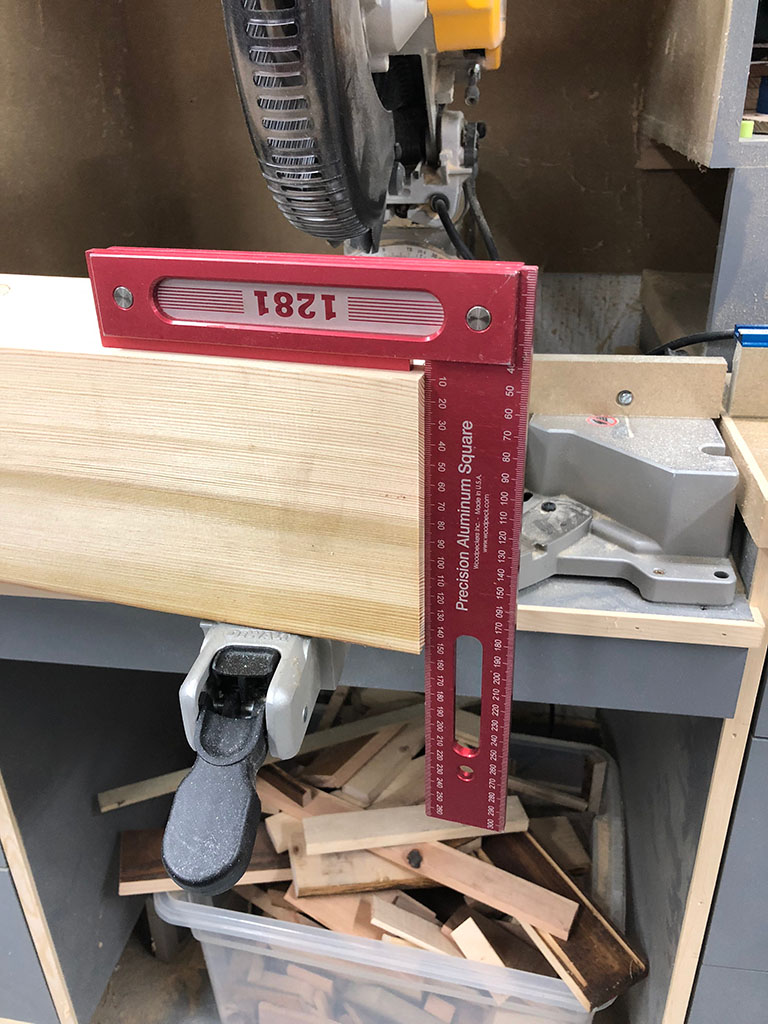
I cut the legs to length on My chop saw, had to cut from both sides. It struck me how well the DeWalt XPS coped with this. I bought it over three years ago, set it up, and haven't adjusted it since. The cuts were perfectly square in both directions, with almost no perceptible step where it was turned over - even with an 80 tooth blade that I thought might struggle.
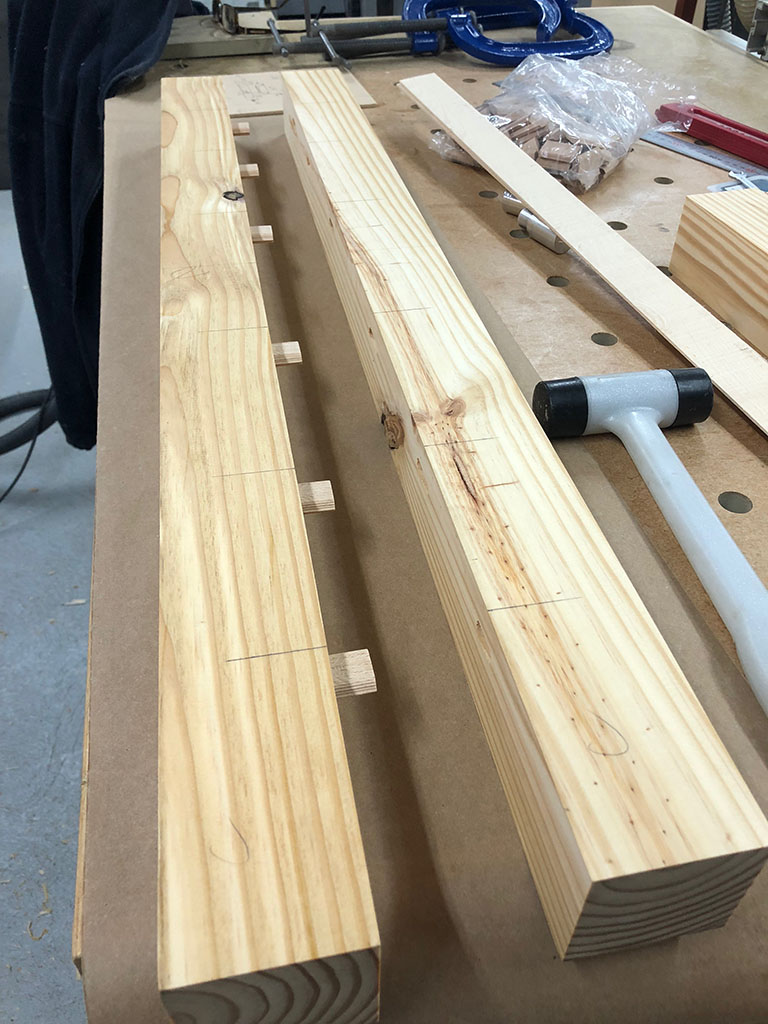
I then jointed edges on some of the 3x3s with a hand plane to remove machine marks before laminating together to form the rails for the leg frames. I used a few dominoes just to aid alignment.
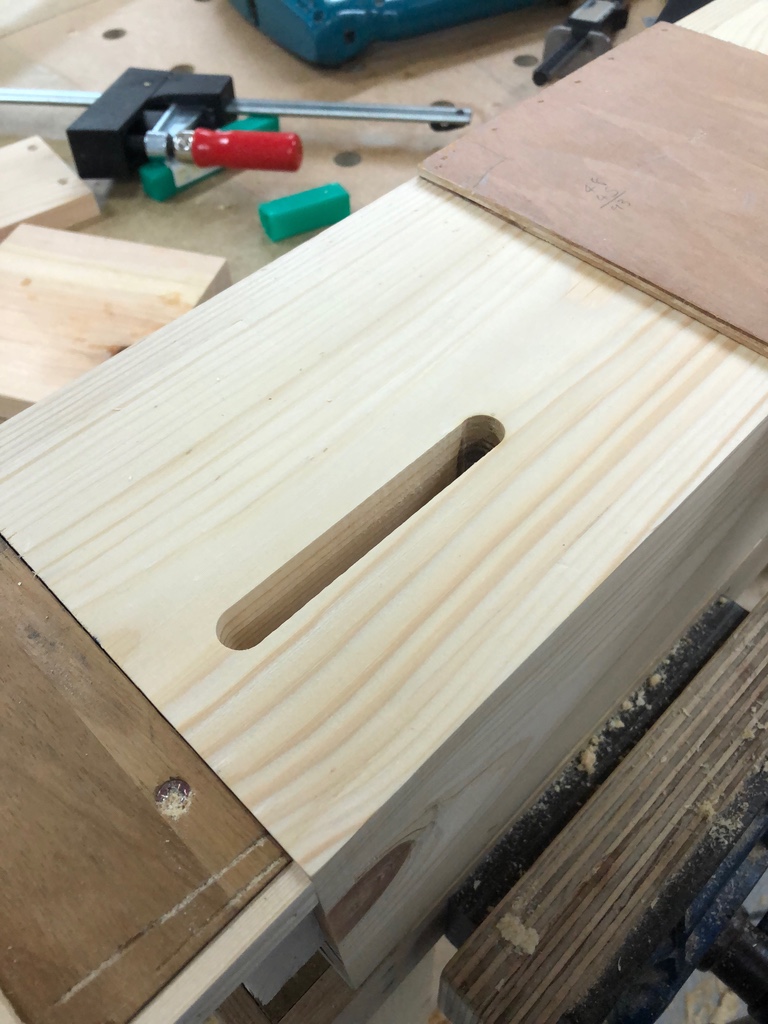
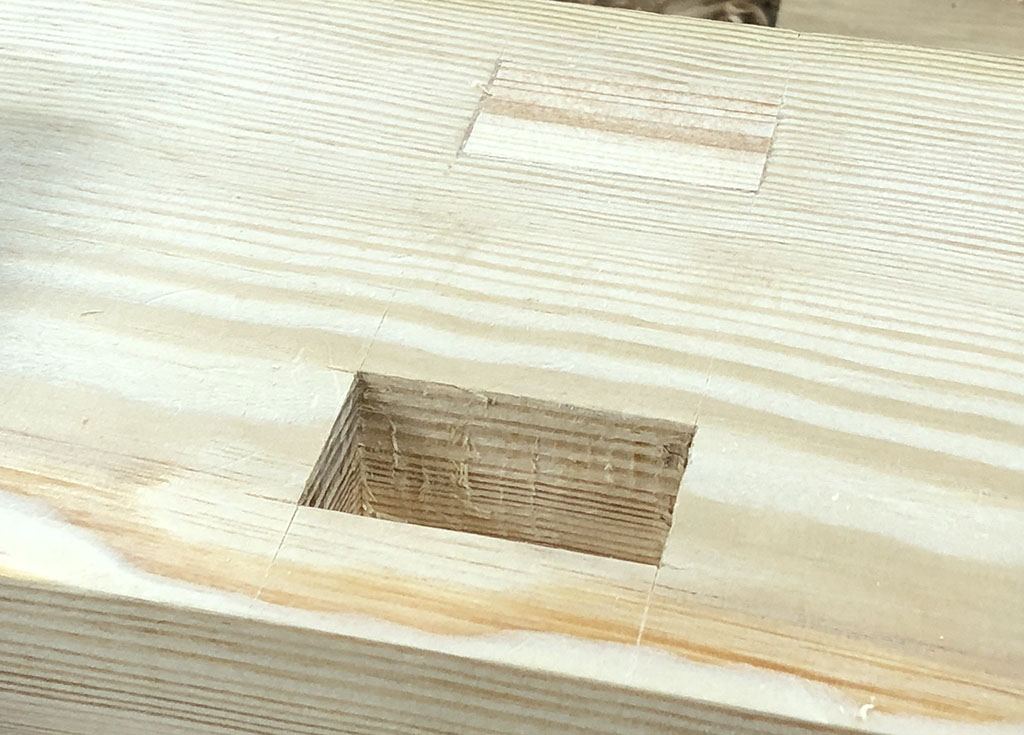
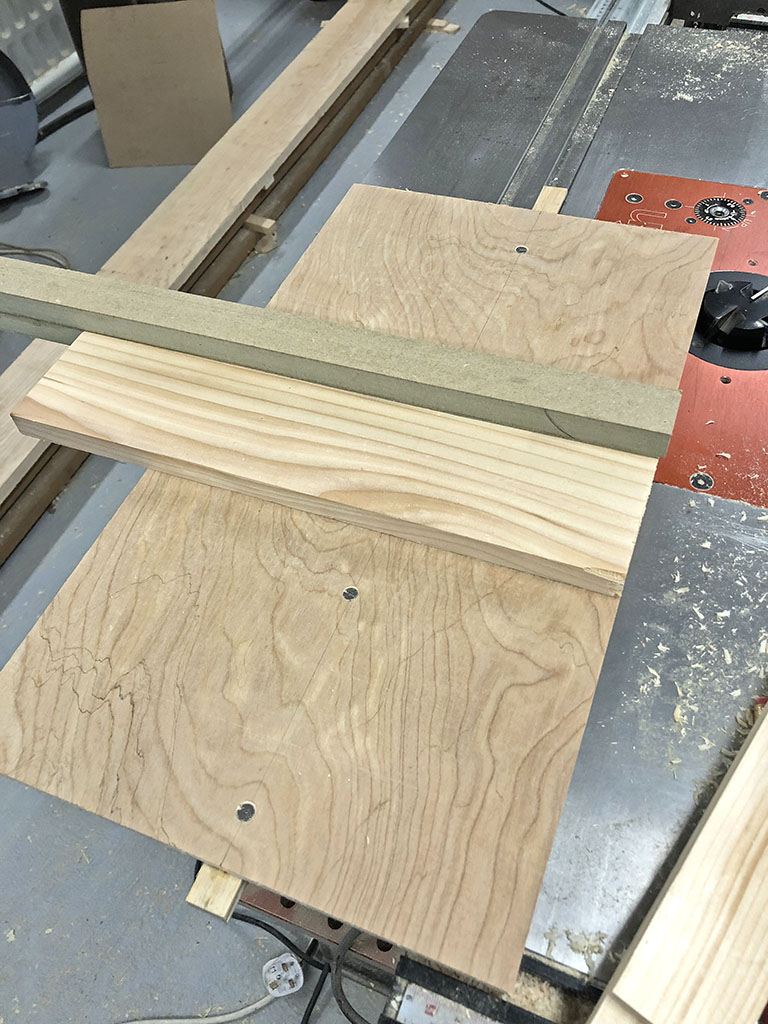
Then it was onto the mortices, pondered what size to cut the leg mortices and went for roughly a third of the finished leg width of 140mm - 45mm wide mortices were not the easy option! The time to decide how to cut them -Timber is too big for my little morticer. I was going to cut the the usual drill and chop route when I remembered the pocket cutter I bought from Weadlen when I fitted a load of new doors. I wanted to cut the mortices about 80mm deep and sure enough, with the cutter inserted into the collet up to the minimum insertion mark, just about enough depth.
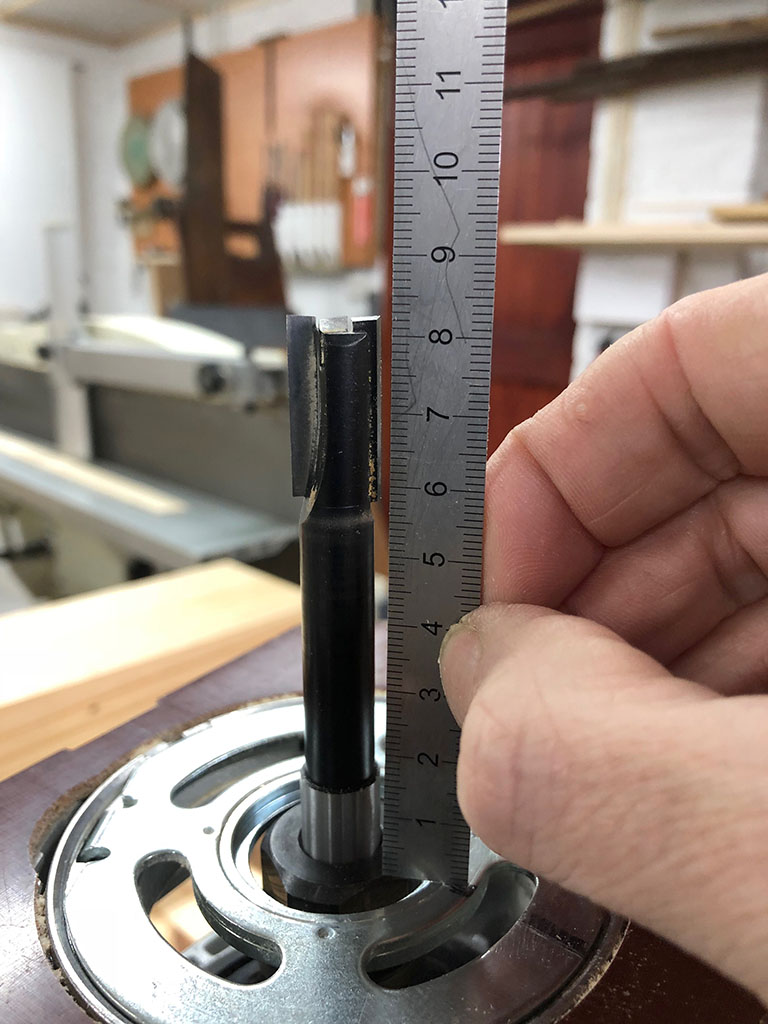
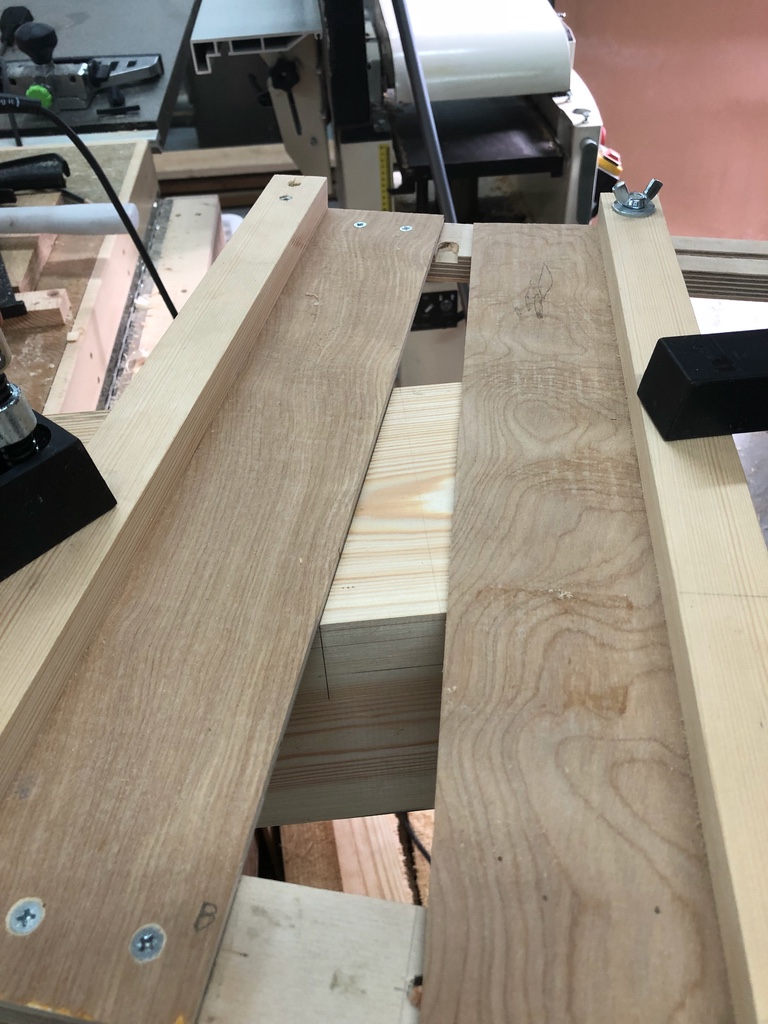
Only problem with this, I cant use the dust extraction collar for the last couple of centimetres of plunge because the collet contacts it. Using the router cutter meant I could set a Heath Robinson jig and not need to mark all the mortice positions.
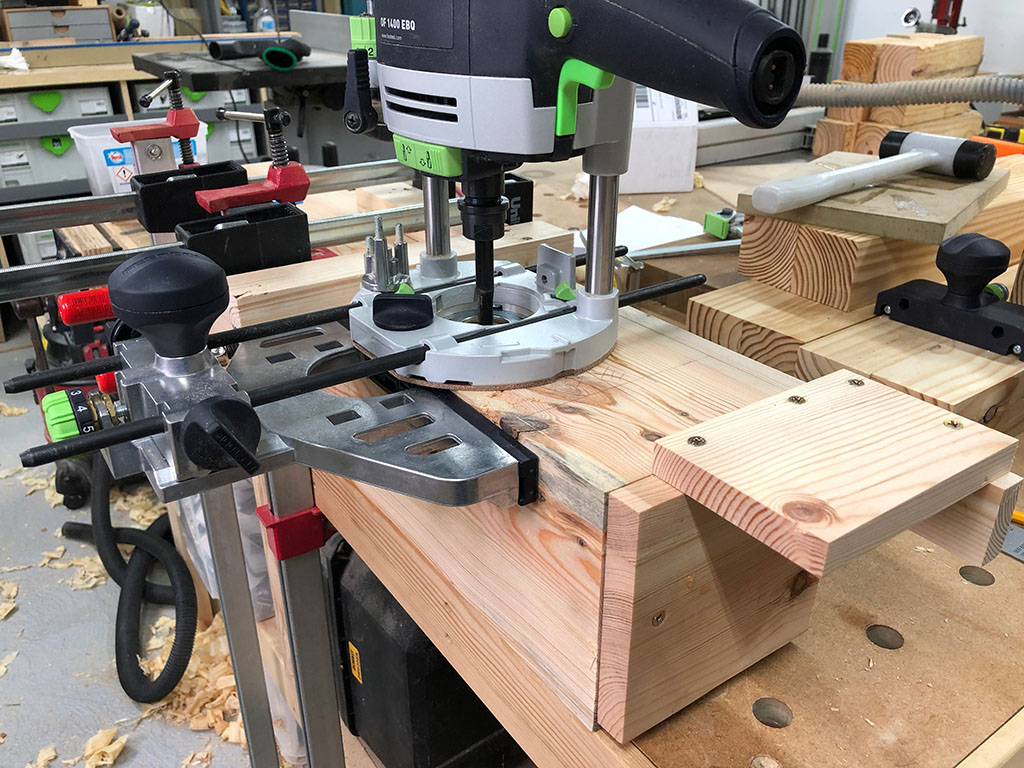
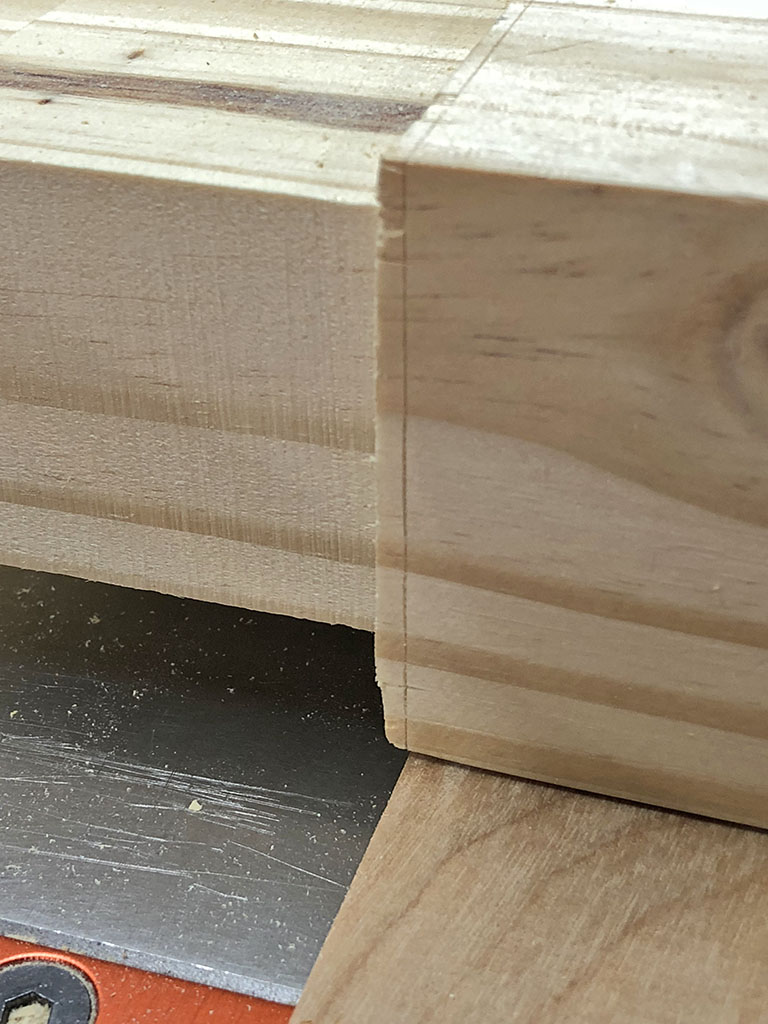
Soon realised the jig interfered with the dust collection attachment!
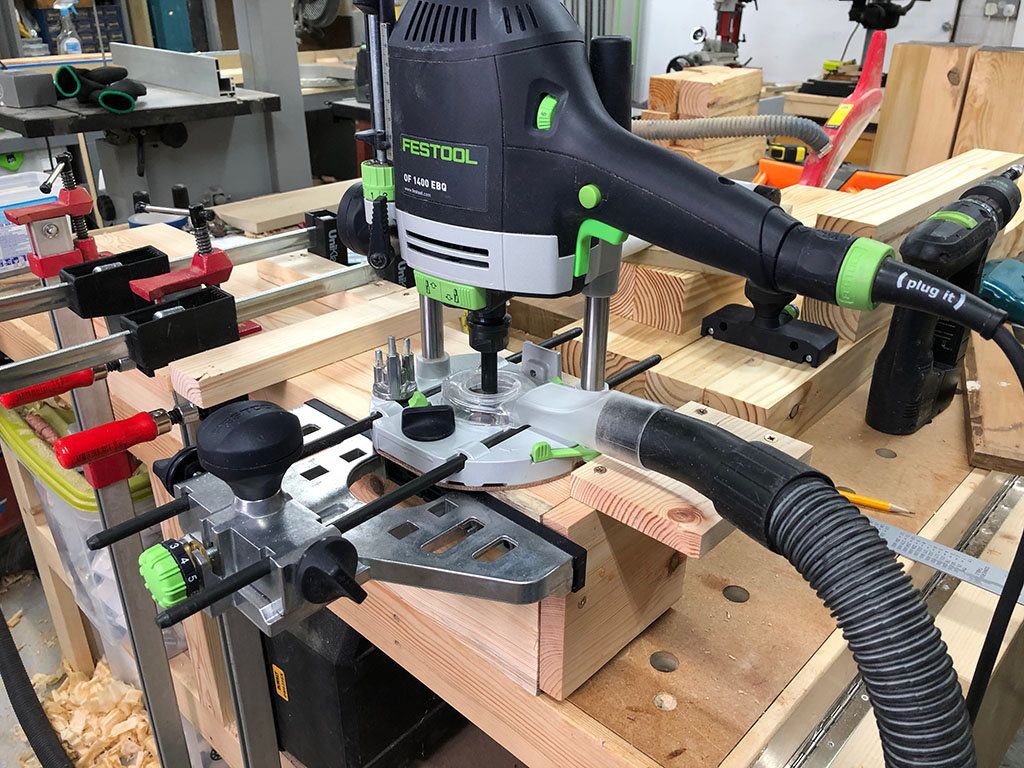
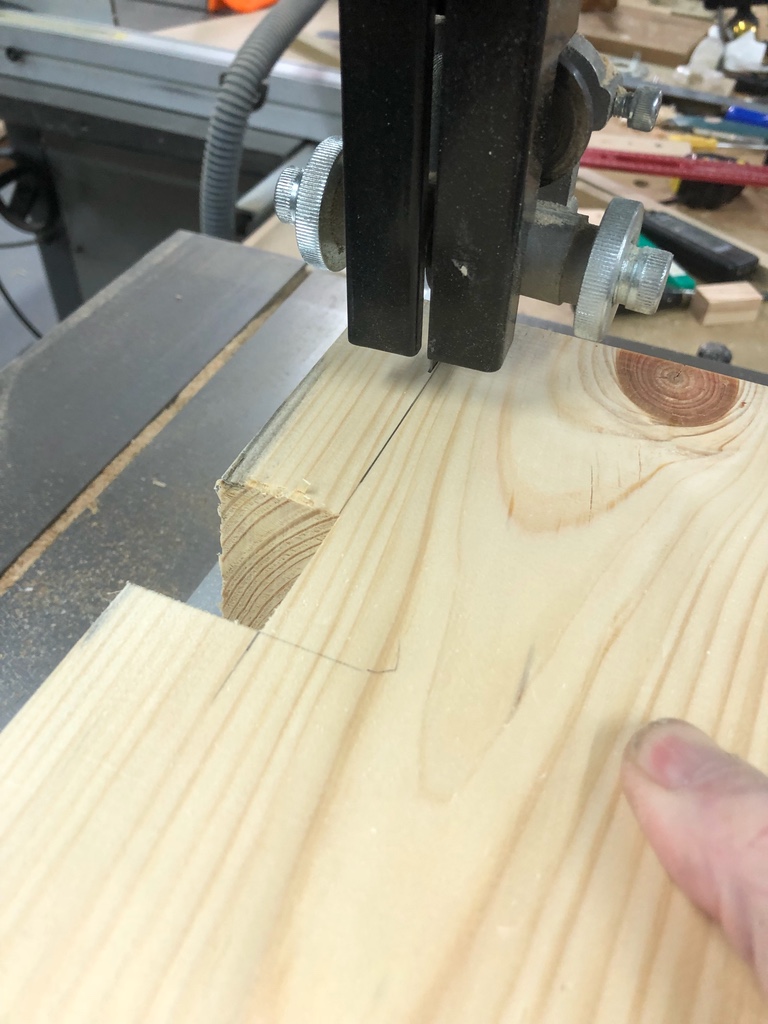
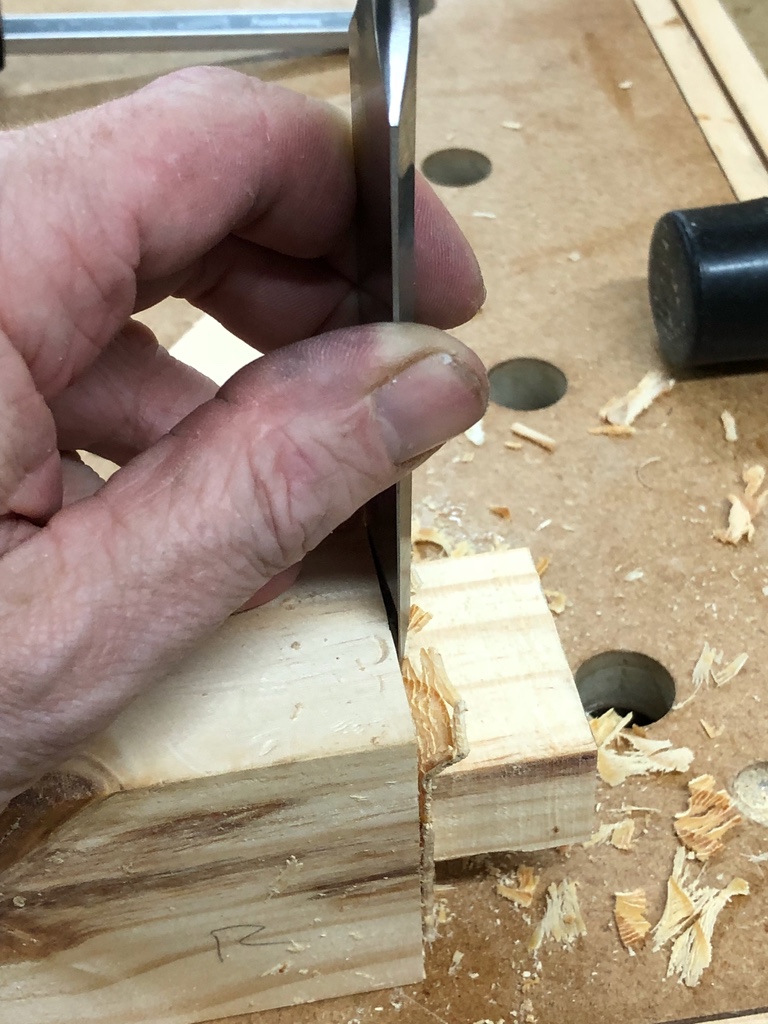
Soon sorted with a saw and chisel.
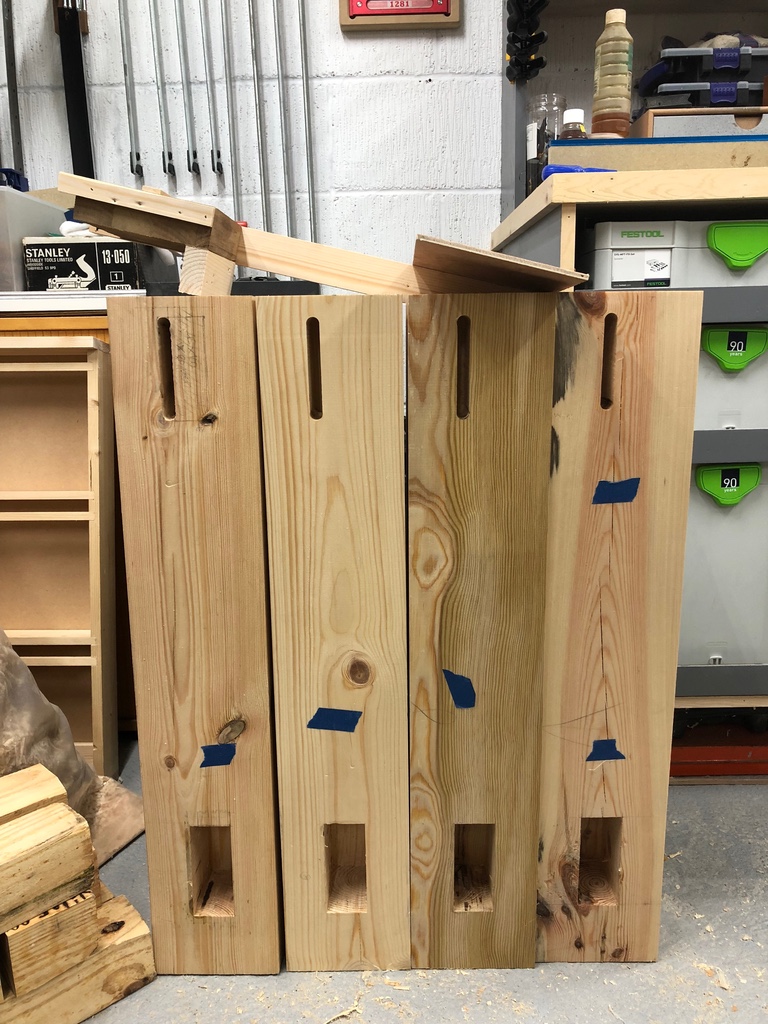
I then routed the first pass to full depth on all of the legs, then hogged out most of the waste before doing the final pass on all the legs with the router on the same setting - this should guarantee they all line up and are the same size.
This was very hard work! The leg timber is Resin City - the workshop now smells like a turpentine factory! Had to clean the bit in acetone every few minutes. I was glad of the ratchet locking and unlocking on the router. Also, being able to remove the dust collector without removing the bit was a godsend, as I had to plunge the last couple of centimetres without it fitted - lots of stopping and vacuuming out the mortice.
Then just a matter of squaring them off with a chisel. Again had to clean the chisel with acetone frequently - I discovered a sticky-back chisel doesn't work very well! Had to sharpen a few of times as well due to the knots. Took me a couple of hours to cut 4 mortices and still 8 to go - still no rush, but I reckon a skilled hand worker could probably do it faster.
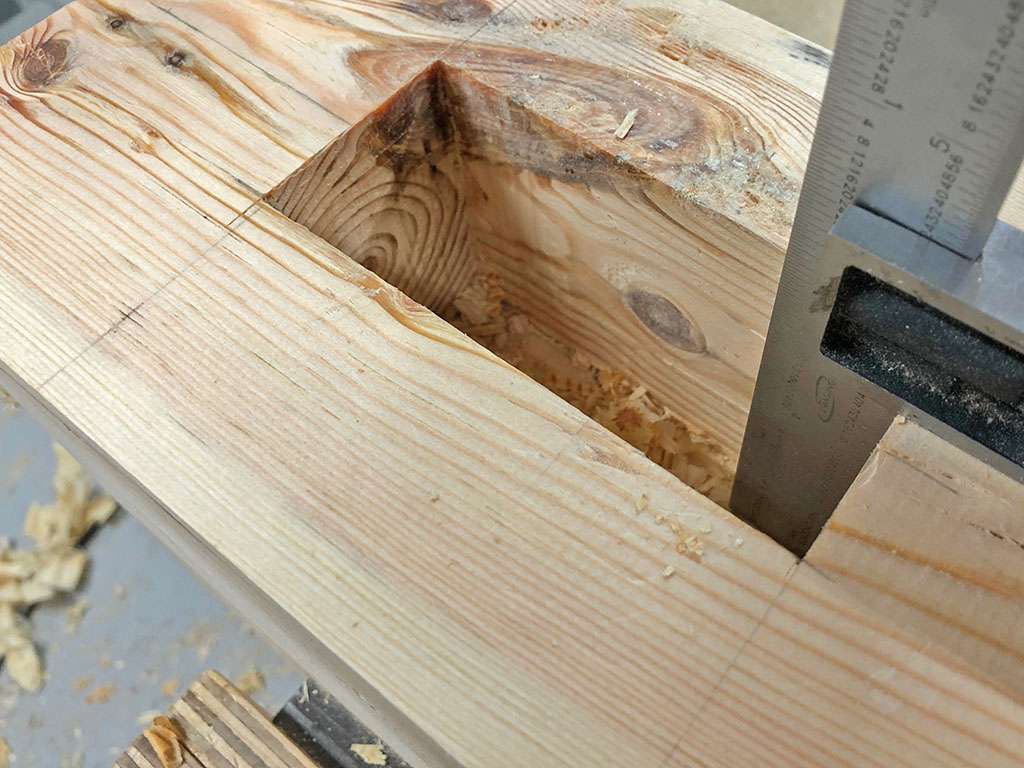
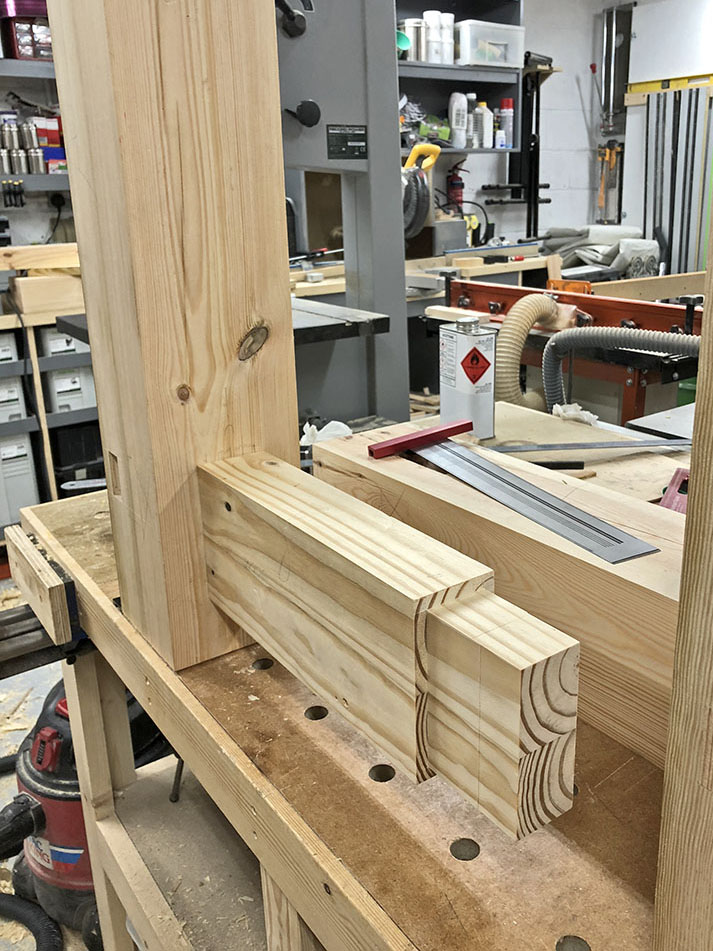
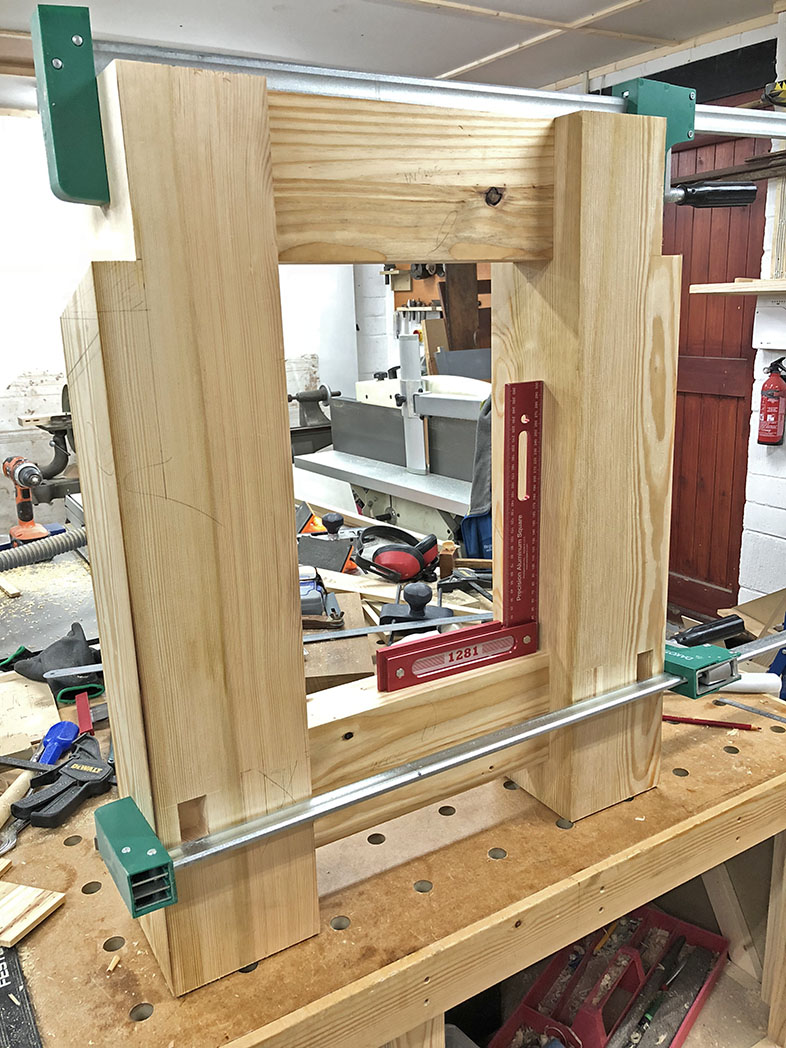
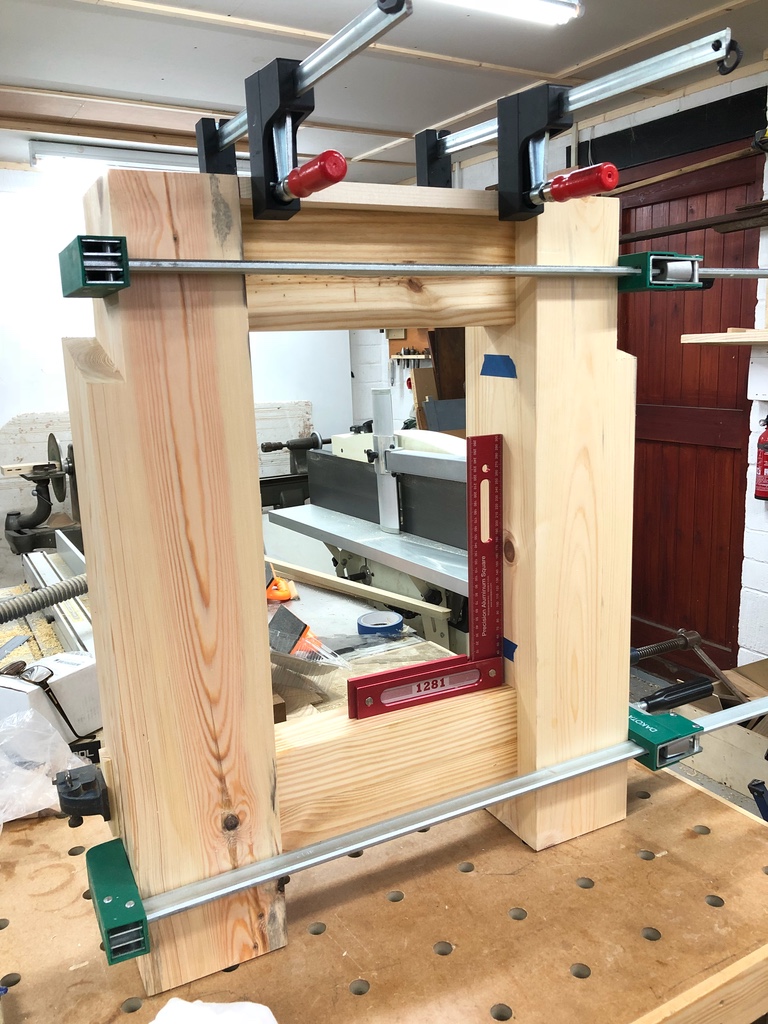
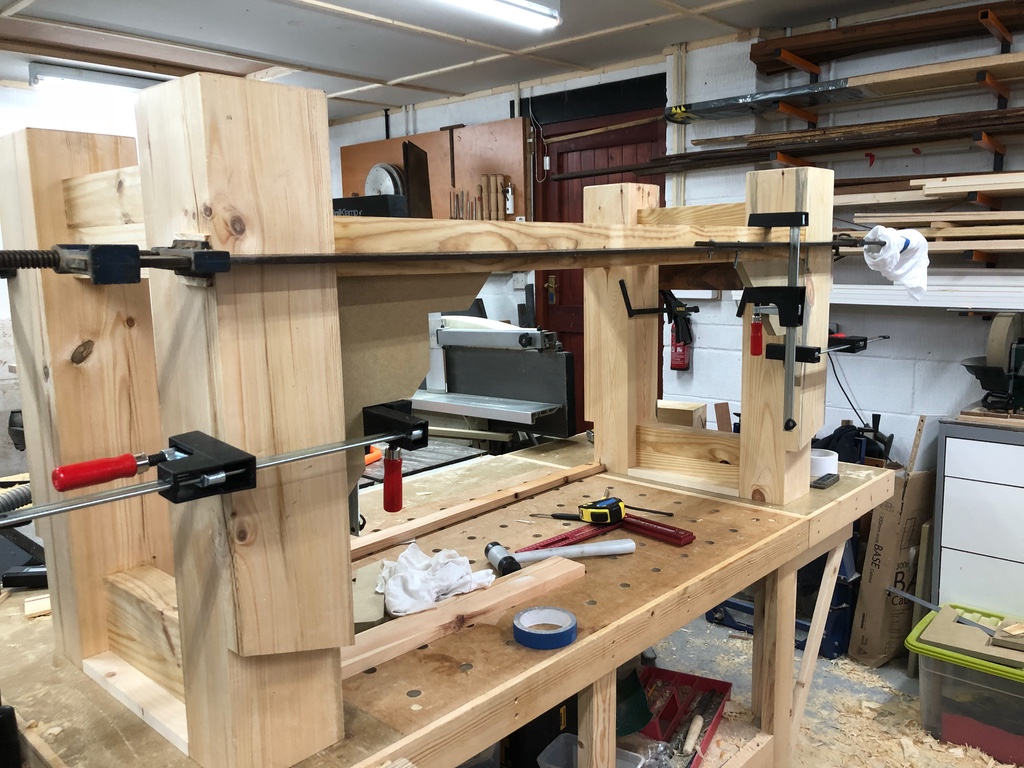
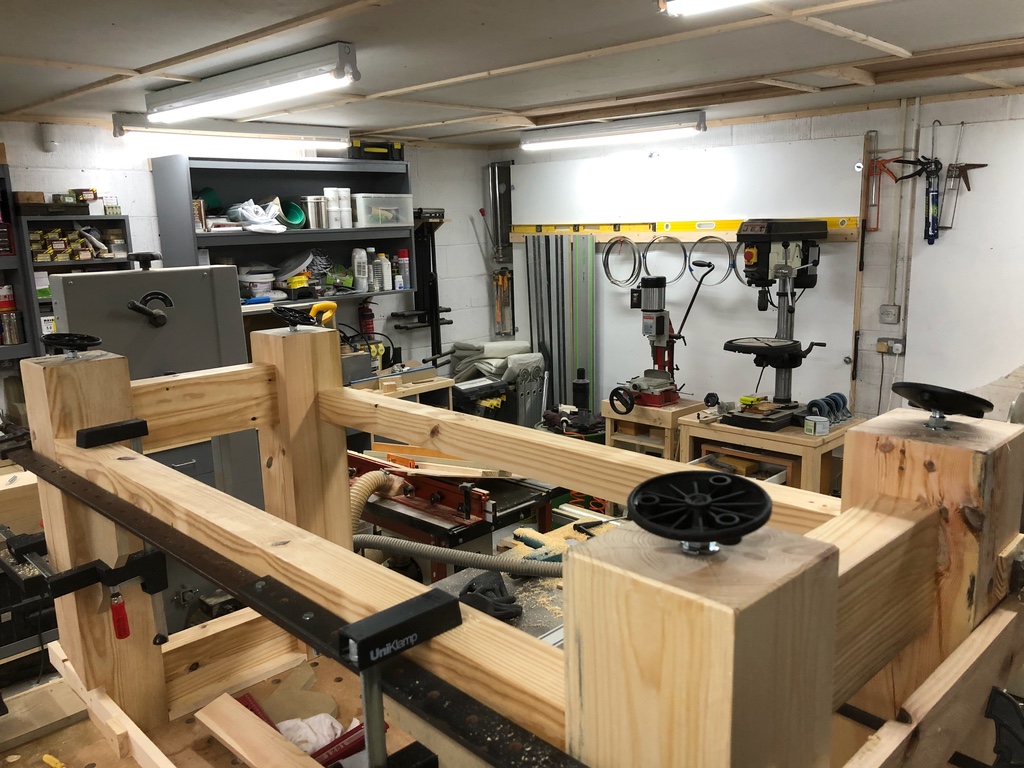
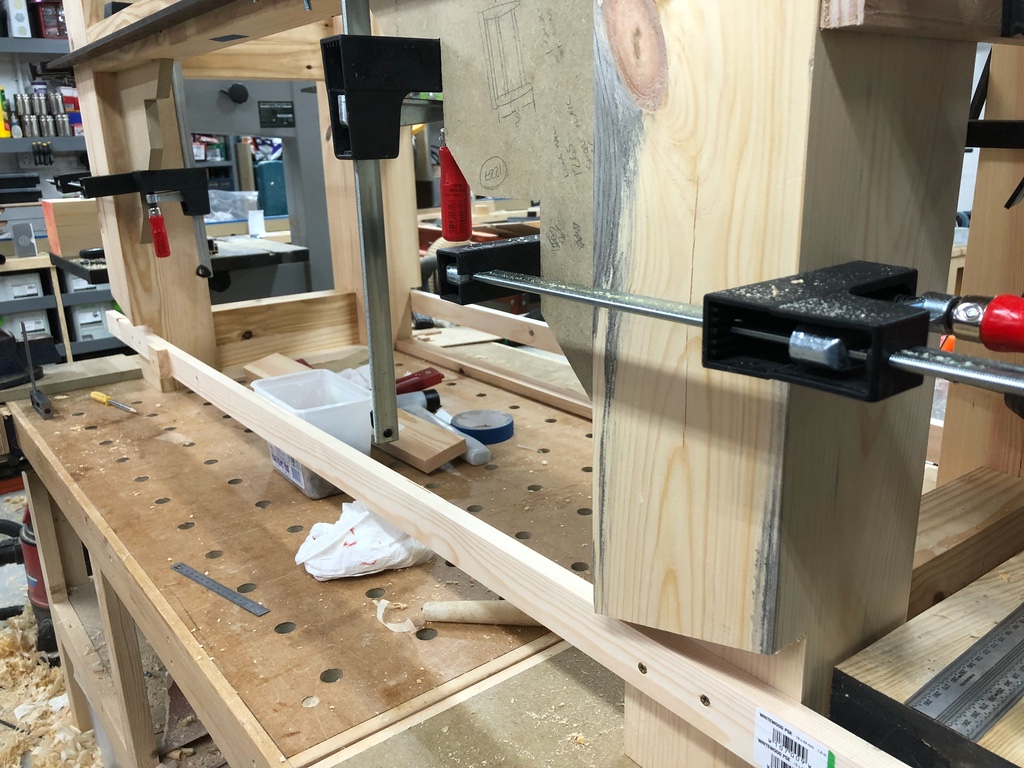
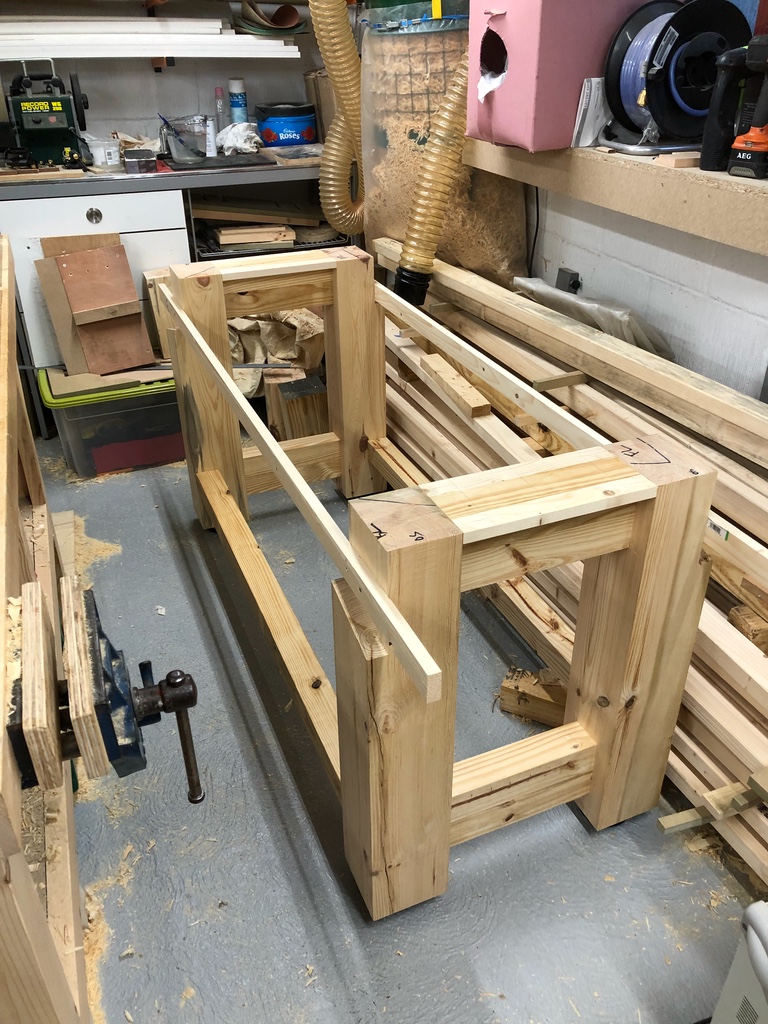
Anyway this is where I'm up to now... onwards and upwards
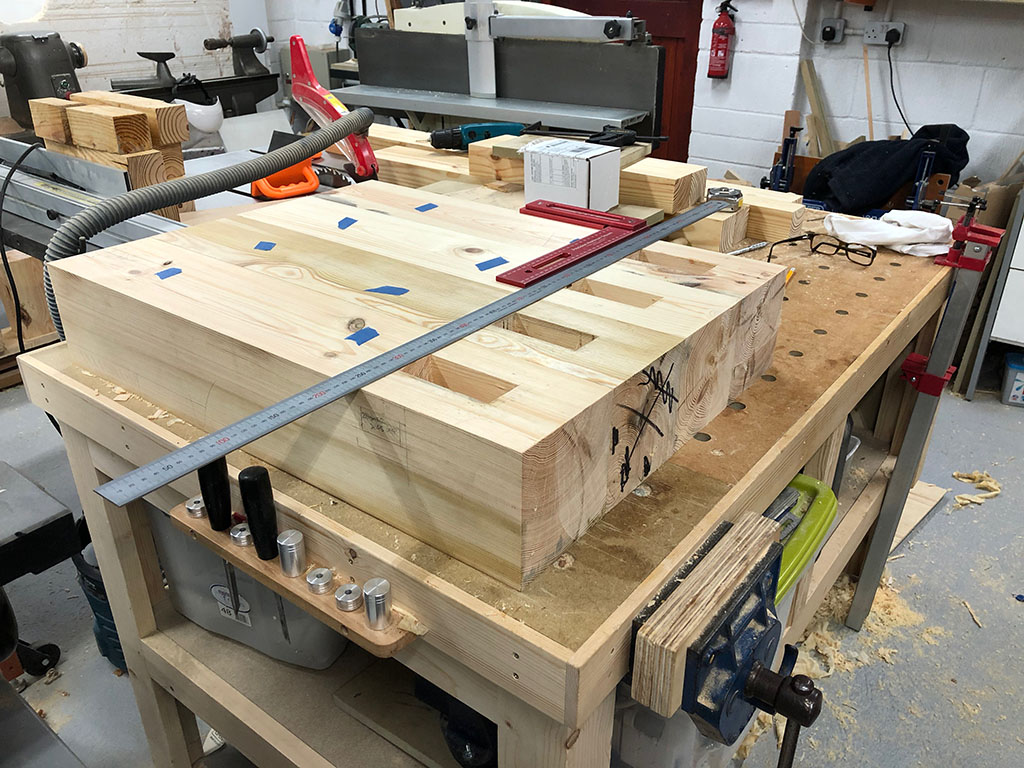
Need to decide if I'm going to paint the base. The legs have a lot of heartwood shakes, which I really like the look of - but not sure they'd look right painted over. Then again I have got a can of horrible chalk paint to finish up... hmmm
Also, I need to decide whether to drawbore or not. Not sure it's worth it in pine - but I've never done them before so interested to give it a go.
Total time so far: about 12hrs
Total cost so far: about £14
Total weight so far: 34.2 kilos (but have only weighed the legs)
I'll stop now, hopefully future posts will be much shorter!
Cheers
Simon
I'm also trying to build it for under £70 if possible, and definitely under £100. There's a strong possibility it may end up on the woodburner after all!
This is just a bit of a fun project really - if it doesn't work out, I'm not really that worried. Progress may be very slow, as I've got lots of other projects on the go and regularly get very busy at work.
This definitely won't be a hand-tool only build, far from it in fact. There are a couple of very admirable hand tool bench builds going on here anyway.
My criteria for the bench - other than being cheap - are:
Mass, want it as heavy as the softwood I'm using will allow.
No wider than 600mm as its going against a wall and I need to reach tool cupboard etc above it.
No tail vice, don't think I'll need one - could always add later or use Wonder dogs etc
Possibly split-top, not decided.
Aprons for rigidity. Aprons also flush with legs.
Must have adjustable feet - my floor is very uneven. Thought this would be a stability issue, the multi-purpose bench I built has them and doesn't move an inch, even when heavy planing.
Want a shelf underneath for added mass and much-needed storage space.
Not riddled with dog holes - some well placed holdfast holes.
Definitely no tool well.
I'm weighing the components as I go along, trying to ascertain the final weight, I'll also keep a running total of the cost.
Anyway on with the build...
Started off with a (very rough) sketch of the sort of thing I have in mind. This is not in proportion, but it doesn't matter. Then I scribbled on the overall dimensions. Other dimensions are being added as I go along. You could argue that this is a plan, but most of these dimensions were added after I started cutting timber and I just scribble things on or rub them out as they come into my head.

After I'd worked out the size of overhang I thought looked right I could start on the base as I then knew how long to cut the stretchers.

Started by milling up some rough timber. The Ash and Iroko in the picture have nothing to do with the bench.
The timber for the base came from a distribution warehouse that was selling it off very cheaply. I got eight 2.4m 3 x 3s and four 1m 6x6s for £20. It's rough! Strangely enough, the 3x3s, in particular, work very nicely. The legs were a bit of a handful over the planer, but manageable.
I cut the legs to length on My chop saw, had to cut from both sides. It struck me how well the DeWalt XPS coped with this. I bought it over three years ago, set it up, and haven't adjusted it since. The cuts were perfectly square in both directions, with almost no perceptible step where it was turned over - even with an 80 tooth blade that I thought might struggle.

I then jointed edges on some of the 3x3s with a hand plane to remove machine marks before laminating together to form the rails for the leg frames. I used a few dominoes just to aid alignment.

Then it was onto the mortices, pondered what size to cut the leg mortices and went for roughly a third of the finished leg width of 140mm - 45mm wide mortices were not the easy option! The time to decide how to cut them -Timber is too big for my little morticer. I was going to cut the the usual drill and chop route when I remembered the pocket cutter I bought from Weadlen when I fitted a load of new doors. I wanted to cut the mortices about 80mm deep and sure enough, with the cutter inserted into the collet up to the minimum insertion mark, just about enough depth.

Only problem with this, I cant use the dust extraction collar for the last couple of centimetres of plunge because the collet contacts it. Using the router cutter meant I could set a Heath Robinson jig and not need to mark all the mortice positions.

Soon realised the jig interfered with the dust collection attachment!

Soon sorted with a saw and chisel.
I then routed the first pass to full depth on all of the legs, then hogged out most of the waste before doing the final pass on all the legs with the router on the same setting - this should guarantee they all line up and are the same size.
This was very hard work! The leg timber is Resin City - the workshop now smells like a turpentine factory! Had to clean the bit in acetone every few minutes. I was glad of the ratchet locking and unlocking on the router. Also, being able to remove the dust collector without removing the bit was a godsend, as I had to plunge the last couple of centimetres without it fitted - lots of stopping and vacuuming out the mortice.
Then just a matter of squaring them off with a chisel. Again had to clean the chisel with acetone frequently - I discovered a sticky-back chisel doesn't work very well! Had to sharpen a few of times as well due to the knots. Took me a couple of hours to cut 4 mortices and still 8 to go - still no rush, but I reckon a skilled hand worker could probably do it faster.

Anyway this is where I'm up to now... onwards and upwards

Need to decide if I'm going to paint the base. The legs have a lot of heartwood shakes, which I really like the look of - but not sure they'd look right painted over. Then again I have got a can of horrible chalk paint to finish up... hmmm
Also, I need to decide whether to drawbore or not. Not sure it's worth it in pine - but I've never done them before so interested to give it a go.
Total time so far: about 12hrs
Total cost so far: about £14
Total weight so far: 34.2 kilos (but have only weighed the legs)
I'll stop now, hopefully future posts will be much shorter!
Cheers
Simon


