siggy_7
Full time tool collector, part time woodworker
I've a lot of spraying to do, and anyone who has sprayed anything knows one of the biggest challenges with spraying is containing the mess and preventing overspray from affecting the quality of the finish. So, I decided I needed some form of spray booth. Judging by the number of threads on here about spraying recently, I think it's a common problem, so I thought I'd share what I made in case others find it useful.
My requirements - I'm spraying in a garage workshop with a compressor and a HVLP gun. I know other types of gun are available, but I decided on a compressor set-up because a) I already have the 3HP compressor and b) aside from cabinetry, I also want to be able to spray cars. Car paints need air-fed masks (i.e. a compressor) and a decent clear-over-base finish is in my experience best achieved with compressed air guns. I'm going to be using an Iwata AZ3 HTE2 spray gun (I think this is also sold by Morrells as their Signature 1 gun so should be fine for their paint, which I will be using). I put a fair bit of time and effort into the air preparation - if there is interest on details then I'll make a separate thread for that. I need something big enough to spray cabinet doors, drawers, panels, and ideally car panels/bumpers too, but that can be put away relatively easily for storage.
A decent sized spray booth takes up a lot of room, which I don't have. I was mulling this over for a long time, thinking about awnings I could set up on the back of the garage, drop-sheets hung from the ceiling, various knock-down options, until I saw this YouTube video from the "I like to make stuff" channel. This looked like it could be adapted to more or less exactly what I wanted. The genius idea at the heart of this booth is to use very thin walls which are permently attached with full-length hinges made from fabric and contact adhesive - like massive piano hinges. This means it can be set up or put away very quickly and takes up relatively little space.
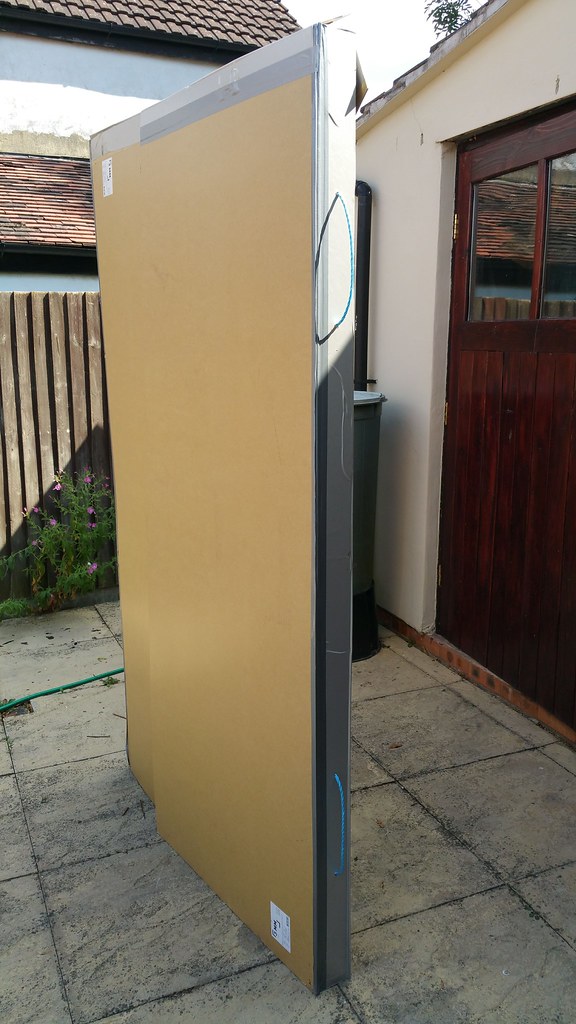
My booth is built around a filter wall made from 3mm hardboard (dimensions 2100x1220). Having made it, I think this is about the practical size limit for the design. It is a usefully sized booth for all of the spraying that I want to do in it. The back of the filter wall has 80mm deep 18mm plywood around the perimeter, glued and nailed, to give rigidity and depth for the filters. Four pieces of hardboard hinge on the front of the filter wall to form the walls, floor and ceiling of the booth (giving an 820mm depth). It folds flat to form a box around 100mm thick.
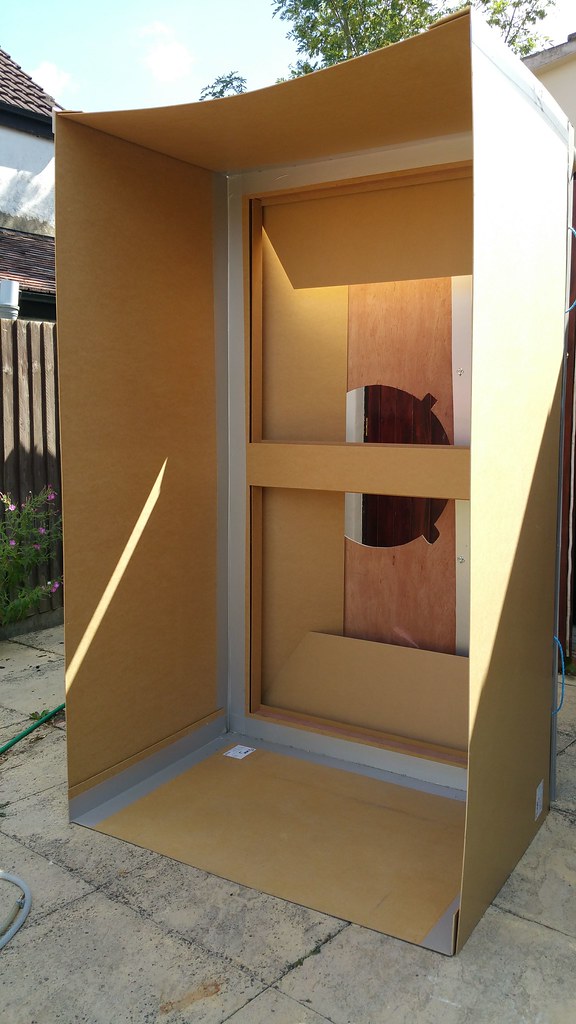
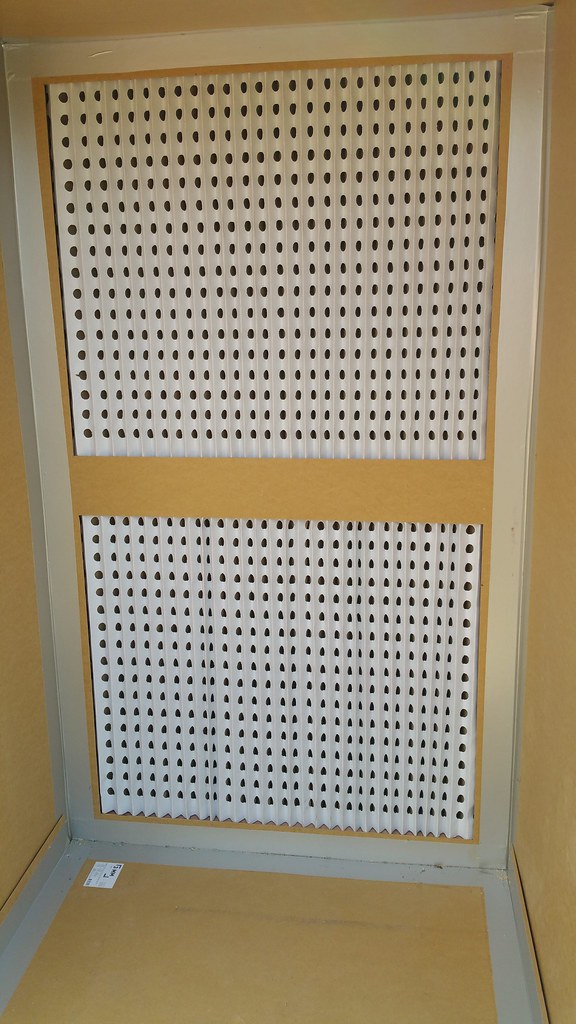
There are two 1050x900mm apertures for some pleated cardboard filters with filter frames made from off-cuts of hardboard and 9mm plywood. I chose these filters including a high density secondary fibre filter, on the grounds that it's being used near housing and cars so I want as little airbourne paint as possible.
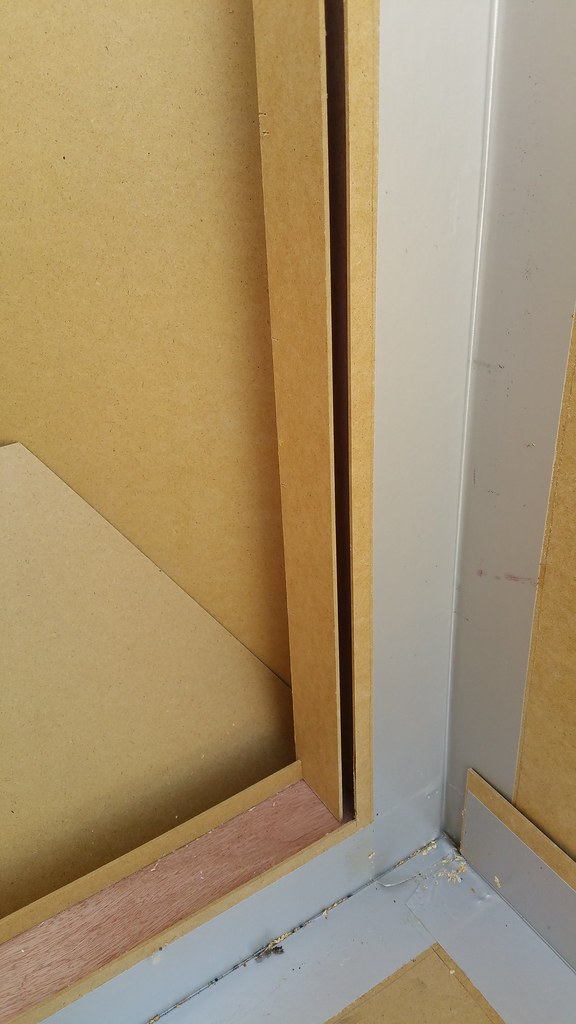
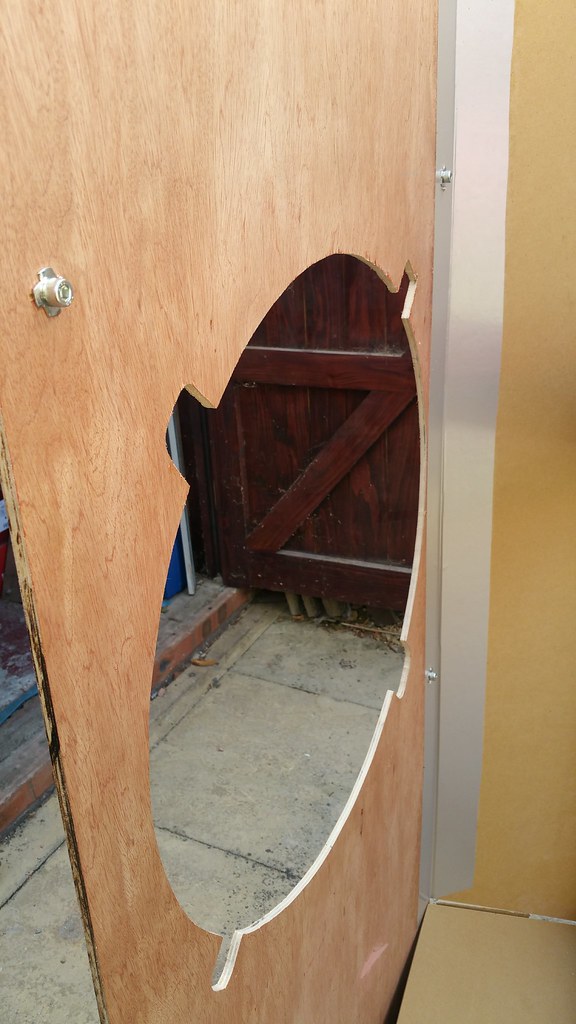
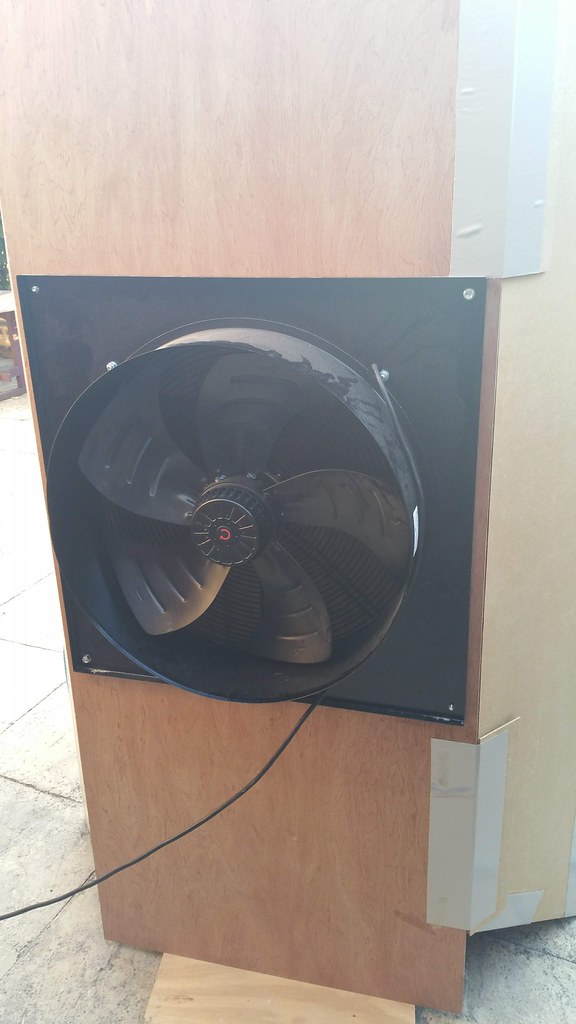
The back of the filter wall has four angled flaps that together form a short duct to a 9mm plywood panel at the rear, which is hinged off of one of the flaps. Four 8mm T-nuts with bolts from the inside act as mounting studs for a 22" axial plate fan. There is about a 20mm clearance from the back panel to the floor, designed so I can support the weight of the back panel and fan with a couple of feet (not yet made) rather than have issues with uneven floors.
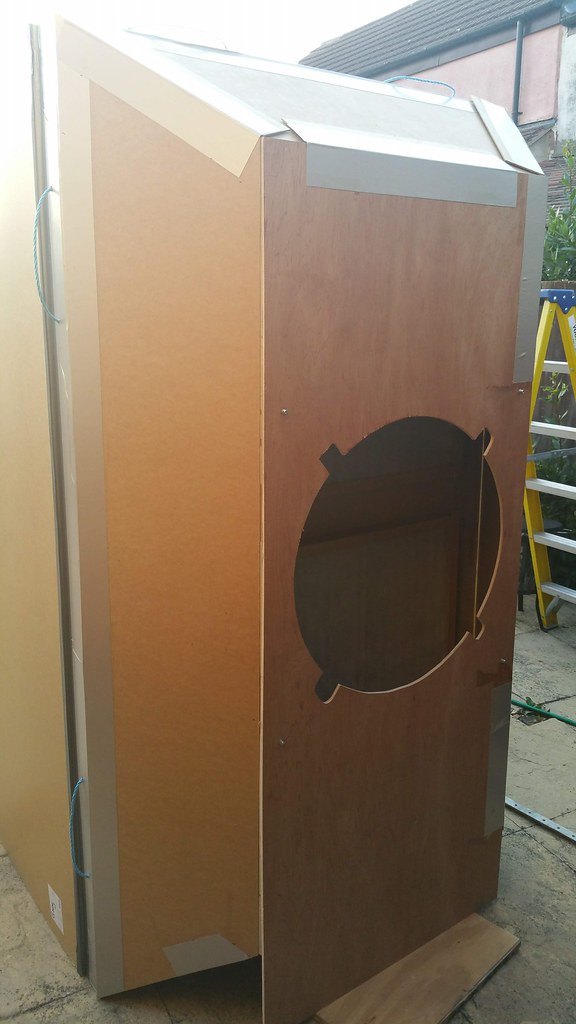
The fabric I used for the hinges is PVC on the front and soft material on the back, which sticks really well with spray contact adhesive. Definitely use a rotary fabric cutter for trimming the sheet, it was a breeze! The material came from Dunelm mill, I needed 2.5x1.4m which cost about £10. I had a roughly 75mm overlap on each half of the fabric hinge, which seems to be plenty strong enough. The corners of the walls and rear ducts are held together with tabs made from the hardboard offcuts, which are hinged onto one side and attached with adhesive-backed velcro when assembled. It takes only a couple of minutes to set up or take down; at the size it is I can manage it by myself but it is a bit easier with two.
Were I to make it again, there are a few things I would do slightly differently:
My requirements - I'm spraying in a garage workshop with a compressor and a HVLP gun. I know other types of gun are available, but I decided on a compressor set-up because a) I already have the 3HP compressor and b) aside from cabinetry, I also want to be able to spray cars. Car paints need air-fed masks (i.e. a compressor) and a decent clear-over-base finish is in my experience best achieved with compressed air guns. I'm going to be using an Iwata AZ3 HTE2 spray gun (I think this is also sold by Morrells as their Signature 1 gun so should be fine for their paint, which I will be using). I put a fair bit of time and effort into the air preparation - if there is interest on details then I'll make a separate thread for that. I need something big enough to spray cabinet doors, drawers, panels, and ideally car panels/bumpers too, but that can be put away relatively easily for storage.
A decent sized spray booth takes up a lot of room, which I don't have. I was mulling this over for a long time, thinking about awnings I could set up on the back of the garage, drop-sheets hung from the ceiling, various knock-down options, until I saw this YouTube video from the "I like to make stuff" channel. This looked like it could be adapted to more or less exactly what I wanted. The genius idea at the heart of this booth is to use very thin walls which are permently attached with full-length hinges made from fabric and contact adhesive - like massive piano hinges. This means it can be set up or put away very quickly and takes up relatively little space.
My booth is built around a filter wall made from 3mm hardboard (dimensions 2100x1220). Having made it, I think this is about the practical size limit for the design. It is a usefully sized booth for all of the spraying that I want to do in it. The back of the filter wall has 80mm deep 18mm plywood around the perimeter, glued and nailed, to give rigidity and depth for the filters. Four pieces of hardboard hinge on the front of the filter wall to form the walls, floor and ceiling of the booth (giving an 820mm depth). It folds flat to form a box around 100mm thick.


There are two 1050x900mm apertures for some pleated cardboard filters with filter frames made from off-cuts of hardboard and 9mm plywood. I chose these filters including a high density secondary fibre filter, on the grounds that it's being used near housing and cars so I want as little airbourne paint as possible.


The back of the filter wall has four angled flaps that together form a short duct to a 9mm plywood panel at the rear, which is hinged off of one of the flaps. Four 8mm T-nuts with bolts from the inside act as mounting studs for a 22" axial plate fan. There is about a 20mm clearance from the back panel to the floor, designed so I can support the weight of the back panel and fan with a couple of feet (not yet made) rather than have issues with uneven floors.


The fabric I used for the hinges is PVC on the front and soft material on the back, which sticks really well with spray contact adhesive. Definitely use a rotary fabric cutter for trimming the sheet, it was a breeze! The material came from Dunelm mill, I needed 2.5x1.4m which cost about £10. I had a roughly 75mm overlap on each half of the fabric hinge, which seems to be plenty strong enough. The corners of the walls and rear ducts are held together with tabs made from the hardboard offcuts, which are hinged onto one side and attached with adhesive-backed velcro when assembled. It takes only a couple of minutes to set up or take down; at the size it is I can manage it by myself but it is a bit easier with two.
Were I to make it again, there are a few things I would do slightly differently:
- Allow more of an offset when assembling the hinges - a couple of the panels on the front don't fold down too flat because I didn't allow enough of a space to accomodate the corner tabs;
- Attach the corner tabs to the inside of the booth walls at the front - for the top, when I realised my earlier mistake with the above I positioned the tabs on the outside to prevent further issues. However, this means the top panel is just hanging from the velcro tabs;
- Be a bit more generous in sizing for the filter frame - I measured the filters and only added 2mm on for clearance, and consequently the filters are a bit of a tight fit. Had I made to nominal dimensions I think it would be a lot easier to install filters without causing any issues;
- Potentially use a stronger and thicker material for the booth walls - the long unsupported hardboard walls sag quite a lot when installed as you can see. I don't think this will create any particular issues, but if I were able to source some at a sensible price I might consider using panels of that corrugated plastic board that estate agents use for signage or perhaps some panels of corrugated cardboard. Clearly with the collapsible, portable and storable brief, weight and thickness were primary design considerations of mine, so I chose to accept having the walls and ceiling sag to meet this aim cheaply.


