lucky9cat
Established Member
Hi Folks
Finally got around to some notes and a few photos I’ve been taking of my current project.
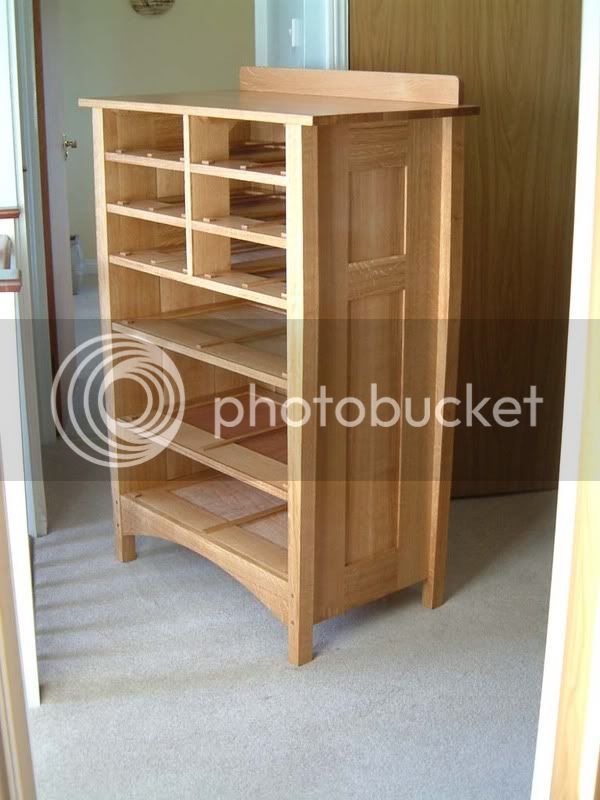
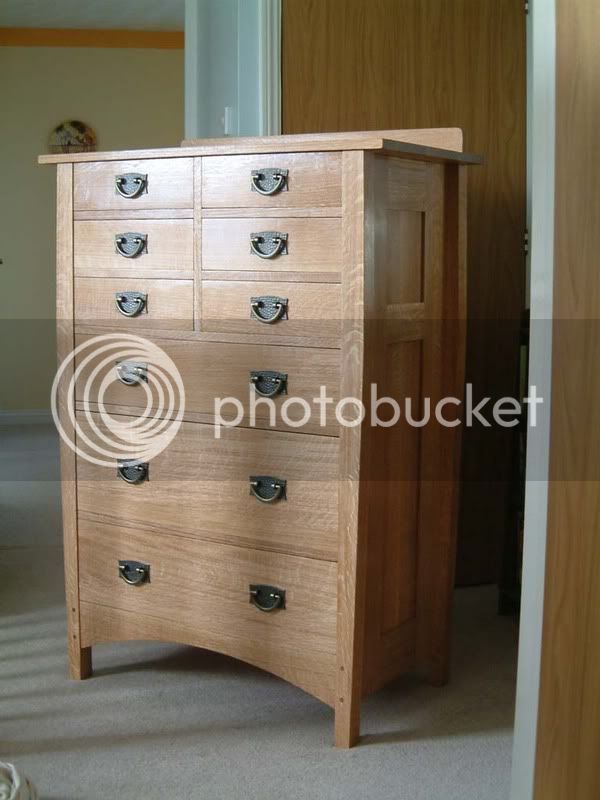
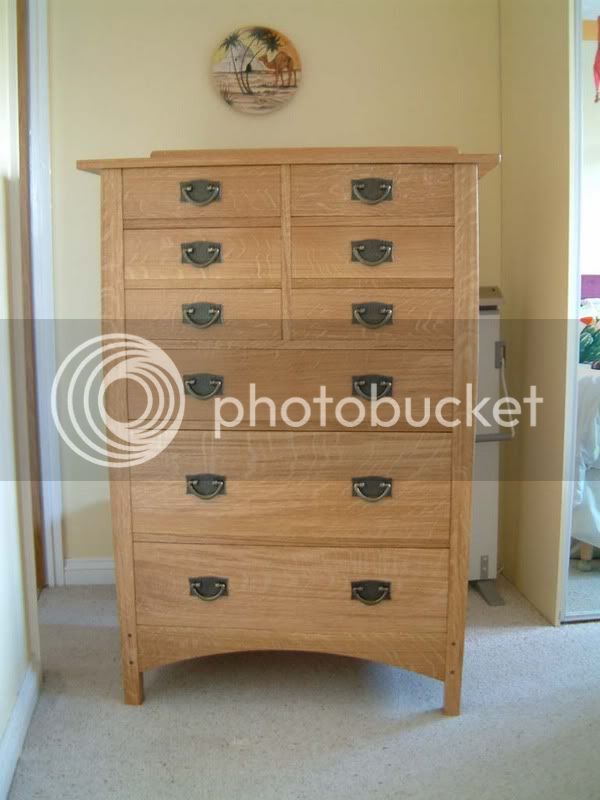
A couple of years ago I built a chest of drawers to Gustav Stickley’s diagram No.913 from early last century. Here’s the piece. It’s built from Croation Oak and was certainly a challenge.
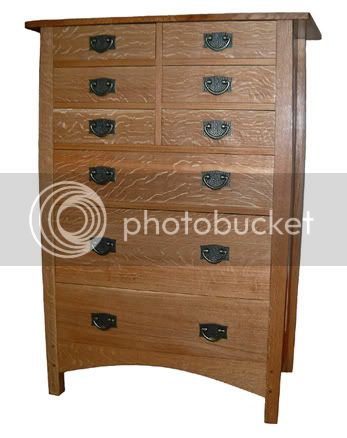
Then, in the September 2005 issue of American Woodworker there was an article by someone on his approach to building one. He did a few things differently. His had a removable back to make the fitting of the drawers easier, drawer guides running along the centre bottoms of the drawers to aid free running, a neat way of attaching the top, veneers on the front and back sides of the legs to get the quartersawn ray fleck on all four faces, and dust panels between the drawers as opposed to open frames. I also wanted to use Cedar of Lebanon for the secondary wood on the drawers, and bookmark the side panels using solid wood rather than veneered MDF as I had done before. So, this was going to be how I wished I had done the first one. Have you ever wondered why Norm always does two of each piece?
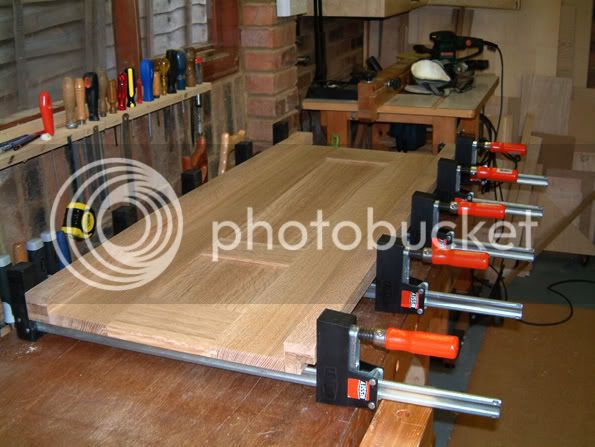
I choose the wood very carefully to try to get the best quatersawn boards. I can spend hours sifting through the wood at the local wood yard. It’s a two man job and on the last time we were there my wife flipped and said she was not going to shift another piece! I heard one of the blokes call me Mr.Picky. I hope this shows up in the photo of the side panels.
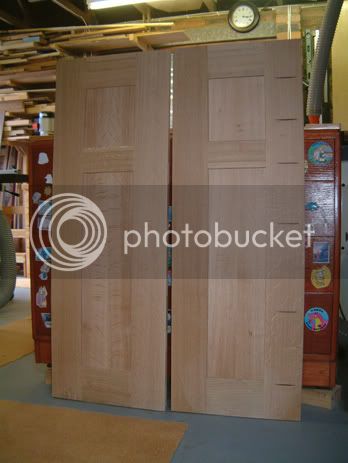
It’s standard mortice and tenon construction. The tenon shoulders are cut using the sliding table of my table saw with the remaining bulk of waste routed out on the router table using a milling cutter. The motices are made with a bench morticer. In the picture you can just notice the biscuit slots in the left and right edges; this is how the legs attach. The biscuit slots on the sides are how the backs of the drawer frames attach. The bookmarking of the centre panels shows up quite well.
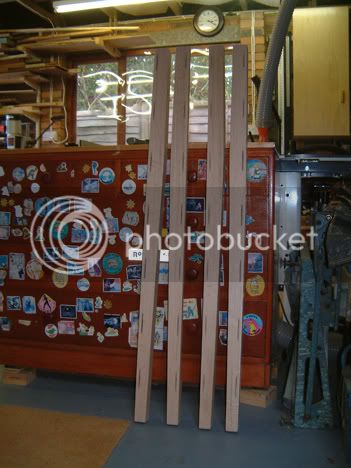
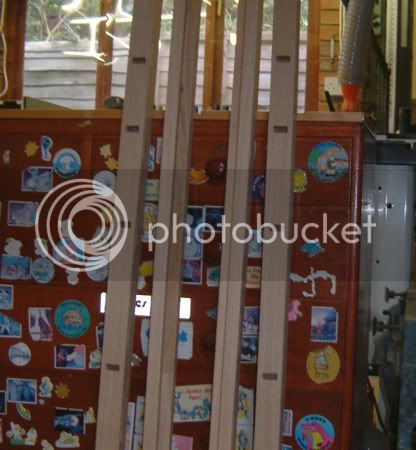
The legs are rebated for the back panel, morticed for the drawer frames and then slotted for biscuits to glue them to the side panels.
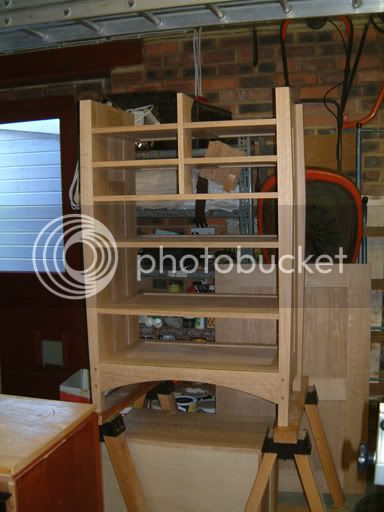
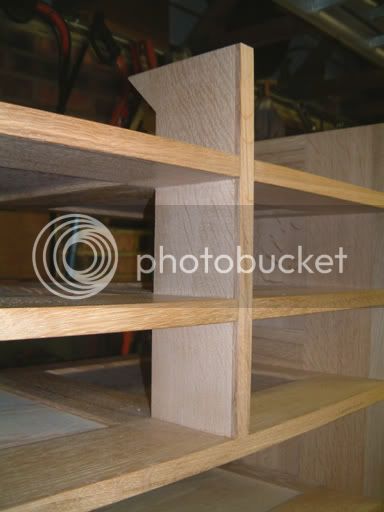
The whole thing is glued up after making the drawer frames which are held together with stub tenons. The drawer frames fit to the front legs with tenons to and the rear of the sides with biscuits. The vertical drawer divider uses cross halvings and a housing joint to fit to the drawer frames. All the drawer frames have their fronts edged to display quartersawn rays.
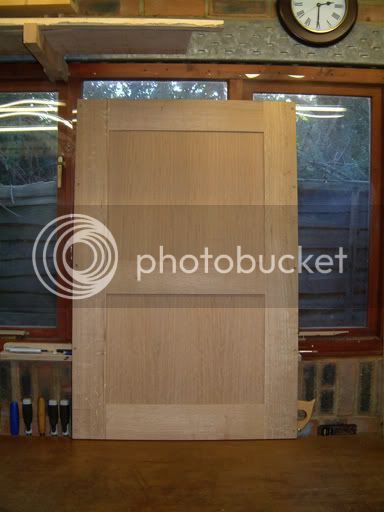
The back is standard frame constuction.
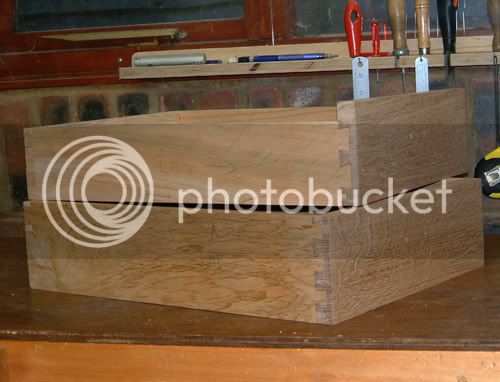
I decided to hand cut the dovetails as an extra challenge. For the groove to take the base I did a through cut on the tablesaw. I increased the size of the front pins to allow for this and then plugged the “hole” with a ¼ inch square stick of oak, end grain showing. Next time, I would do a much finer pin. The groove would then emerge behind the tail and the joint would also look less chunky. The sides of the top drawers are lowered to clear the slats that will join the top to the sides.
More on this once I’m at that stage. I’ll keep you posted.
More to follow once I’ve finished the drawers and top. Don’t hold your breath!
Finally got around to some notes and a few photos I’ve been taking of my current project.
A couple of years ago I built a chest of drawers to Gustav Stickley’s diagram No.913 from early last century. Here’s the piece. It’s built from Croation Oak and was certainly a challenge.

Then, in the September 2005 issue of American Woodworker there was an article by someone on his approach to building one. He did a few things differently. His had a removable back to make the fitting of the drawers easier, drawer guides running along the centre bottoms of the drawers to aid free running, a neat way of attaching the top, veneers on the front and back sides of the legs to get the quartersawn ray fleck on all four faces, and dust panels between the drawers as opposed to open frames. I also wanted to use Cedar of Lebanon for the secondary wood on the drawers, and bookmark the side panels using solid wood rather than veneered MDF as I had done before. So, this was going to be how I wished I had done the first one. Have you ever wondered why Norm always does two of each piece?
I choose the wood very carefully to try to get the best quatersawn boards. I can spend hours sifting through the wood at the local wood yard. It’s a two man job and on the last time we were there my wife flipped and said she was not going to shift another piece! I heard one of the blokes call me Mr.Picky. I hope this shows up in the photo of the side panels.

It’s standard mortice and tenon construction. The tenon shoulders are cut using the sliding table of my table saw with the remaining bulk of waste routed out on the router table using a milling cutter. The motices are made with a bench morticer. In the picture you can just notice the biscuit slots in the left and right edges; this is how the legs attach. The biscuit slots on the sides are how the backs of the drawer frames attach. The bookmarking of the centre panels shows up quite well.


The legs are rebated for the back panel, morticed for the drawer frames and then slotted for biscuits to glue them to the side panels.


The whole thing is glued up after making the drawer frames which are held together with stub tenons. The drawer frames fit to the front legs with tenons to and the rear of the sides with biscuits. The vertical drawer divider uses cross halvings and a housing joint to fit to the drawer frames. All the drawer frames have their fronts edged to display quartersawn rays.

The back is standard frame constuction.

I decided to hand cut the dovetails as an extra challenge. For the groove to take the base I did a through cut on the tablesaw. I increased the size of the front pins to allow for this and then plugged the “hole” with a ¼ inch square stick of oak, end grain showing. Next time, I would do a much finer pin. The groove would then emerge behind the tail and the joint would also look less chunky. The sides of the top drawers are lowered to clear the slats that will join the top to the sides.
More on this once I’m at that stage. I’ll keep you posted.
More to follow once I’ve finished the drawers and top. Don’t hold your breath!


