some WIP's for today

UKworkshop.co.uk

Help Support UKworkshop.co.uk:

This site may earn a commission from merchant affiliate links, including eBay, Amazon, and others.

Tusses

Established Member
Joined
21 May 2008
Messages
1,014
Reaction score
1
Location
coventry
making a plate rack cupboard for my camper van

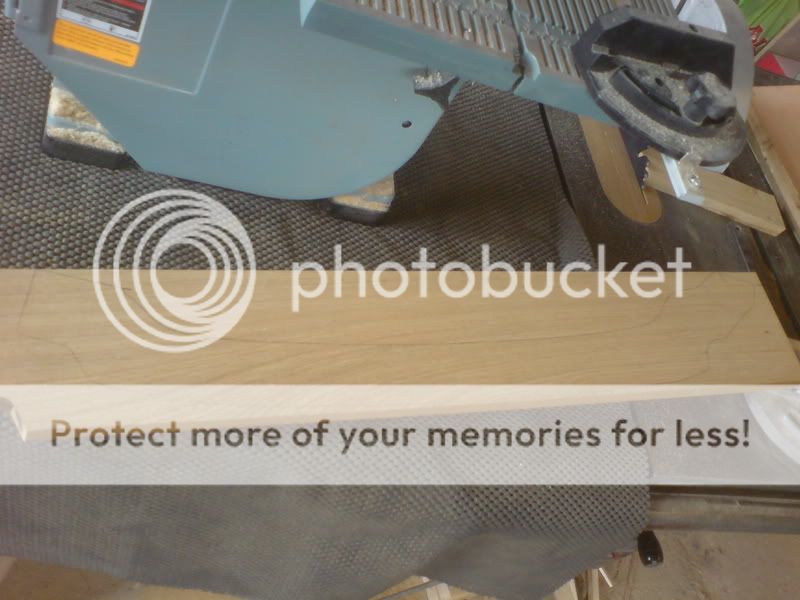
1st scribed a bit to make a template

DSC01894.jpg


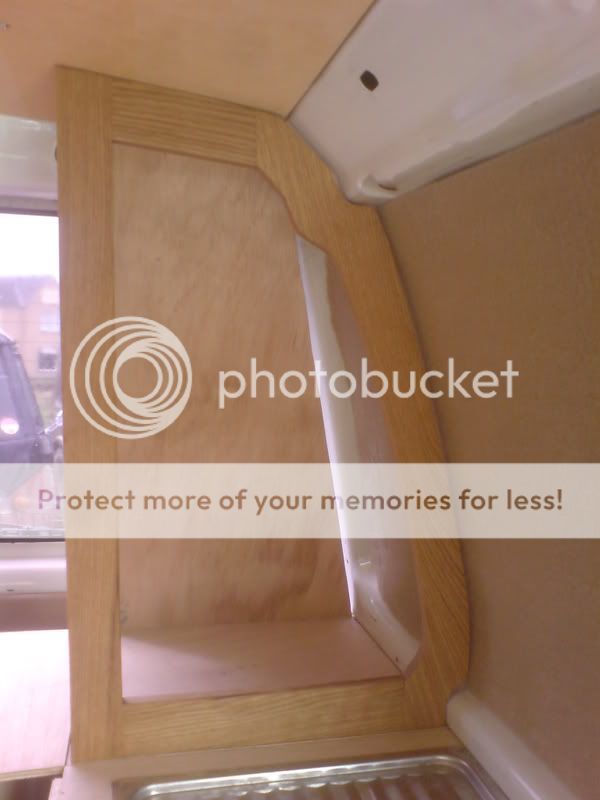
From this I made a face frame in oak
DSC01885.jpg


DSC01888.jpg


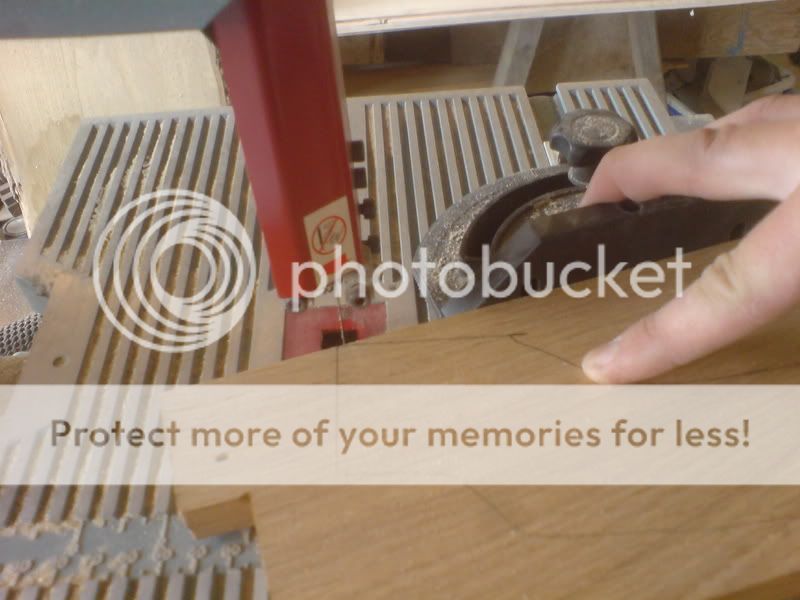
cut the curvy bit on the band saw, and joined the frame with biscuits and glued it up
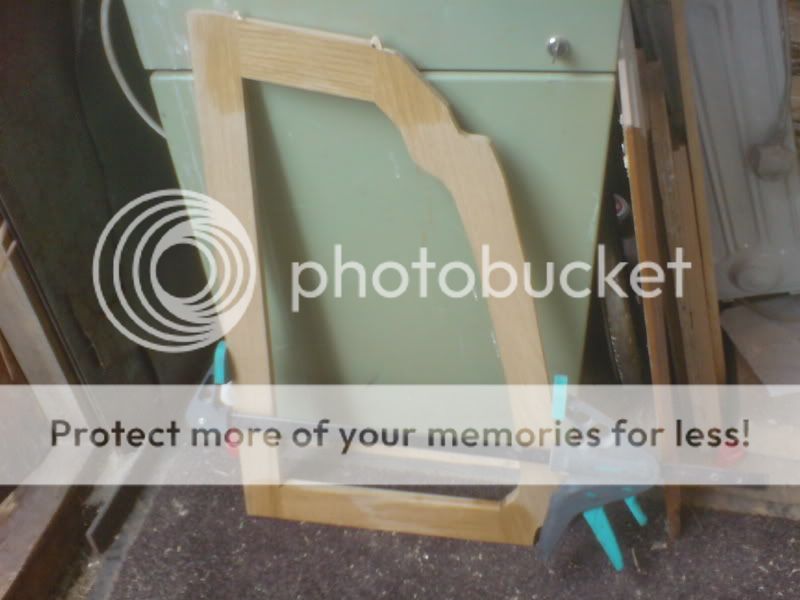
DSC01891.jpg


a bit of sanding and a coat of danish , and a trial fit
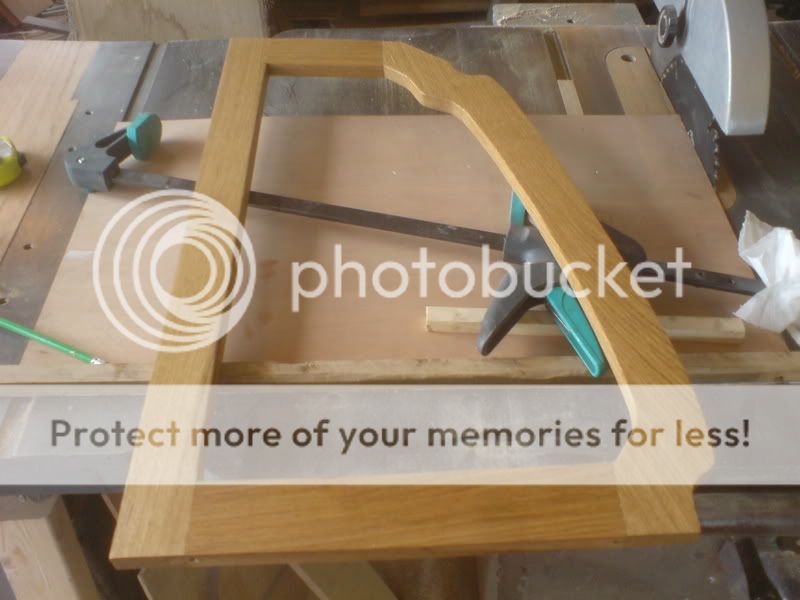
DSC01892.jpg


DSC01893.jpg


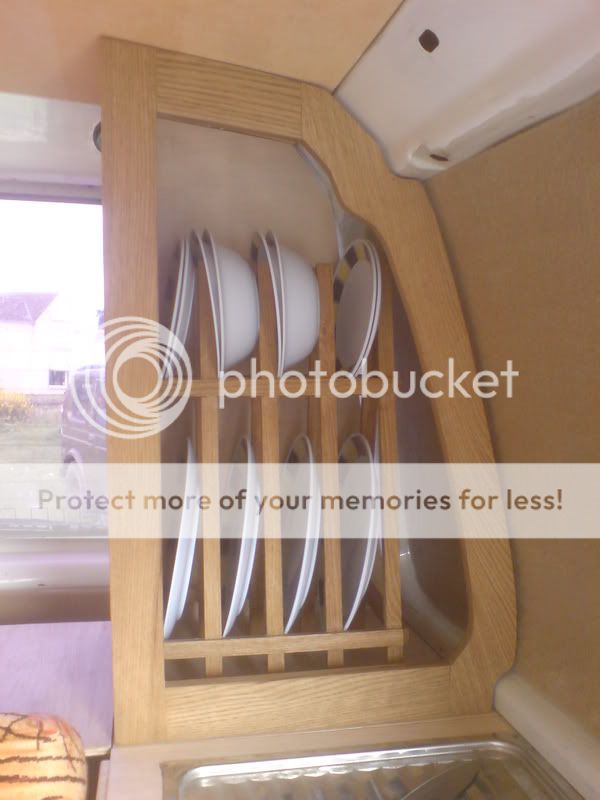
with the back and sides on, I mocked up the plate rack with some strips of pine and a hot melt glue gun
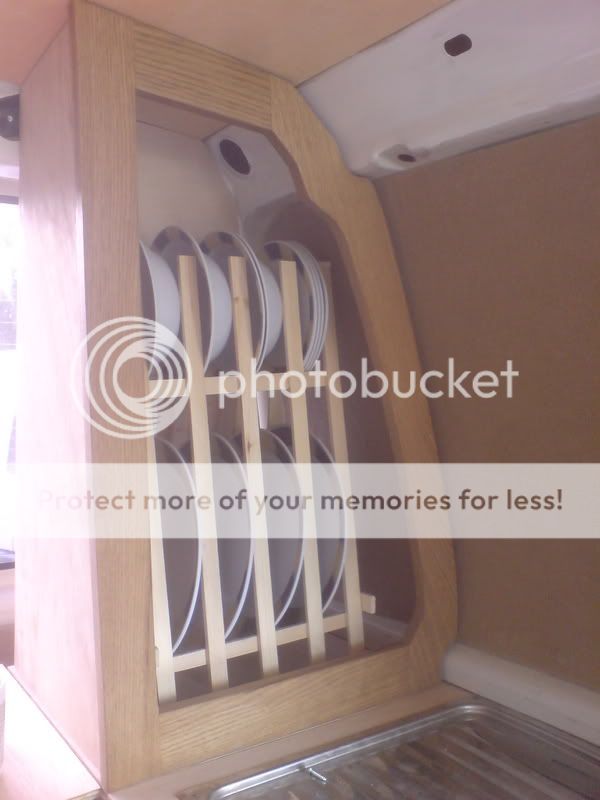
DSC01900.jpg


Finally happy with the rack dimensions, I'll make it in oak tomorrow. I made another similar cupboard for the other side.

yibady yibady yibady ... thats all folks :)

for now anyway !
 
Looking good :) .

Sorry if it's a basic question, but how did you scribe the shape so accurately?

Gill
 
Gill":2uk13zg2 said:
Looking good :) .

Sorry if it's a basic question, but how did you scribe the shape so accurately?

Gill

I learned to do that - welding - of all things. Making up metal patches for classic car restoration !
I started with card and a pair of scissors to get the corners and curves - these can be done one corner at a time then cut the longer curves and straight edges. You can trim and adjust or start again, as it's only card. Then stick them all together and there is your template. I made each edge in ply to (see pic) and then hot melt glued them in place so I didn't need to measure.

It takes a bit of time, but it is very effective.

Rich
 
Finished the woodwork for the rear of the van today. Still got to do the carpet over the sides and put the LED lighiting in .... nearly ready for sale :)

Might get to Bug Jam (vw show at Santa Pod) on sunday if my insurance cover note turns up so I can tax it

DSC01918.jpg
 
are you going to fit doors as well ? as it occurs to me that theres a good chance of that lot flying out of the rack if you do an emergency stop.

other than that nice work ;)
 
big soft moose":3cclbnpa said:
are you going to fit doors as well ? as it occurs to me that theres a good chance of that lot flying out of the rack if you do an emergency stop.

other than that nice work ;)

I thought about that and decided against. It would close the space in too much. It will have to be - pack away then travel. Only a 5 minute job. There's plenty of storage space hidden here and there.


More pics soon :)
 
ok - its just about finished. A bit rushed in places as I changed my mine 'again' !
I will post this again for critique !

So - as I am planning on doing a few of these , I would like to know what y'all think :tup:


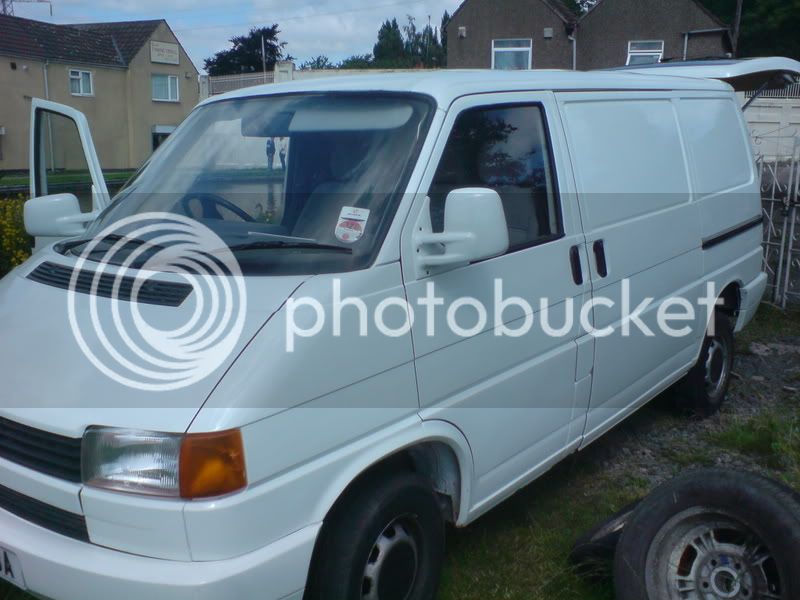
New respray - New camper conversion.

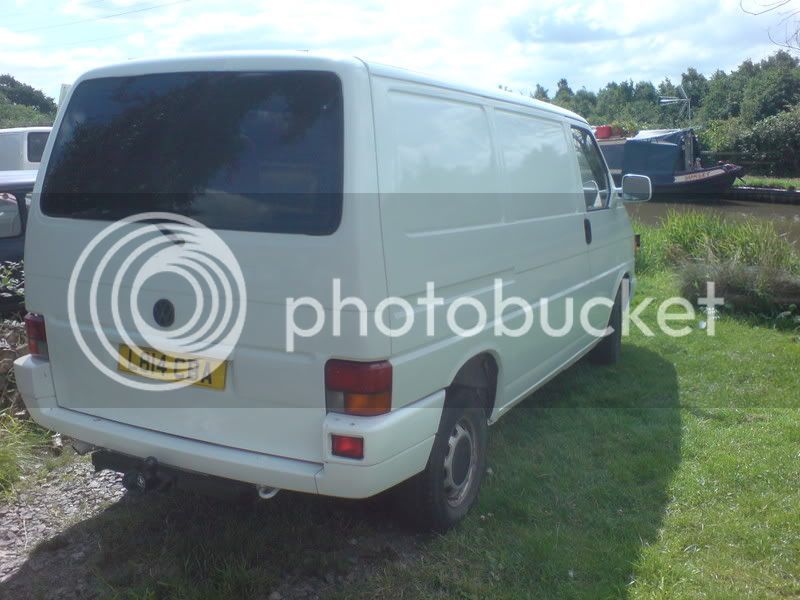
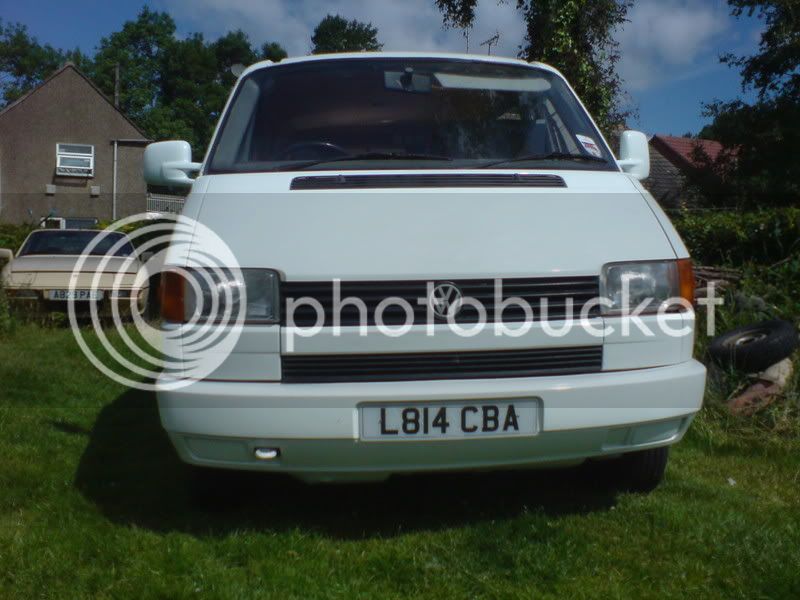
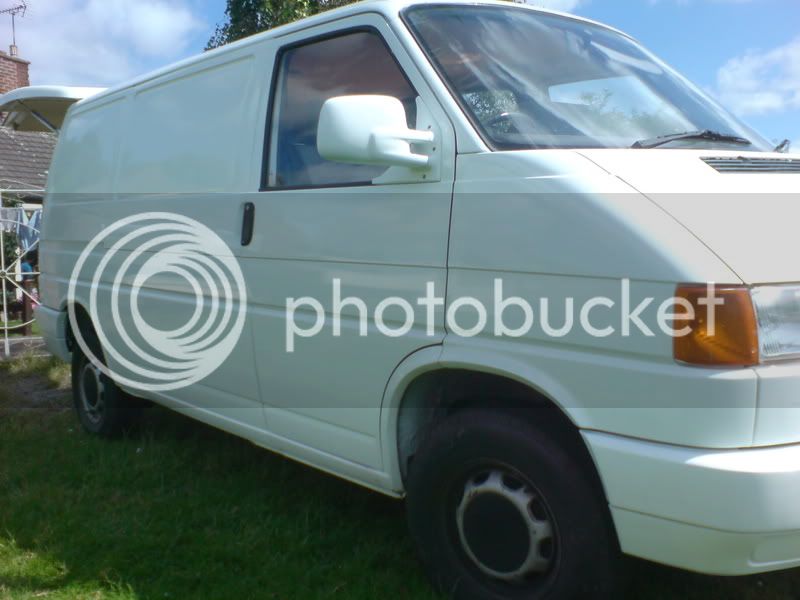
1st the exterior. New spray job - colour coded bumpers and mirrors.
DSC01959.jpg


DSC01963.jpg


DSC01964.jpg


DSC01977.jpg


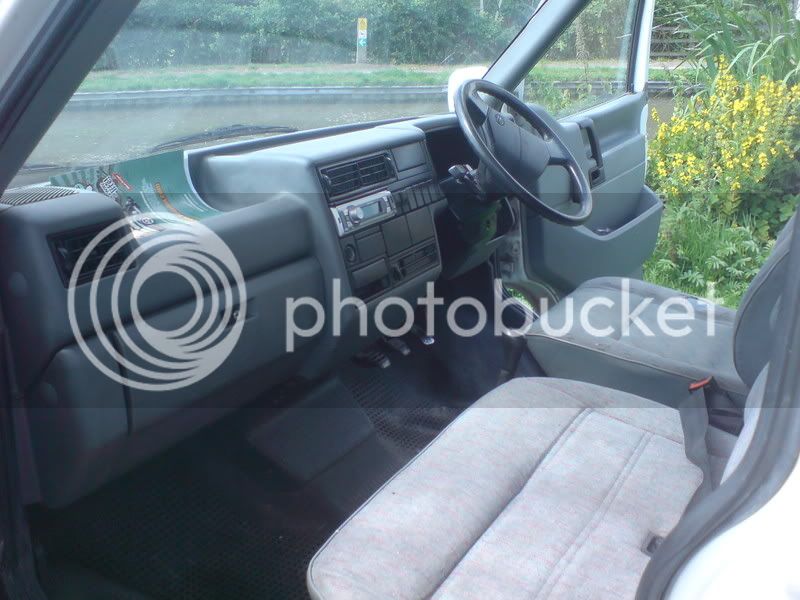
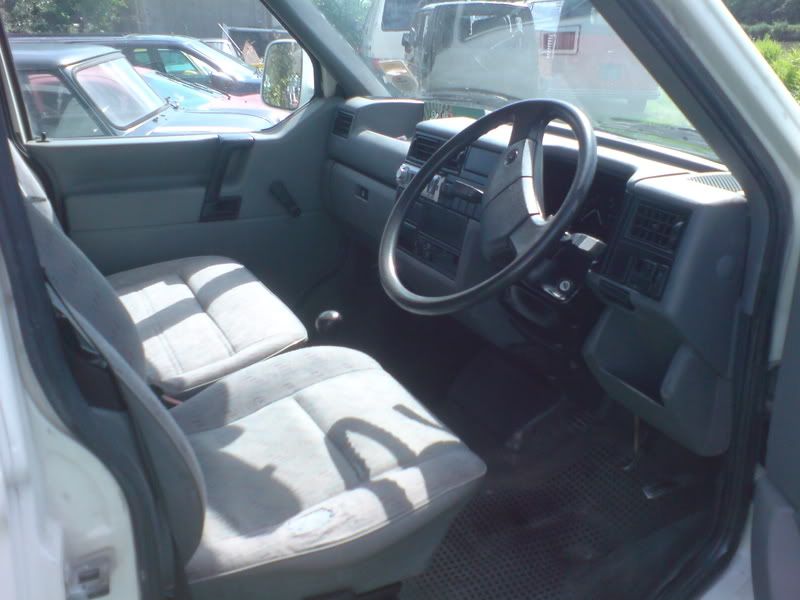
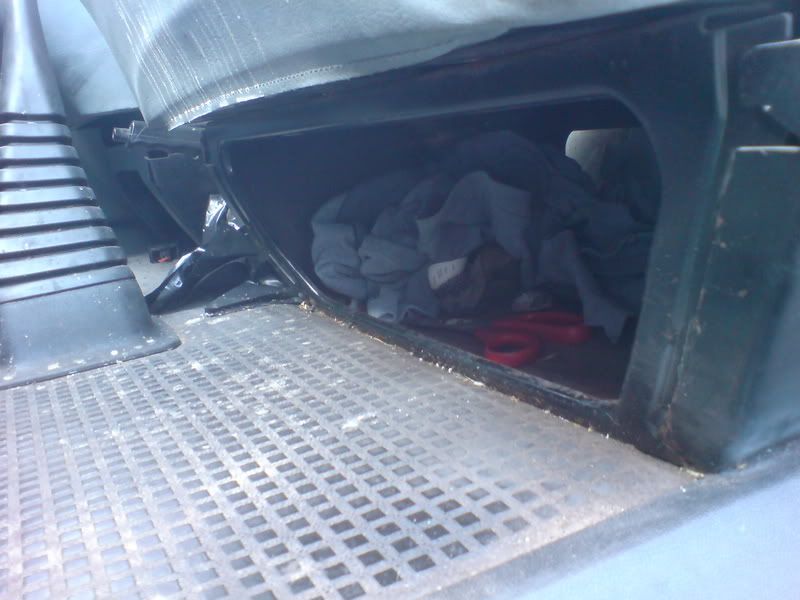
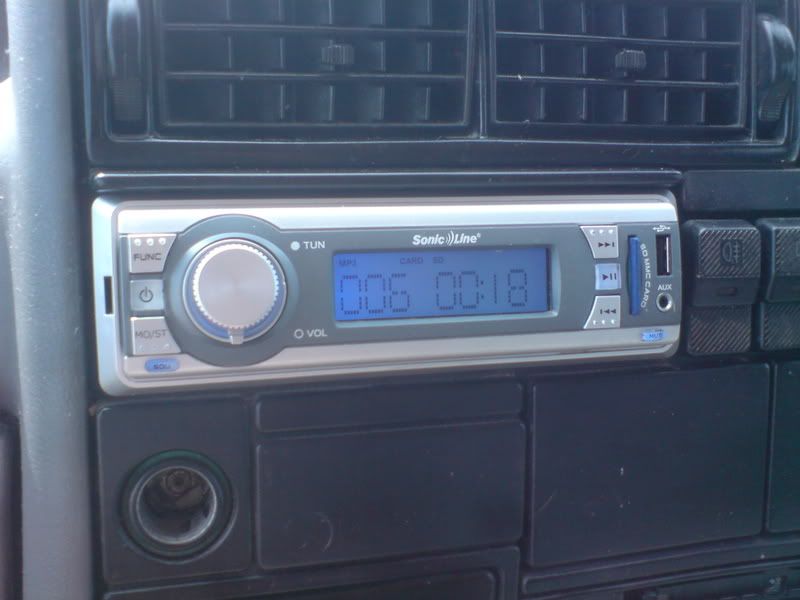
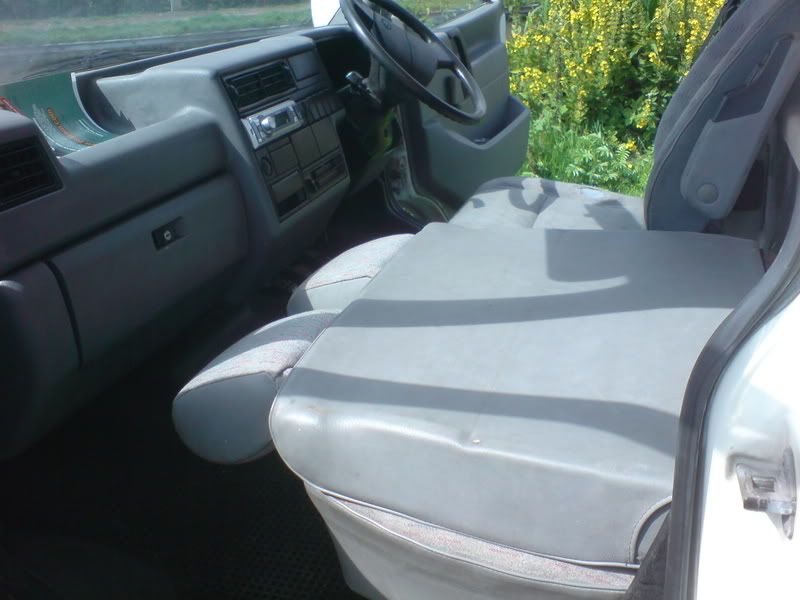
The Cab ... Captains Driver seat with good firm arm rests. and a twin passenger seat with 2 seat belts. MP3/radio with SD/MMC card slot - USB - and Aux inputs. Storage under seats.

DSC01960.jpg


DSC01958.jpg


DSC01979.jpg


DSC01980.jpg


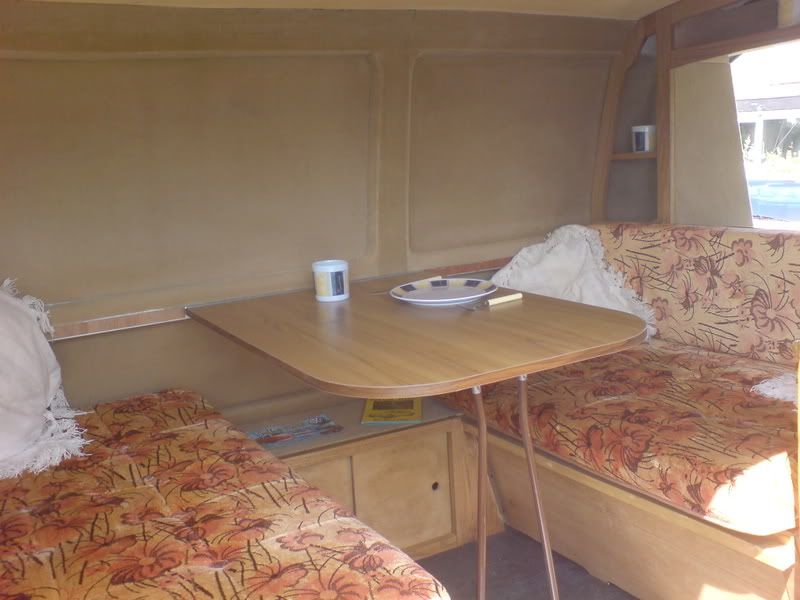
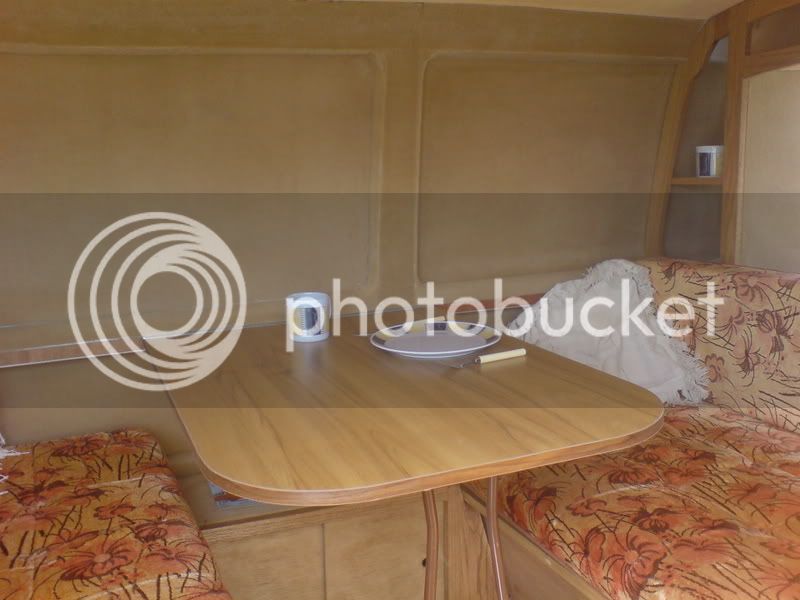
Now for the interior. I didn't like the standard T4 set up. It was not well thought out, and inefficient on its use of space - so I designed my own. Based on the dinette layout. The Table drops to form the bed which is plenty big enough and room to sit on the edge and get changed / make a cuppa etc.
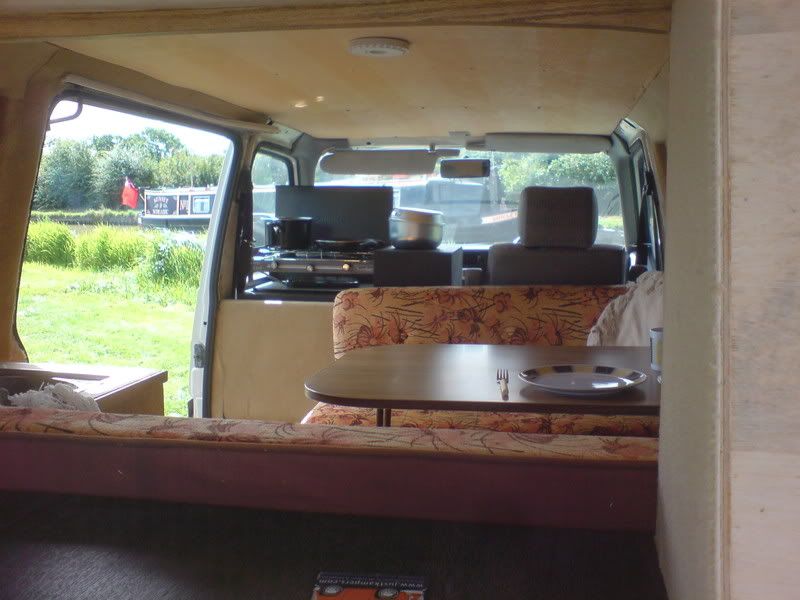
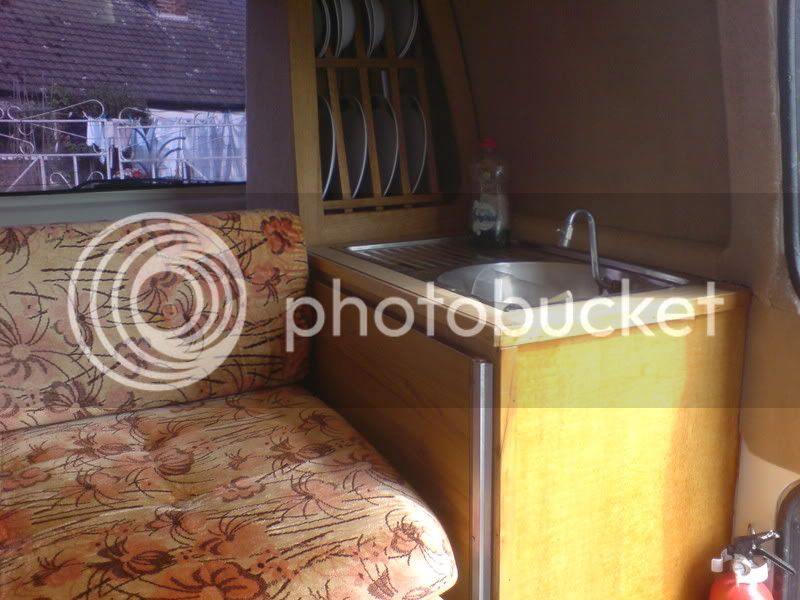
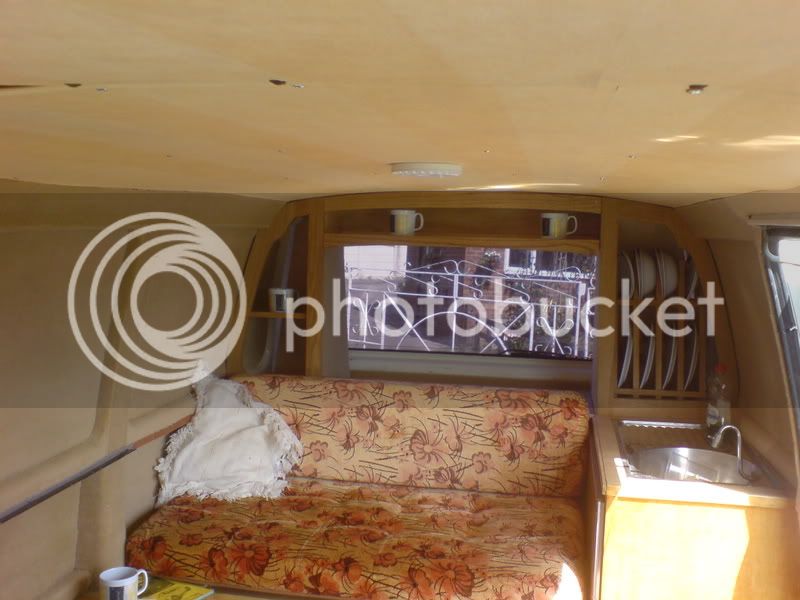
Loads of storage space in the back , under the seats and in the cupbaords. The diner seats 4 easily. with the table stored 2 can lounge with feet up. The washing up area has a plate rack next to the sink for conveineint plate and bowl storage. top shelf for cups or whatever. and a cupboard the other side. the rear load area is disigned so the top shelf area is accessible from inside or ourtside. Fron outside there is loads of storage cupboards/shelves and space between these and the tail gate for larger items.

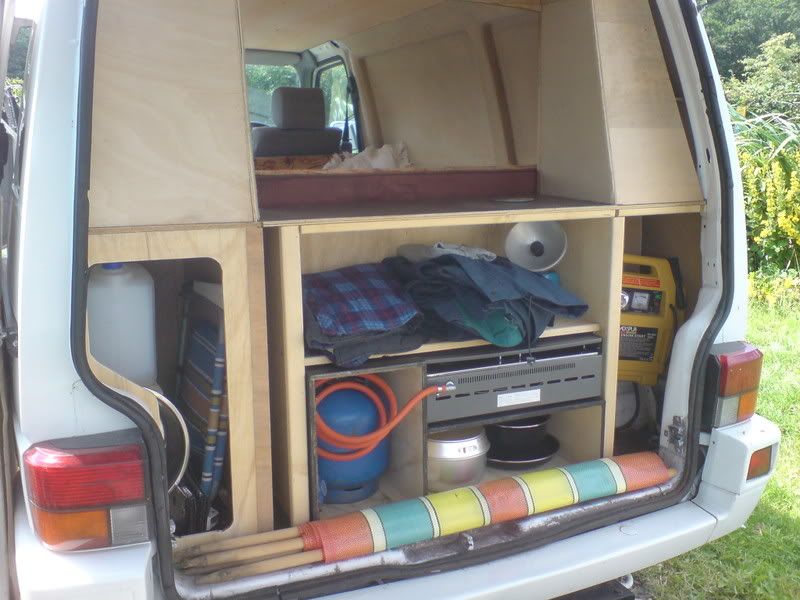
The rear load area - with the tail gate up to keep you dry while you unpack :)
DSC01978.jpg


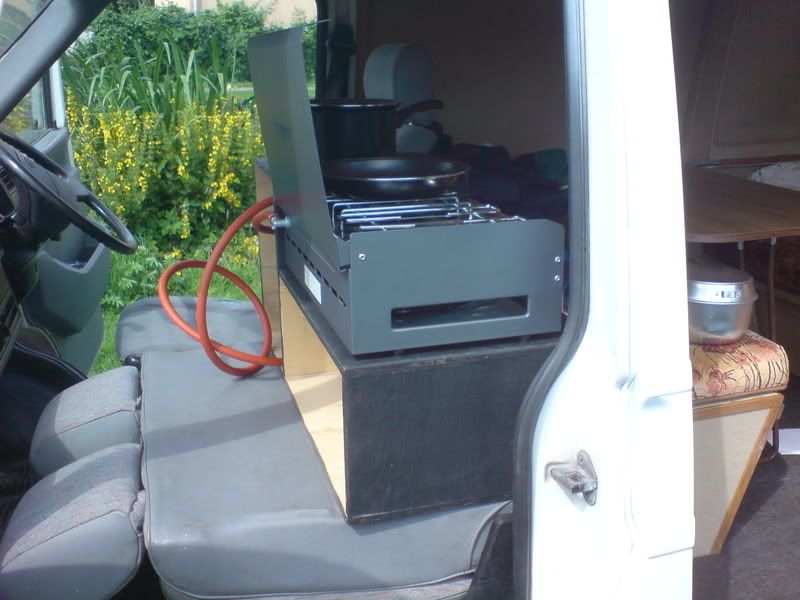
bottom center you can see the custom cook unit which contains the Gas bottle cooker with 2 hobs and a grille. and room for pots / pans / and cutlary.

This was made to sit on the front passenger seat when it is folded down
DSC01961.jpg


DSC01962.jpg


DSC01967.jpg


The cooking unit can easily be used outside or in an awning.

With the table up - the Diner
DSC01966.jpg


DSC01969.jpg


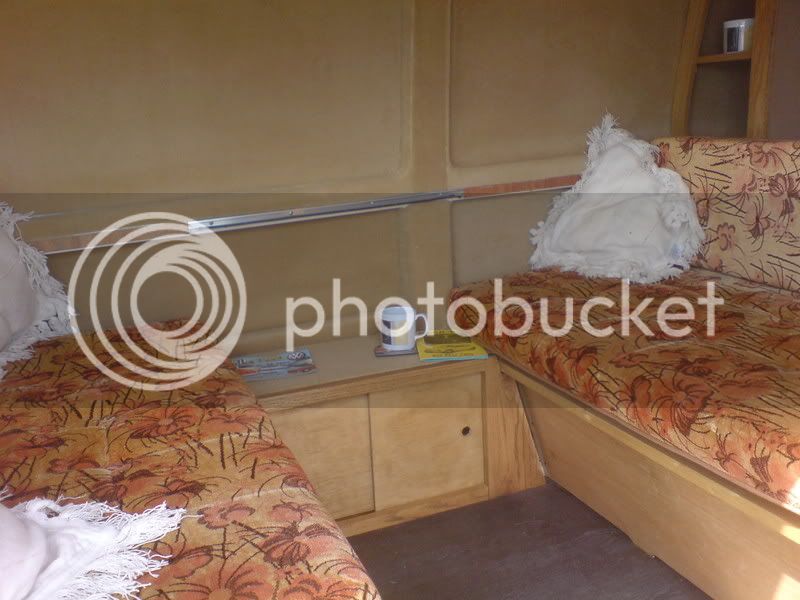
With the table tucked away between the seat and the sink unit, we now have the lounge
DSC01972.jpg


DSC01975.jpg


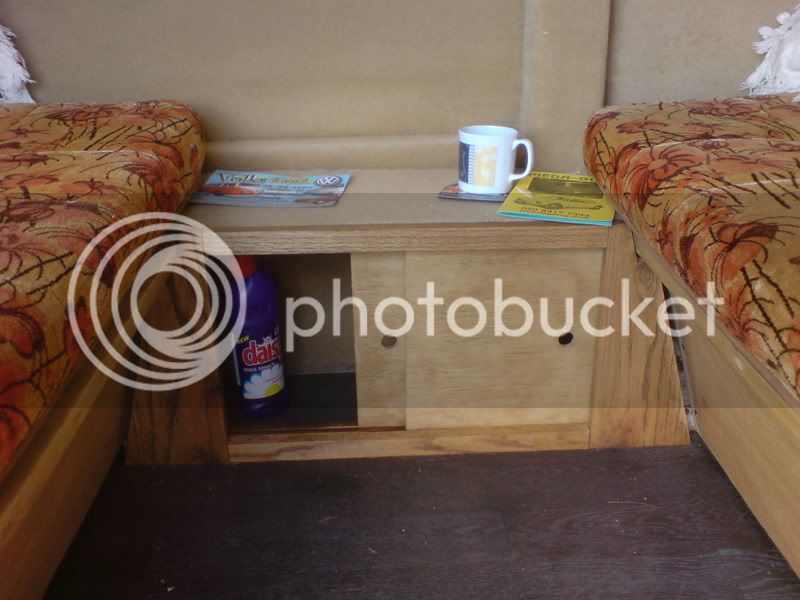
plenty of 'lounging room , with the coffee (beer) table for your drinks :tup:
DSC01973.jpg


under the beer table is more storage
DSC01985.jpg


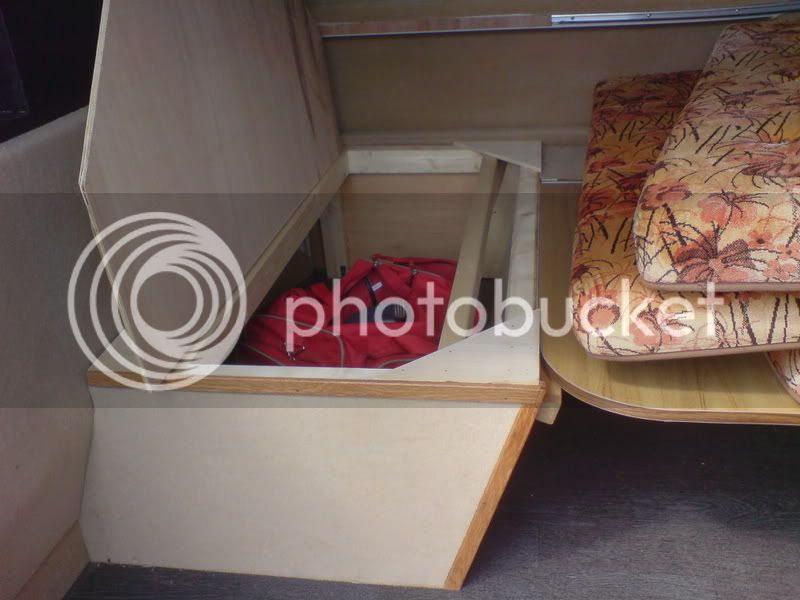
as is under the seats
DSC01971.jpg


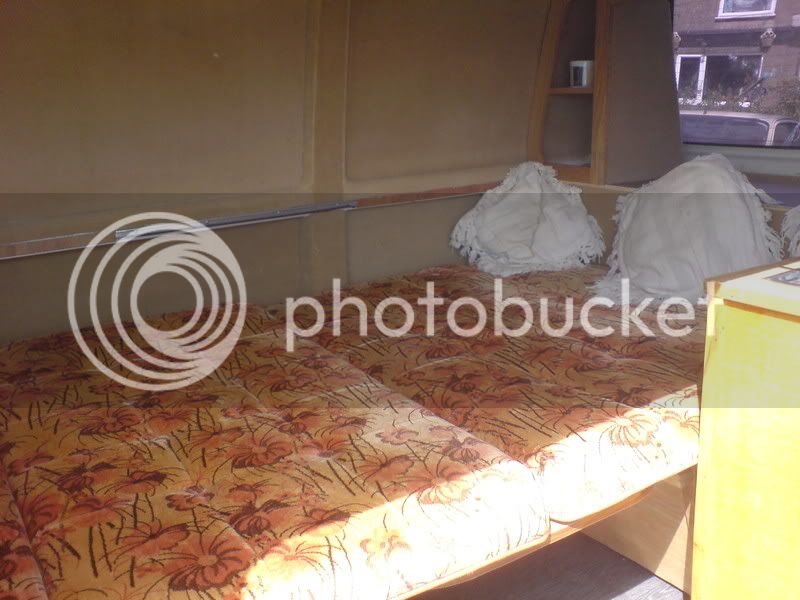
With the table down between the seats, there is a full length double bed (i'm 6'2" and its plenty big )
DSC01970.jpg


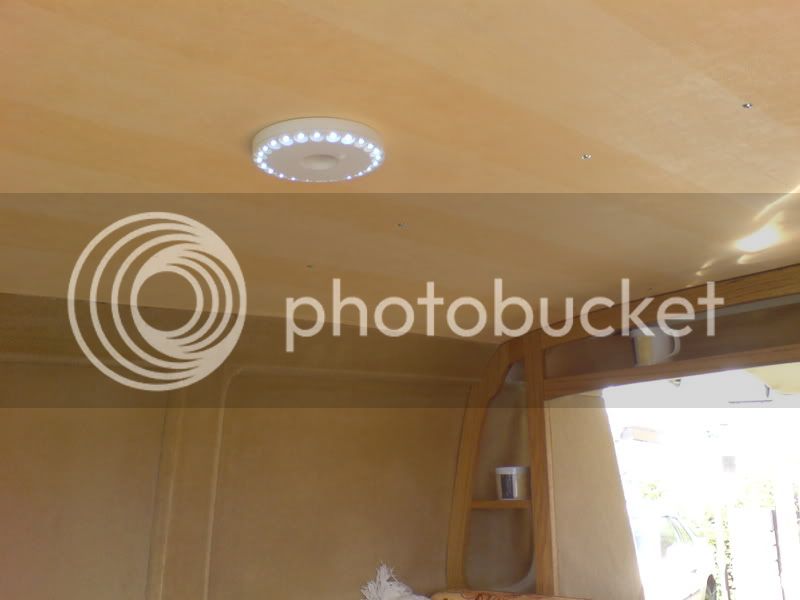
And at night there is LED lighting above the bed
DSC01982.jpg


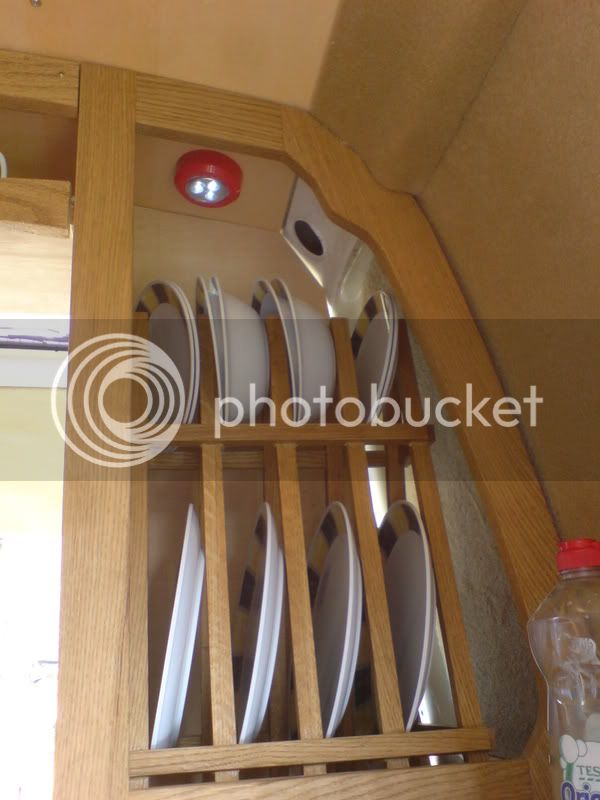
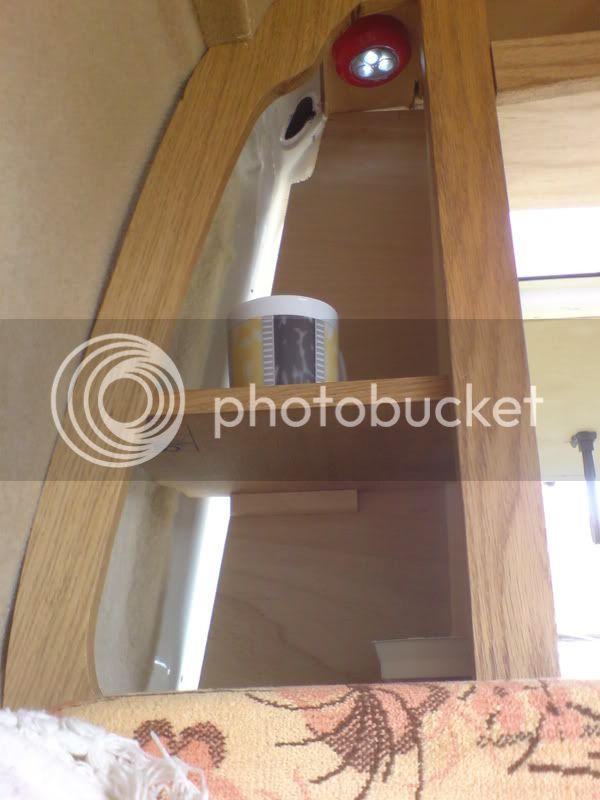
and in the rear cupboards
DSC01982.jpg


DSC01983.jpg


DSC01984.jpg


cheers

Rich
 

Latest posts

Back
Top