So What

UKworkshop.co.uk

Help Support UKworkshop.co.uk:

This site may earn a commission from merchant affiliate links, including eBay, Amazon, and others.
Paul - I bet you beetled to & froe whilst making those. :)

Nice to see traditional tools still being used. Nice dibbers too.

SPOILER The beetle is the mallet & the froe is the riving tool
 
Robbo3":1ivr7pjn said:
Paul - I bet you beetled to & froe whilst making those. :)

Nice to see traditional tools still being used. Nice dibbers too.

SPOILER The beetle is the mallet & the froe is the riving tool

:lol: Fun and satisfying to use too, very effective. Would have used a draw knife on them instead of putting them through the bandsaw afterwards, but still haven't got around to making a shave horse. might need to get round to that shortly....

Cheers, Paul
 
Dalboy":e9dikz6v said:
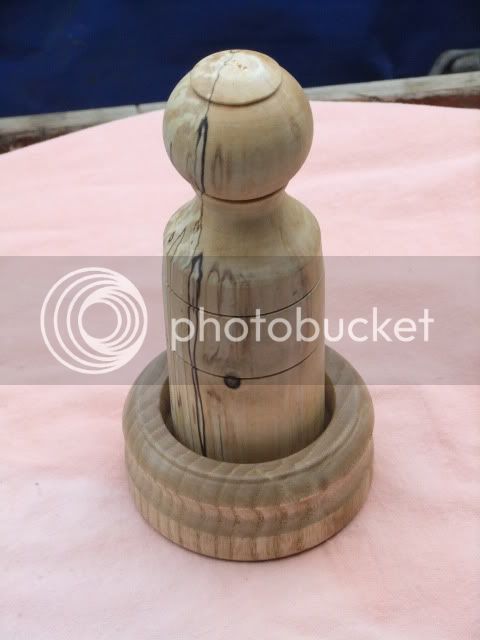
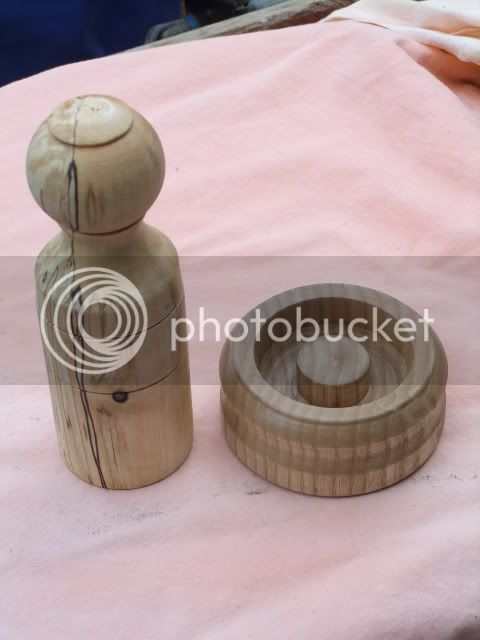
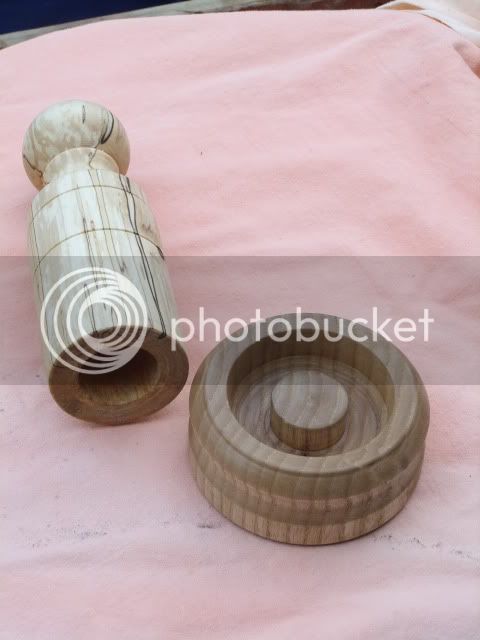
Paul how about some of these for the gardeners

DSCF1072.jpg


DSCF1073.jpg


DSCF1074.jpg

Good idea ! I have tried making a couple of these in the past, never really found them particularly good to use and swmbo, aka Head Gardener, couldn't be bothered messing around with bits of newspaper either, which is a shame as it's useful recycling.

Another half dozen dibbers and some smaller pricker outers should do the trick I think, I'll be bored of gardening stuff by then !

Cheers, Paul
 
Woodmonkey":1pcggnzz said:
I like that Peter, how did you burn the lines? I've used an old guitar string on spindles but that wouldn't work on a flat surface like that...

Thankyou for your interest, firstly the surface isn't flat it is curved, as I said earlier the piece is the shape of a flying saucer curved both below and above.

The burnt lines are very simple, using one of those thin bladed parting tools or anything with a thin cutting point, merely score an indentation, it does not have to be deep.

I then use a piece of Formica to burn the lines. I do it BEFORE I do the sanding that way it cleans up any broken edges.

I hope this helps, regards Peter.
 
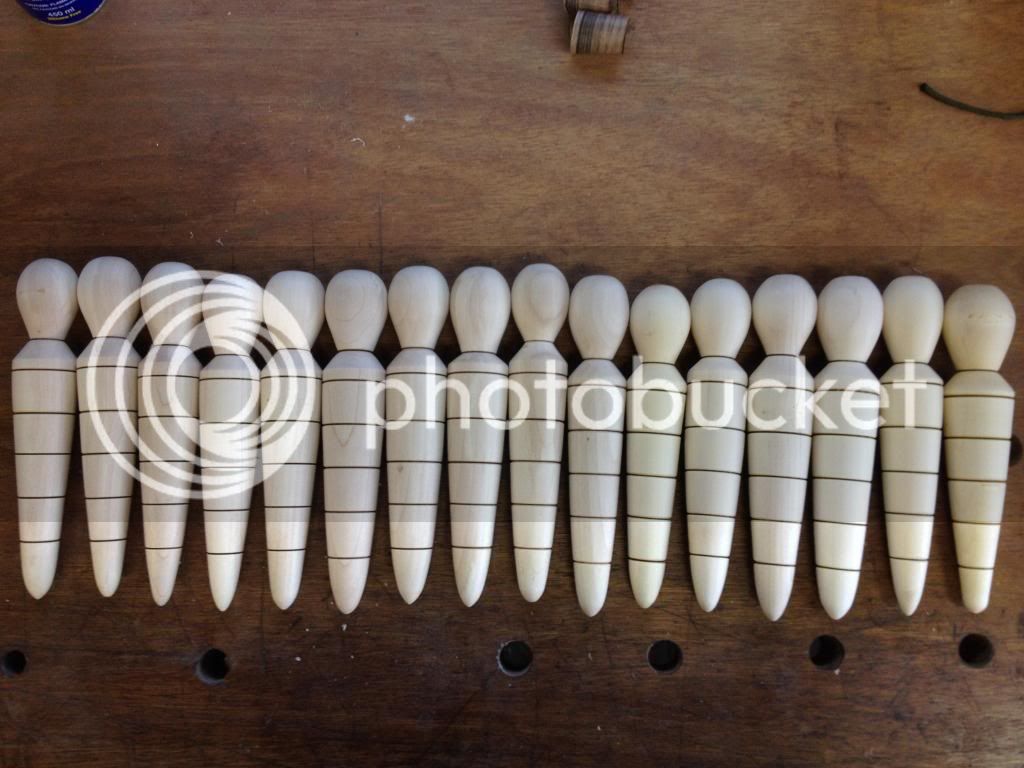
So, finished batch of dibbers !


Decided that the teak oil wasn't doing much for the maple other than yellowing it, so abandoned that and instead went down to 180 grit and then a burnish with the wood shavings which gave a nice tactile smooth finish. \used some formica laminate offcut to blacken the grooves and that helped bring them to life a bit.

The first half dozen were remounted in cup style drive and tail centres that I turned up, and sanded and burnished and grooves blackened to match the later ones which I think looked better.

Don't plan on doing any more any time soon though, done enough for a good long while !

Need to try some thinner prototype "pricker outers" next, which I should be able to get out of the dibber offcuts with a bit of luck.....

Cheers, Paul
 
Back
Top