Thought people might like to see this. I have recently acquired a 'digital microscope', so I can now be a real train spotter about blade sharpening if I want to. (Can you see where this is going???  )
)
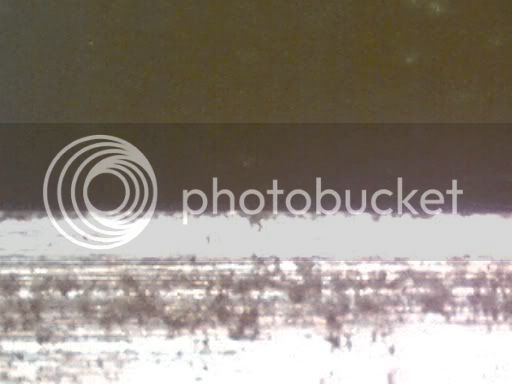
OK. Here's a 60 times magnification of the 'as supplied' edge on my L-N 62 (low angle jack):

It's with the bevel up (blade lying toward the bottom of the picture as you look): my apologies for the graininess/lack of features, but I'm still working on a decent mount for the microscope's stage... Key point is to note the almost 'crumbly' appearance of the edge... (but note that this was giving what I'd call 'reasonable' working effect. Not what I really like, but acceptable for mucking about in the workshop.)
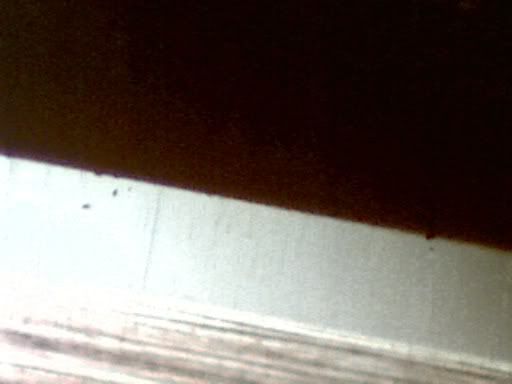
This is what I turned it into after a fair bit of work flattening the back, up to 10000 grit (with the new icebear stone from Axminster), and then a quick 30 seconds at each grit up to 10000 on the bevel:

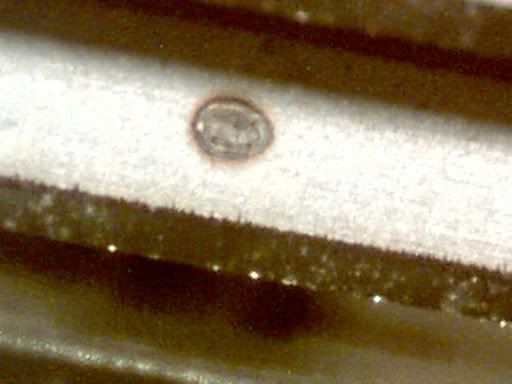
Note that I also stropped on leather with stropping compound. For comparison, here's a wilkinson sword razor blade at the same mag:

Conclusions?
1. The 10,000 grit stone is a beauty: comes ready mounted on a wood base, with its own nagura in the box. Surprisingly good 'bite' for a trad waterstone. (my others are Shaptons - I use 1000, 5000 & 8000)
2. I've omitted, so as not to bore you all, a number of piccies of the intermediate stages, back and bevel. I was surprised at how important 'decontaminating' was. As this was a little experiment, I was ruthless with myself about trying to eliminate all scratches that were obviously too coarse for the current 'level'. In the end, I found the best way was to flatten each stone under running water with my ceramic flattener, so that all old swarf/rubbish was washed away before bringing the metal to the stone, and then while sharpening, I used a plant spray bottle of water to blast off the swarf from the blade when I wanted to look at it (rather than using a grubby workshop hanky/rag as I tend to normally.
3. Semi objectively, I reckon the pics show that I've got a better edge than a commercial razor blade. Difficult because of the different angles and resultant effect of the light (again, I need to improve the stage), but I reckon that that stropped bevel is clearly more uniform than the razor.. You can see a couple of pits in the picture, but the edge is pretty uniform, given the magnification...
4. Once again I reminded myself how quick this process can be once a tool is fettled. The back took a while, because it was the initial flattening, but the bevel took no time at all - I use a honing guide, and saw away for literally 30 secs at each grit, rinse off, and repeat.
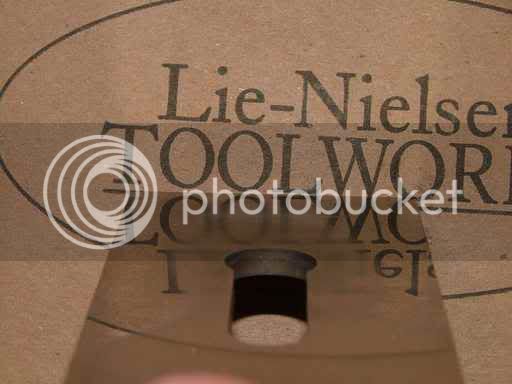
5. The degree of 'mirror finish' was a good indicator of progress as I sharpened. I took a couple of 'normal' photos of reflections in the blade back as I worked...
6. End result? It had hairs 'jumping' off my arm, cut a sheet of A4 paper without any tearing/ripping, and I then put it back in the plane and went at a piece of nasty soft pine with a knot in the middle. My micrometer showed that I had 1 to 1.5 thou shavings, and I was able to plane straight across the knot without tearout on either side (after checking which way was best - first run gave tearout)
I'm intrigued by the ability to actually examine what sharpening and use really do to a blade: I'm gonna take some pics of the blade after 'a few' shavings, and 'a lot' to see how it does. Similarly, I'm gonna repeat the process with one of my Clifton forged blades, and see what it looks like.
Sorry - not really much point to this post, but I hope people find it interesting - I enjoyed doing it...
OK. Here's a 60 times magnification of the 'as supplied' edge on my L-N 62 (low angle jack):

It's with the bevel up (blade lying toward the bottom of the picture as you look): my apologies for the graininess/lack of features, but I'm still working on a decent mount for the microscope's stage... Key point is to note the almost 'crumbly' appearance of the edge... (but note that this was giving what I'd call 'reasonable' working effect. Not what I really like, but acceptable for mucking about in the workshop.)
This is what I turned it into after a fair bit of work flattening the back, up to 10000 grit (with the new icebear stone from Axminster), and then a quick 30 seconds at each grit up to 10000 on the bevel:

Note that I also stropped on leather with stropping compound. For comparison, here's a wilkinson sword razor blade at the same mag:

Conclusions?
1. The 10,000 grit stone is a beauty: comes ready mounted on a wood base, with its own nagura in the box. Surprisingly good 'bite' for a trad waterstone. (my others are Shaptons - I use 1000, 5000 & 8000)
2. I've omitted, so as not to bore you all, a number of piccies of the intermediate stages, back and bevel. I was surprised at how important 'decontaminating' was. As this was a little experiment, I was ruthless with myself about trying to eliminate all scratches that were obviously too coarse for the current 'level'. In the end, I found the best way was to flatten each stone under running water with my ceramic flattener, so that all old swarf/rubbish was washed away before bringing the metal to the stone, and then while sharpening, I used a plant spray bottle of water to blast off the swarf from the blade when I wanted to look at it (rather than using a grubby workshop hanky/rag as I tend to normally.
3. Semi objectively, I reckon the pics show that I've got a better edge than a commercial razor blade. Difficult because of the different angles and resultant effect of the light (again, I need to improve the stage), but I reckon that that stropped bevel is clearly more uniform than the razor.. You can see a couple of pits in the picture, but the edge is pretty uniform, given the magnification...
4. Once again I reminded myself how quick this process can be once a tool is fettled. The back took a while, because it was the initial flattening, but the bevel took no time at all - I use a honing guide, and saw away for literally 30 secs at each grit, rinse off, and repeat.
5. The degree of 'mirror finish' was a good indicator of progress as I sharpened. I took a couple of 'normal' photos of reflections in the blade back as I worked...
6. End result? It had hairs 'jumping' off my arm, cut a sheet of A4 paper without any tearing/ripping, and I then put it back in the plane and went at a piece of nasty soft pine with a knot in the middle. My micrometer showed that I had 1 to 1.5 thou shavings, and I was able to plane straight across the knot without tearout on either side (after checking which way was best - first run gave tearout)
I'm intrigued by the ability to actually examine what sharpening and use really do to a blade: I'm gonna take some pics of the blade after 'a few' shavings, and 'a lot' to see how it does. Similarly, I'm gonna repeat the process with one of my Clifton forged blades, and see what it looks like.
Sorry - not really much point to this post, but I hope people find it interesting - I enjoyed doing it...


