Shaping a chair seat

UKworkshop.co.uk

Help Support UKworkshop.co.uk:

This site may earn a commission from merchant affiliate links, including eBay, Amazon, and others.

TobyB

Established Member
Joined
4 Feb 2008
Messages
286
Reaction score
0
Location
Leeds, West Yorkshire
I bought an elm seatblank to make a traditional-ish sort of carved seat (not got a bandsaw ... yet ...ordered one!) which I've started to work on.
Planed the top and bottom smooth to see the grain and decide which side will be which - no problems.
I've planned to a Veritas pullshave to carved the seat out - read the thread here suggesting an Arbotech to clear the worst - worried about lack of control - not sure how easy the pullshave will be to use either.
The sides though - tried a jack and a block plane for the slight convex curves of the front and back and they look OK. But the tighter curves of corners and the concave curves of the sides ... tried a spokeshave and got poor results with a lot of chatter in places ... tried push and pull strokes both perpendicular and oblique ...
The spokeshave is a cheap'n'cheerful Stanley 151 I've had lying around little used until now - scarey-sharpened as best I can.
I'm wondering if the problem is a bad workman using the completely wrong tool , a bad workman not using the right tool properly, or a bad workman using a poor tool?
 
Toby I think it's probably a mixture of bad spokeshave and bad technique. If you can upgrade the spoke shave then you'll probably find life easier. I love the Boggs shaves but the Veritas range come highly recommended.

As for scooping out the seat. You could make a jig for the router. I'll see if I can find some examples.
 
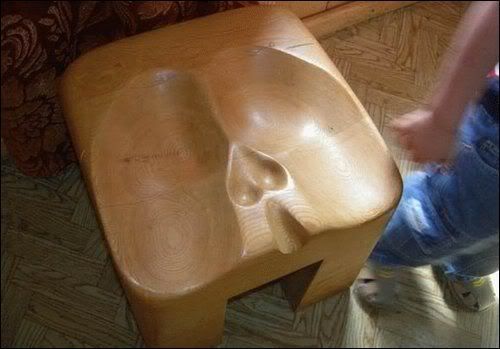
I don't have a solution for you Toby, but
i do have this, if you want to try it out for
a nice shape.


2001660011881377377_rs.jpg
:lol: :lol: :lol: :lol: :lol:
 
The Arbotech is more controllable than you might think, I used one for the seats of my rocking chairs. I also used an angle grinder with a coarse sanding disc.

The angle grinder is an excellent tool for chair seats. It makes a huge amount of dust though, so you will need good dust collection and a good dust mask.

I also used a curved Clifton spoke shave. This worked quite well and despite having a huge mouth was able to take quite fine shavings when necessary.

Before starting work, drill a series of holes in the blank to the depth required for the chair seat at that point. This makes it easy to remove wood in between without constant measuring.
 
Chris, did you use the big abortech or the mini one?
On the large one you can set a depth of cut (or rather the aggressiveness) with the guard. I'd quite like the mini as the bid one can be a little unwieldy.
 
That's helpful - thanks for the link Tom - might make that jig, but think trying out the arbotech on some scrap could be a first line ... might also try the idea I found on a thread of hanging it from a line on the ceiling to get a controlled curve and limited depth of cut ...

Went to David C's book and was left thinking it might well be a bad workman with a bad tool ...
 
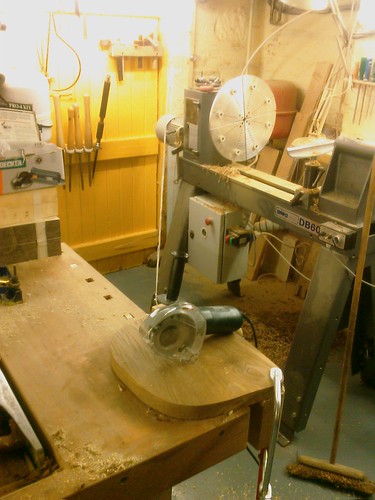
Heh, no, it worked really well. Right hand on the body of the grinder for main control forward/back and side/side. String around grinder handle held by left hand, with thumb pressure on loop of string giving me a subtle amount of elevation/lowering.

4052042005_f41a8db2ba.jpg


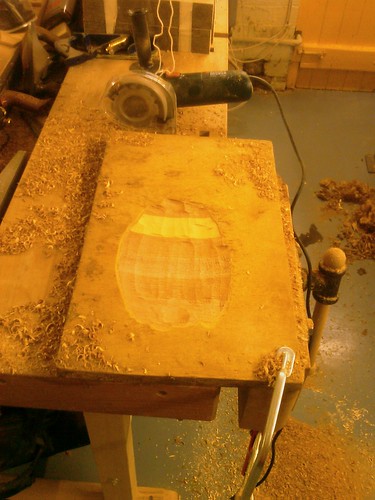
Tried it out on an old bit of blockboard and it seemed to work.

4052042507_41438f926b.jpg


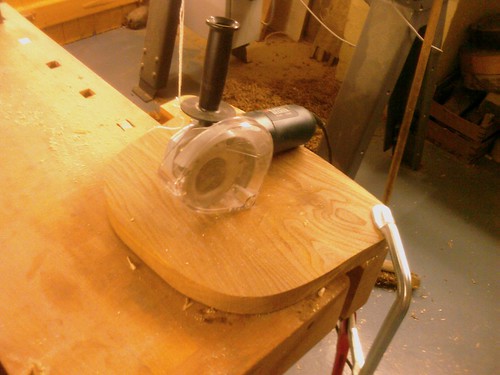
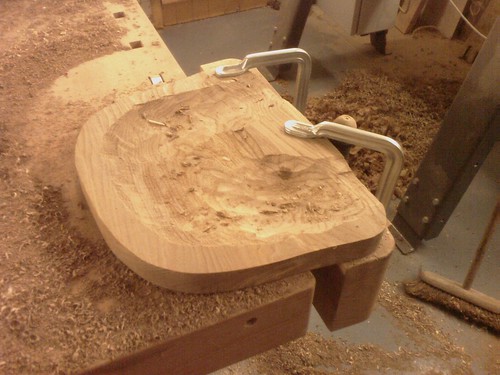
Results on the chair seat even better ...

Blanked clamped into place, centred under string
4052784100_627c75133b.jpg

Arbotech to clear wood
4052043303_e11681a397.jpg

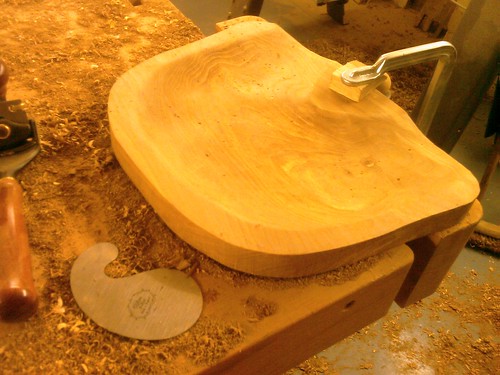
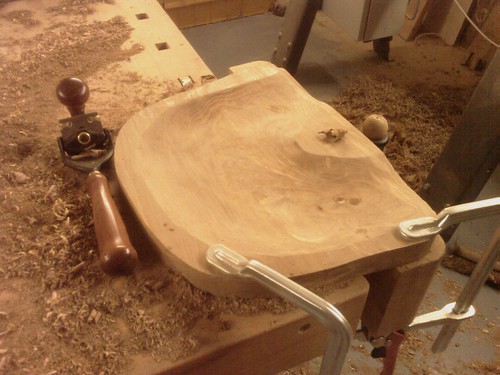
Pullshave to clean up (NOT an easy tool to use!)
4052784934_222f6934c5.jpg

Scraped - never used one so much, got really hot!
4052785340_aa3deac04b.jpg

Now needs the edges/bottom shaping (thanks for the spokeshave hints Tom) and then sanding

I felt I had much more control with the suspended arbotech grinder than with my freehand experiments using the plastic guard as a depth tool, especially limited chances of diving deep, and it seemed safer rather than dangerous.
 
The tool you need is a travisher, used by "bottom" makers in traditional chair manufacture.I went on a chair making course 3 years ago run by a North Lincs. craftsman called Tom Thackray.After just 5 days I came away with very respectable Windsor chair of which I am very proud, the last woodwork I did was at school back in 1962.The travisher really rips through the wood when working across the grain and I believe Tom makes them to sell, fashioning the plane body himself and has the irons made by a local retired blacksmith.Whilst I was there a friend of Toms came along and made the bottom of a double seat Windsor in one afternoon,to see this chap tear into the task was a sight to behold and certainly deserved his pint at the end of the day!
 
Toby I've seen people either stick leather to the back of the card scraper or use leather thumb protectors. Either that or be a man :D

I was using card scrapers today actually. Very satisfying when you get them cutting right.

Chair building is something that intrigues me. I wish Mr Boggs would come back to the UK, that's one class I'd really like to take.
 
Those flat flexible magnets - often sold in strip form but easier to find as existing fridge magnets than in sheet form IME - make handy heat protectors for scrapers, fwiw. Or else lop off the finger ends from old gloves.

Regarding the Veritas pullshave, is there a review of same knocking about anywhere? I've never used one but am curious.

Looking good anyway, Toby. Making a chair was easily the steepest but most rewarding learning curve I ever went on. Enjoy. :D

Cheers, Alf
 
Toby,

Noting that you have posted this in the Hand Tools forum I'm a bit surprised that nobody has given you the proper traditional hand tool answer!

I did a green woodwork course a while ago at Clisset Wood (highly recommended btw) and we were shown the following:

To do preliminary hollowing, hold the seat by wedging it on a board on the ground, stand astride the board and use a long handled adze to chip out across the grain.

For smoothing to shape, use an inshave like this one from Classic Hand Tools:

cht_ct_1.gif


You could then use a travisher for final smoothing.

For the outside edge, yes, a spokeshave is the right tool, but get some old wooden ones - which have a much lower effective angle - and make sure they are razor sharp.

Andy
 
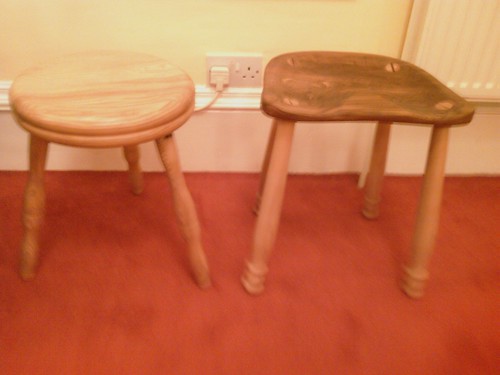
Went to Harrogate and had a play with various things. Came away with a Ray Iles inshave, and a travisher from Tom Thackray ... the latter works fantastically well, made a great pile of shavings without too much effort and left a clean surface without tearout ... much better than I achieved on my first effort! (the 4-legged one on the right)

4119507263_096ed005cf.jpg


Wondering about doing a Thackray course now ...
 

Latest posts

Back
Top